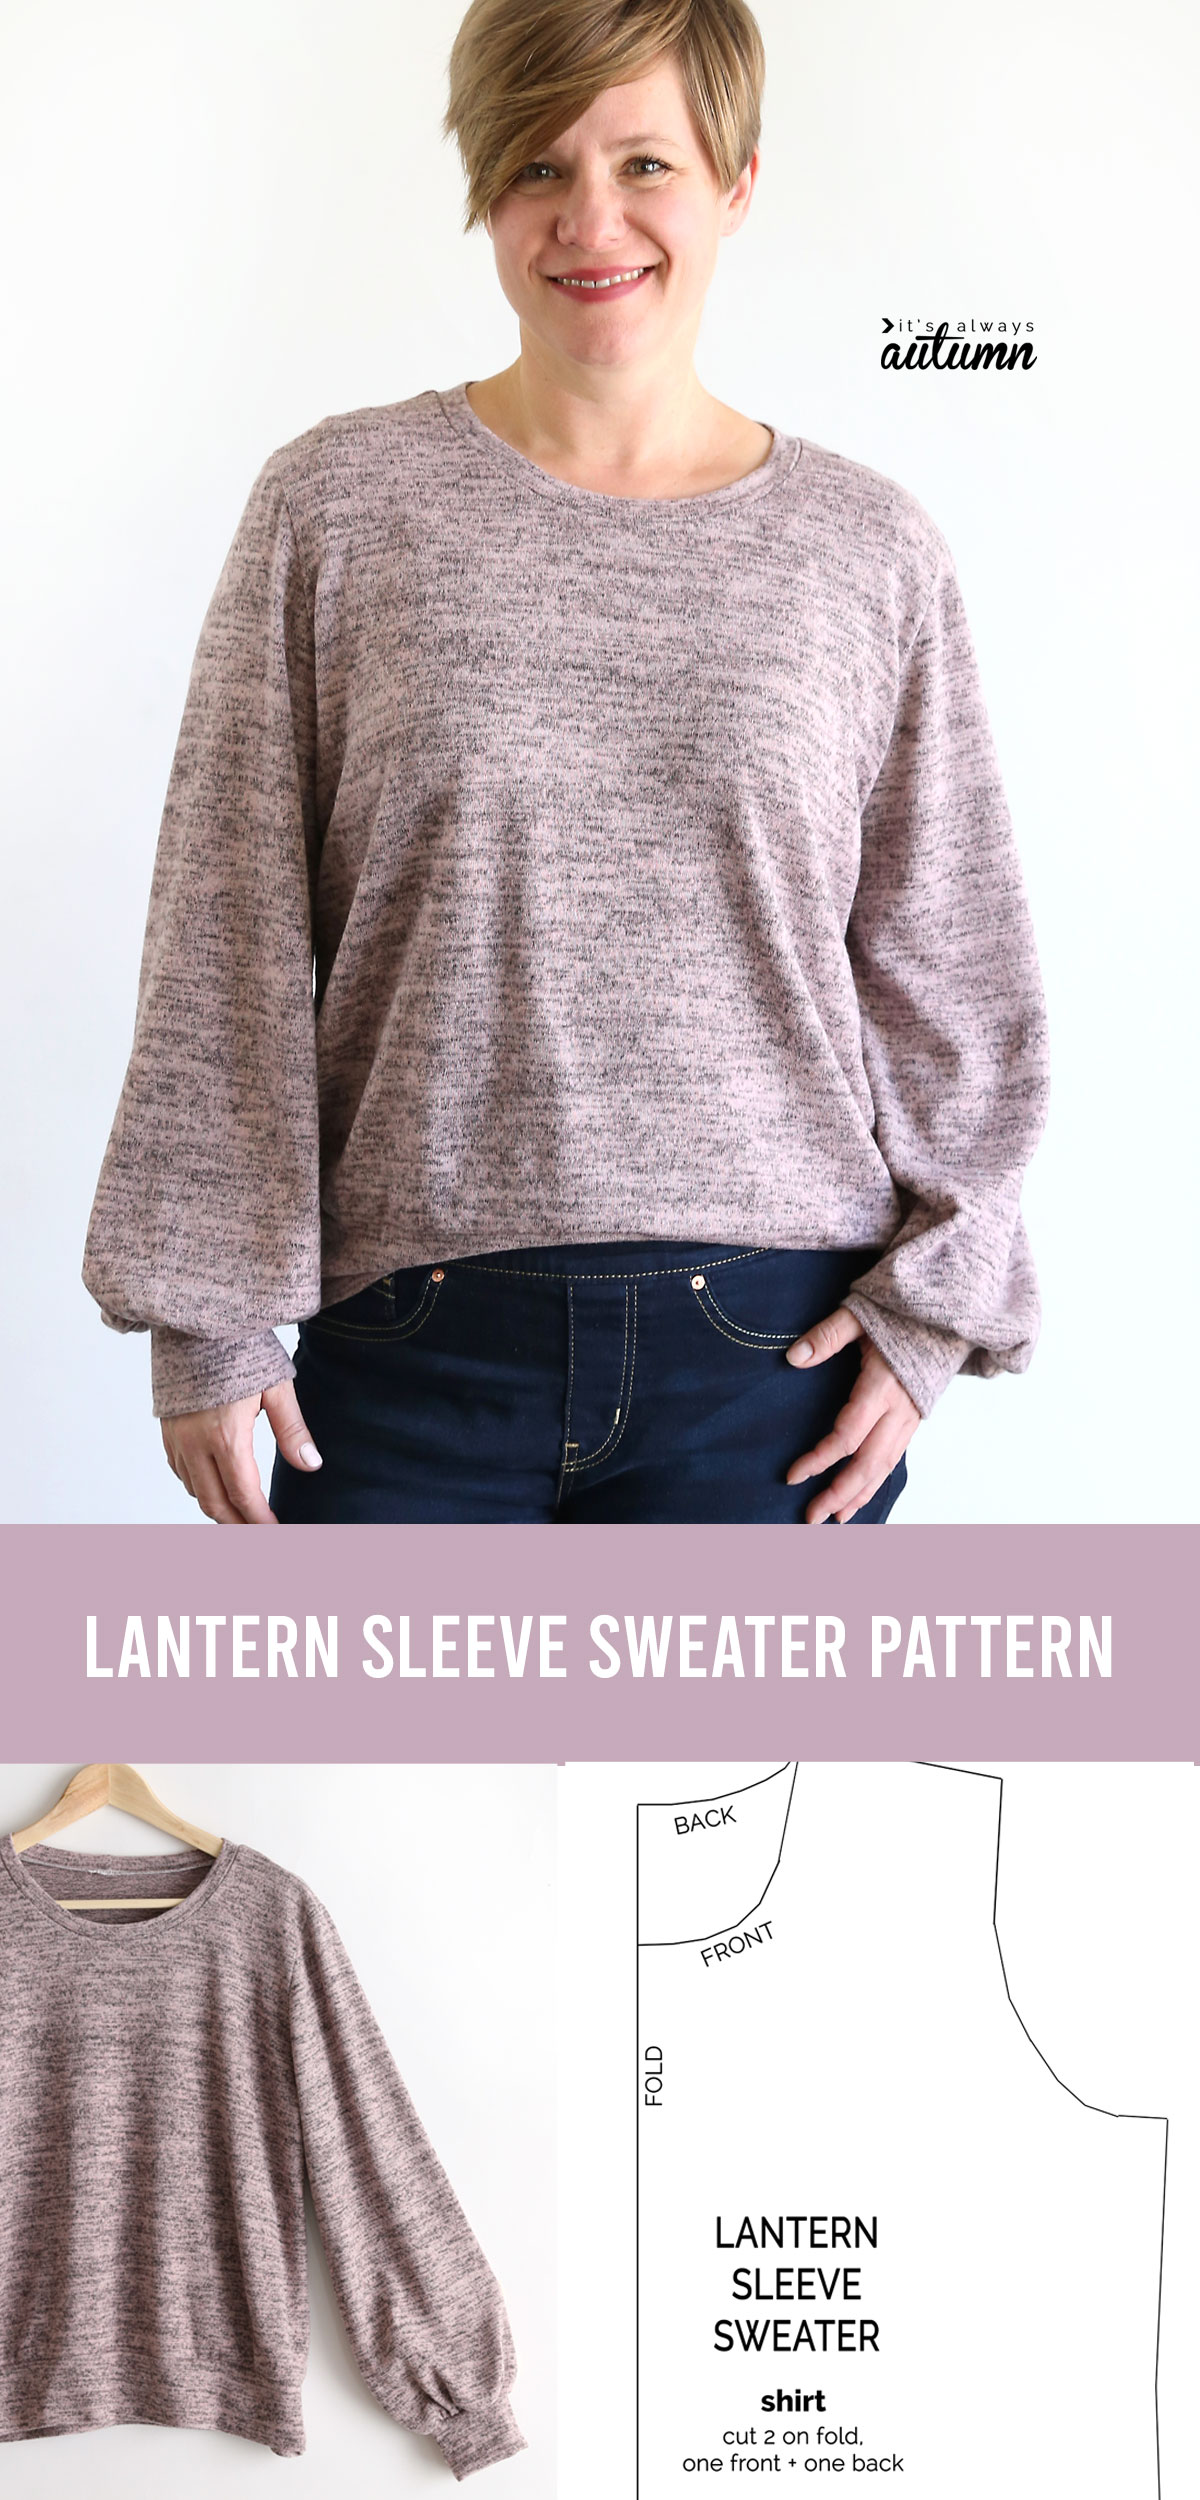
In today’s post: Get the free sewing pattern for a lantern sleeve sweater in women’s size Large.
It’s been a LONG time since I’ve sewn an item of clothing for myself! What with the holidays and the fact that we’ve just finished the strangest year I’ve lived through yet, sewing has been a bit low on the list of priorities. But every time I come back to a sewing – or any creative hobby I’ve loved before – I remember why I do it. It’s not actually because I need a new sweater or even because I love the finished product that much. It’s because the act of making something has a sort of calming power that helps my brain relax for a couple of hours. (At least until I have to dig out the seam ripper 😂 )
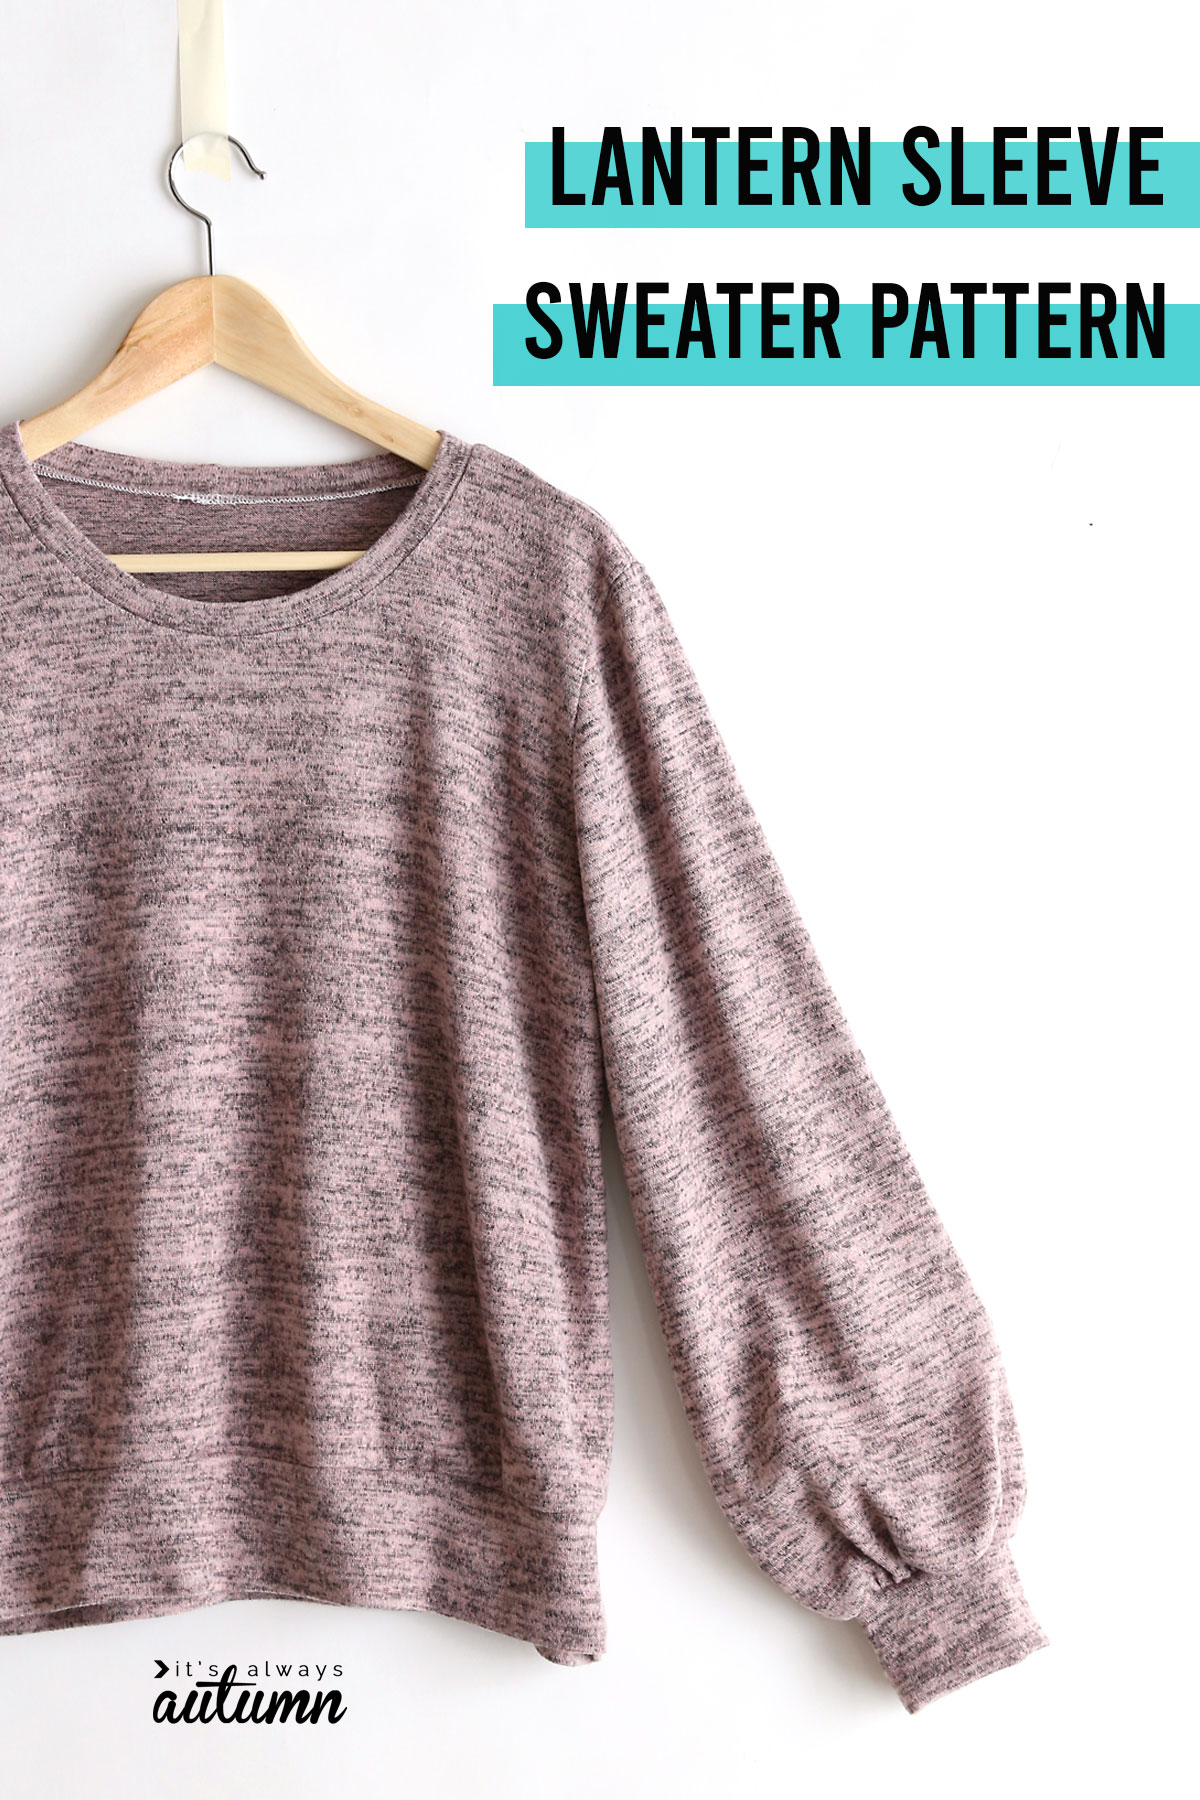
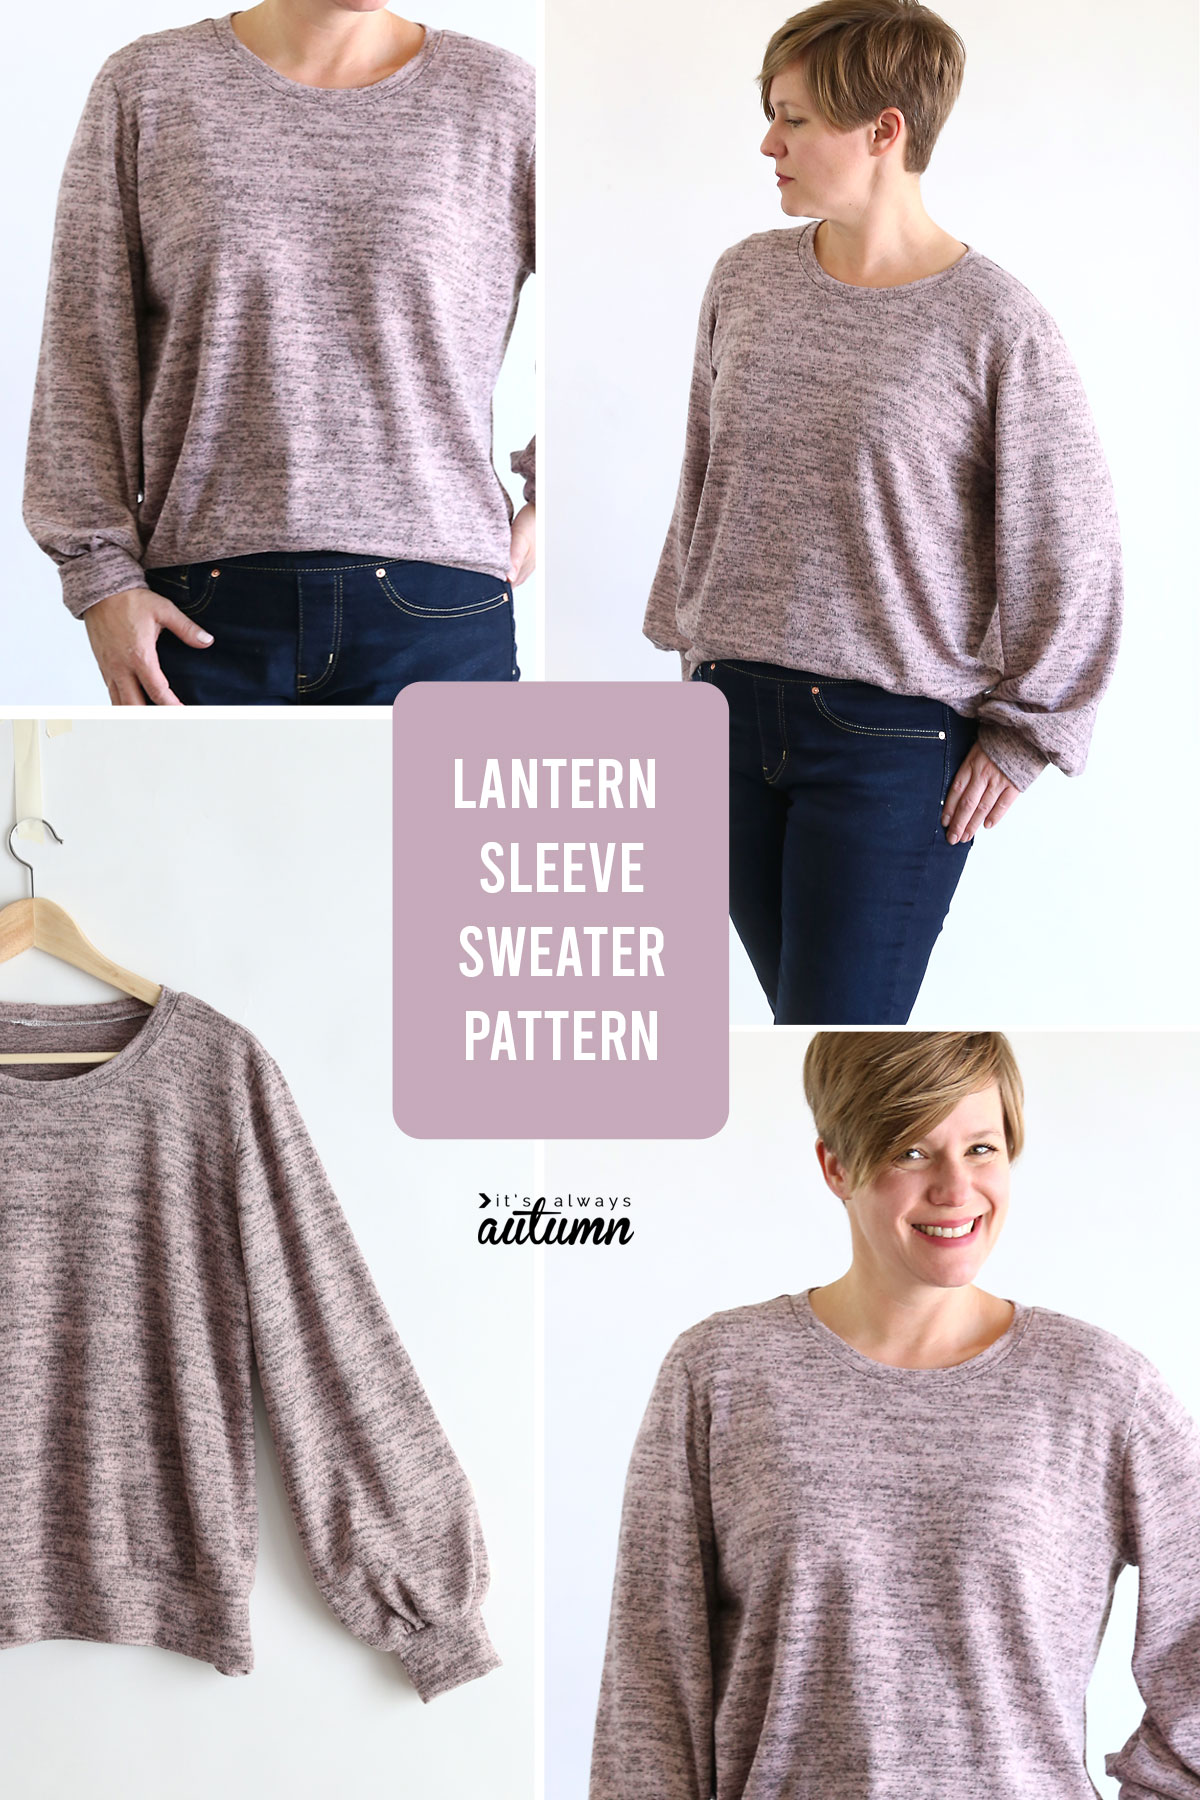
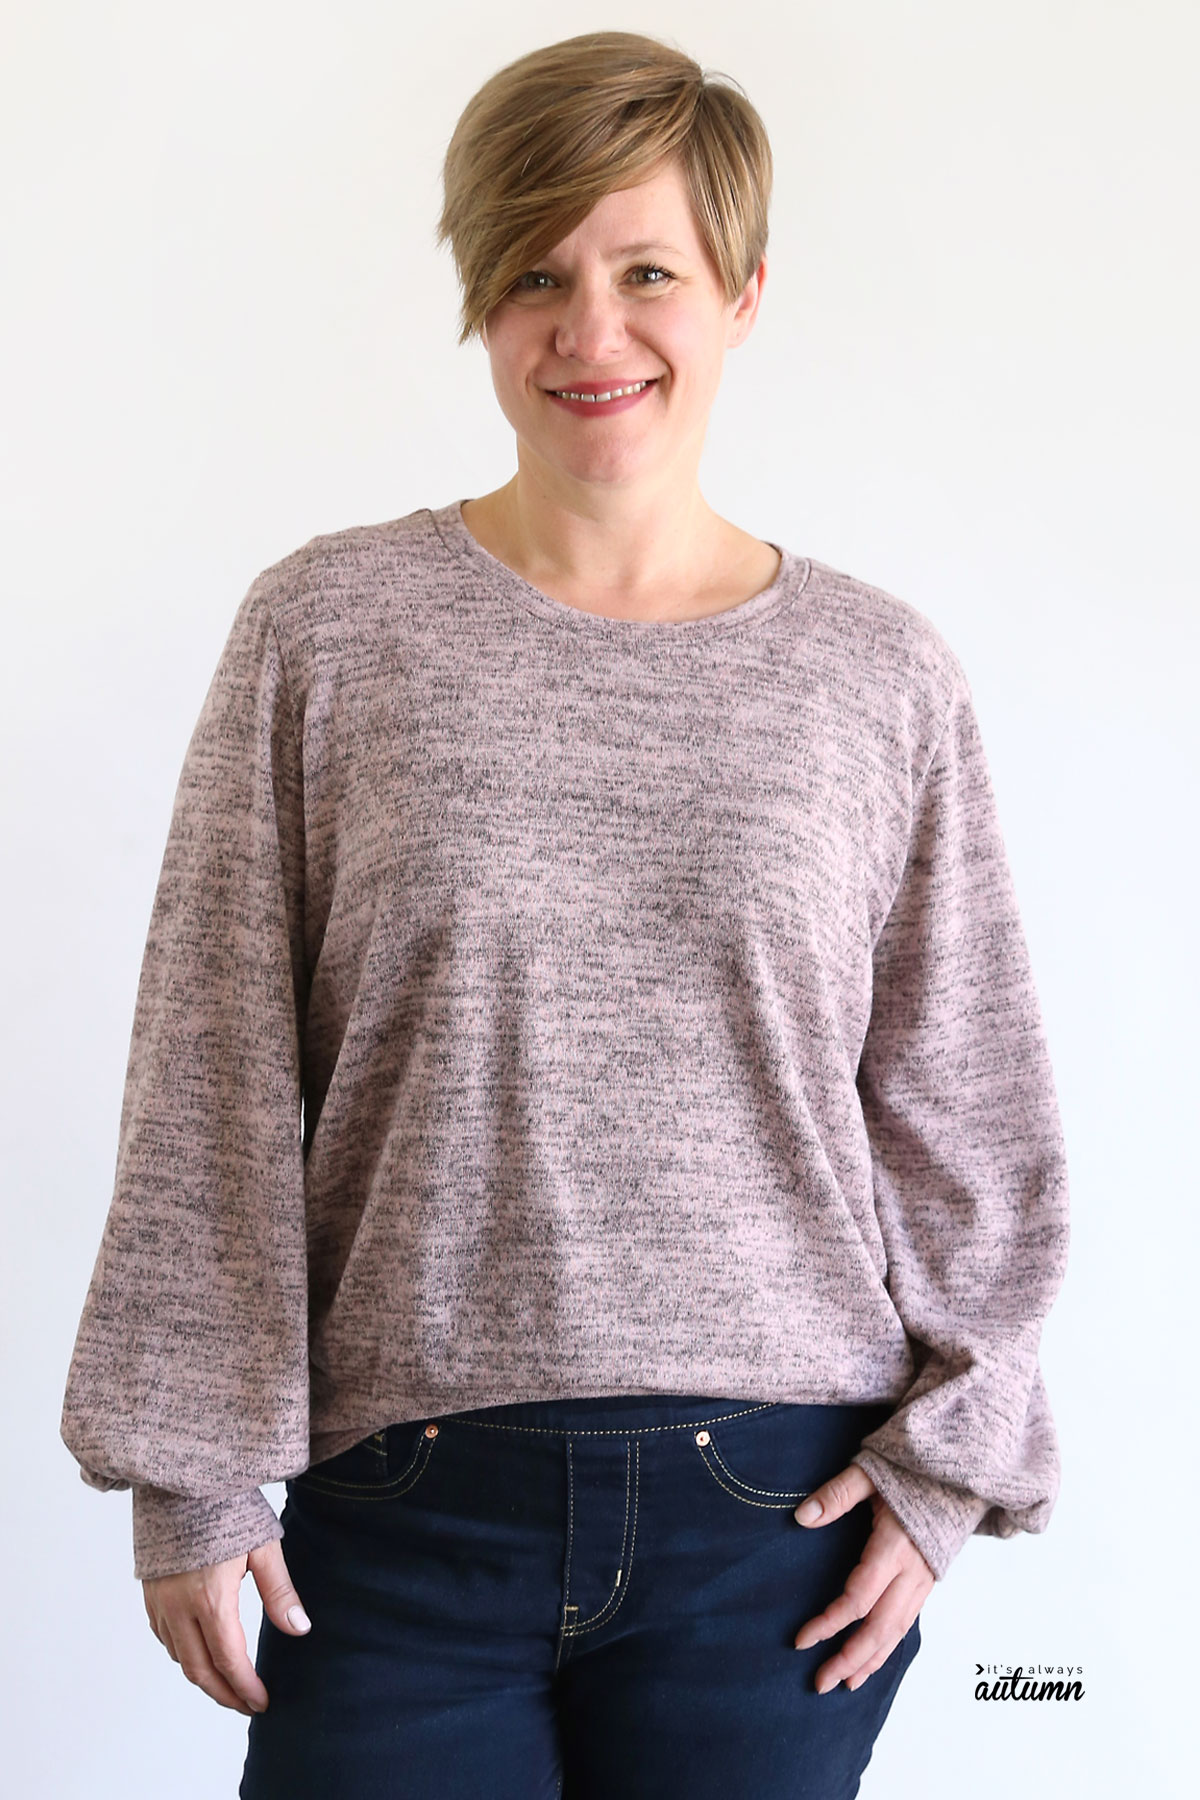
Today’s sewing project is a loose, lantern sleeve sweater. Lantern sleeves are a long, gathered sleeve that usually balloons out between the elbow and the wrist. Sometimes they are tight from the elbow up to the shoulder, but I created my lantern sleeves to gradually get wider all the way from the shoulder to the wrist.
I have created a free printable pattern for you in women’s size Large (38 inch bust). If you wear a different size, you can probably use the shape of my sleeve pattern and the pictures in the tutorial to adapt your own favorite shirt/sweater pattern to have lantern sleeves.
Note on Sweater Length
Many lantern sleeve sweaters that are sold currently are a cropped length. If you want your sweater crop length, simply cut it as shown on the pattern and turn it up and hem. This should make it hit at about your natural waist (which may be higher than where your pants hit).
For a longer sweater, you have two options: 1) You may cut the main sweater piece a couple inches longer, or 2) You may add the hem band as directed on the pattern.
Hem bands are a nice way to finish a sweater if you have used thin or stretchy material that might be hard to hem the traditional way. If you add a hem band, you can make it about as wide as the bottom of the sweater so the sweater will hang down straight, or you can cut it tighter than the bottom of the sweater so it will gather in, like a sweatshirt does. If you cut the hem band as directed on the pattern it will be wide enough to hang straight and you can choose to make it tighter once you get to that step. (FYI, I made my hem band tighter so it gathers slightly and I don’t actually love it – so I’d recommend making it loose and basting it on to see if you like that before cutting it tighter.)
Lantern Sleeve Sweater Pattern
CLICK HERE TO DOWNLOAD the free printable sewing pattern in women’s size Large (for a 38 inch bust). The pattern prints on 9 sheets of 8.5×11 paper. Please print at 100% or full size. You can print page 1 first and measure the test box in the upper left to be sure it’s exactly 1 inch. Half inch seam allowance is included in the pattern.
Once you have printed all 9 sheets, butt them together without trimming and tape together as shown below:
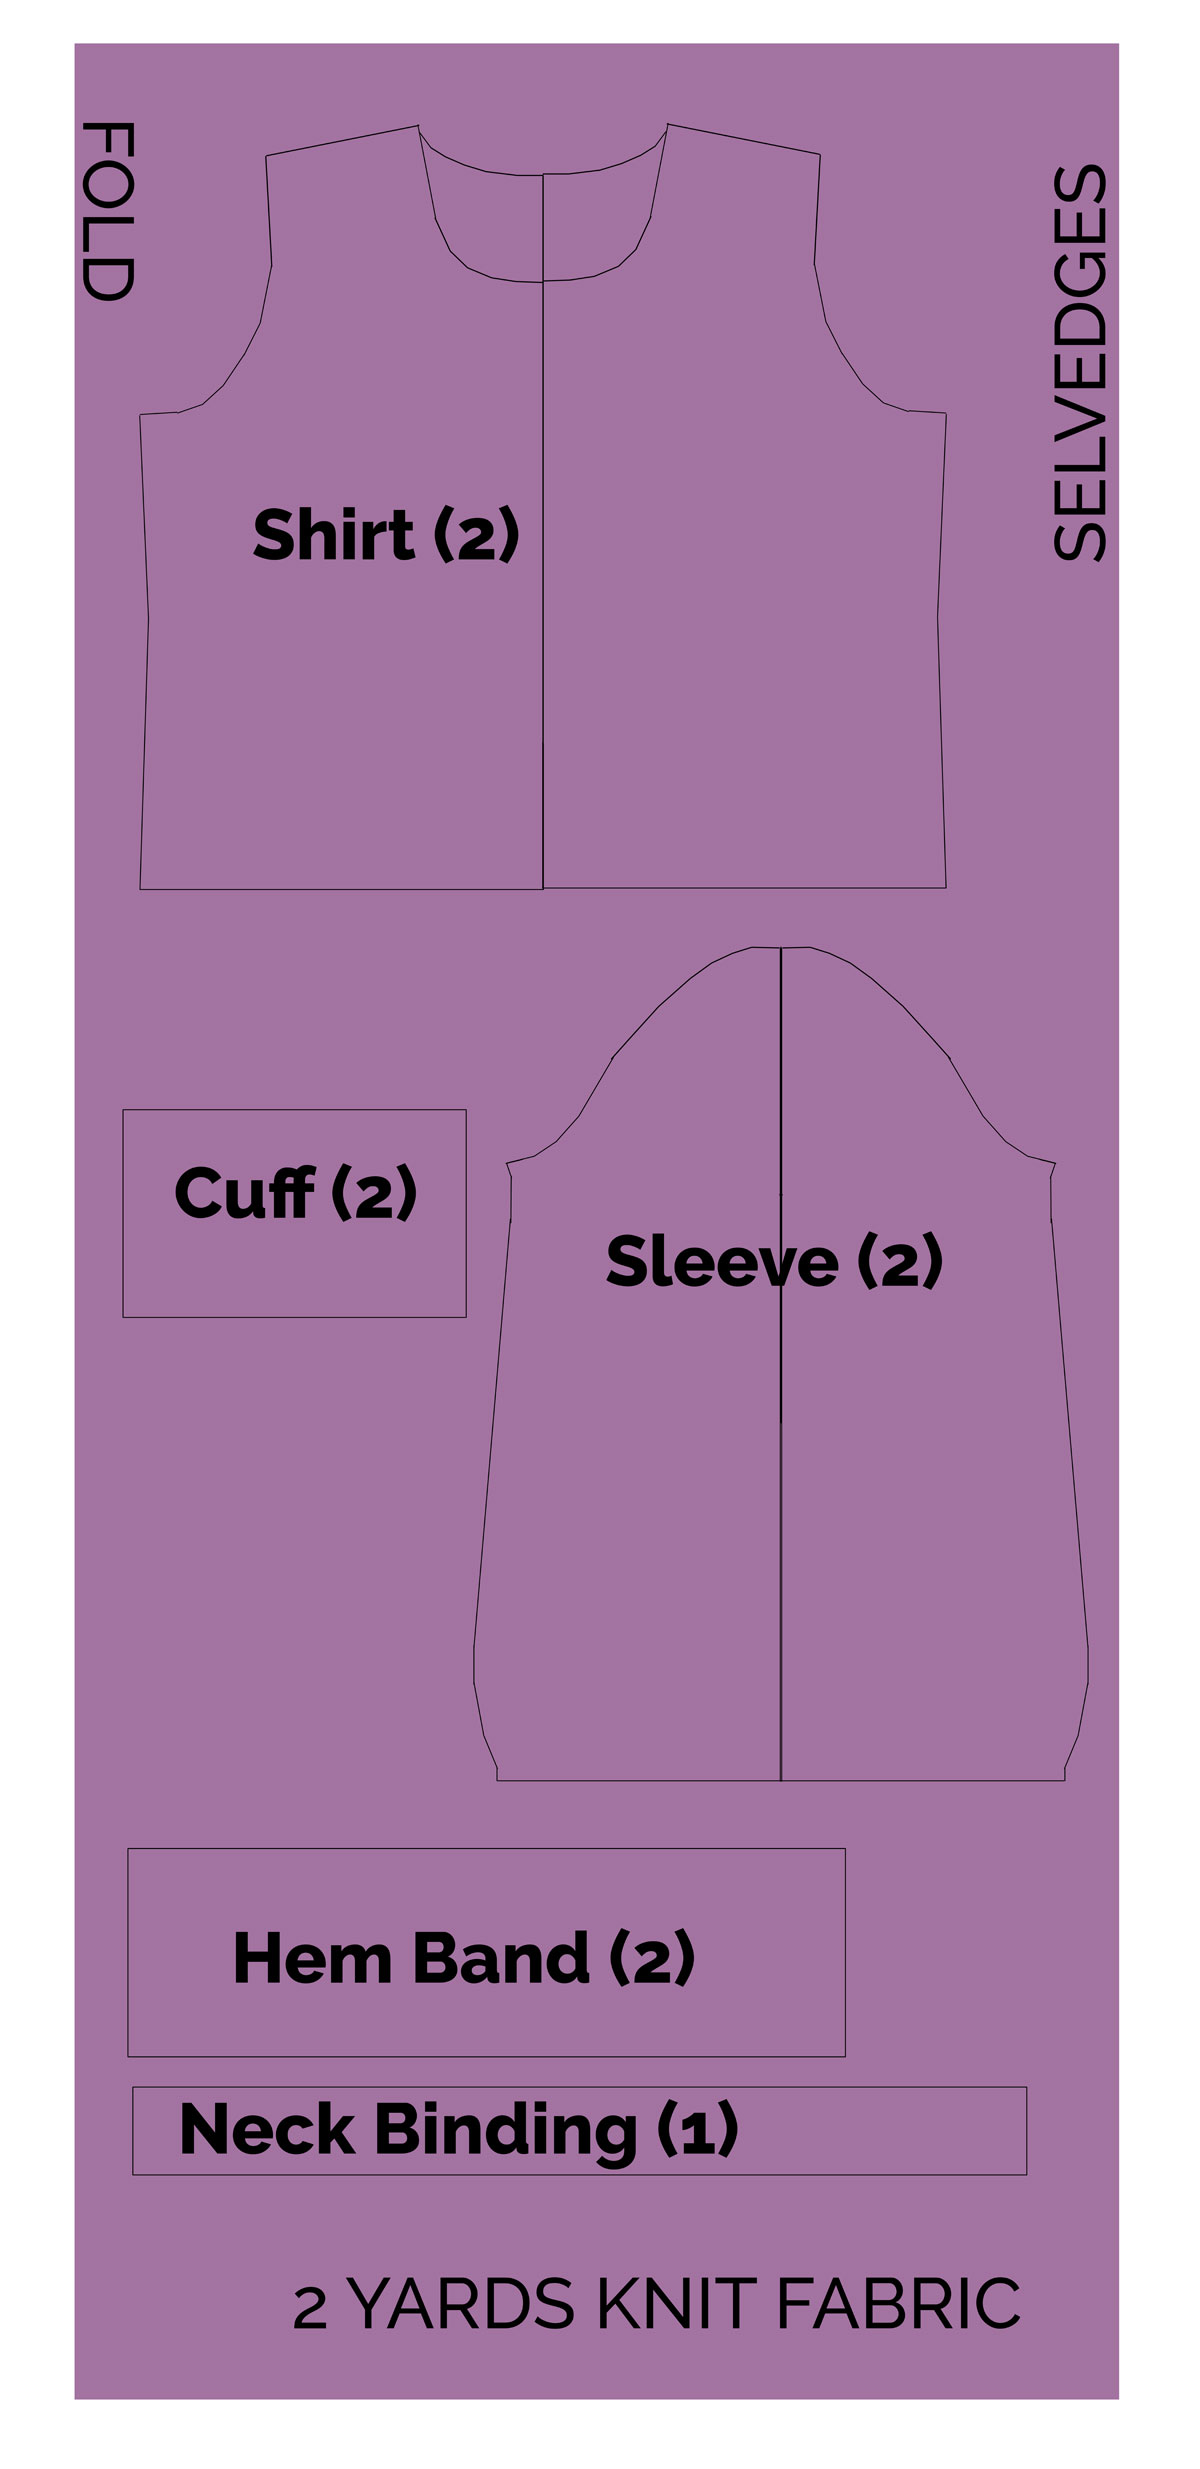
You will need 2 yards of 56-60 inch wide knit (stretchy) fabric to make this sweater. Please note that there is a shirt piece and a sleeve pieces and there ARE ALSO three other pieces that you will cut based on dimensions, listed on page 7 of the pattern. Here is the fabric cutting diagram:
Notes on Fabric for this Project
I used a soft, drapey sweater fabric for this top, so the “lantern” shape isn’t quite as pronounced as it would be it you sew up this pattern in a stiffer fabric. But because this top is cut to be quite roomy, a drapey fabric works well. My fabric is from the knits section at Jo-Ann and is called a Melange Sweater Knit.
BE SURE to wash and dry your fabric before you cut out your pattern pieces.
Please remember that because you are sewing on a knit fabric, which stretches, you should use seams that will stretch. I prefer to sew knits on a serger, but if you don’t have on you will want to use a zigzag or stretch stitch on your sewing machine.
Sewing Instructions
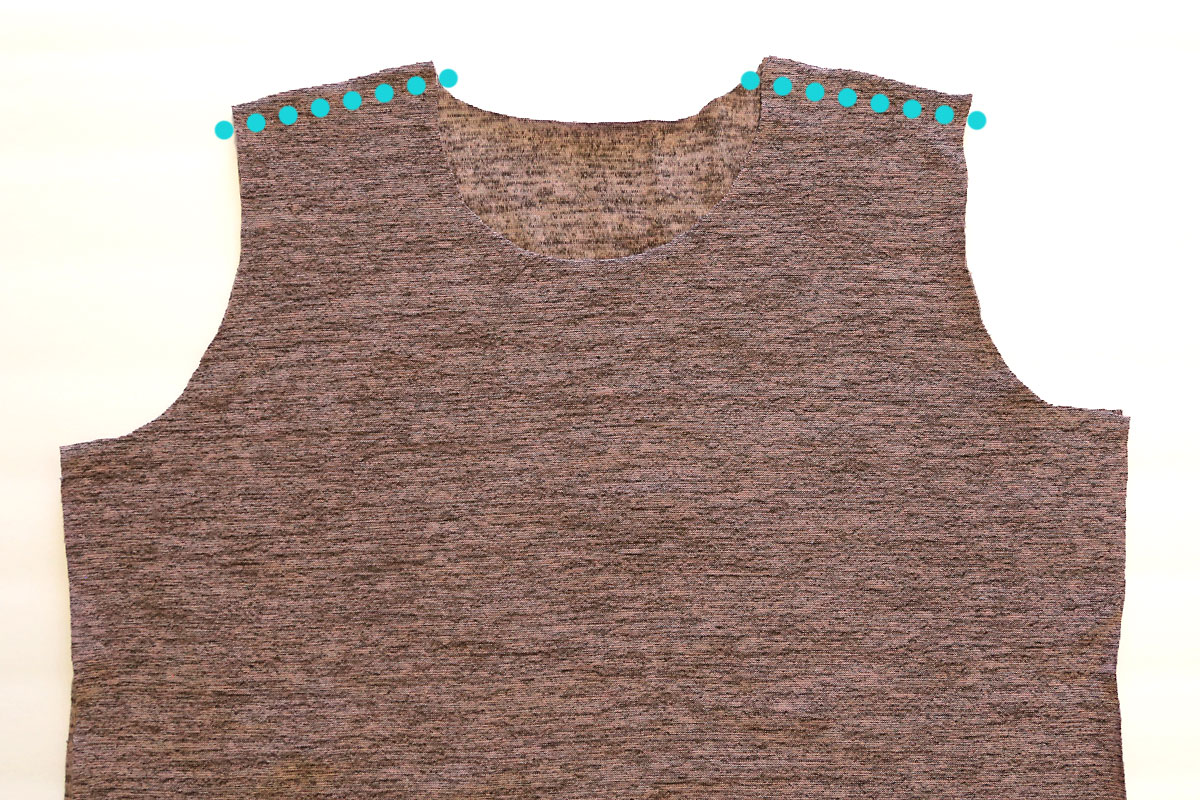
Place the shirt front on top of the shirt back, right sides together. Sew across each shoulder, as shown.
How to Sew Lantern Sleeves
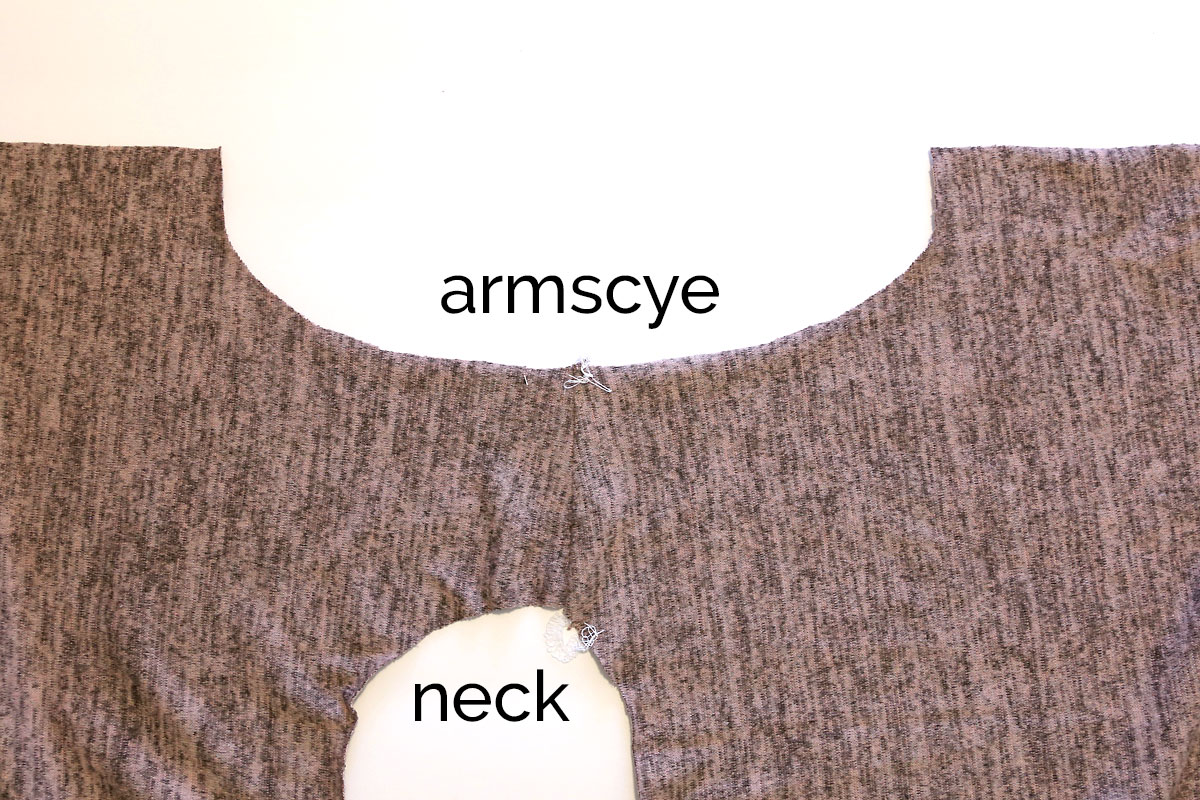
Open up the shirt at the shoulder seams and lay it down flat, right side up. Note where the shoulder seam meets the armscye (curved area where the sleeve will attach).
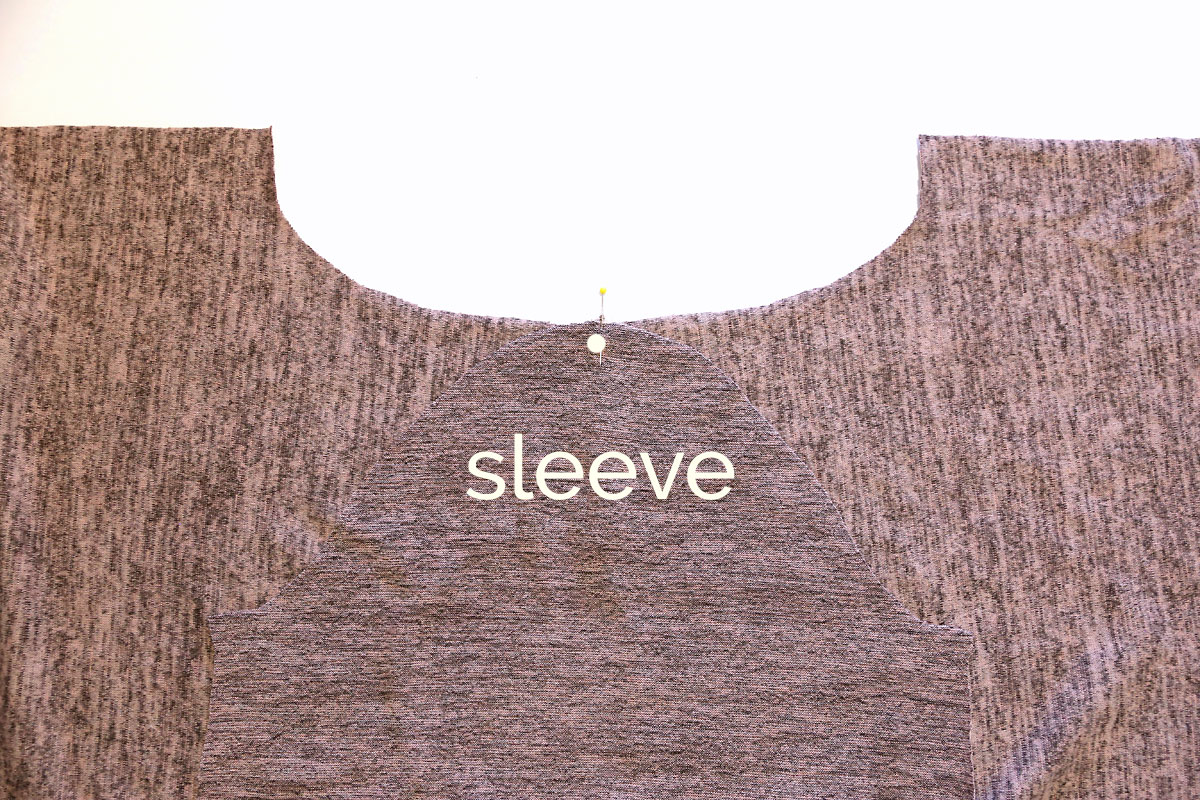
On one sleeve piece, find the center of the top curve. Match it up with the shoulder seam and pin (shown by a white dot on the photo), right sides together.
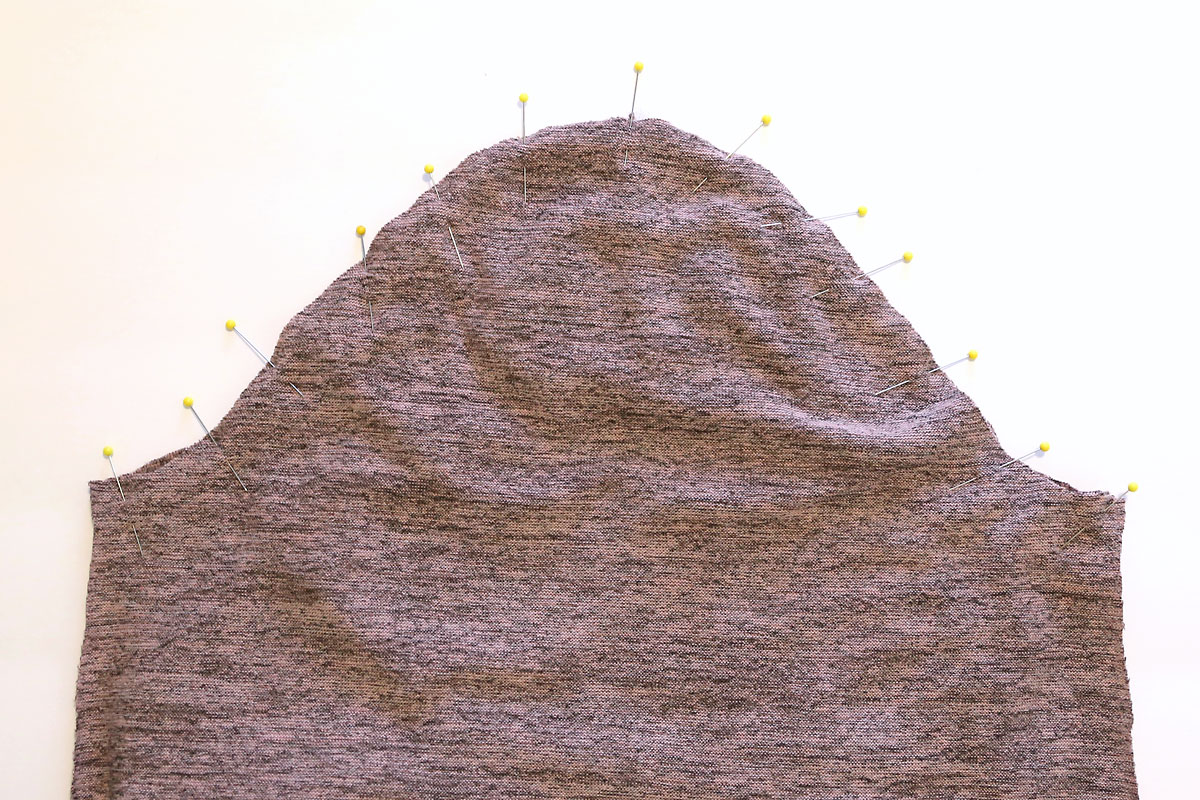
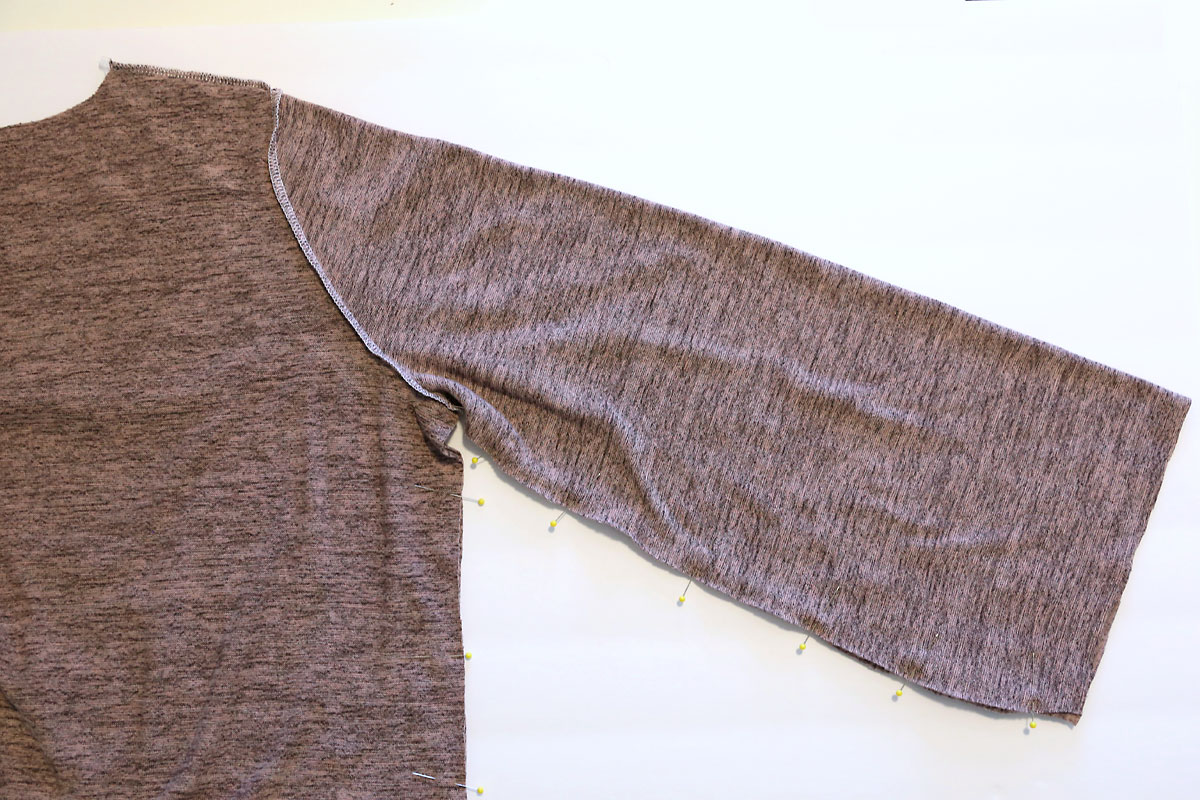
Pin the curve of the sleeve into the curve of the armscye. They curve different ways, so the shirt piece will get bunched up underneath the sleeve as you do this, so use plenty of pins. Sew, using a 1/2 inch seam allowance. Repeat with the other sleeves.
Once both sleeve pieces are sewn in, flip the shirt so the front and back shirt pieces are right sides together. Match up the sides of the sleeves and the side seams of the shirt. Starting at the end of one sleeve, sew up the sleeve, under the arm, and down the side seam. Stretch the fabric slightly as you sew under the arm.
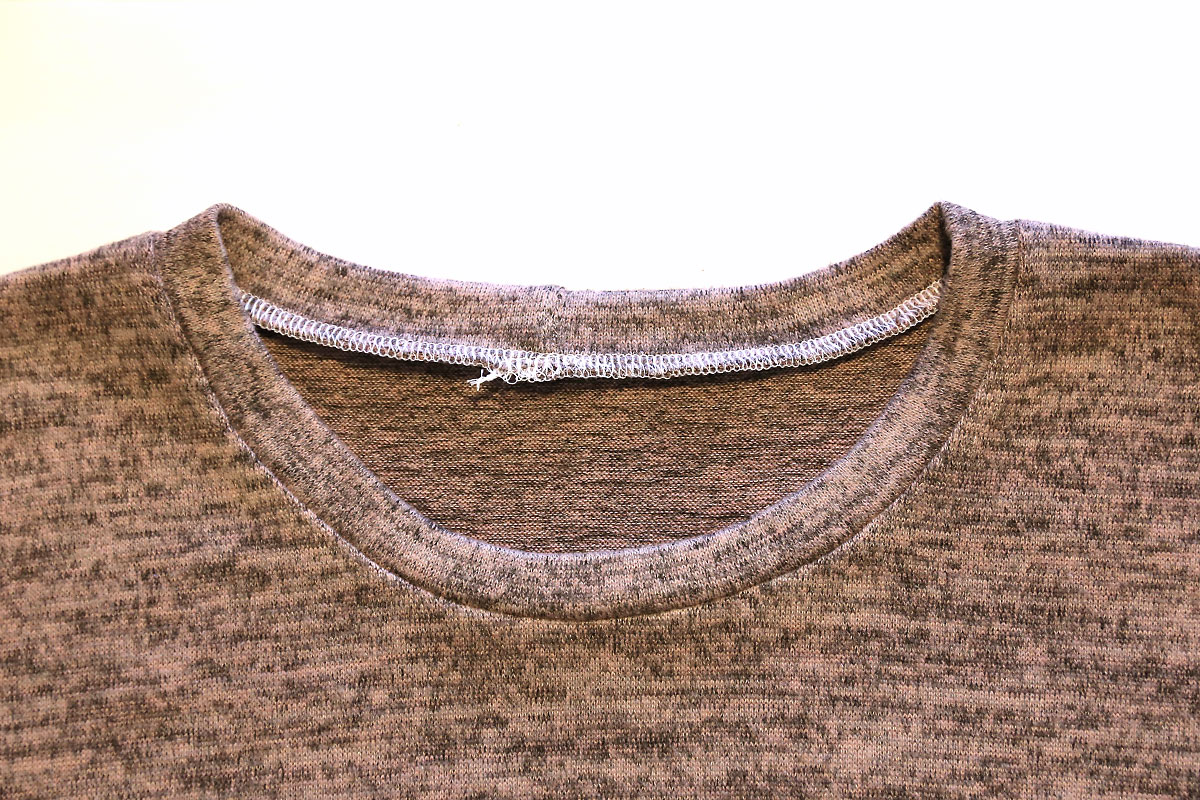
Use the neckbinding piece to finish off the neckline (you will not need the entire length). If you need help binding the neckline, visit this post: How to finish a t-shirt neckline
Add the Sleeve Cuffs
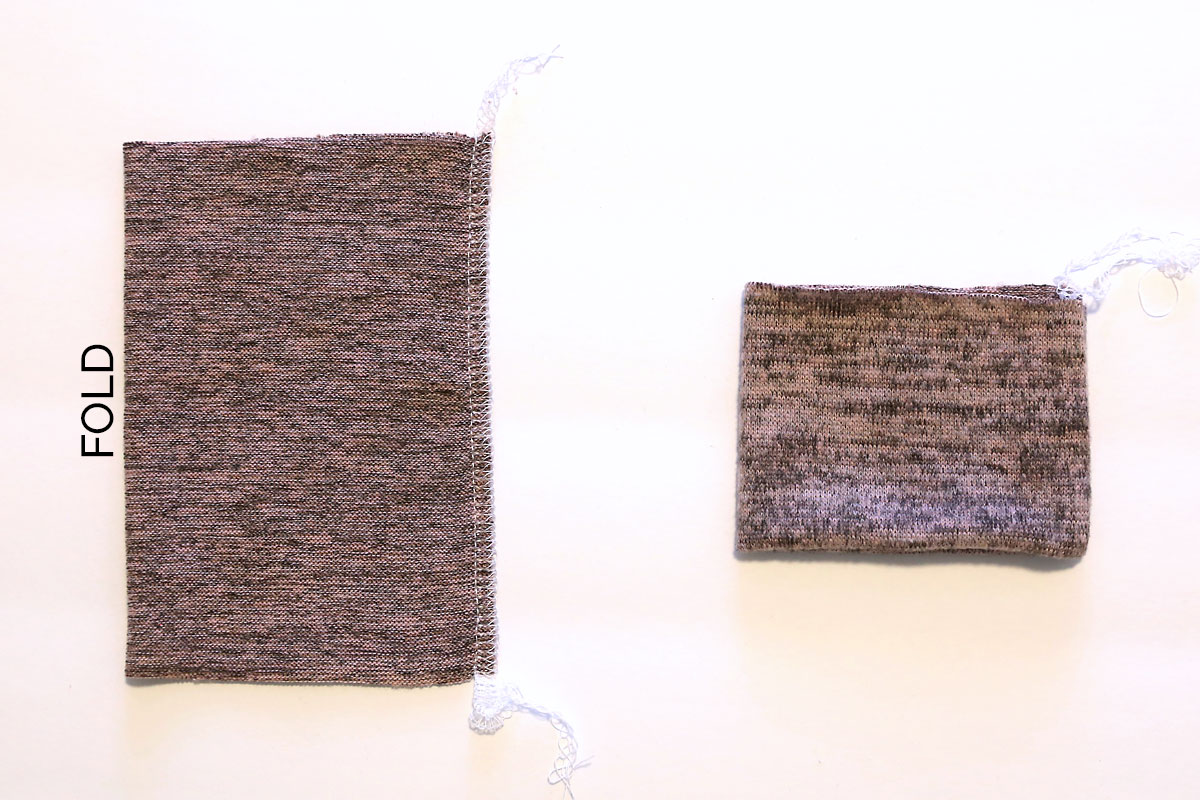
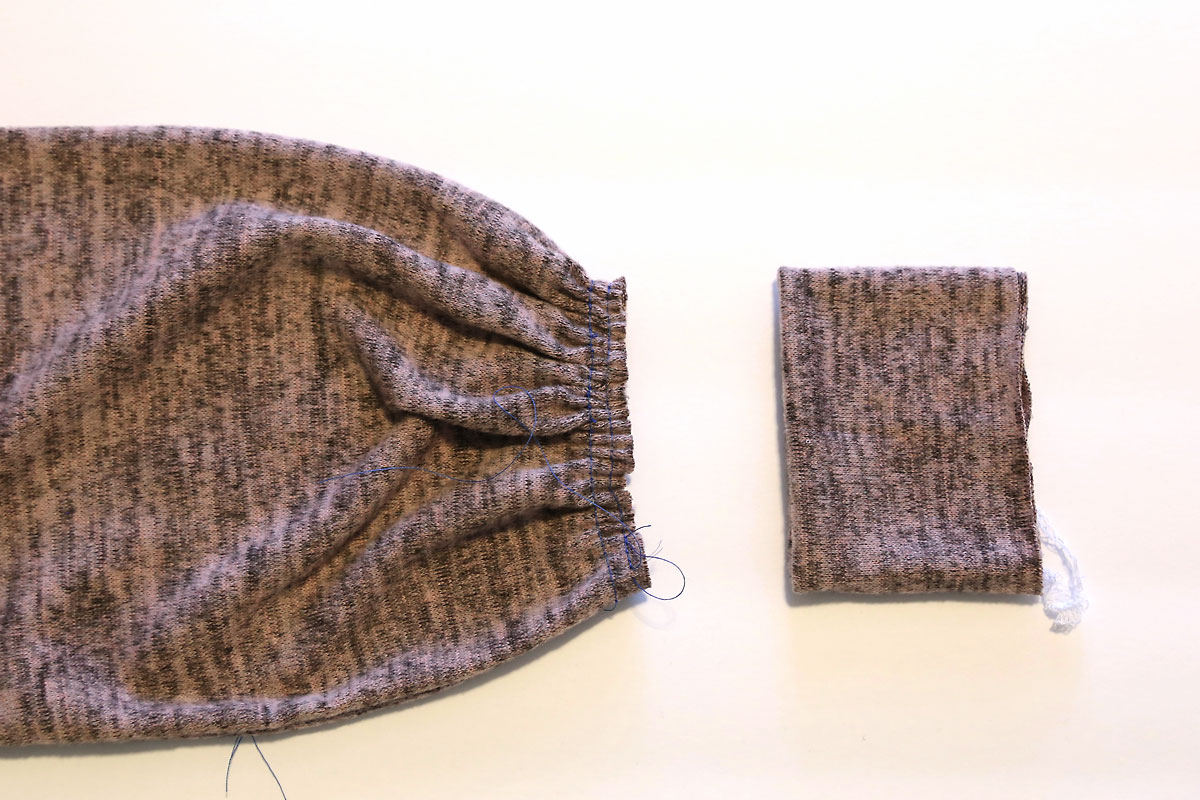
Next we will add the cuffs to the sleeves. Fold each cuff in half so the shorter edges (6 inch) meet, right sides together. Sew. This will create a tall tube. Fold the top half of the tube down, creating a cuff that has the wrong side of the fabric inside and the right side out.
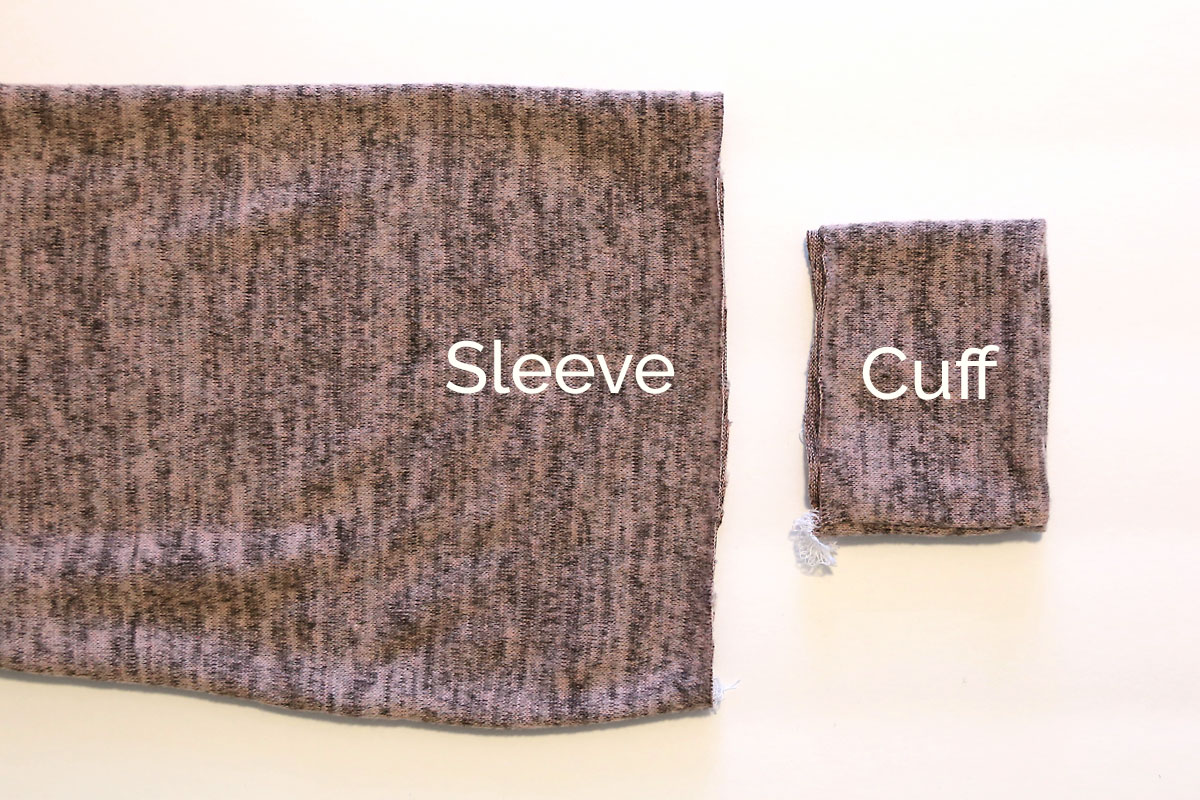
At this point, the cuff is much smaller than the end of the sleeve.
You will gather the sleeve so it fits into the cuff, but first, you’ll want to check the sleeve length. Try on the sweater and slide the cuff onto your wrist. Tuck the sleeve into the cuff, checking to see if you like the way the sleeve blouses or if you’d like to shorten the sleeve slightly. Trim sleeve if desired.
Sew two rows of gathering stitches around the edge of each sleeve. Pull on the bobbin stitches to gather the sleeve edge until it is the same size as the sleeve cuff.
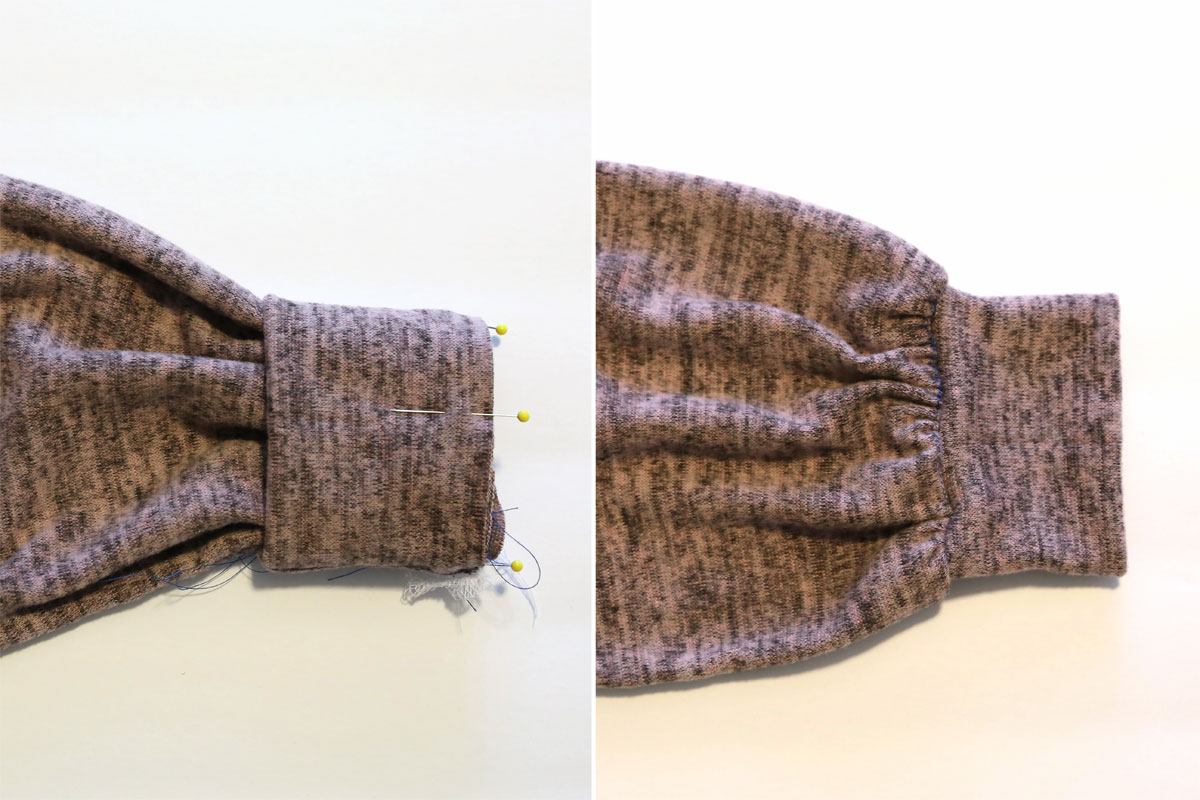
Slide the sleeve cuff over the sleeve (folded edge of cuff first) and match the raw edges of the cuff and sleeve. Pin well, and sew with a stitch that will stretch. Then flip the cuff back out and remove any visible gathering stitches. The sleeves are now complete.
Finish with a Hem or Hem Band
If you’d like a cropped sweater, you can fold up the bottom edge and hem with a stitch that will stretch. Or add a hem band.
If you would like the hem band to be tighter than the bottom of the sweater, to create a bloused look (like a sweatshirt), you’ll want to shorten the hem band piece now. I cut about 4 inches off from the length of my hem band, but I don’t actually love how it looks. If you do not shorten your hem band, it will be roughly the same width as the bottom of your sweater and will not cinch it in at all.
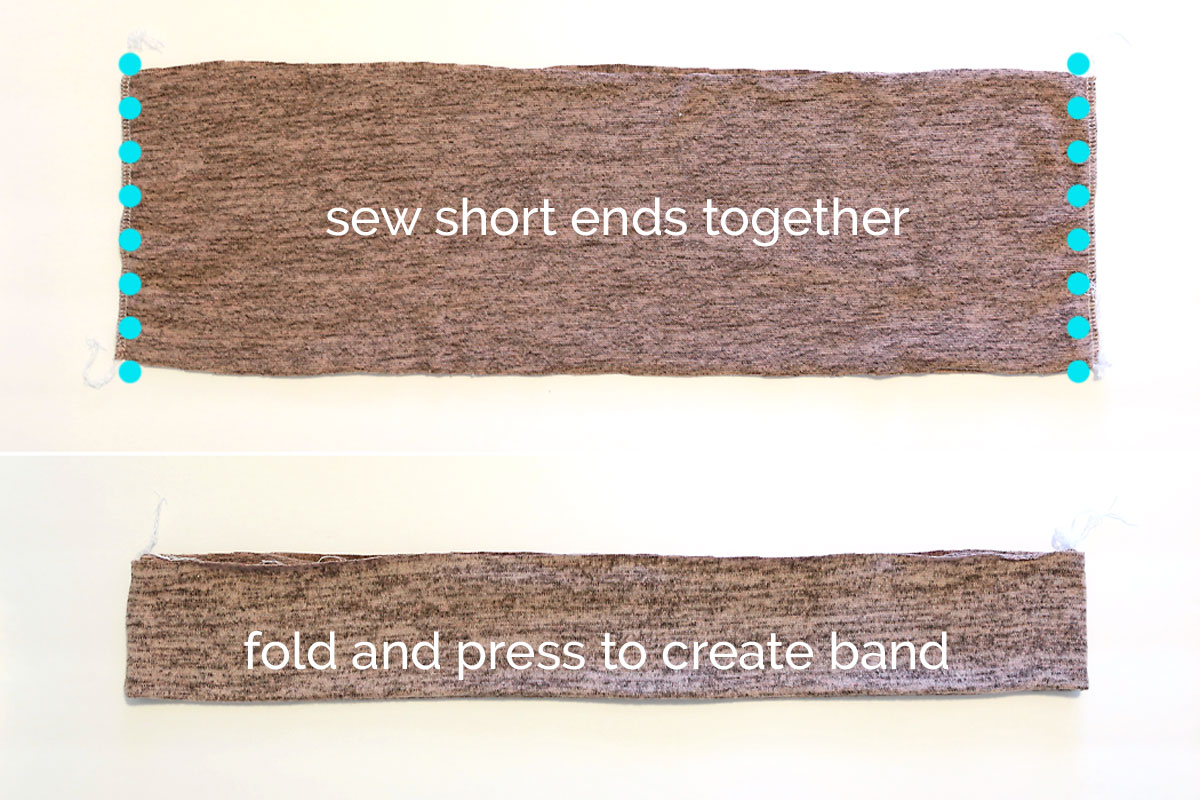
Place the hem band pieces right sides together. Sew the short ends together to create a loop. Fold the loop down from the top to create a band that has the wrong side of the fabric in and the right side of the fabric out. Press.
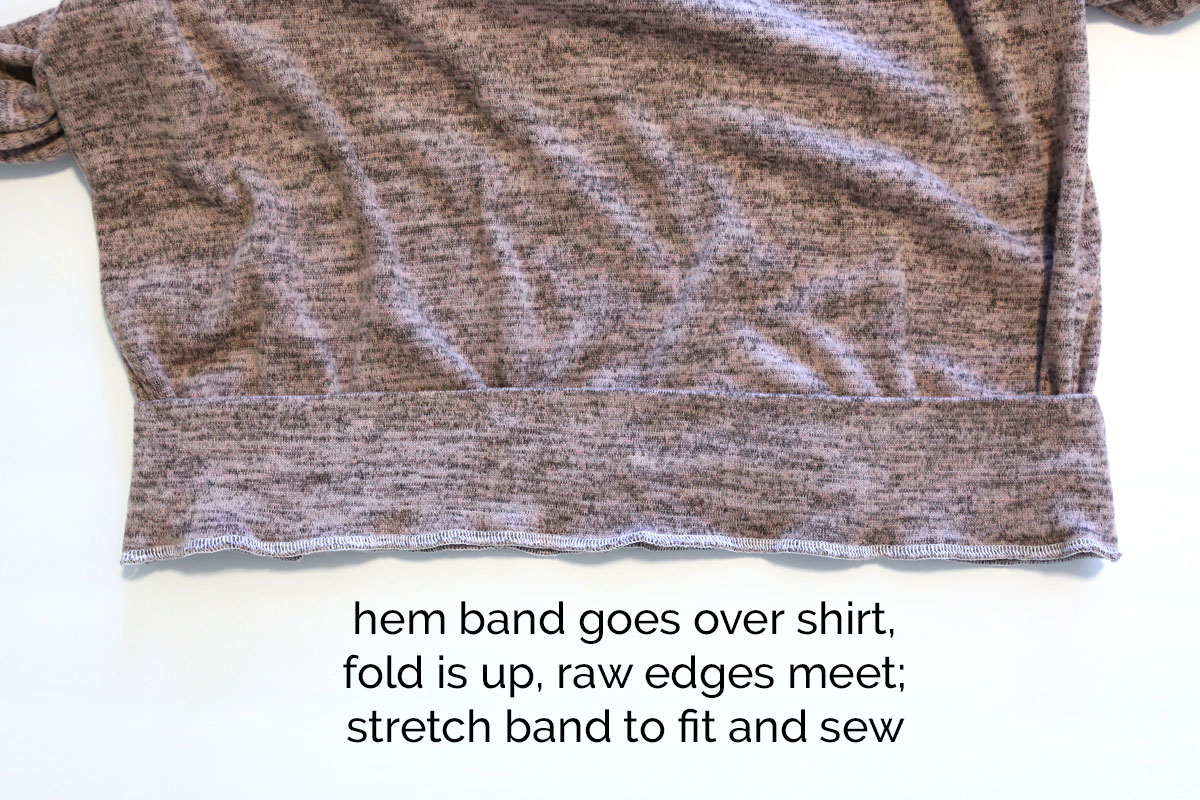
Place the hem band over the bottom of the shirt, matching up raw edges. Sew the band to the shirt, stretching the band if necessary to fit.
Fold the band down and press well. Your lantern sleeve sweater is complete.



Kathy says
Thanks so much for this cute pattern,
Your instructions are so easy to understand.
I see myself making many of these, as I love loose fitting comfortable tops.
Kimberly Hashagen says
Can this be made with a woven material ?
Sarah Battyll says
Fabulous pattern, thank you so much – I love the fact your patterns are printed across so little sheets of paper 5 star in my opinion. I found this pattern, printed it and managed with some adjustments to squeeze a fantastic jumper out of 1m x 1.7m of fabric! fortunately my arms and body are a bit shorter than yours!! Start to finish approx 3 hours – BRILLIANT
Katika says
I made this sweater today…but it ended up a 3/4 sleeve because I didn’t have enough material but I made but more as a trial to see how it works and in the end make a dress but before cutting my nice good fabric I made this as a test …. I will most definitely be using this as the top of my dress and most certainly he making more of these…. I LOVE IT!!! It’s easy and so comfy!
Cinthya says
Where did you got the fabric? looks very soft.