
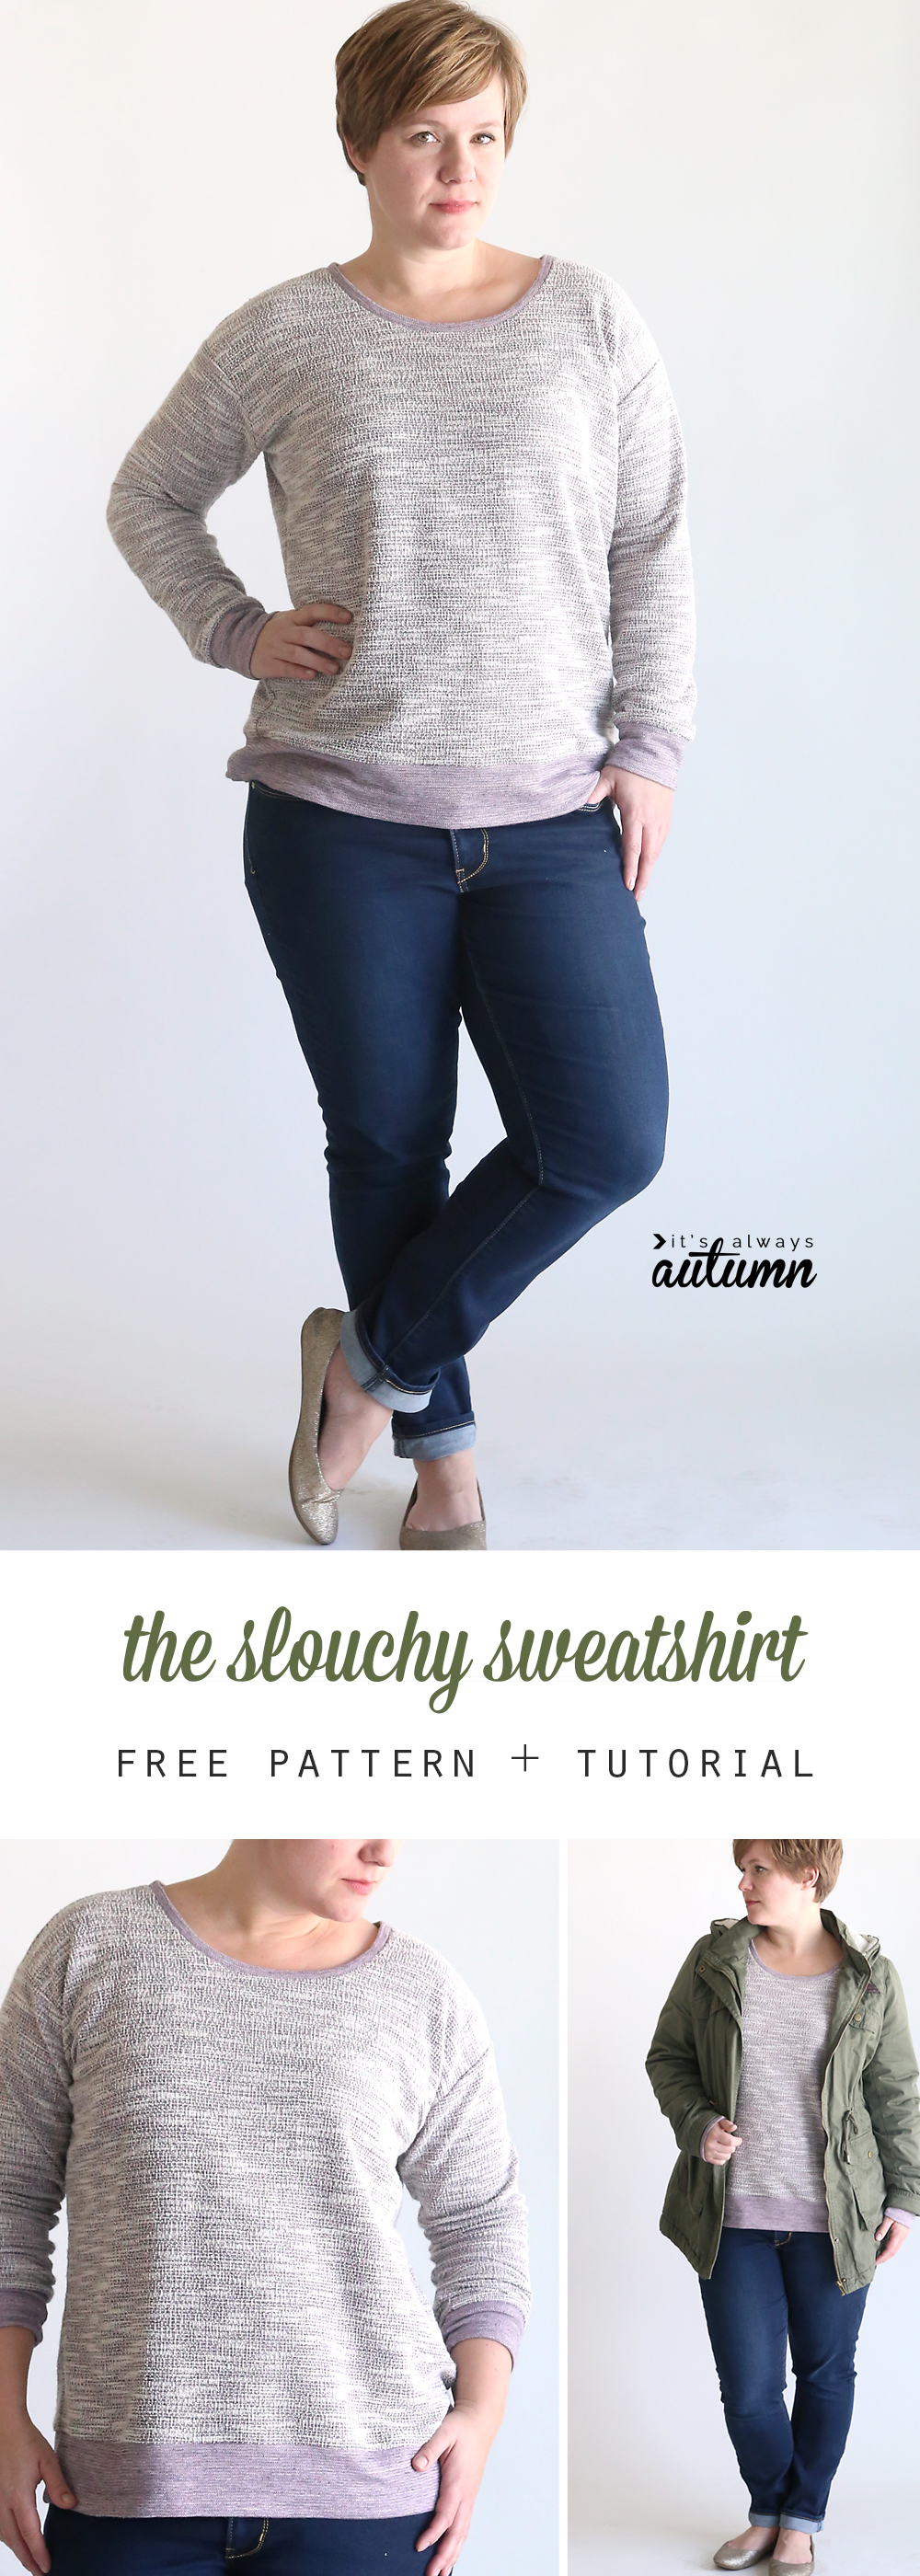
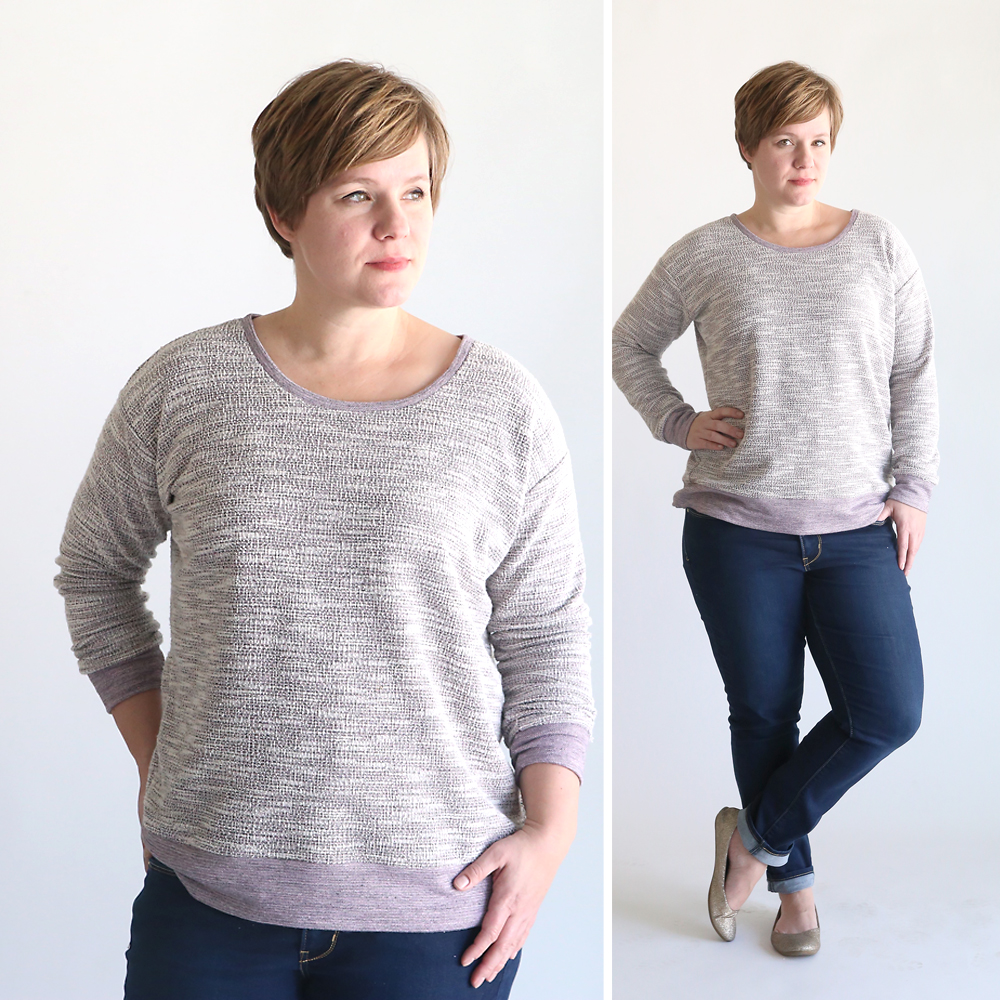
I have a hard time with my wardrobe this time of year because I’m tired of all those fall/winter clothes I pulled out way back in September, but we’re still months away from being able to wear all my spring/summer clothes. Plus with the continuing cold gray days, I just really want to snuggle up in something comfy anyway. I bought a lightweight slouchy sweatshirt at the GAP a while back and have been wearing it days in a row, so I decided to make a pattern from it. New slouchy sweatshirt for me, new free pattern for you.
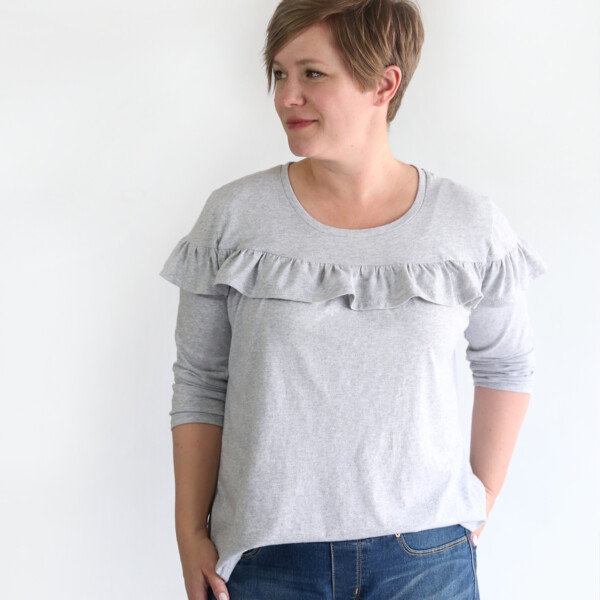
One more comfy top to get me through the next few months until it warms up around here. (If you live someplace where it’s warm already your probably shouldn’t tell me about it. #jealous.)
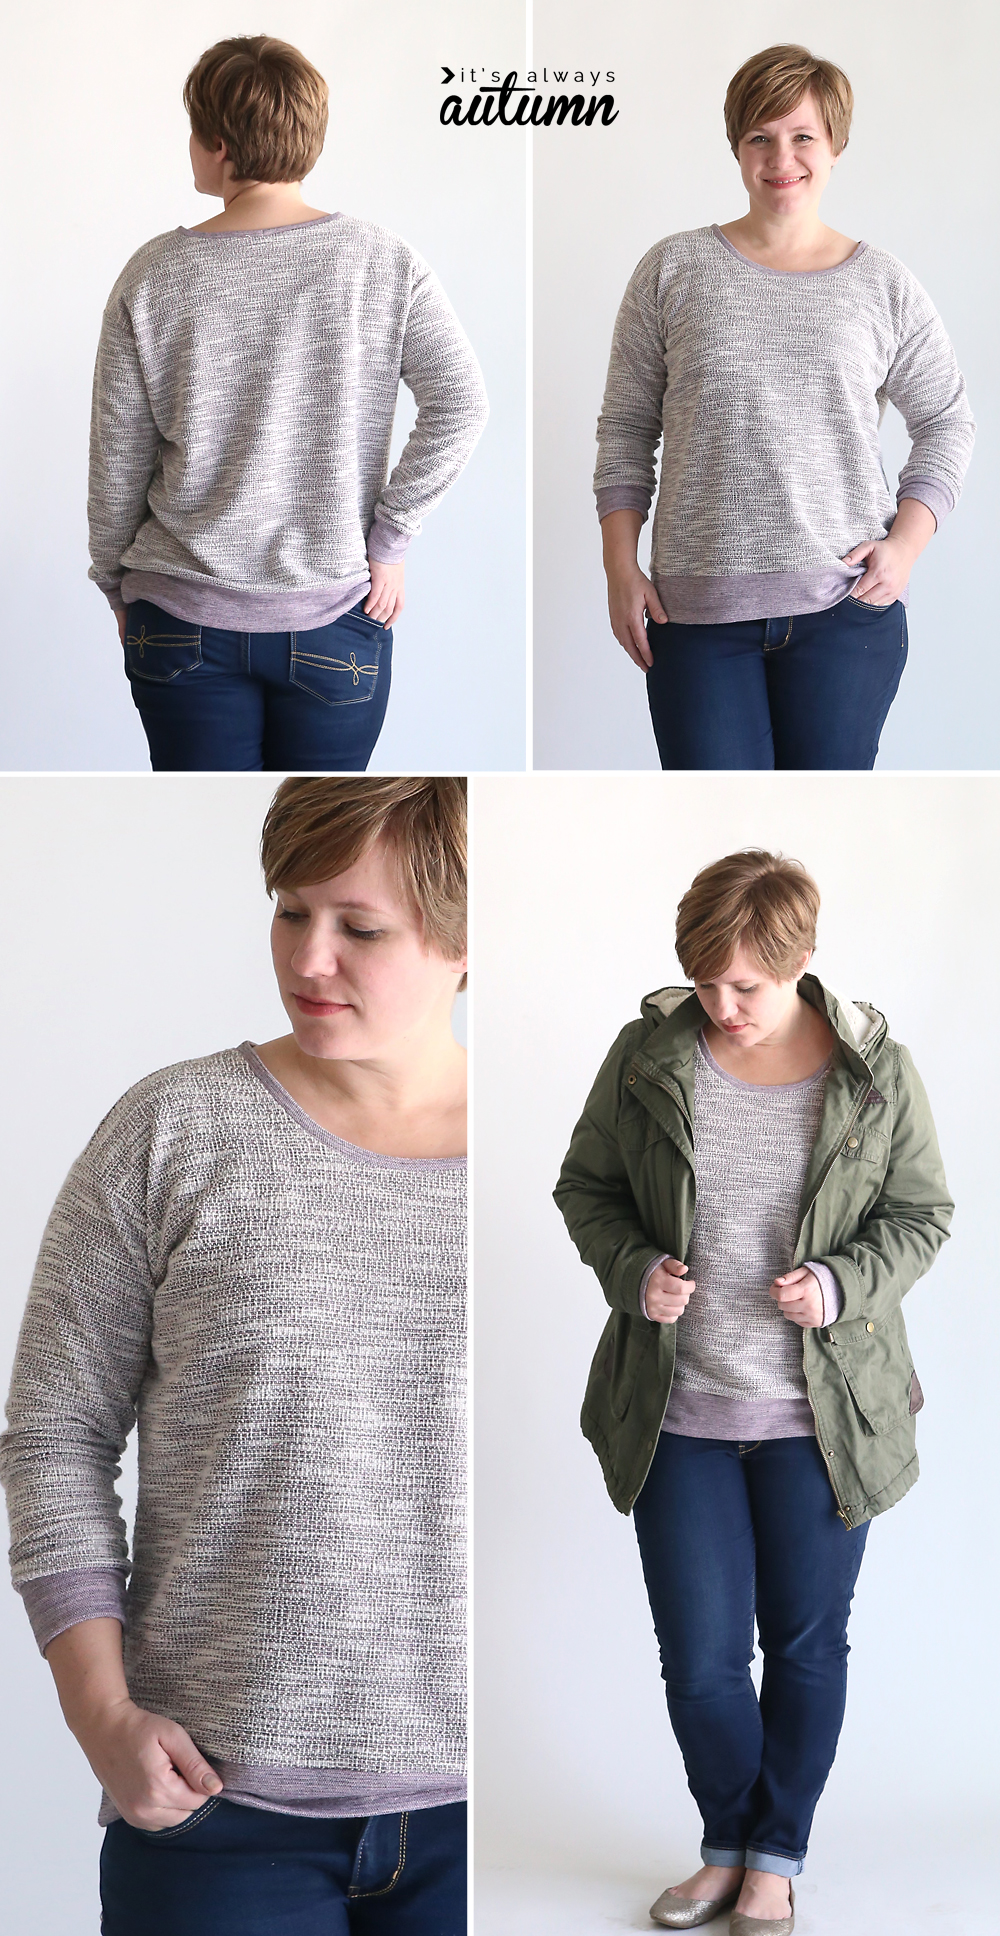
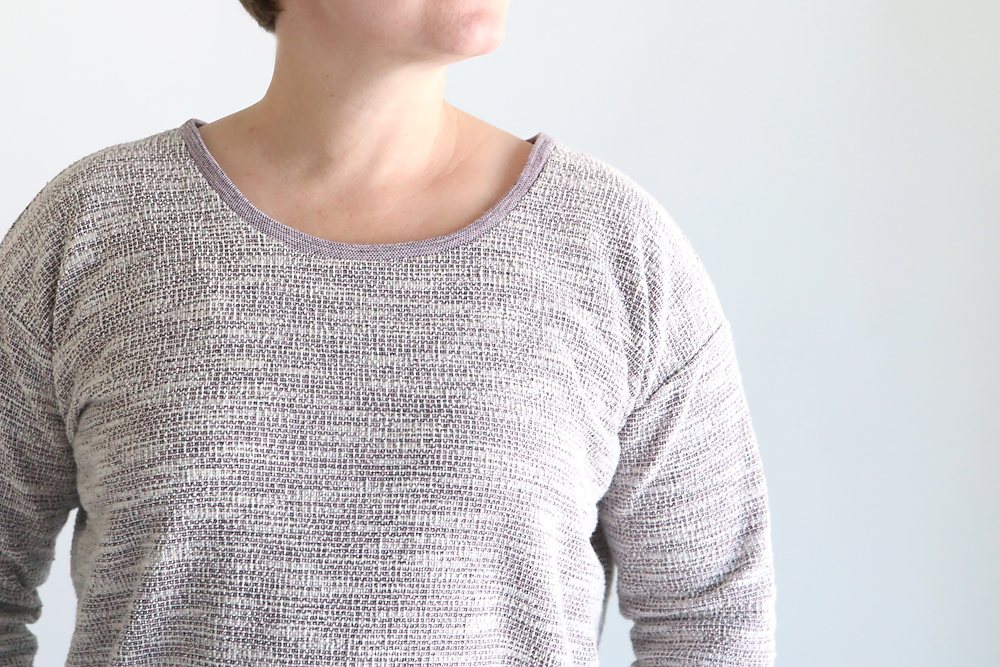
Like all my other patterns, this one is available in size large. It’s meant to be fairly roomy which makes it easy to wear even on days when you’ve eaten a little too much ice cream (so that’s every day for some of us). It has a slight dropped shoulder and is finished with sleeve cuffs and a hem band.
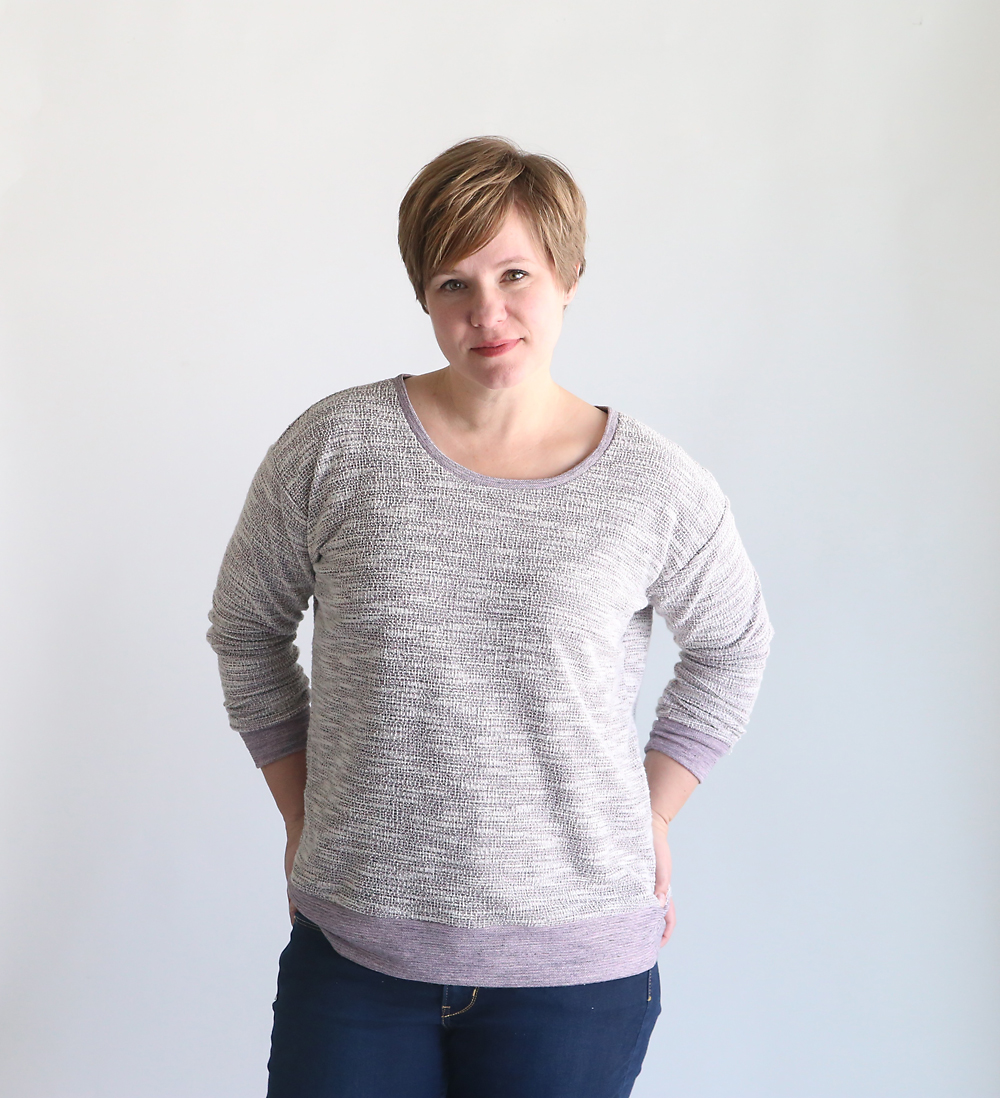
You’ll want to use a lightweight sweater or sweatshirt fabric that has stretch and drape. That means you’ll want to avoid actual sweatshirt fleece, because it’s usually too heavy and not stretchy enough. A french terry would be PERFECT. I found this boucle knit at Jo-Ann Fabrics, and I used the wrong side of it to add contrast to the cuffs, hem, and neckbinding. You will need 2 yards of fabric for this pattern, and you should prewash and dry it. 1/2 inch seam allowance is included in the pattern.
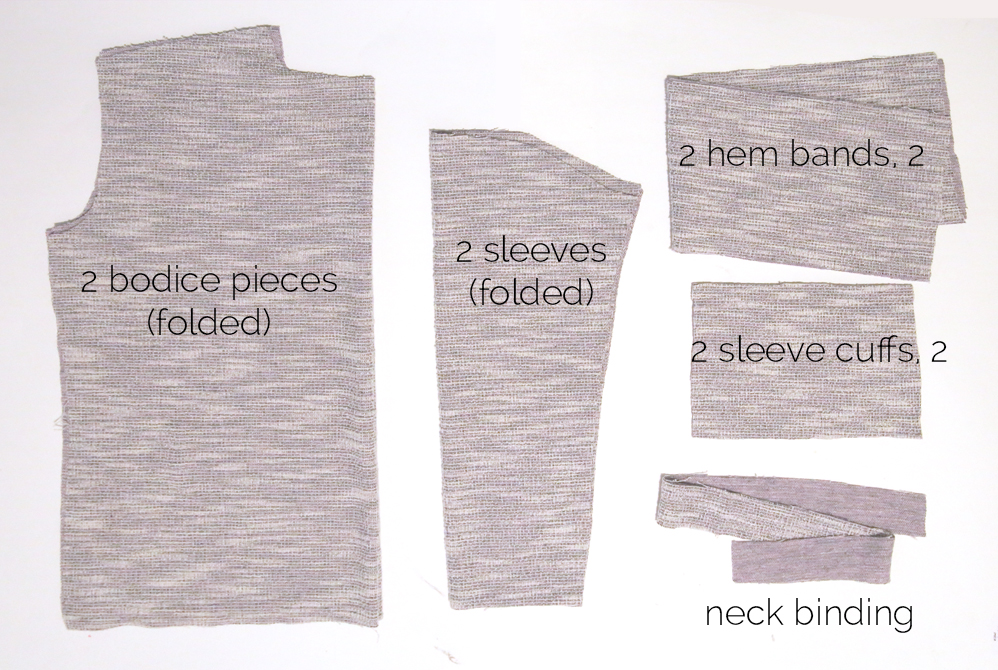
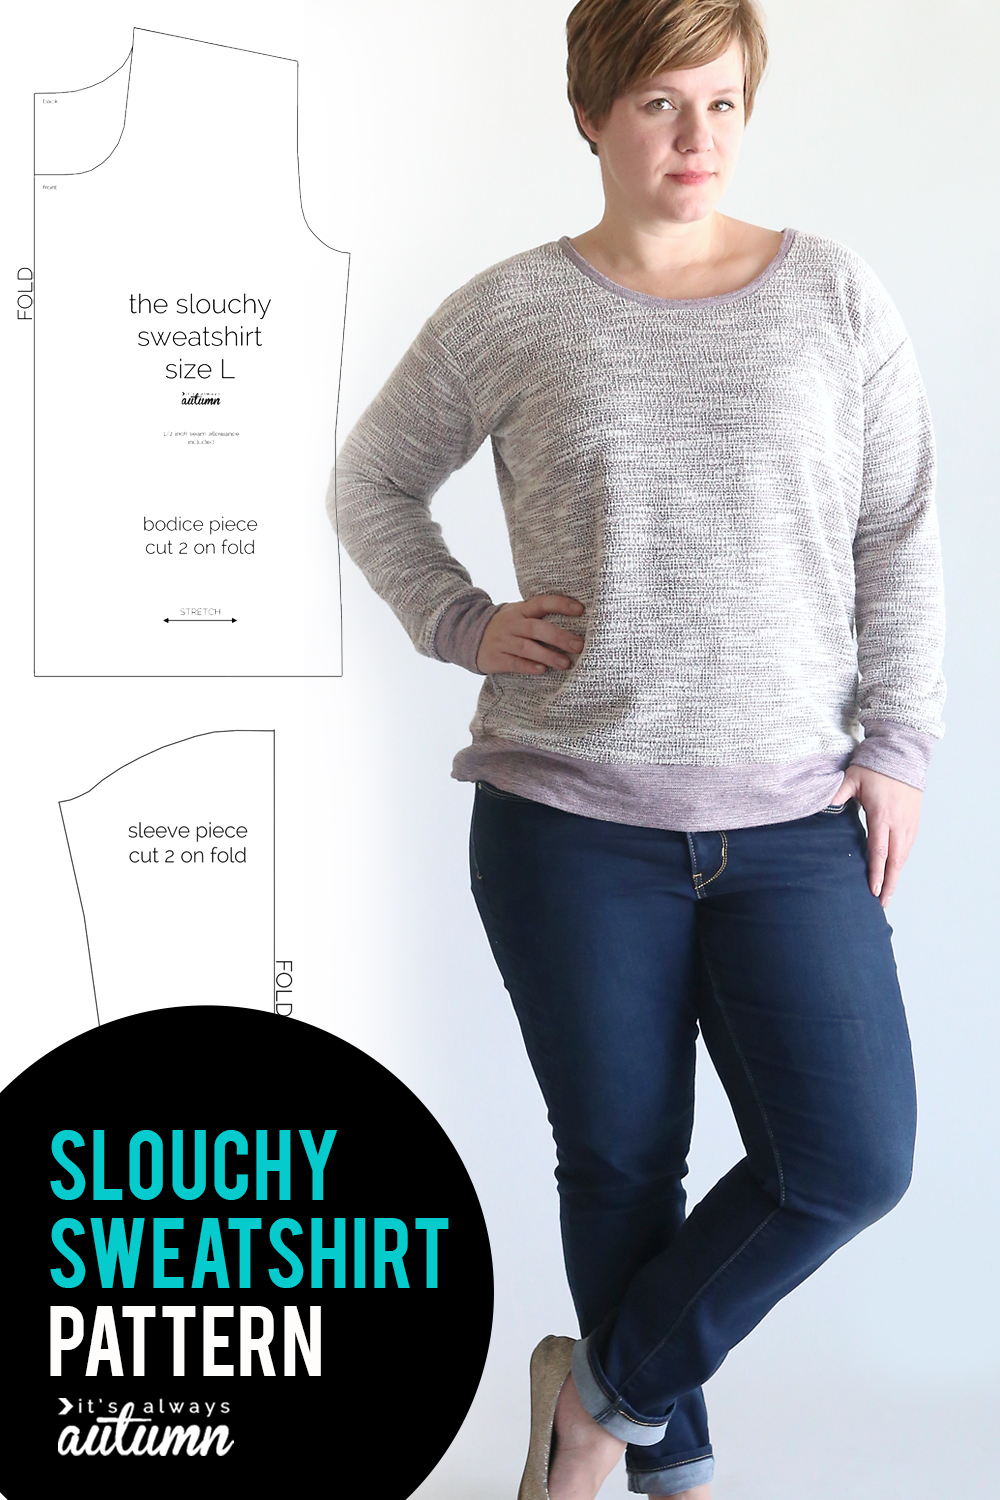
Click here to download the Slouchy Sweatshirt pattern in size large. The pattern prints on 6 sheets of 8.5×11 paper. Be sure to print it out at 100% or full size. The test box on page 6 should measure exactly 1 inch square. Butt the pages up against one another and tape them together (no overlapping). This is what the pattern looks like:
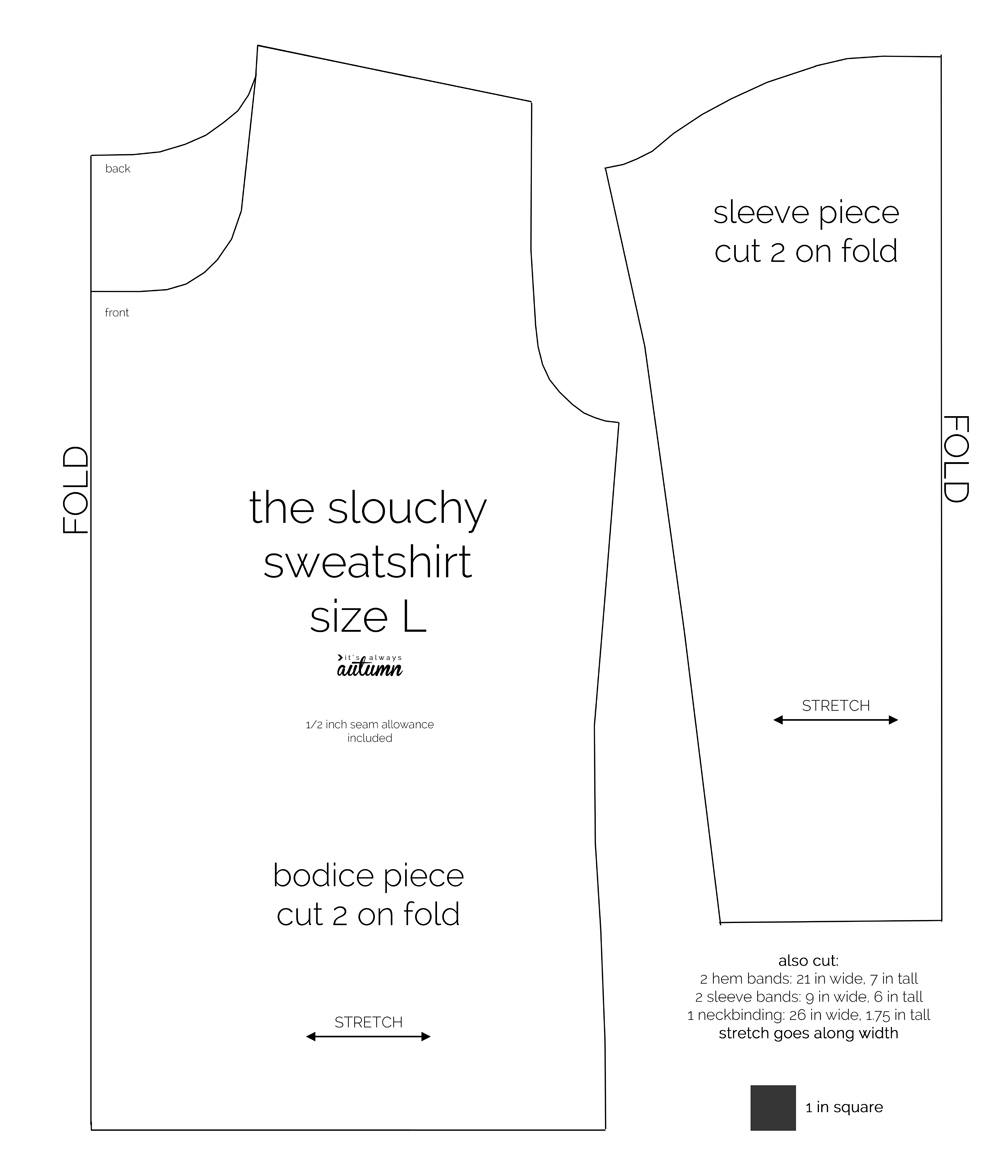
You’ll need to cut two bodice pieces on the fold, one with a front neckline and one with a back neckline. You also need two sleeve pieces, also on the fold. Finally, you need to cut three more pieces as directed on the pattern:
- 2 hem bands cut at 21 inches wide and 7 inches tall
- 2 sleeve bands cut at 9 inches wide and 6 inches tall
- 1 neck binding cut at 26 inches wide and 1.75 inches tall
Make sure the stretch is going along the width of all these pieces.
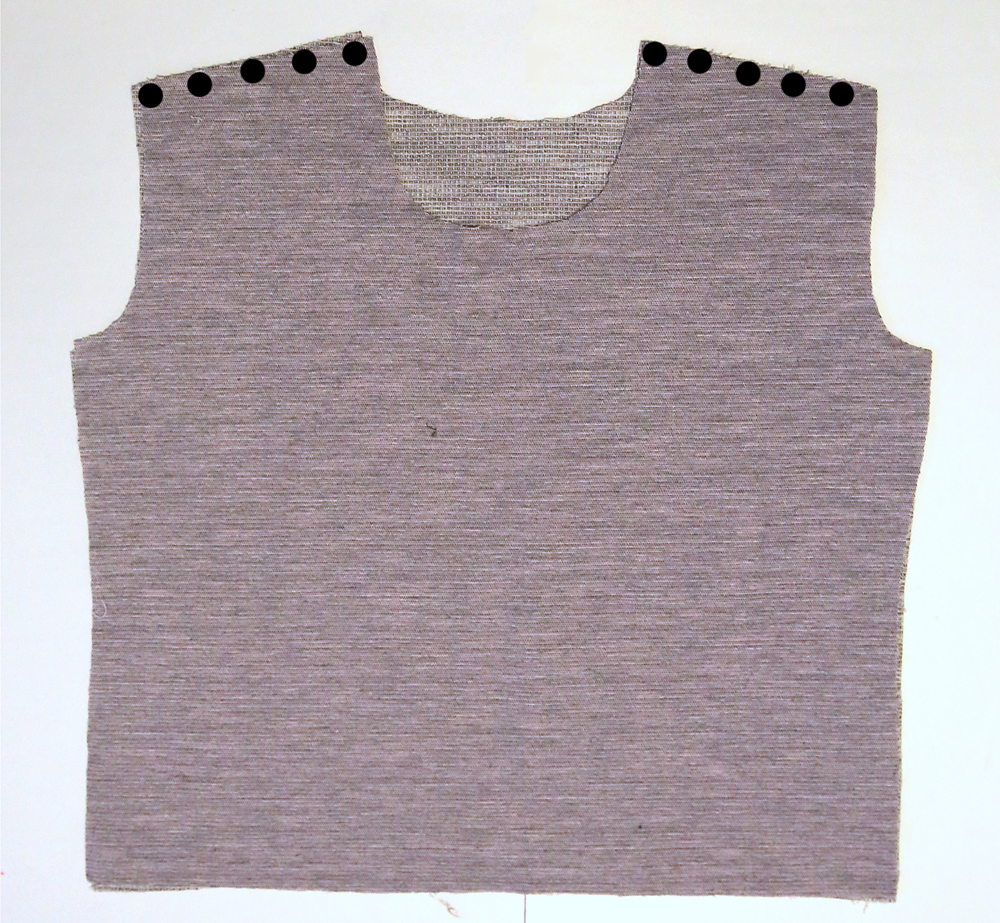
Sewing the shirt together is simple. Start by placing the front on top of the back, right sides together, and sew across the shoulders as shown below.
Next, open up the shirt and lay it down flat.
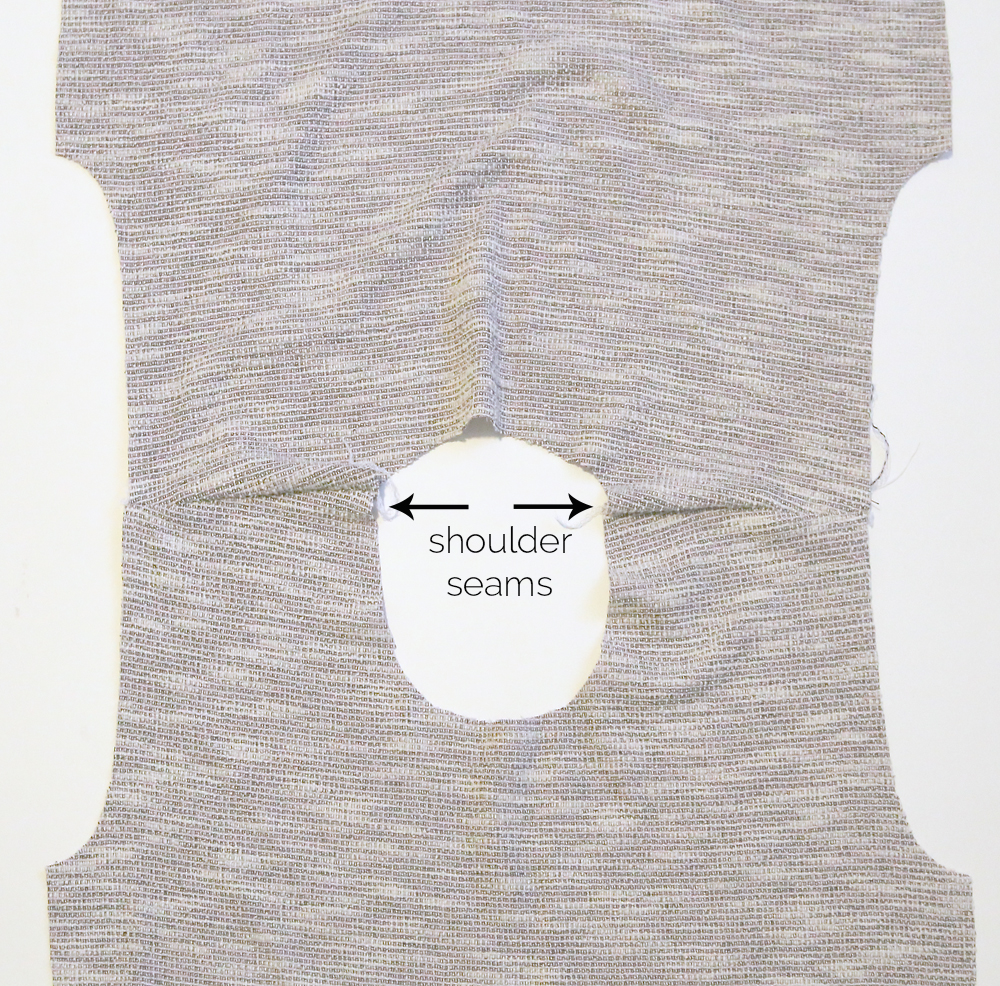
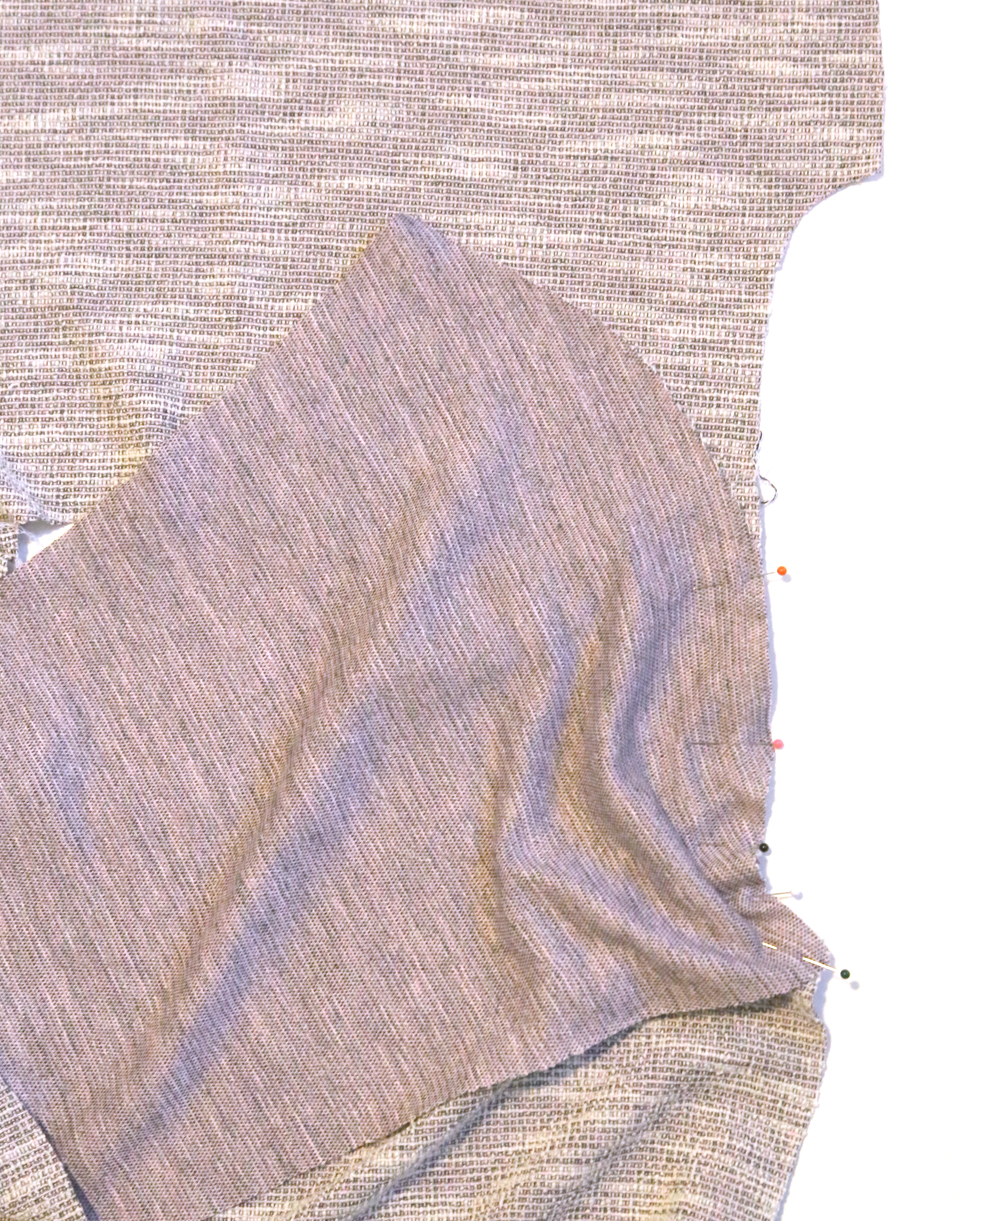
Grab one of the sleeves and line the middle of the top curve of the sleeve up with the one of the shoulder seams. Pin.
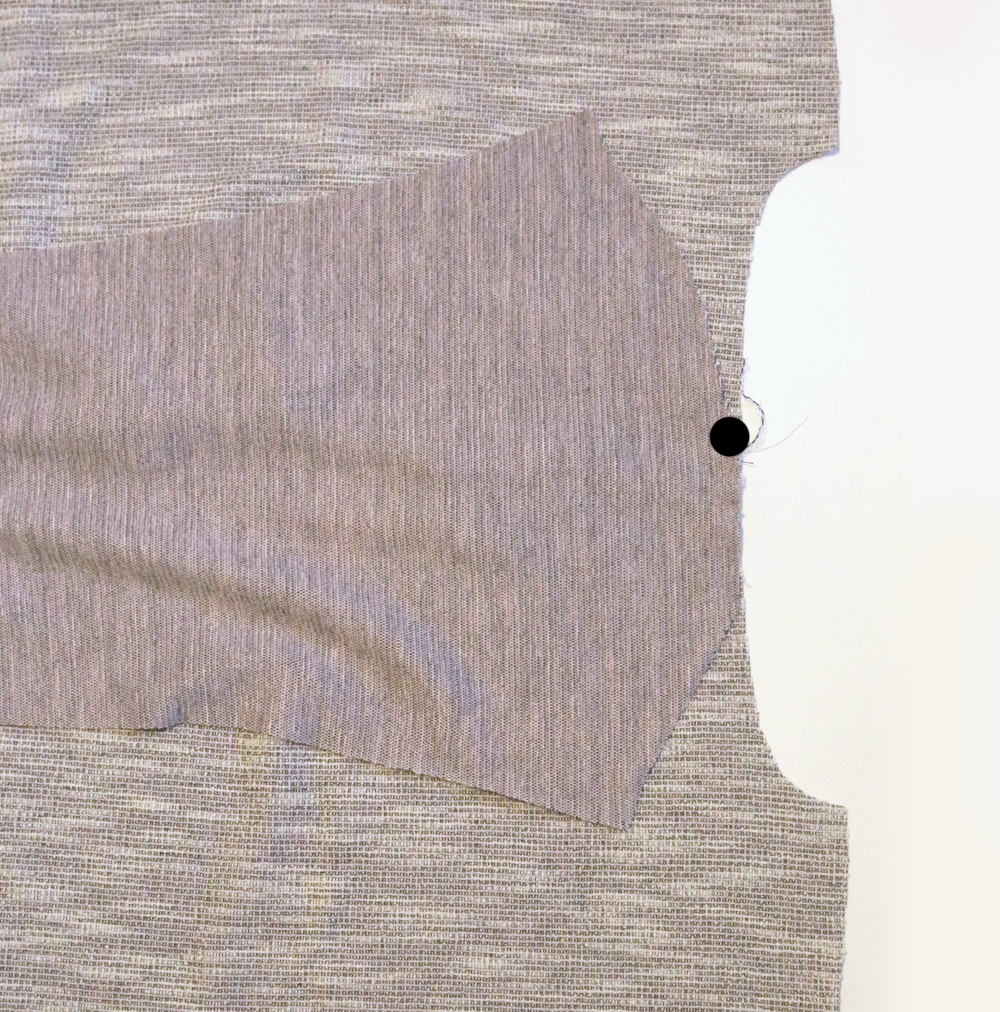
Pin the rest of the sleeve onto the shirt, working from the middle out as shown below. Continue to pin the other side of the sleeve to the shirt as well. Sew.
Repeat with the other sleeve.
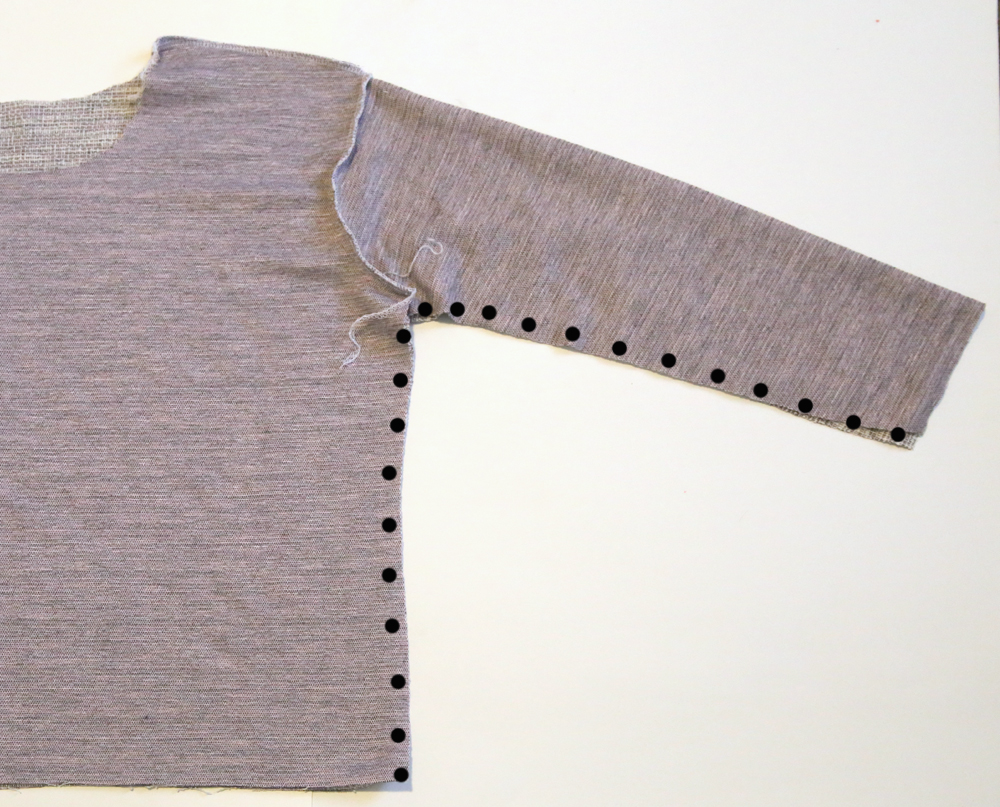
Place the front and back of the shirt right sides together again, and sew the side seams, starting under the arm and going all the way down the side. I like to give the shirt a bit of a stretch as I sew the curve under the arm just to make sure the seam won’t pop when the shirt is worn.
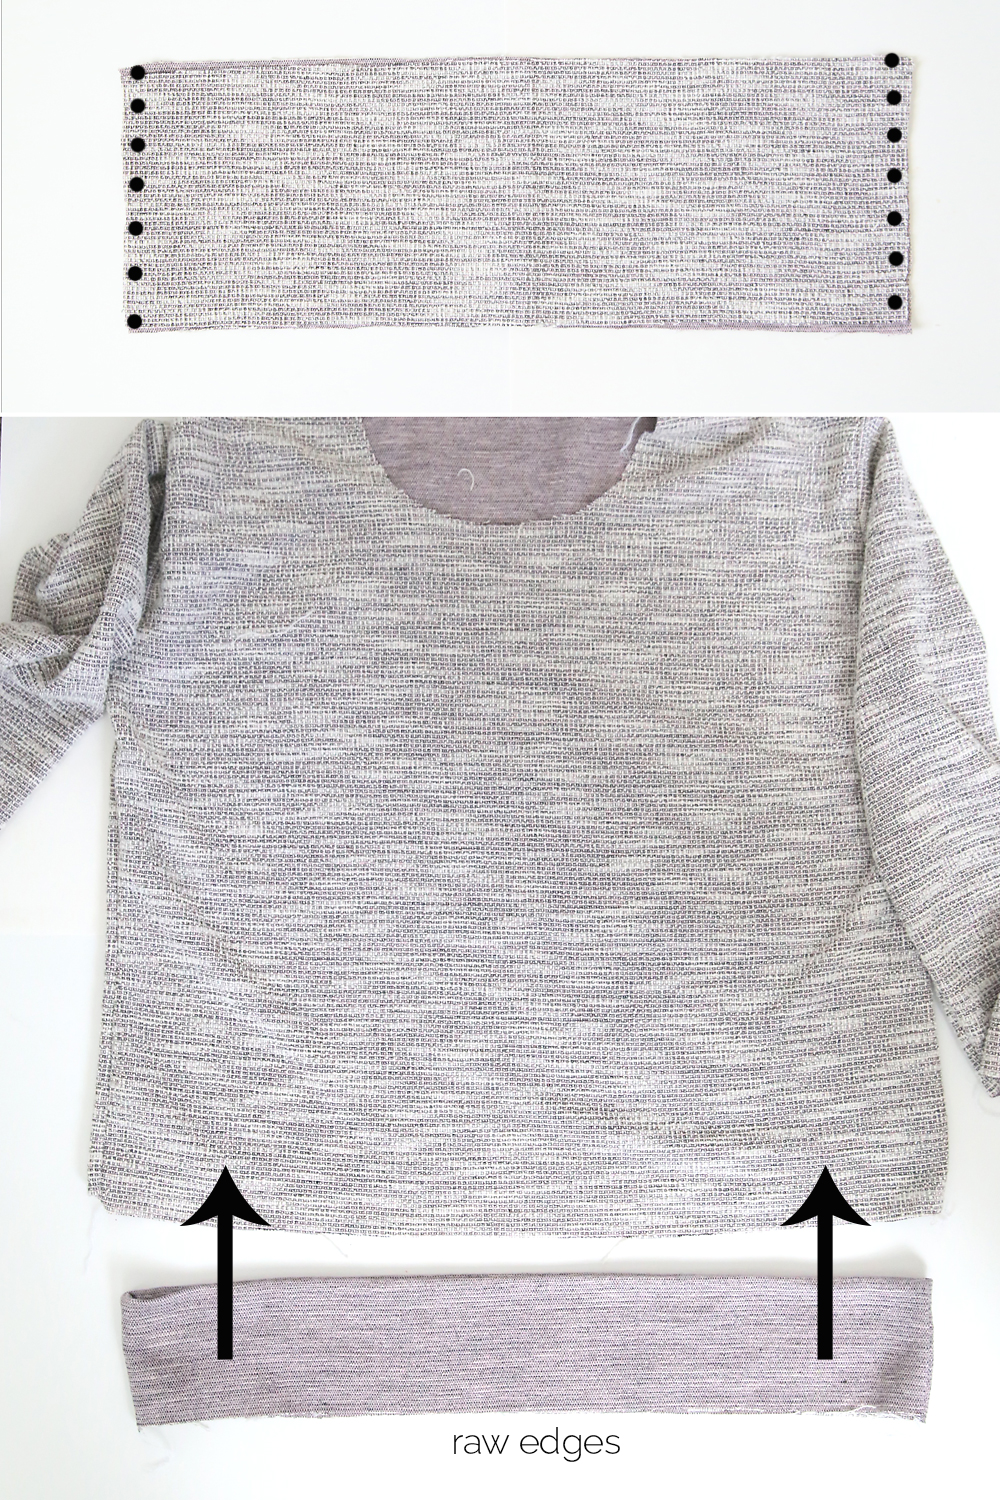
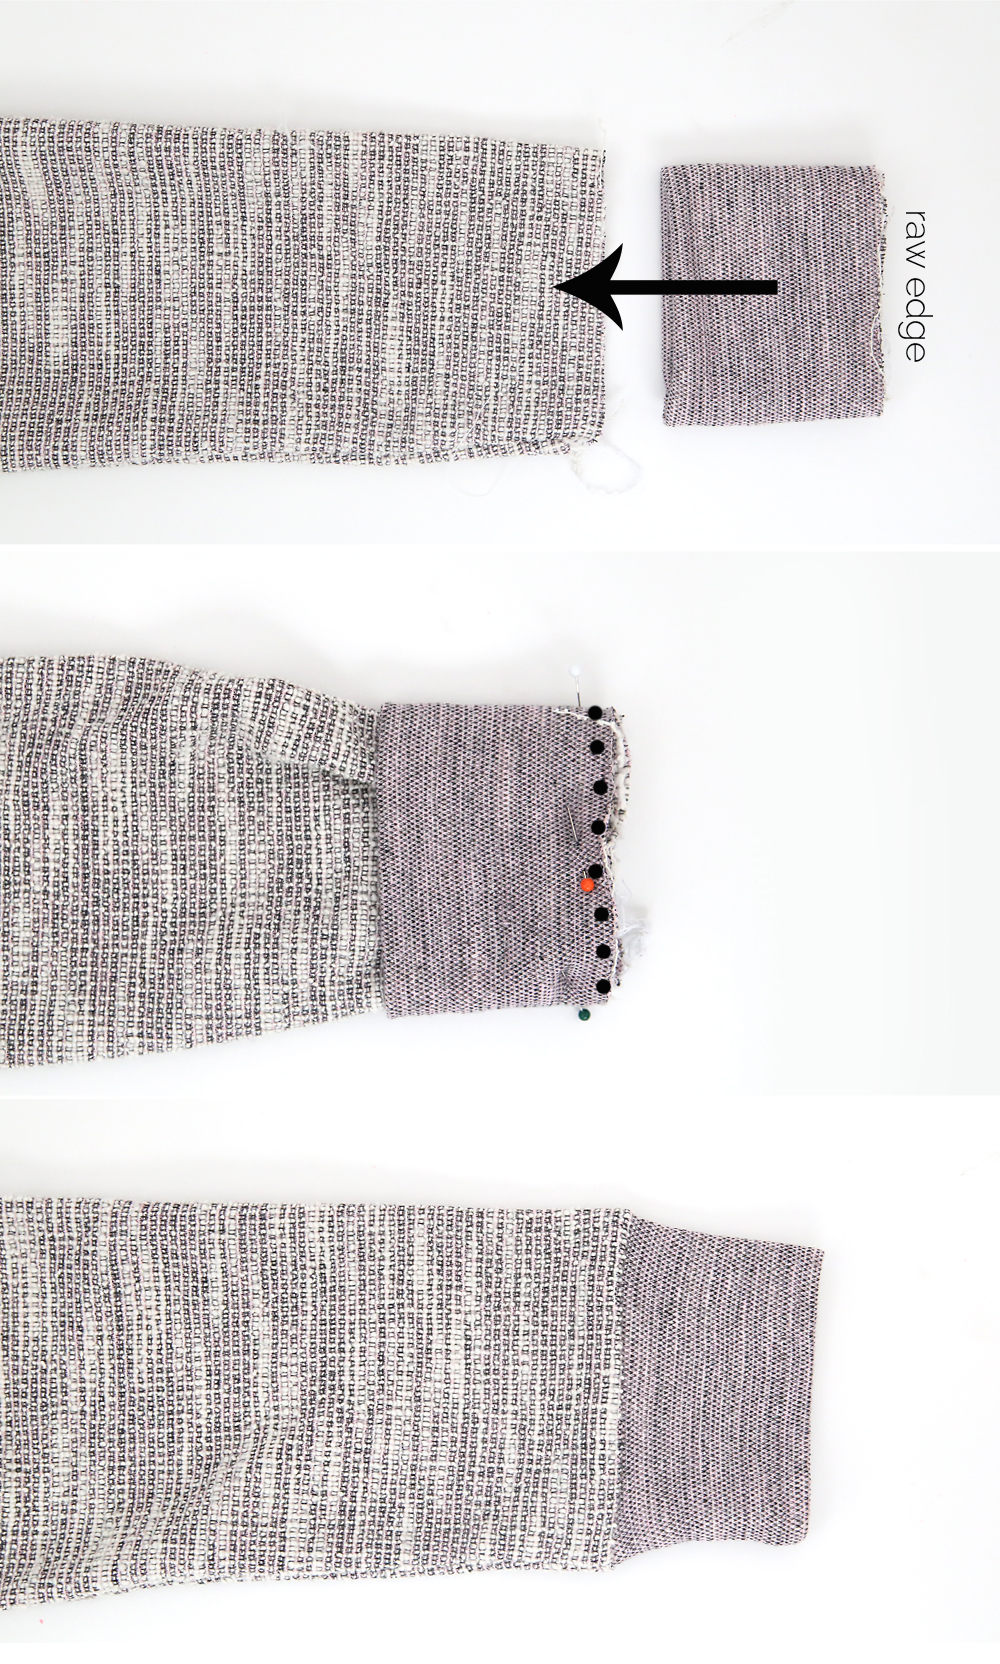
Next you’ll add the hem band. Lay the two hem band pieces RST and sew along the short ends as shown in the first photo below. (I actually laid my pieces wrong sides together because I wanted the wrong side of the fabric to show on all the bands).
Fold the hem band in half lengthwise and press. It will look like what you see in the second photo below.
Slide the hem band over the bottom of the sweatshirt, matching up the raw edges. The hem band will be just a little bit smaller than the bottom of the sweatshirt. Match up the side seams and pin, then pin it the rest of the way around. Sew the hem band onto the sweatshirt, stretching it just slightly to fit. Use a zigzag, serge stitch, or other stitch that stretches.
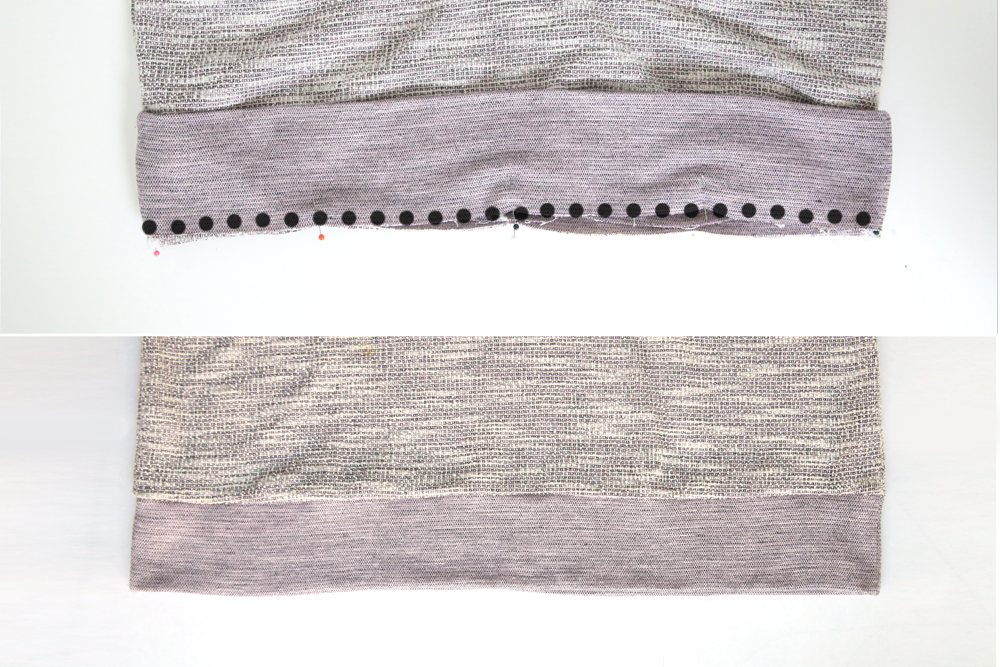
Then you can flip the hem band down and iron flat, as you see above.
You’ll add sleeve cuffs using the same method. Fold one sleeve cuff in half to match the short ends, right sides together. Sew to create a circle of fabric. Fold it in half lengthwise to create a cuff. At this point, you’ll want to try the cuff on your wrist and determine if you want it any tighter. If you do, open it back up and take it in.
Lay the shirt down flat, right side out (1st photo below). Slide the sleeve cuff over the sleeve portion of the shirt, matching all the raw edges. Pin and sew (2nd photo below). The cuff will be a little smaller than the shirt sleeve, so you’ll need to stretch it as you sew to make it fit.
Once it’s sewn on, flip the cuff out and press. Repeat with the other sleeve.
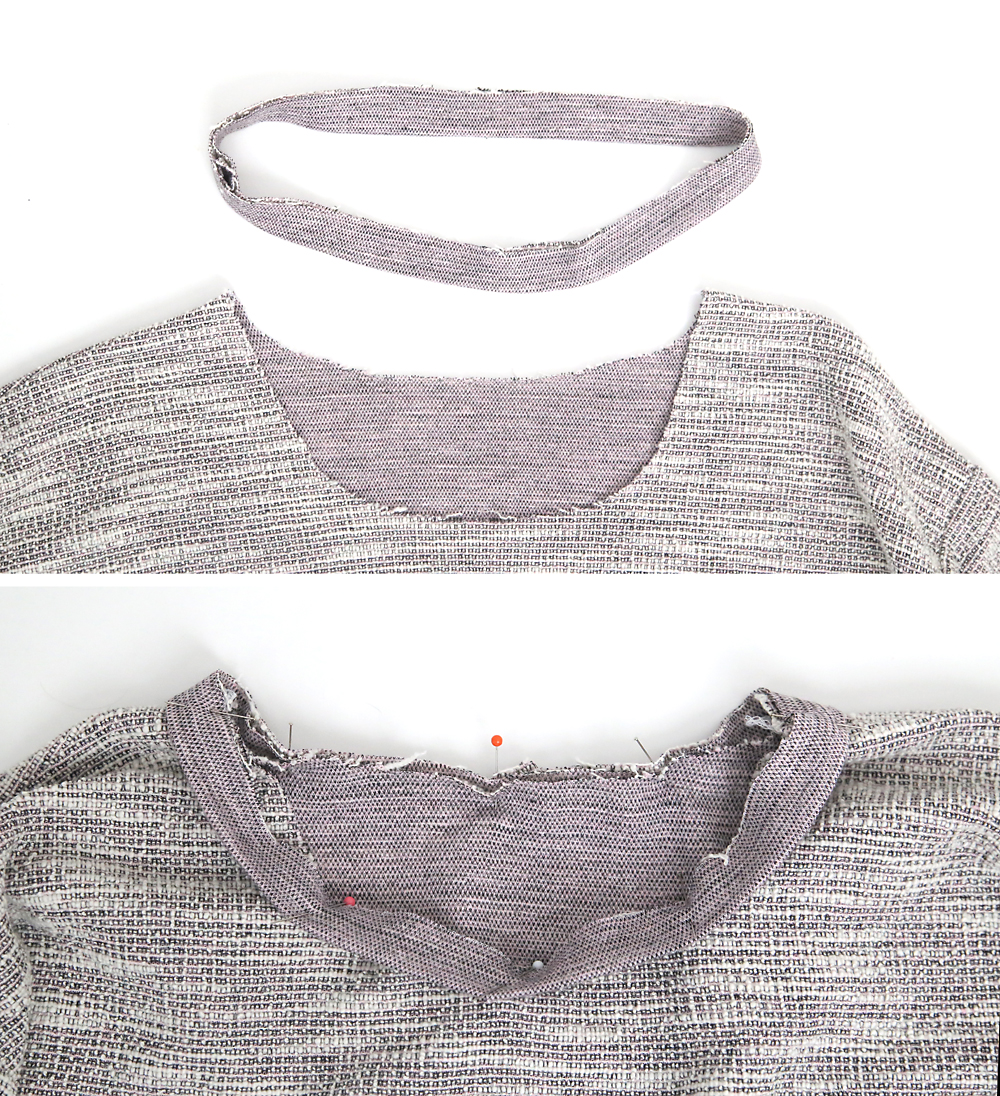
Next, you’ll finish the neckline. Your neckband piece is cut to 26 inches, but it may need to be trimmed even shorter. The correct width here really depends on how stretchy your fabric is. 23 inches is probably good for material with a medium stretch. Go a little shorter if your material is quite stretchy without a lot of recovery, or a bit longer if it’s not as stretchy. You’ll sew the short ends of your neckband together to make a circle. Then fold the band in half all along the circle and press.
Pin the neckband to the neckline of the shirt, matching the raw edges (so the folded edge of the neckband is down and the raw edge is up). The band will be shorter than the neckline, so it will need to be stretched slightly to fit. Pin the band to the neckline.
Sew the neckband onto the shirt, using a stitch that will stretch. The neckline of the shirt will bunch up a little under the neckbinding – make sure to stretch the binding a bit as you sew so that everything lays flat.
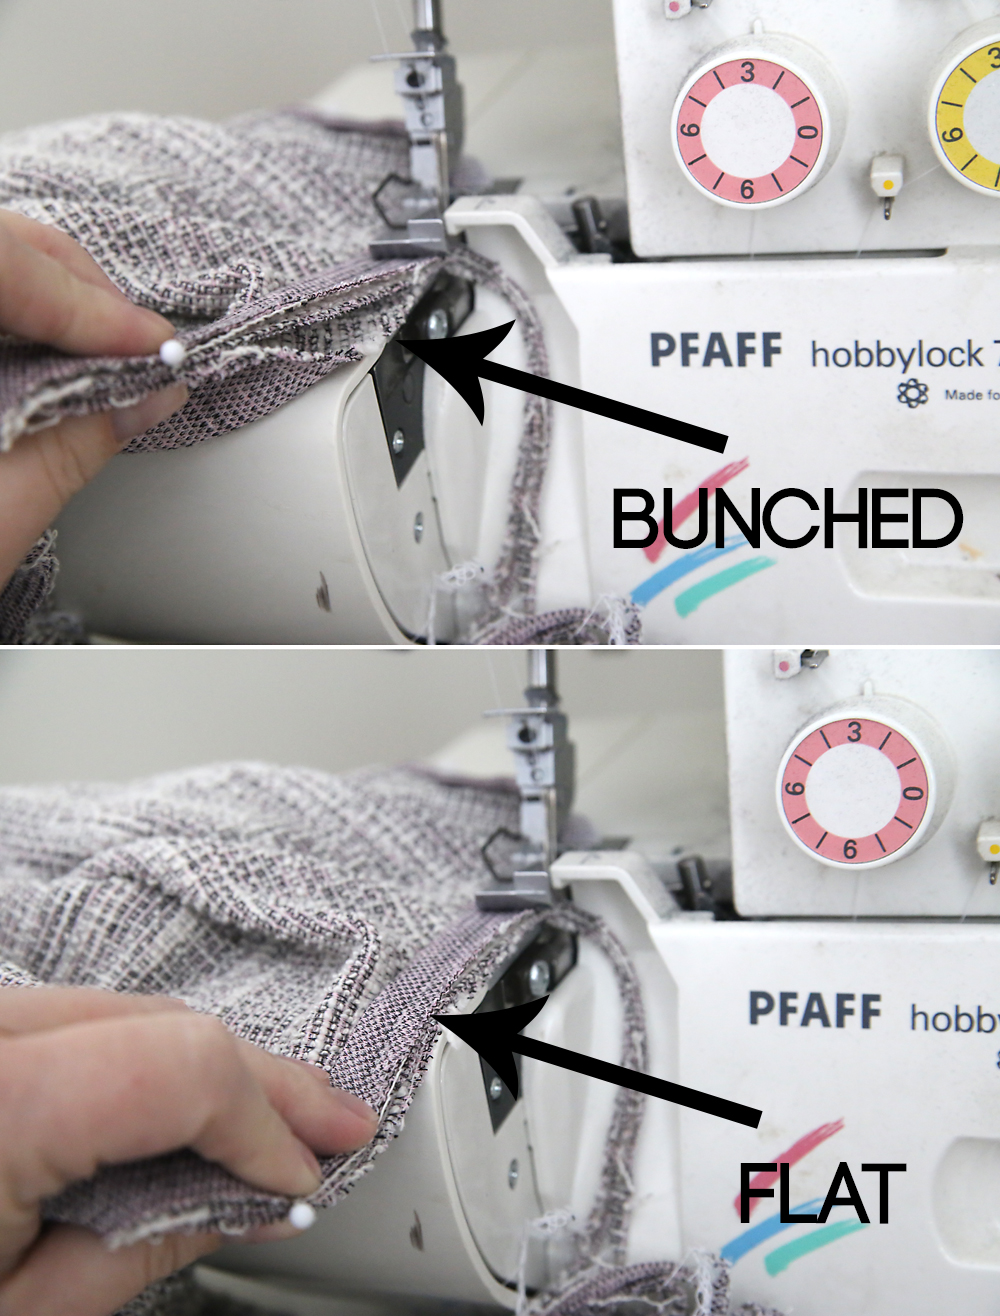
It may look a little wonky after it’s sewn, but once you press it with lots of steam it should lay nice and flat.
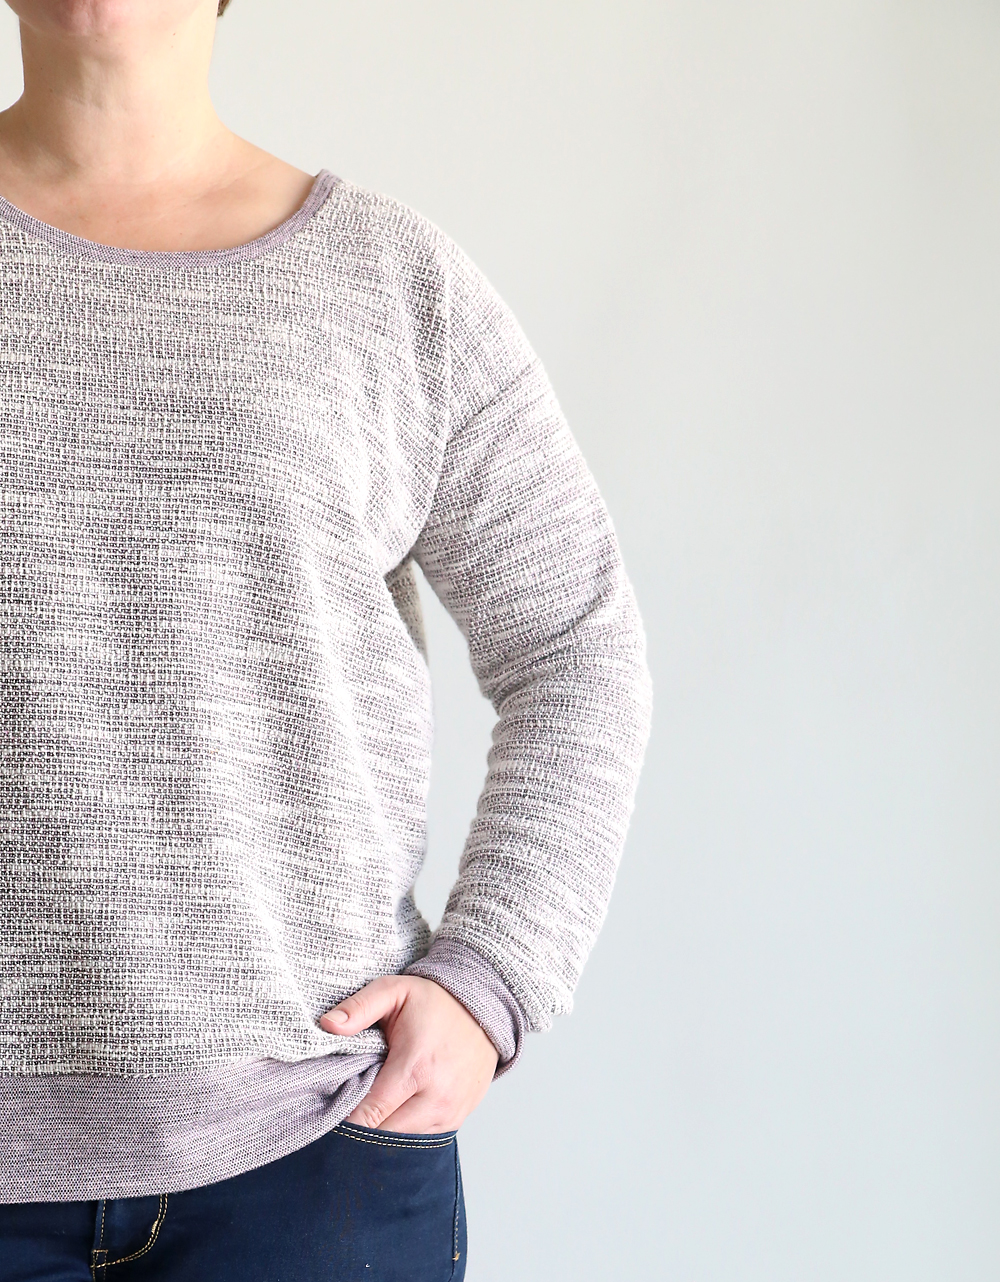
And now you have a cute, slouchy, comfy sweatshirt to get you through ’til spring!

Emma Fawcett says
Thanks so much for this pattern, just finished what I think will be quite a few tops using this pattern!! So easy to do and a great slouch fit when on.
Dana says
Thank you for this pattern! I appreciate the size large and the tie add on. Can’t wait to sew it up.
Regia Pereira says
I’m loving your blog! Thank you for sharing so much creativity.
Sara Dootson-Graube says
Thank you! Brilliant and simple!
Carole says
Beautiful thank you so much for sharing and providing much needed inspiration