
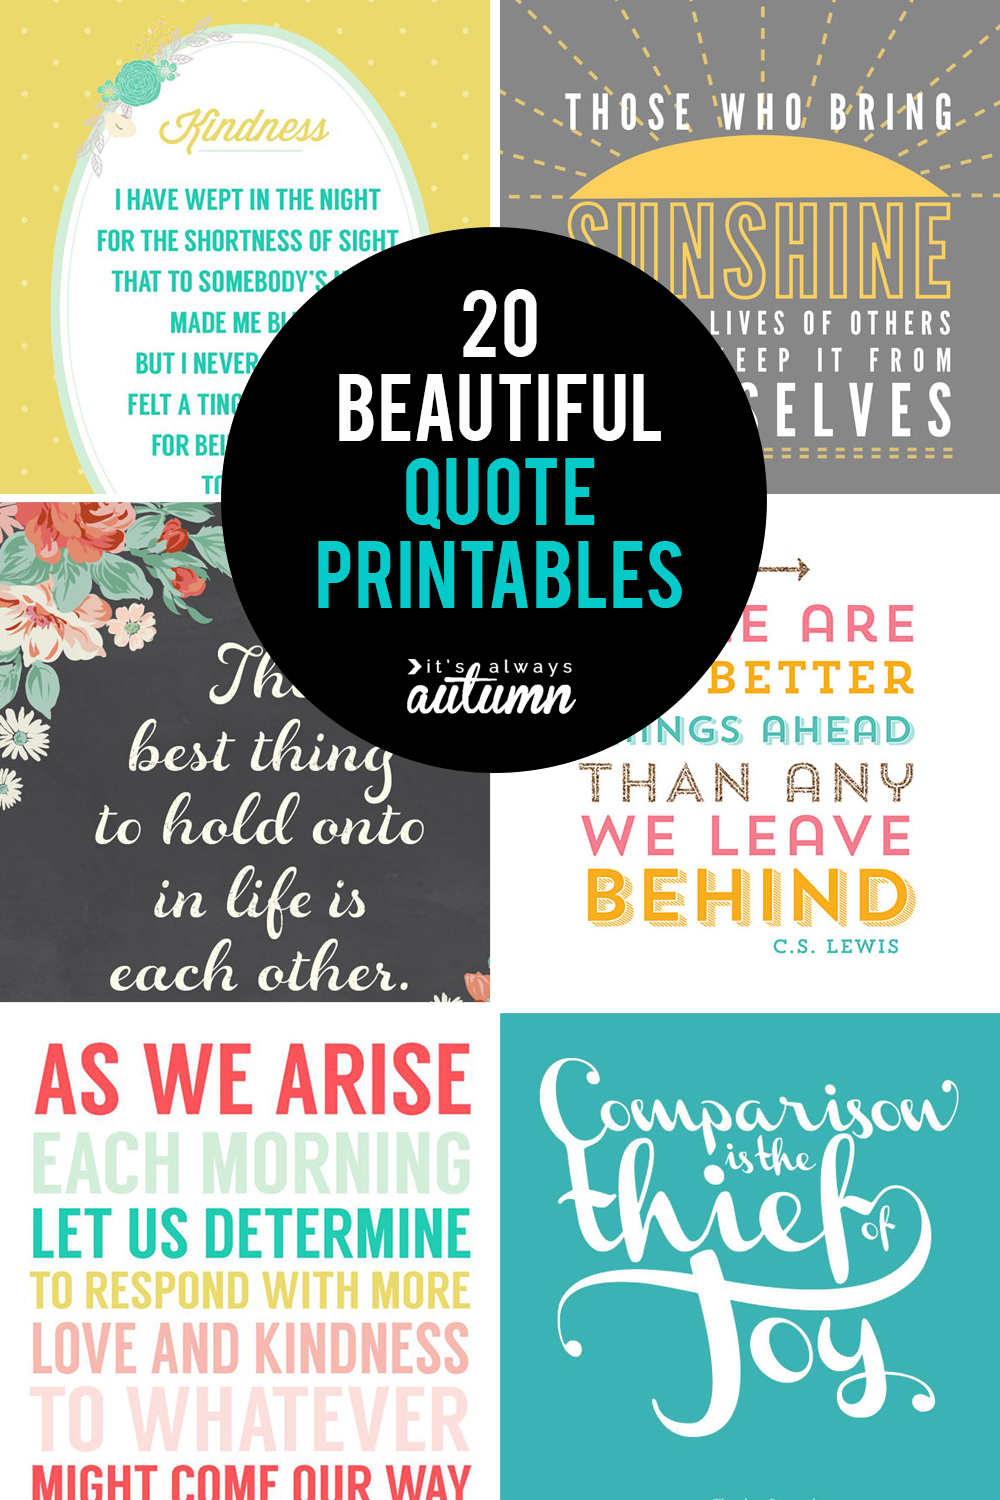
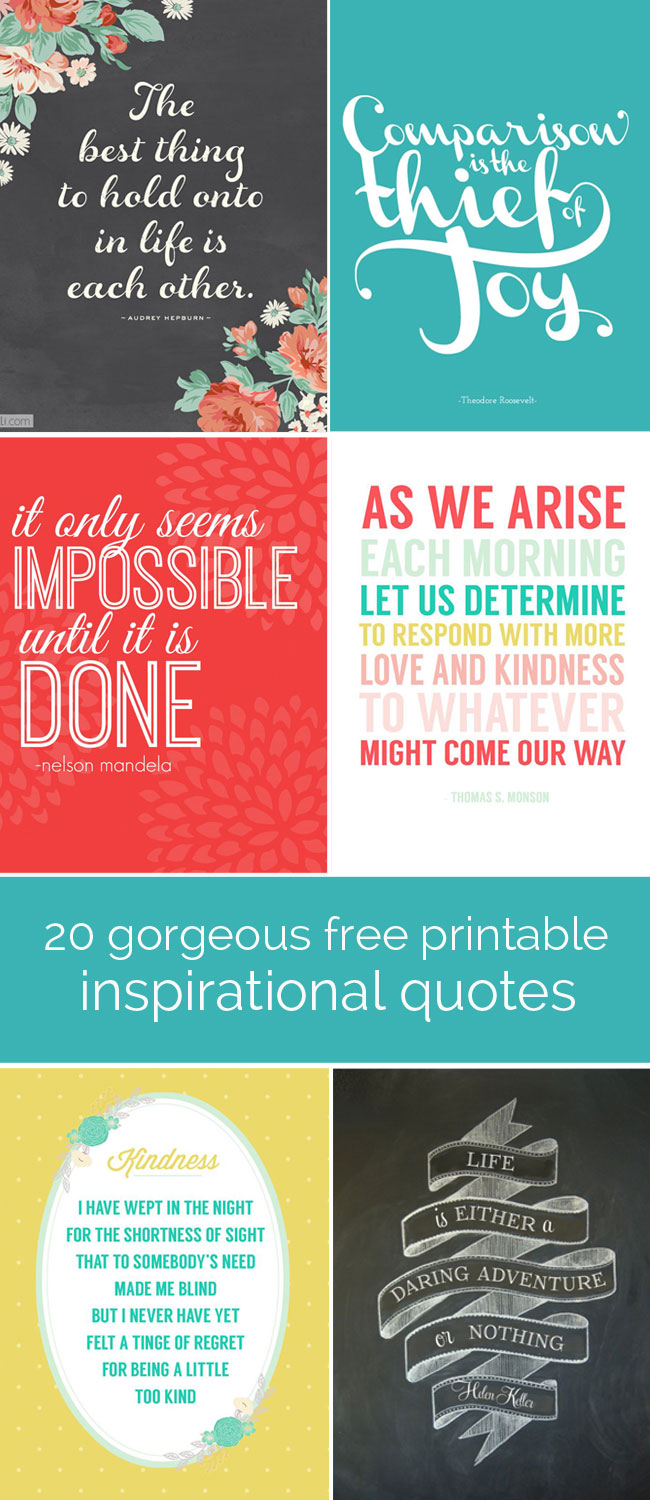
In today’s post: Find 20 gorgeous printable quotes that you can use to decorate your home and brighten your day, all for free. Scroll down to find a link to 20 more printable inspirational quotes.
I’ve rounded up some really beautiful quote printables for your viewing pleasure today, but before we get to them I’m going to share a not-so-flattering story about myself in hopes that some of you may relate. (And if you don’t want to hear about me being a dork feel free to scroll right past all the typing to the pretty printables.)
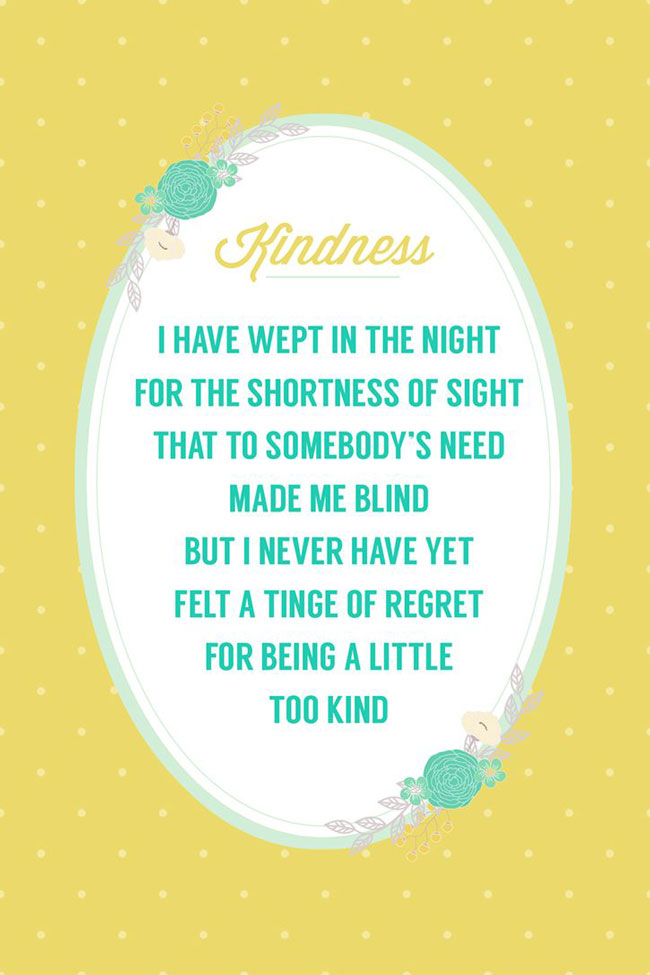
So I’ve been trying to create a new quote printable each month to share here on the blog – I really like making printables, but designing them doesn’t come as easily to me as I’d like. I figure each one I make is practice, though, so hopefully I’ll keep getting better. Not long ago a reader requested a specific quote, a poem about kindness, and I got to work trying to turn the words into something pretty. I knew what I wanted: a mix of script and sans serif fonts, some florals, and a modern color scheme – but it just wasn’t happening. I spent an hour here and there over the past few weeks working on it, getting nowhere, starting over, and getting nowhere again.
I was fairly frustrated that things weren’t working out, so I took a little break from Photoshop and opened Facebook. The first thing I saw was a post from another blogger sharing a lovely printable of the exact quote I was working on in just the style I’d been going for. It was so exactly what I wanted that you’d think I would have jumped for joy and clapped out loud.
Except I didn’t. Because honestly, my first response was to be just a little bit annoyed. I’d been wasting my time trying to make something cool when someone else had already done it, and done it much better. I could have spent all that time playing with my kids! In fact, I probably should have spent all that time playing with the kids. Suddenly I was not only completely incompetent at creating printables, I was also a slacker mom. I was fully aware that in the grand scheme of things this was SO TOTALLY not a big deal, but this little comparison in which I came up short seemed ready to ruin my day.
And then I had a thought: was I trying to make a printable so I could keep a lovely quote in my home to remind me to be kind, or was I trying to make a printable so I could be proud of myself? What was really important here?
Now, I don’t think there’s anything wrong with taking satisfaction in the things we create. I think that hobbies and creative endeavors are a blessing in our life, and that feeling good about the things we work hard on can be a great source of joy. But we (and I mean “I” here) run into problems when we start thinking that others’ success and talents and creations make our own success and talents somehow less worthwhile. It’s a trap that’s way too easy to fall into, especially in our highly social and visual world.
So I’m sharing this experience as a reminder for all of us (because I’m not the only one who sometimes struggles with this, right?): Life is not a competition. Creativity is not a competition. The key is to stop comparing and start appreciating. If we can enjoy other people’s success and let it inspire us instead of allowing comparisons to drag us down, we will have more joy and more contentment in life.
20 gorgeous printable quotes
And so, instead of sharing something I’ve made today, I’m sharing 20 beautiful quote printables from a variety of talented bloggers, starting with this one from How Joyful:
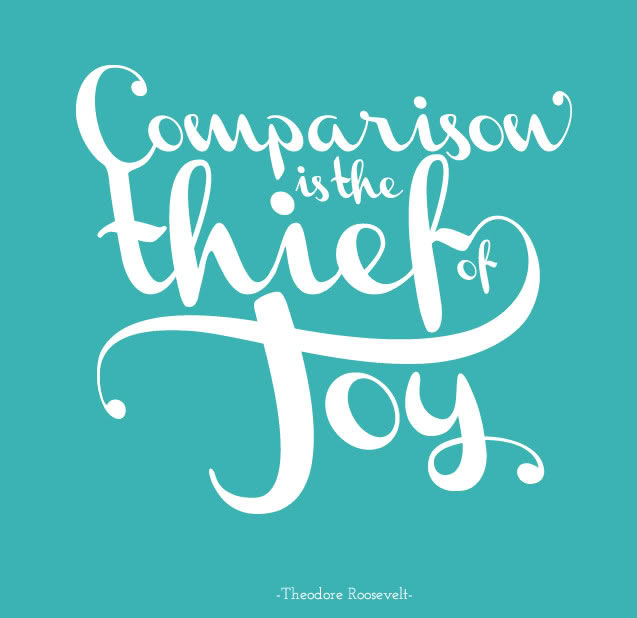
I might need to print this one out ASAP, right?
Please remember that if you want to print any of these lovely quotes, you’ll need to click through to the original post to get the hi-res versions. Please also click through to the original posts to pin images of individual printables (if you’d like to pin the top image from this post to remember where to find this roundup, that’s just fine!).
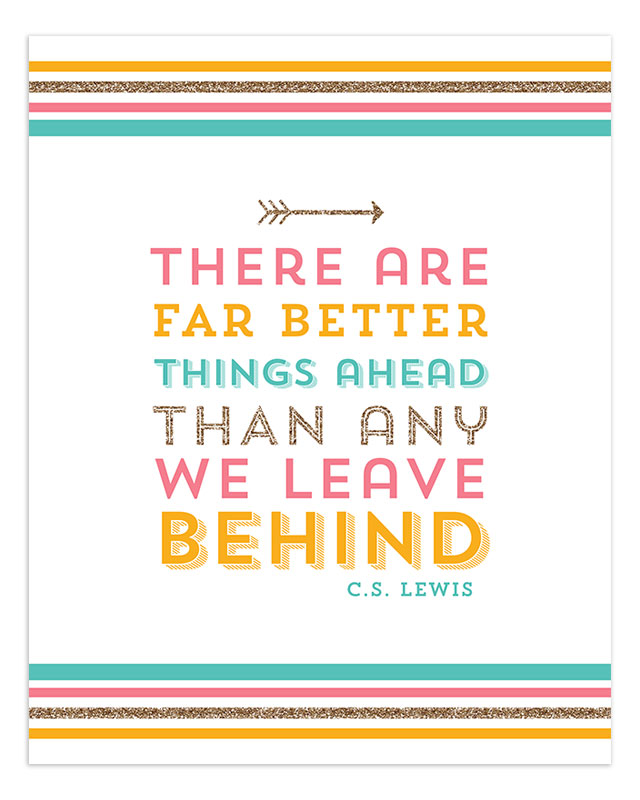
2. One of my favorite C.S. Lewis quotes, from Angie Sandy:
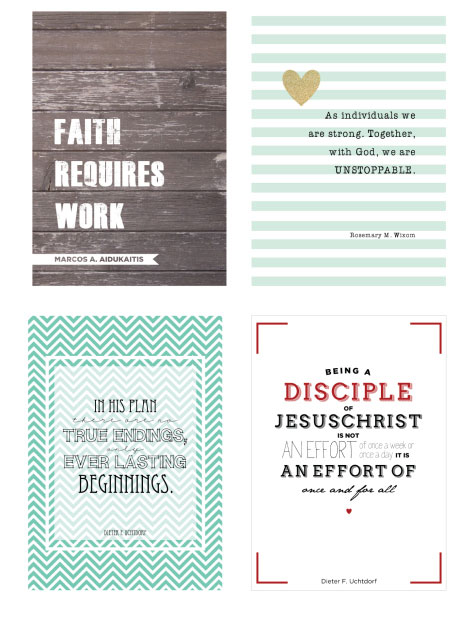
3. A nice collection of printable quotes from Lovely Designed:
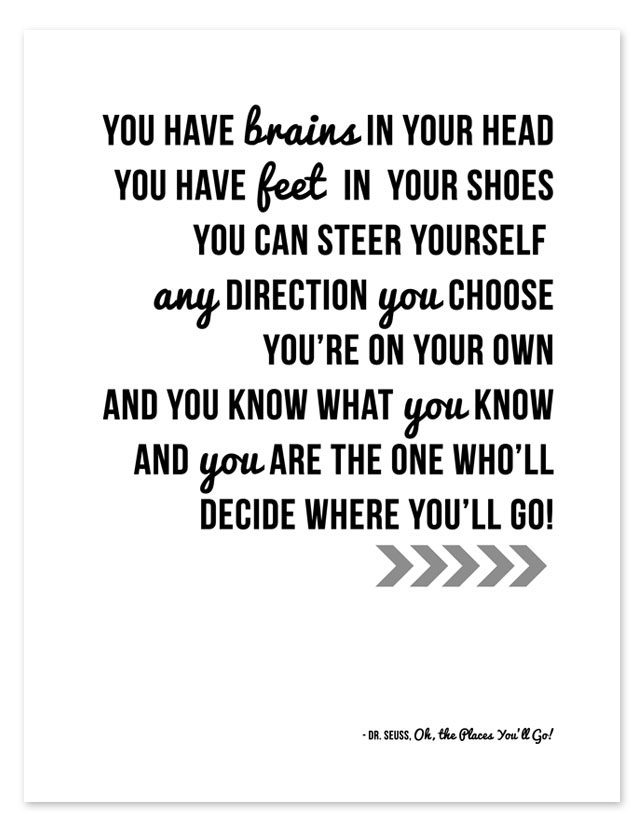
4. Classic Dr Seuss from All For the Boys:
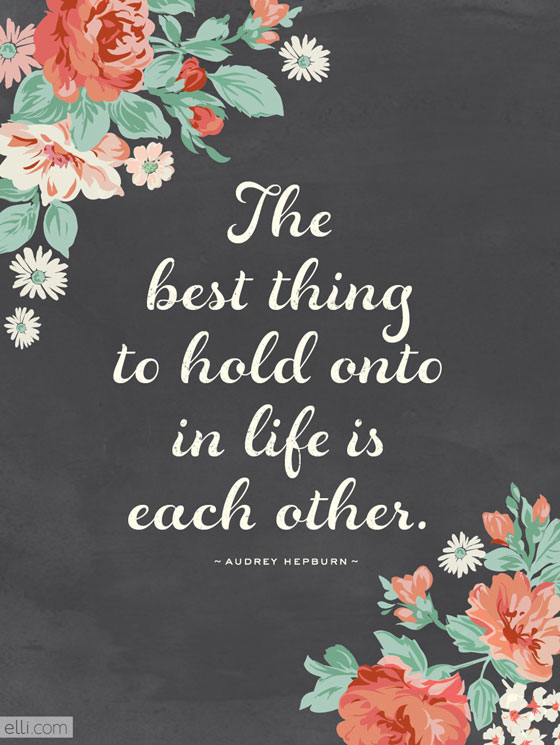
5. Isn’t this quote print pretty? From The Elli Blog:
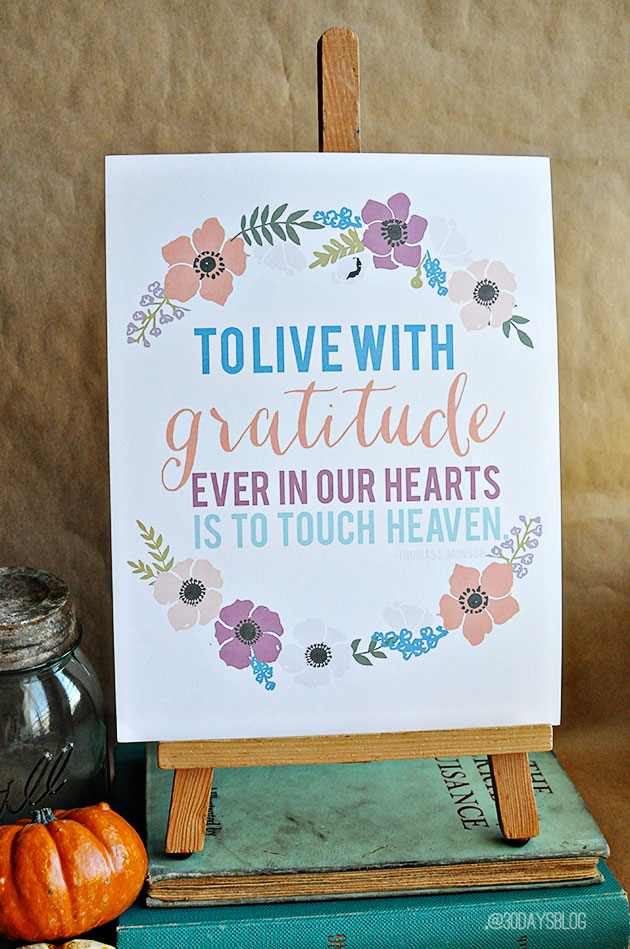
6. A sweet sentiment from eighteen25:

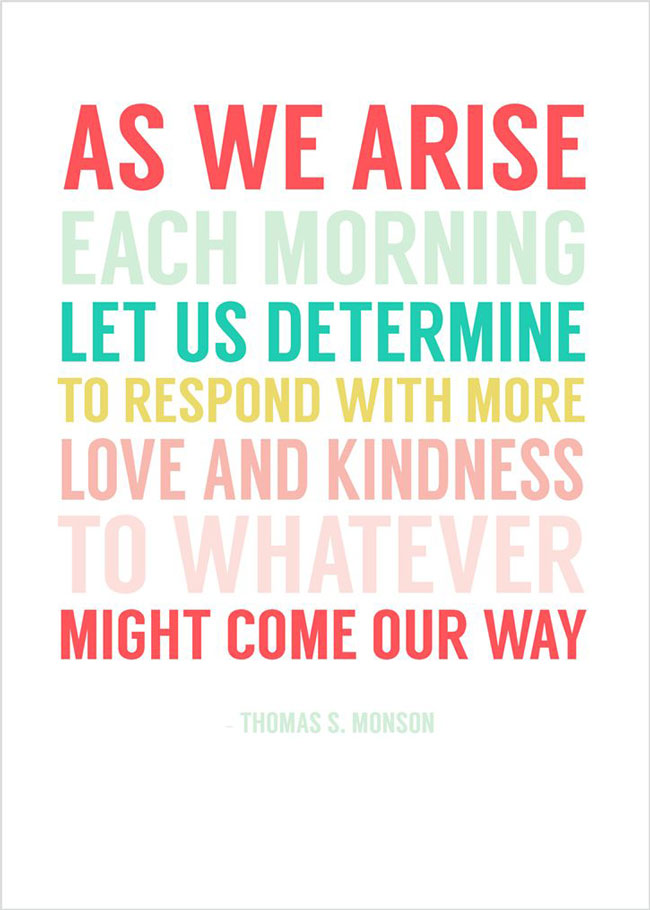
7. 30 Handmade Days has LOADS of beautiful quote printables like this one:
8&9. Simple as That is another blog CHOCK FULL of beautiful inspirational printables, with new ones every month!
10. My 3 Monsters shares this cool printable + 10 more that she used in a yearly planner:
11. Great goals from The Elli Blog:
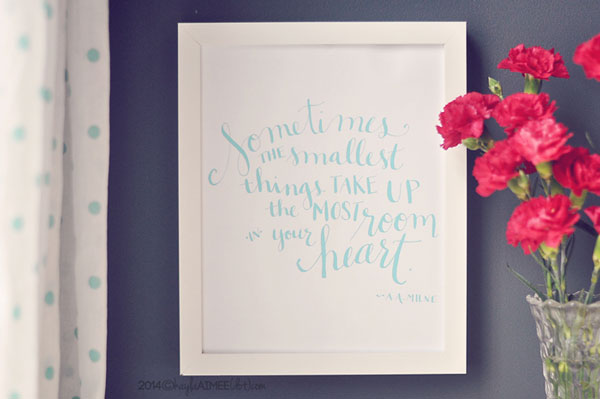
12. My favorite Winnie the Pooh quote from Kayla Aimee:
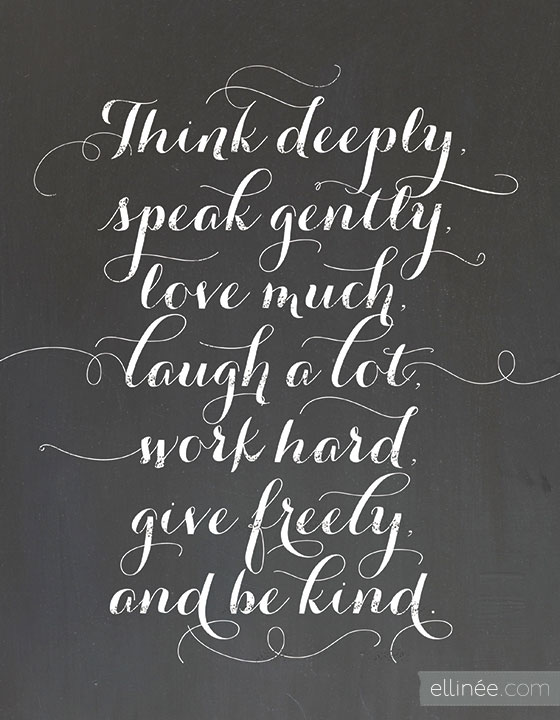
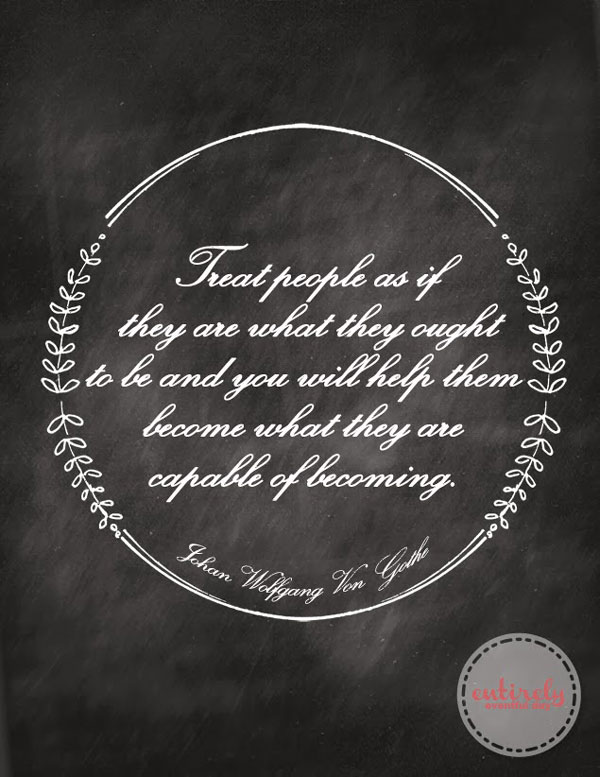
13. I love this beautiful chalkboard quote from Entirely Eventful Day!
14. Mama Miss has a bunch of great free printables – I love this nursery print so much!
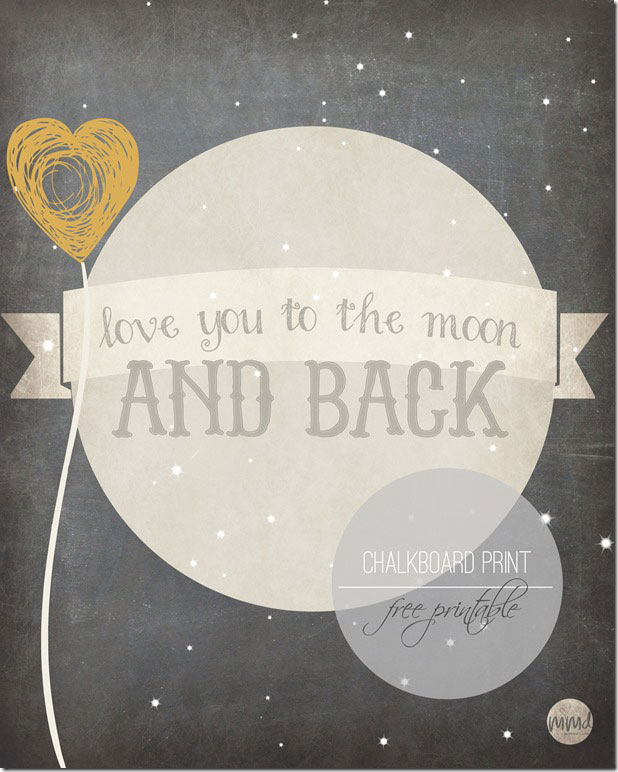
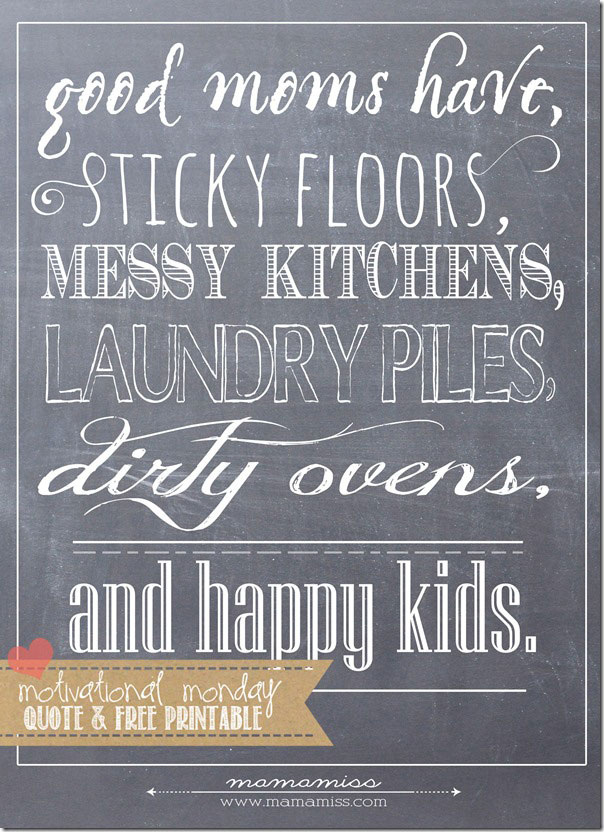
15. And another one from Mama Miss:
16. And one more from Mama Miss because it makes me feel good 🙂
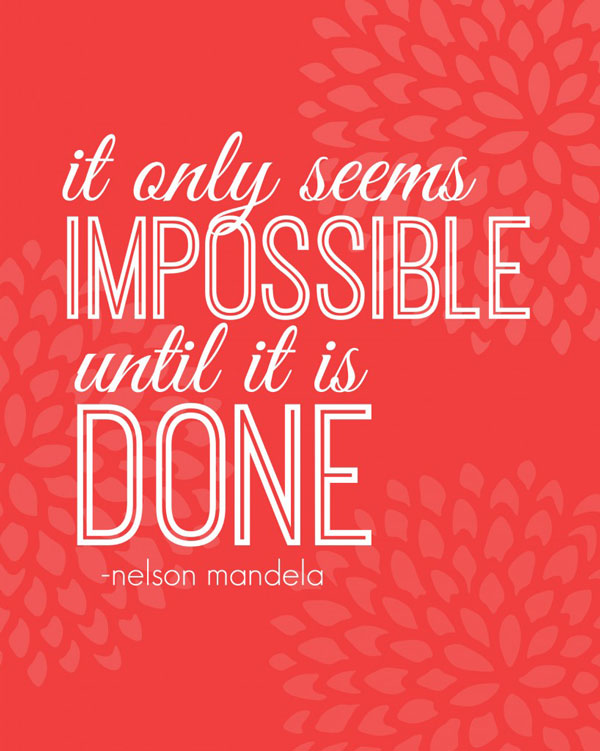
17. Awesome Nelson Mandela quote printable by Living Well Spending Less:
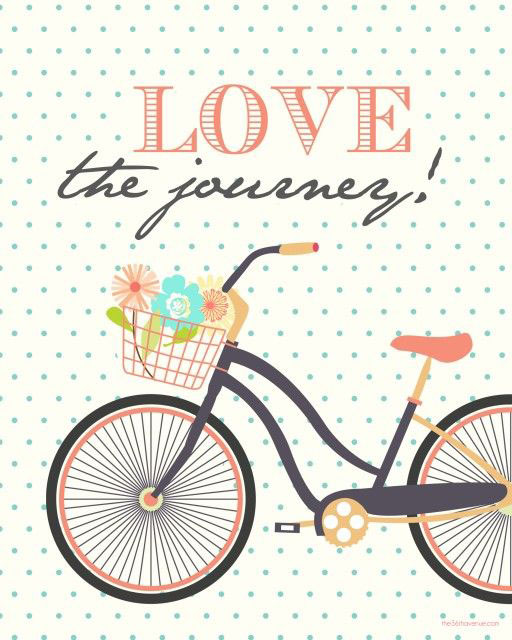
18. Super cute printable from The 36th Avenue:
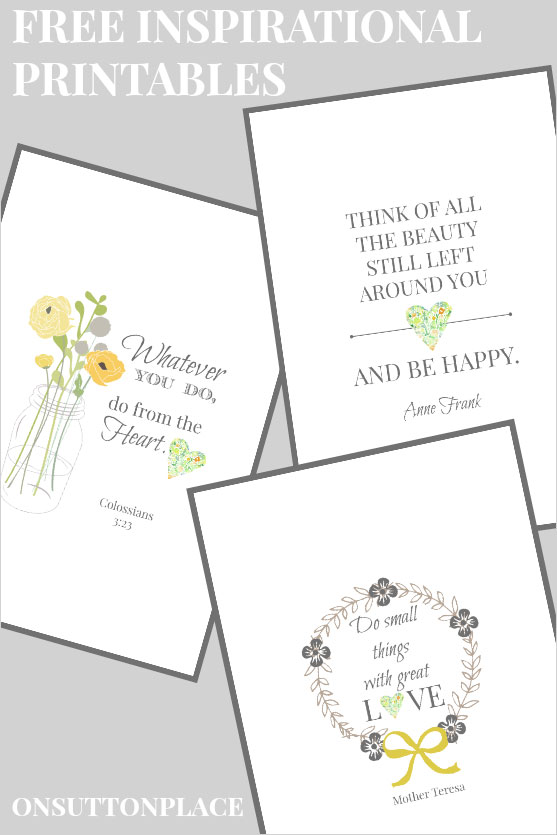
19. This awesome trio of inspirational printables from On Sutton Place is one of a growing collection on her blog:
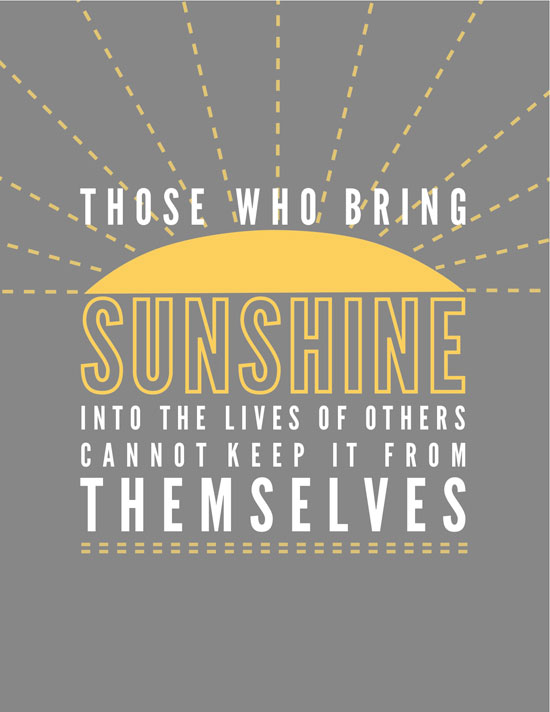
20. Love the grey and yellow, from Collected:
Want even more printable inspirational quotes? Find the second installment with 20 more quotes right here.

Brittany says
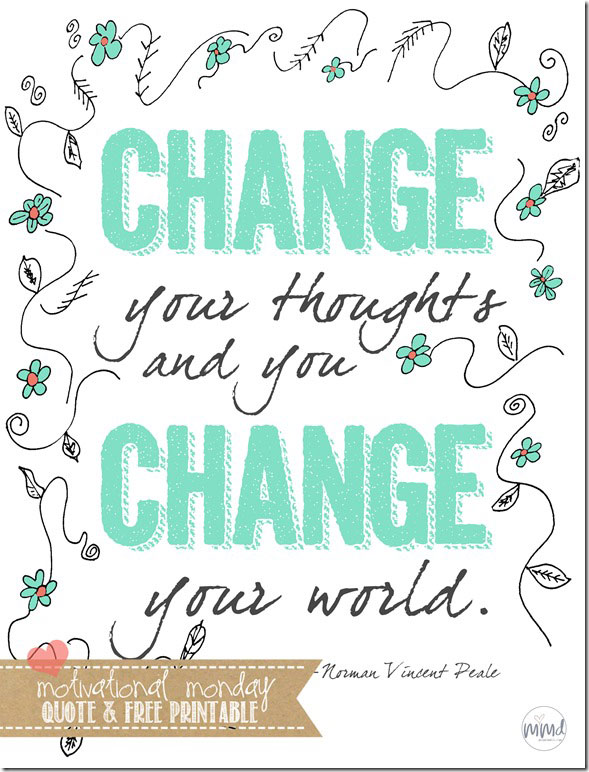
I love these! I especially love the one about changing your thoughts to change your world – it’s so true! It’s easier said than done at times, but it’s still true that changing your mindset can change everything.
Jack says
This is really inspiring. I want you to know that you have a great site!