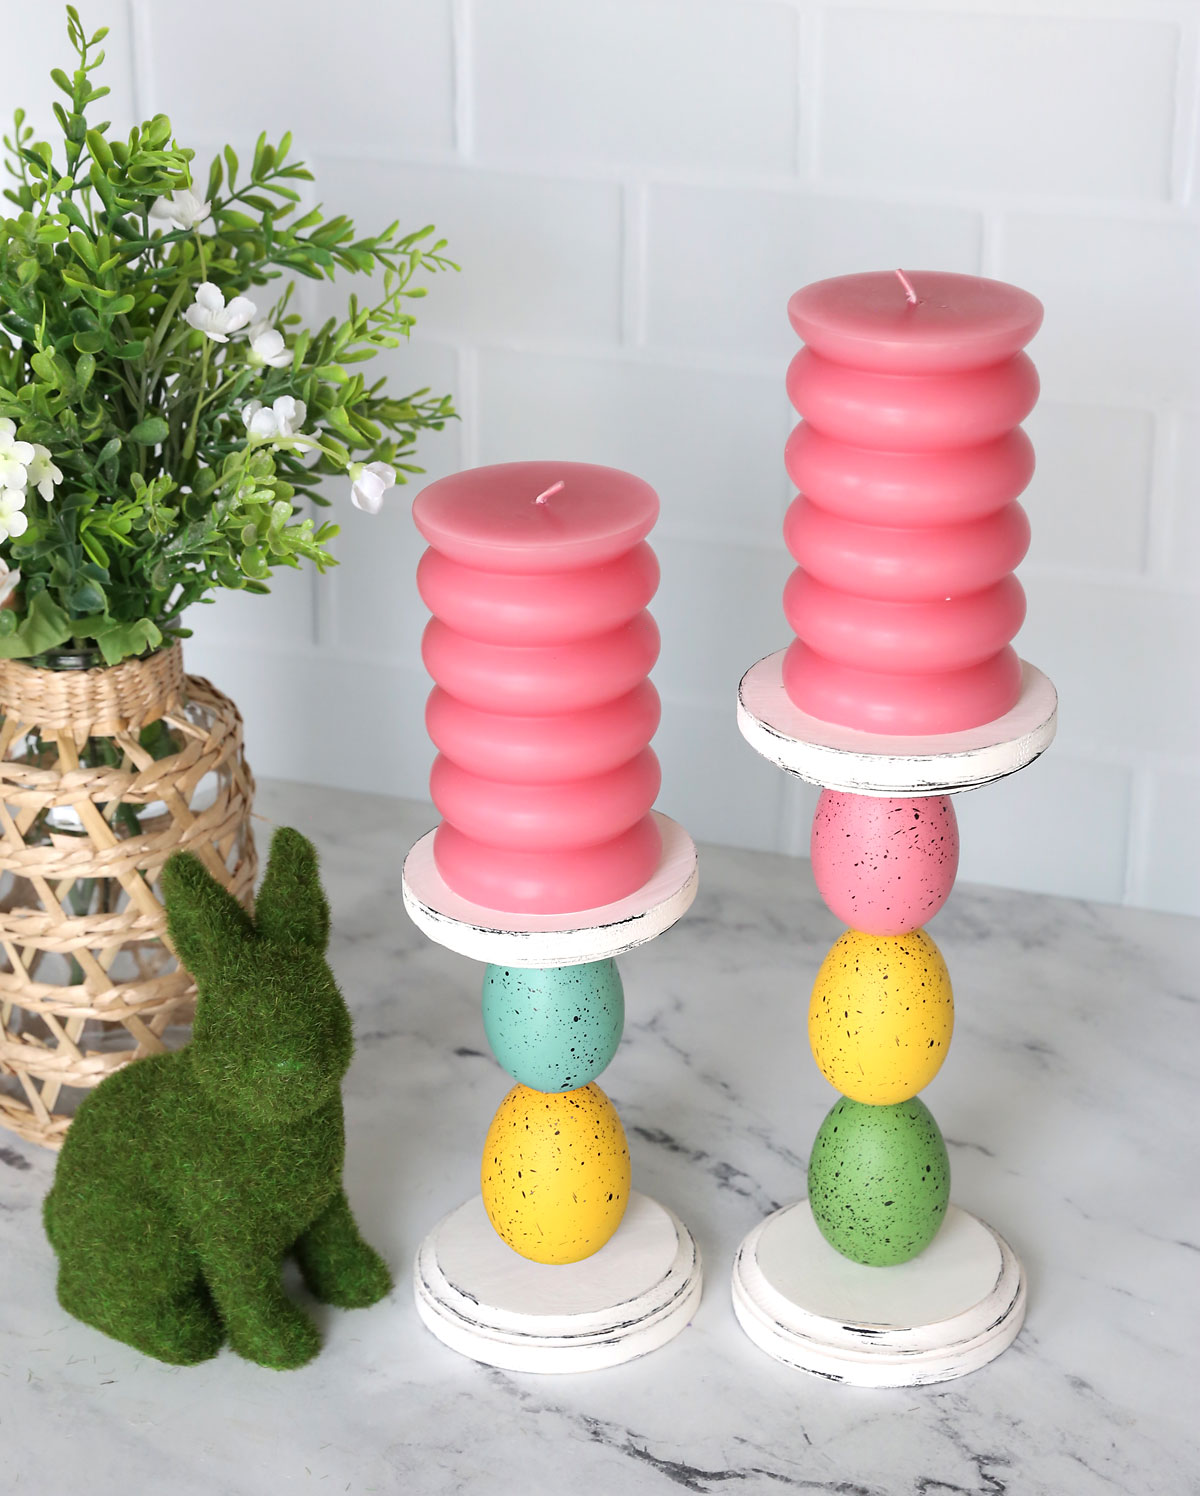
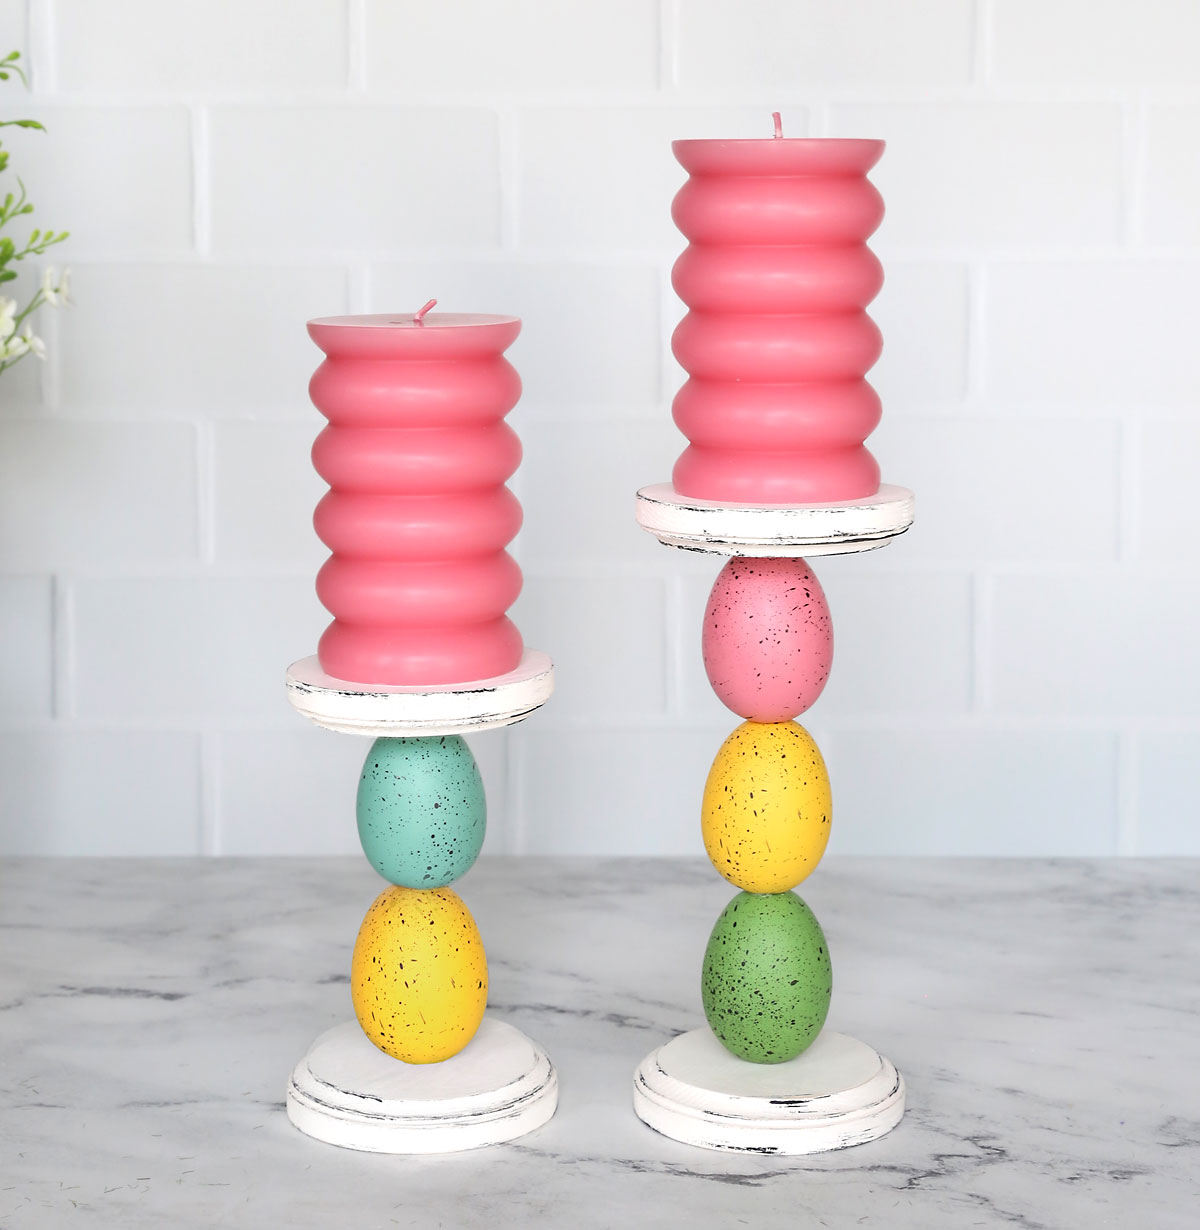
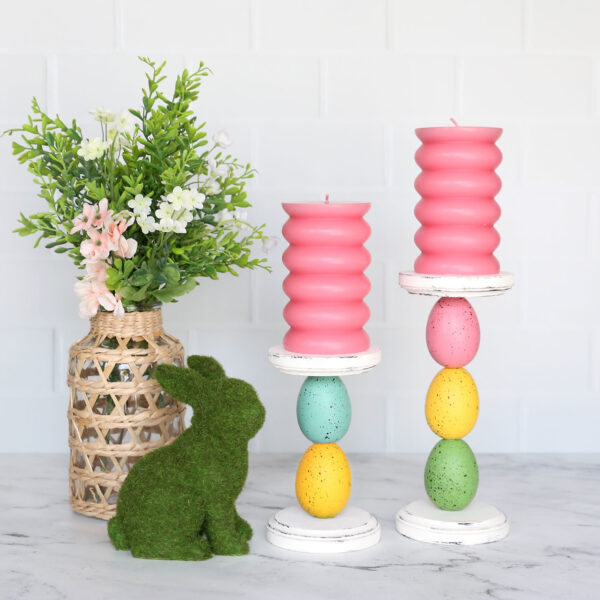
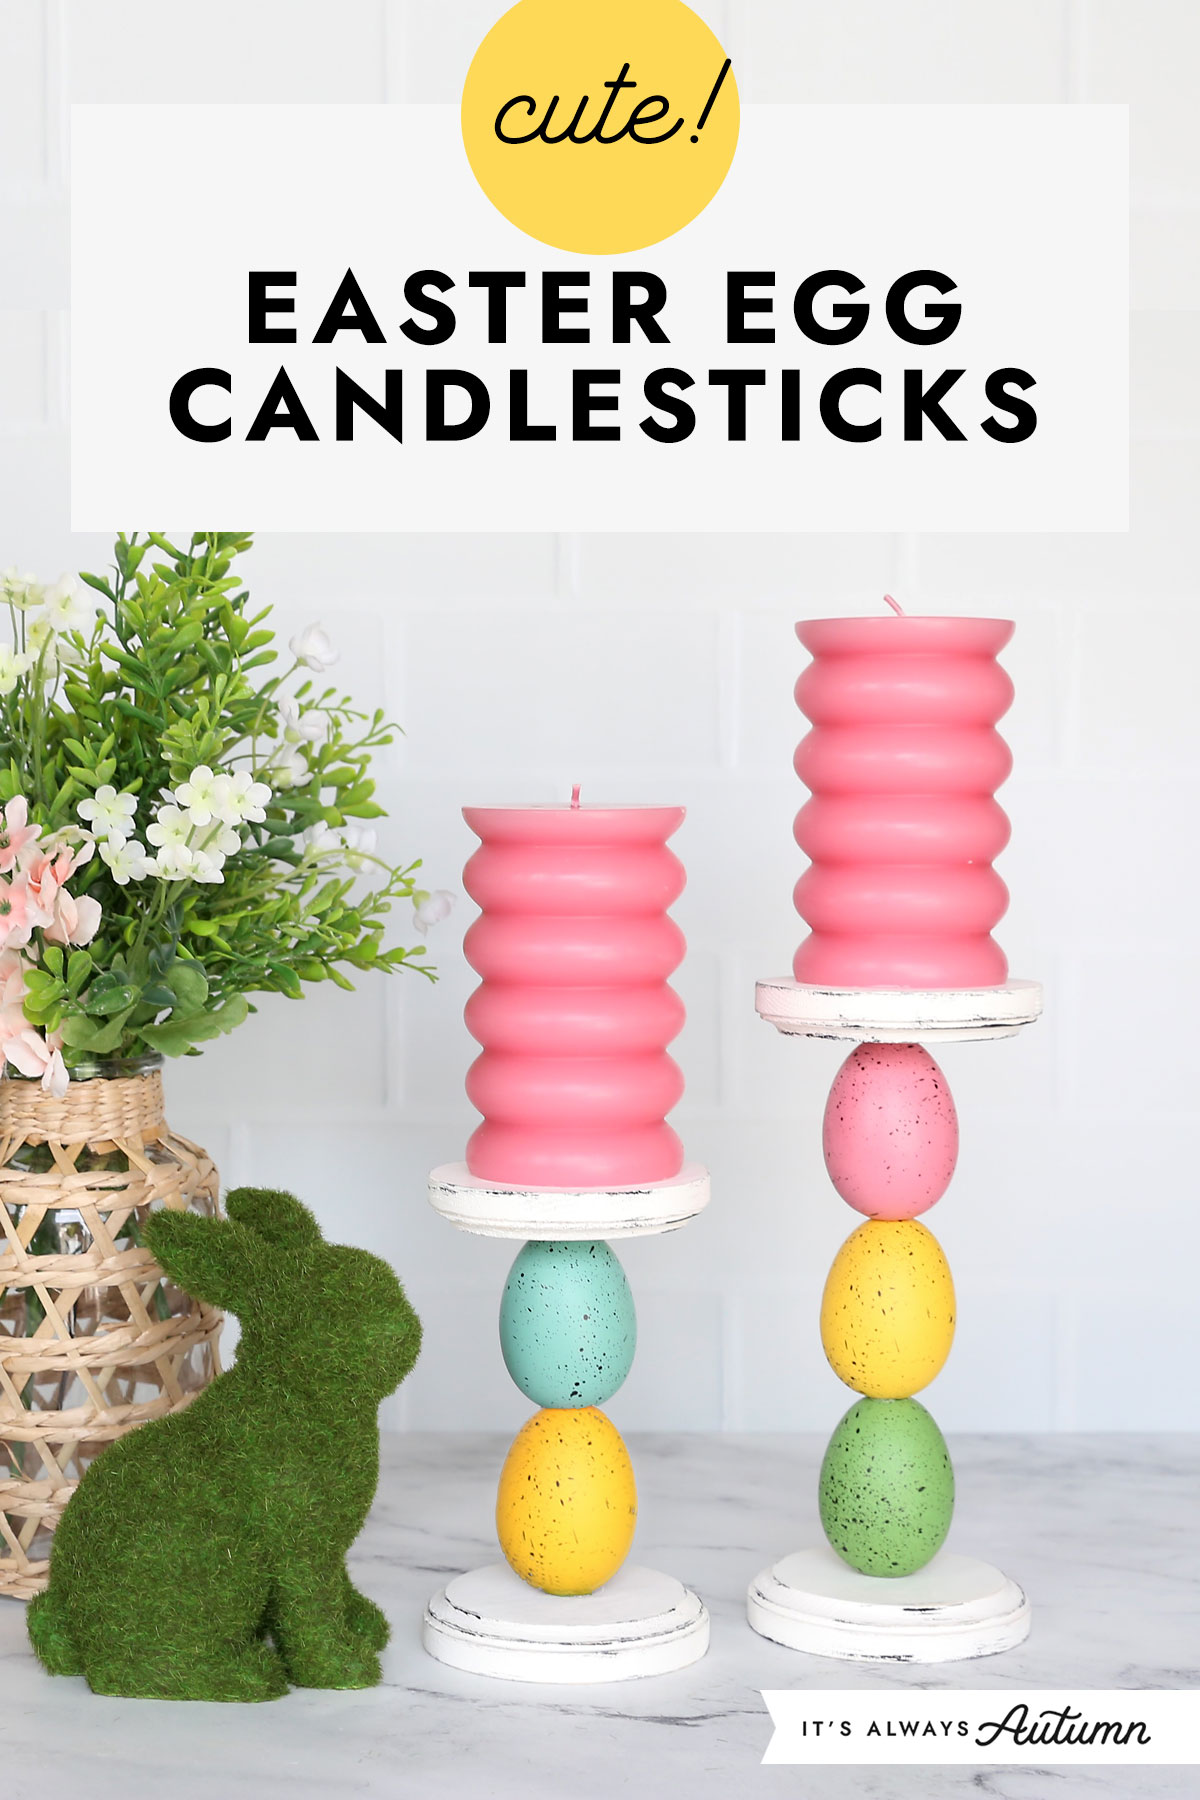
Today’s craft is a fun way to bring some cheery spring colors into your decor while decorating for Easter. The candlesticks are made from styrofoam Easter eggs that have a wood dowel running through them for support, with a round wood plaque on the top and bottom. The wood rounds are 4 inches in diameter, which makes these sticks perfect for 3 inch candles which are sold at most stores.
Decorative Purposes ONLY
Please note, these are decorative candlesticks ONLY and are not meant for use with lit candles!! DO NOT light candles that are placed on these candlesticks. If you want to look of a lit candle, use these to display a flameless candle instead.
Supplies
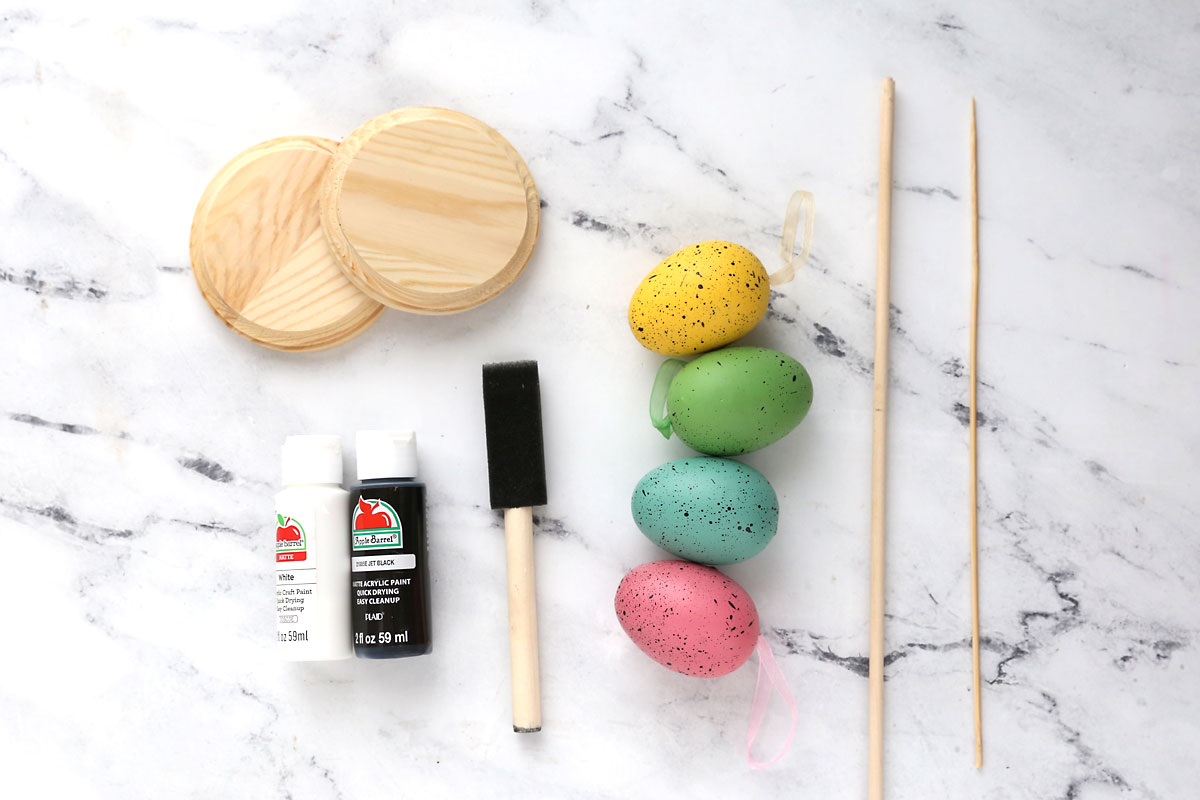
Here’s what you need to make these DIY Easter egg candlesticks:
- 4 inch wood rounds (round wood plaques): I purchased these at Jo-Ann. You’ll need two per candlestick.
- Paint and paintbrush: in whatever color you’d like the wood pieces at the top and bottom of the candlestick to be. I used a creamy white and black.
- Styrofoam Easter eggs: The eggs I used are actually styrofoam Easter egg ornaments found at Hobby Lobby. You can also use plastic eggs if you prefer, but I think the styrofoam eggs look nicer. I used five eggs between two candlesticks. You will want a few extra eggs to practice drilling through them.
- 1/4 inch wood dowel: You can find these at Walmart or most craft stores.
- Skewer or Ice Pick
- Wood Glue and Hot Glue
- Drill with a 1/4 inch drill bit
- Small saw or other way to cut the dowel to length
How to Make Easter Egg Candlesticks
This is a fairly simple Easter craft for adults – but it does require drilling, so make sure you are comfortable doing that safely. Putting the candlesticks together doesn’t take too long, but painting the wood rounds and letting them dry will add to the total project time. You can use a hair dryer to help speed the paint dry time. Total hands on time will be about 60-90 minutes for two candlesticks.
Paint the Wood Rounds
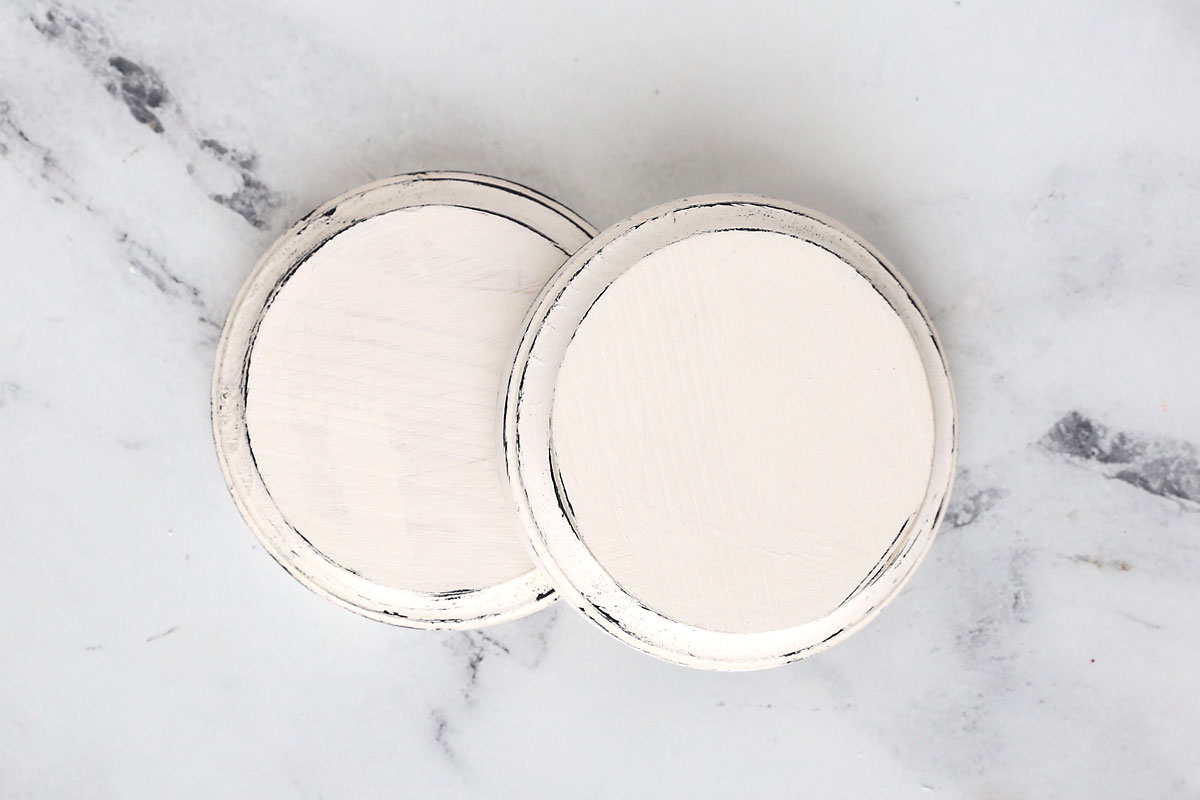
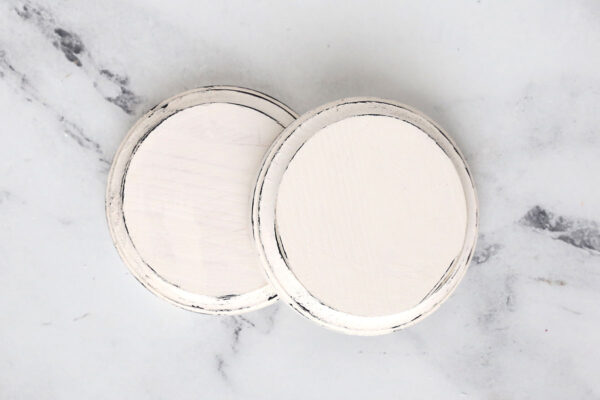
Begin by removing the stickers from the wood rounds. If you use a hair dryer to blow warm air at each sticker for about 30 seconds it makes them much easier to remove! Then paint the wood rounds however you’d like. You may want to leave them raw, or you might want to stain them or paint them a bright color. I chose to paint them a creamy white and use a bit of black paint to add a distressed look.
I gave each wood round two coats of white paint, using a hair dryer in between coats to speed drying. Then I got a little bit of black paint on a foam paint brush and dabbed some of it off on a napkin, then carefully swiped the paintbrush along the edges of the wood rounds. Once the paint is completely dry you can sand them a bit if desired.
Drill Holes through the Eggs
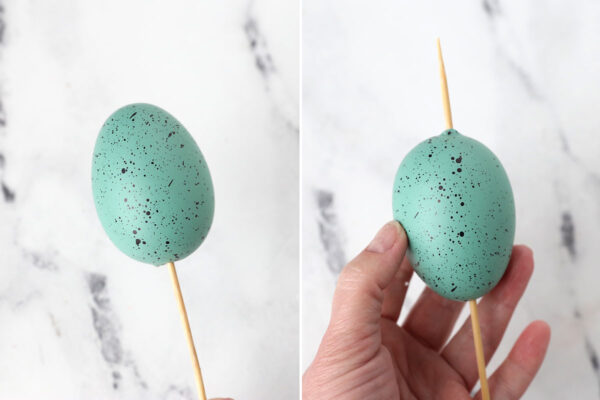
You can begin working on this step while the paint is drying on the wood rounds. Practice this process on an extra egg first. Make sure you have a quarter inch drill bit on your drill. We want to drill a hole that goes straight through each egg, but it can be hard to get the hole straight if you just grab an egg and start drilling. Instead, begin by poking a wood skewer through the bottom of the egg directly in the center. Only poke it about halfway through the egg. Then pull the egg off and poke a hole through the top of the egg (again in the center). Move the skewer through the egg slowly. Your goal is to have the skewer come out the hole you made at the bottom. If you can tell the skewer is going to come out at a different spot, stop, pull back, and start from the other side again.
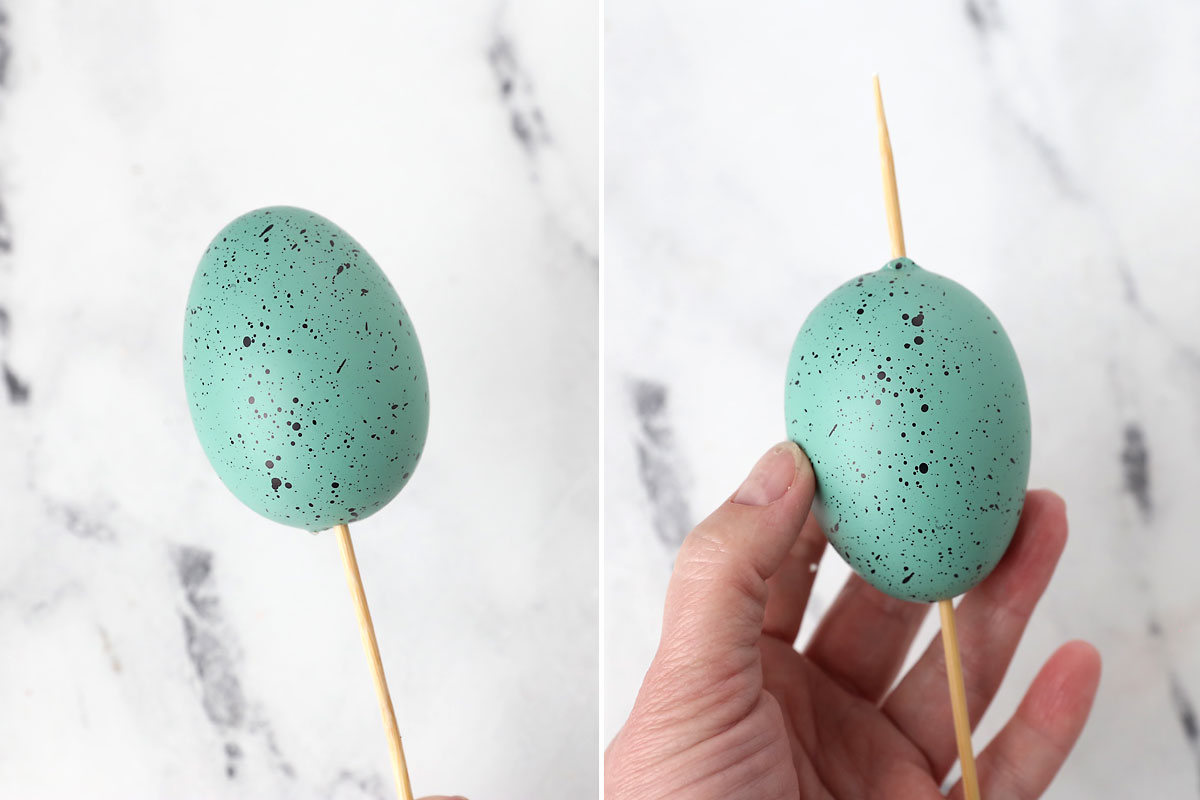
Once the skewer is all the way through the center of the egg, wiggle it around at each side to widen the hole a little bit.
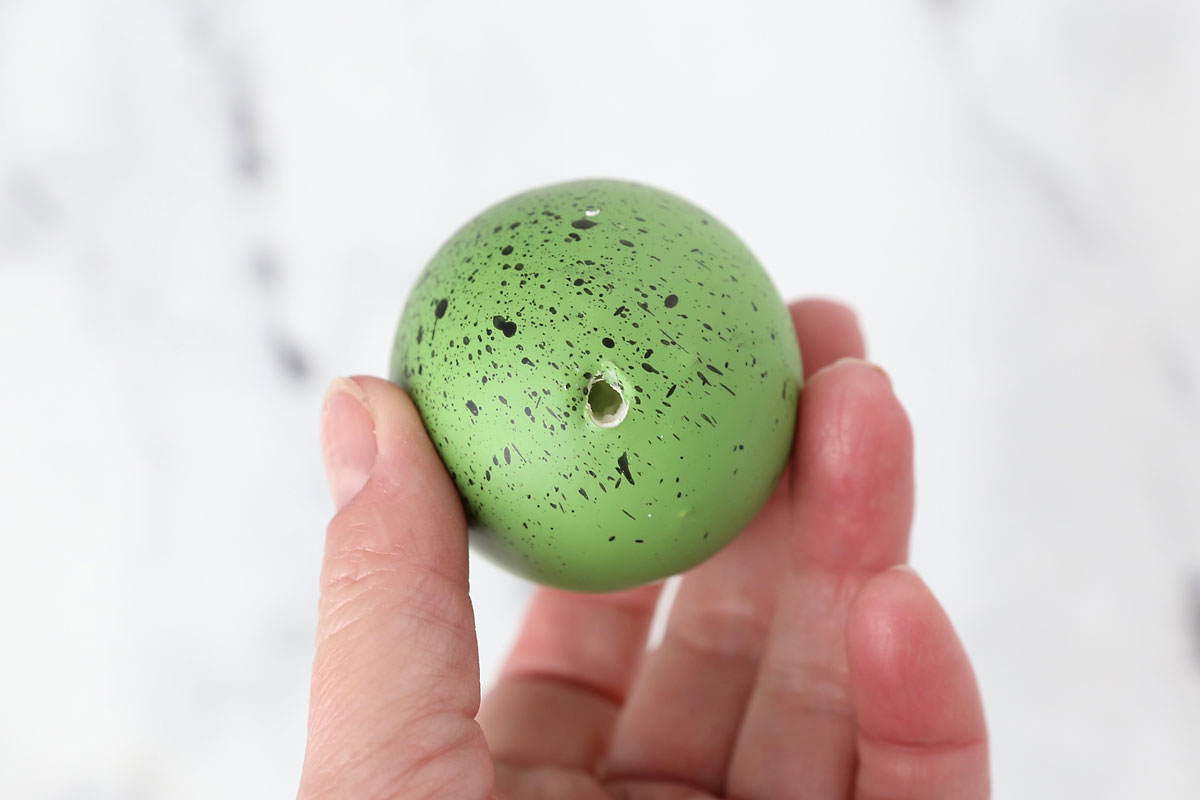
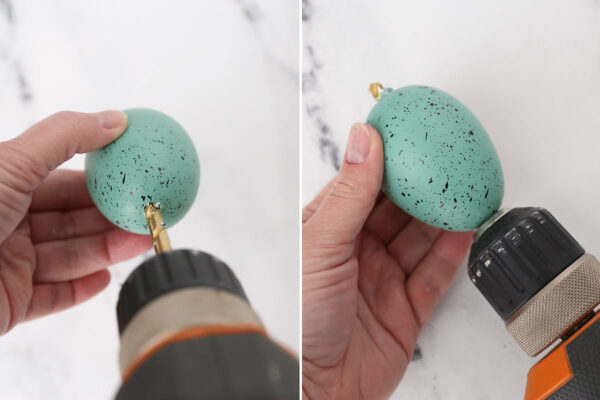
Now we have a path for the drill bit to go through. Start drilling from the bottom and only drill about halfway through. Then reverse to pull the egg off the drill bit. Then flip the egg over and drill from the top, drilling quite slowly. Continue until you have drilled all the way through the egg. Then repeat with the other eggs. Because we are using styrofoam eggs you will end up with bits of styrofoam on your work surface as you create the holes. A lint roller comes in really handy at picking up all the little bits!
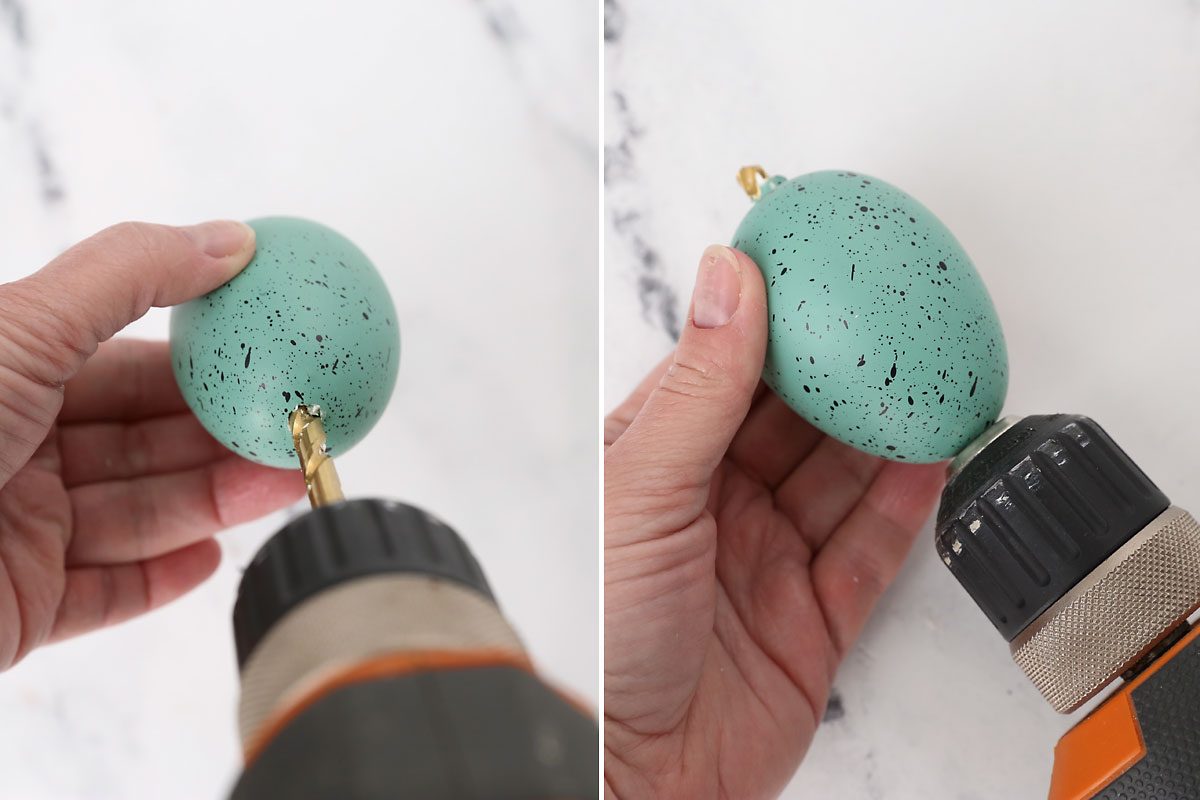
Styrofoam vs Plastic Eggs
If you choose to use plastic eggs instead of styrofoam eggs you can just drill a hole in the top and bottom of each egg. On one hand this is easier because you don’t have to try to make a hole all the way through; on the other hand it can be a little harder because it’s easy to crack the plastic eggs as you drill into them. Additionally I prefer the look of styrofoam eggs. Either way, make sure you have a couple extra eggs to practice on.
For more info on using plastic eggs, check out this version from DIY Vibes.
Drill holes in the wood rounds
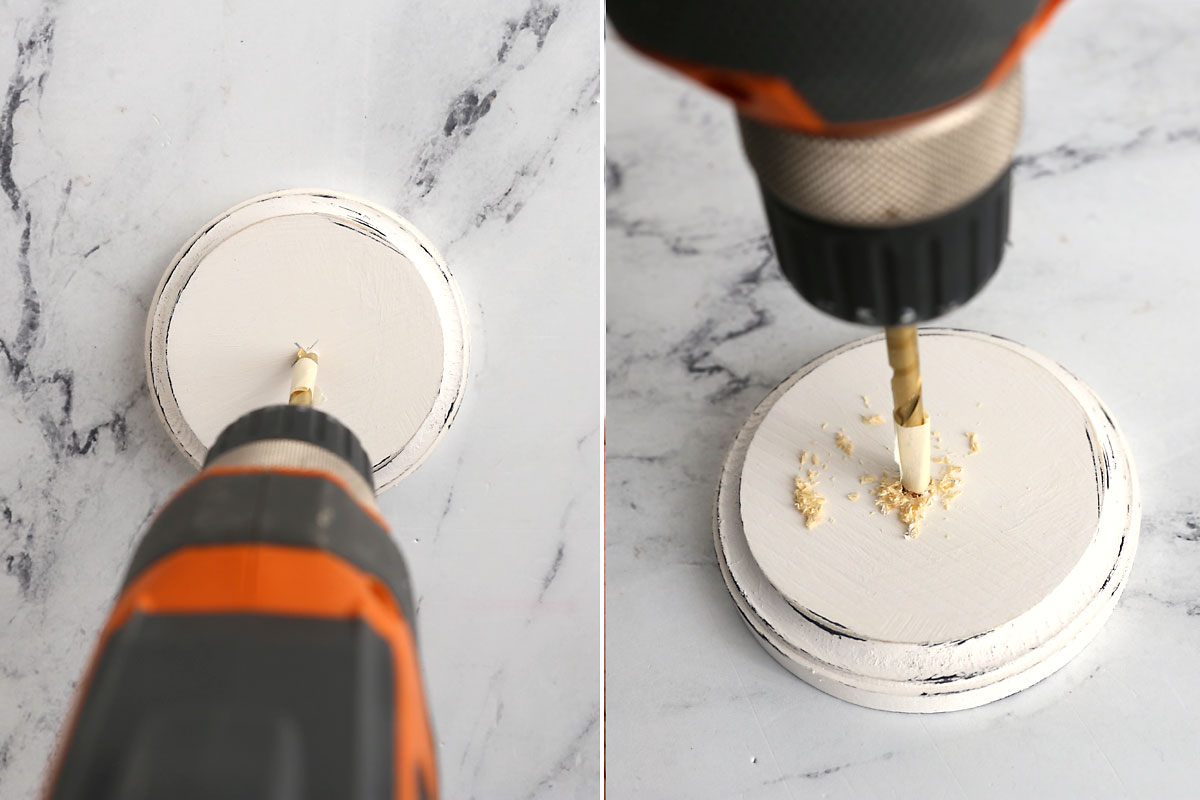
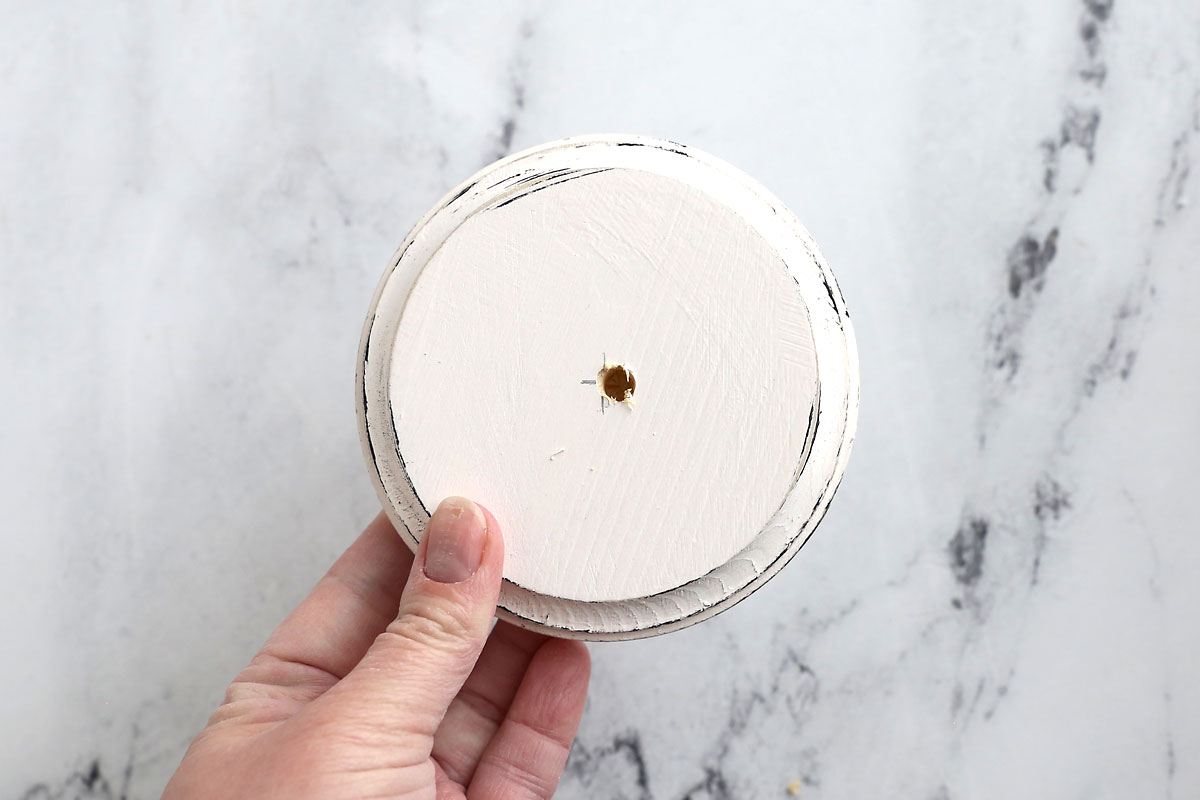
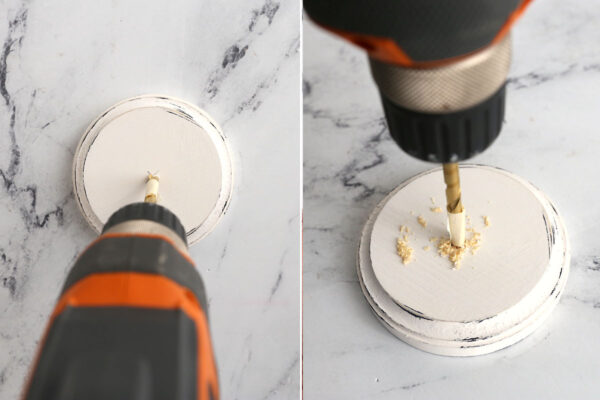
Once the wood rounds are completely dry, it’s time to drill holes in them. Measure and mark the center of each wood round on the side that is smaller and has the decorative lip. You want to drill a hole that’s about half an inch deep – you do NOT want to drill all the way through each round. So put a piece of masking tape around your drill bit to mark half an inch.
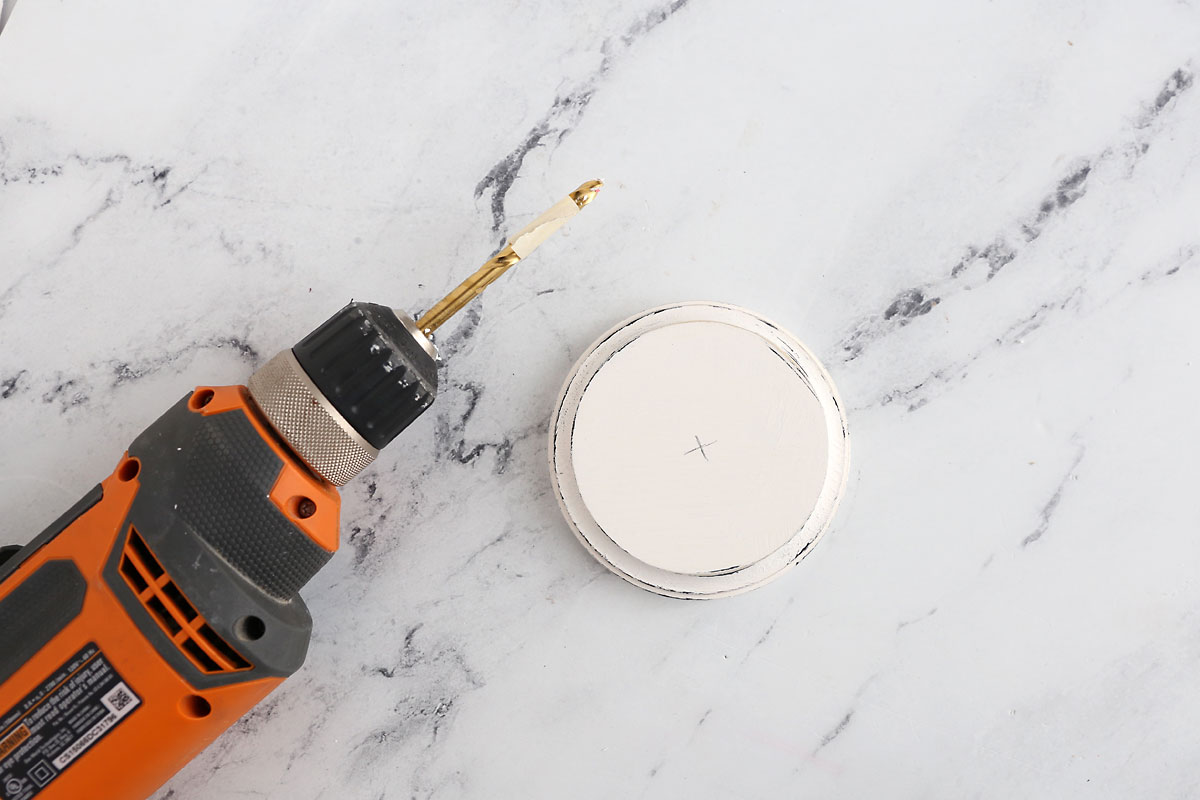
Measure and Cut the Dowel
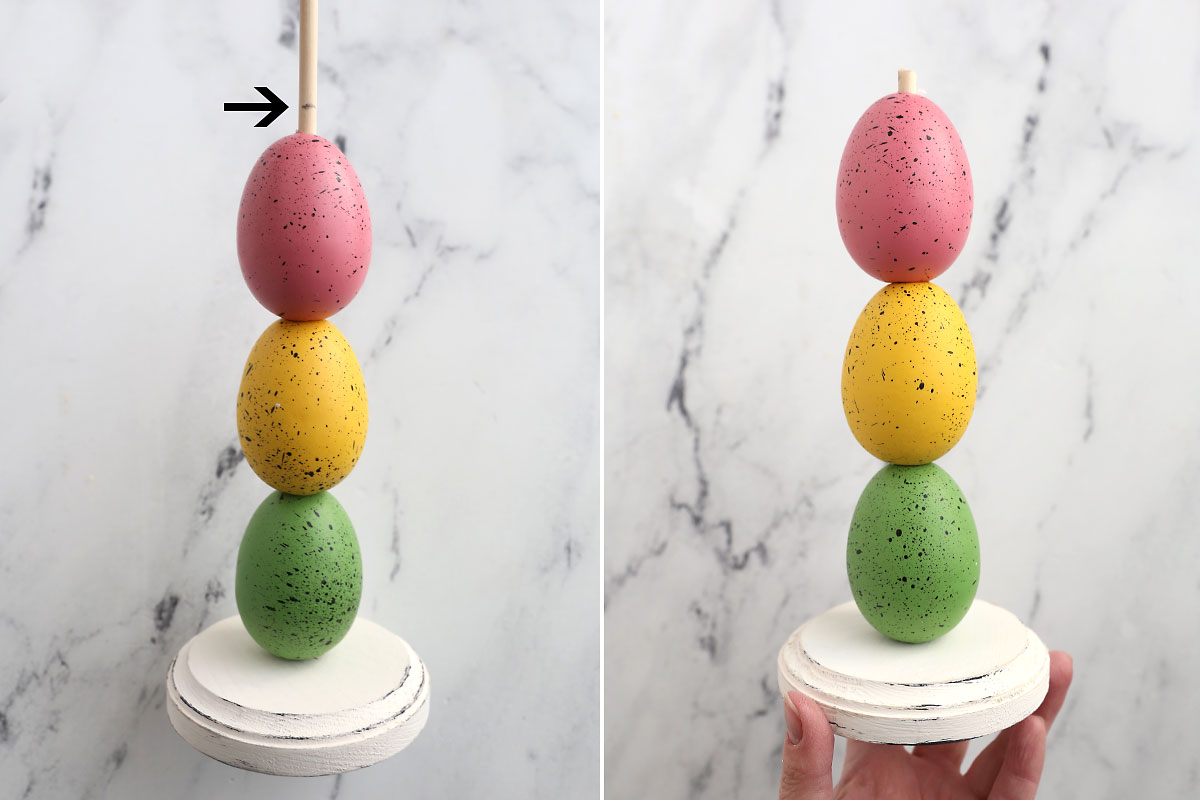
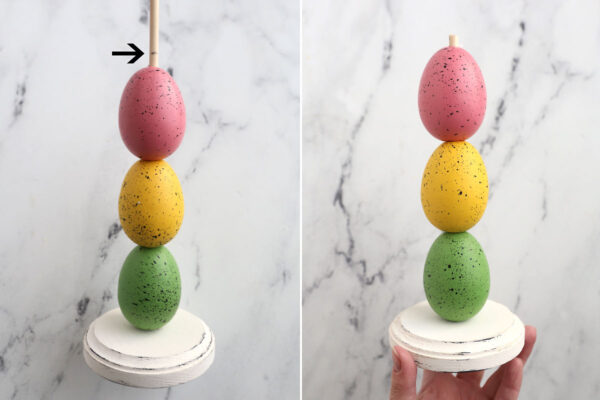
Slide each egg that you are planning to use onto the wood dowel. Place one end of the dowel into a wood round and slide the eggs down. Mark half an inch above where the eggs end on the dowel. Then take everything apart and remove the eggs from the dowel so you can cut the dowel at the marked length. Once it’s cut, slide the eggs back on it.
Glue the candlestick Together
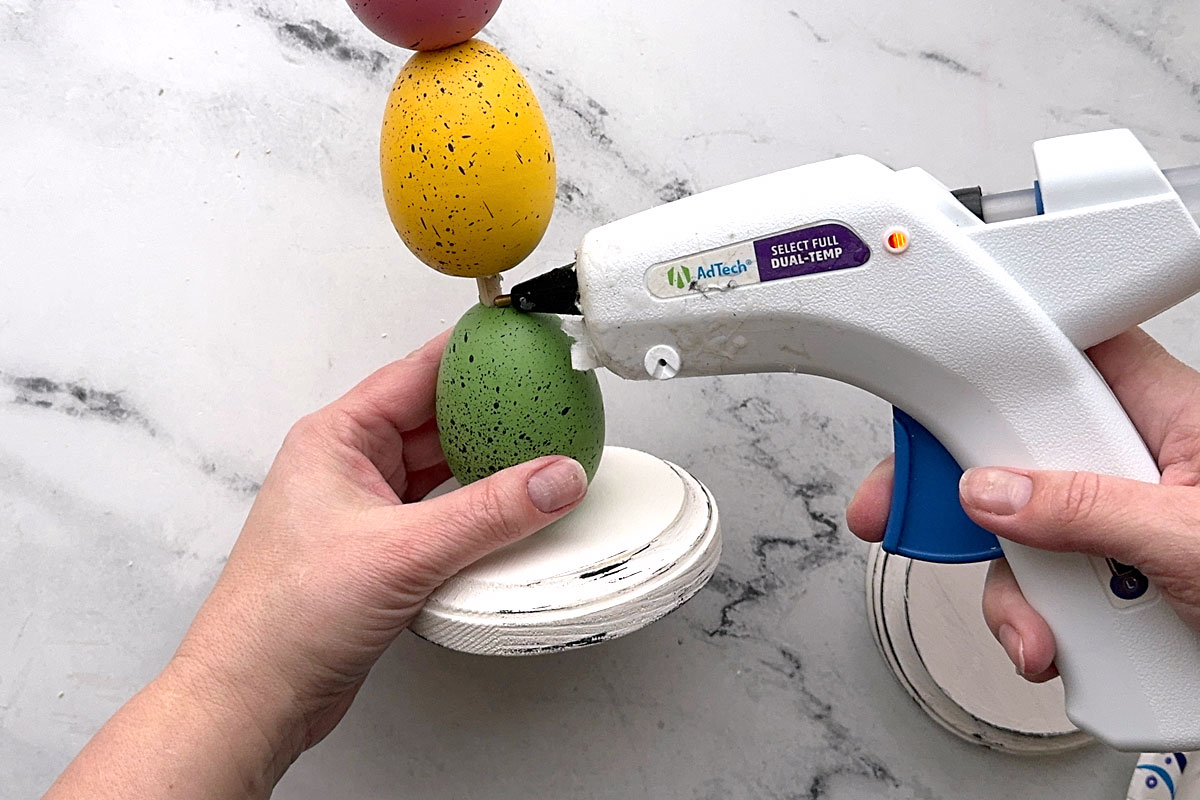
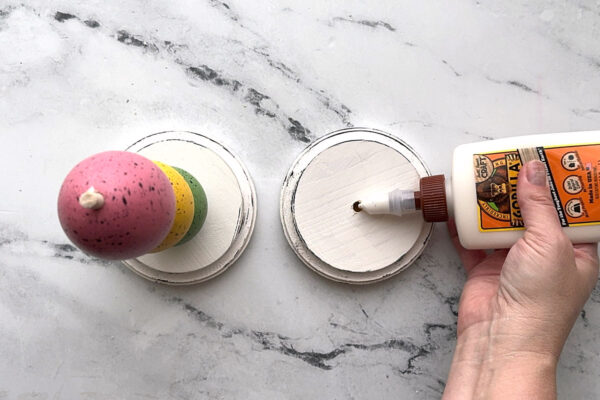
After the dowel is cut to length, test the fit of everything by placing the eggs back on the dowel and fitting the dowel in between two wood rounds. If there is too much space on the dowel you can cut it a tiny bit shorter. Once everything fits well, it’s time to glue the candlestick together. Start by putting some wood glue into the hole in the first wood round. Then add a little bit of hot glue around the edge of the hole.
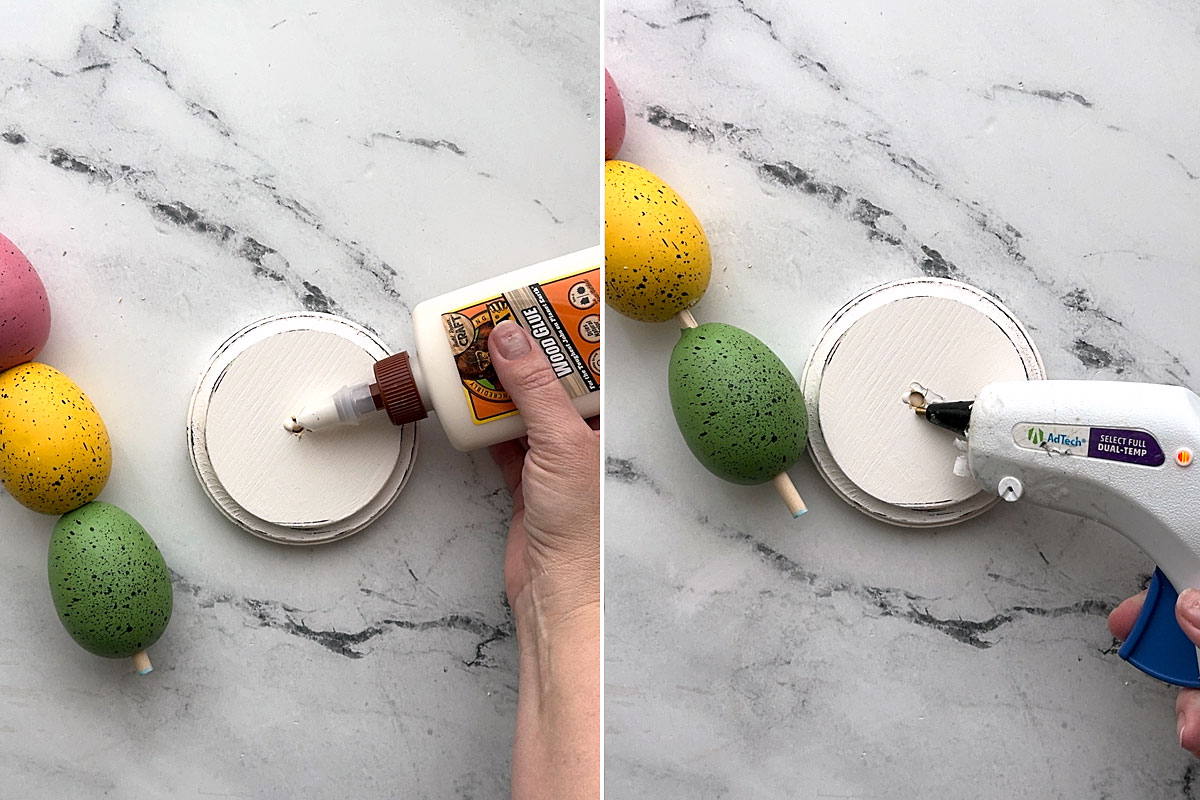
Then use more wood glue in the hole in the other wood round along with a little bit of hot glue and place it on top. Stand the candlestick up and make sure it stands straight and level (you will be able to slightly shift it for the first minute or two before the hot glue sets up).
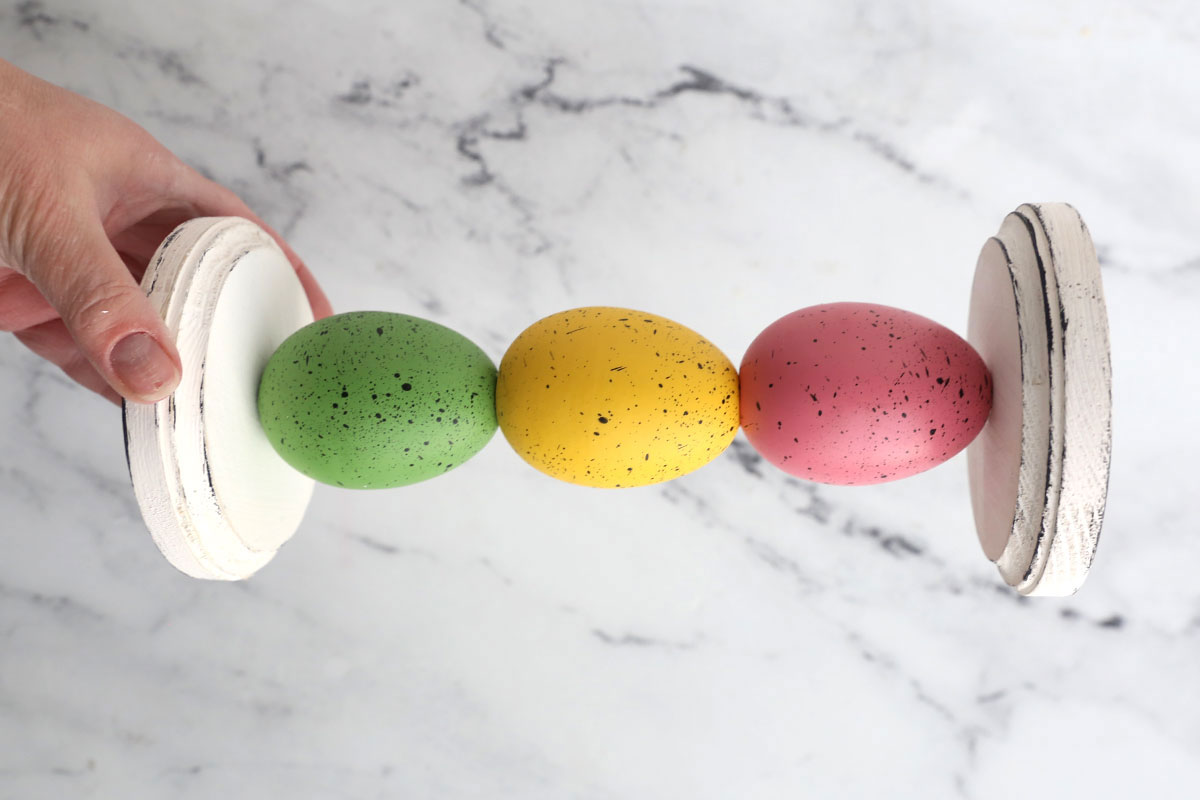
Wood glue takes 24 hours to fully cure, so be sure to leave your candlestick undisturbed for that long before placing anything on top of it. Then you can top the candlesticks with some short pillar candles and add them to your Easter decor. Please remember NOT to light these candles – use flameless pillars if you want the look of a lit candle.
Easter Egg Candlesticks
Supplies
- 2 Round Wood Plaques 4 inches in diameter
- 1/4 inch Wood Dowel
- Styrofoam Easter Eggs
- Paint and Paintbrush
- Skewer or Ice Pick
Want more project ideas? Sign up to get my favorite easy crafts and recipes straight to your inbox!
Equipment
- Drill with 1/4 inch drill bit
- Small hand saw
- Wood Glue + Hot Glue
Instructions
- Paint the wood rounds as desired and allow to dry completely.
- Use the skewer to poke a hole all the way through each Easter egg from top to bottom. Start from the bottom and push the skewer about halfway through, then turn the egg over and push the skewer from the top until the skewer comes out the hole in the bottom. This create a path for the drill.
- Very slowly and carefully drill through each egg.
- Mark the center of each wood round on the smaller side and drill into the wood from directly above half an inch. You can use masking tape to mark 1/2 an inch on the drill bit.
- Place one end of the dowel into the hole in one wood round. Slide on the eggs you'll be using. Then mark half an inch above the top egg and cut the dowel. Put another wood round on top to see if everything fits or if you need to trim the dowel slightly shorter.
- Glue everything together, using wood glue in the holes in the wood rounds as well as a little hot glue. Use a little hot glue in between each egg.
- Allow the candlesticks to fully cure for 24 hours before placing candles on them. Remember these are decorative candlesticks ONLY so you should never light the candles that are on them. Use flameless candles if you want the look of a lit candle.





uno online says
These candles look so impressive. Thanks for sharing this
Raianne Abrams says
Beautiful , I would love to do this for our senior residents but unfortunately it is way over my budget.