
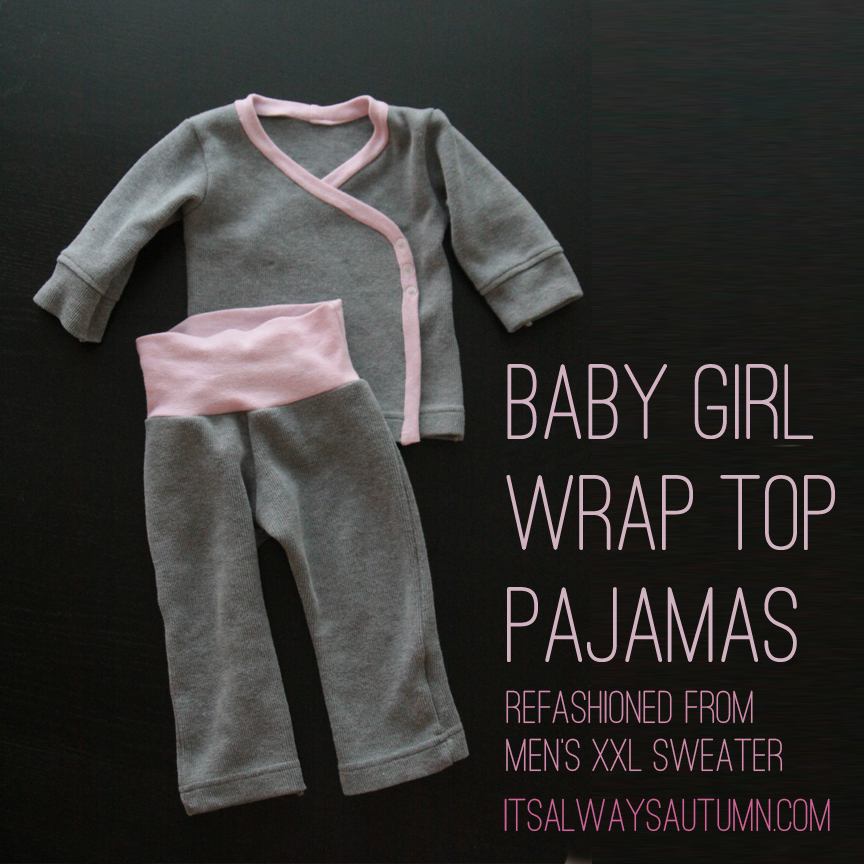
My husband brought our daughter to me the other day and said: “She needs new pajamas.” There were holes in the feet of her jammies and her toes were sticking right out. That was Friday night, and Saturday I was more in the mood to sew than to shop, so I made her a new pair of pj’s.
Safety Note
The CPSC recommends that you do not put children to sleep in T-shirts, sweats, or other oversized, loose-fitting cotton or cottonblend garments. These garments can catch fire easily and are associated with burn injuries to children. Please be aware of this recommendation and make an informed decision of whether to let your child sleep in a garment such as the one shown here.
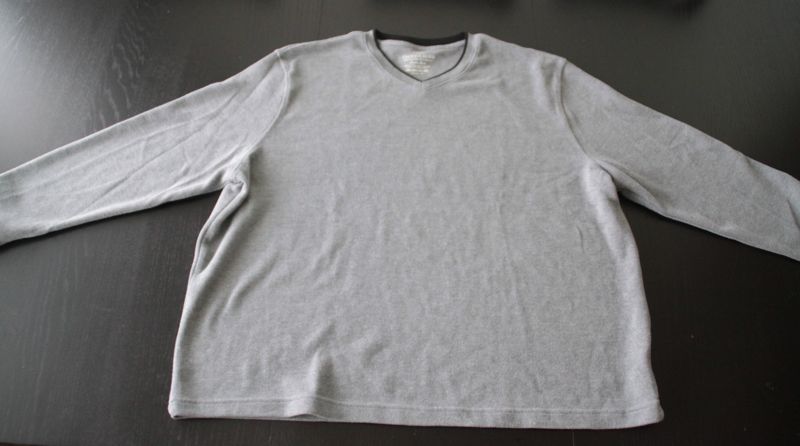
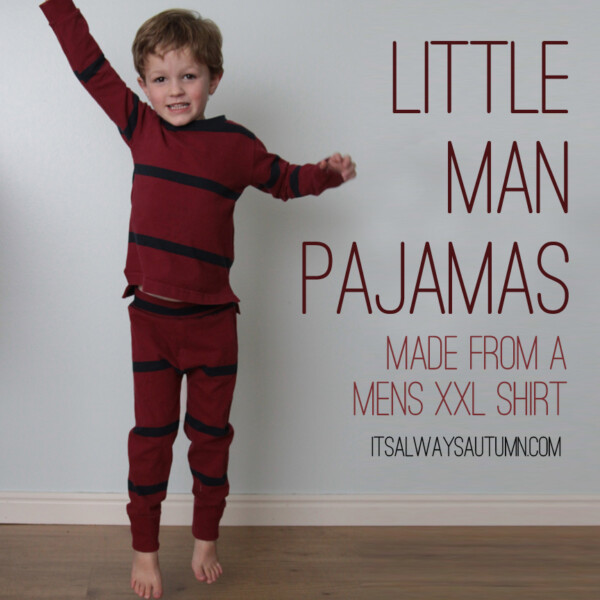
I cut up a men’s XXXL sweater I’d purchased on clearance at Walmart for $1 and went to town. My baby girl was pretty pleased with the result (and BTW, I have four boys and NONE OF THEM cared AT ALL what they were wearing at her age – but she wants to pick out her own clothes and her own shoes already – what’s up with that?)
It was a pretty quick project because I used the existing hem and sleeve cuff for all my pieces, so I didn’t even have to hem anything! I finished up the top with bias trim (cut off an old t-shirt) and added an easy yoga waistband to the paint (same old tee), so I was easily done by the time naptime was over.
Here’s what I did:
I used an existing pair of pj’s that fit well to trace my pieces onto the sweatshirt. I cut out the sleeves from the bottom of the sweatshirt sleeve so I could keep the cuff. (I cut these kind of short, to make 3/4 length sleeves – but I don’t think I’ll do that again on a baby outfit – baby’s arms are so short that 3/4 length doesn’t exactly work. oh well!)
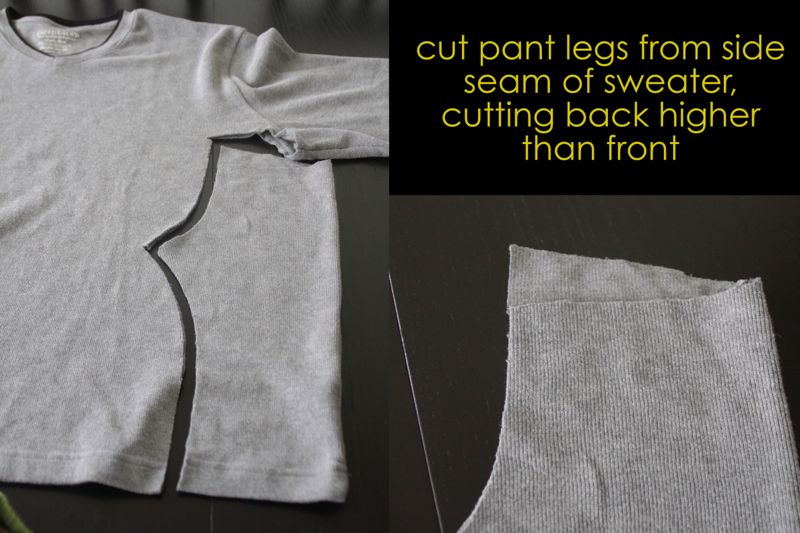
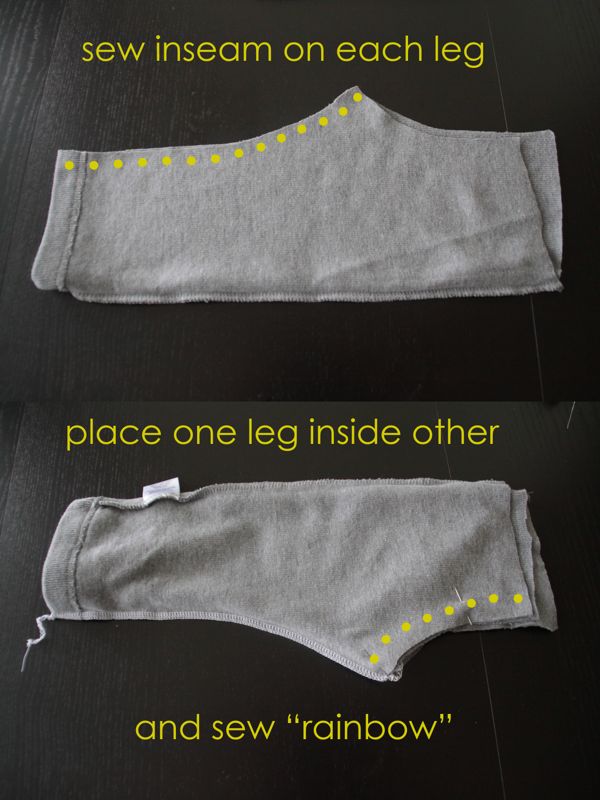
I cut pant legs from the bottom sides of the sweatshirt. Instead of cutting two pant leg fronts and two backs, I just cut out each front/back together (no side seam to sew!). As you can see in the picture below, I made sure to cut the waist part of the back higher than the front on each leg – that’s to give extra room in the seat of the pants.
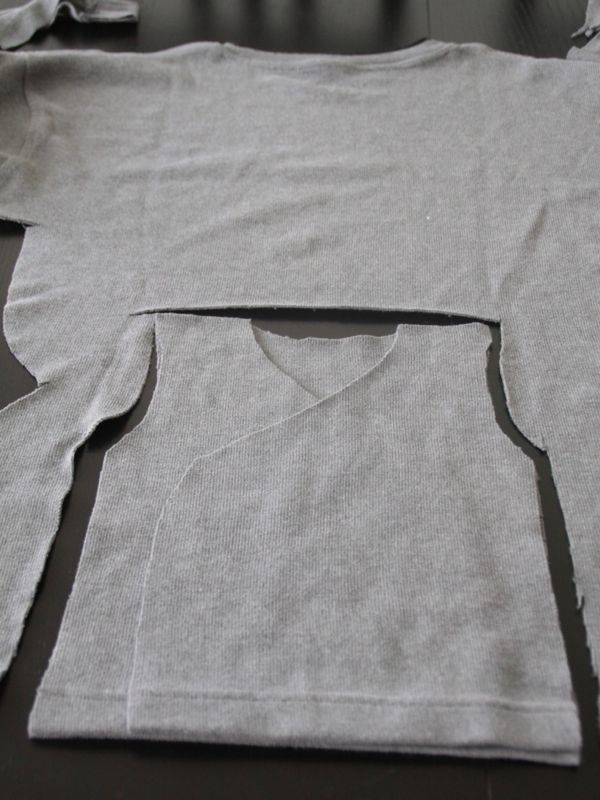
Then I cut the fronts and back of my top, again using the existing hem. I cut two front pieces so they’d overlap as shown below, to make a “wrap” top.
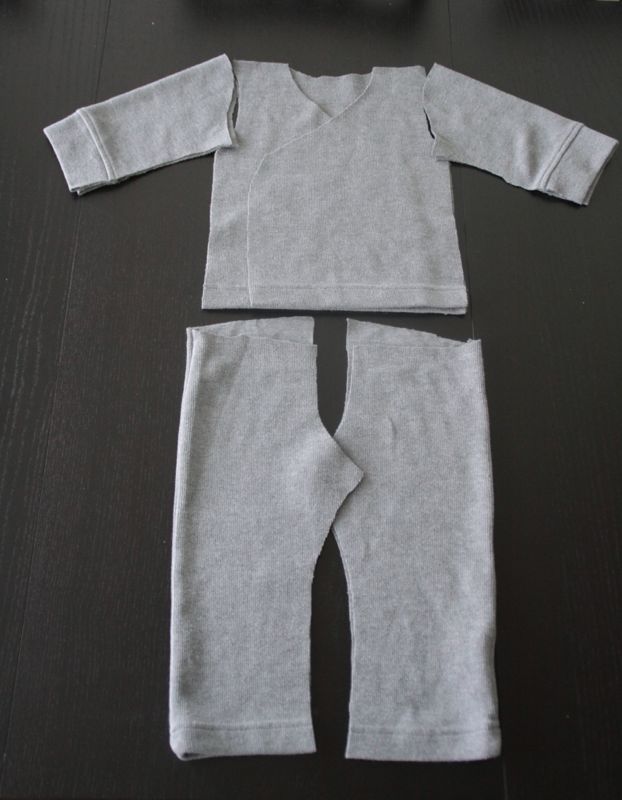
Here’s how all the pieces look once they were cut out.
The pants come together VERY quickly once they are cut out. Turn each pant inside out, and sew up the inseam. Then turn one pant leg right side out, and place that inside the other pant leg (which is still inside out). Pin together along the “rainbow” or curved seam that will go front middle front waist, under the crotch, and up to the middle of the back waist. Sew.
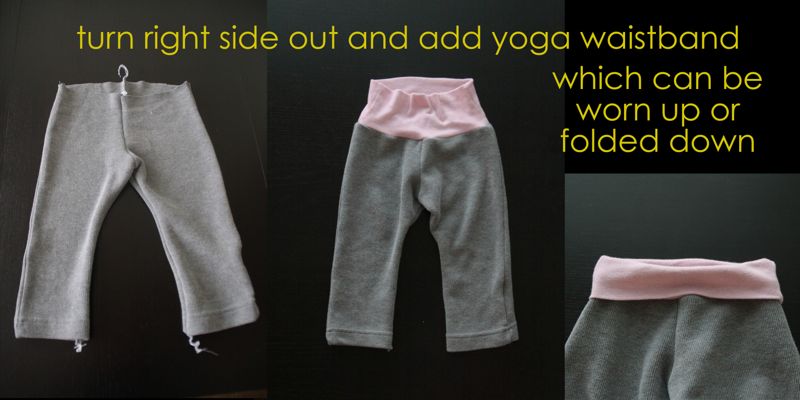
Turn the pants right side out, and attach an easy yoga waistband, as describer here. Remember, if the material you are using for the waistband is very stretchy (mine was – it was just from an old fitted tee) you’ll want to make the waistband SMALL. Once it’s attached to the pants it will stretch out quite a bit, and you don’t want pants that fall off your girl!
For the top, I started by sewing the fronts to the back at the shoulder seams, right sides together. Then I opened the front/back up and laid it down on a table, right side down. The sleeves then need to be pinned to the bodice, matching the outward curve of the sleeve to the inward curve of the shoulder (you can see in the top photo below that the sleeve top curves out which the shoulder curves in). I started by pinning the middle of the sleeve curve to the shoulder seam (RST), then working outward from there, pinning the raw edges (middle photo below).
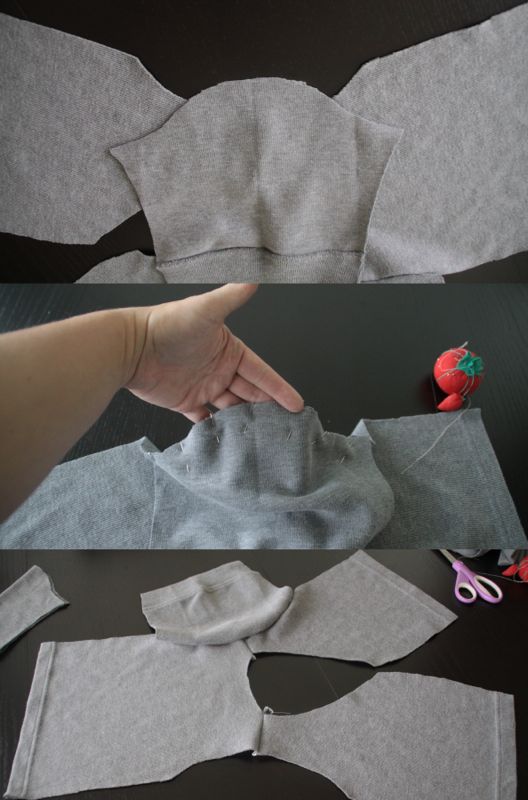
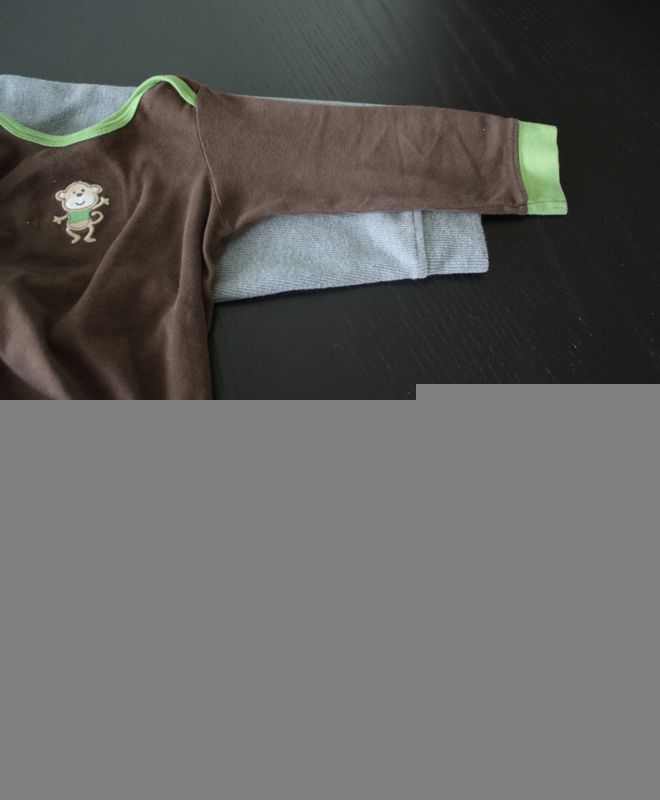
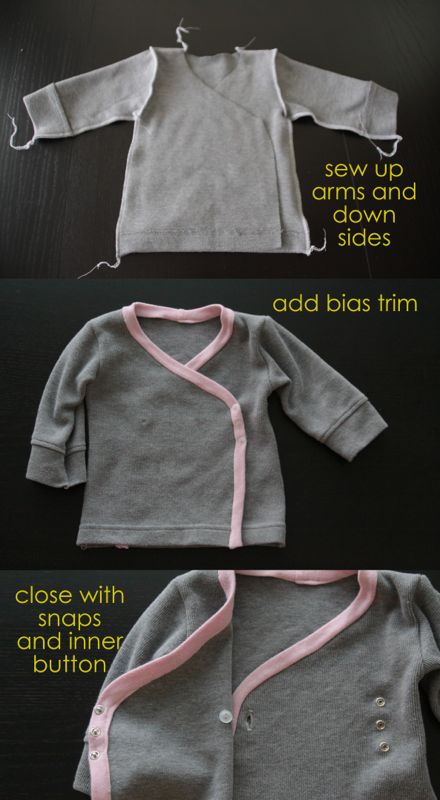
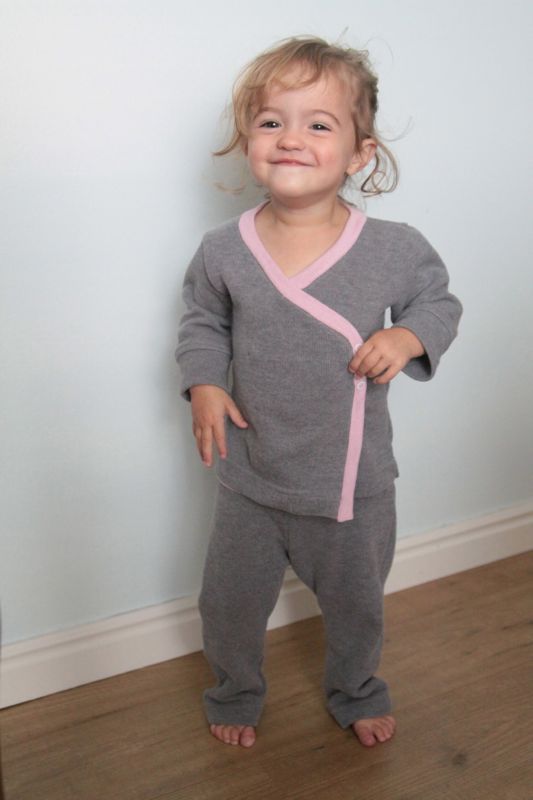
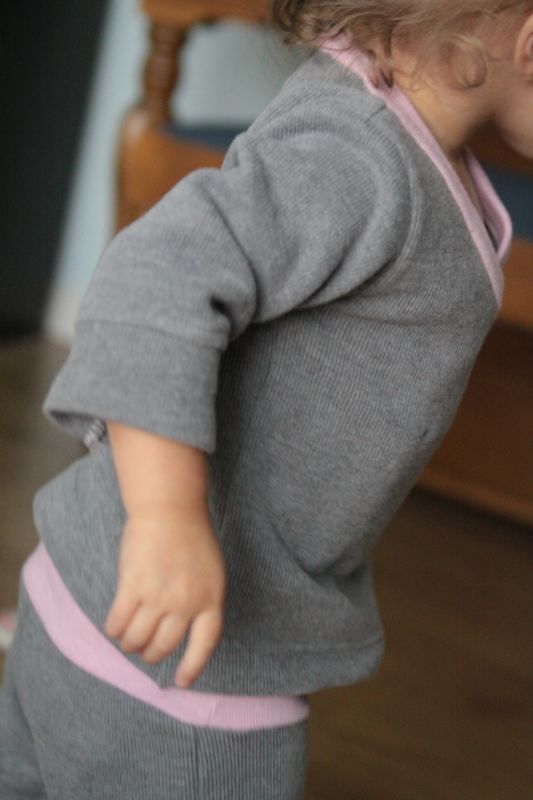
The bottom photo shows what is looks like when one sleeve has been sewn in, along where I pinned. Once both sleeves are attached, I then lined up the fronts with the back, as shown below. I started sewing at each sleeve cuff, sewed up each sleeve, and the back down each side. Then I cut a strip of pink knit from an old t-shirt and used it like bias tape to finish the remaining raw edges, and add a pop of color. Finally, I added three snaps down the front to close the portion that wraps on the outside, and a hidden button and buttonhole to close the portion that wraps on the inside.
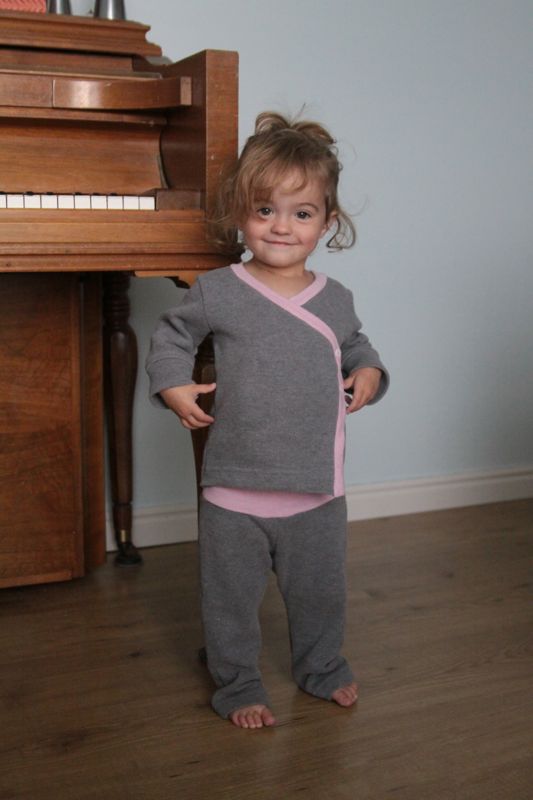
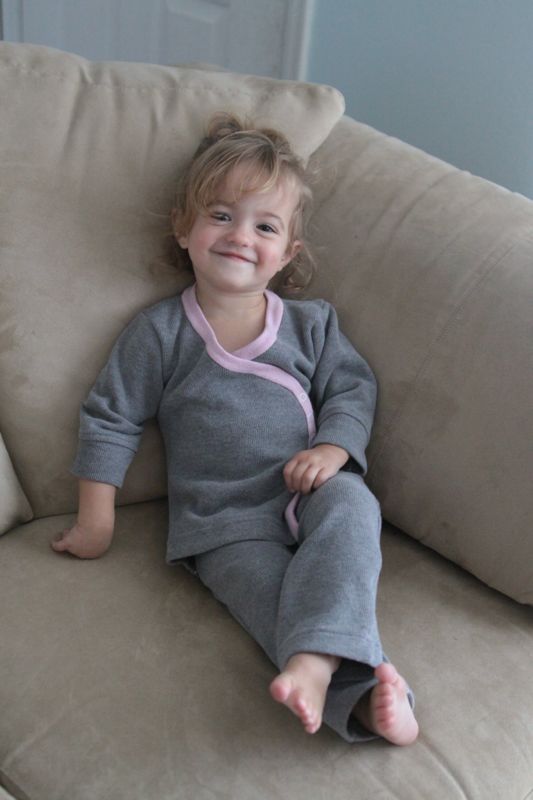
Like I said, my little girl loves her new jammies.
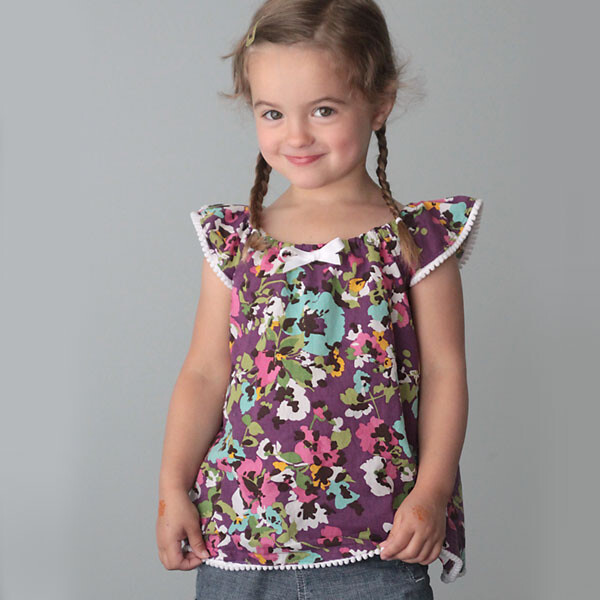
{Gratuitous cute photo that has nothing to do with the tutorial below}
The jammies are super soft and comfy – this type of sweater knit would have cost at least $10 a yard in fabric stores, so I saved a lot of money by using the clearance sweater. I saved a lot of time as well.
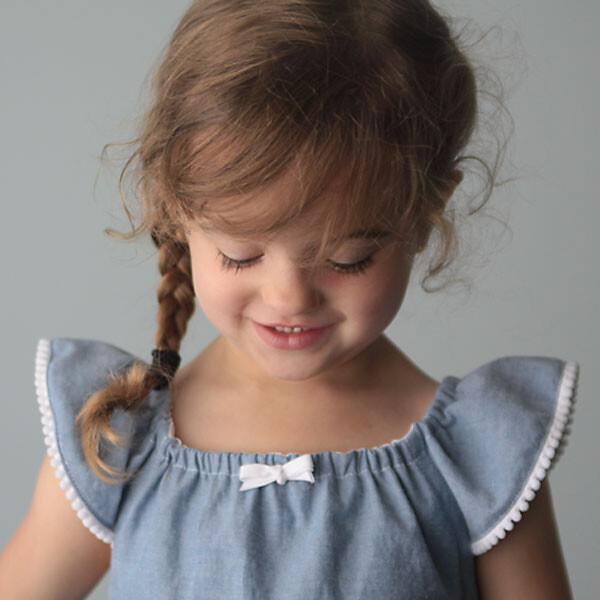
{One more gratuitous cute photo.}
Now to make another pair or two!

Baby clothes for boys says
Hi Admin,
These Baby are so cute.
autumn says
Jen – sorry about the confusion on “sewing the rainbow.” It’s kind of hard to see in my photo. What probably happened is that you sewed through all four layers of fabric (which is exactly what it looks like you SHOULD do in the photo, sorry!). Instead you need to just sew two layers of fabric together, all the way around the U – or rainbow – shape. So if your pant legs are positioned like mine are in the photo (one inside the other), start at the top sewing through just two layers of fabric and sew along the dotted lines shown in the photo, down from the waist to the crotch, then around and back up the other side. Yikes – I hope that makes sense. Let me know if it doesn’t and I’ll update the post w/another photo. Thanks!
Lauren DeMary says
Lol I just did the same thing and sewed right up the whole middle of the crotch rainbow today too! I’m a newbie so it was a good mistake to make …that won’t happen again! Hahaha…love this idea. I’m making my son Pj’s like in your other tutorial and I’m here to figure out the yoga pants waist band! Lol wondering if I can use the material from the shirt I’m making the pajamas from or if i need a small t-shirt that I can cut up. Any advice would be awesome! Thank you!
Jen says
Thanks for this tutorial! I thought I was following your directions of “sewing the rainbow”, but I ended up with pants that were completely sewn in the center, essentially sewn as legs all the way to the waistband. What did I miss?
Tracy says
Adoriable, I would love to make something for my DD 10y/o. It is on the list.
Karen says
These look so attractive and comfortable, and what an adorable model! I’m pinning this now and expecting a baby girl in March. I’m sure I’ll be whipping up a pair or two before too long! The tutorial looks nice and clear. Thanks for sharing it. 🙂