I don’t know if many of you know this (or care) but I used to be quite the queen of scrapbooking. I worked on scrapbook pages almost daily and even had my first real job since becoming a mom: contributing writer for Creating Keepsakes, the flagship scrapbooking magazine. And I loved it! Telling the stories that went with the photos and preserving those memories in an artistic way was awesome.
And then I stopped. The magazine went under, I got busy with my blog, I started sewing more and scrapbooking less, and I just stopped. I still take plenty of photos, but now they sit on my hard drive instead of living in books we can look through, and that’s a shame. I don’t think I need to start scrapbooking again, but in one way or another, I do need to start doing something with my photos again!
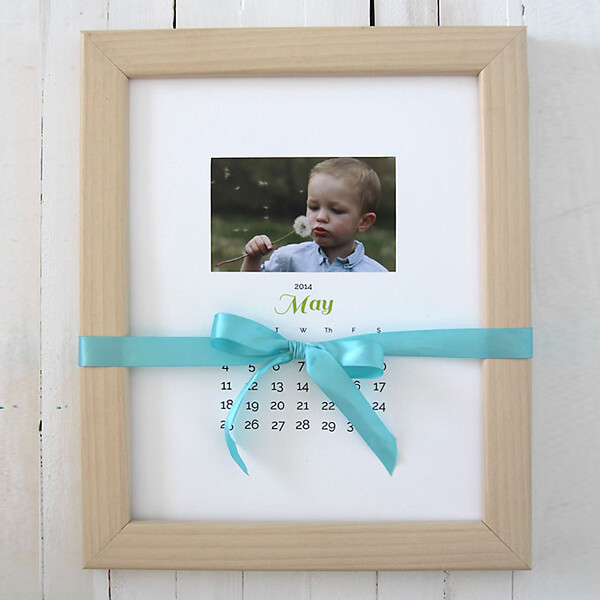
I know it’s hard to find time to scrapbook, so I’m sharing a couple of mini projects we can do to showcase some of our favorite photos. I’ve shared a few in the past: the heart photo collage and the printable photo calendar (& mini version) are a great way to showcase some favorites. Here’s another, which also happens to be a fantastic handmade gift idea: a cute little photo gift box.
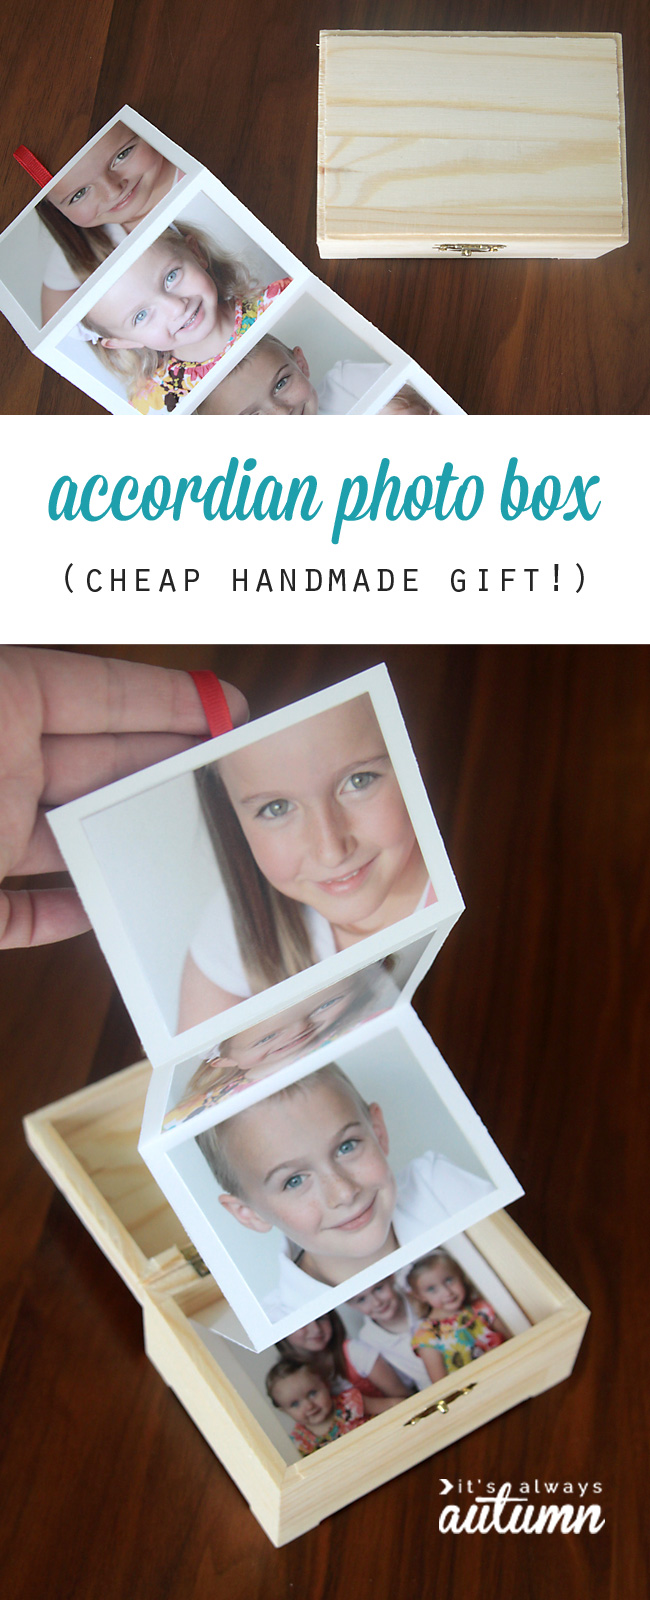
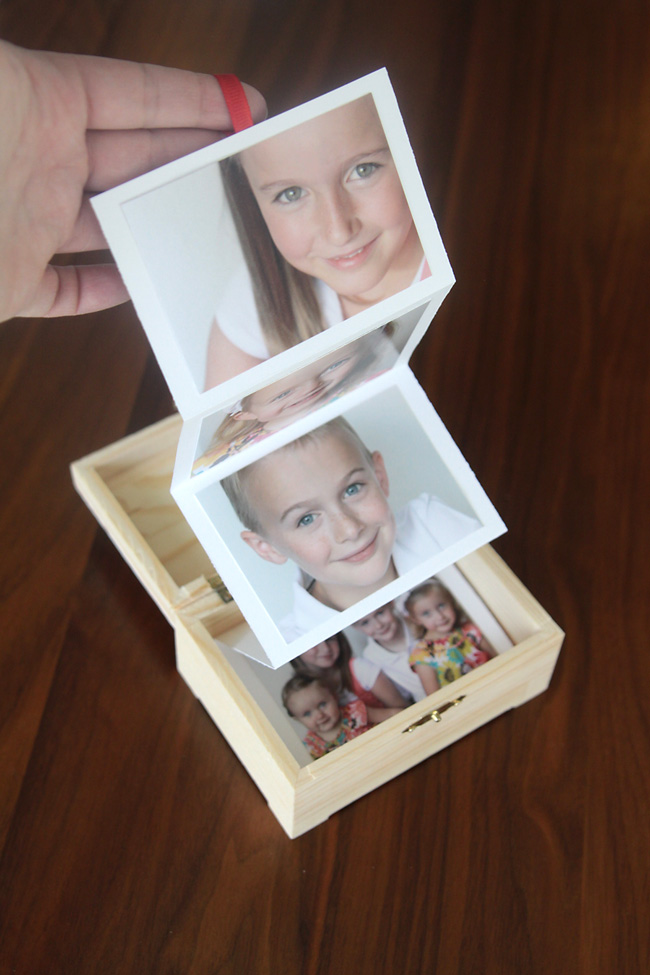
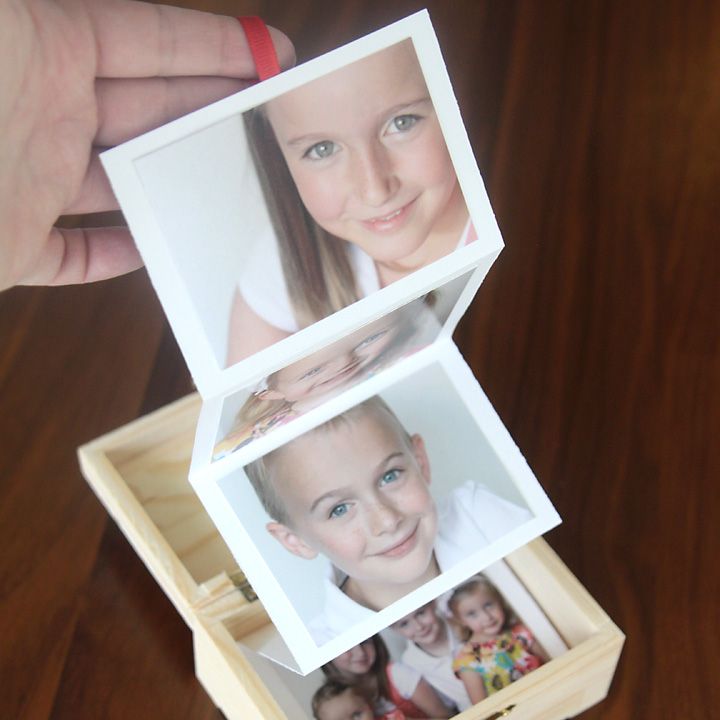
This is so, so easy, and turns out really cute. Wallet size prints are adhered to accordion folding paper with a little ribbon on top, and tucked inside a simple wooden box. Tie it up with a pretty ribbon and give it to someone special.
They’ll get to open the box and pull out the stack of photos inside.
It’s a great DIY gift for just about anyone on your list: make one for the grandparents for Christmas with photos of all the grandkids; make one for your spouse as an anniversary gift with photos of the two of you over the years; or make an heirloom version filled with photos of Grandma when she was a child and photos of her parents and grandparents. It’s just a nice way to keep and celebrate photos that are meaningful to you (or the recipient).
And it’s even more meaningful if you take the time to handwrite a little about each photo on the back of the paper.
This easy DIY gift can be put together for under $5 with just a few minutes of effort. Here’s how:
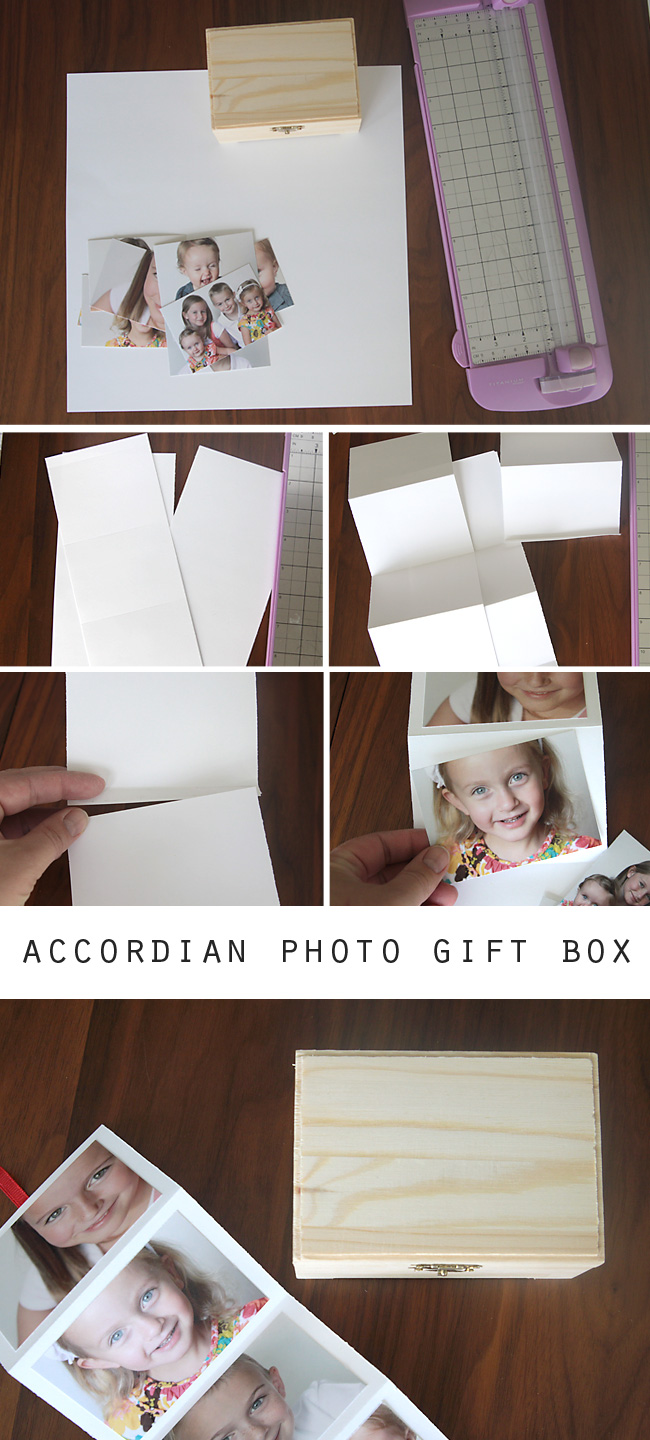
Start with an unfinished hinged wood box that’s about 5 inches long, 3.5 inches wide, and 2.5 inches tall. (I found mine at Hobby Lobby for $1.99. If you don’t have a Hobby Lobby you can find a similar box online, but you may have to adjust the measurements of the photos strip and/or photo size.) You’ll also need a sheet or two of white 12×12 cardstock, a paper trimmer (it’s helpful it if also scores), and your photos, printed out wallet size (2.5 inches tall by 3.5 inches wide). note: link in this paragraph is an affiliate link.
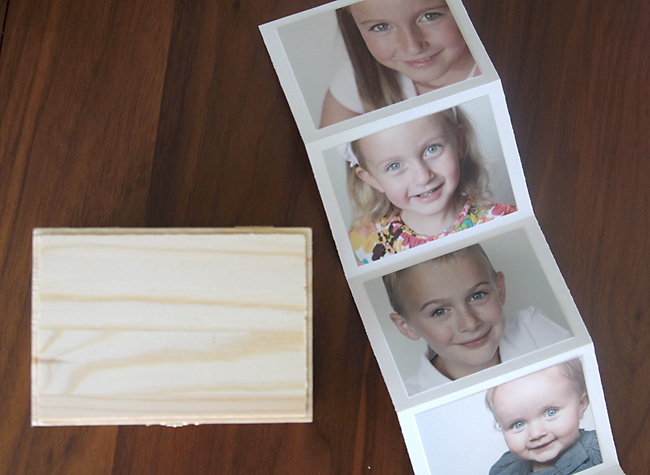
Referring to the photos below, start by cutting the 12×12 cardstock into 3, 4-inch wide strips. Then score each strip at every 2 7/8 inches. This will give you 4 large sections on each strip as well as a half inch section at the bottom. Fold at each score, folding back and forth to get an accordion strip. Place adhesive on the 1/2 inch tab at the bottom of one strip, and place the top of the next strip on it, to make one continuous strip that is now twice as long (with 8 sections). Repeat until you have enough sections to accommodate all the photos you want to use.
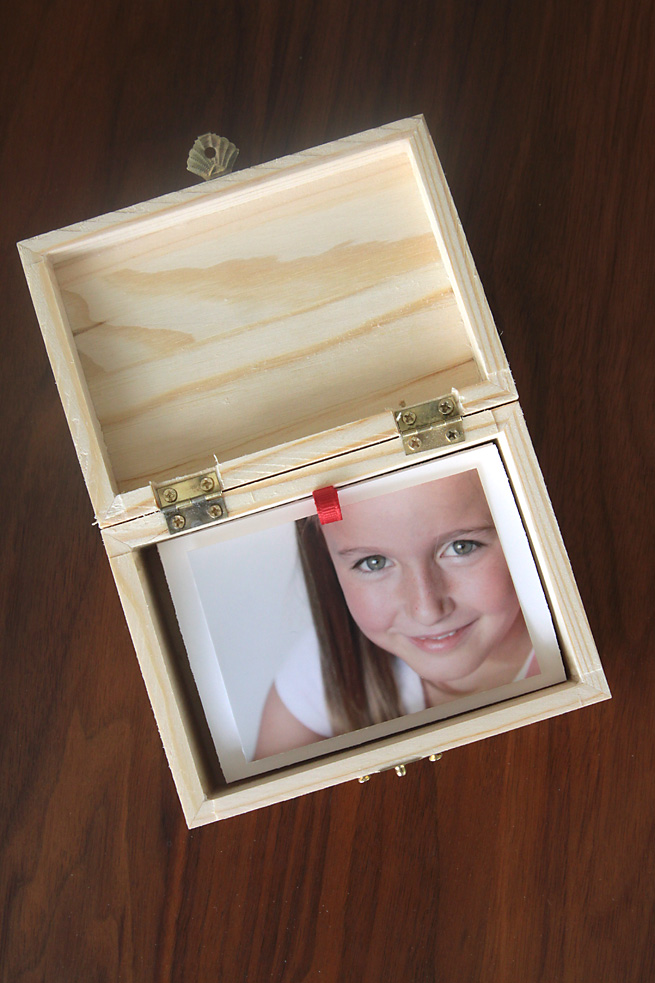
Adhere photos onto each section of the accordion photo strip, and then adhered a loop of ribbon to the center back of the top photo. Write stories and details on the back of the photo strip, if desired. Place folded photo strip inside the unfinished wood box.

Allie says
Super cute kids if I do say so myself 🙂
Joy says
OMG – Autumn, you really know how to find and create awesome projects that fit right in with my budget, and are fantastic! One addition I would make to this – if the kids wanted to paint the box for Gramma & Grampa, then you modge-podge it, it’s a lasting piece of artworks too! (Dated of course before you modge-podge it).
Chelsea @ Life With My Littles says
This is so cute! It would be perfect for grandparents!