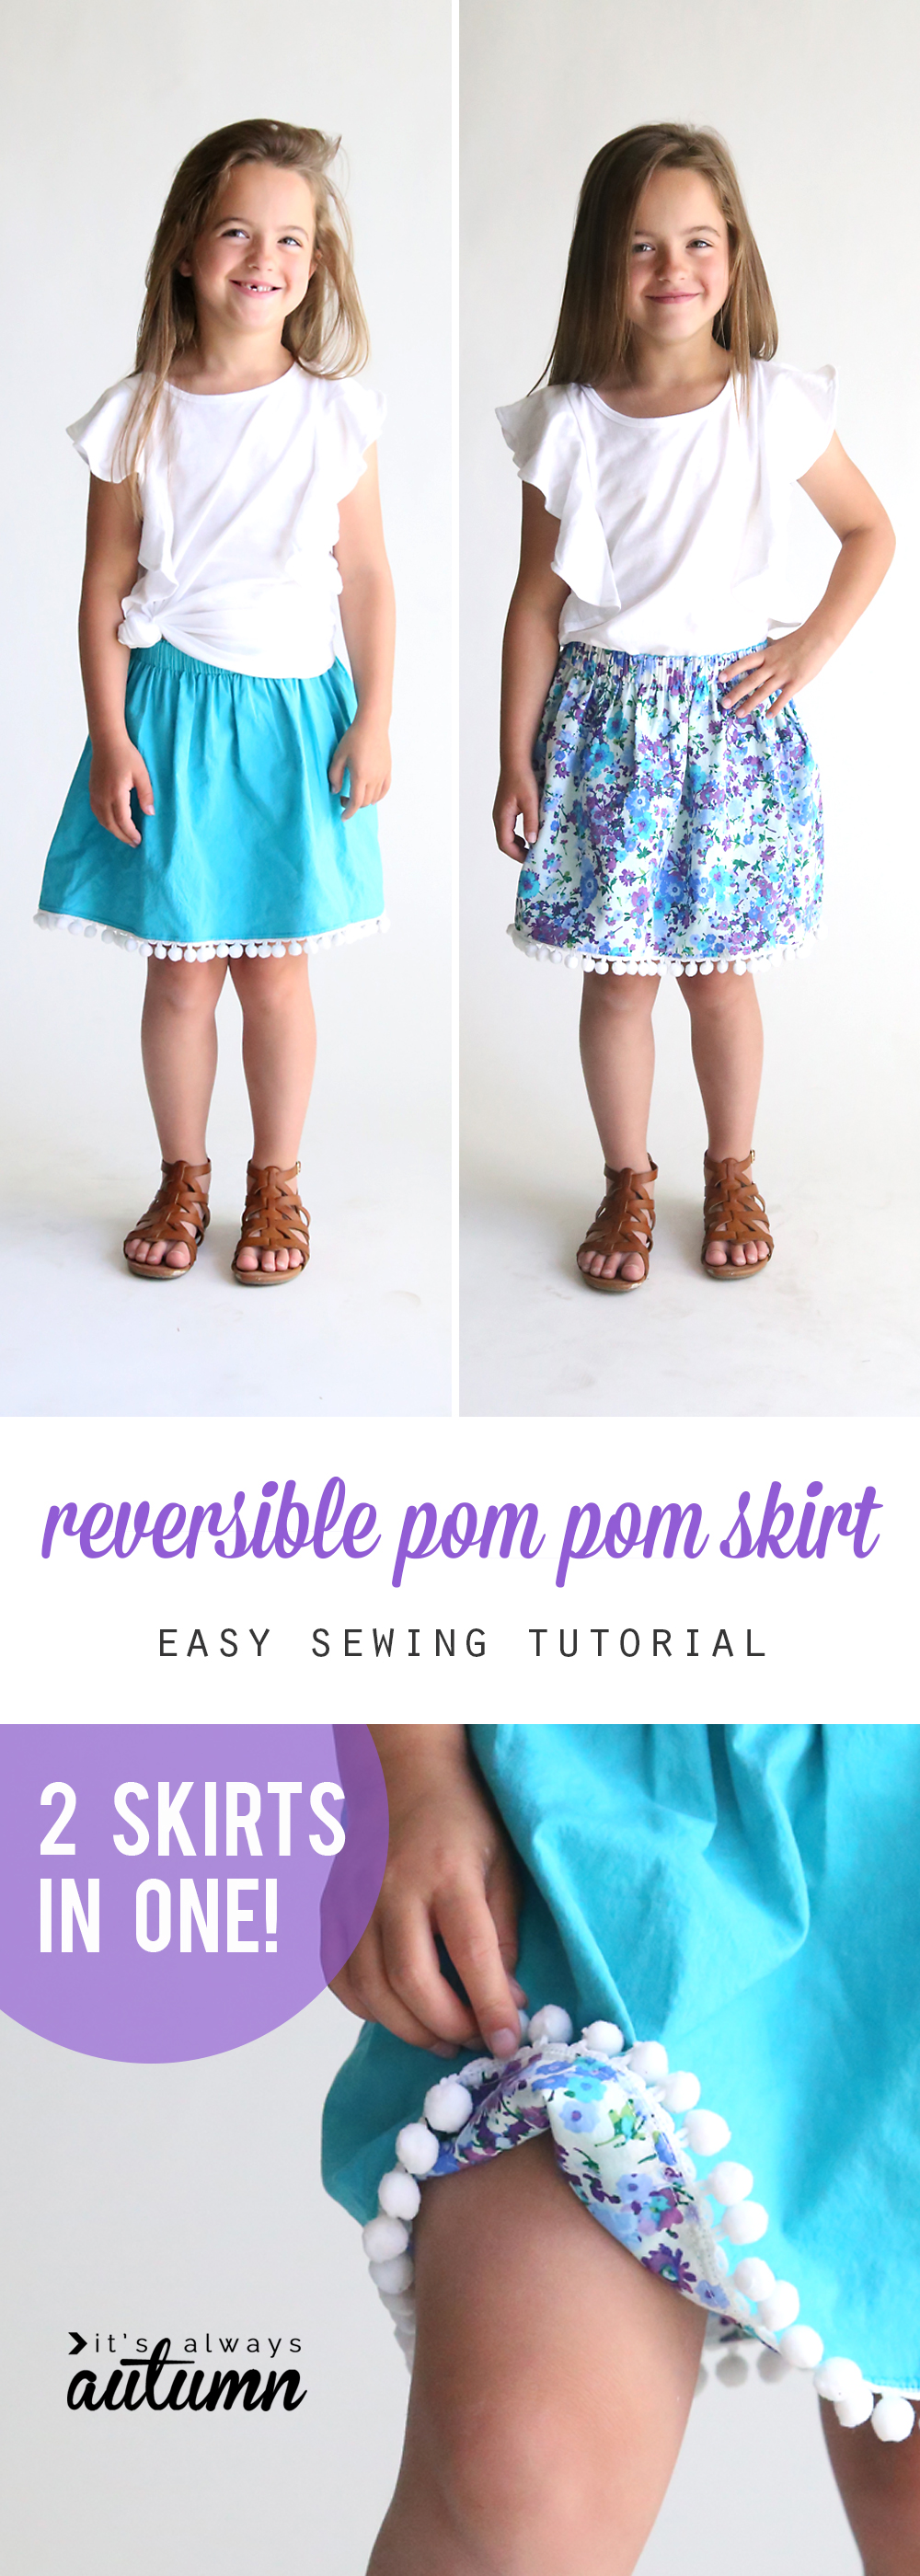
I don’t know if you’ve noticed, but pom poms make everything cuter. EVERYTHING! My daughter has been dying to go to the fabric store to pick out fabric for a new skirt (and by “pick out fabric” I mean beg for horrendous sparkly rainbow stuff with characters plastered all over it while I nudge her toward something that doesn’t melt my eyeballs). Anyway, as we were looking for fabric for said new skirt I decided it needed to have pom pom trim at the bottom. Because what’s better than a pom pom trim skirt on a little girl? Not much. Except maybe a REVERSIBLE pom pom trim skirt!
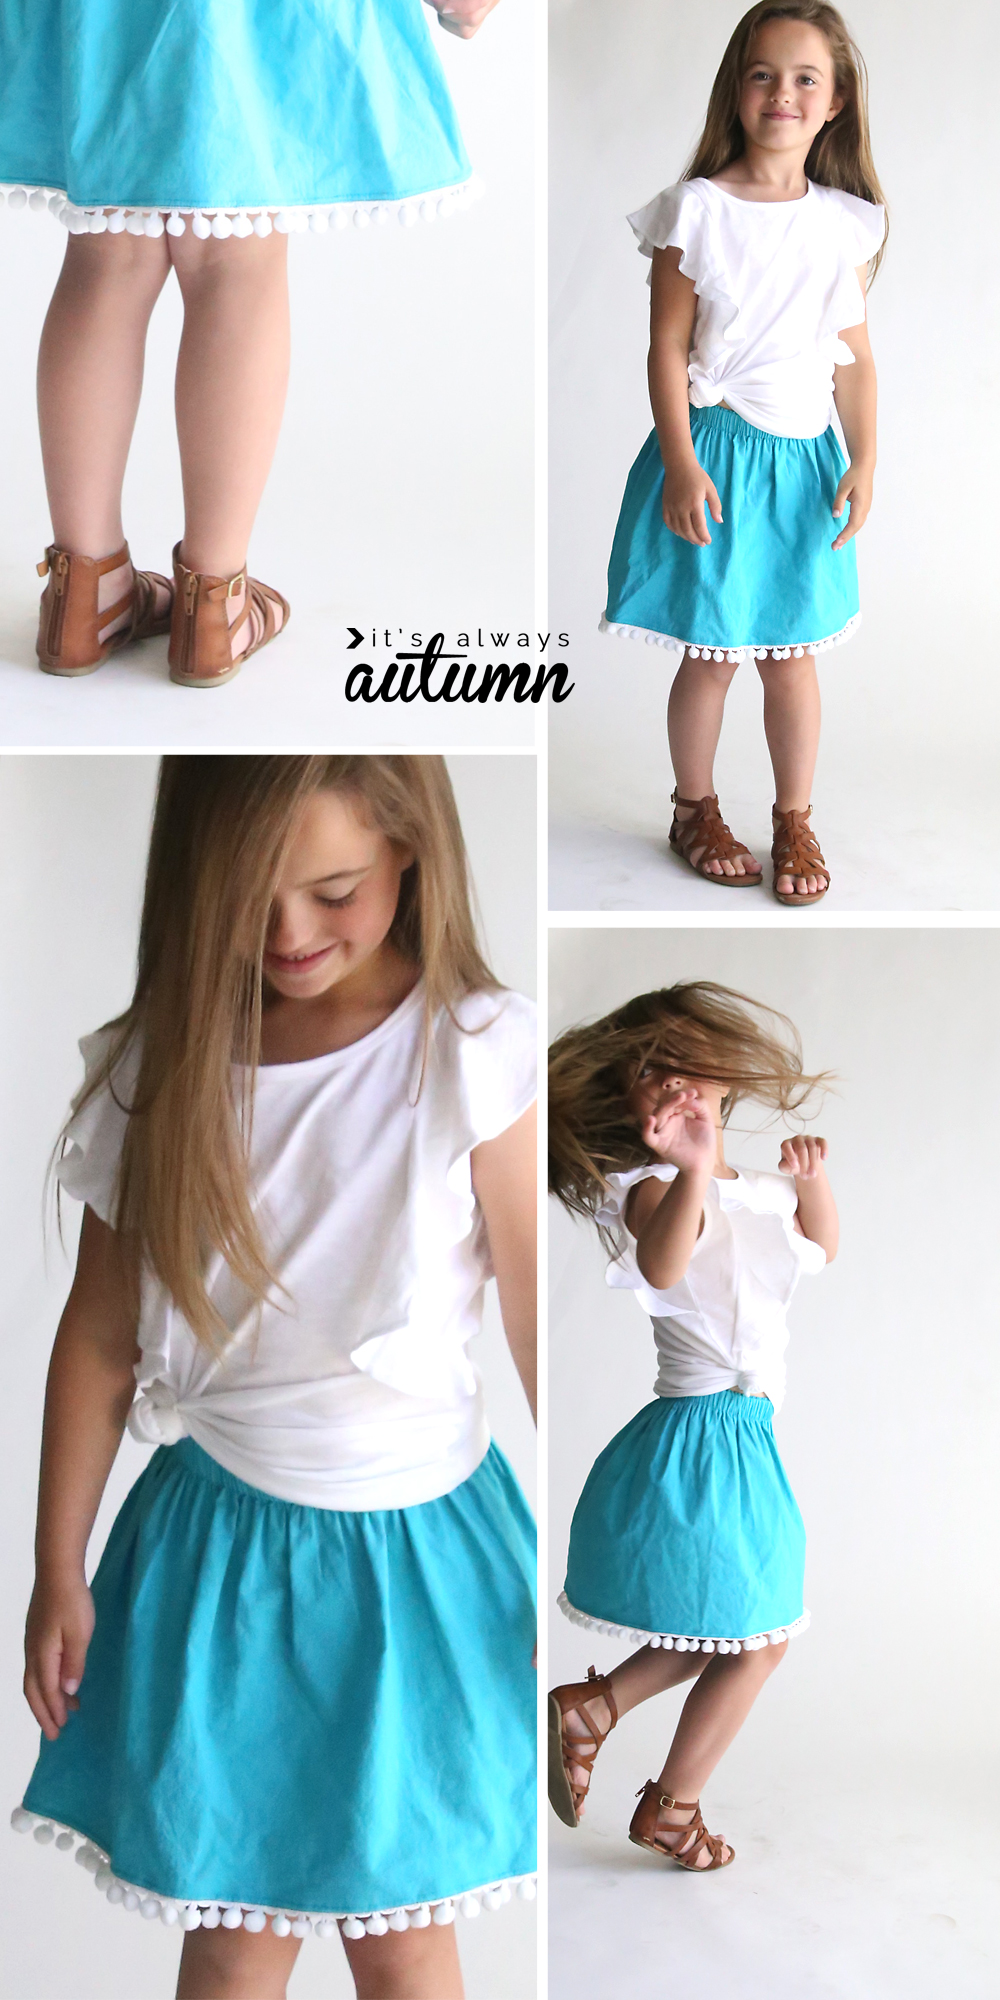
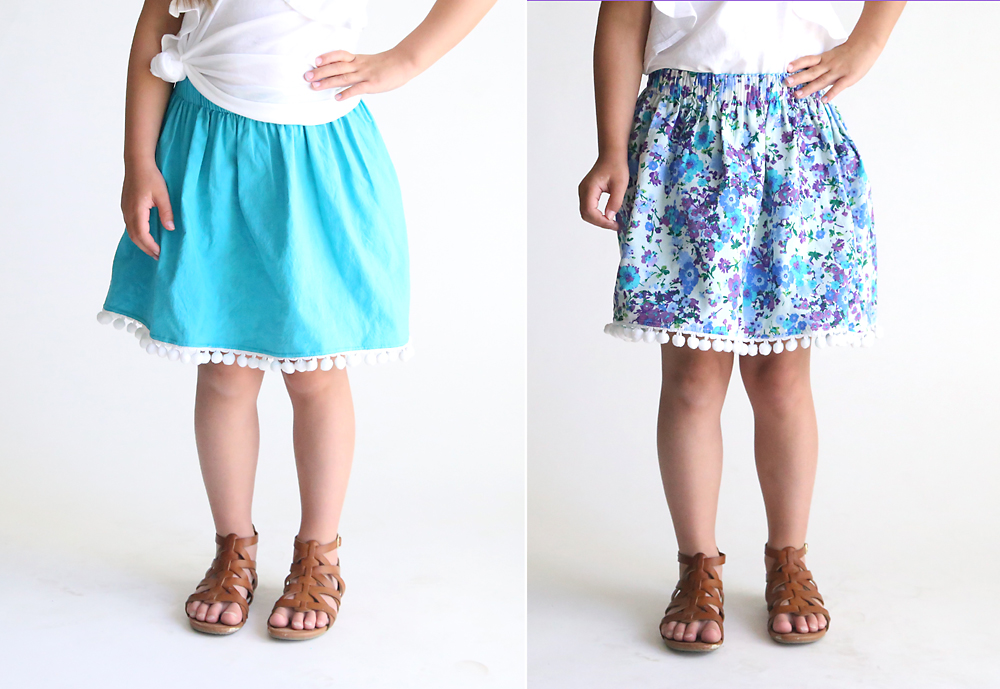
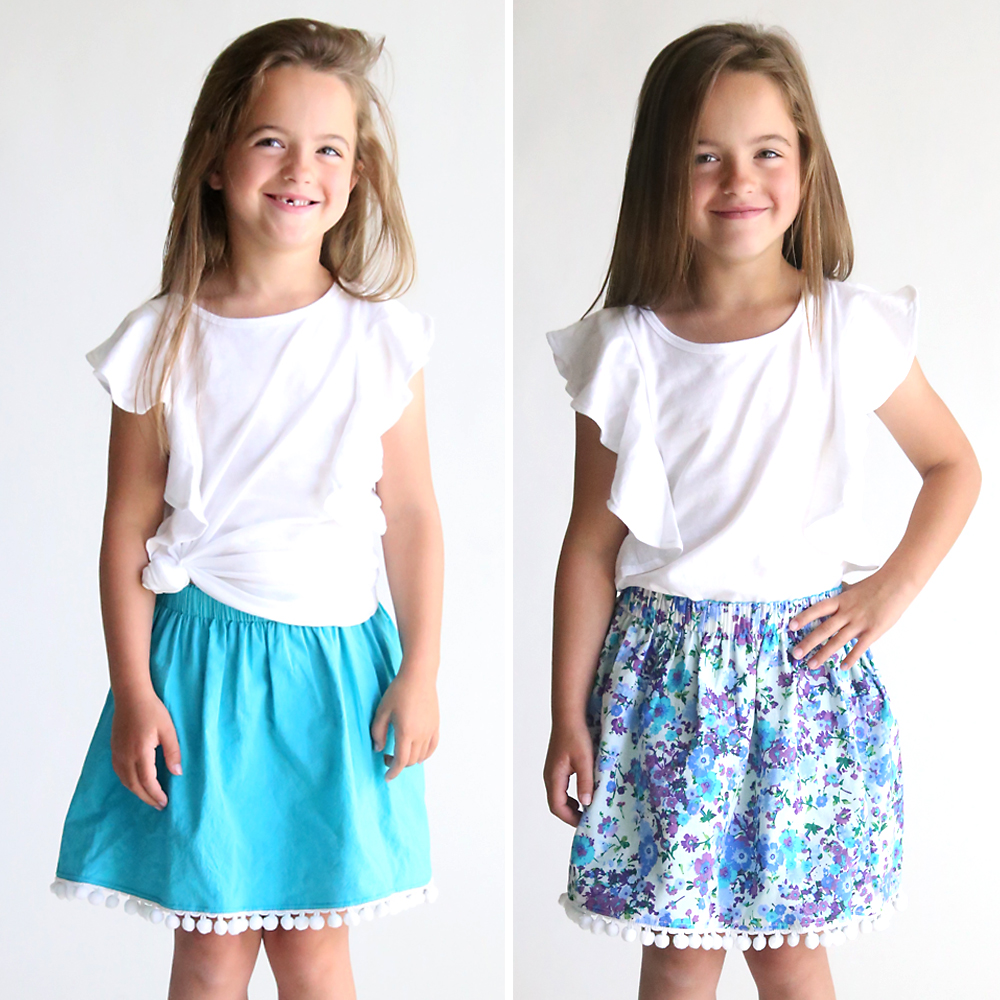
Yes! After we found an adorable floral print that we both liked (and don’t judge me because I didn’t buy the rainbow sparkles – you wouldn’t have wanted to look at that day in and day out either!), I remembered I had a pretty teal solid in my stash at home that would match it perfectly. Not that it needed to match – you only really see one side at a time – but match it does. So some days she can wear a pretty solid teal skirt, like this:
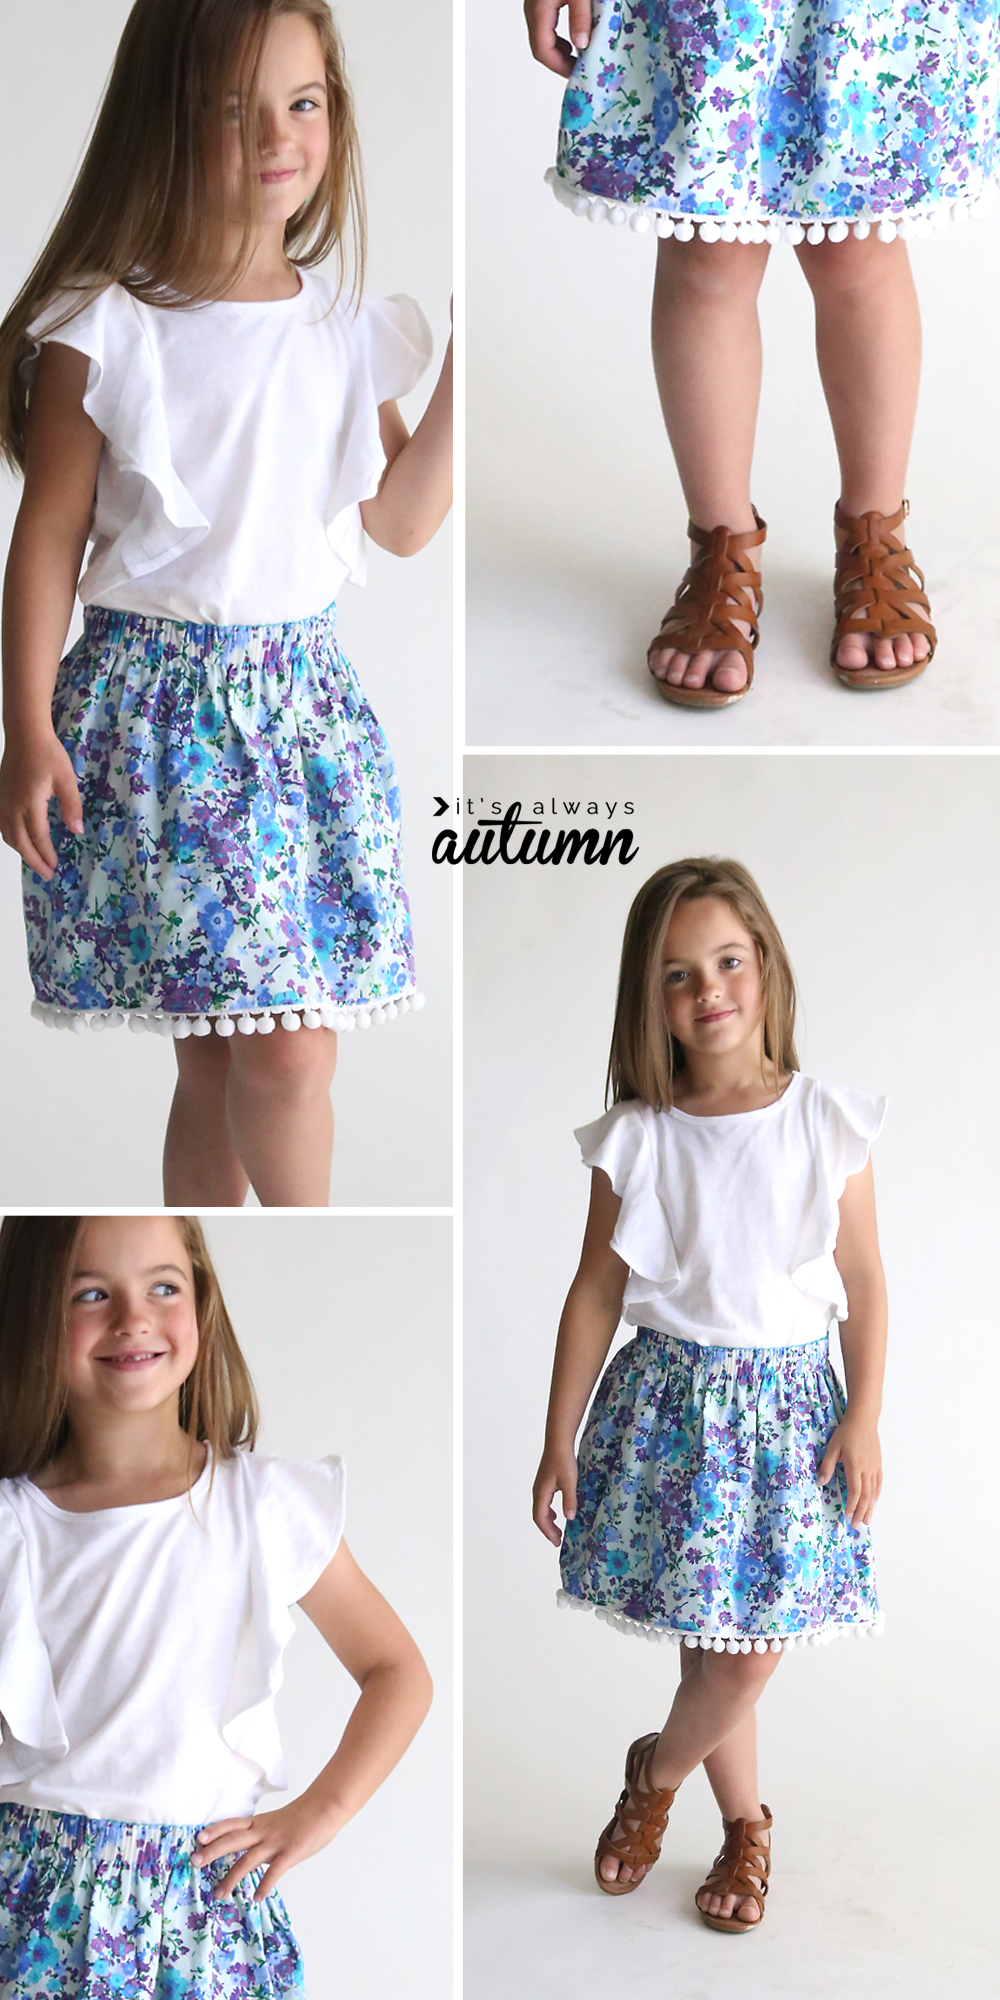
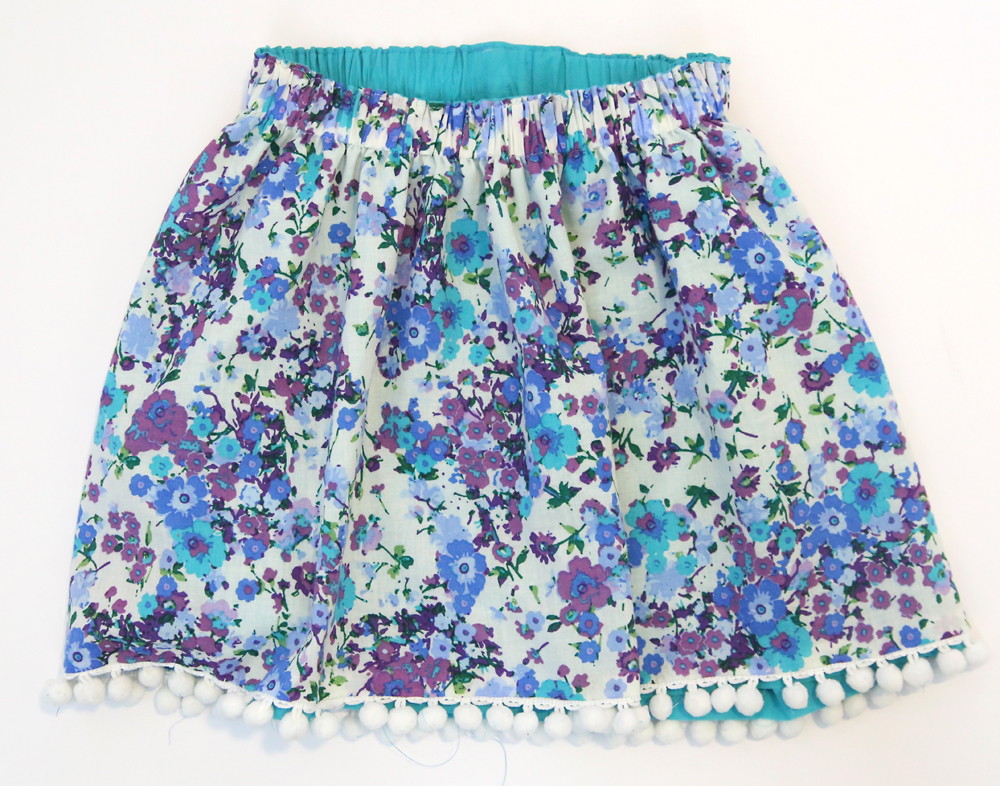
And other days she can flip it to the other side and wear it with the flowers showing, like this:
Pretty awesome, if I do say so myself. It took a bit of trial and error: my first attempt at this reversible skirt ended up as a weird tube with half the pom poms inside said tube instead of all along the hem, but I got there eventually!
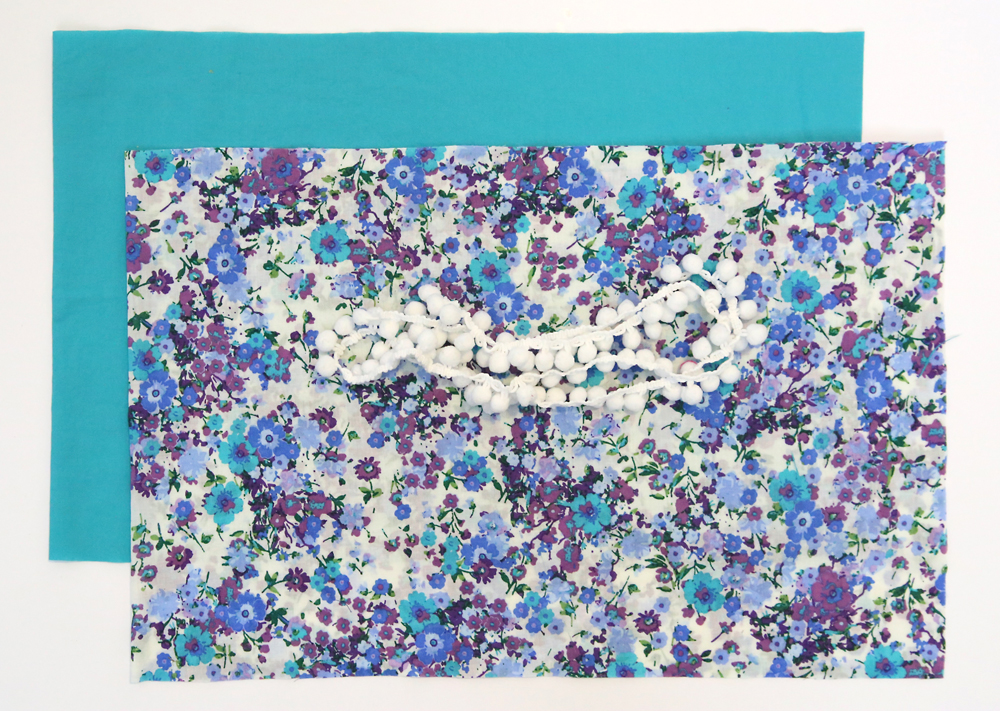
For a little girl’s skirt, you will need 1/2 yard of two different fabrics, plus about a yard and a half of pom pom trim. You’ll also need matching thread and enough 3/4 inch wide elastic to go around your girl’s waist. You can make this skirt in any size you’d like, but you will need more fabric for sizes above a 7/8.
Be sure to prewash and dry your fabric. It’s a good idea to use the same type of fabric for both sides of the skirt. Also be aware that if you use a quilting cotton, the skirt will be stiffer and will stick out more at the bottom. I used a cotton lawn, which is lighter weight and has a bit more drape than a quilting cotton.
To begin, you need two measurements. First, you’ll need to measure around your girl’s waist. That will be measurement A. Then you need to measure from the waist to knee. That will be measurement B.
Multiply measurement A by 2 to get the width of the fabric. My daughter’s waist is about 21 inches, so I cut my fabric to 42 inches wide. Then add 1 inch to the waist-to-knee measurement B to get the length of your fabric. Cut each of your two fabrics to those measurements (mine ended up being 42 inches wide by 14 inches long).
NOTE: if measurement A times 2 equals more than the width of whatever fabric you are using, you’ll need to cut two pieces of each fabric and piece them together to get the width you need.
Fold each piece of fabric in half right sides together, matching up short ends, and sew with a 1/2 inch seam allowance, as shown below.
You will end up with two wide tubes of fabric.
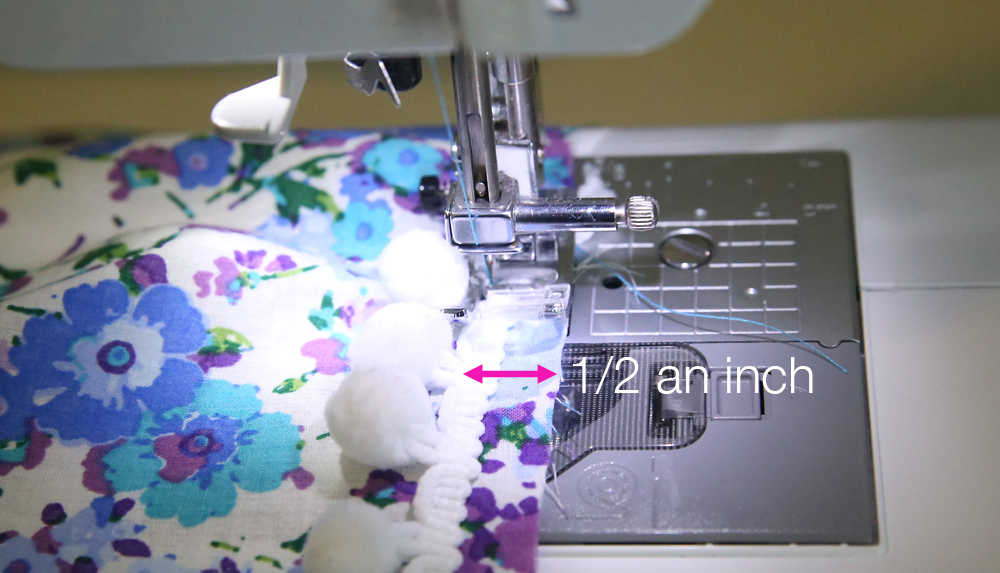
Next you need to sew the pom pom trim around one end of the first tube of fabric. I don’t worry about pinning this first; I just place one piece of fabric on the sewing machine and line up the pom pom trim on top of it, making sure that my seam is 1/2 an inch away from the edge of the fabric (see photo below). You will be sewing the trim to the right side of your fabric, and the straight edge of the trim, not the poms, will be closest to the raw edge of the fabric. Sew all the way around, overlapping the trim slightly when you get back to the beginning. Cut off any excess pom pom trim.
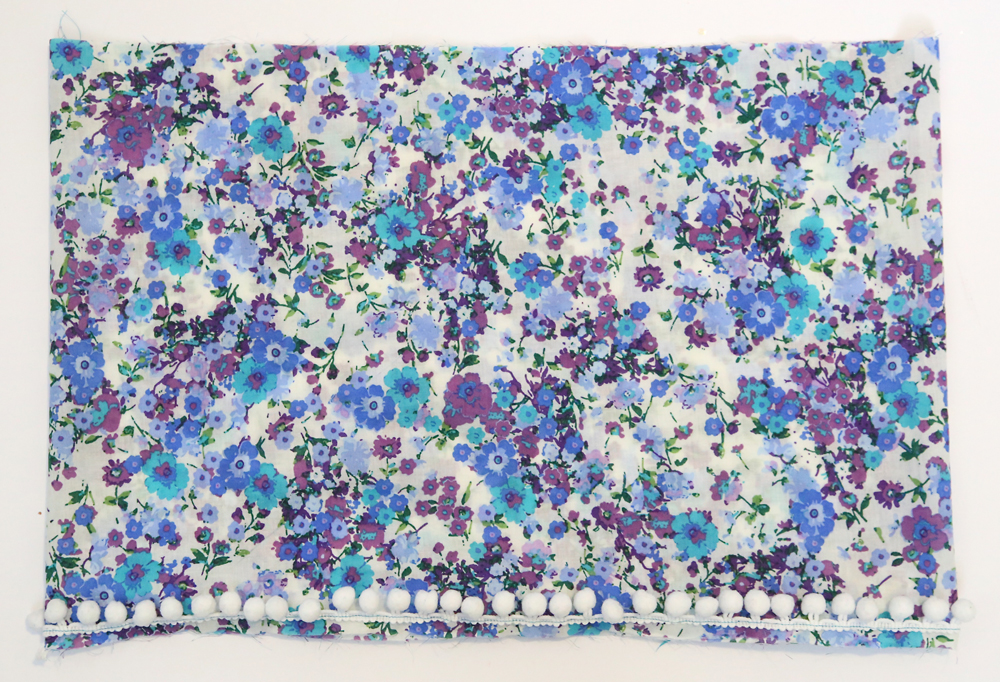
This is what it looks like now – one of your tubes of fabric has pom pom trim sewn along the bottom:
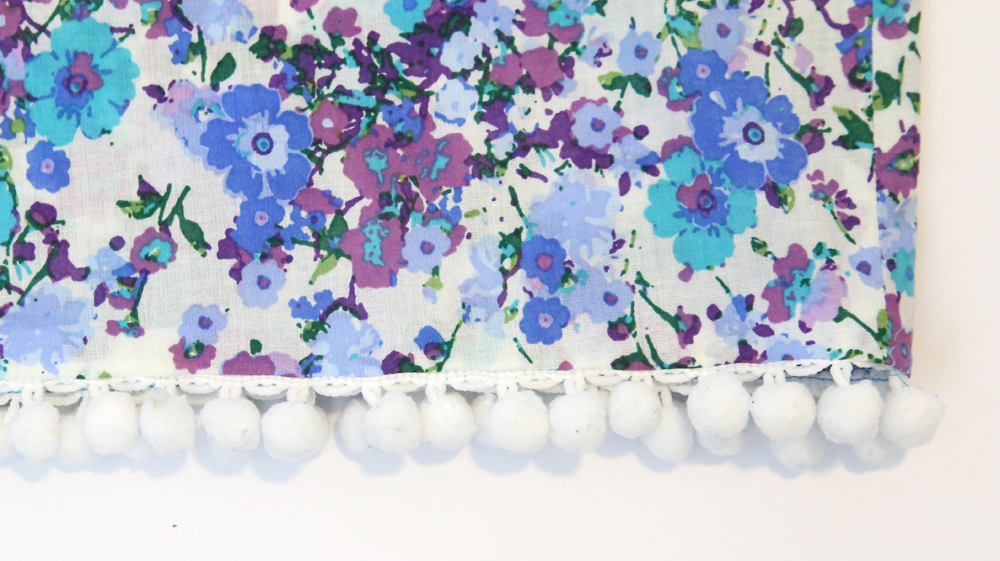
Fold the pom poms down along the bottom of the fabric, and iron the raw edge up the fabric up, so the bottom of the skirt looks like this:
Now you are going to place that fabric tube INSIDE the other fabric tube, matching up the raw edges at the top. Make sure the right sides of both fabrics are touching, and that you match up the seams. You are going to sew the two fabrics together all along the top raw edges, but there is one optional step you can do first.
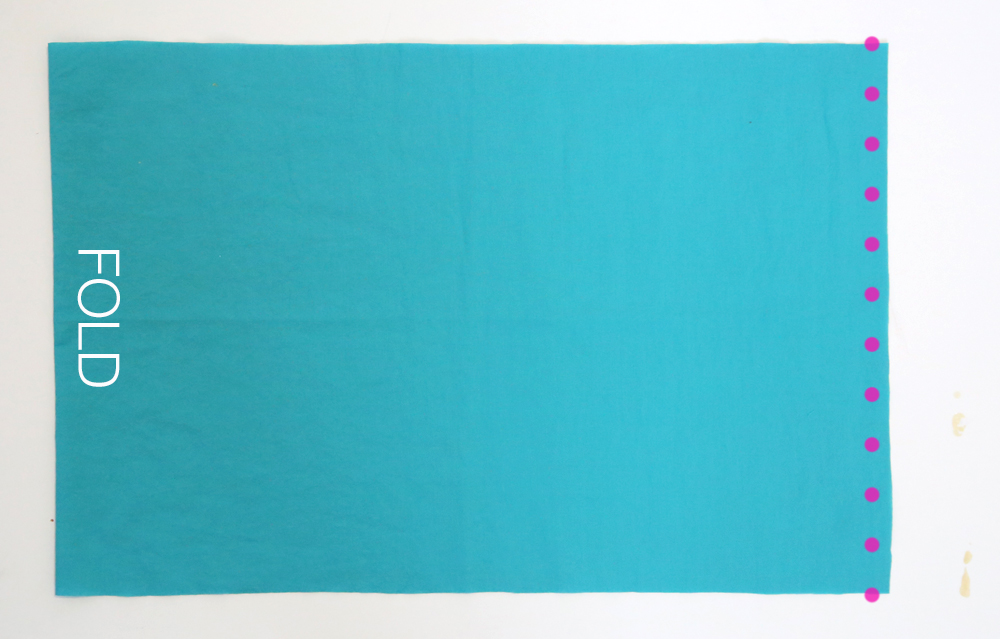
Since my daughter is still on the young side (6) her tummy still sticks out a little, meaning it’s more comfortable for her to wear skirts just under the tummy in the front. That can make the skirt look longer in the front than it is in the back, especially since she’s inherited my curvy backside. So I like to make the waistband of the skirt dip a little in front. That actually makes the front of the skirt about an inch shorter than the back, so the bottom of the skirt looks even when worn.
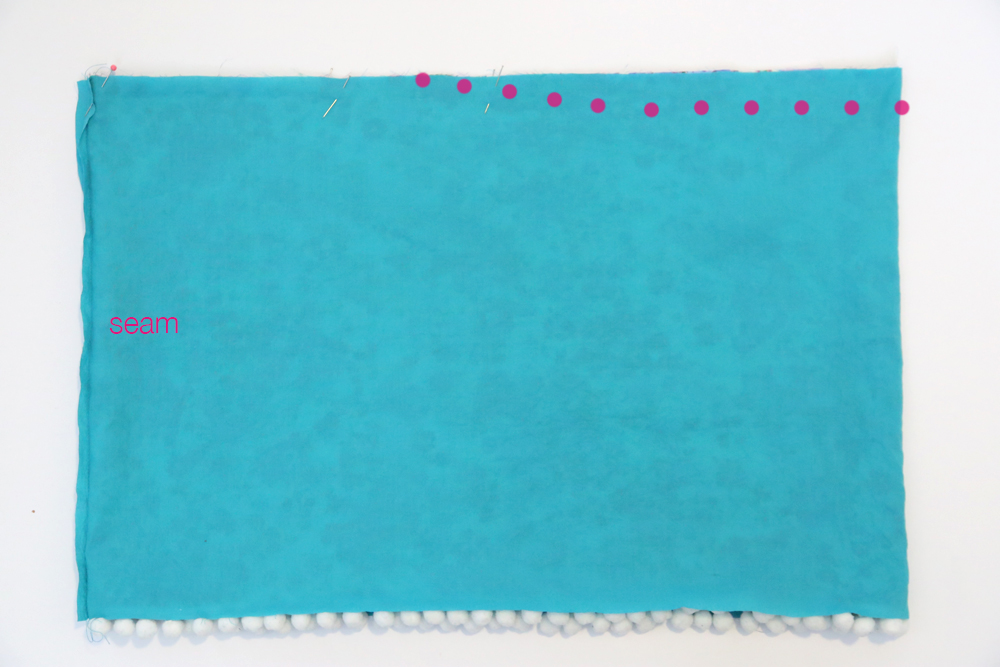
To do this, pin together both fabrics as directed above, but before sewing them together, cut the front of the skirt lower at the waistline by about an inch, as shown by the dots below.
Once you’ve done that, you can sew all the way around the top of the skirt, using a 1/2 inch seam allowance.
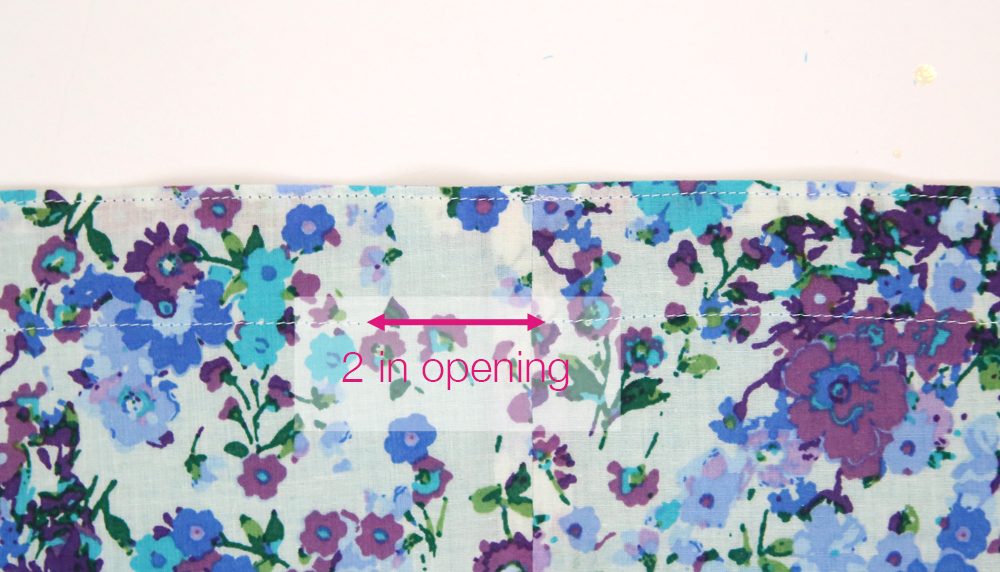
Then you will flip the skirt so each fabric is right side out, and press. I like to topstitch 1/8 inch away from the top edge of the waistband, but that is optional. You also need to sew 1 inch away from the top edge of the waistband to create a casing that you can put elastic through. When you sew 1 inch away from the top edge, be sure to leave a 2-3 inch opening for threading elastic, as you see in the photo below.
NOTE: For these seams (as well as the final hem seam), your thread will be visible on both fabrics. Either choose a thread that will coordinate with both fabrics, OR use different colored thread in the top thread and bobbin so it will match both sides of the skirt. I used white thread in the top thread for the floral side of my skirt, and teal thread in the bobbin to match the teal side of my skirt.
Use a large safety pin to thread elastic through the casing. Try the skirt on your girl to determine how tight to pull the elastic, then sew the short ends of the elastic together and trim any excess. Then go back and sew the opening closed.
At this point the skirt will look like this:
The waistband is complete and pom poms are attached to one of the skirt layers. Now we just need to attach the skirt layers to each other down along the hem.
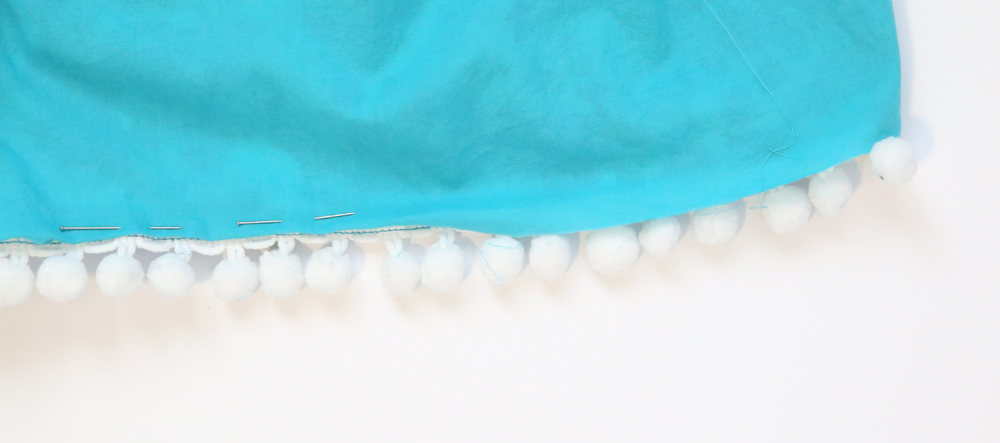
Lay the skirt out flat. The skirt layer that isn’t attached to the poms will be a little bit longer than the one that is attached. Fold the unattached skirt layer under about half an inch, and pin it to the pom pom trim, as you can see below.
Once it is folded and pinned all the way around, you can sew very close to the folded edge. This will secure both skirt layers to each other, with the pom poms sandwiched in between them. Once this is finished, your reversible pom pom skirt is done!
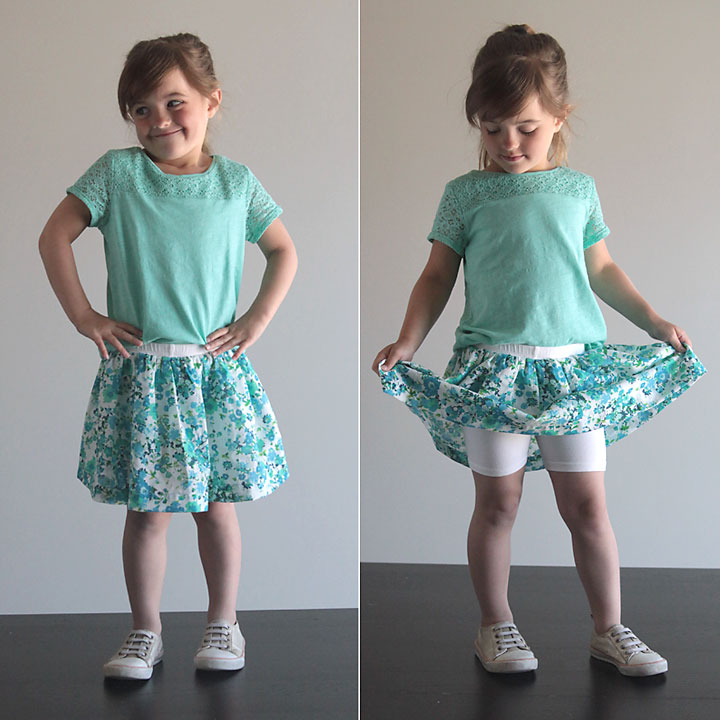
Looking for more girl’s sewing tutorials? Learn how to make a skirt with attached shorts here.
Get the free pattern for the hello spring dress & top here:


Liz says
Made two of these, for my daughter aged 15m and a friend aged 5, I used cotton lawn too – what a lovely fabric. I’m a beginner and I found matching up the final row of stitching, catching the 3 layers and covering the intial row of stiching of the braid to the underneath layer of the skirt really tricky! My seam is a little crooked but it doesn’t show unless you look for it. Now I can made one of these without looking at the instructions. Thanks for a great, gorgeous and simple make with impact!