
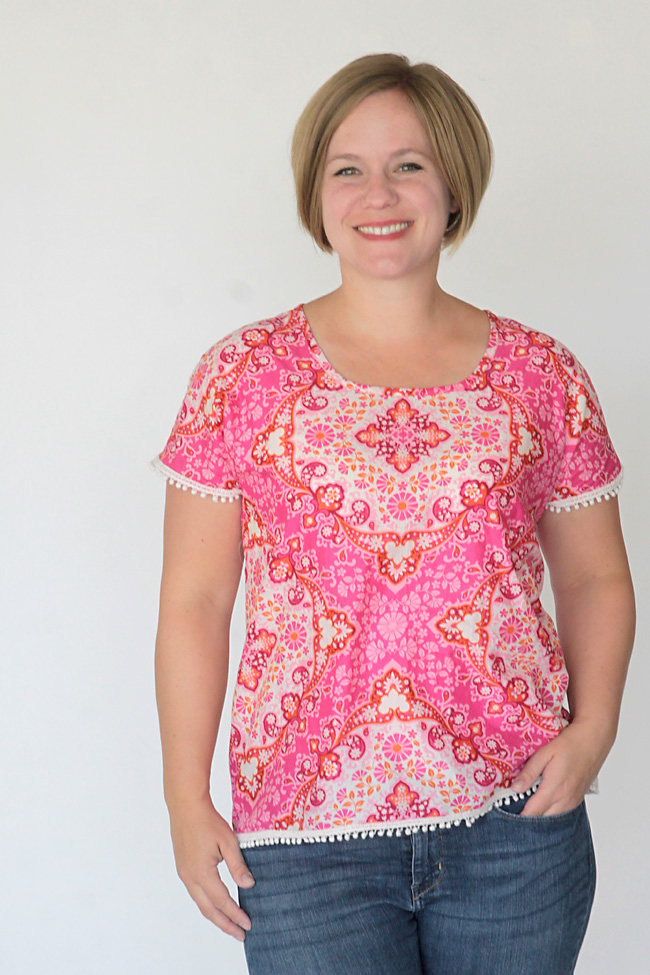
Alright guys, I’m pretty sure 1995 is calling my right now because it wants it’s hairstyle back. I’m growing out my hair and I’m just really not feeling this look. My stylist somehow gave it beach waves with her magic curling wand but now that I’m at home with my hair dryer and round brush this is all I got. Eh…
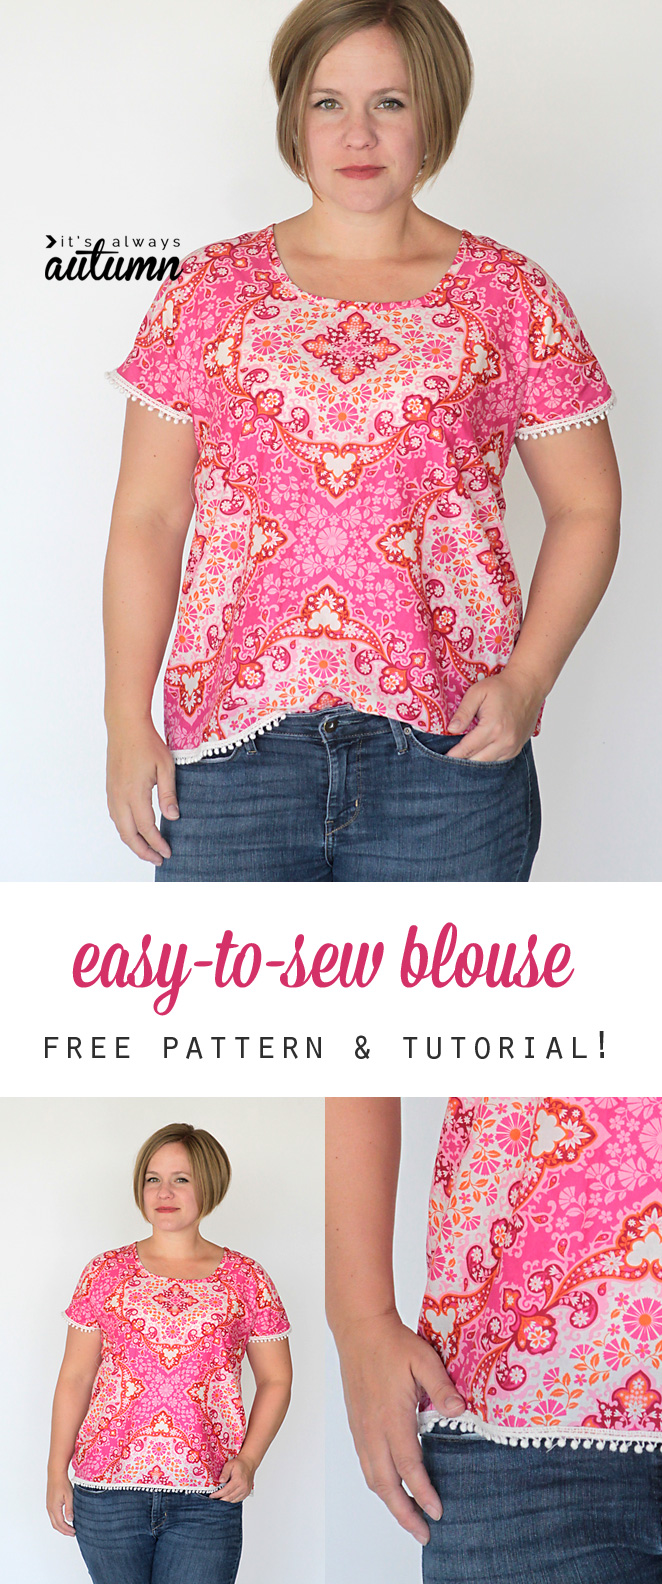
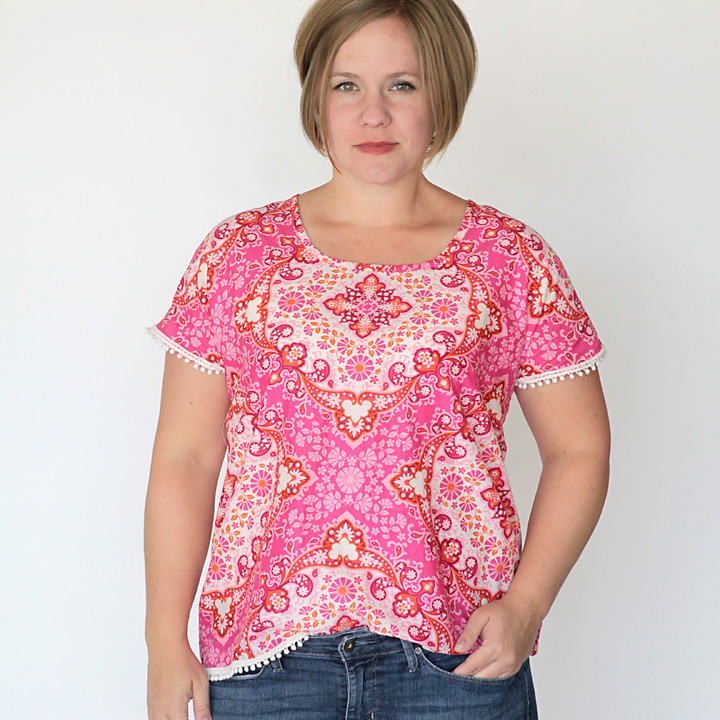
Of course, complaining about my hair is not actually the point of today’s post. The point is that I sewed something. Again. And I guess if you’re here reading this that means you’re not completely tired of the things I sew, so here are the deets: like pretty much everything I make, this blouse is easy and quick–start to finish in one afternoon. I love easy. And it even has pom pom trim. Pom pom trim is so trendy that I think it almost makes up for my hair.
I took my breezy tee pattern (free! in size L only, sorry) and sewed it up using a woven fabric instead of a knit. (Translation: I used a non-stretchy blouse type fabric instead of a stretchy t-shirt fabric.) Since the cut is plenty roomy, it worked just fine! I actually simplified things a bit, meaning this top only has two pieces, a front and a back, and only takes a few seams to put together.
See, I’m overjoyed at the easiness of it all.
Now, this is a fairly boxy pattern: no darts, no shaping. Boxy blouses are pretty prevalent in the stores these days, but they only look good if they’re made out of soft, flowy material. Do not try this with quilting cotton – it will look like an actual box. Stick with something like voile or cotton lawn or something else that drapes well so you’ll still see a little of your shape beneath it.
If you want to make an easy breezy blouse, go to this post and download the free breezy tee pattern (be sure to print it at 100% and make sure the test square is exactly 1 inch by 1 inch, then tape it together without trimming the pages). It will look like this:
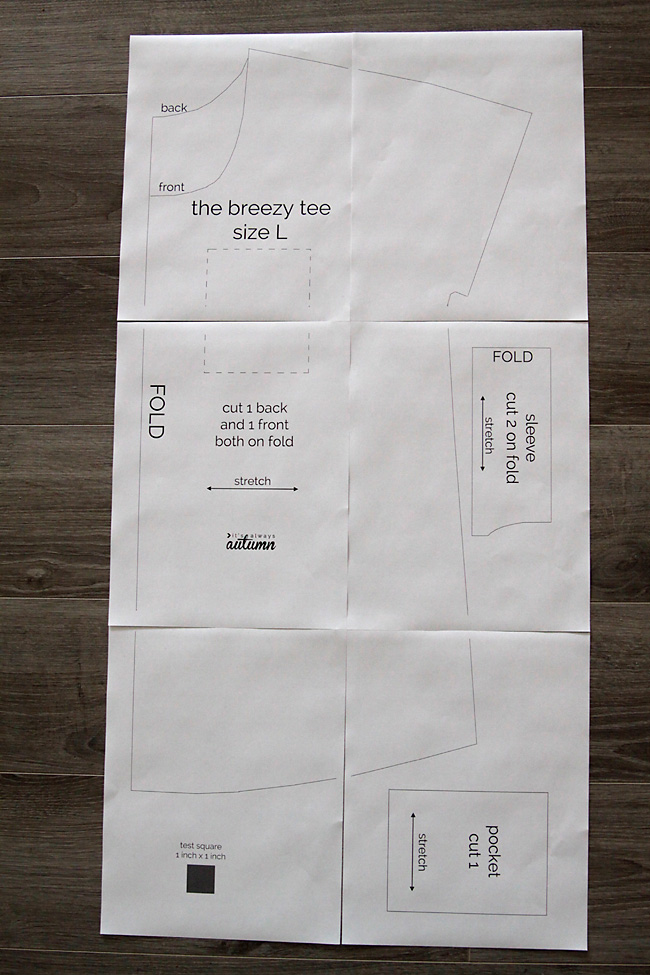
We’re not going to use the pocket or the sleeve pieces, so set them aside for another day. We need to make a few quick adjustments as shown by the dotted lines below. Cut the sleeve area about an inch lower than is shown by the pattern to ensure there’s plenty of room around the upper arm, since you’re using fabric that doesn’t stretch. Also, cut the hem straight across. I cut mine about an inch above the shortest point shown on the pattern because I didn’t have much fabric, but next time I’ll cut it a bit longer.
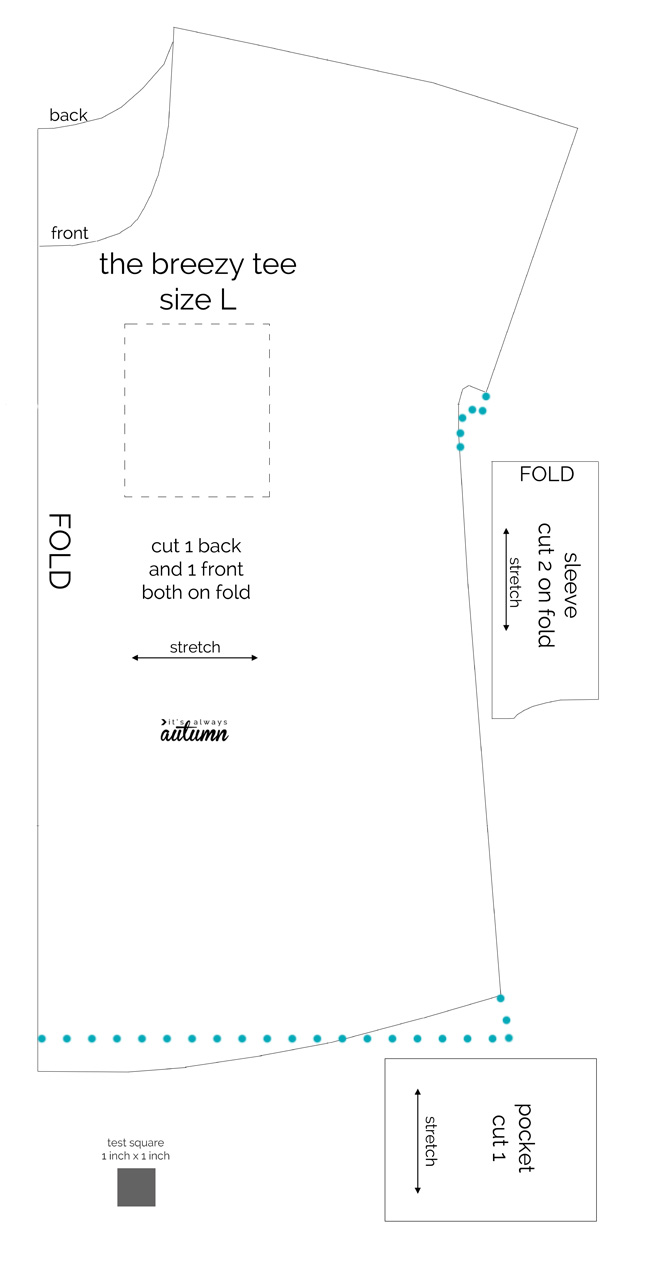
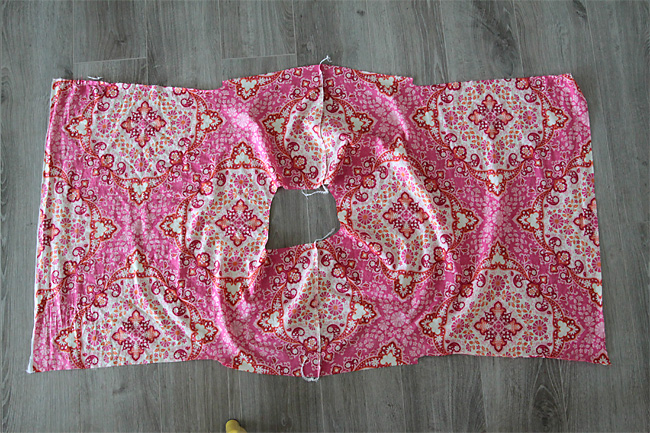
Cut out one back piece and one front piece, both on the fold. (BTW, you’ll either need 1 yard of 60 inch wide fabric or close to 2 yards of 45 inch fabric.) Place the pieces right sides together, and sew across the top of the shoulders as shown by dots below (half inch seam allowances are included):
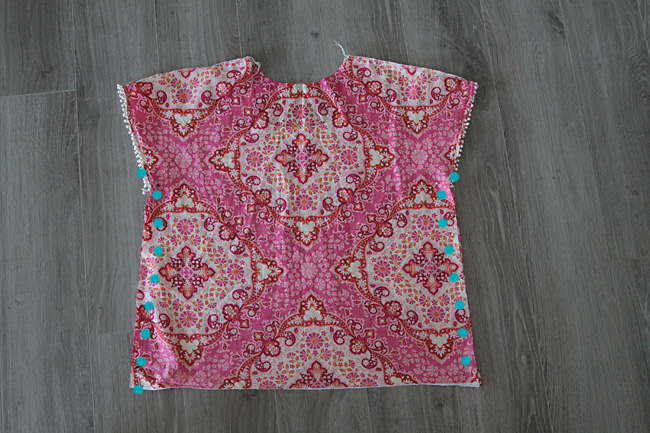
Open up the two pieces and press the shoulder seams flat. It will look like this:
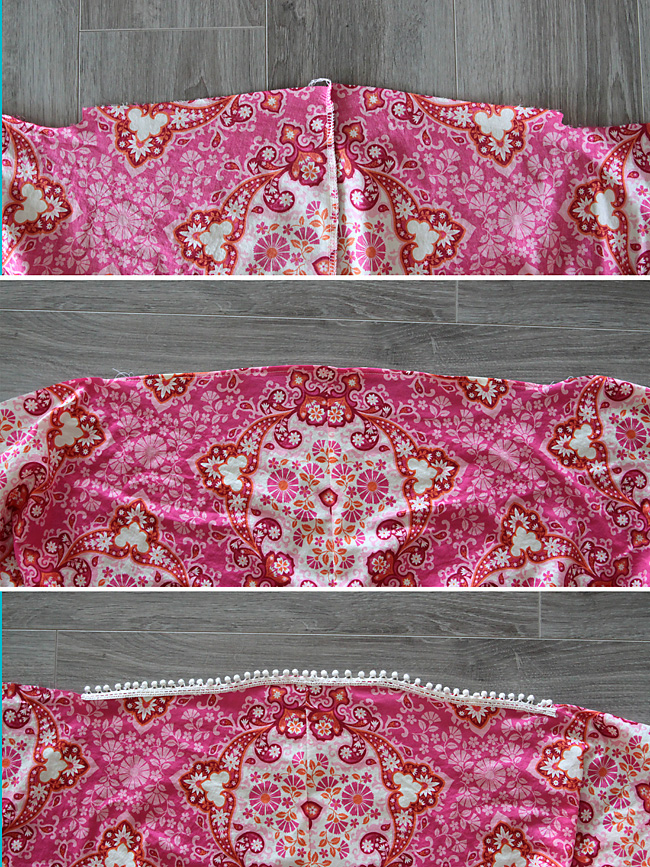
One each side, you’ll see an area that juts out about half an inch near the shoulder seams (1st photo below). This will actually function as the sleeve of the shirt. Turn that part under 1/4 inch TWICE and sew across it to hem the sleeves (2nd photo below). If you’d like to add trim, place the trim over the hem and sew it in place (3rd photo below). Make sure the trim covers the entire area that was turned under twice.
Repeat with the other side. Then you can put the right sides of the front and back pieces together again and sew down the side seams.
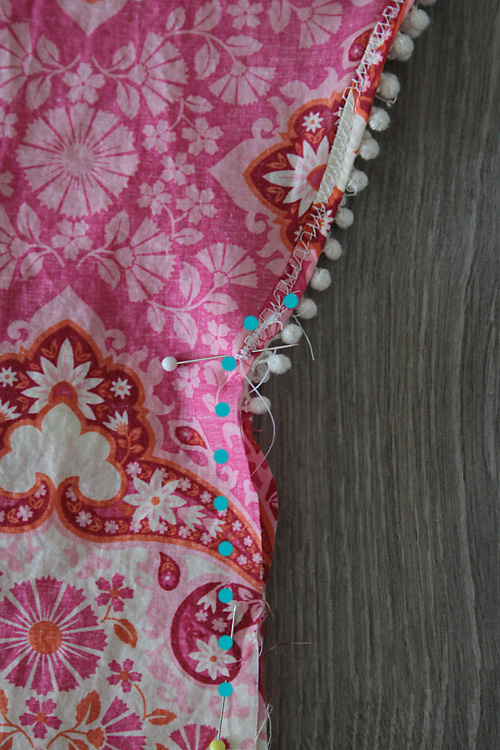
Here’s a close-up of the side seam. Start about 3/4 inch above where the trim or hemmed area ends, and angle in from the edge of the hem, then continue down the side seam.
Try it on. If the sleeve looks like a wing (poking up really high), sew the side seam up a little higher to make the sleeve opening smaller.
Hem the shirt by folding under 1/4 inch twice and sewing, then add trim if desired.
All that’s left is to finish the neckline with double fold bias tape. I made my own bias tape from the fabric scraps so it would match perfectly, but you could also use a purchased matching or contrast bias tape.
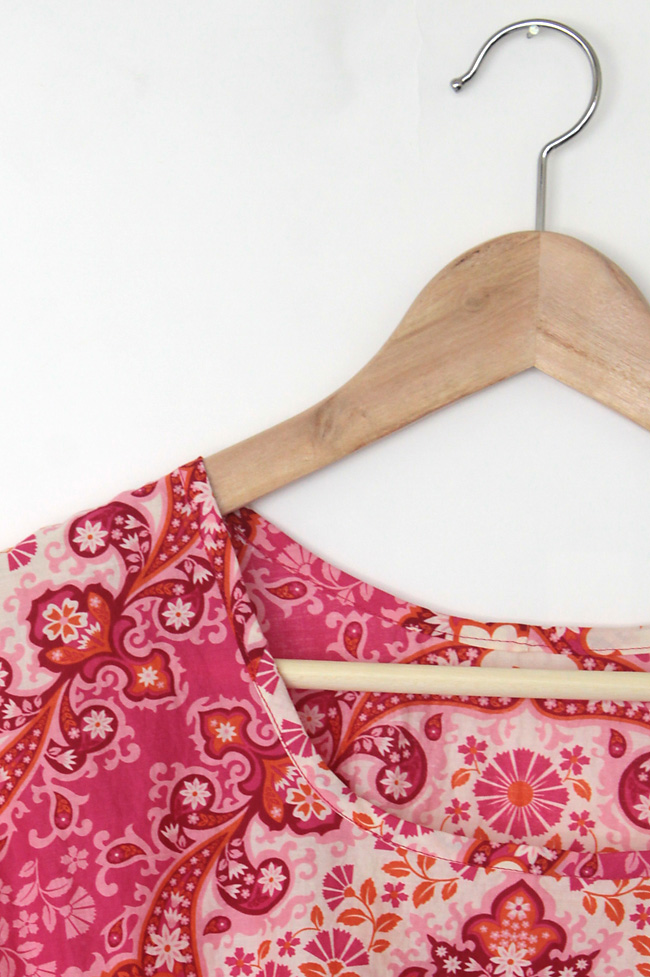
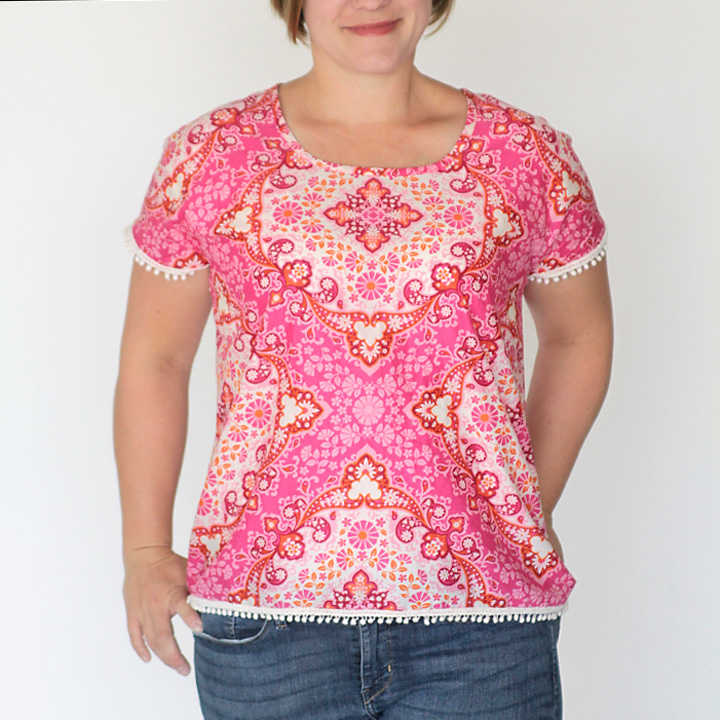
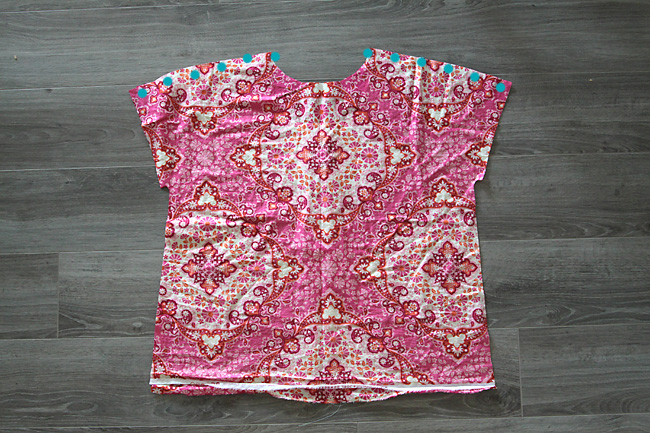
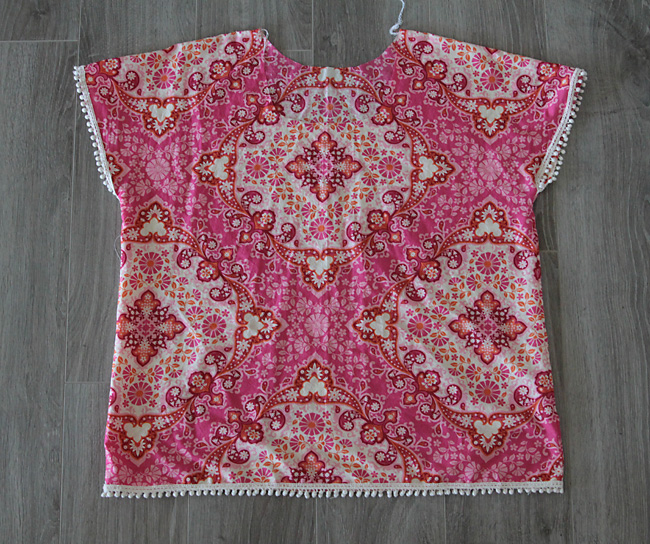
And done. An easy breezy trimmed out blouse you can sew in a few hours.
Bev says
I’ve made many of these Tee’s as well as the raglan ones. I’m typically an XL around breast and belly. To compensate, I just cut a slit from hem to breast area on the pattern paper, open it out a bit like an inverted V, and attach more pattern paper. You could also do the same with the back if needed. It’s a snap and works for me. . Autumns patterns are very forgiving for us basic sewers. Love them!
Lynn says
Autumn,
You are amazing. Thanks for the ideas and patterns. I love your posts.
Anushree says
Amazing pattern I tried this top and he come out really great