Folded Book Angel
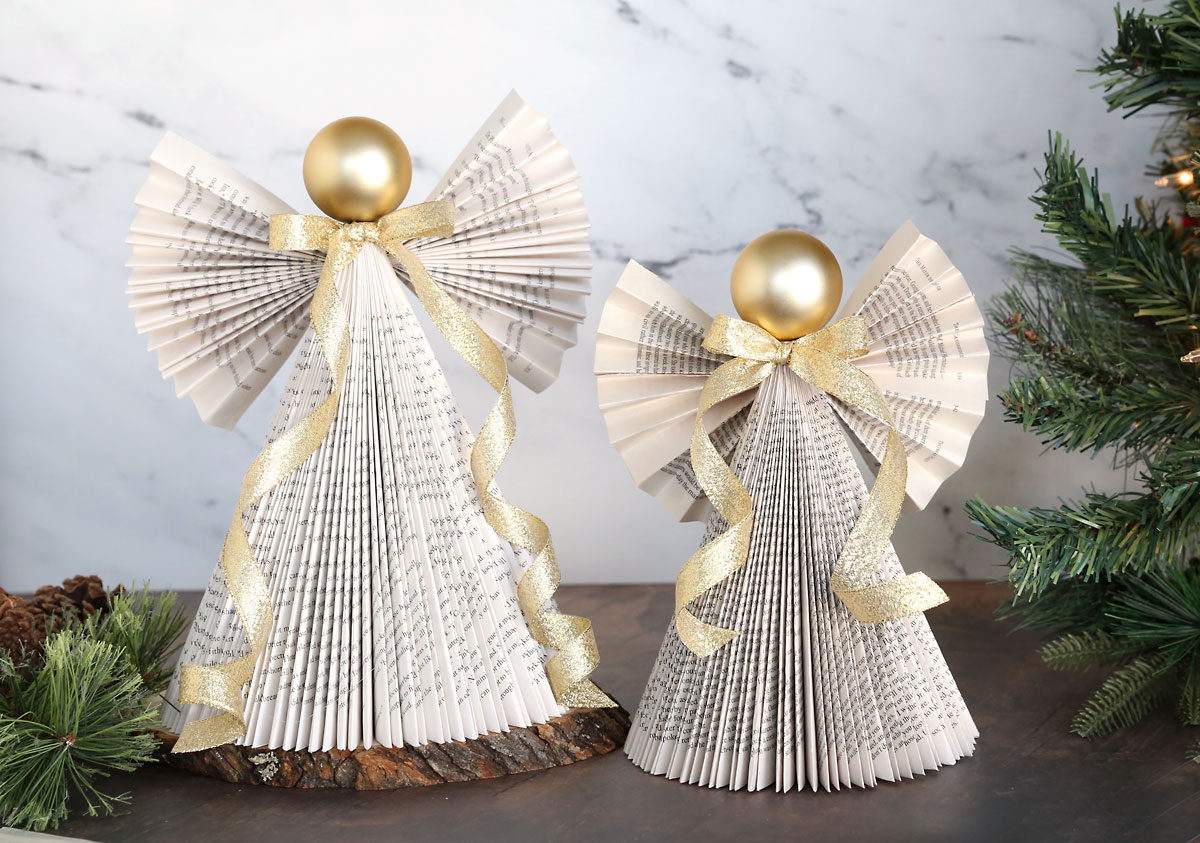
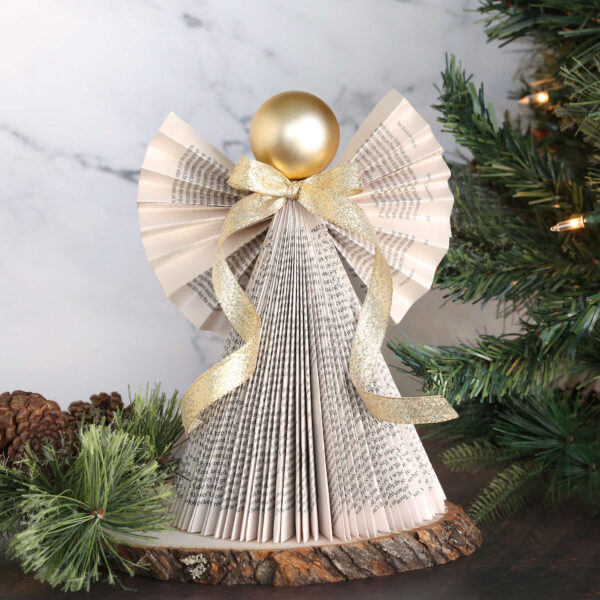
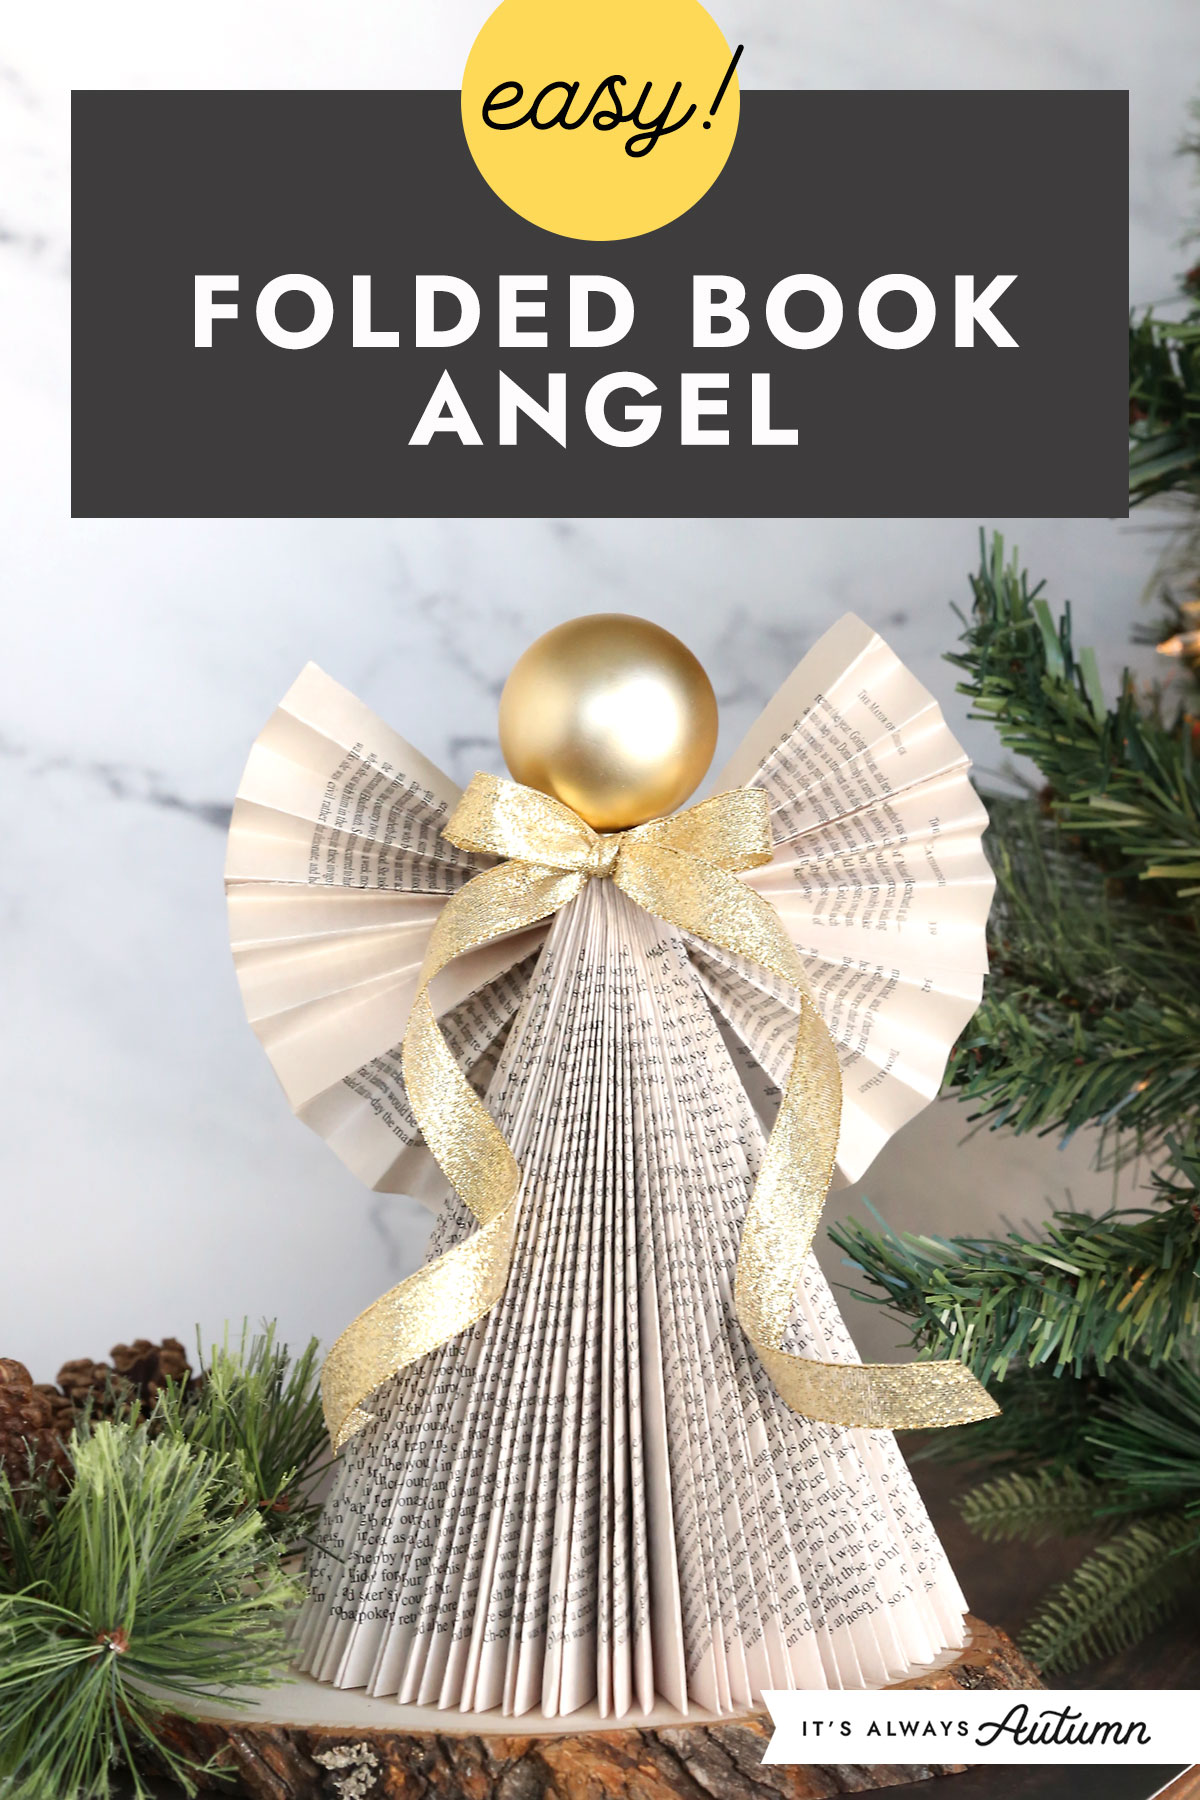
This is one of those “old fashioned” crafts that turns out so pretty! The neutral color palette means it will work with just about any holiday decor, and the book pages look especially nice with Christmas greenery. Make one angel to display on your mantle or make a whole choir of angels from different size books.
Related: Folded Book Christmas Tree
Supplies
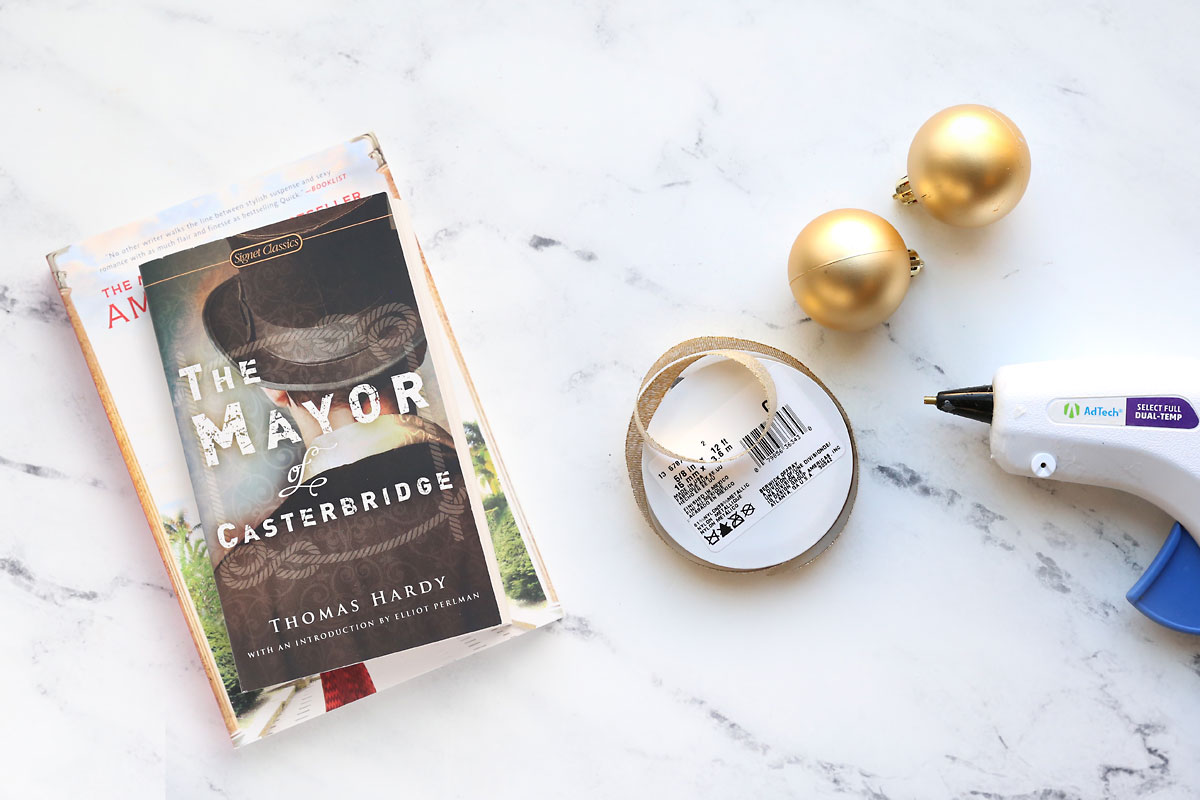
You only need a couple of things to make these angels:
- Paperback book (at least 200 pages long): You can find inexpensive paperback books at thrift stores or the dollar store. Your local library may even have a shelf where they give away old books for free. I know some people think it’s a waste to use a book for crafts. I love books, but if I find a beat up one at a thrift store that already been read and loved I’m perfectly ok with turning it into something pretty.
- Small Christmas ornament: I used gold Christmas ornaments that are 2 inches in diameter for the heads. I found them at Dollar Tree.
- Ribbon
- Hot Glue gun + Exacto knife
What Size Book Should I Use?
The finished height of your folded book angel will be the height of your book plus the height of the ornament you choose to use. The books I used were just under 7 inches and 8.25 inches tall. With a 2 inch ornament for the head, they ended up about 9 inches and 10.5 inches tall.
Instructions
Each angel will take about an hour to make, but it’s easy, repetitive folding that you can do while you are watching a show. I find the process of making them quite calming–I like things that keep my hands busy without taking too much attention. Here’s what you do:
Prep the Book
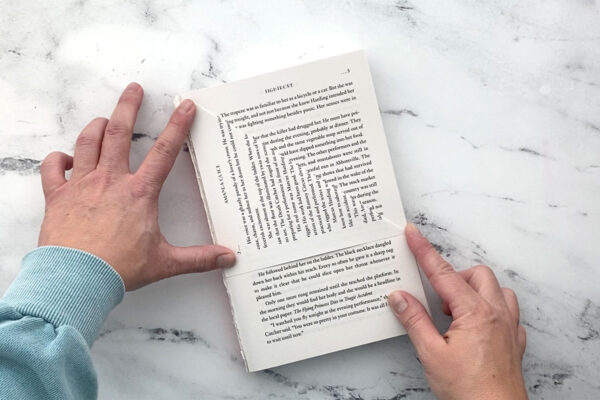
Before you begin folding, you’ll want to prep your paperback book. The first step is to crease the spine at regular intervals. Open the book wide every 20 pages or so to put creases in the spine so it’s flexible.
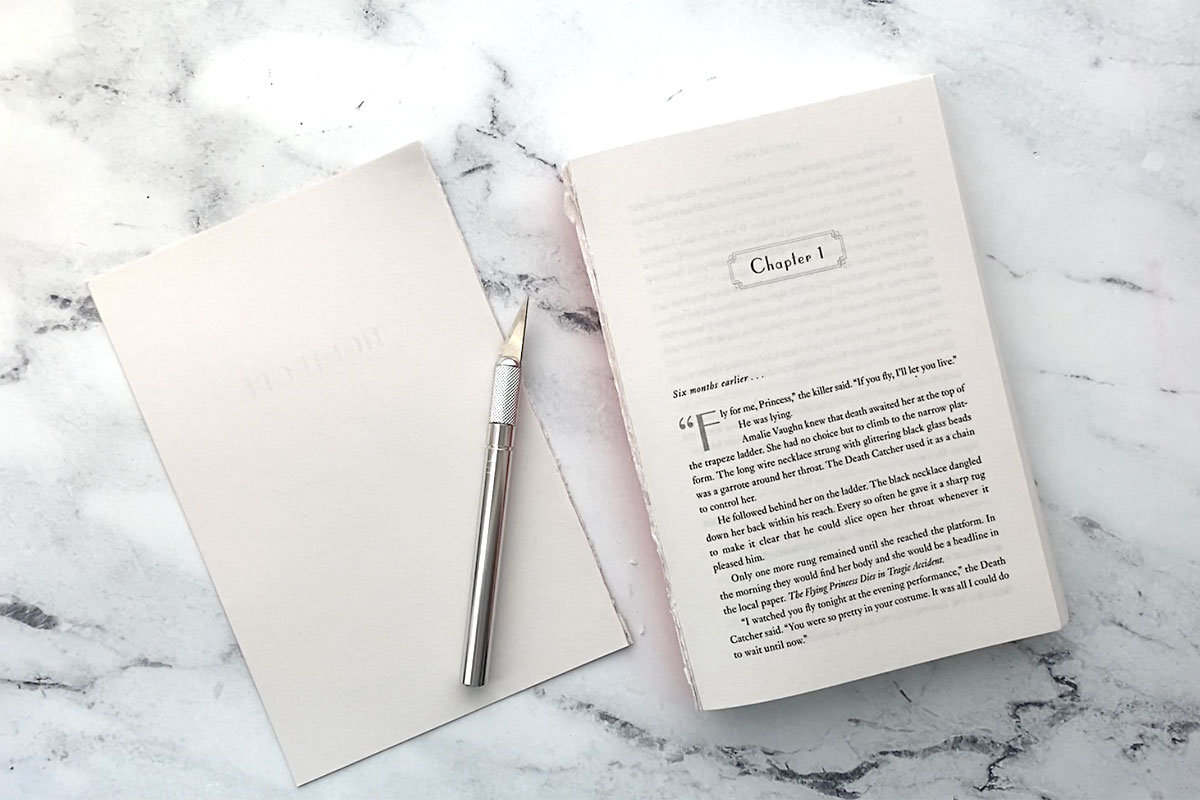
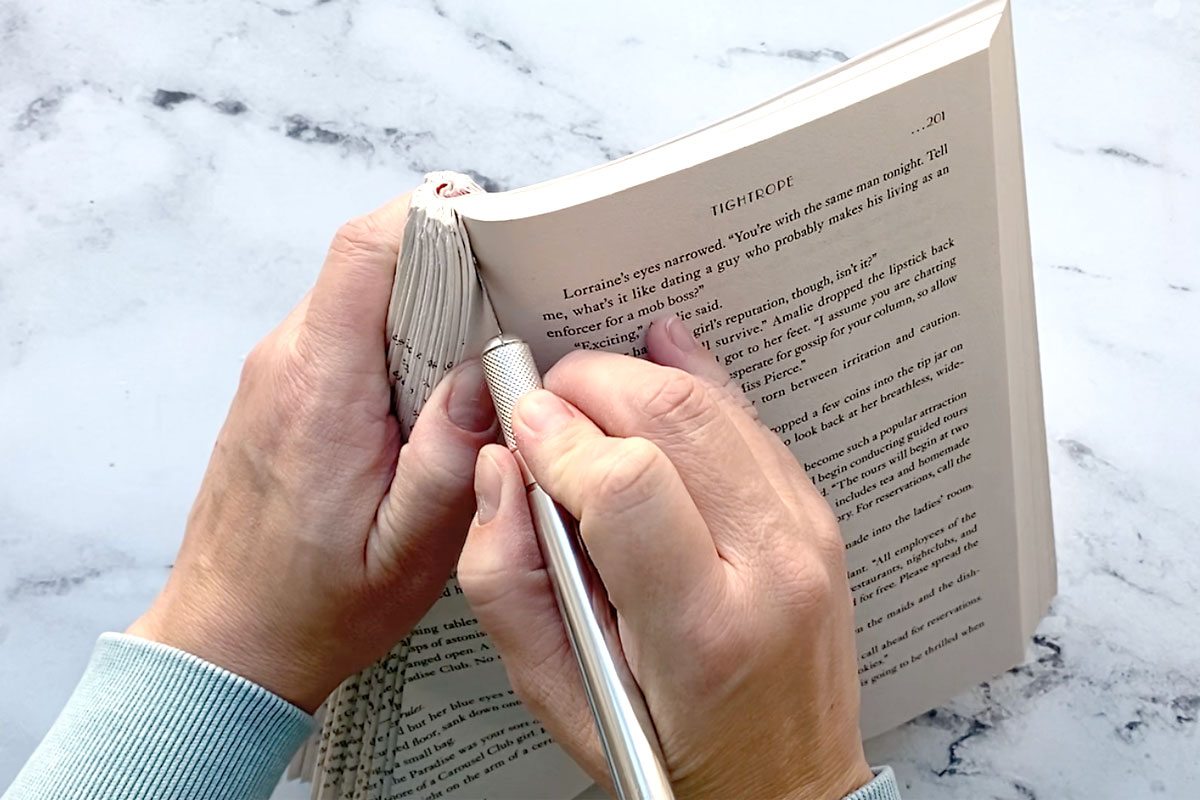
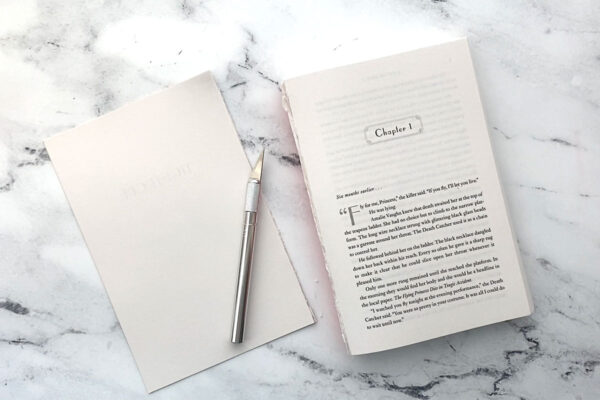
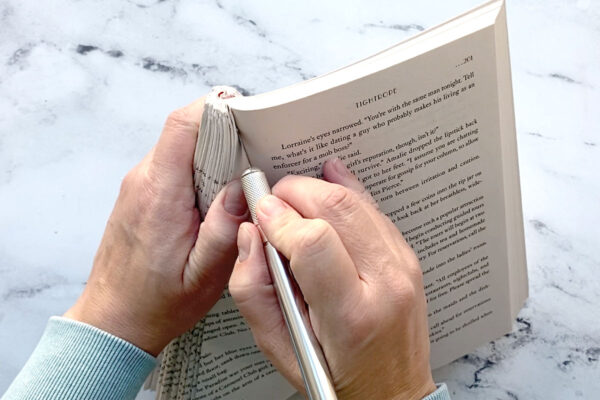
Next, remove the front cover. You can also remove the first couple of pages if they don’t have much printing on them. The easiest way to do this is to use an exacto knife to cut down the spine.
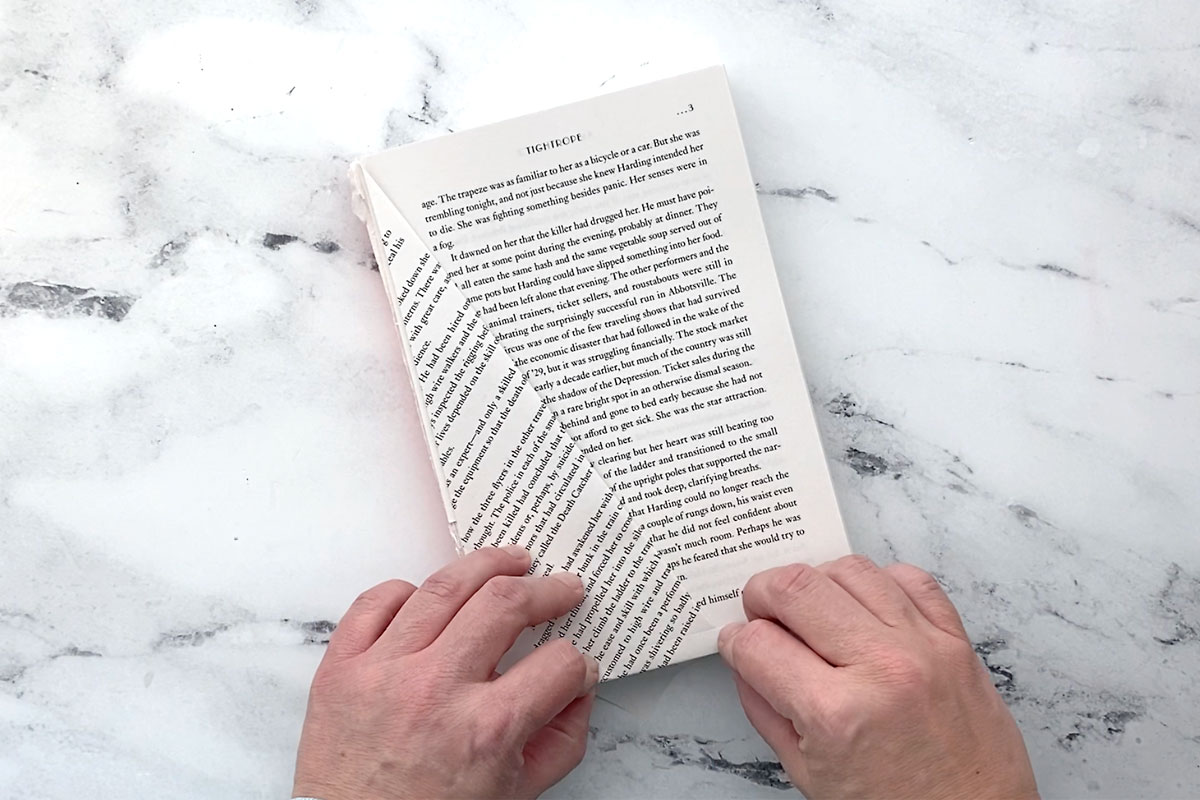
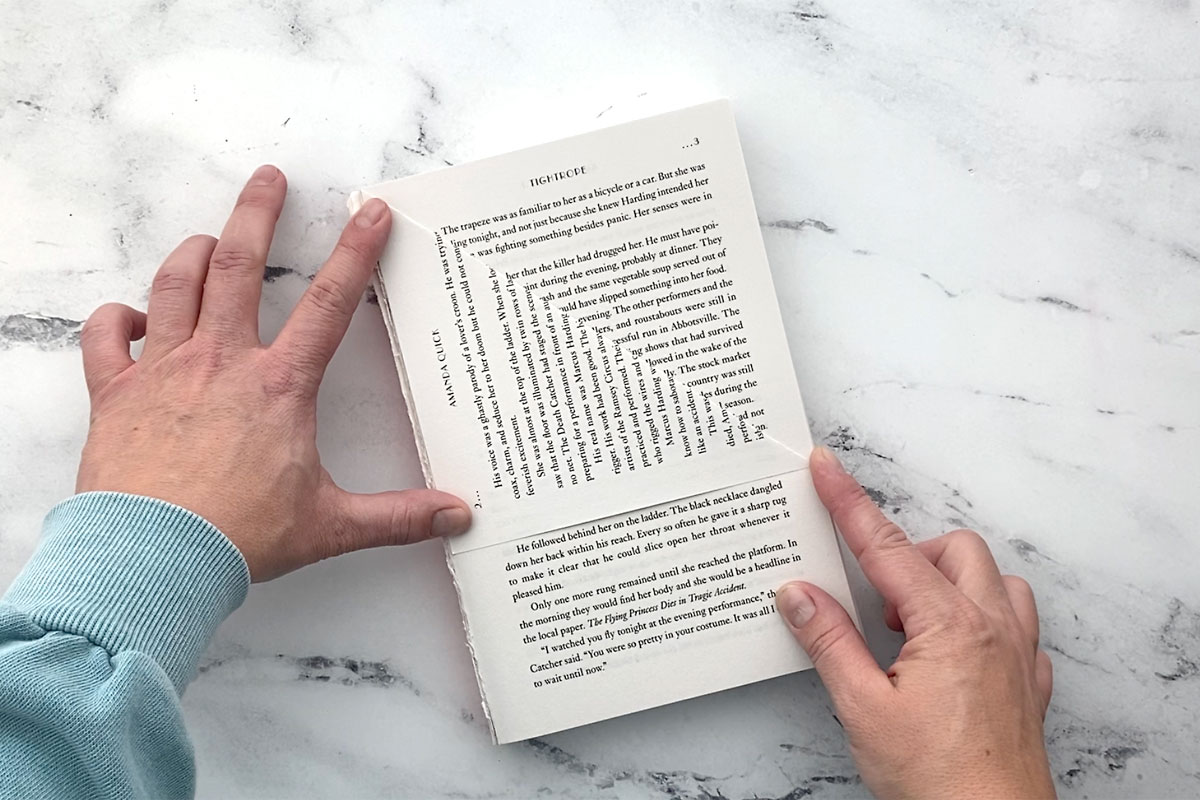
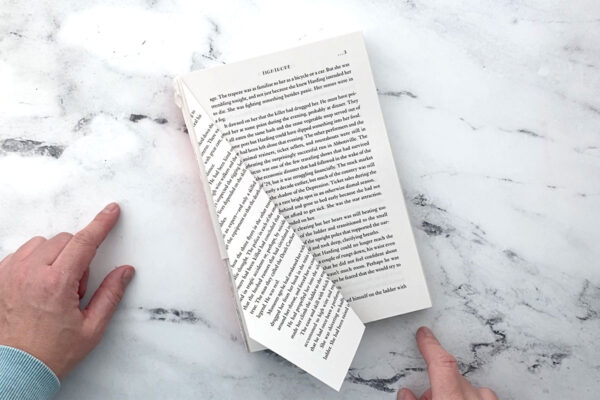
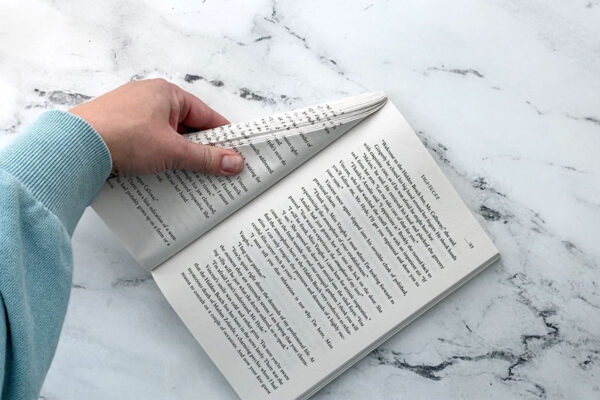
Then you’ll fold that same page a second time. This time bring the folded edge to meet the spine. Press along the fold to get a nice crisp crease.
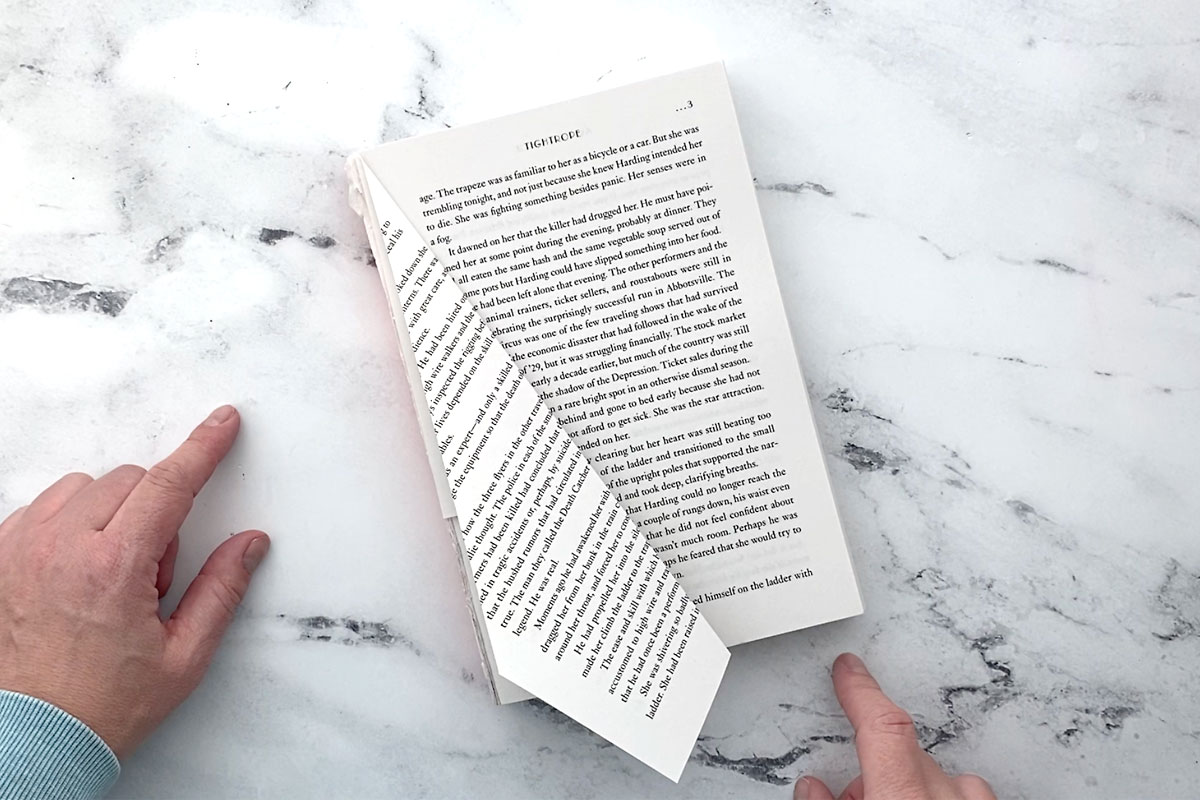
This second fold will result in a corner of the page hanging down below the bottom of the book. Fold that corner down along the bottom edge of the book, then tuck it inside.
Continue Folding
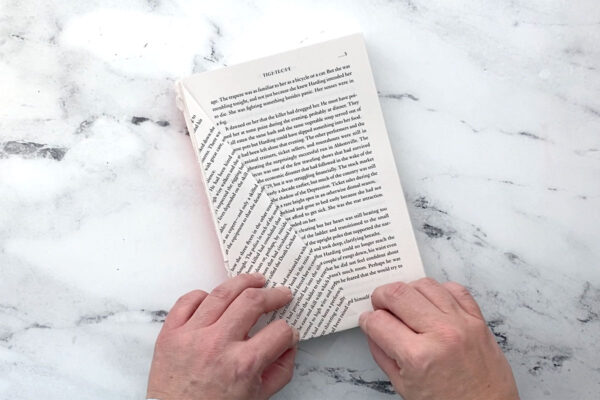
You’ll turn the page you’ve just folded to the left, and repeat the process on the next page. Try to keep the folds as close as possible to the top left corner. You’ll need to use your left hand to hold the already folded pages out of the way. Open the book as wide as possible while you’re making the folds.
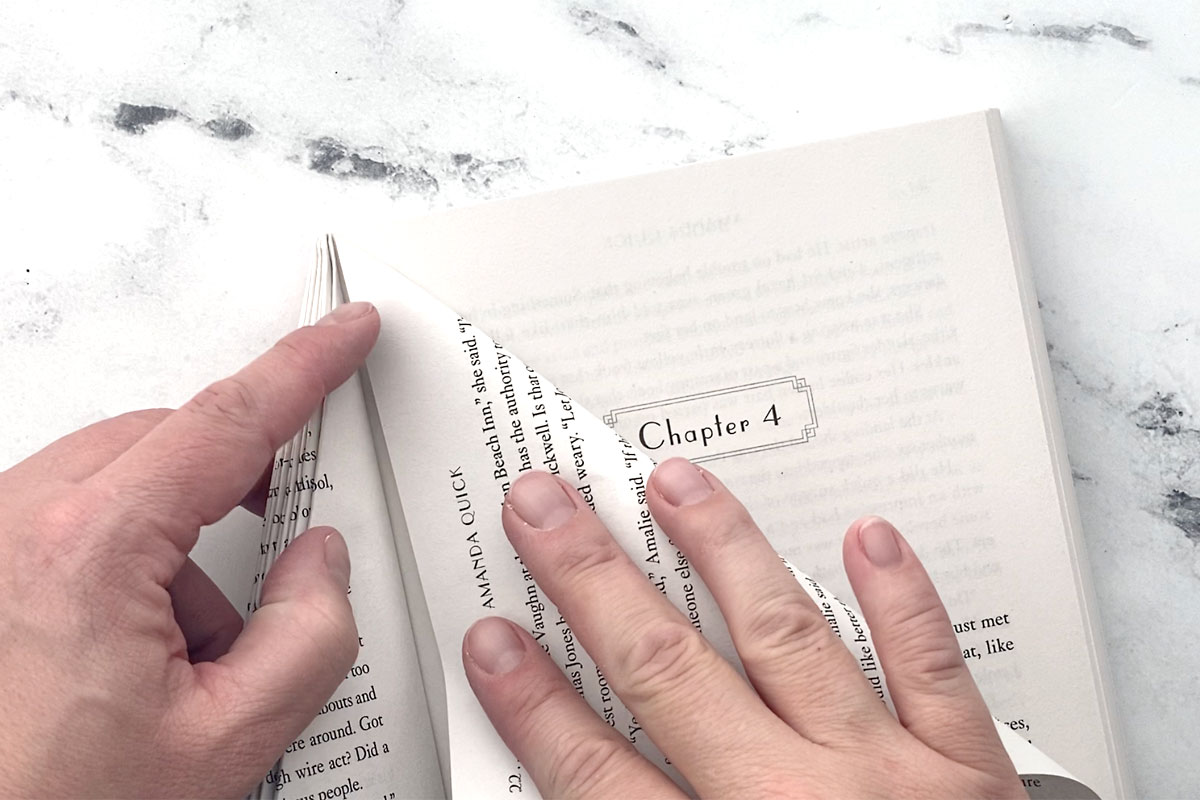
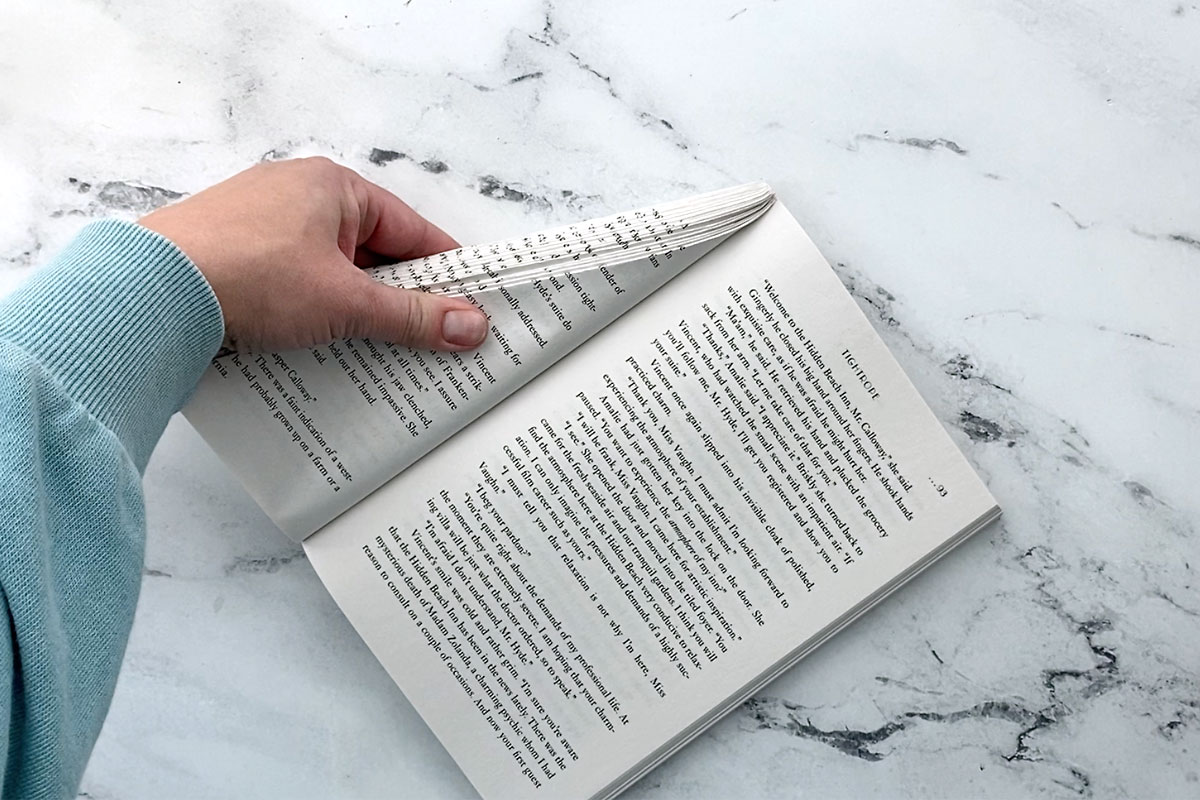
Folding will get a little more difficult as you complete pages, but just take your time and you’ll be fine. It can help to sit at a table as you do the folding and let the already folded pages hang off the left side of the table. Alternately, you can use a large binder clip to hold the folded pages and keep them out of your way.
Cut Away the Remaining Pages
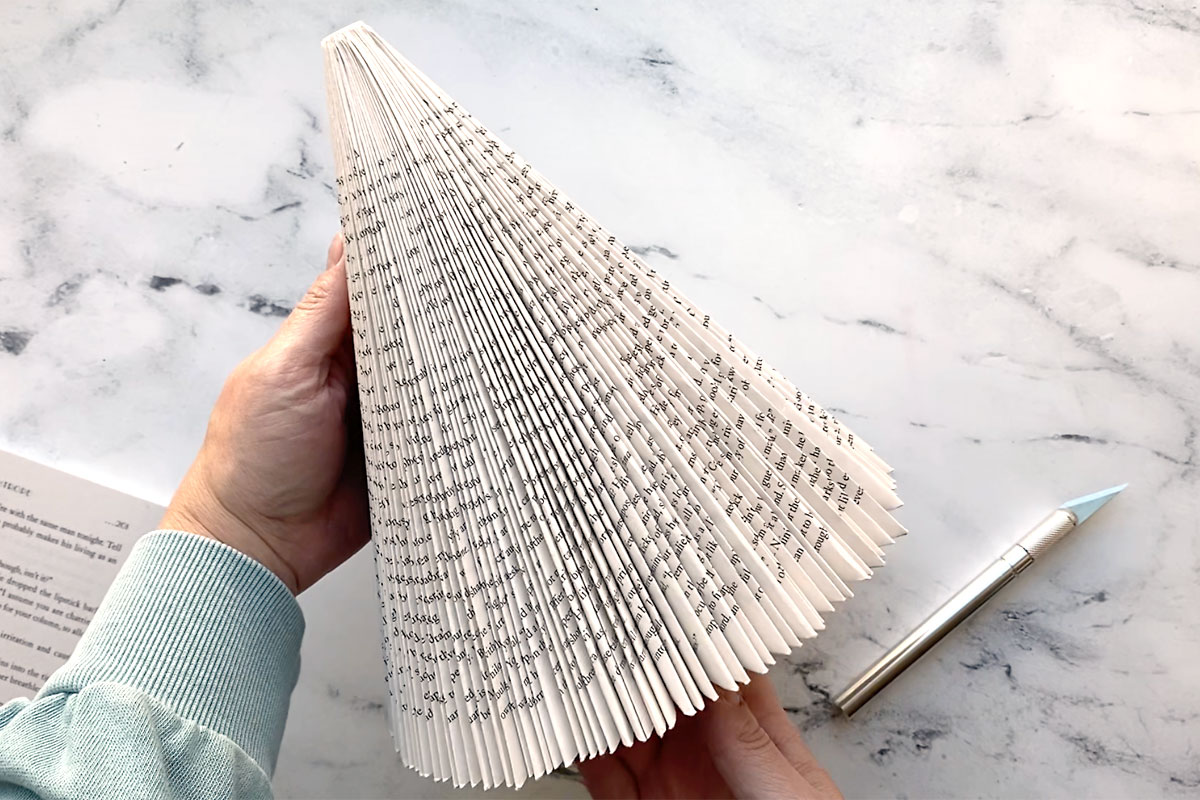
Continue folding until you have enough pages to create a full, round cone shape that will wrap around 360 degrees. The total number of pages you fold will depend on the thickness of the paper and how full you want the body/dress of the angel to look. For my smaller angel I folded 85 pages (so up to page 170 in the book) and for the larger angel I folded 100 pages (up to page 200 in the book).
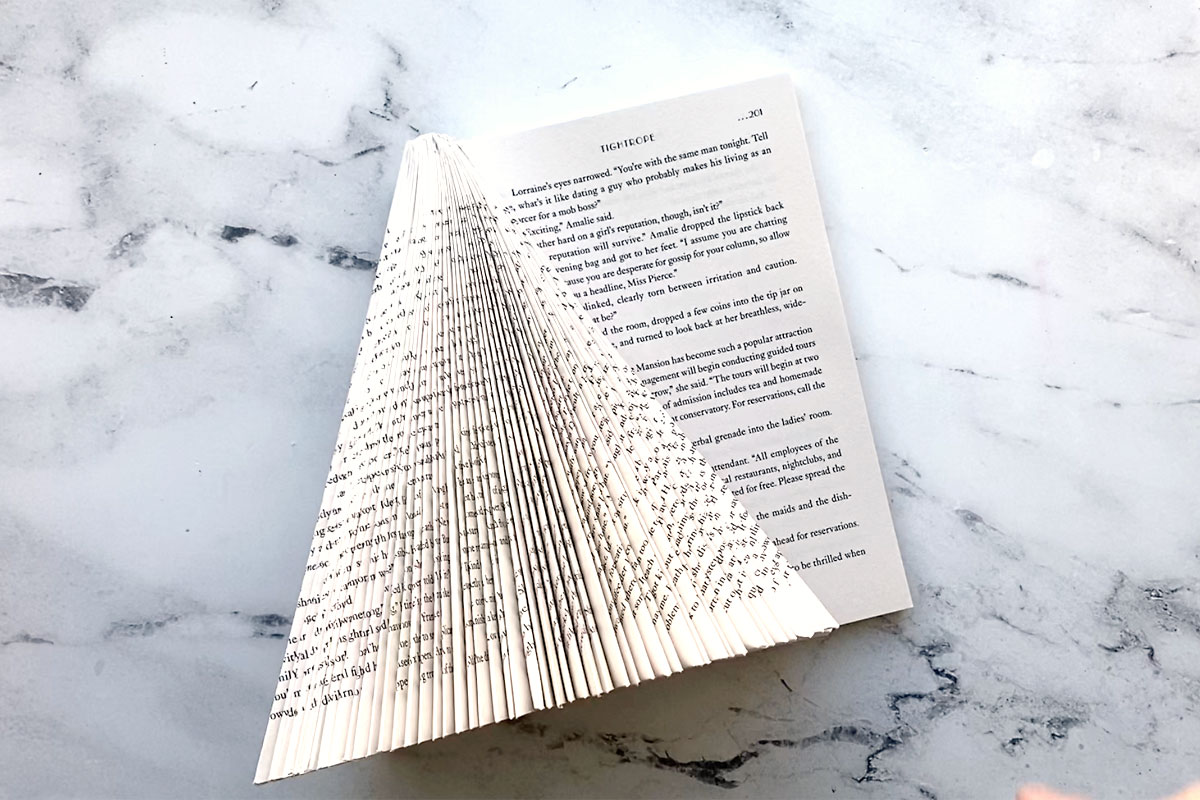
When you’ve determined you are done folding, you will cut off the remaining pages in the book. Grab the exacto knife and run it down the spine in between the folded pages and the remaining pages. You may have to run it down a couple of times to completely separate the excess pages.
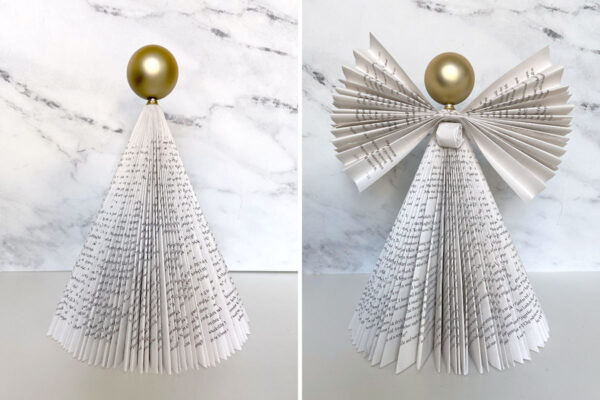
Once the excess pages are gone, you’ll see you’ve created a cone shape from the folded pages:
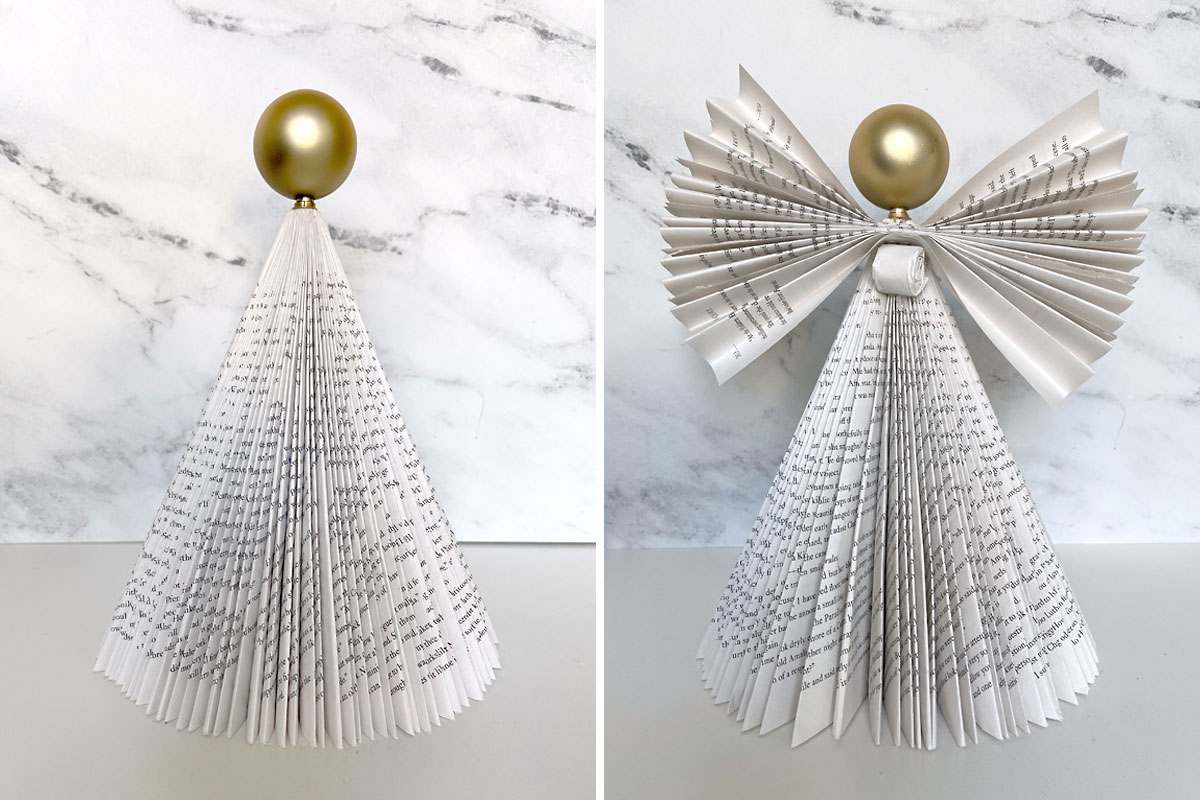
You’ll also need on more page from the book. Fold this one up in a narrow rectangle, then roll it up to create a small ball of paper. You’ll use this as a support when you glue on the wings.
Remove the top of the Christmas ornament if possible, then glue it to the top of the book cone. Use plenty of hot glue to glue the wings onto the back of the cone (where the first and last pages meet). Glue the rolled up paper ball under the wings to help support them. You’ll need to hold the wings and support in place for a few minutes while the hot glue cools and hardens.
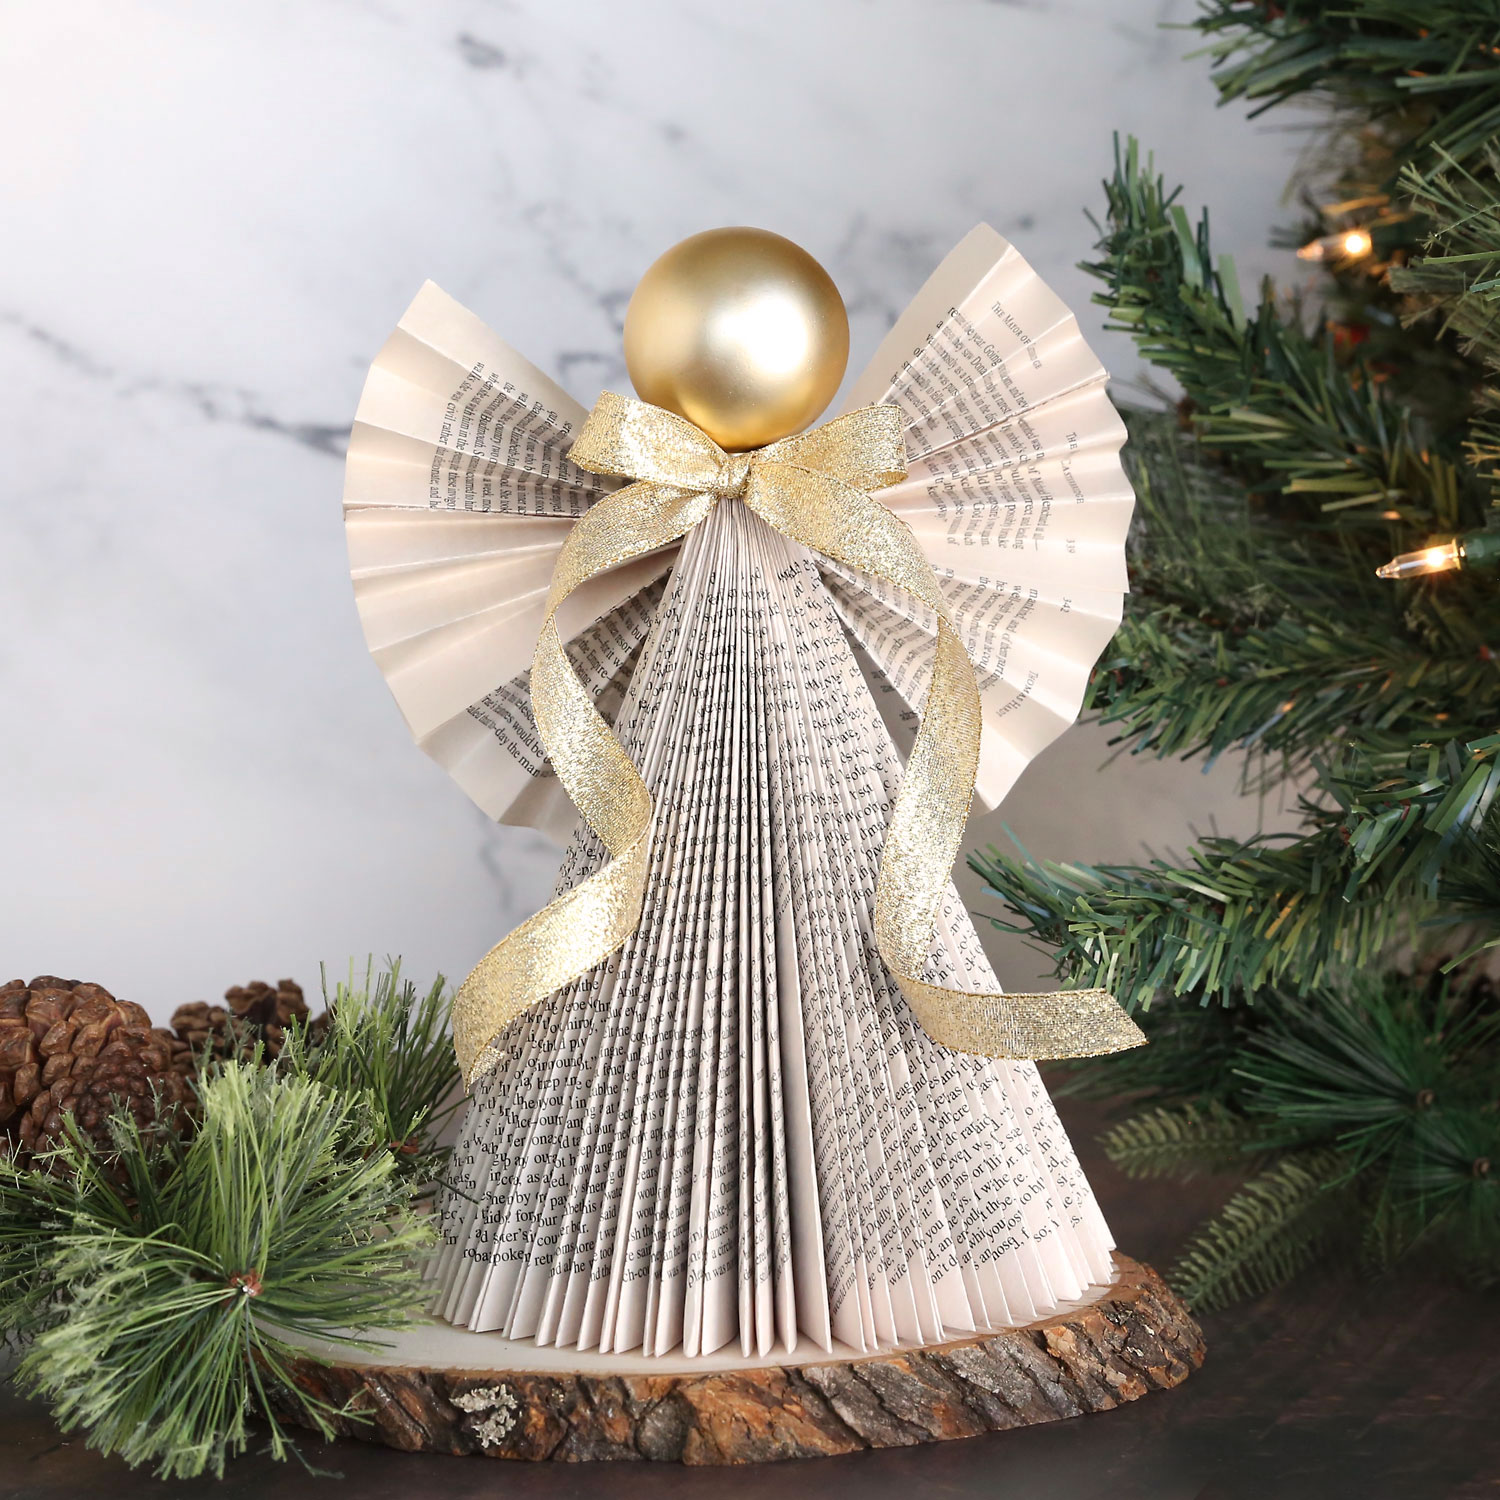
Tie a ribbon at the bottom of the ornament and your angel is complete.
Folded Book Angel
Supplies
- Paperback Book at least 200 pages long
- Small Christmas ornament about 2 inches in diameter
- Ribbon
Want more project ideas? Sign up to get my favorite easy crafts and recipes straight to your inbox!
Equipment
- Hot Glue Gun
- Exacto Knife
Instructions
- Prep the book by creasing the spine about every 20 pages, and cutting off the front cover and first few pages.
- Begin by folding the top right corner of the first page down so the top edge of the page meets the spine. Crease.
- Fold the same page a second time, this time bringing the folded edge to meet the spine. Crease.
- There will be a corner of the page hanging down past the bottom of the book. Fold it along the bottom edge of the book, and tuck it up inside the previous folds.
- Turn the folded page to the left, and repeat the same steps on the next page. Continue folding pages, turning the folded pages to the left and opening the book up with before folding the next page.
- When you have folded between 80-100 pages (so up to page 160-200 in the book) you should see that you've created a cone shape. Use an exacto knife to cut along the spine between the folded pages and the excess pages.
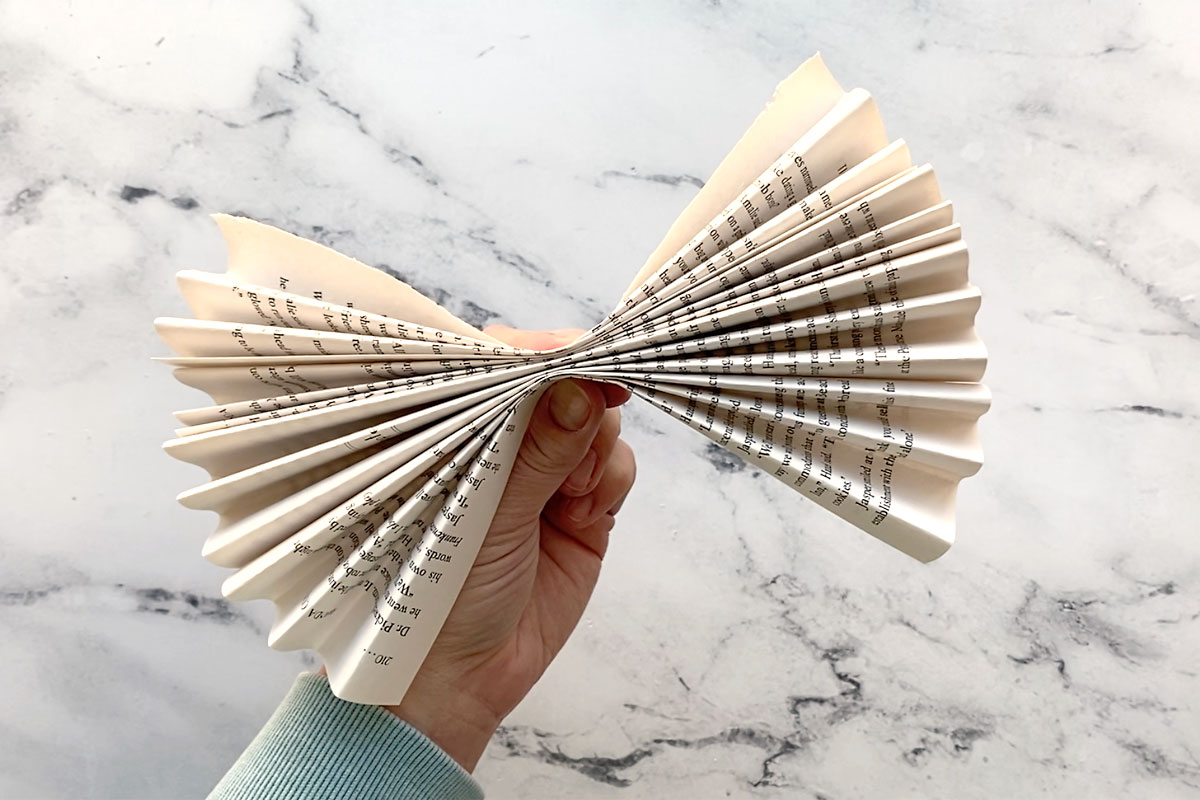
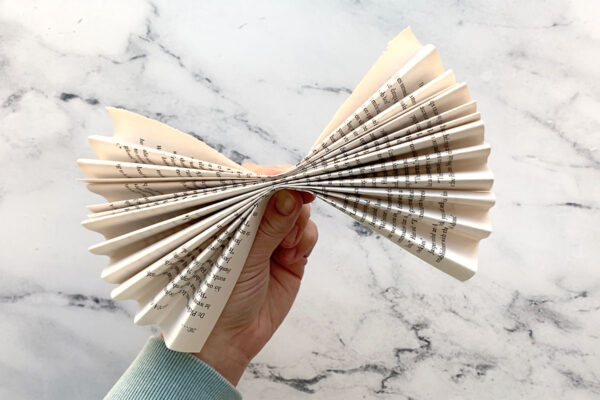
- Make wings by accordian folding 4-5 more pages of the book and stacking them on top of each other. Staple together in the center.
- Take the top off the ornament if you can. Turn it upsidedown and glue it to the top of your paper cone for a head. Glue the wings on the back of the angel. Fold up one more piece of paper to create a "ball" that you can glue on under the wings to support them. Hold the wings and support in place for a few minutes until the glue cools and hardens.
- Tie a ribbon under the ornament to finish the angel.





Sandra Hodges says
Thank you!
Debra Fournier says
Used to make these angels when I was in elementary school. We made them as Christmas gifts for our parents.
Marcella says
Lovely angel! I just made one , quik and easy! Thank you Autumn
Susan says
I was just thinking the other day about all the crafts from my childhood and things my late father created. Thanks for sharing this! I think I just might need to create one.
Di M. says
Thank you for sharing this. It brings back some fond memories of my Mom & Grandma making them. I look forward to making one.