
In today’s post: Learn how to fold pages of a book to create a heart shape. Our printable pattern makes this an easy project you can complete in about an hour. Fun addition to your Valentine’s Day decor!

Folded Book Heart Pattern
Book folding is such a cool craft! You can make amazingly intricate designs if you choose, or stick with something simple like this pretty heart. This project took me about an hour and I was able to do it while watching a show. It’s the sort of easy, repetitive work that tends to calm the mind. I’ve created a free pattern so you can make a folded book heart too.
Check out my folded book Christmas tree here.

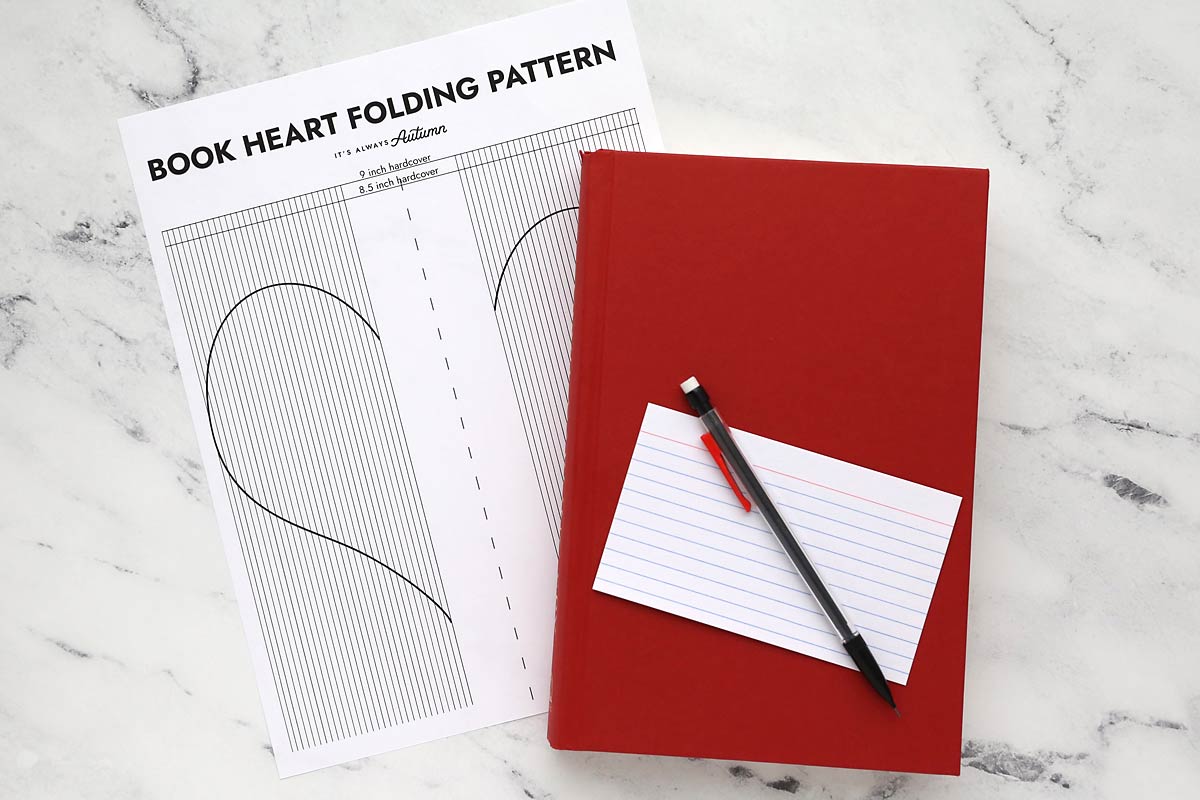
Supplies
You only need four things to make a heart shaped folded book:
- Hard Back book: use a hard cover book that’s approximately 8.5-9 inches tall and is at least 200 pages long (300+ is better). Check the dollar store or a thrift store for inexpensive books.
- Pattern: Download the Heart Book Folding Pattern here
- Pencil
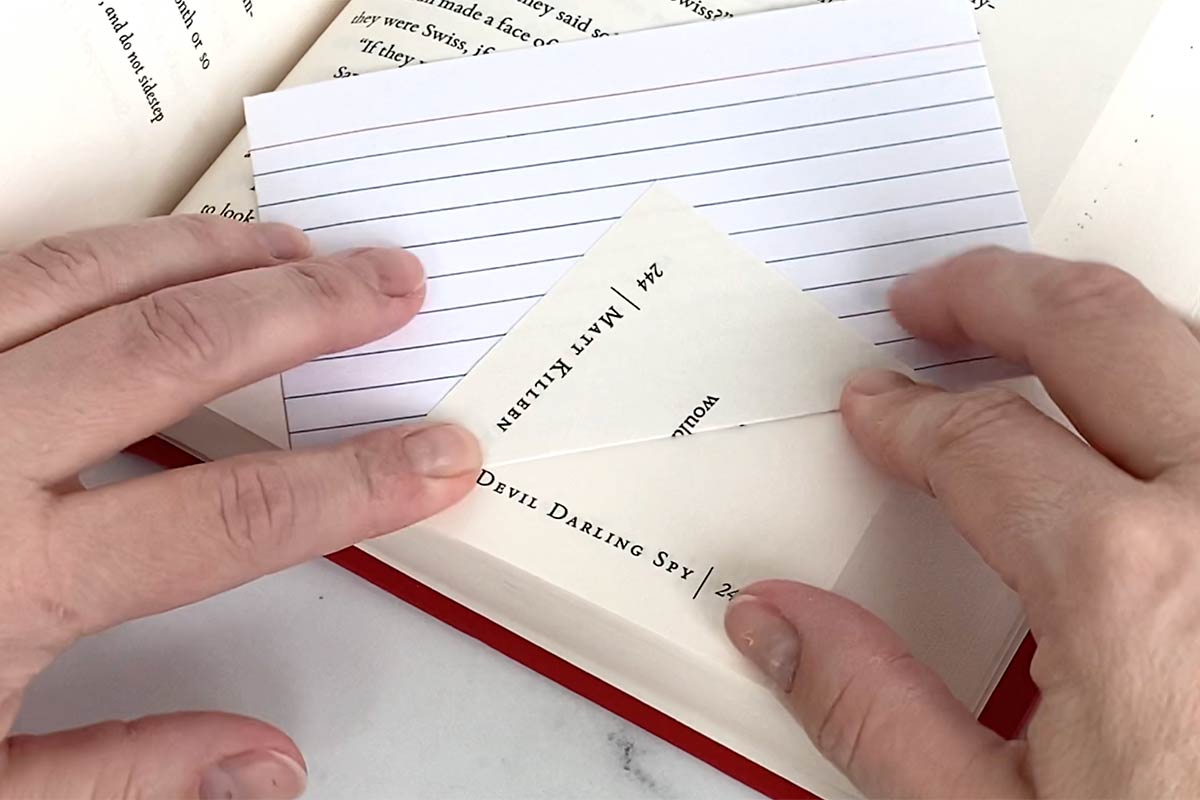
- 3×5 card
Book Folding Heart Video
This video walks you through every step of making a folded book heart. After the video you’ll find written instructions, and there’s a printable instruction card at the end of the post.
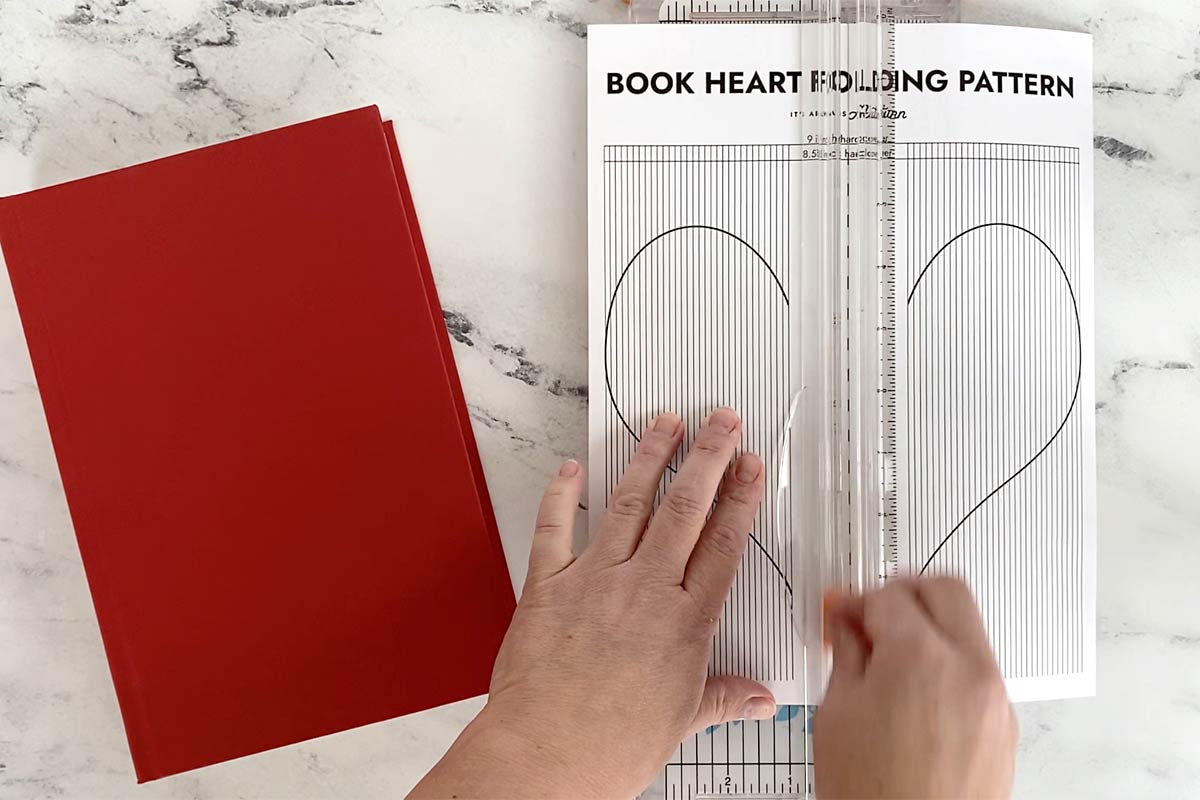
Print + Cut Pattern
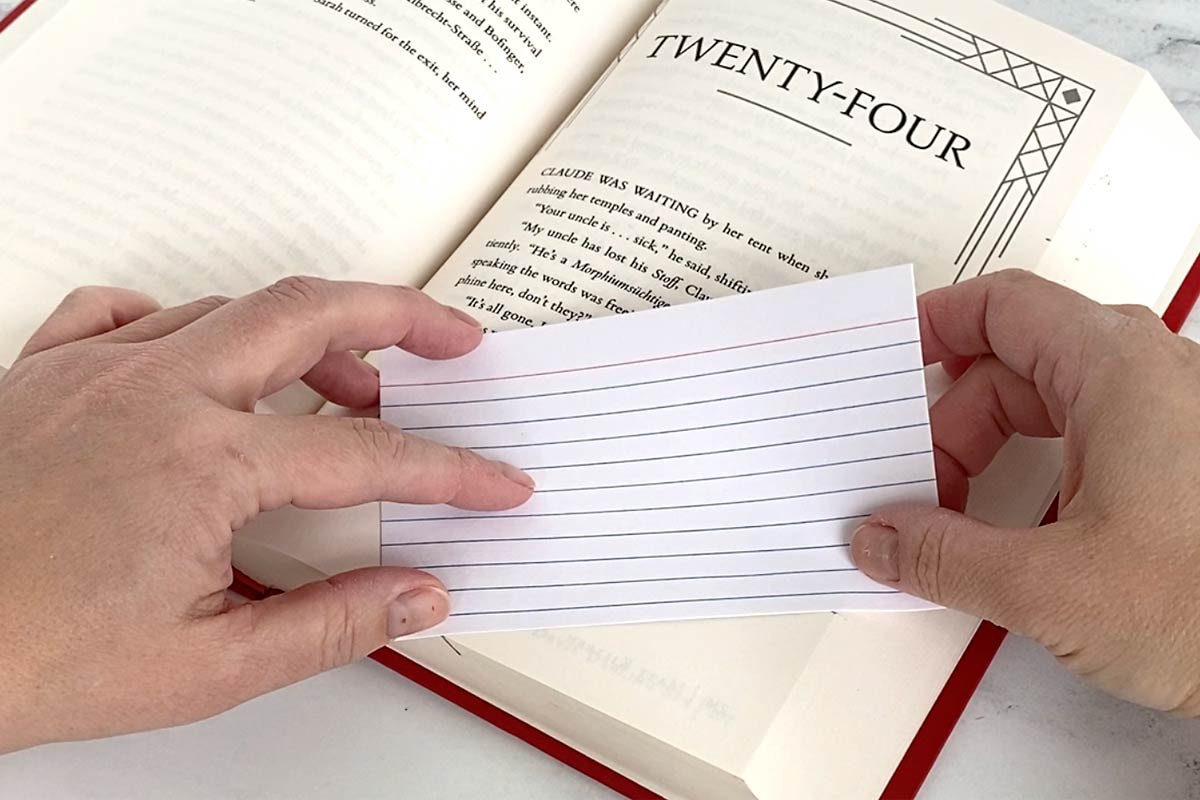
Download the folding pattern and print it out on 8.5×11 paper at full size or 100%. Cut the pattern in half along the dotted line in the center. You’ll use the right half of the pattern to mark folds in the right half of the book, and the left half of the pattern in the left half of the book.
Transfer Folding Marks
Find the center of the book. You’ll begin marking on the right hand side. Slide the pattern into the book, about 70 numbered pages away from the center, until the edge of the pages touches the first vertical line on the pattern. If your book is 9 inches tall, line up the top edge of the book pages with the top horizontal line on the pattern. If your book is 8.5 inches tall, line up the top edge of the book pages with the second horizontal line.
Using a pencil, make a small mark where the line of the heart hits the edge of the page, both at the top of the heart and at the bottom of the heart.
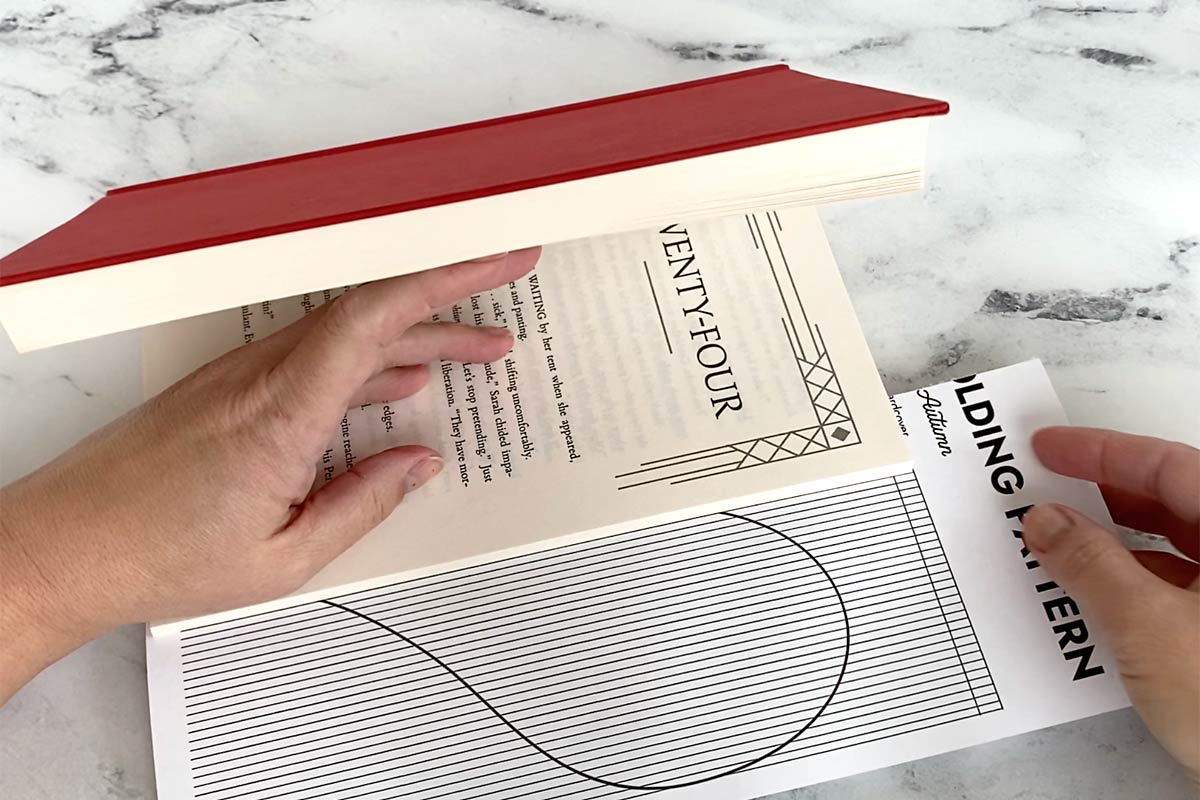
Gently slide the pattern a bit further into the book until the edge of the pages lines up with the next line. Turn to the next page of the book and mark again where the heart line hits the edge of the book. Continue sliding the pattern in one line each time you turn a page, and keep making marks until you get to the very last line (mark the last line). Then go back to the center page, turn the book over, and use the left half of the pattern to pages going toward the left.
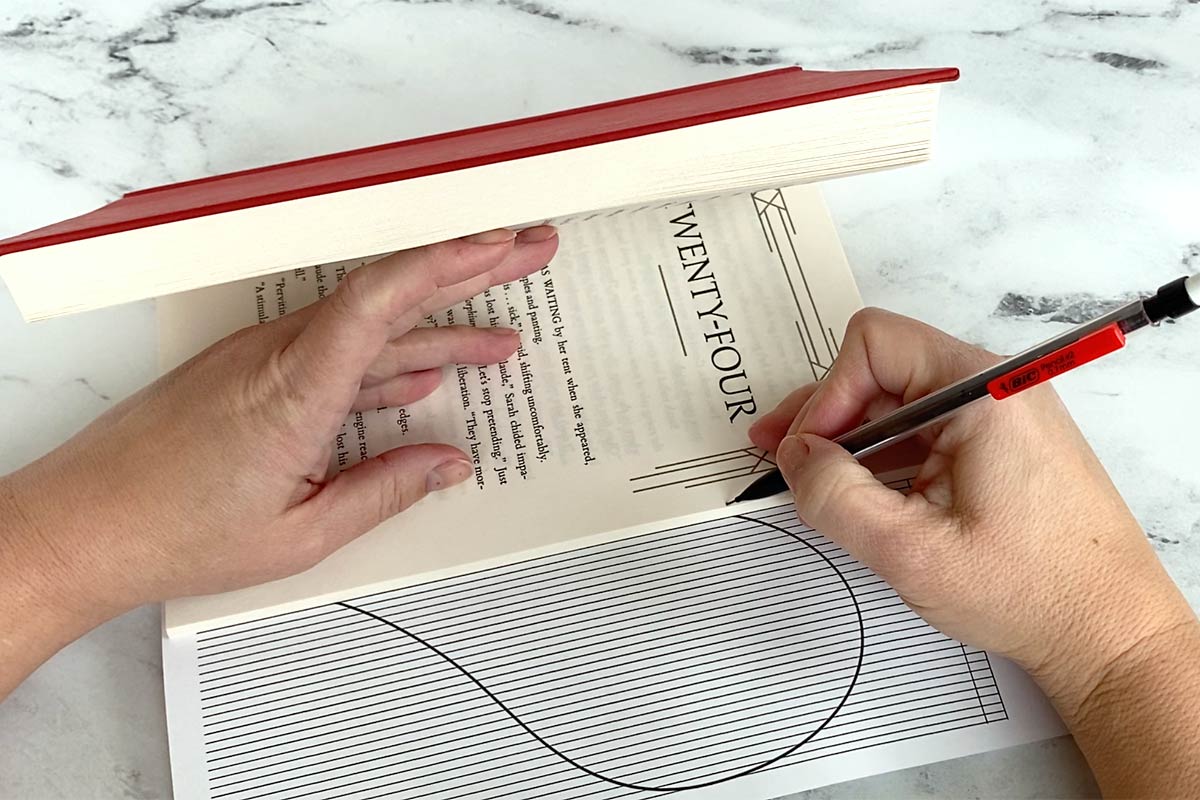
Once all the pages have been marked, gather all the marked pages together and hold them in one hand. On the top of the book, measure in 3 inches from the outside edge of the pages and draw a line across all the marked pages. You can use the 3×5 note card to measure the 3 inches. Draw this line on both the top and bottom of the book.

Fold the Pages
Open back up to the center page of the book. With the bottom corner toward you, line up the notecard with the mark on the bottom of the book and the lower mark on that page.
Fold the page up, using the bottom of the notecard as a guide, and crease.
Turn to the next page and repeat the process until you have folded the bottom corner of all the marked pages on the right side. Then repeat the process on the upper right side. You’ll see the heart begin to take shape:

Go back to the center and repeat the folding process to form the left side of the heart. Tie a narrow ribbon around the book if desired and display.


Folded Book Heart
Supplies
- Hard Back Book 8.5-9 inches tall
- Heart Folding Pattern
- Pencil
- 3×5 Card
Want more project ideas? Sign up to get my favorite easy crafts and recipes straight to your inbox!
Instructions
- Print the pattern and cut it in half along the dotted line.

- Find the center page of the book. You'll start marking on the right side. Slide the pattern in the book, about 70 number pages past center. Match up the top edge of the book pages with the horizontal line on the pattern. Match up the wide of the book pages with the first vertical line.
- Use the pencil to make marks where the line of the heart meets the edge of the page (two marks on each page). Slide the pattern in to the second line and turn the page of the book. Mark this page in the same way. Repeat this process, sliding the pattern in one line each time you turn the page, until you get to the last line. Then go back to the center page, turn the book over, and repeat with the left half of the pattern.
- Hold all of the marked pages. On the top of the book, measure in 3 inches from the edge of the pages and draw a line across all the marked pages. Repeat on the bottom of the book.
- Open up to the center page. Line up the 3×5 card with the mark on the bottom of the pages and the lower mark on the side of the page.
- Fold up the page using the 3×5 card as a guide and crease. Turn the page and repeat the process. When you get to the last marked page, repeat the process on the top of the pages.
- The heart will begin to take shape. Repeat the process on the left half of the book.
- Display the book standing up so the heart can be seen.


soula says
Beautiful i would love to do it
Connie says
I used your book folding heart pattern and created a double heart as a gift for my sister. Your pattern was so easy to use. Thank you for sharing.