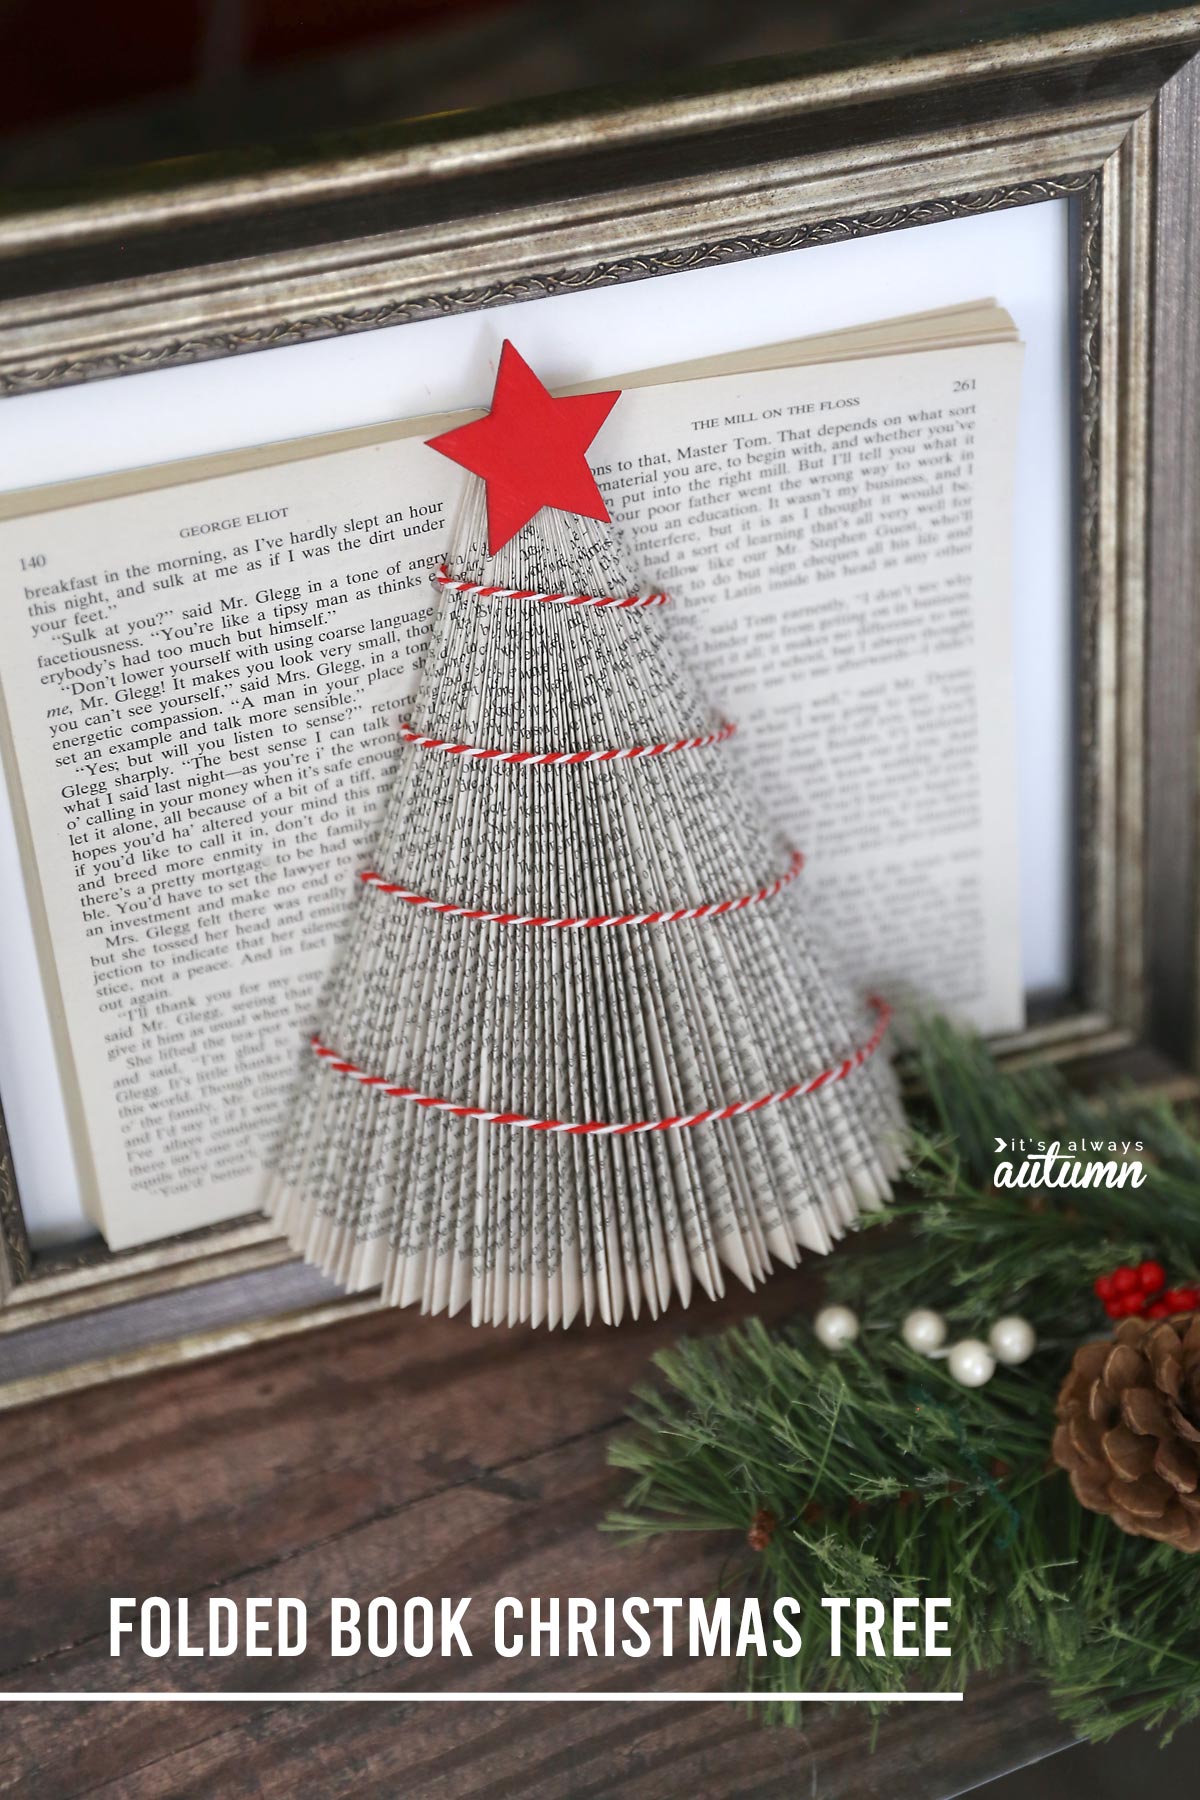
In today’s post: Learn how to turn an old book from the thrift store into a cute Christmas decoration with this folded book Christmas tree craft.
I’m sitting in my kitchen with a Christmas scented candle burning and Christmas music playing, trying to capture the feeling of comfort I associate with the holidays. My kitchen needs cleaning and my laundry needs doing–I’ll get to them both soon–but for a few minutes I just want to look at the wintery sunshine streaming through my windows and be still.
I think that’s why I like making things: the act of using my hands to make something helps my mind relax. Even when I have so many things I need to do, it’s worth it to me to carve out time to craft or sew or bake. Making something isn’t about the finished product so much as it’s about freeing my mind from everything else for just a little while.
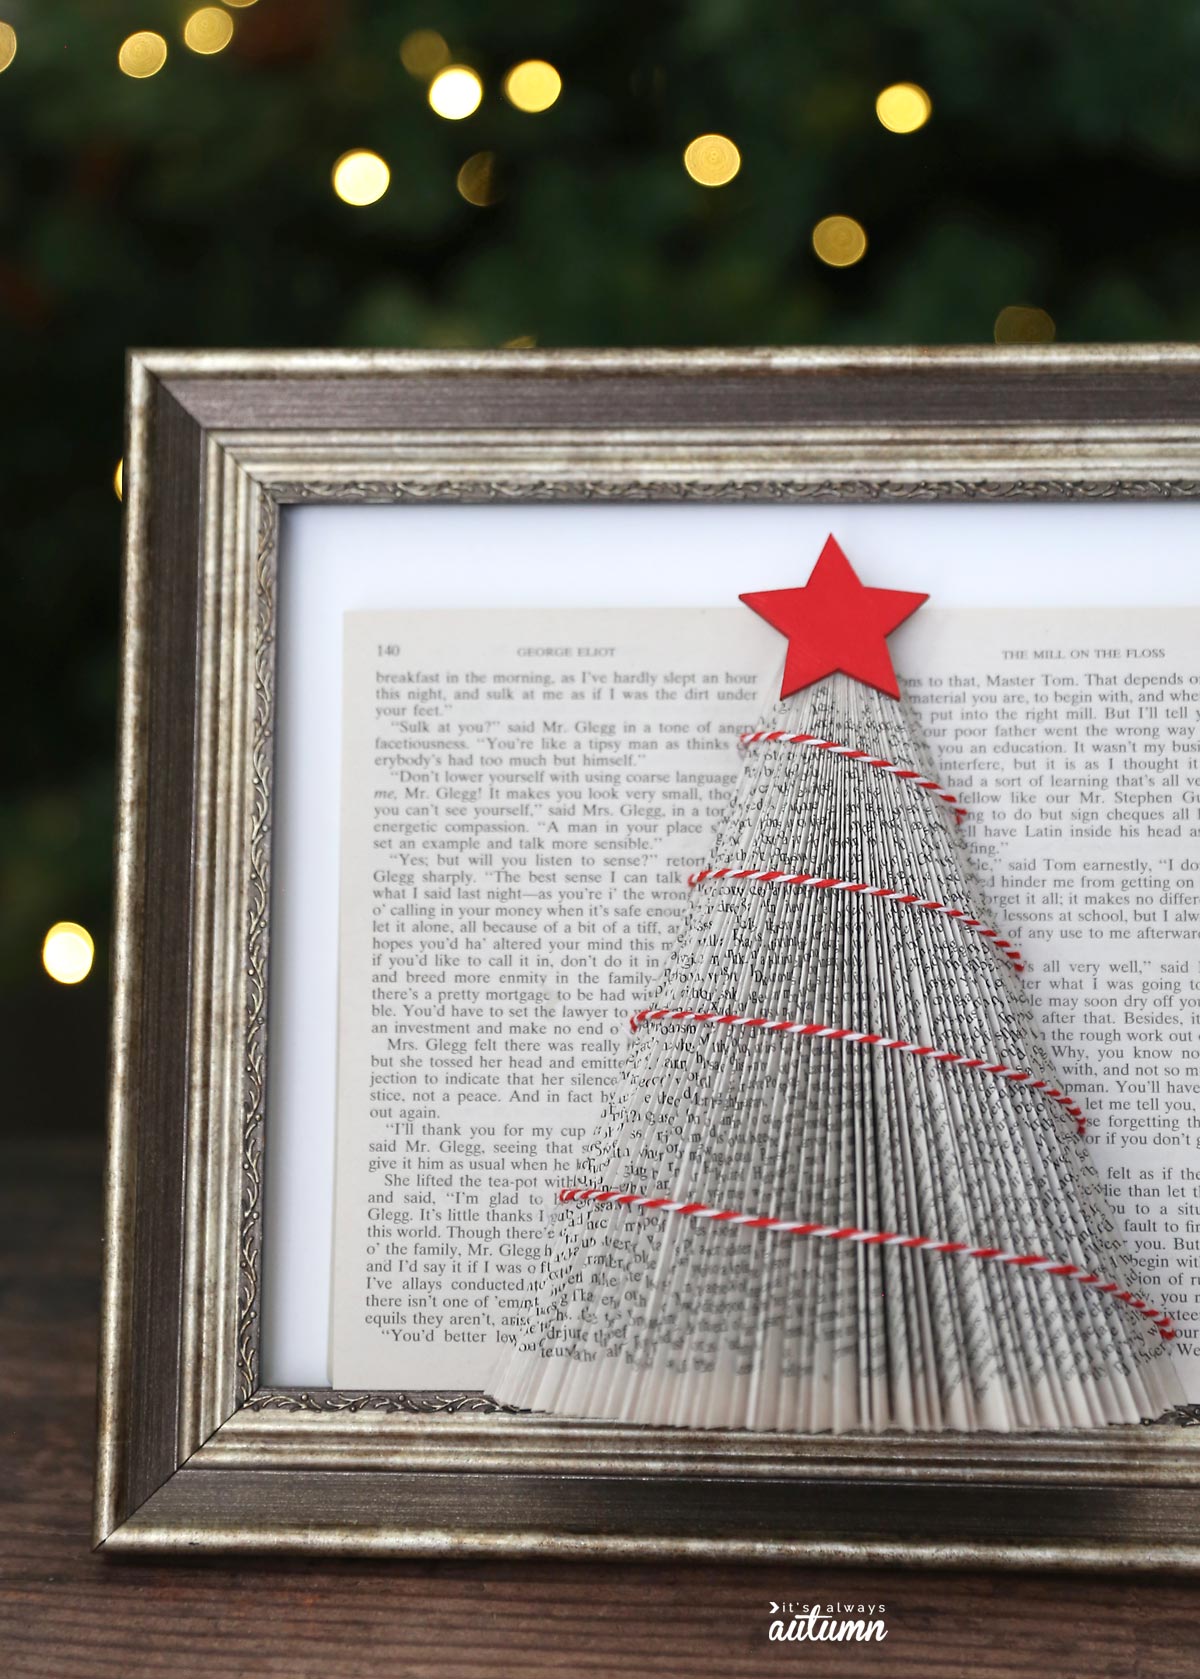
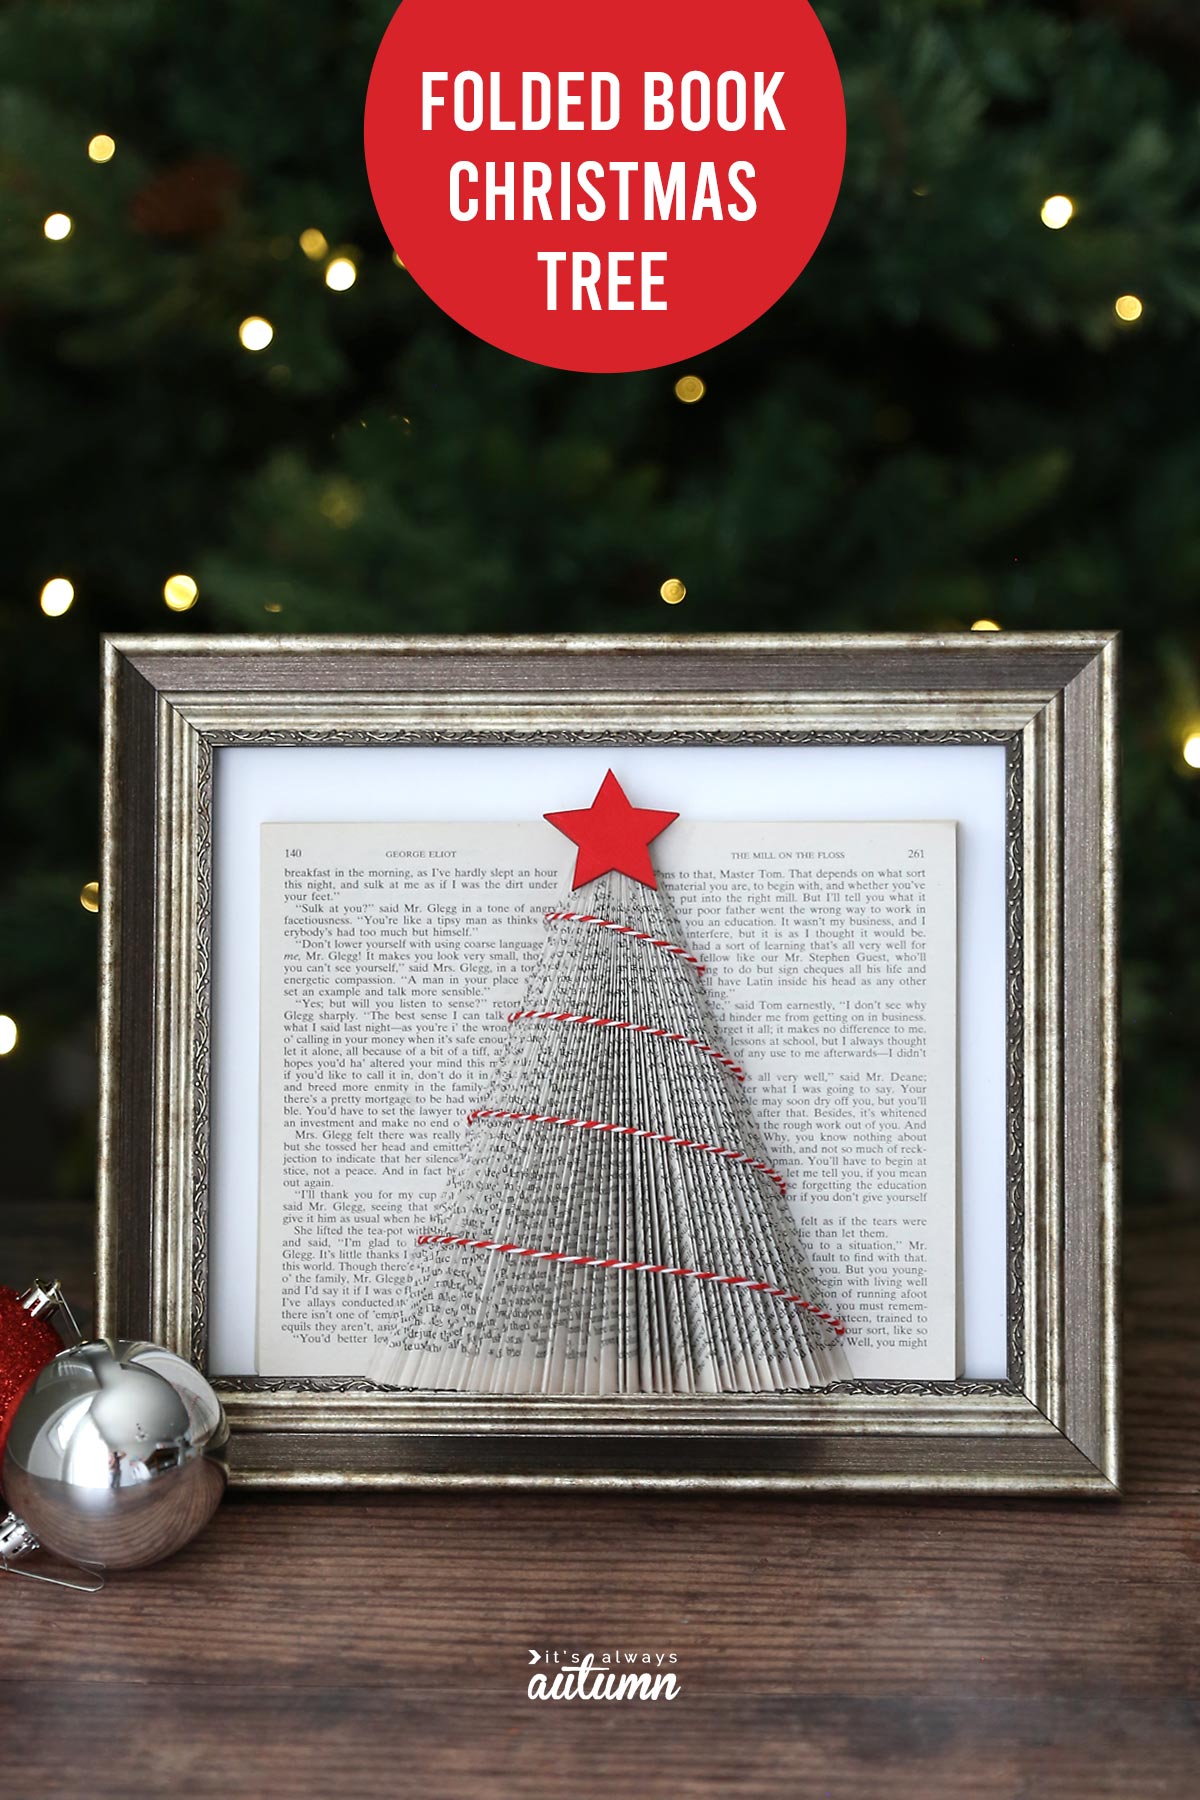
If you’re looking for a simple creative project that will help calm your mind, try making a folded book Christmas tree. This is an easy Christmas craft that doesn’t take many supplies. It repeats a couple simple folds that will keep your hands busy while you listen to music or watch a favorite show. And it looks really cute propped up in a frame on a shelf or mantel!
Folded Book Christmas Tree
I know some people REALLY don’t like projects that use books – it can seem like such a waste to ruin a good book that way! Believe me, I love books as much as anyone. But I’ve also seen how many books end up in thrift stores or on racks outside libraries. I figure once a book has been read and loved by a couple of people and likely won’t be read again, it’s fair game to be turned into something that can still be enjoyed as a decoration.
I created my book Christmas tree so it can sit flat against a frame and you can still see the pages to either side because I love the look of text. However, you can use the folding technique I’ll explain below to create a 360 degree that stands on it’s own. For examples and instructions of a 360 degree tree, visit this post at In The Kitchen with Mum.
Book Tree Supplies
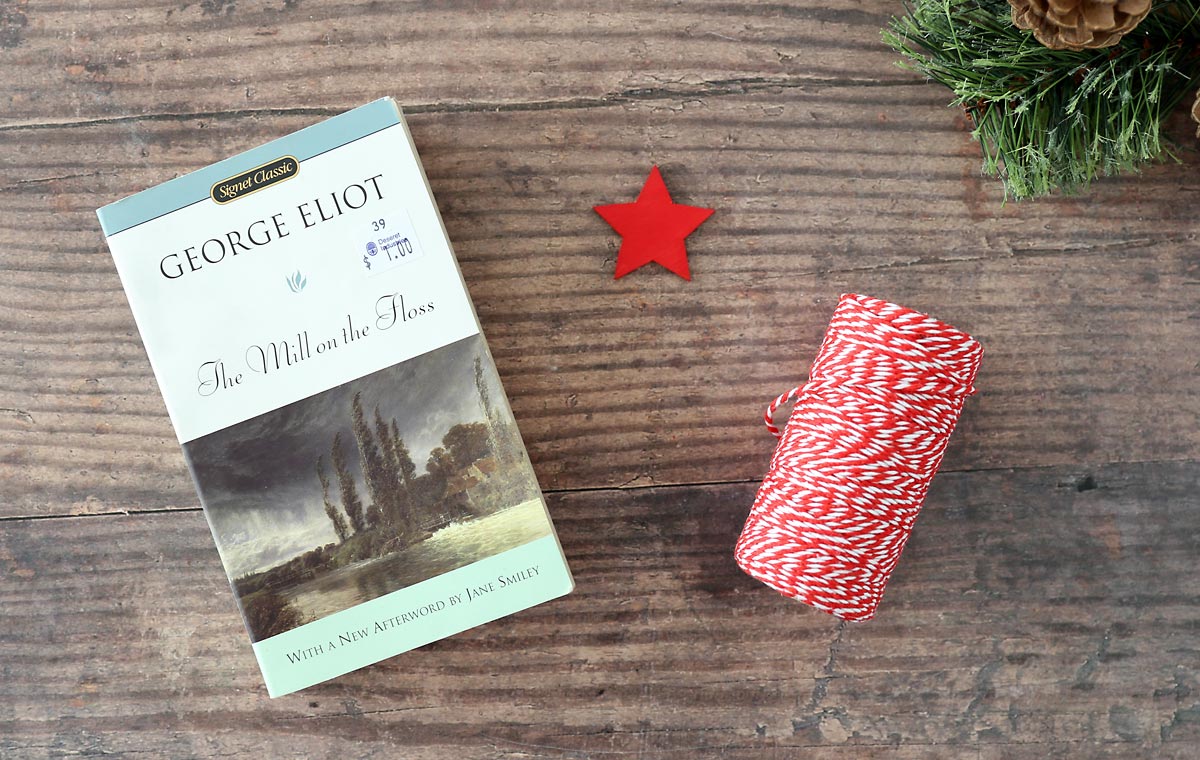
The only thing you actually need to make a folded book tree is a paperback book. I used a “mass market paperback” book, which is nearly 7 inches tall and about 4.25 inches wide. This is a fairly standard size for the cheaper paperbacks, and you’ll likely find plenty of them at any thrift store. You do want to look for a book that’s at least three quarters of an inch thick (or more), which means it will likely need to be about 300-400 pages long (or longer). Long books can be cut down using an exacto knife. Finally, I like choosing “classics” for projects where I’m using book pages because they tend to have small fonts and they are much less likely to have curse words on any given page.
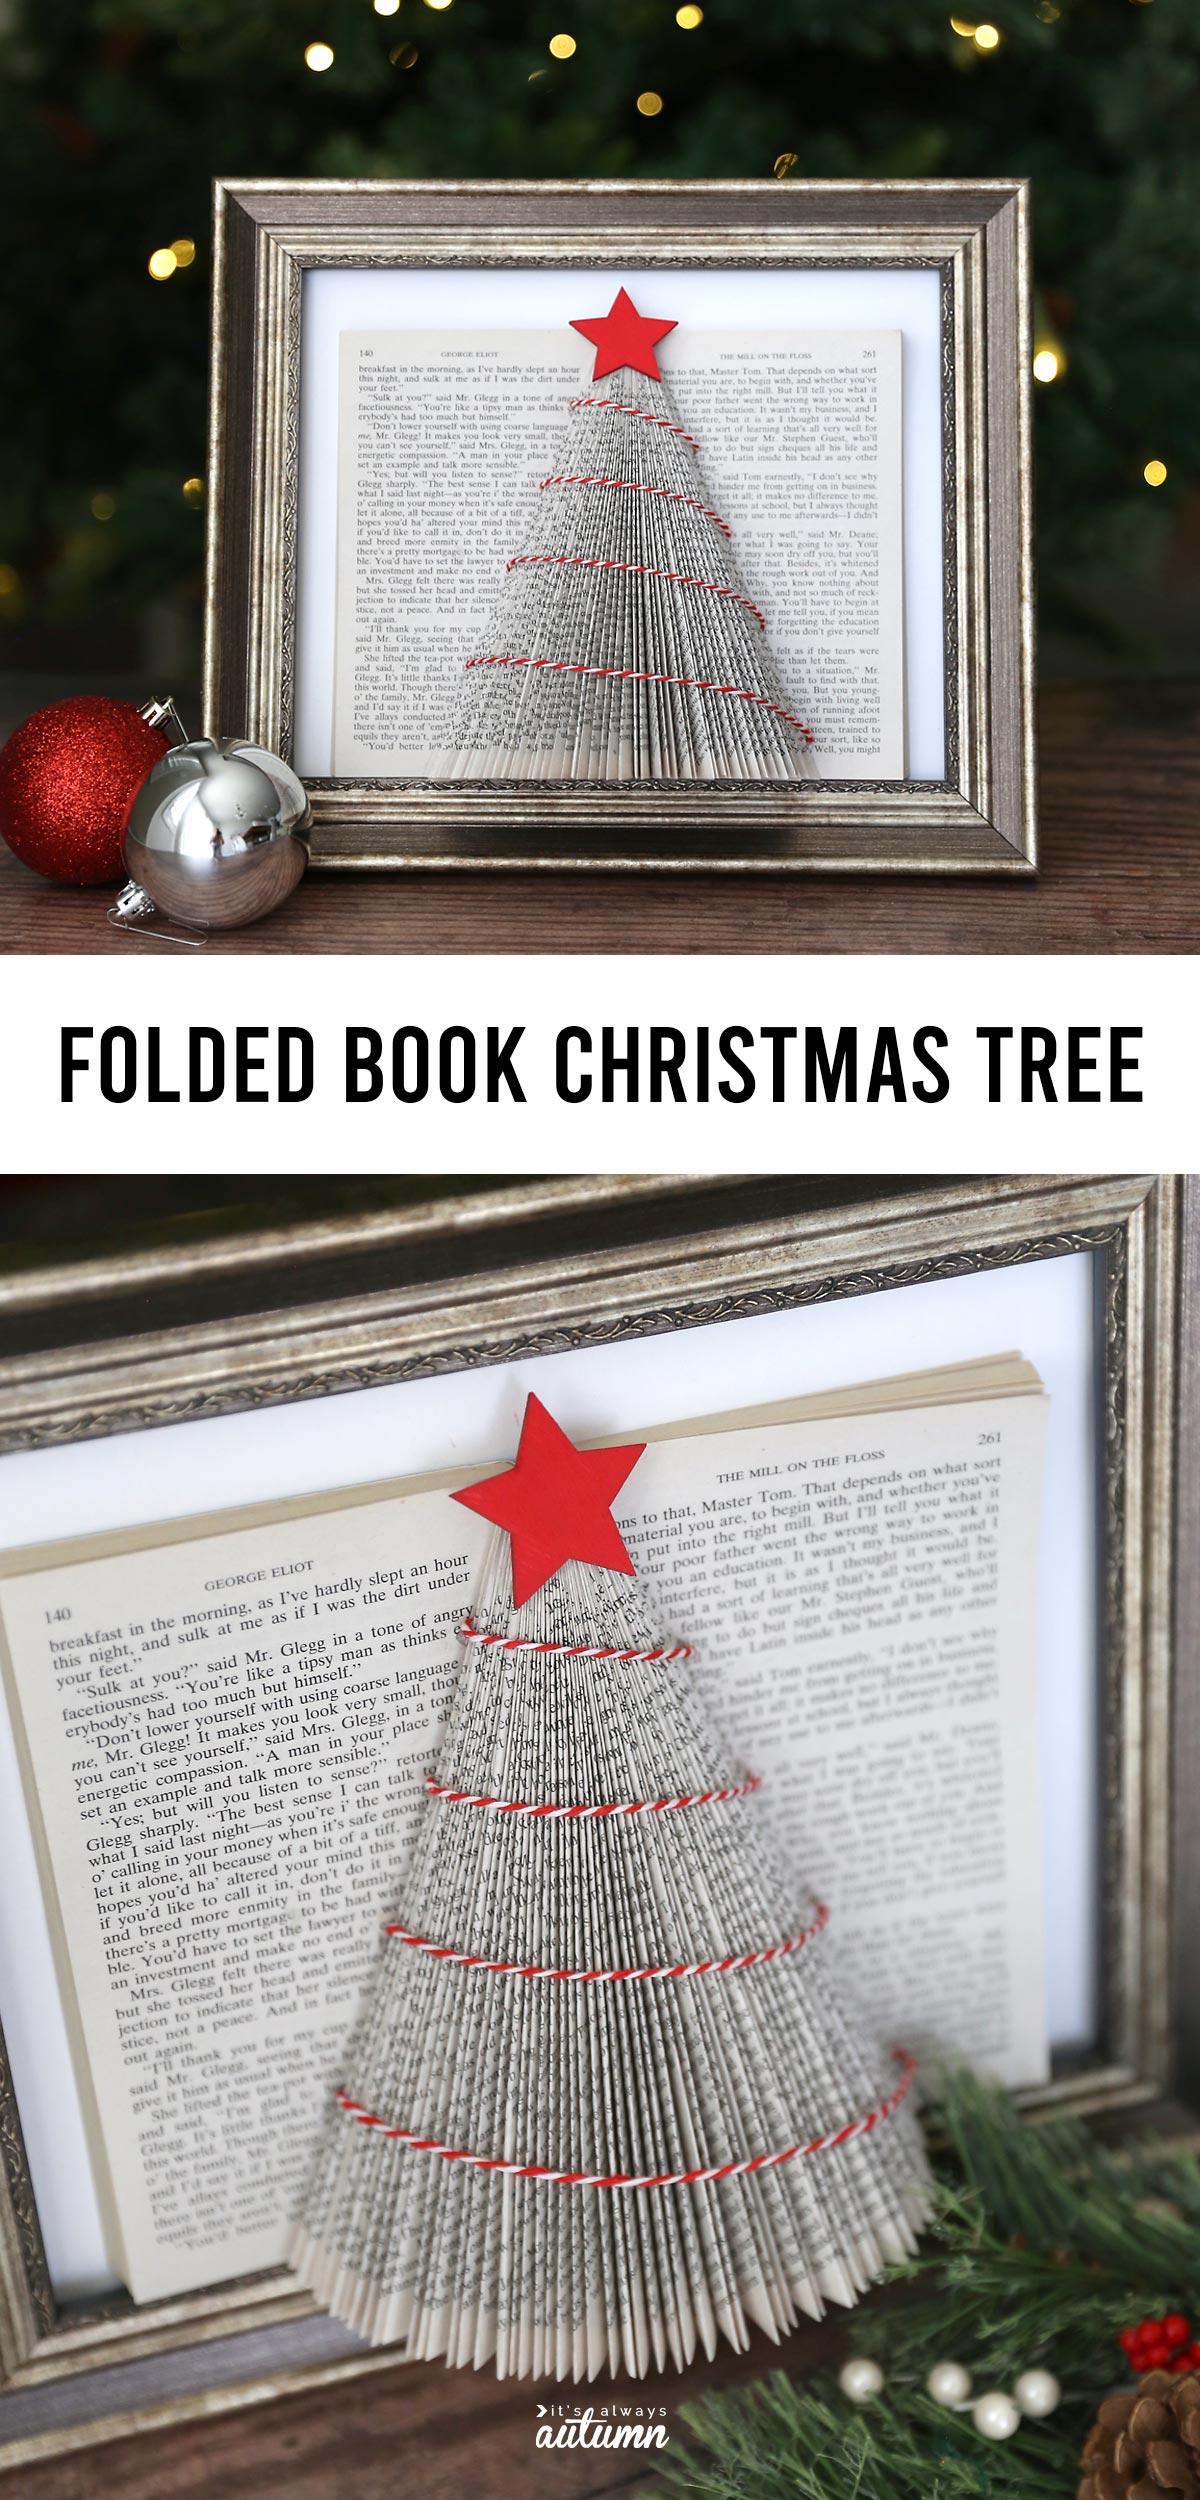
To decorate my tree, I also used a small wood star that I painted red as well as red and white twine. If you’ll be adding decorations, you’ll also need a hot glue gun.
Finally, my tree sits inside an 8×10 photo frame that I lined with white cardstock.
How to Make a Folded Book Christmas Tree
Watch this video to see how I made my book Christmas tree. Detailed instructions follow the video.

Folded Book Christmas Tree
Supplies
- Paperback Book at least 3/4 inch thick
Optional Supplies
- Red Twine
- Star Decoration
- Glue Gun
- Picture Frame larger than book when opened
- White Cardstock cut to fit the frame
Want more project ideas? Sign up to get my favorite easy crafts and recipes straight to your inbox!
Instructions
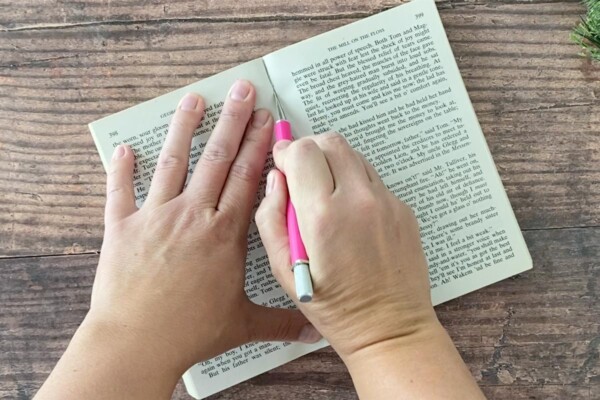
- If your book is more than 1 inch thick, use an exacto or utility knife to cut it down to 1 inch (depending on the thickness of the paper this will generally be between 300-400 pages). Open the book at 1 inch and slice down the spine, discarding the excess pages or saving them for another craft project.
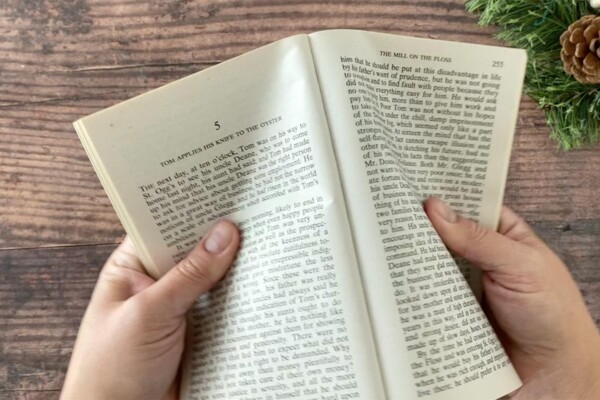
- Determine the halfway point of your book based on how many pages long it is now. Open the book wide at the halfway point and crease the spine. Crease the spine 3 times before the middle crease and 3 times after the middle crease at 25 page intervals. This will help the book lay open.
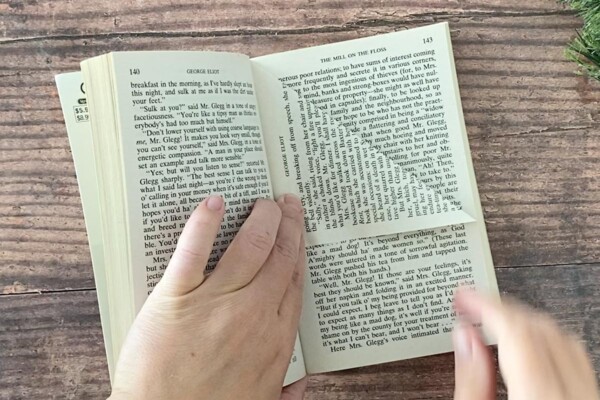
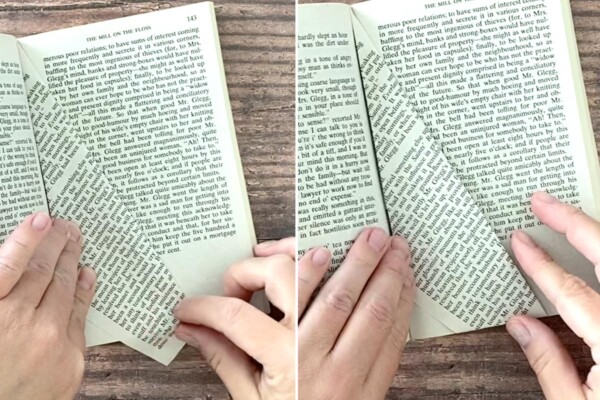
- You are going to start folding 50 numbered pages before the halfway point and finish folding 50 numbered pages after your halfway point to create the Christmas tree in the middle of your book. (That is 50 numbered pages, so 25 actual folds before and after the center point.)Starting 50 numbered pages before the halfway point, open the book up wide. Take the top right hand corner of the page and fold it down to the center of the book, as far as it will go. Make a tight, clean fold and crease it well.
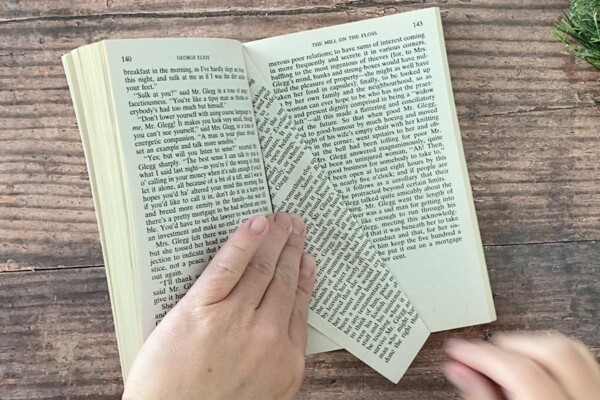
- Fold the same page again, this time taking the first folded edge into the center, as far as it will go. Crease.
- A small corner of the page will now be hanging past the bottom of the book. Fold it down along the bottom edge of the book to crease. This will make a small triangle that you can tuck inside the original fold so there is a straight edge along the bottom.
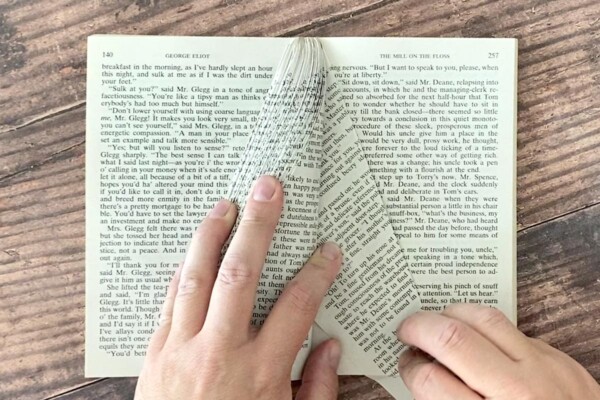
- Turn the folded page to the left, and repeat with the next page. Remember, you will be folding about 50 total pages (100 numbered pages). As you get more pages folded, it will become a little harder to make a nice fold, especially at the top. You can use your fingernail or fingernail file (or even a toothpick) to turn the paper at that top corner and get a sharp fold.
- Continue until you have about 50 folded pages and the Christmas tree looks full and the book lies flat. If your pages are a little thicker, you may only need 40 folded pages.
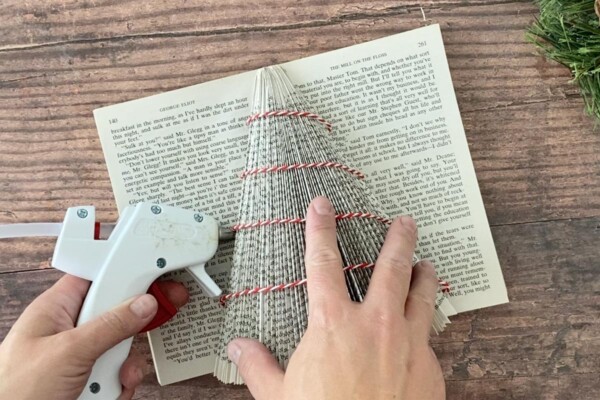
- If desired, decorate the Christmas tree. Hot glue rows of twine so they appear to wrap around the tree. Hot glue a star decoration on top.
- If you'd like your tree to sit in a frame, make sure the frame has a piece of white cardstock in it. Stand the frame up horizontally and set the book in it. You can hot glue the book to the white cardstock to make it more stable if desired.




Julia says
Yes I made this.
I would like to know if the unfolded pages are glued together to stop them from curling ?
Autumn says
I did not glue the unfolded pages and haven’t had issues with them curling.