
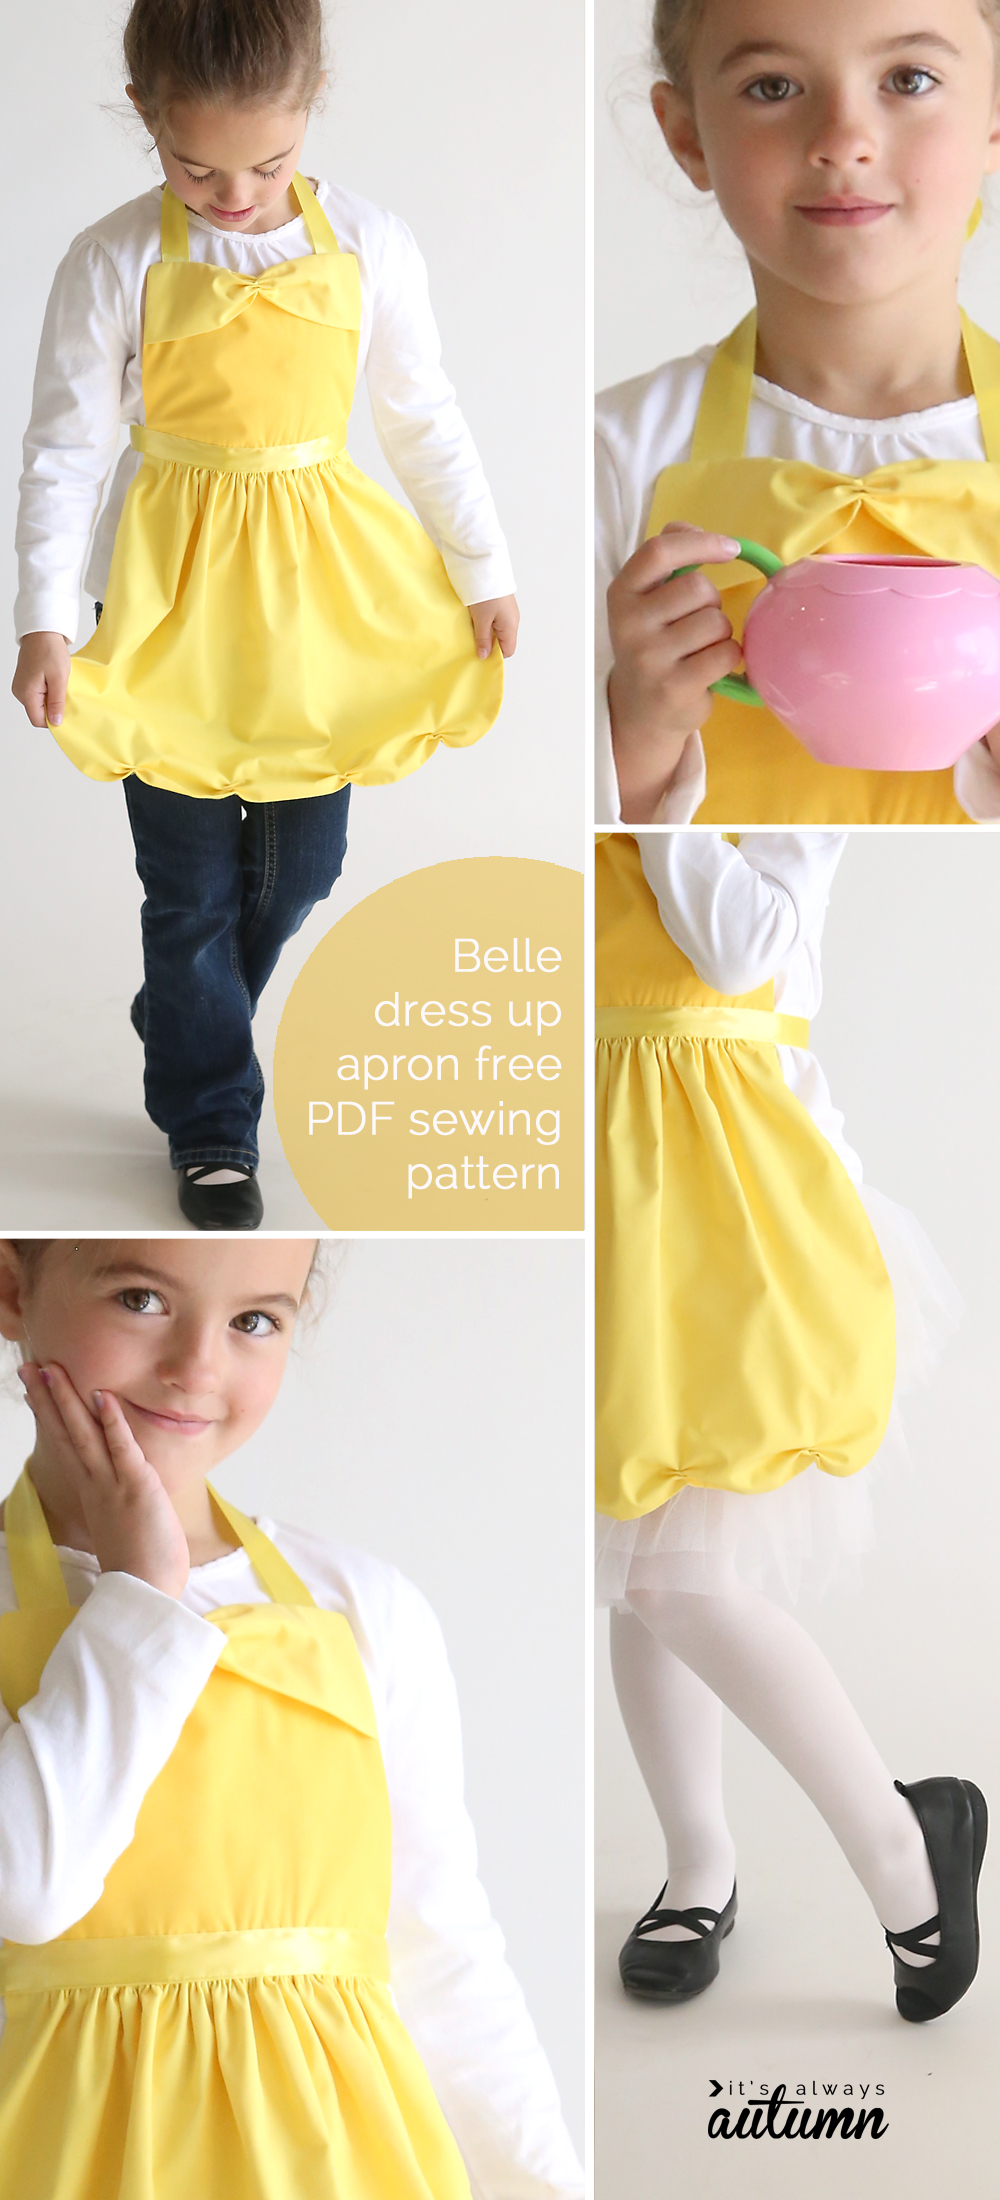
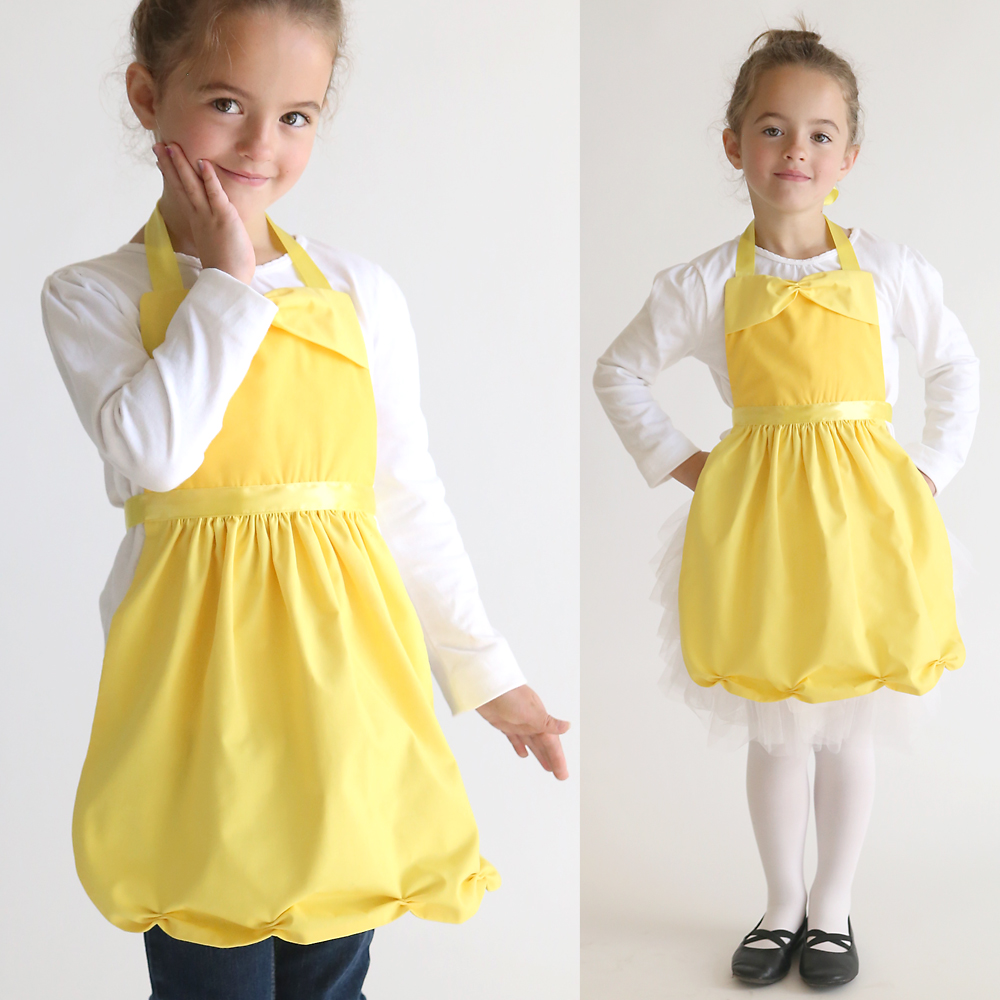
Ok, it’s time for the last of the free princess dress up apron patterns (at least for now): Belle. This one is my favorite! I added a ruffle at the neckline and flounces on the skirt to make it look just like Belle’s ball gown from Beauty and the Beast (well, maybe not just like the ball gown, but close enough!). BTW, who’s excited for the new movie to come out in the spring? I can’t wait to see Emma Watson as Belle!
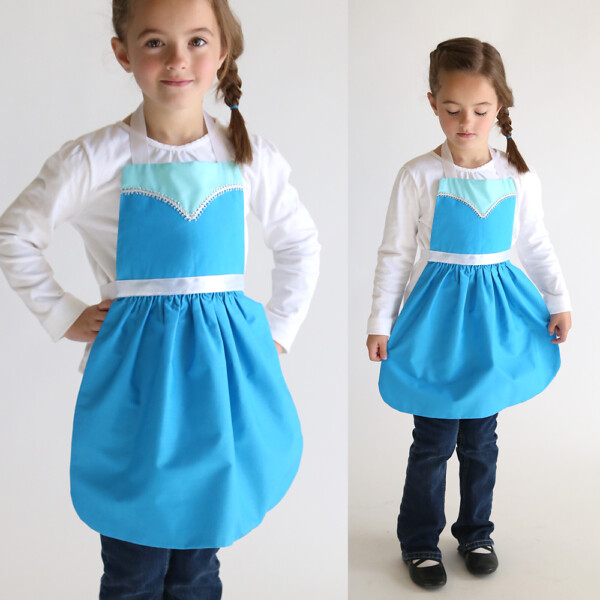
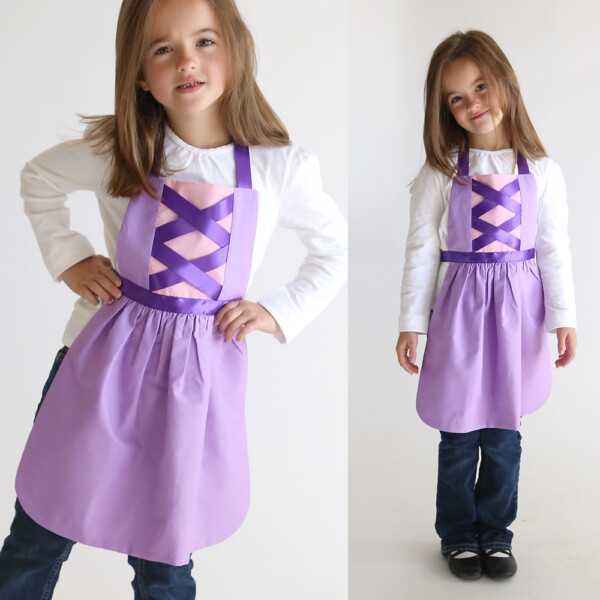
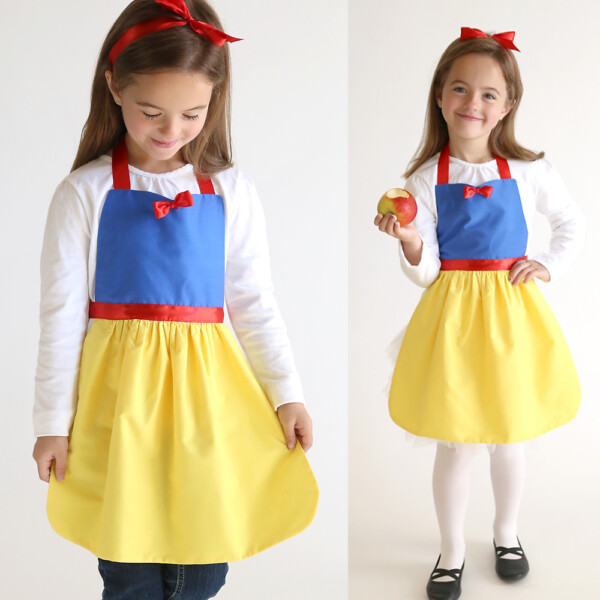
Remember, so far there are 4 different free princess apron patterns available. Click here for the Snow White apron, here for the Rapunzel apron, and here for the Elsa apron.
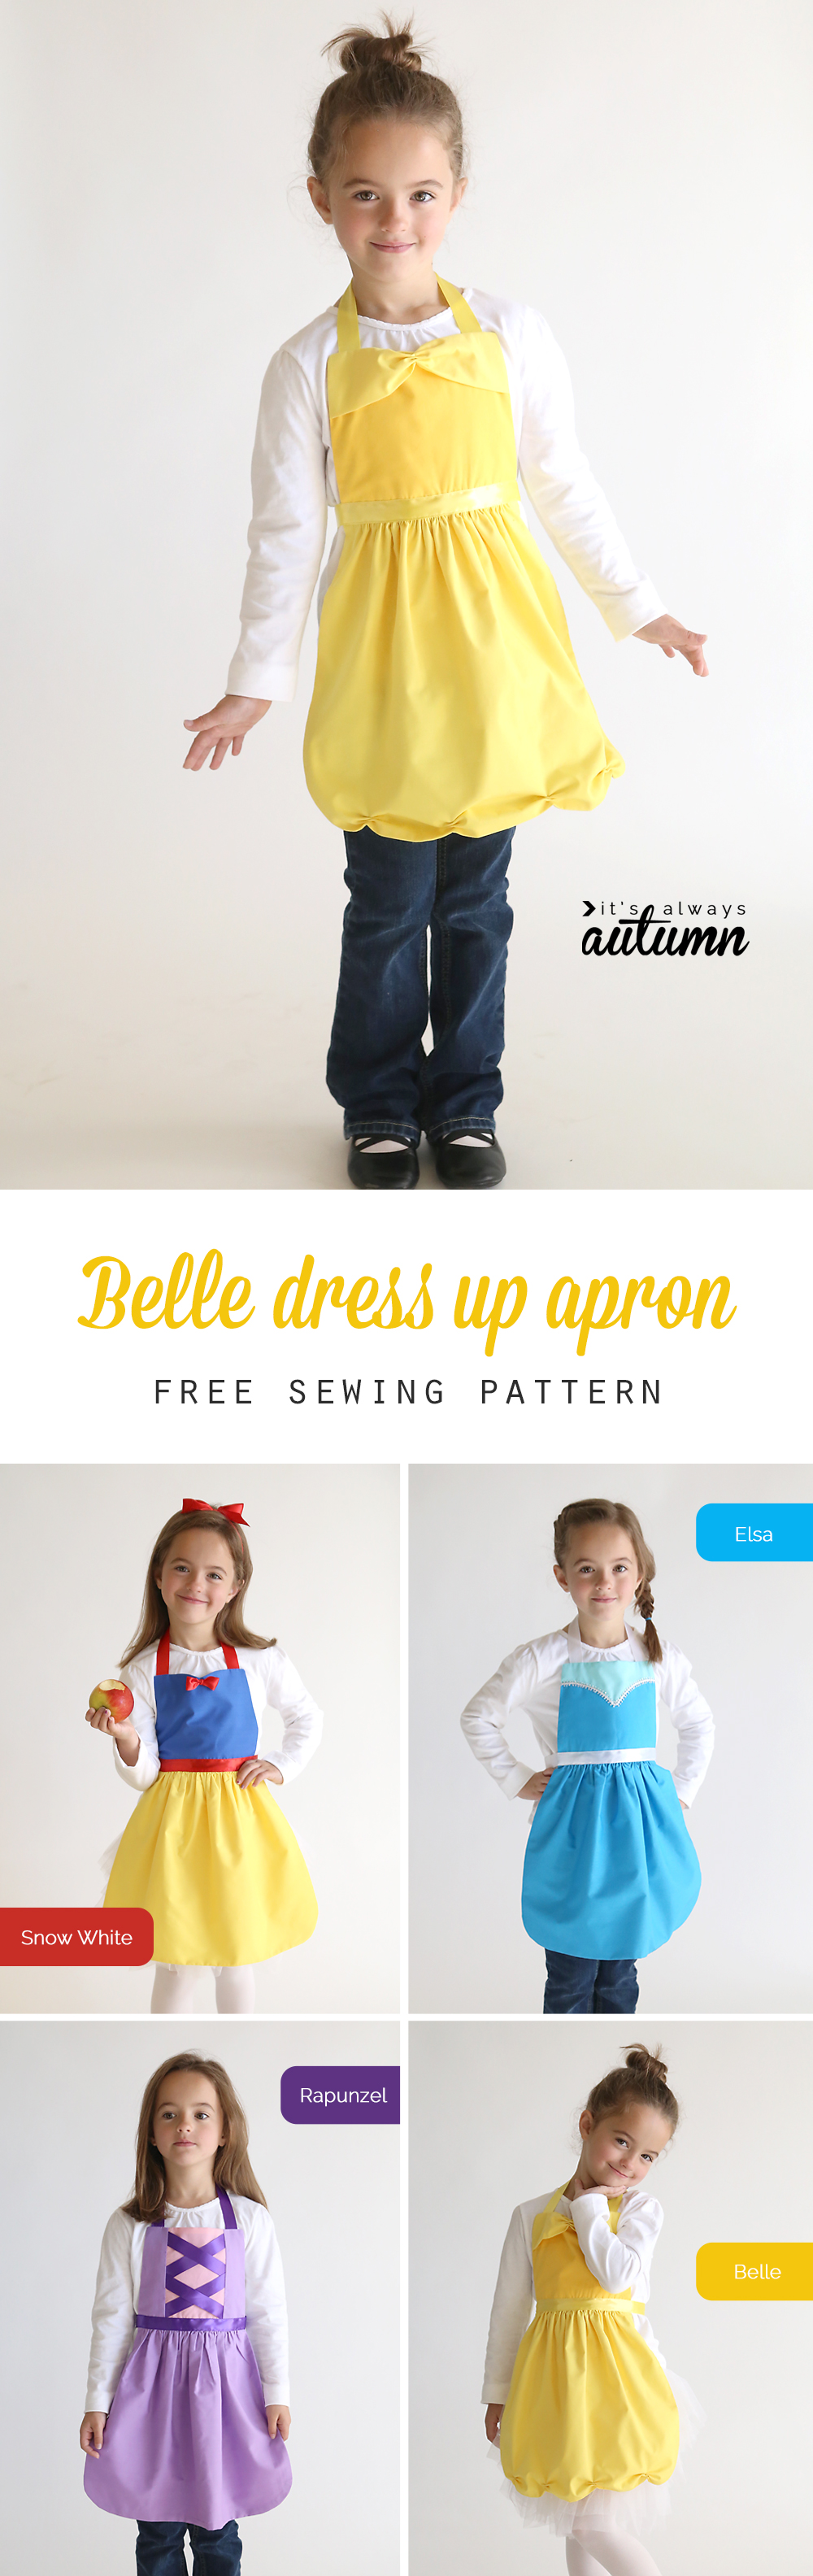
Or, if you’re looking for a different character (plus dress up aprons for boys!), visit QueenElizabethAprons. She offers 100 different apron patterns, which means you’ll be able to find your child’s favorite character, whether it be Minnie Mouse, someone from Star Wars, Harry Potter, Wonder Woman, Alice in Wonderland, and pretty much anyone else you can think of. Plus she offers finished aprons as well for those of you who love this idea but don’t want to sew!
As I mentioned in the first apron post, princess dress up aprons are easy to sew, take less than a yard of fabric, and fit a wide variety of sizes. I even have free PDF sewing patterns in sizes 2/3, 4/5, and 6/8 for each of the princesses.These aprons will hold up to washing better than many commercial princess costumes and are perfect for everyday play. Pair one with a fluffy white skirt (here’s the one I got!) for an easy DIY Halloween costume. These would be great handmade Christmas gifts for any little girl, and I think I’ll be sewing up a few extra to have on hand for birthday gifts, too.
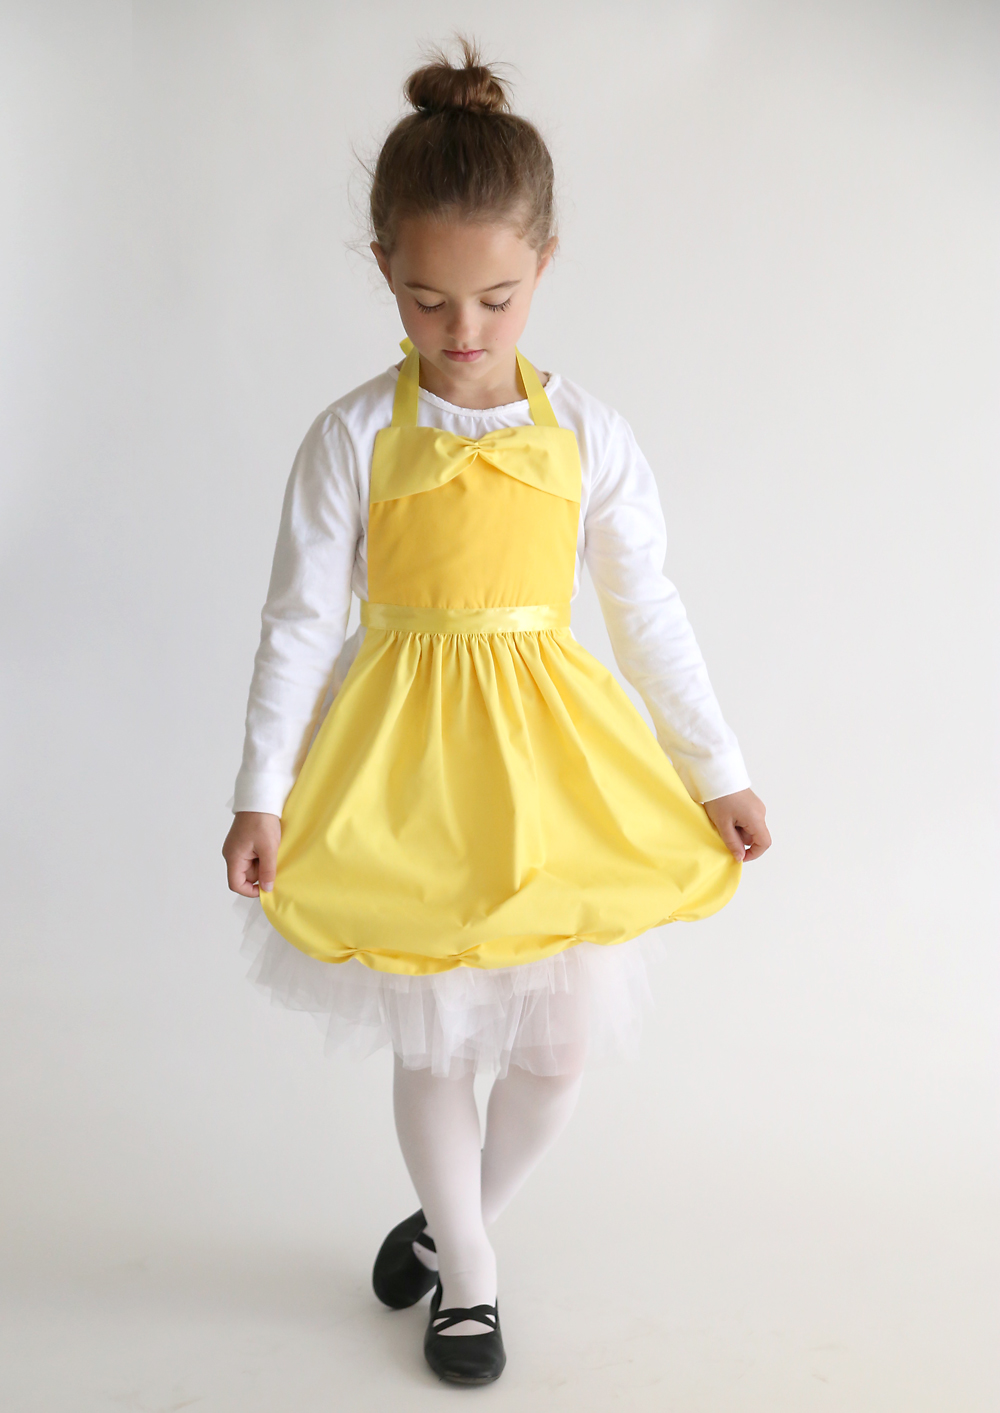
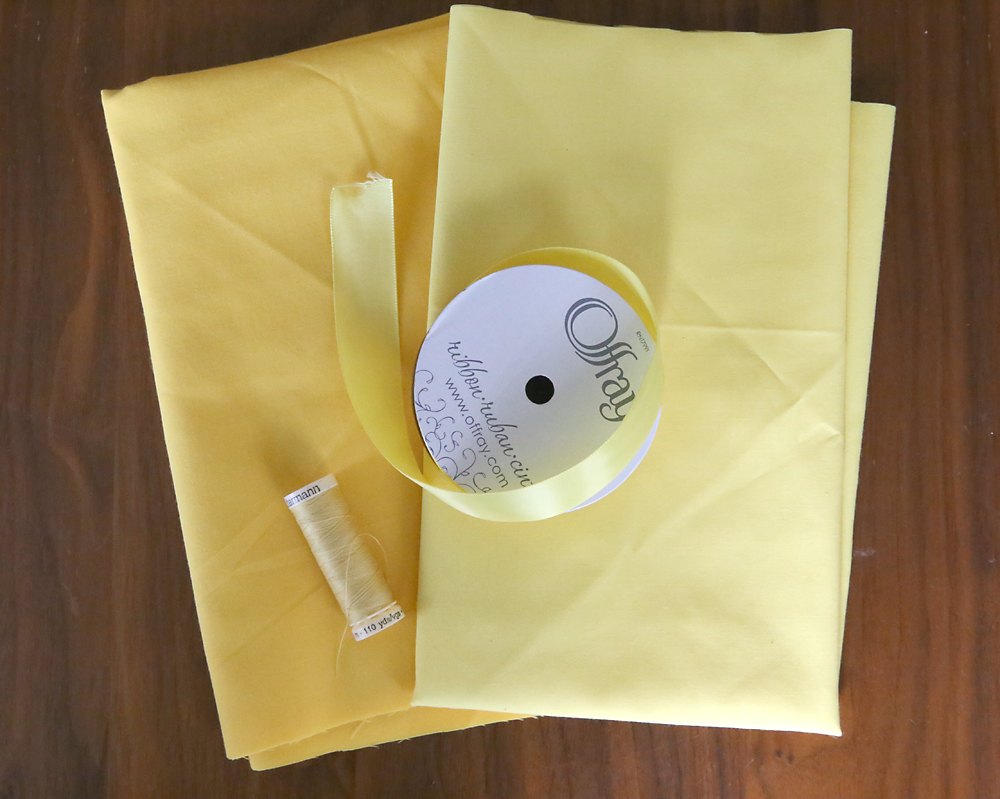
For this pattern I used a light and dark yellow broadcloth, along with matching yellow ribbon.
Before starting on this apron, please click over to the Snow White apron post and watch the video, which tells you all about which fabric I like to use and walks you through step by step sewing directions. Then come back here to get the details on how to add Belle’s bodice ruffle and skirt flounces.
You can download the Belle princess dress up apron by clicking here. Print it out at 100% or full size and be sure the grey test square measures exactly 1 inch by 1 inch. This is what it looks like:

For this apron you’ll need 1/4 yard of the darker yellow fabric and 3/4 yard of the lighter yellow fabric (although if you’re making the 2/3 size you could get away with 1/2 yard of lighter fabric). You’ll also need 3 yards of 7/8 inch wide yellow ribbon and matching yellow thread.
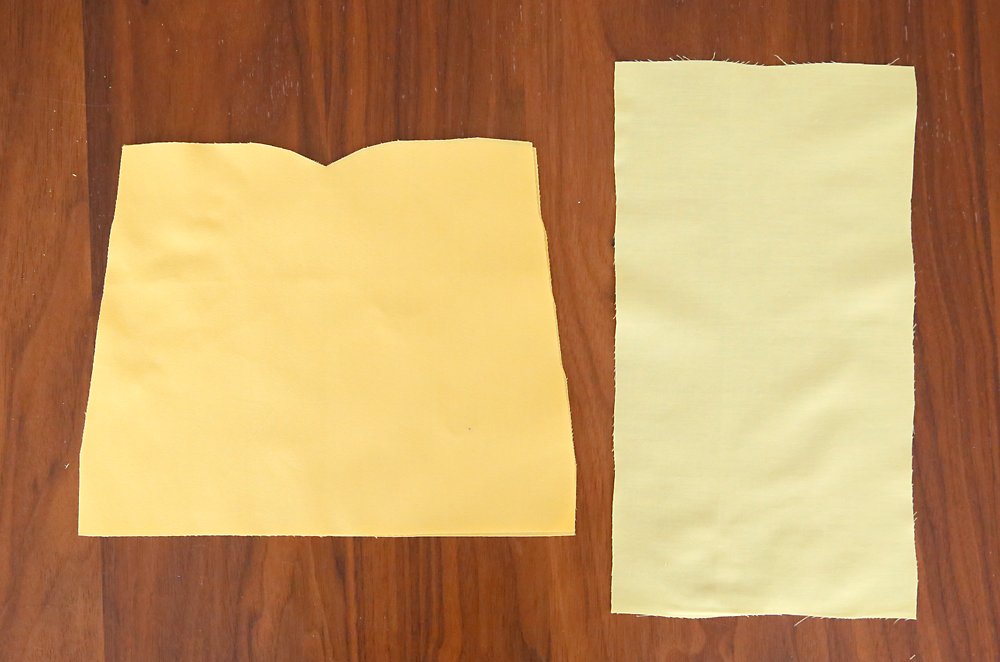
Cut out 2 of the Belle bodice on the fold from the dark yellow fabric. Cut 1 ruffle rectangle as directed on the pattern from the light yellow fabric. Also cut 2 skirt pieces as directed on the pattern, and curve the bottom two corners of the skirt pieces as shown in the Snow White video. Finally, cut ribbon pieces as directed on pattern.
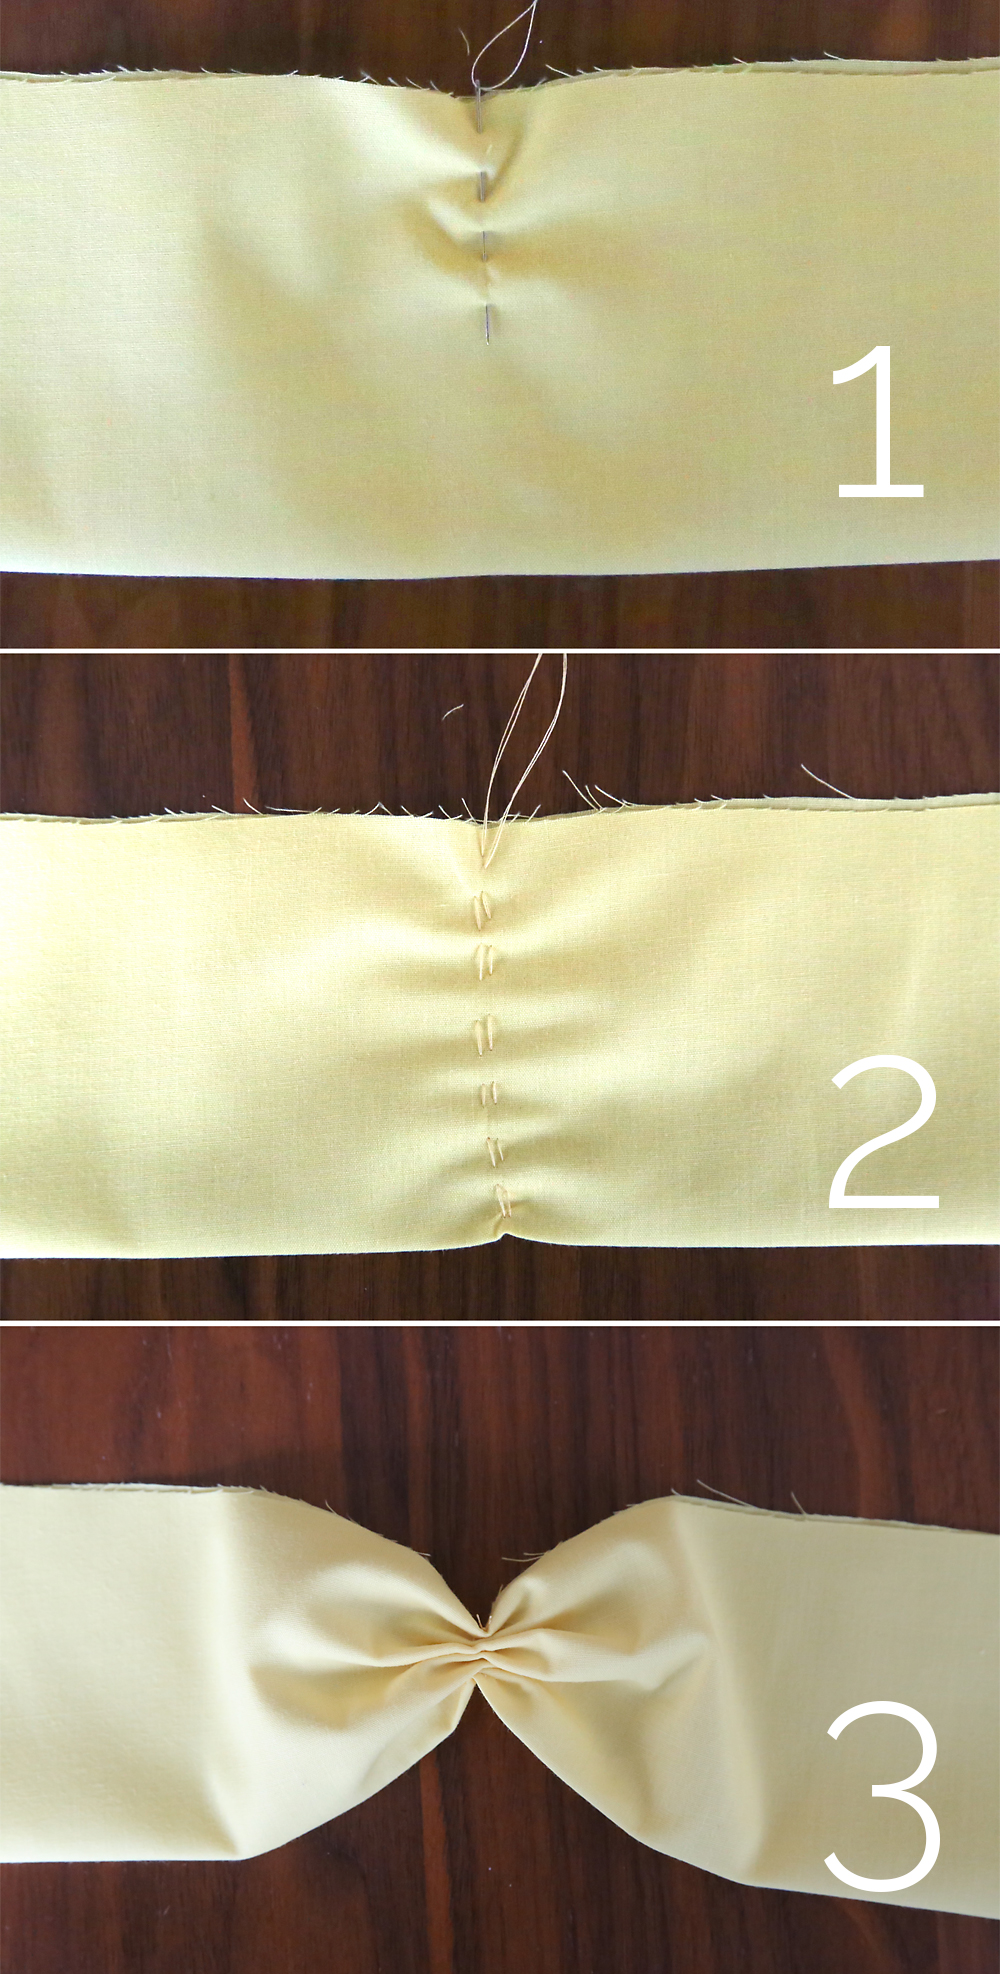
Fold the ruffle rectangle in half lengthwise and press. Thread a needle and knot it so the thread is doubled. Then hand sew across the center of the rectangle, starting from the raw edge, as shown in photo 1 below. When you get to the folded edge, sew back down the same way you came, matching up your stitches, as shown in photo 2. Then pull the threads tight to gather the ruffle and knot them, as shown in photo 3. This creates the ruffle for the bodice.
Pin the ruffle to the top of one of the bodice pieces. Sew it on, using 1/4 inch seam allowance.

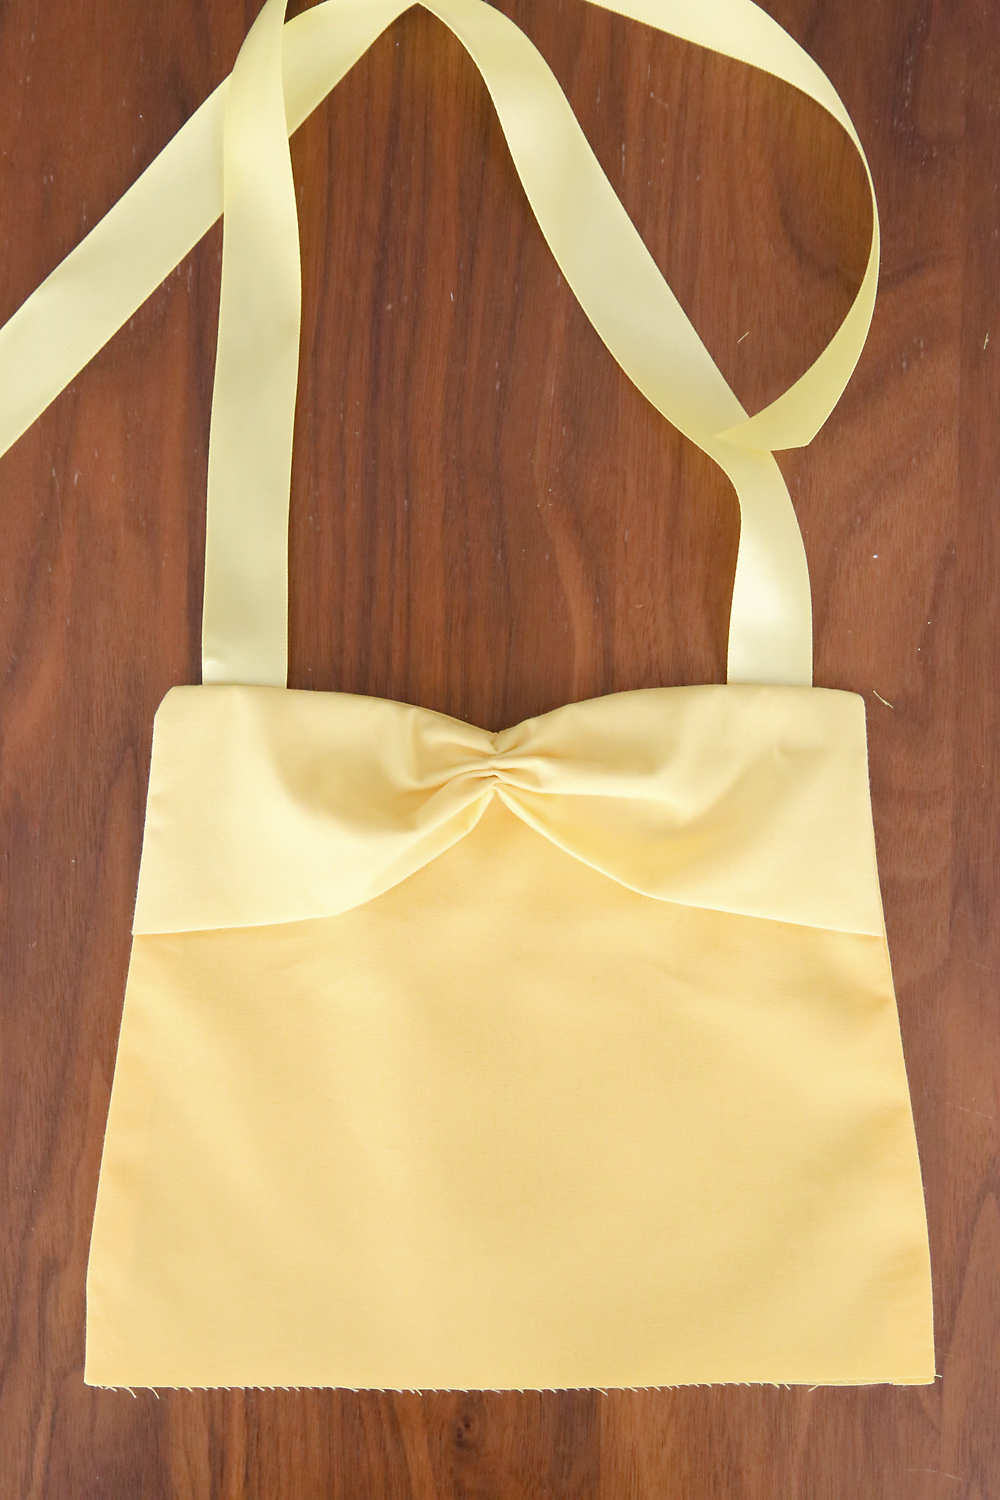
Trim any of the ruffle that sticks out past the edge of the bodice. Then layer the other bodice piece on top, sandwiching the 18 inch ribbons in between them as directed in the Snow White video, and sew the two bodice pieces together using a 1/2 inch seam allowance. This is what the finished bodice looks like:
Sew up the skirt as directed in the video, turning right side out and pressing. Mark 4 evenly spaced spots across the bottom of the skirt with pins, as shown below.
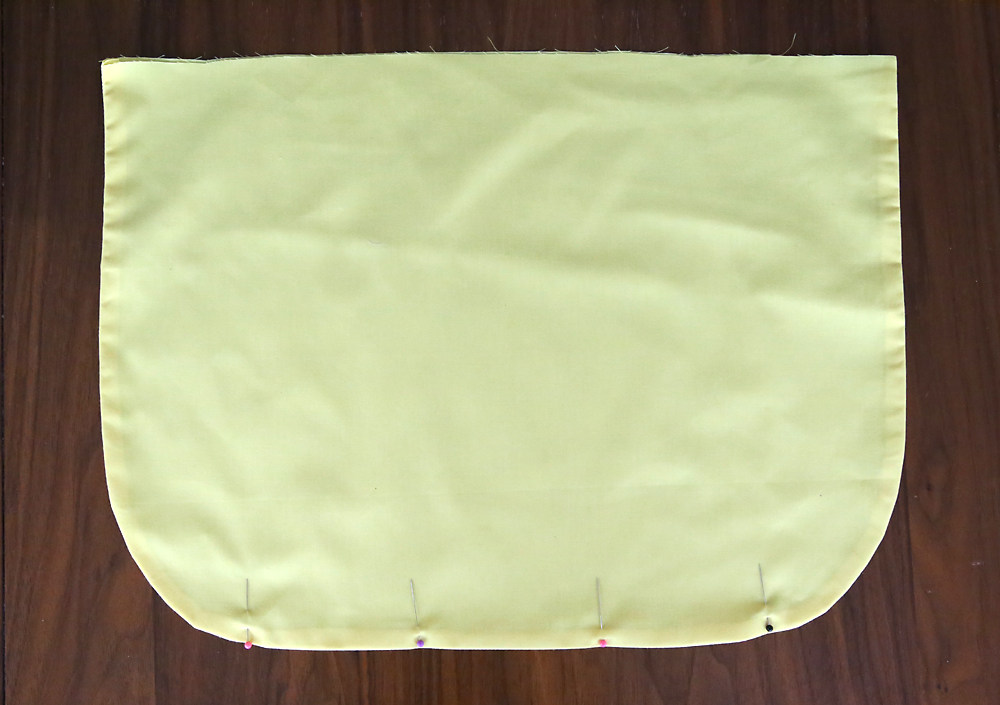
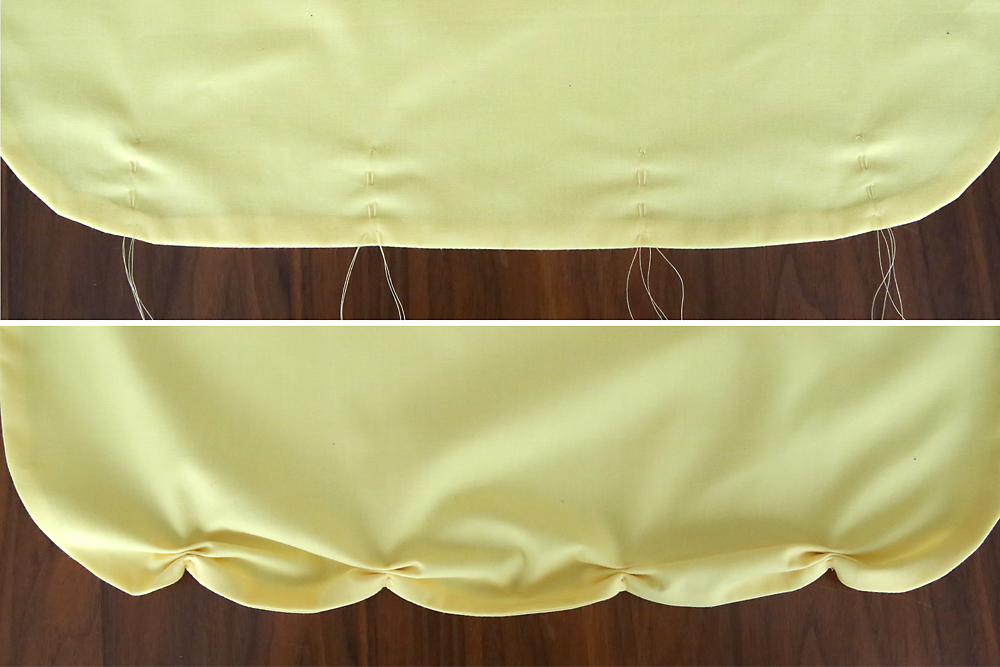
Hand sew with a needle the same way you did for the ruffle at each one of the marked spots. Sew up about an inch and a half before turning around to sew back down. Pull the thread tight and knot them to create Belle’s flounced skirt.
Then sew the skirt and bodice together and add the waistline ribbon as directed in the video. Make sure to sew the skirt to the WRONG SIDE of the bodice.
And that’s it!
Love the apron but want a different princess? Click here for the Snow White apron, here for the Rapunzel apron, and here for the Elsa apron.
Lisa F Hill says
Oh my gosh, I love these aprons! I made stuff like these for my children, the kids at church and now I get to make them for grandchildren!
Lynn says
Thank you so very much for sharing these they are fabulous
Patty says
I’ve made 3 of these aprons for three granddaughters now! I love that they are so simple and quick to make, but look like they were a lot more work! Thanks for your free tutorials!
Kathleen says
Thank you so much for these patterns. I made all four of them for the little girls in my daughter in laws daycare.