
***This post originally appeared at The Ribbon Retreat blog***
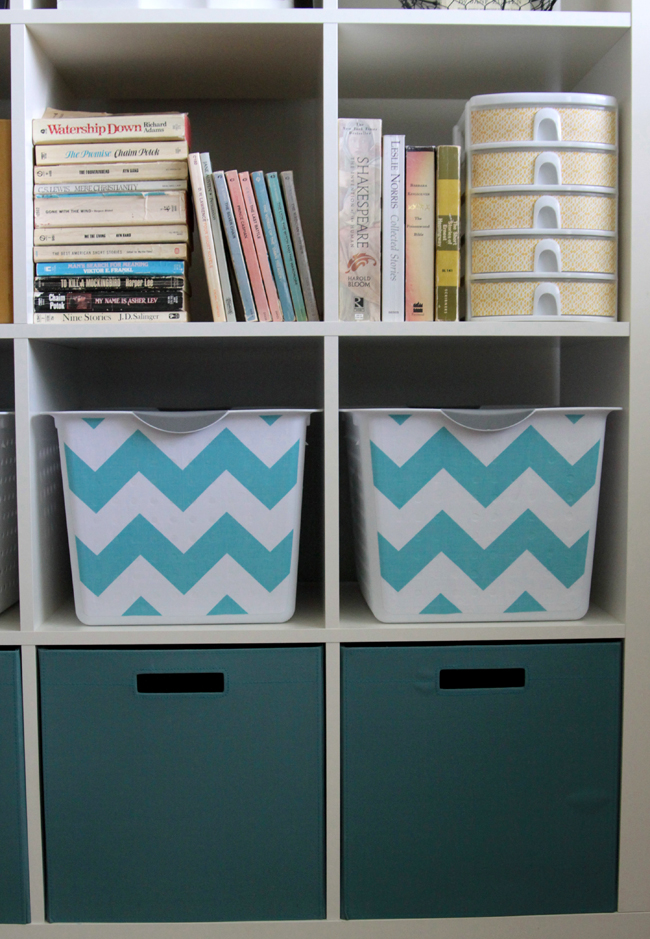
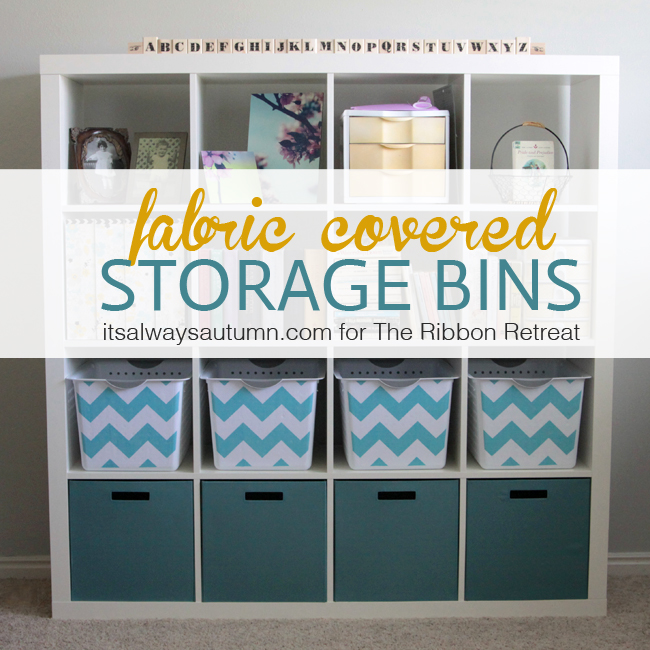
I recently repainted my family room and added some IKEA Expedit bookshelves to try to tidy up all the toys, books, and other items that get strewn across the room each day. Bins on a bookshelf are a perfect organizing solution for family rooms and bedrooms, but I quickly realized that purchasing fabric bins to fill up the bookshelf was going to get extremely expensive – they would actually cost more than the bookshelf itself! I found a much cheaper solution – Sterilite bins purchased online in a six pack – but they weren’t nearly cute or colorful enough. So I covered the front of each bin with fabric that coordinated with the colors in my room and turned these boring bins into modern and decorative organizers:
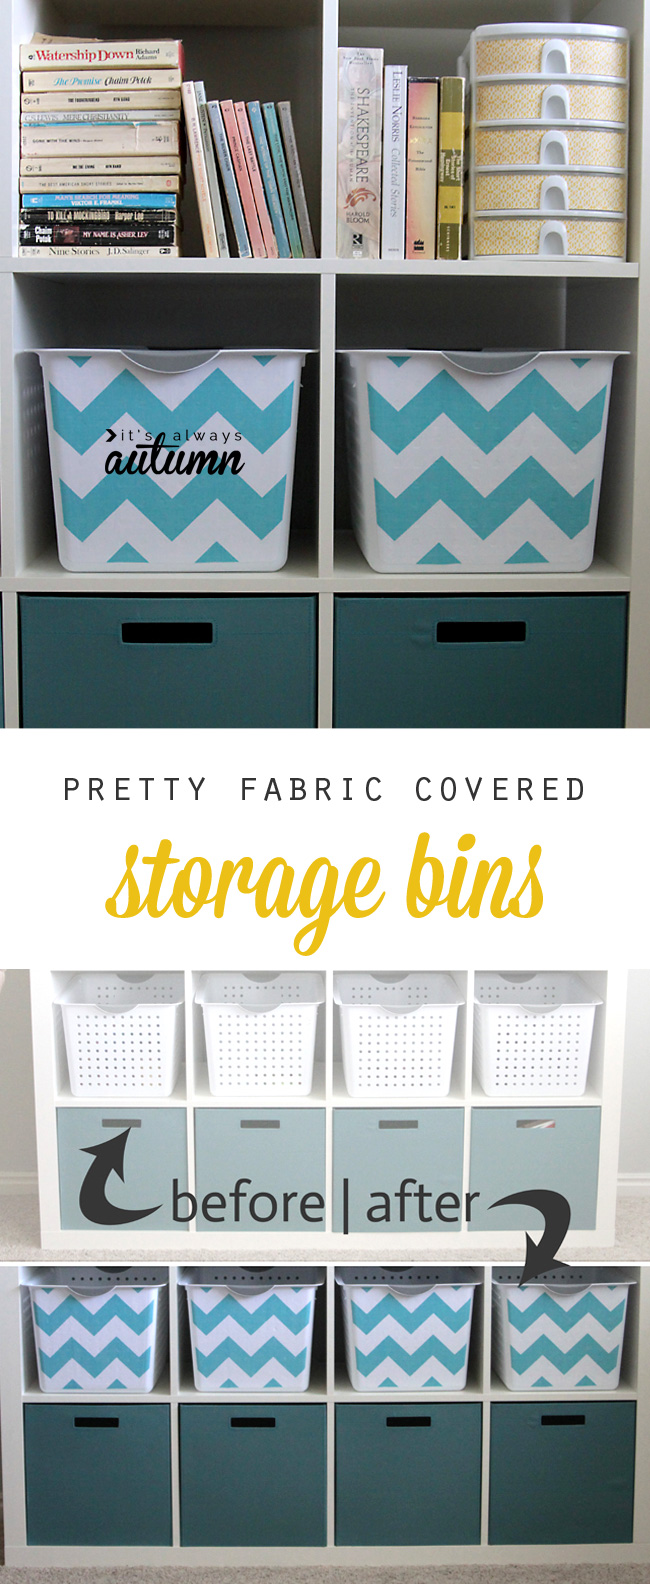
Keep reading for a downloadable cutting template, the full tutorial, and sources for bins&fabric.
It only takes a square foot of fabric to cover the front of each bin, so depending on how large your pattern is and whether you want it to line up, you can easily cover the front and back of 4-6 bins with one yard of fabric. If you just have one bin to cover, a fat quarter should do! And with the wide selection of fabric available, you’ll be sure to find something that looks perfect in your room. The project is extremely easy – just cutting and glueing – and I’ve taken care of the only difficult part for you. I’ve created a printable template for cutting out your fabric so you’ll know it will line up perfectly, giving a professional-looking result.
I used these Sterilite bins from Walmart (called the Ultra Basket) and it was less than $22 for 6 bins, which is a steal when you consider that most fabric bins are $10 each. The bins fit perfectly in the IKEA Expedit shelves. The fabric I used was Large Aqua Chevrons by Riley Blake. If you want to cover these same bins, click here to download the cutting template. If you’d like to cover a different sized bin, create your own template that covers the front of the bin, remembering to cut out a spot for the handle, if necessary.
Here’s what you’ll do:
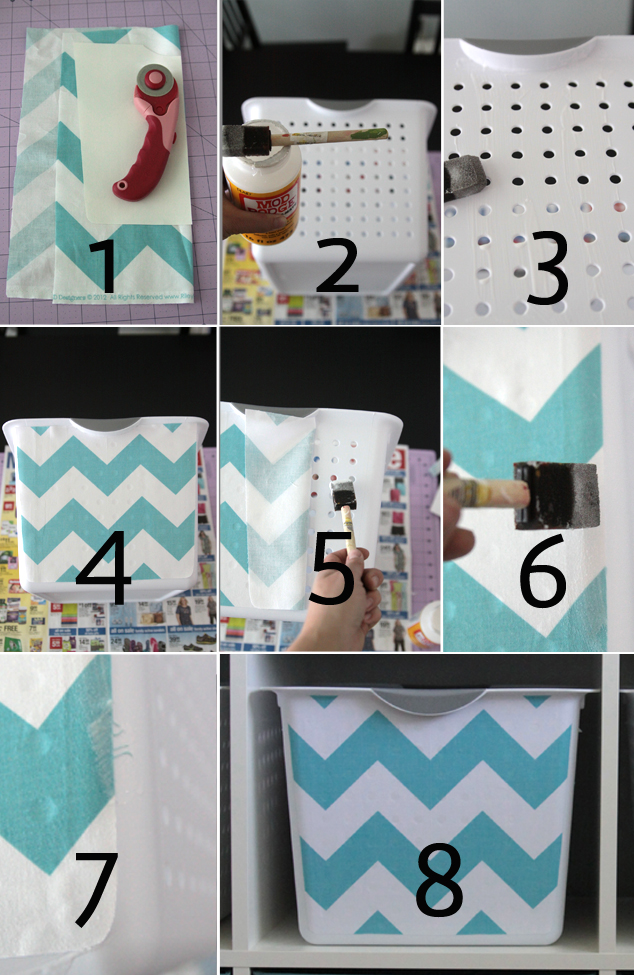
1 – Cut out your fabric, using a ruler and rotary cutter if possible to get very straight, even cuts. Trace the curved portions and cut with scissors. Remember to line up your fabric so the patterns will match from bin to bin. 2 – Get some Mod Podge and a foam paintbrush. 3 – Paint a thin even layer of Mod Podge over the middle third of the bin (from top to bottom) making sure there are no dry areas. 4 – Press the fabric over the Mod Podge, making sure it lines up evenly from side to side. Get the fabric smooth but try not to stretch it. 5 – Lift up the fabric on the right side and apply Mod Podge on that side. 6 – Press the right side down and paint a little more Mod Podge along the edges to make sure they are secured down. 7 – If you get any frayed threads, simply put a little Mod Podge on your finger and slide it along the edge, pushing the frayed threads back to the fabric edge. 8 – Repeat with the left side. Wipe out any Mod Podge that has dripped on the inside of the bin. Let it dry completely, then cover the fabric fronts with a thin layer Mod Podge.
And you’re done! The Mod Podge adheres the fabric completely to your bin and makes it tough and durable. And cute!
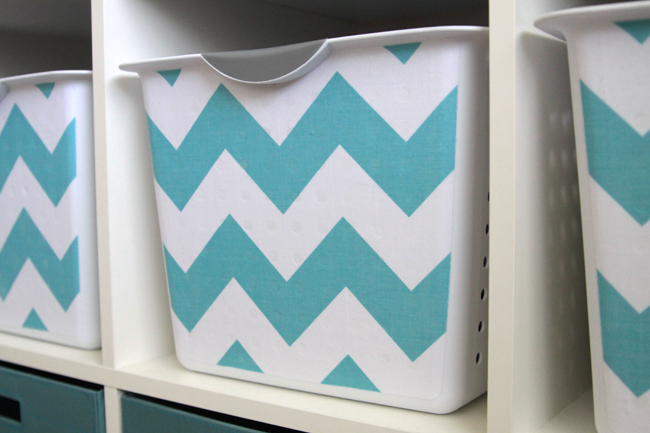
Depending on the color and weight of your fabric, the holes in the bin may be visible through the fabric. To fix that I just cut a piece of white cardstock to size and adhered it to the inside of the bin to block any light coming through the holes – now they are barely noticeable.
And if you’re interested in the fabric bins I used on the bottom shelf, they can be found at Target. They are ITSO large fabric storage bins and retail for $10 each. Only basic colors are available online – I had to find the aqua in stores. They fit PERFECTLY in the Expedit shelves and hold TONS of toys, etc. Using four of these bins plus the much cheaper fabric covered bins was a good compromise for me – plus I really like the combination of solid color on the bottom of the shelving unit and a graphic pattern just above. If you like it too, please pin, share, and tweet!

Krissy says
Love this! In fact, I loved it so much that we went out and bought the Expedit shelves that we had been putting off purchasing for so long AND we ordered the bins. Put the shelf together yesterday and the bins are on their way but I am worried now that they may not fit. The squares on my shelves are just over 13″ wide and tall. The bins are 13 1/3″ according to the walmart site. Do we not have the same type of shelving system? Any help that you can give would be awesome. Thanks!
****Krissy – how fun to hear! I think you’ll love your new shelves – I love mine. Don’t worry about the bins not fitting – the packaging says they are 13.13 inches wide, but they are actually just about 13 in exactly (I just measured mine – they are a little bit smaller in length and height than the packaging says as well). And the Expedit squares are a little more than 13 in wide and tall, so the bins fit with a teeny bit of extra room on each side. I think I need to set up a flickr group so you can share pics of your new setup, don’t I?
Thanks for reading!
Autumn
Lyndsay @ The Happy Chateau says
Great tutorial and thanks for the pattern! I’m a teacher, so organizing my classroom is an ongoing (and uphill) battle. These fabric-fronted bins would be a great way to add a little personality without furthering cluttering my room. Thanks for the idea!
Denise says
Love it!
Denise says
Love it!
allierandall says
I love this! I just bought an Ikea Expedit and was looking for some options for baskets…Do you think you could Mod Podge a new fabric piece over an existing fabric? I already have some black bins that I would like to freshen up with some bright colors. Do you think Mod Podge would work in covering it with a new piece of fabric? Thanks!
****Allie, I’m not sure about covering fabric bins w/mod podge and more fabric. You’d want to be sure to use dark colored or heavy weight fabric to cover a black bin, because I think you’ll be very likely to see the black showing through a lighter color fabric. Then mod podge usually works better on things that are stiff to begin with – I don’t know if once it dries your fabric bins will end up warped a bit. I might try wonder under (double sided fusible web) or spray adhesive instead. Good luck and let me know if you give it a try and whether it works! Thanks!