
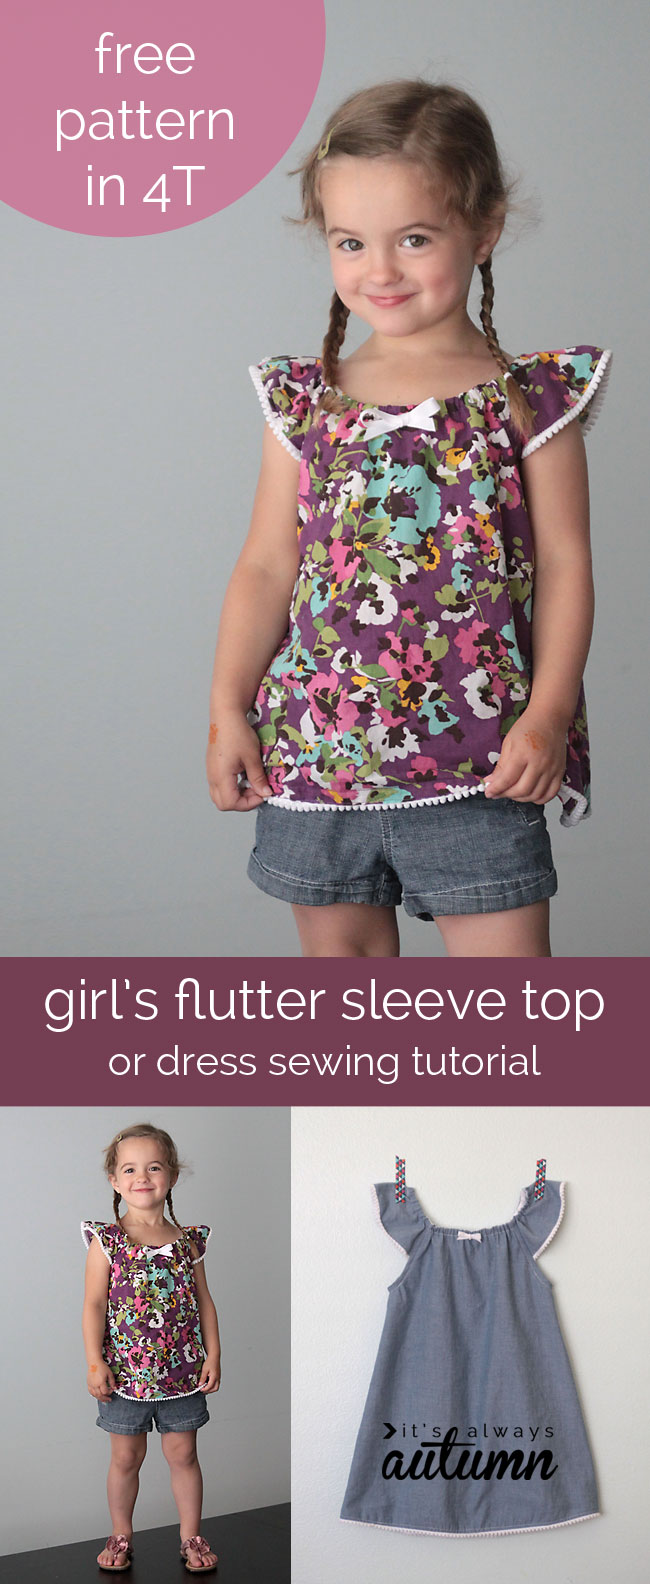
Last week I shared a sewing tutorial for a girl’s flutter sleeve sundress and said I’d work on getting a pattern uploaded if people were interested. I was excited that so many of you asked for a copy of the pattern! I’ve drawn up the pattern (in size 4T only) and you can download it for free later on in this post. Those of you with girls other sizes could use the pattern as reference along with the instructions from the original flutter sleeve dress post to draft your own pattern – there’s only 2 pieces so it’s pretty simple.
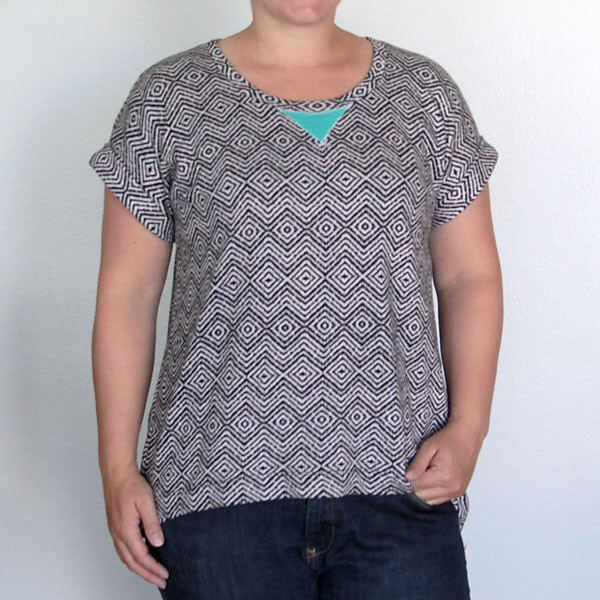
And I thought this same pattern would probably look cute as a top, too, so I included a cut line on the pattern so you can use it to make either a dress or a shirt! Today’s post will give a few more details on how to sew either a dress or top from this pattern.
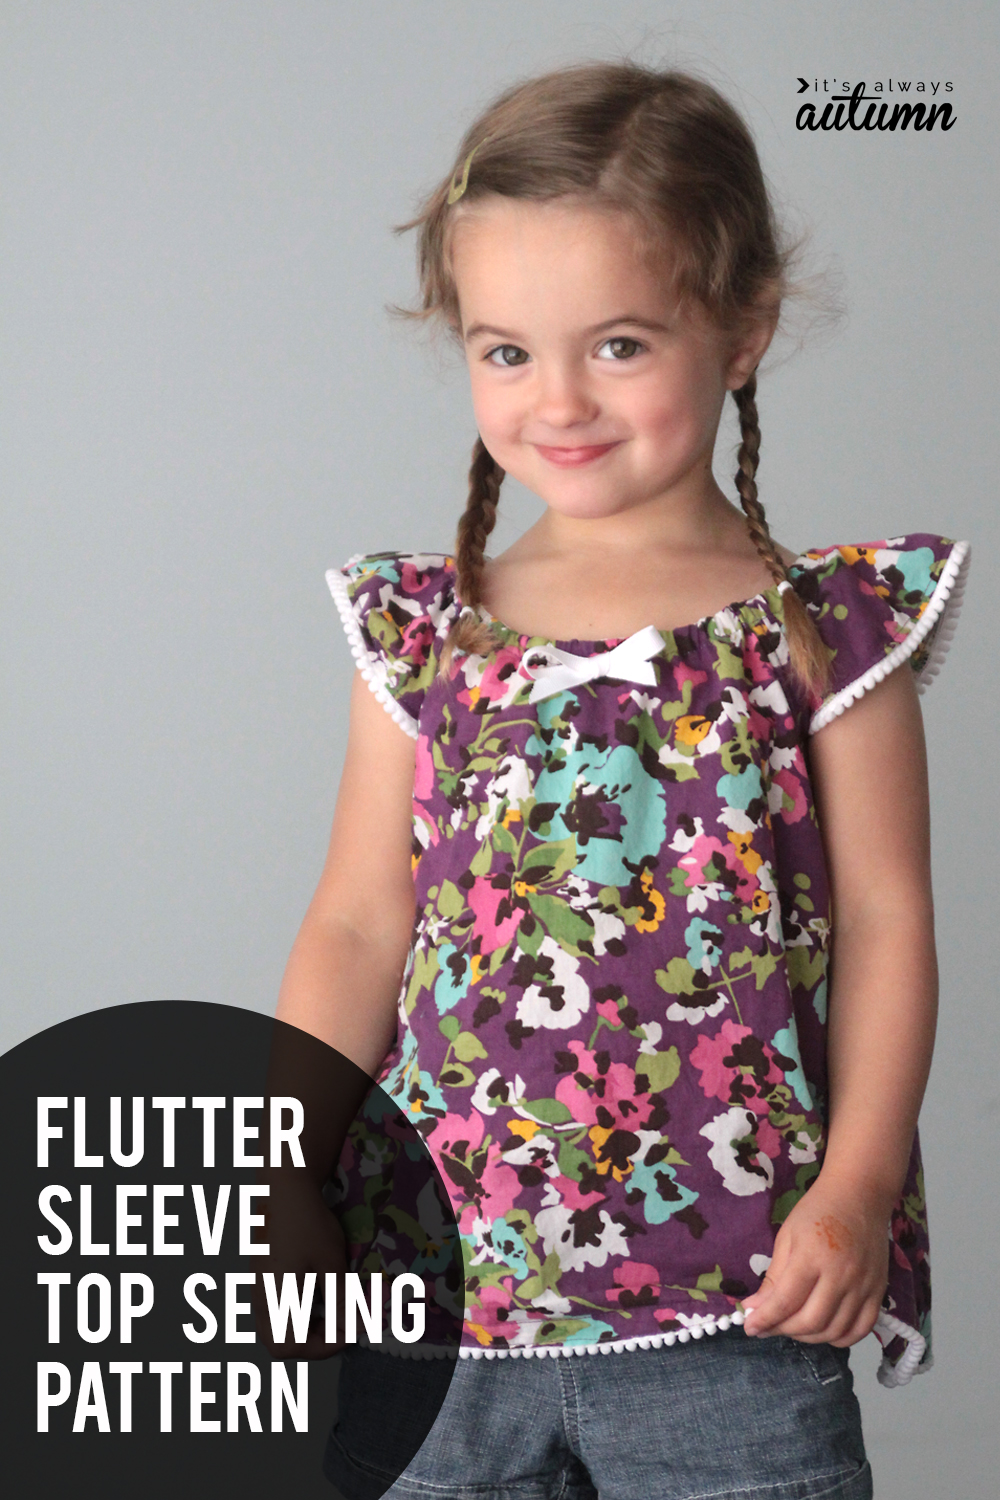
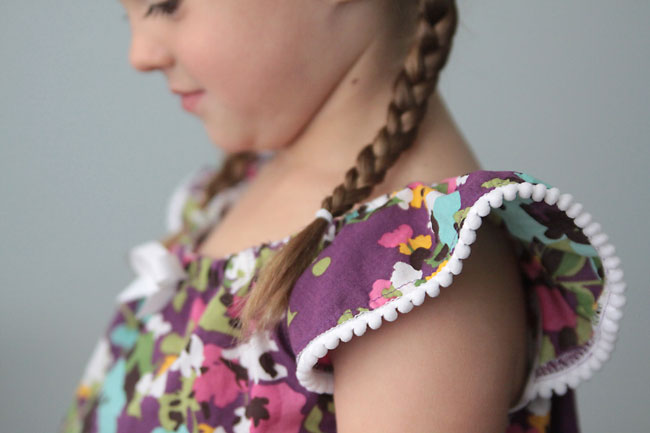
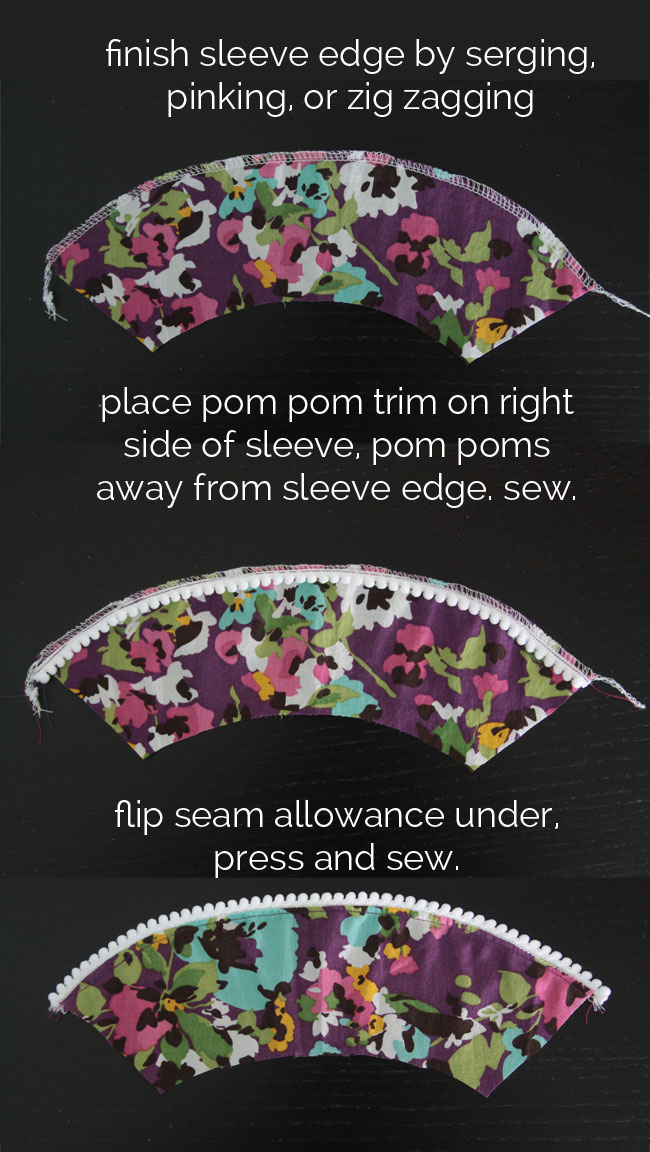
I used mini (3/8 inch) pom pom trim again to finish the sleeves and hem because it was so darn cute on the first version – and my daughter loves it. I found it at Joann Fabrics for $2.99 for a roll of 2 yards.
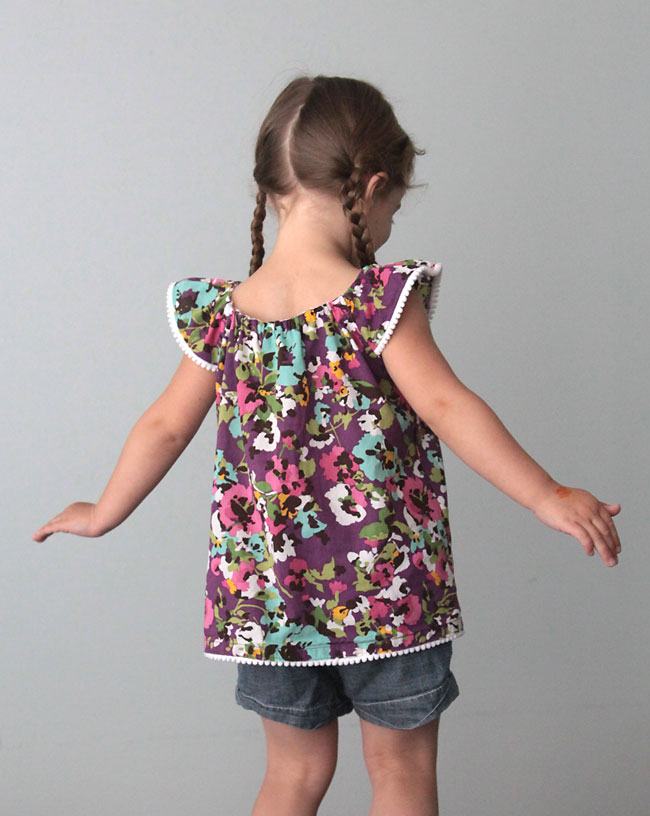
The first version I made was cut a little low under the arm, so I fixed that in this version.
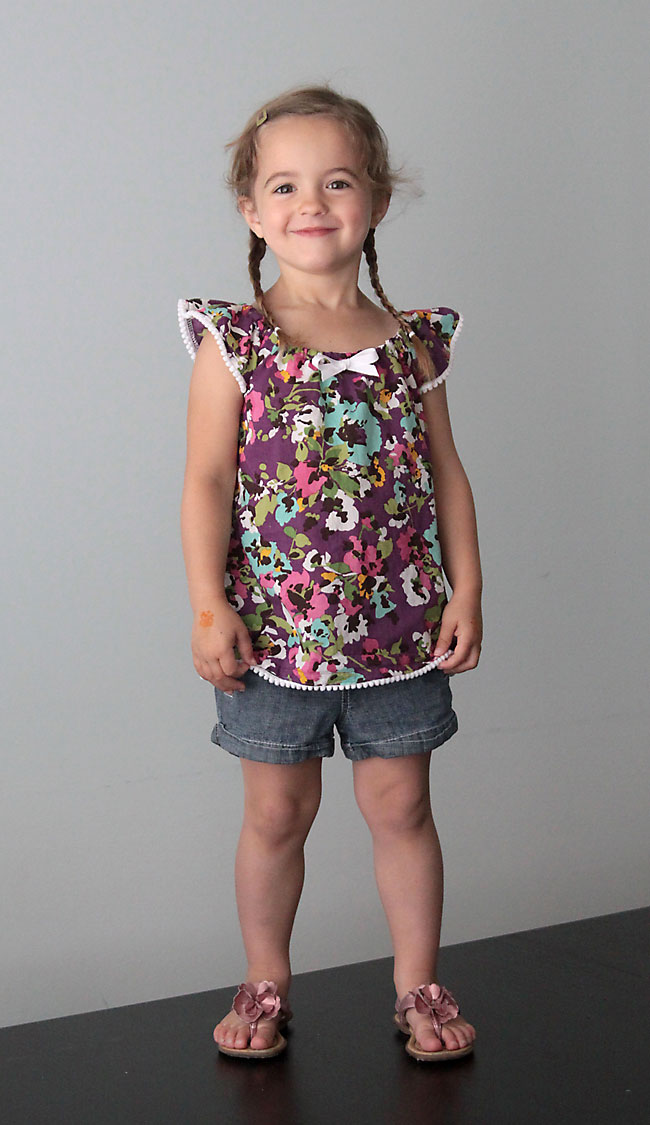
(I made this top from a shirt I thrifted for no particular reason other than that I loved the print.)
You can get the free flutter sleeve top and dress pattern in size 4T by clicking here. It’s a 3 page PDF. You’ll want to be sure the printer settings say actual size or 100%. I’ve included a box on the third page that should measure exactly 1 inch when printed.
Print out the pattern and tape it together as you can see below. Don’t trim anything from the paper; just butt the edges up against each other and tape. Then cut out the pattern. Please note that I made this pattern to my daughter’s measurements and she is 3.5 years old and wears a 4T in clothes from the store. However, she’s fairly petite for her age, so if the girl you are sewing for is tall you will want to add some length (once it’s finished you can use a shoulder to knee measurement to decide exactly where to hem). The pattern has 3/8 inch seam allowance built in.
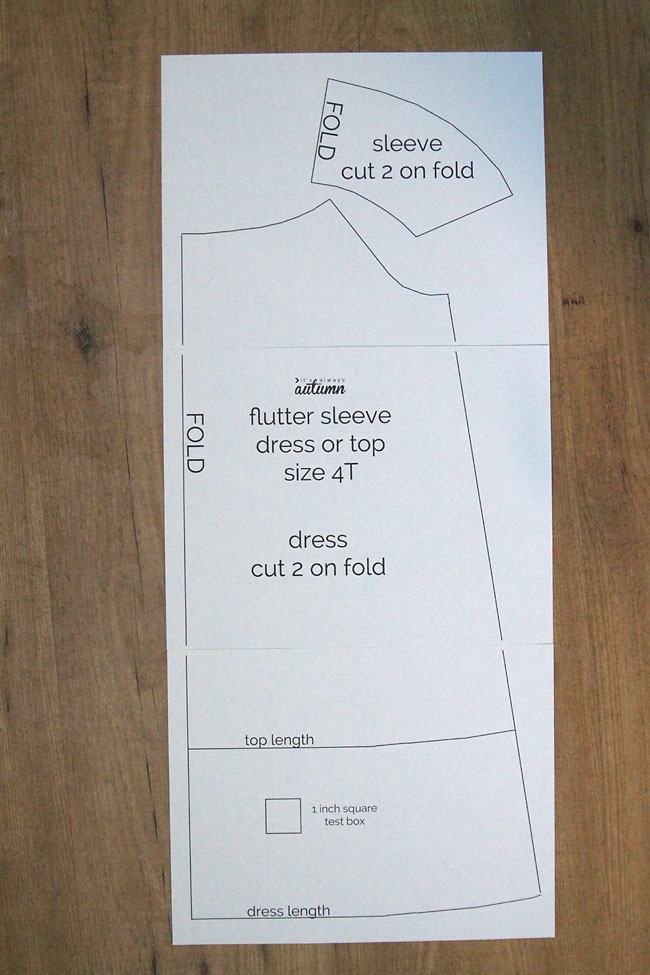
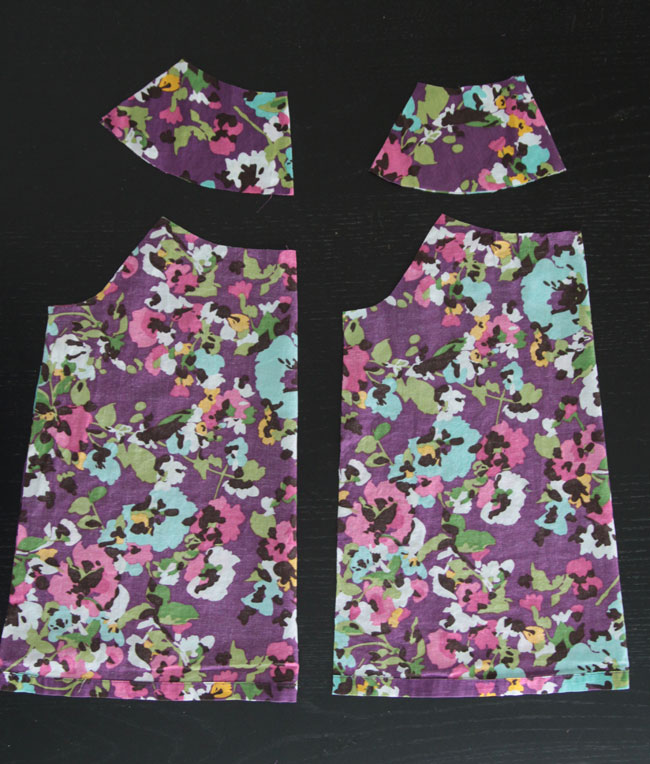
You’ll want to cut 2 sleeve pieces, both on the fold, and two dress pieces, again both on the fold.
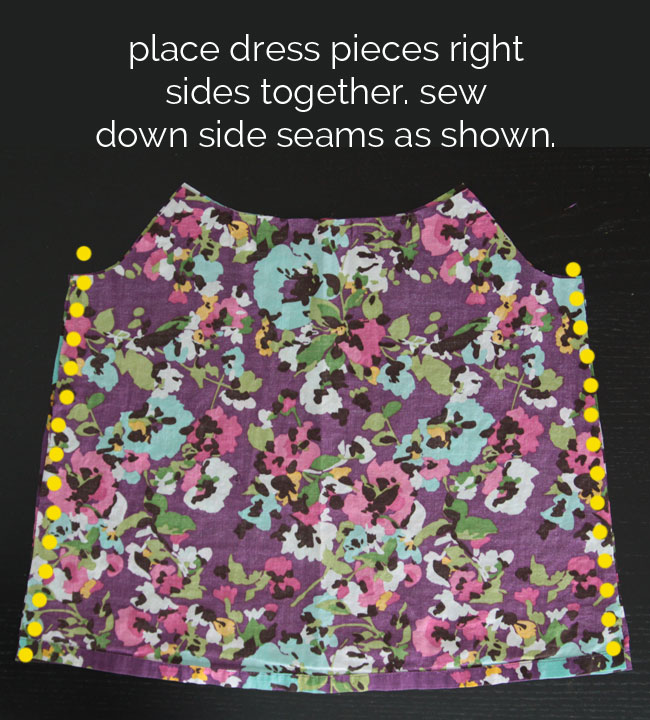
Start sewing:
Add the trim and finish the bottom edge of the sleeve:
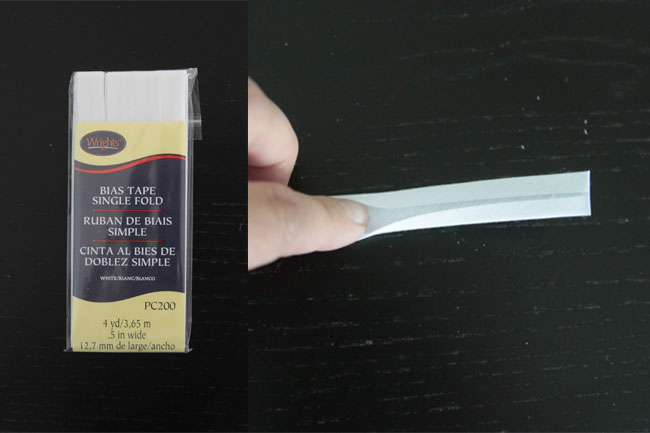
The under arms and neckline are finished with 1/2 inch single fold bias tape. It’s called single fold, but there are actually two folds in it. It looks like this:
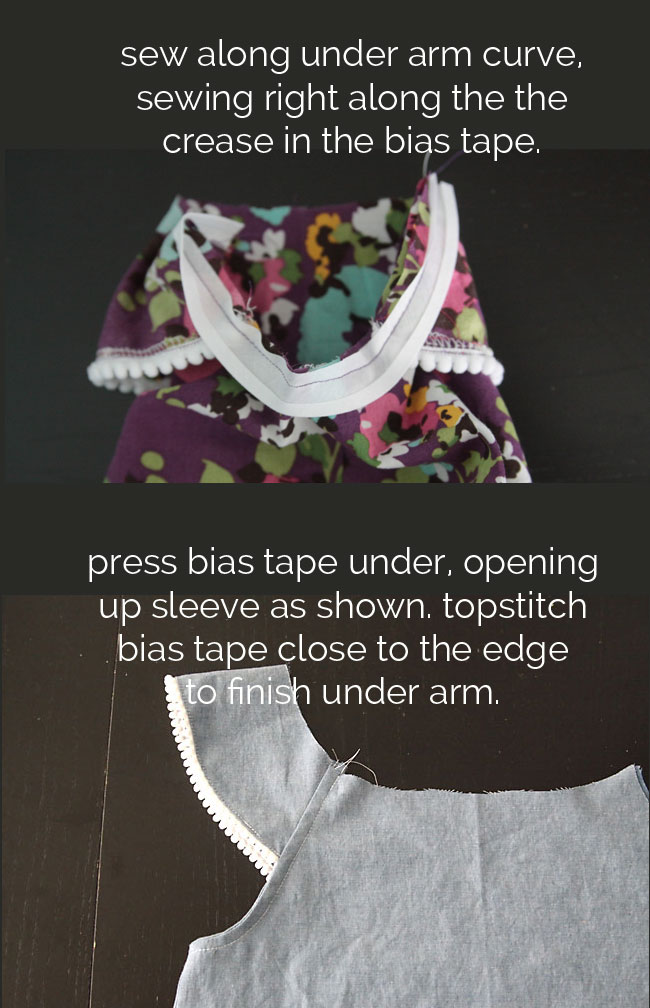
Attach the sleeves to the dress (I’ve used photos from both the dress and top to try to best show the steps):
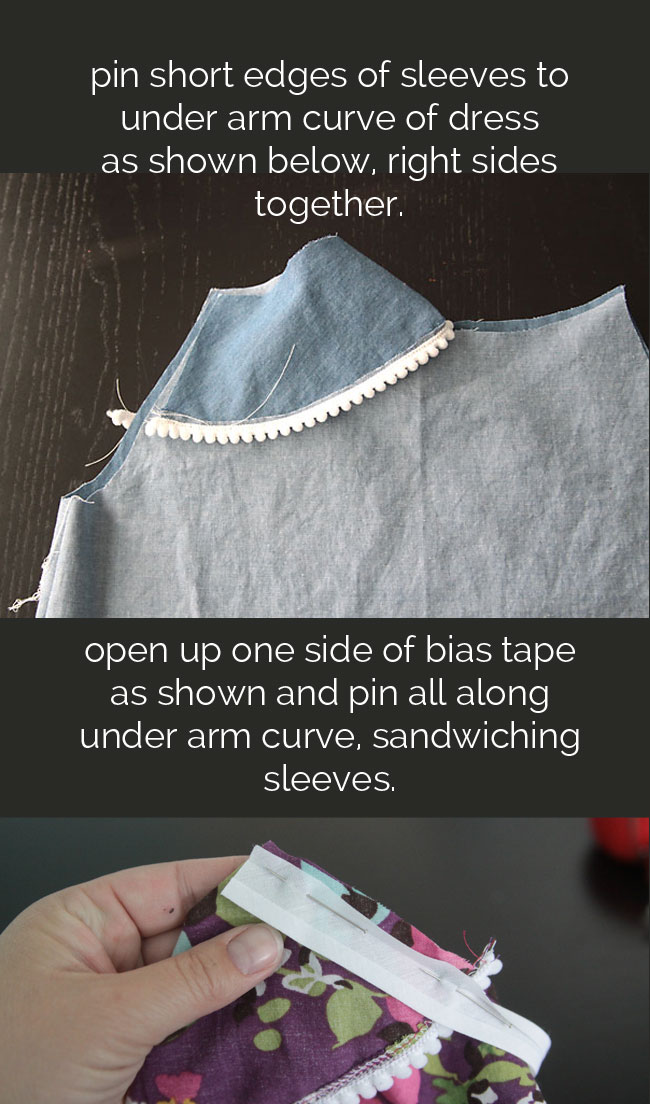
These steps were a little hard to photograph, so I hope this makes sense. If you’ve never used bias tape before you may want to read this tutorial.
Make a casing for your elastic along the neckline:
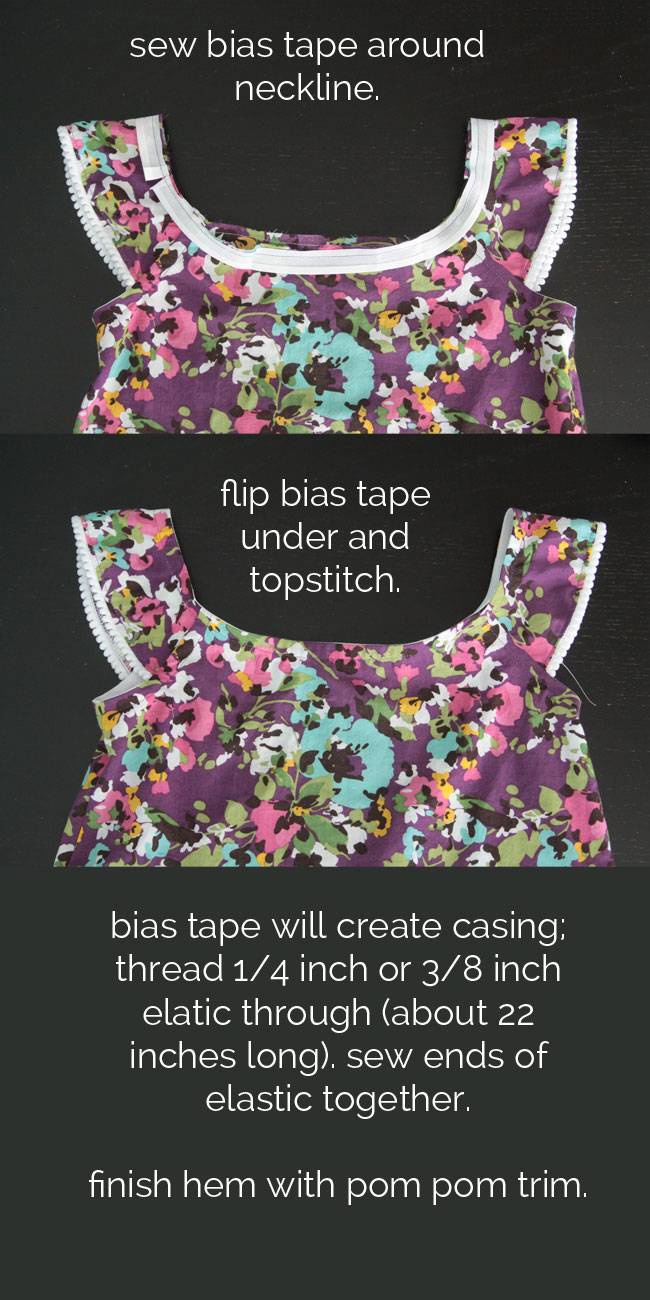
When you topstitch (in photo #2 above), do it from the underside so you can sew as close to the edge of the bias tape as possible. Use a safety pin to thread the elastic through. If your daughter is on the short side, you might want to use 21 inches of elastic instead of 22.
If any of the steps seem confusing, you can visit the original flutter sleeve dress sewing tutorial for a few more photos.
Thanks everyone – have a great week!
You might also like:
How to get a great smile from your toddler for photos
How to sew a quick swim cover-up for a little girl

bandar bola terpercaya says
very cute, really perfect for this summer ^^
Mary Alice says
Thanks so much for this pattern. I just sewed up on of these dresses today for my granddaughter. Such a sweet dress.
Sanny says
Made a few of these love the simplicity of it. Still need to try it on my little granddaughter. Thank you.
Jeanne says
Just make the Flutter Sleeve Top this afternoon for my Granddaughter. I sized it down a bit since she is a 2T.
Such a great pattern and so easy! I think there are more Flutter Sleeve dresses and tops in my future.
Thank you!
Christine says
my granddaughter also wears a 2T. wad it hard to size down?
CW42 says
Thank you so much for the pattern and tutorial! This was my first successful attempt at completing a sewing project in awhile. I made a dress from it for my petite 2T daughter and it worked perfectly. At first I thought I would alter the pattern down, then I realized that the length of the elastic and the hem should take care of any variation. This one is definitely a keeper!