In today’s post: Learn how to make amazing old fashioned homemade ice cream. It’s easy to make and it tastes absolutely delicious!
One of our favorite summer treats growing up was homemade vanilla ice cream. Sure, you can just buy ice cream at the store, but like most anything else, the homemade version really tastes so much better. We loved it when my mom pulled out the ice cream maker, and nowadays my kids get just as excited when we pull out ours.
These days the internet is full of recipes for easy, no-churn ice cream. And those recipes are easy and fun. But they will never give you the ultra rich, creamy flavor and texture you’ll enjoy in an old fashioned ice cream made in an ice cream maker. The good news is that ice cream makers aren’t hard to use AT ALL! They’re inexpensive and readily available, and chances are that you or someone in your family has one sitting down in their basement right now.
In today’s post I’ll give you our favorite easy vanilla ice cream recipe, as well as walk you through how to use a bucket style ice cream maker or a canister ice cream maker. You and your family is in for a real treat!
How to make homemade ice cream
First, let’s talk ice cream makers. There are two common types of ice cream makers used by home cooks. The first type is a “bucket” ice cream maker. This is the type of ice cream maker I grew up with – it’s electric, so you aren’t turning a crank or anything, but you will need both ice and salt to use one. This can seem intimidating if you’ve never made ice cream before, but it’s seriously SO EASY.
The best part about a bucket ice cream maker is that you can make a large, 4 quart batch of ice cream (that’s an entire gallon), which is perfect for times when you’ve invited friends over for a backyard BBQ. These ice cream makers used to be super popular as wedding gifts, so chances are you or someone you know has one stashed in their basement! I’ll walk you through the steps to use one of these below.
The second common type of ice cream maker is a “freezer bowl” or automatic ice cream maker. These ice cream makers do not use ice and salt; instead you freeze the “bowl” or lower portion of the ice cream maker for 12-16 hours before you want to make ice cream. There is a liquid inside the lining of the bowl freezes, which then allows the ice cream maker to freeze your ice cream without using ice.
These ice cream makers are convenient in that you never need to get ice or salt, but you do have to prep ahead to freeze the bowl. Also, these have a smaller capacity, generally 1.5 to 2 quarts. Depending on your family size that might be perfect, or it could feel small. They are certainly very easy to use, and I have one of these as well as a larger bucket ice cream maker (I really like ice cream).
Do I really need an ice cream maker?
You might wonder why you can’t just mix up an ice cream base and freeze it in a container without bothering with an ice cream maker. Well, that’s exactly what “no-churn” ice cream recipes are designed to do, and they taste just fine. However really good homemade ice cream that has that old fashioned taste and texture needs to be churned, or stirred, as it freezes. Churning prevents the ice cream from forming large ice crystals, leading to a creamier texture. Churning also aerates the ice cream, keeping it from freezing into a solid block of cream. Believe me, it’s worth using an ice cream maker.
Homemade Ice Cream Recipe
This is my favorite easy recipe for homemade vanilla ice cream and it is sized for a 4 quart ice cream maker. It only has six basic ingredients: eggs, sugar, milk, cream, vanilla, and salt. In general I think plain vanilla ice cream is boring, but this homemade version is really quite delicious.
You can vary the proportion of milk to cream if you’d like. You need 9 cups total. If you’d like to lower the fat content in your ice cream, you can use more milk and less cream, although you need to be aware that the final ice cream won’t be as creamy. We tend to vary things the other way: more cream and less milk. The last time I made this recipe I used 6 cups of cream and 3 cups and milk and it was amazing.
You’ll notice that this recipe uses raw eggs, as many old fashioned ice cream recipes do. To minimize the risk of salmonella, you can use pasteurized eggs (available at most grocery stores). However, if you are serving the ice cream to someone who has a weakened immune system, use an eggless recipe or one that cooks the eggs instead.
One more recipe note: please, please use real vanilla extract, not imitation. I’m not going to tell you that you need to use actual vanilla beans, but just don’t use imitation vanilla extract!
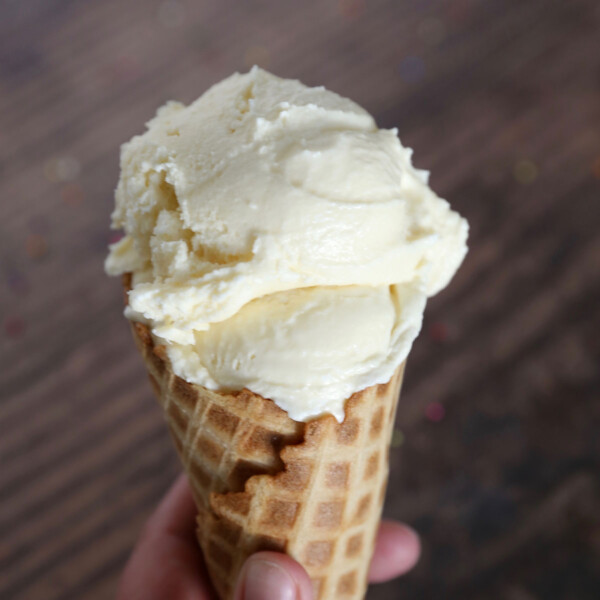
Homemade Vanilla Ice Cream
Ingredients
- 5 eggs pasteurized
- 2 and 1/4 cups sugar
- 4 cups heavy cream 1 quart
- 5 cups whole milk
- 2 tablespoons vanilla
- 1 pinch salt
Want more project ideas? Sign up to get my favorite easy crafts and recipes straight to your inbox!
Instructions
- In a large bowl, whisk eggs until light and fluffy (1-2 minutes).
- Gradually whisk in sugar until completely combined.
- Pour in milk, cream, vanilla and salt and whisk until blended.
- Transfer to a 4 qt ice cream maker and freeze. (You will need a 10 lb bag of cubed or crushed ice and a box of ice cream salt.)
- Ice cream may be served immediately, but it will be very soft. For harder ice cream, pour into an airtight container and freeze for approximately 8 hours.
Tips
How to Use an Ice Cream Maker
Watch this video to see how to use a 4 quart bucket style ice cream maker:
Ice cream maker tips:
- You will need a 10 pound bag of cubed or crushed ice, as well as a box of ice cream salt (rock salt works too). Find the ice cream salt near the other salt in the baking aisle.
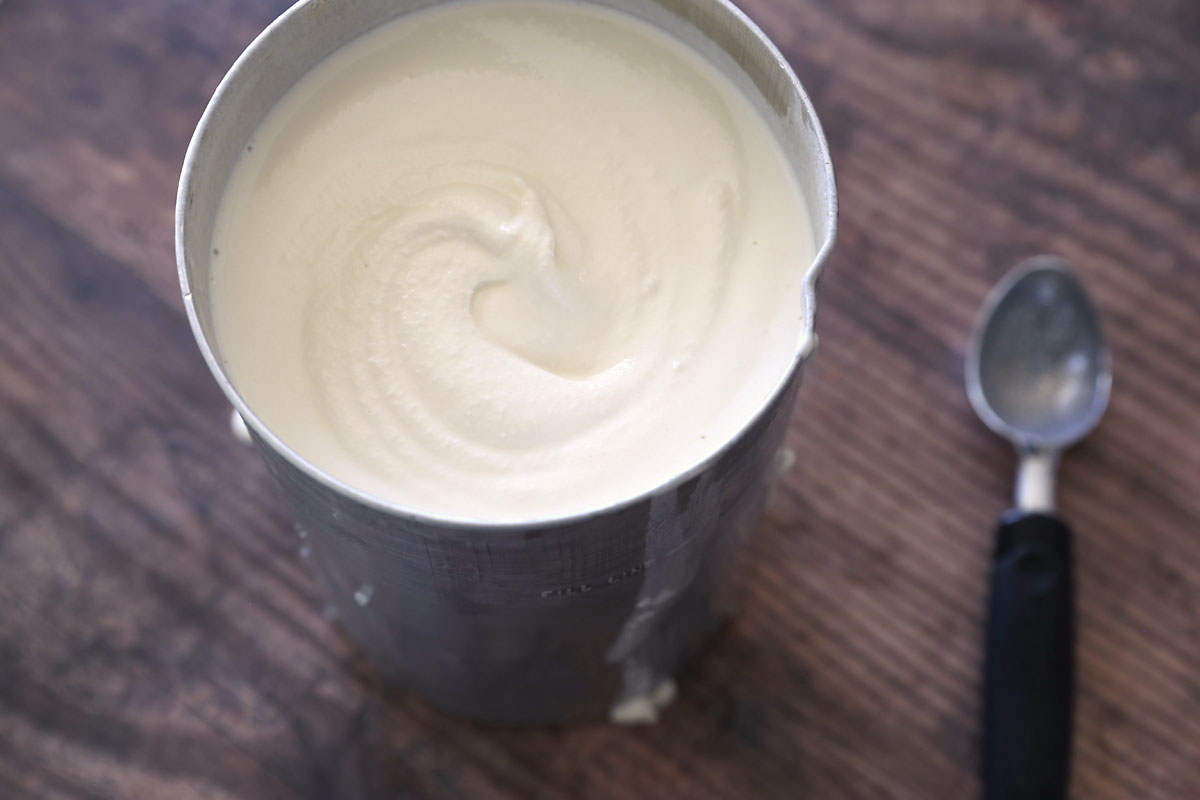
- Once you have mixed together the ice cream ingredients, pour the ice cream base into the canister portion of the maker. Place the dasher inside and put the lid on top.
- Put the canister inside the ice cream bucket. I like to place my ice cream bucket in my sink for easy cleanup, but you can put it on your counter or even outside – anywhere you’ll be able to plug it in.
- Fill up the space around the canister with layers of ice and ice cream salt. Plan to use about 3/4 or more of the box of ice cream salt as you fill up the bucket.
- Place the motor on top, ensuring the spoke of the dasher fits into it, and plug the motor in. The canister will begin to turn.
- The canister with continue to turn until the ice cream is done freezing, approximately 40 minutes. If you are making the ice cream outside and it’s very hot, the ice may melt down as the ice cream is freezing. Go ahead and top it off if it does so, adding more salt as well.
- If the ice cream maker suddenly starts making a loud noise and the canister suddenly stops turning, it’s likely that some ice has jammed up and isn’t allowing the canister to spin. Unplug the ice cream maker and use a wooden spoon to break up any chunks of ice, then plug the ice cream maker back in to continue churning.
- When it’s finished, the canister will slow way down and eventually stop turning. Unplug it at this point.
- Remove the canister and be sure to wipe off all of the salt before opening the lid.
Hardening + Storing homemade ice cream
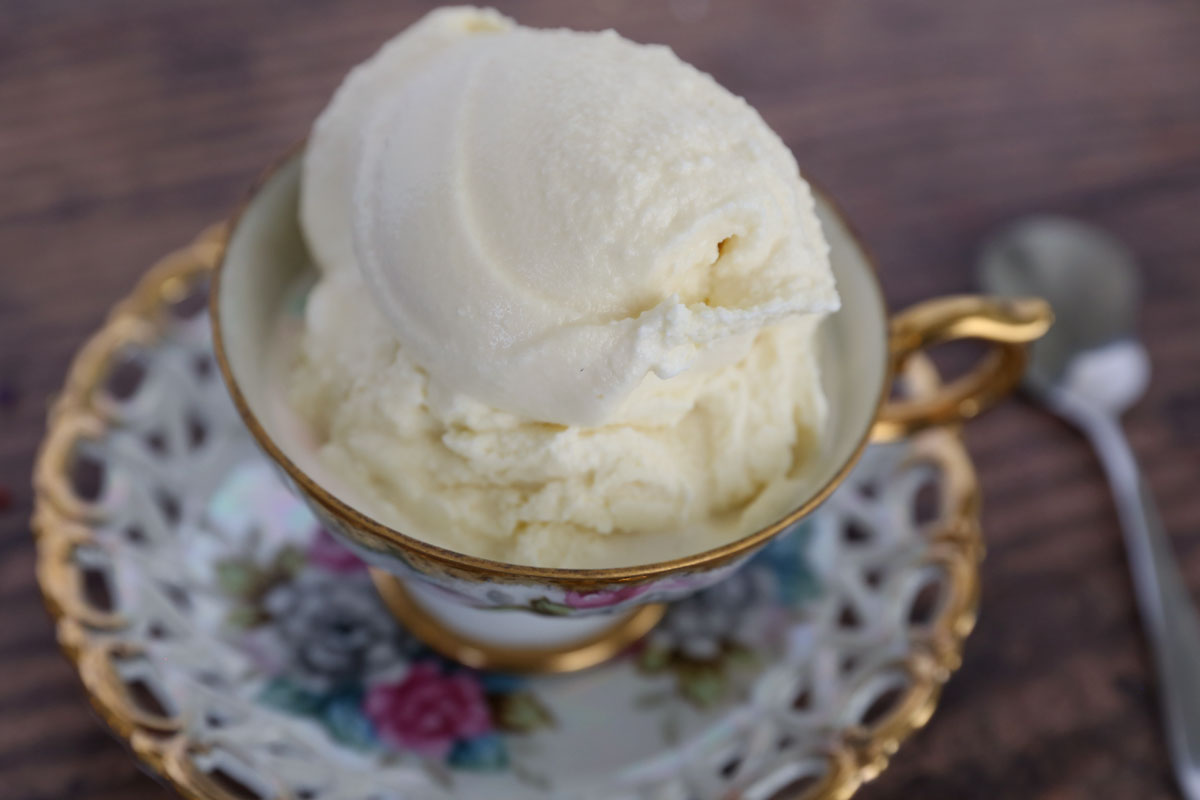
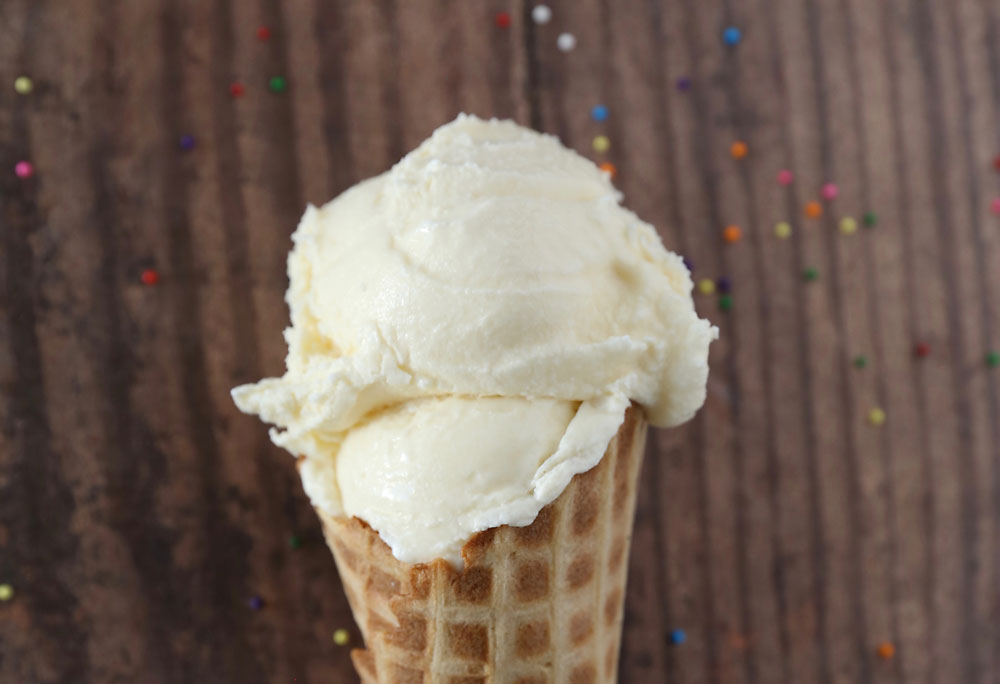
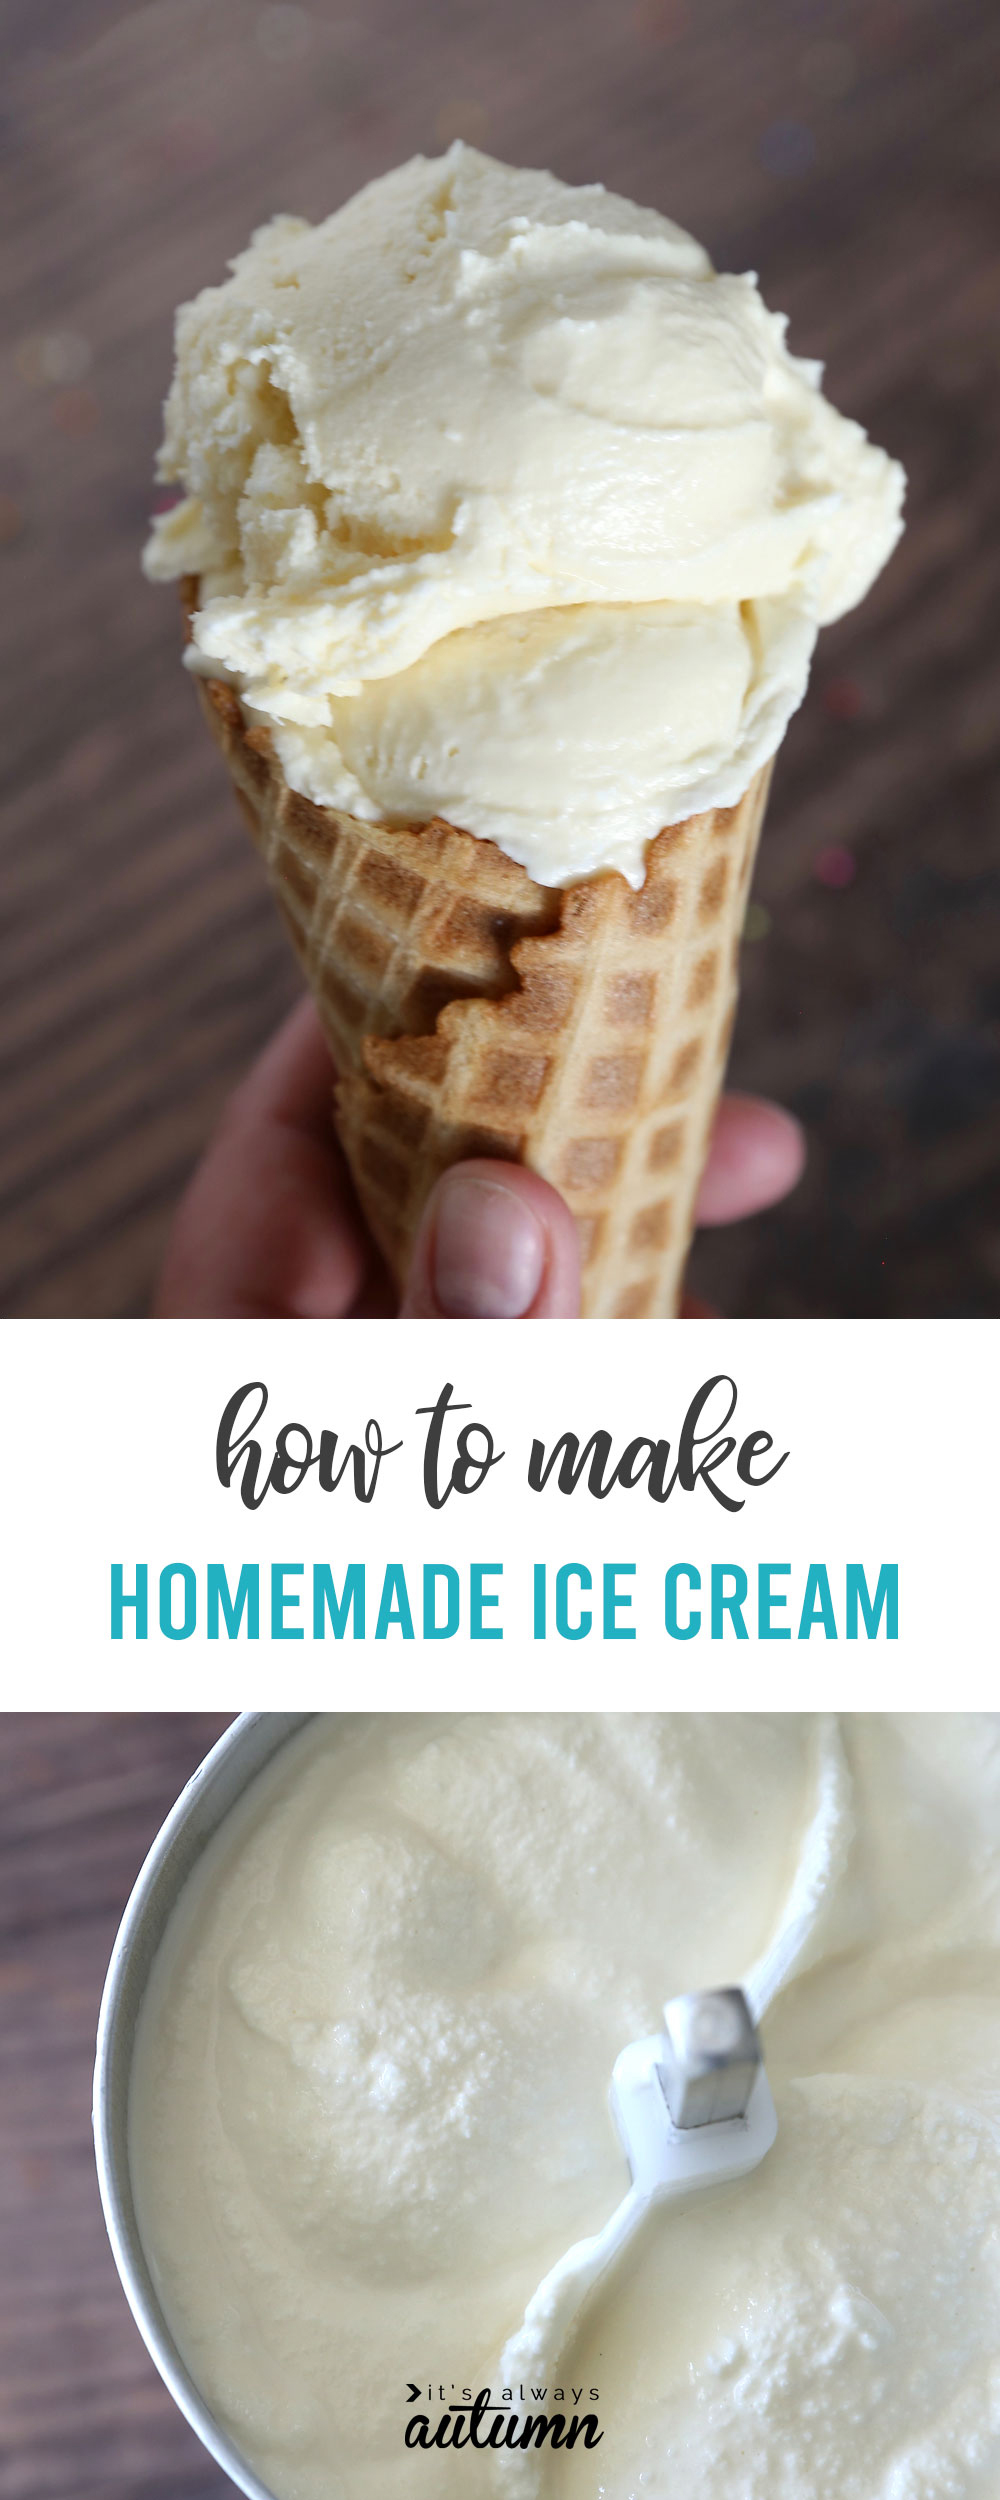
You can serve homemade ice cream as soon as it’s done churning; however, it will be very soft. It’s amazingly delicious, it just will not be hard enough to scoop and will have to be eaten from a bowl. If you prefer your ice cream harder, make the ice cream in the morning of the day you plan to serve. Once it’s done churning, transfer it to an airtight container and place it in your freezer for 6-8 hours (or even 12 if you want it quite hard). The photo below was taken after the ice cream had been in the freezer about 6 hours – it was just barely hard enough to hold a scoop on a cone.
Homemade ice cream tastes best on the day it’s made or maybe the day after. That’s because it doesn’t have the additives that store-bought ice cream uses to make it last a long time. You can certainly store it in the freezer for long than a day or two; it will just freeze very hard and may start to taste icy about 24-48 hours.
If you want your ice cream to last longer without getting icy, consider upping the fat content in your recipe. When I used 6 cups of cream and 3 cups of milk in this vanilla ice cream recipe, it stayed delicious for days without getting too hard or icy.
More delicious frozen treats
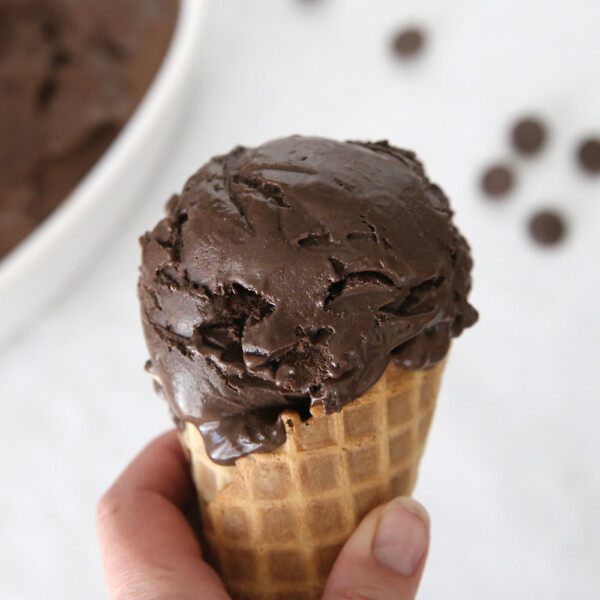
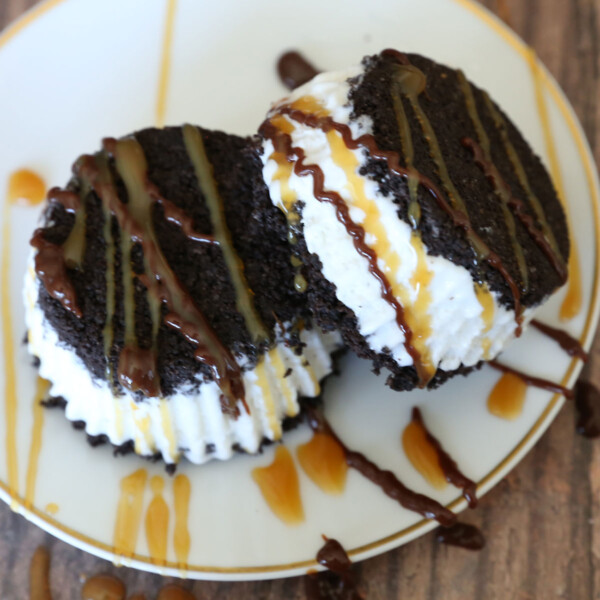
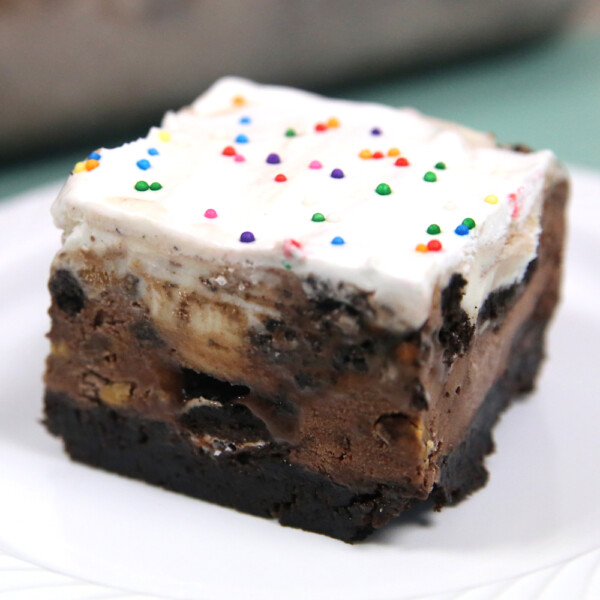
I hope you give homemade ice cream a try! Let me know in the comments if you do. And if you’re looking for more frozen treats this summer, visit these posts:



cindy says
the recipe was helpful
MARJORIE Barfield says
Does this recipe make a full 4 quarts
Autumn says
It will make 4 quarts or just shy of 4. Thank you!
Cassie says
Thanks for this information. I appreciate your efforts. I was planning to give a party to all students but didn’t get an idea about what should I make for them. Now, I’ll use your Homemade Ice Cream recipe. I’m sure they all will love it.
Once again thanks a lots.