
In today’s post: Check out my latest version of The Everyday Dress + learn how to update any dress or tee pattern with a cute ruffled sleeve.
Hey all! I hope you are enjoying your summer so far. My kids have been out of school for almost 4 weeks and I’m already stressed that summer is going to go by too fast! Summer seems to last forever when the kids are young, but (like everything else) it speeds up once they get older. You know how it goes: swimming lessons, yard work, family visits, figuring out how to get three teenagers to different jobs when they all share one car, and SO MANY trips to the grocery store. I swear, each of my kids eats triple the normal amount during the summer.
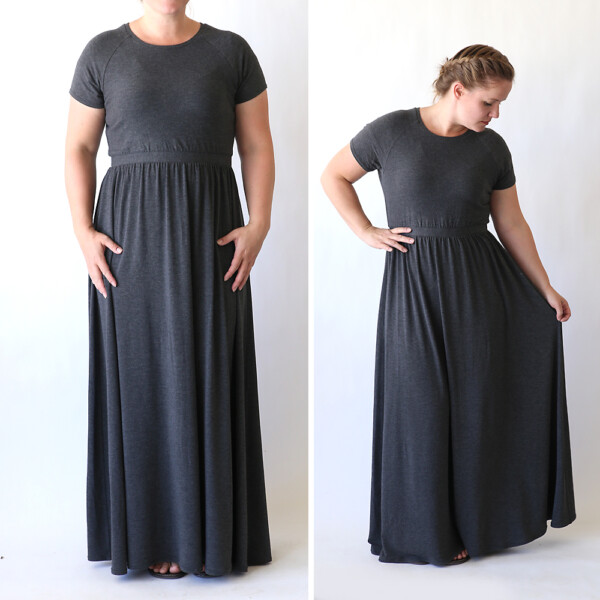
Anyway, I have been carving out some sewing time here and there, and last week I made my second version of the Everyday Dress pattern that I shared a few weeks ago. If you’ve spent much time around here, you won’t be surprised to find that my first variation to the basic pattern was adding a ruffle to the sleeve.
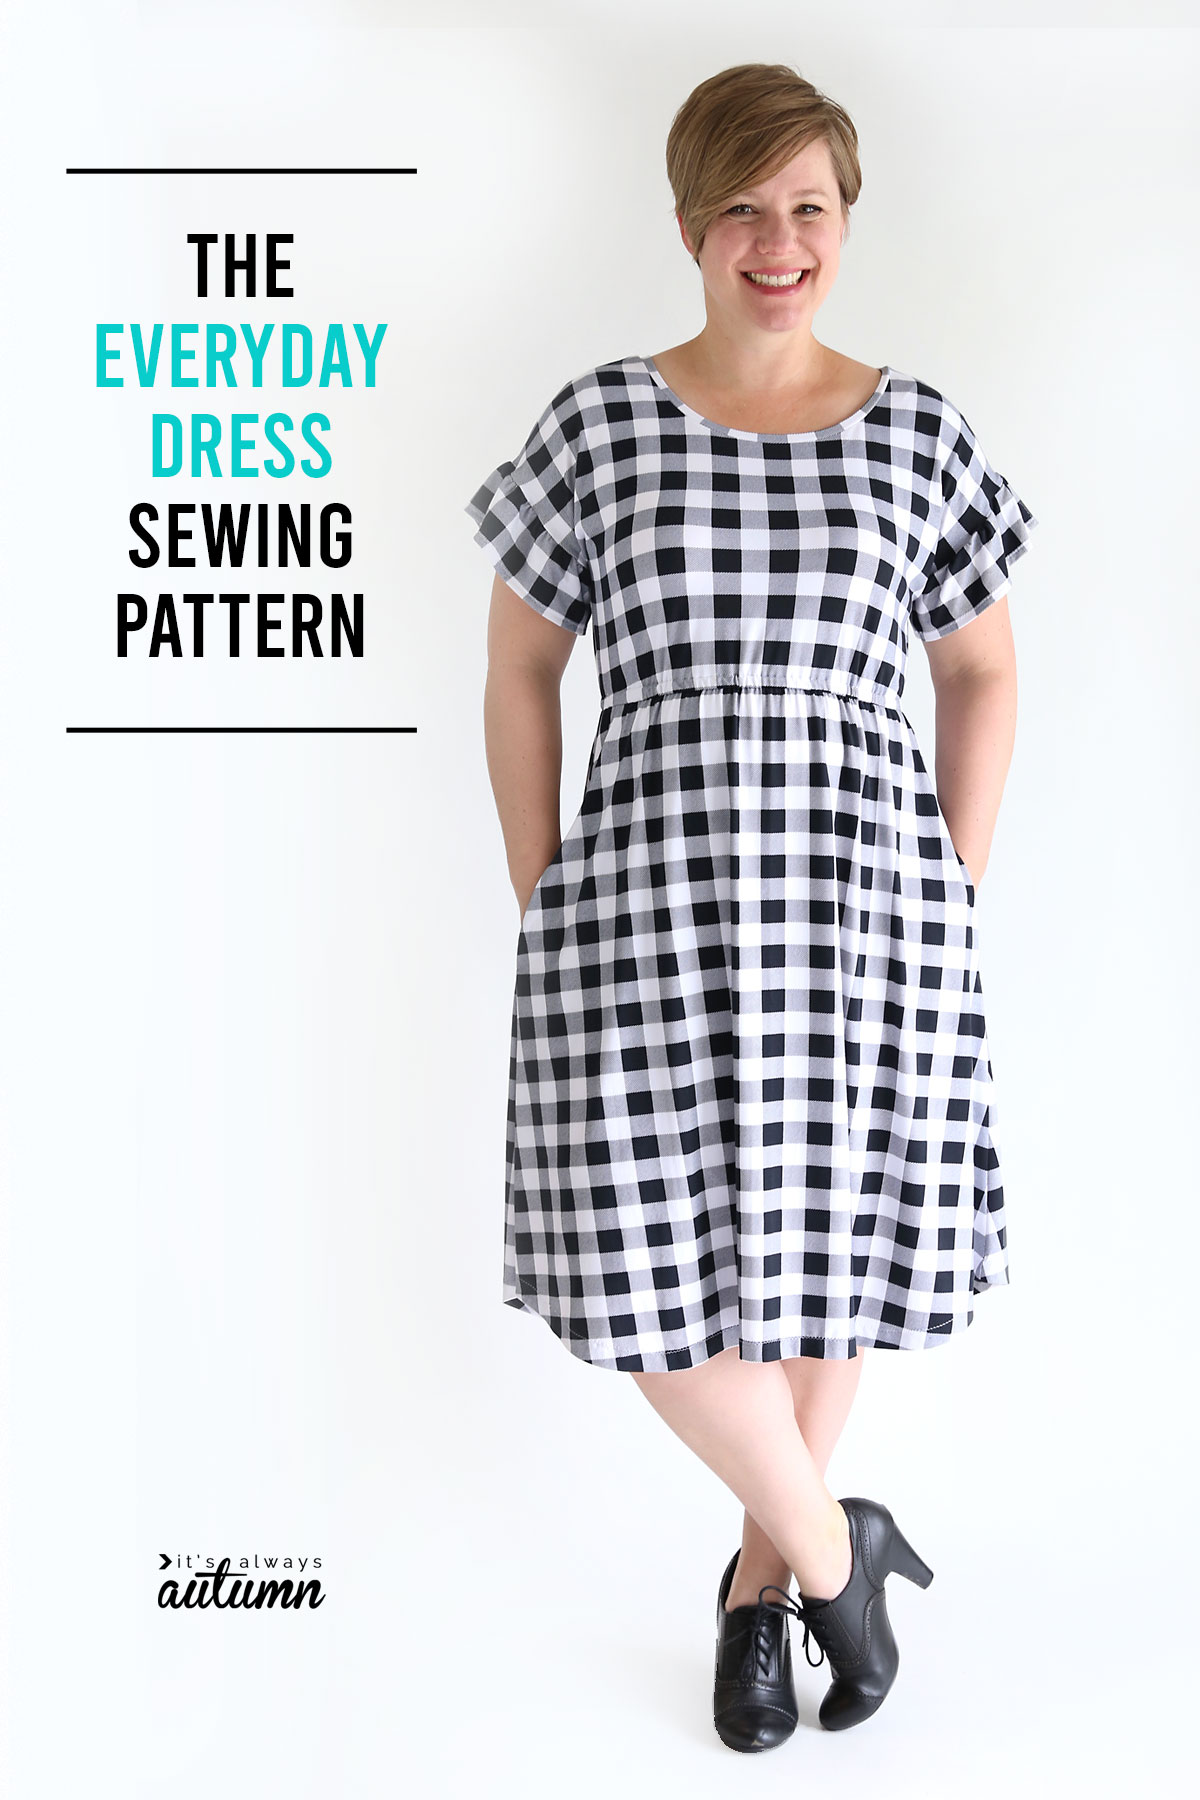
I created this pattern to be an easy to wear, comfortable dress that’s not too fancy for everyday wear. The pattern requires 2 yards of 56-60 inch wide knit (stretchy) fabric. I used double brushed polyester spandex fabric (DBP), which is one of my favorite knits to work with. It’s lightweight without being see through, and extremely soft. It has a nice stretch to it, but it’s not so stretchy that it’s hard to sew on. I’ve found some DBP at my local Jo-Ann Fabrics, but I usually order it online. You can even find some nice DBP on Amazon!
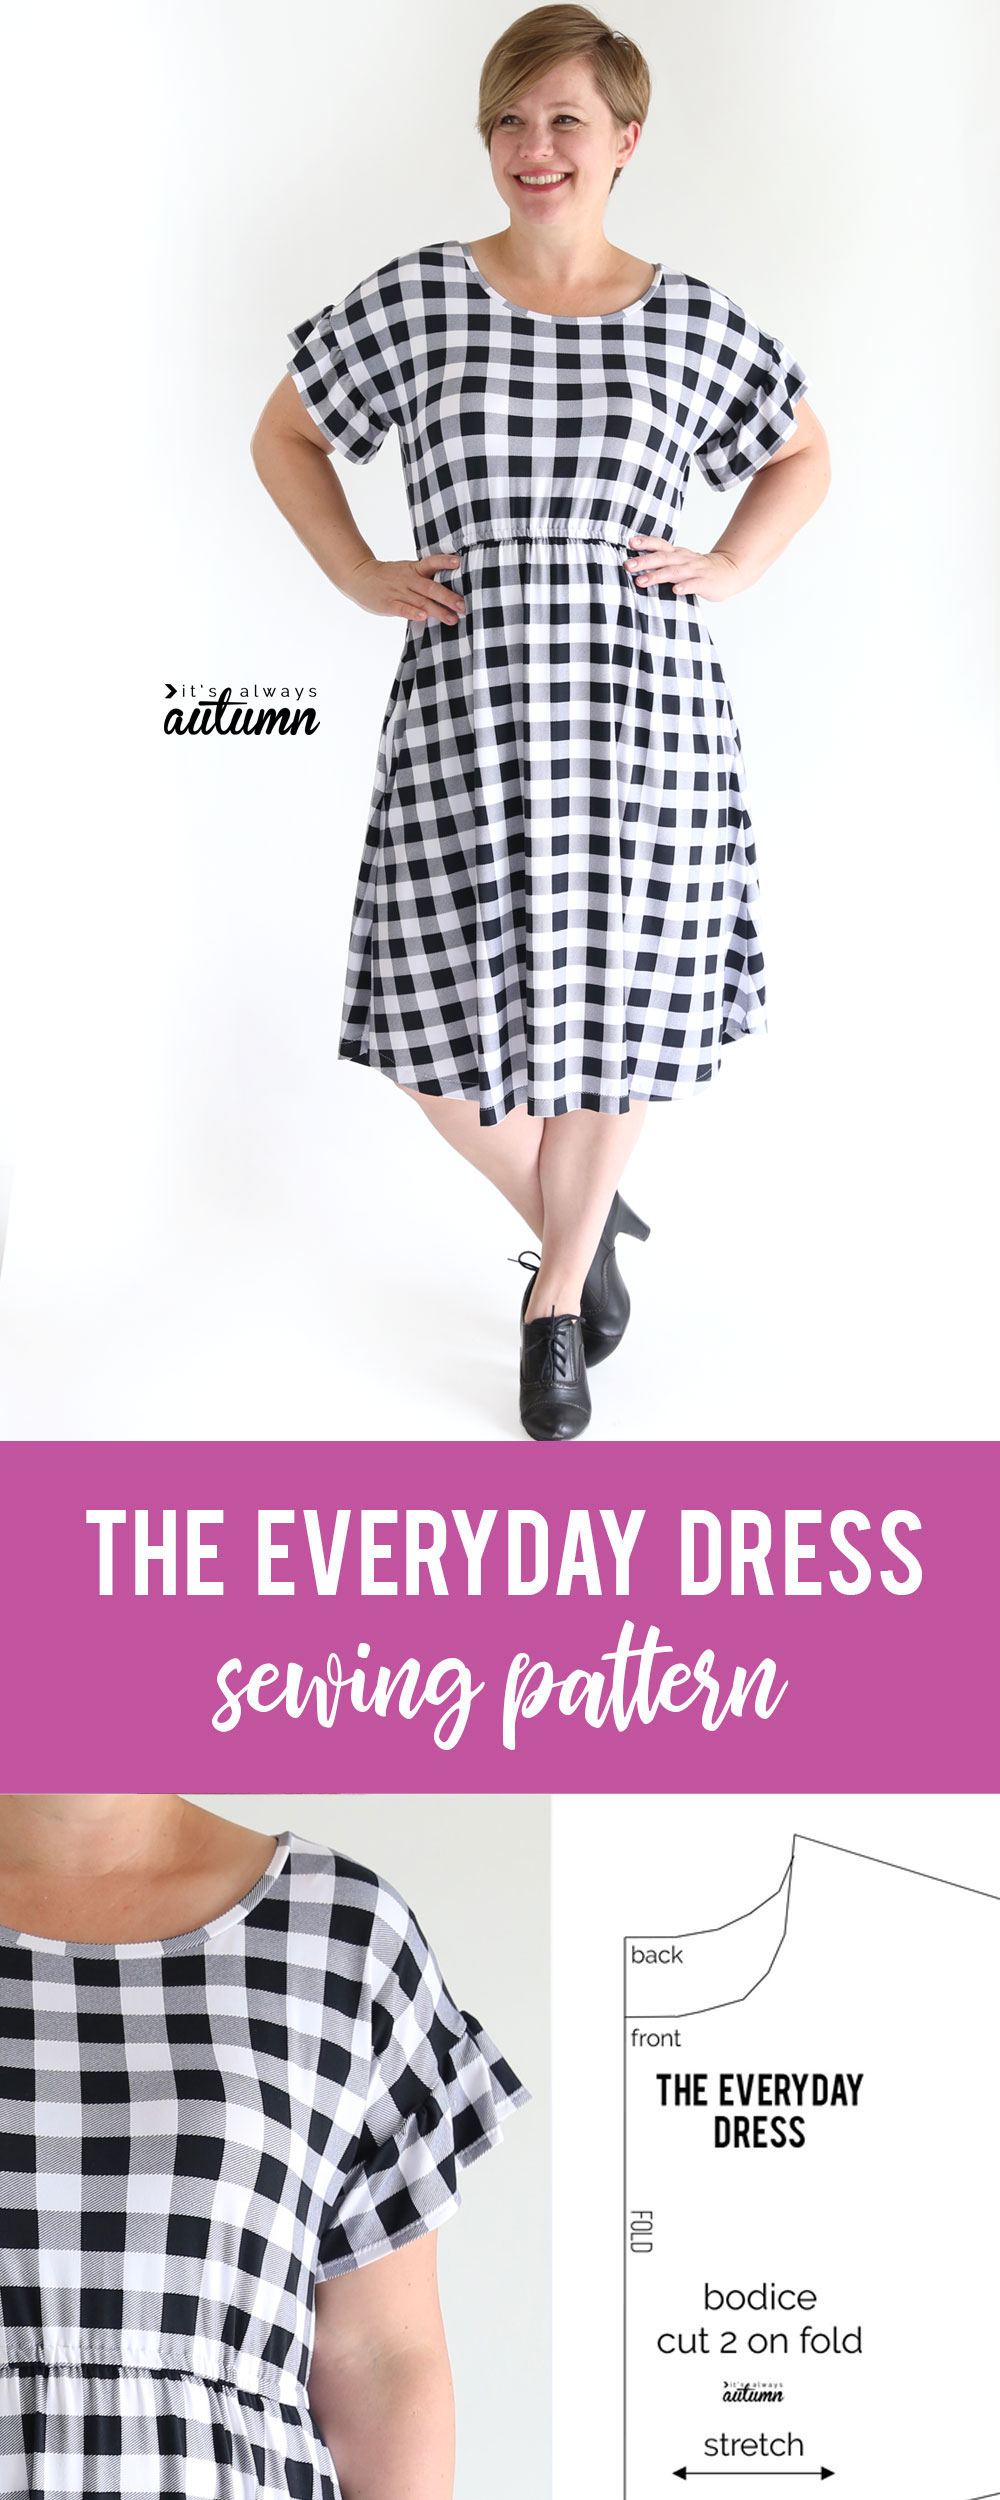
The Everyday Dress pattern
The Everyday Dress pattern is available in Women’s size L (for 38 inch bust). It’s made to sewn with stretchy knit fabrics and has an elastic waistband, so it will fit slightly larger and smaller bust sizes as well. Click here to visit the Everyday Dress pattern post, where you can download and print the pattern as well as find detailed instructions for sewing it up.

Today I’ll show you how to add a ruffle to the end of the sleeve. You can follow this basic tutorial to add a little ruffle to a t-shirt sleeve as well.
How to add a ruffle to a sleeve
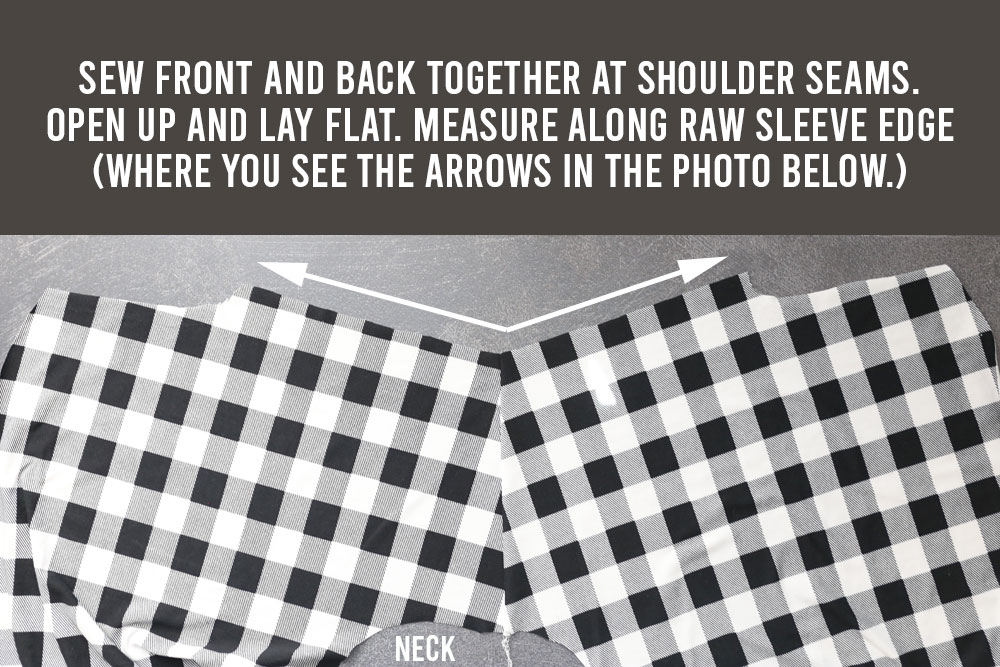
To add a sleeve ruffle, you’ll start by sewing your bodice from and back pieces together at the shoulder. If your pattern has a set in sleeve, sew the sleeve in now. Please note that the everyday dress does not have a set in sleeve; instead the shoulder area has been extended to create a faux cap sleeve.
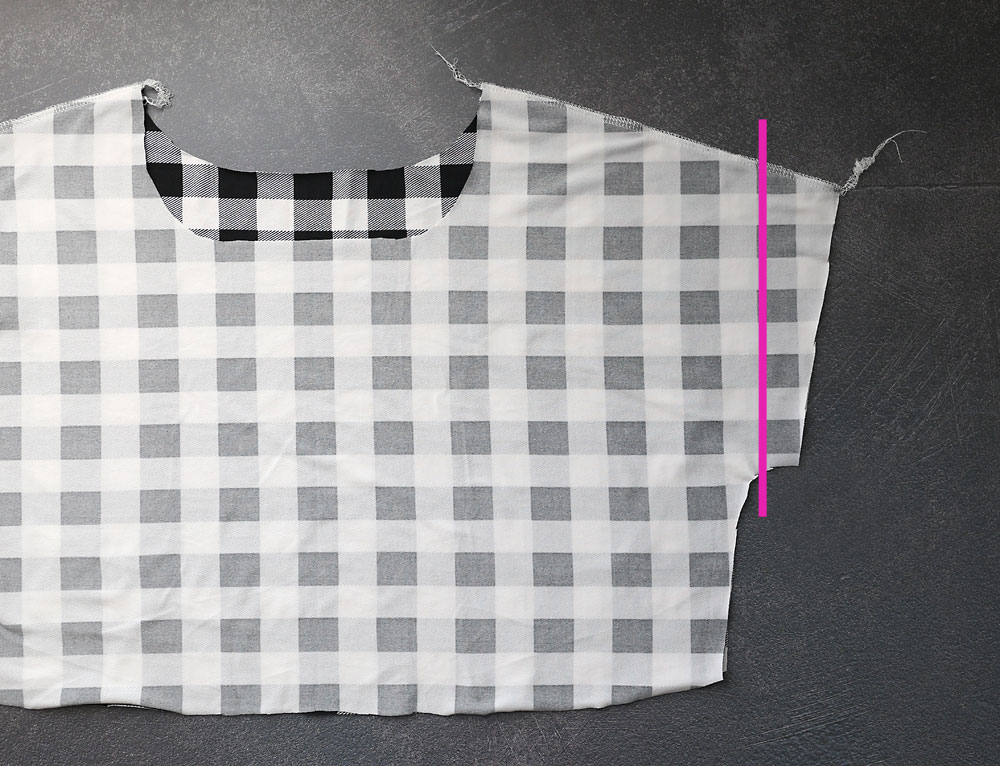
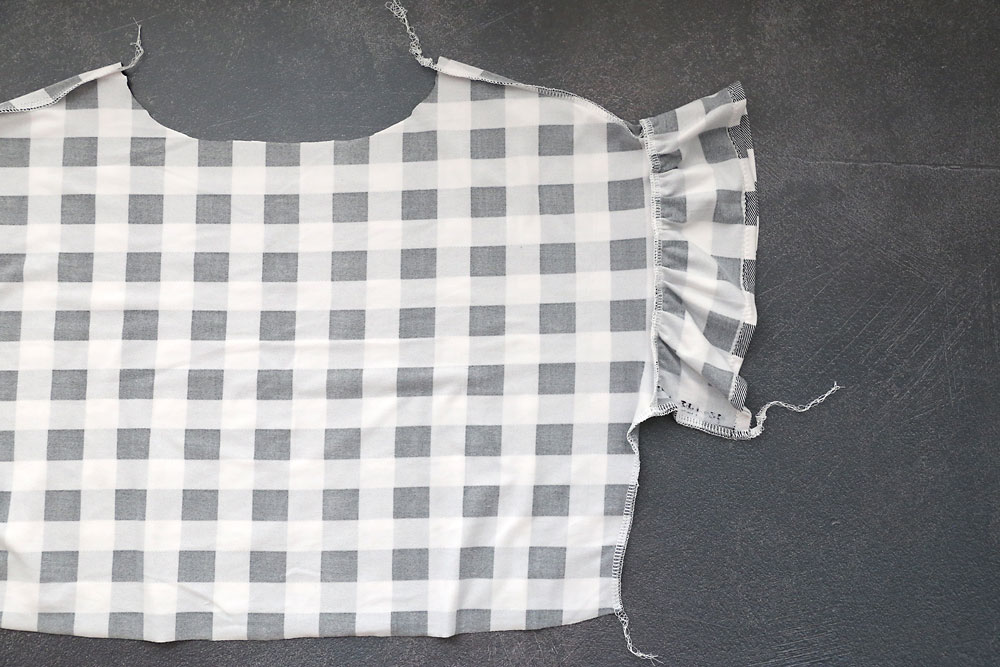
At this point you can trim your sleeve a bit if desired so that the ruffle doesn’t make the finished sleeve too long. I trimmed each sleeve as shown below:
Next, open up the bodice at the shoulders and lay it down flat. You need to measure the length of the raw sleeve edge (as shown by arrows in the photo below).
Next, you’ll cut two rectangle ruffle pieces. You can make them as tall as you’d like; I cut mine about 3.5 inches tall. The width will be 1.5 times the sleeve edge measurement. This will give you a gently ruffled sleeve. It you want your sleeve very ruffled, you may want to use 2 times the sleeve edge measurement.
Next, hem one long edge of each of the ruffle pieces. I folded the edge under about 3/8 of an inch and sewed using a zig zag. Sew two rows of gathering stitches along the other long edge of each ruffle piece. Gathering stitches are straight stitches with a long stitch length and a low tension.

Pull on the bobbin threads of the gathering stitches to gather up the ruffles. Gather them until they are the same length as the sleeve edge. Place a ruffle down on top of the sleeve, right sides together, as shown in the photo below.
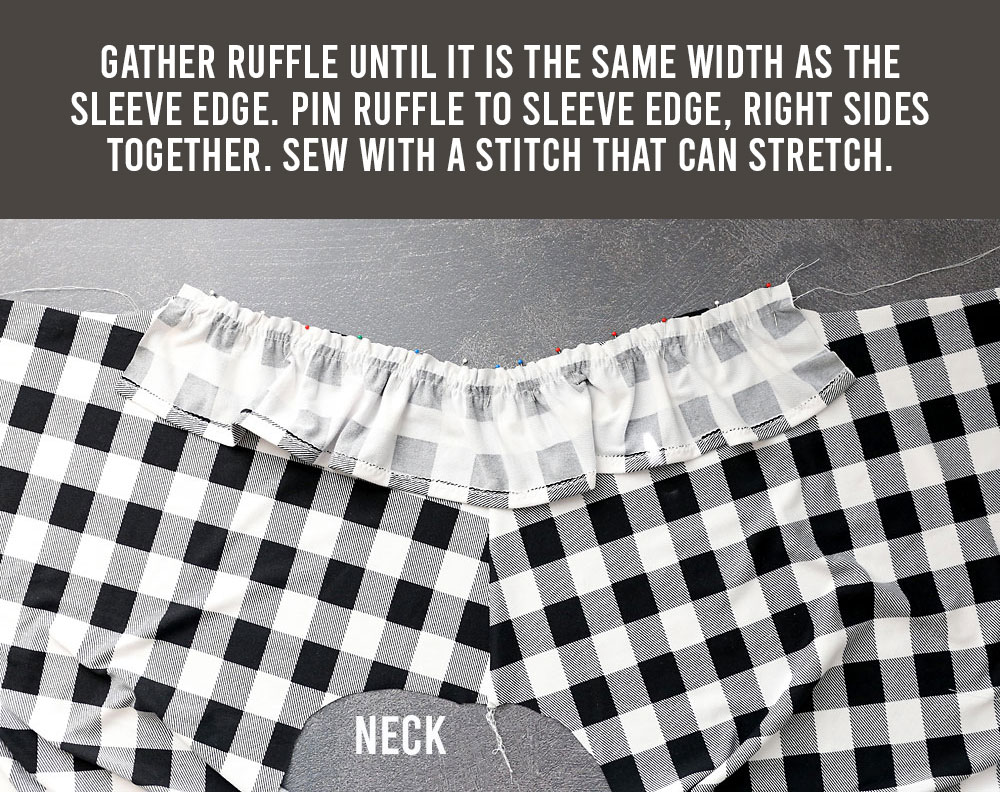
Sew the ruffle onto the sleeve USING A STITCH THAT WILL STRETCH (zig zag, stretch stitch, or serged stitch). Iron the seam allowance away from the ruffle. Repeat with the other ruffle.
Now you can flip the bodice so that front and back are right sides together. Sew the side seams, starting at the ruffle hems, going up under the arm, and back down the sides of the bodice.
Now your ruffled sleeves are completed, and the bodice is ready to attach to the skirt. Continue to sew up the Everyday Dress (or whatever you are making) as directed in the pattern.
If you’re looking for more sewing patterns, be sure to visit the Sewing Archives. Thanks for visiting!


Jennifer says
Thank you for your fantastic designs I love them all I must get my printer working so I can make them thank you again for your time and effort 👍
Annie says
Thank you soooo much! I’m new to using a serger although I’ve been sewing for a few decades now! Your videos are so well done and much appreciated. I found you looking for a t-shirt inspired dress pattern for my granddaughter who is one of the tallest in her grade 6 and just doesn’t fit the “girls’ sizes”. There aren’t clothes for these young girls sized for larger taller kids in the age bracket -11 & 12!
Gertrude Carter says
I have a question about the pattern for the every day dress. Are you saying that ,at no point should you tape the pattern together before you cut it out?
Autumn says
Hi Gertrude! Yes, tape the pattern together, but don’t overlap the pages at all. Just line them up right next to each other and tape together that way. Thanks.
Diane M Hughes says
How would this pattern work with a woven fabric?
Autumn Baldwin says
Hi Diane – it’s always tricky to use a woven fabric for a pattern made for knit fabrics. This pattern is cut somewhat roomy so it might work, but I can’t guarantee it, and you may need to make the neckline wider so it fits over the head without stretching. I’d probably recommend looking for a pattern made for wovens.