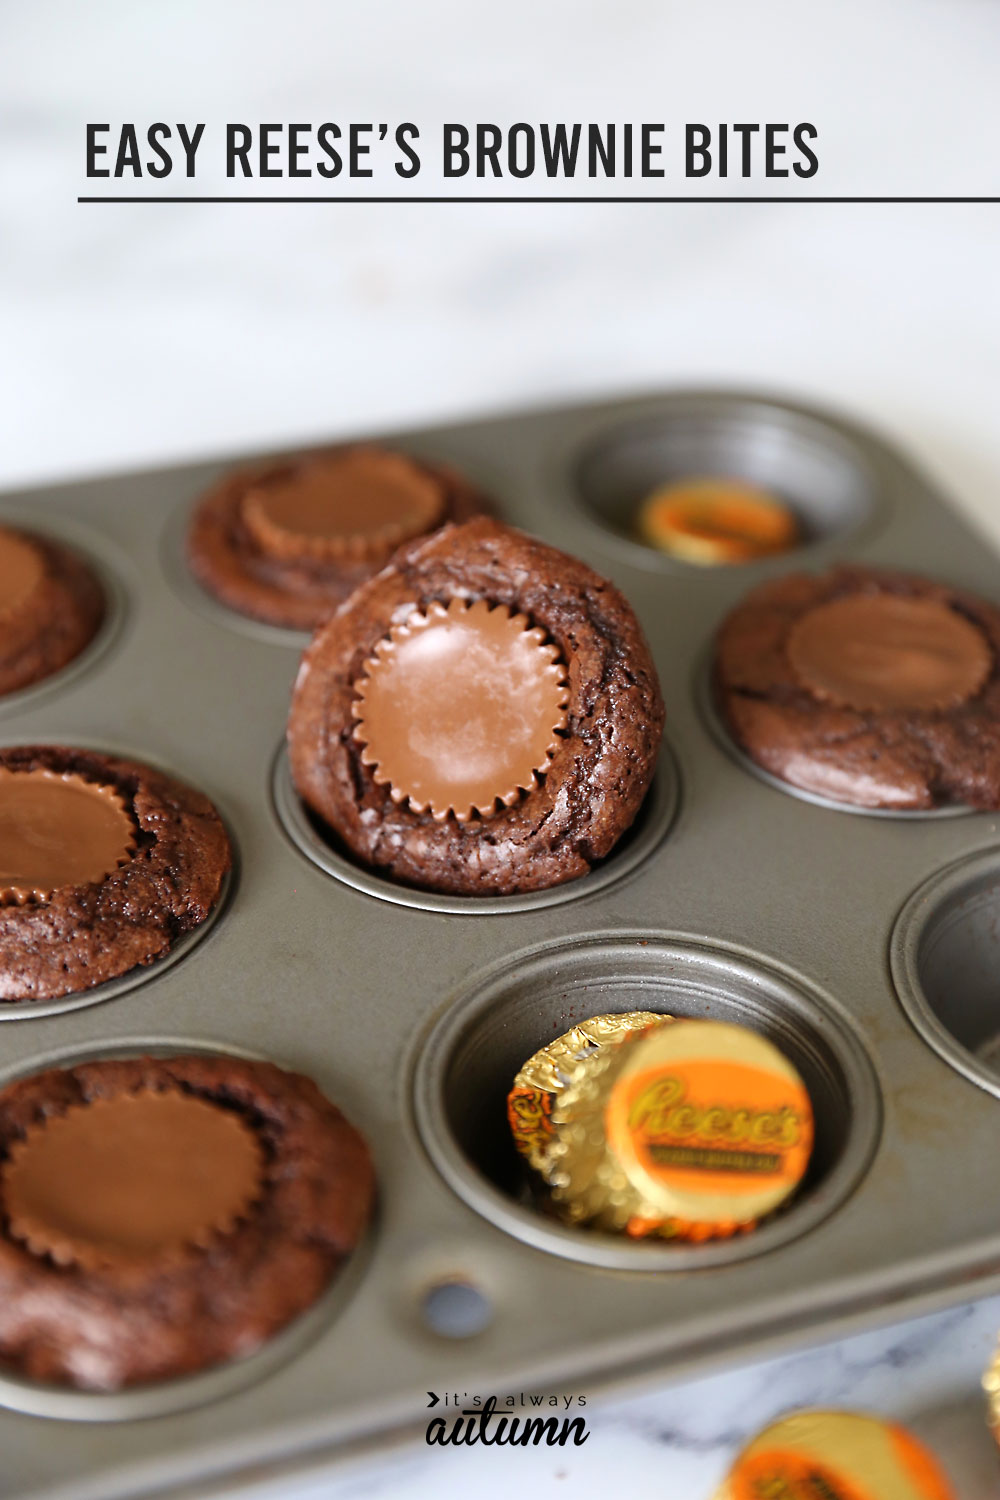
In today’s post: When you need a quick treat that still tastes incredible, whip up these peanut butter cup brownie bites with just five ingredients!
Every time I make brownies, there’s an argument. EVERYONE wants a corner piece, and, well, we have more people than corners around here. When it comes to cake I definitely want a center piece, but it’s hard to beat the chewy edges on a brownie, right? That’s what makes brownie bites so fantastic: every single one has a beautifully chewy outer edge AND a perfectly fudgy middle. And to make things even better, we’re adding peanut butter cups to the center.
So much deliciousness in one little treat!
These guys start with a boxed brownie mix, which means you can have them in the oven in under 5 minutes. I’m all for making things from scratch, but seriously, a boxed mix turns out beautifully here AND it means you don’t have to measure many ingredients.
Not bad for five minutes and five ingredients!
How to make peanut butter cup brownie bites
The first thing we should talk about here is a brownie bites pan, aka a mini muffin pan. You might not have one of these pans yet, but it’s worth getting one since you can make so many things in it. Mini muffins, energy bites, baked egg bites, cookie cups, and more. Honestly, it’s worth getting one just to make brownie bites, especially if you plan to stuff them with peanut butter cups!
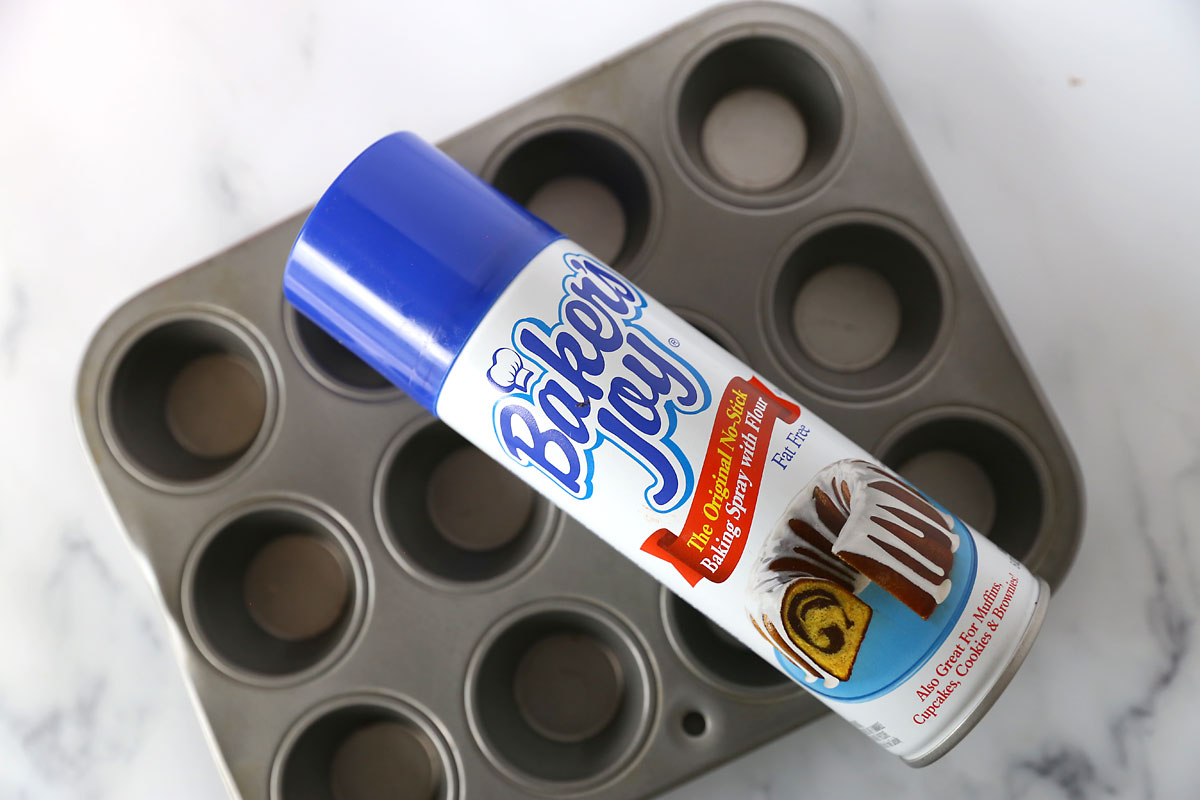
If you’re looking to purchase a mini muffin pan, you have two options: metal or silicone. I have metal pans similar to this one, and I love them! In fact, I’m thinking about getting this giant one that allows you to make 48 mini muffins or brownie bites at once. I think brownies ALWAYS cook best in metal baking pans. I don’t know why, but they do. And as long as you use a nonstick spray that contains flour (more about this below), your brownie bites will release easily without leaving pieces behind.
The other option is silicone pans. I know some people love silicone pans, and I love the idea of them, but in practice I just don’t think they work as well, especially for brownie bites. I tested brownie bites with this silicone pan. The brownie bites took much longer to bake in the silicone pan and even once cooled they were – get this – MUCH HARDER to get out! I think silicone pans work better for muffins or cake, but they just don’t seem to do well with brownie bites.
Peanut butter cup brownie bites recipe
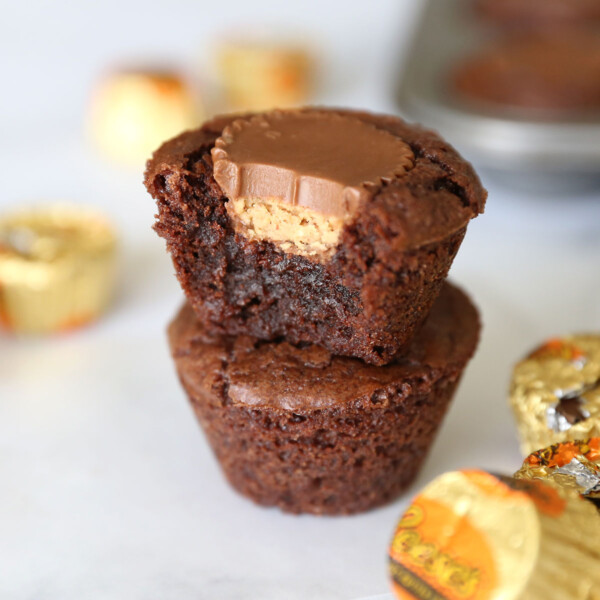
Peanut Butter Cup Brownie Bites
Ingredients
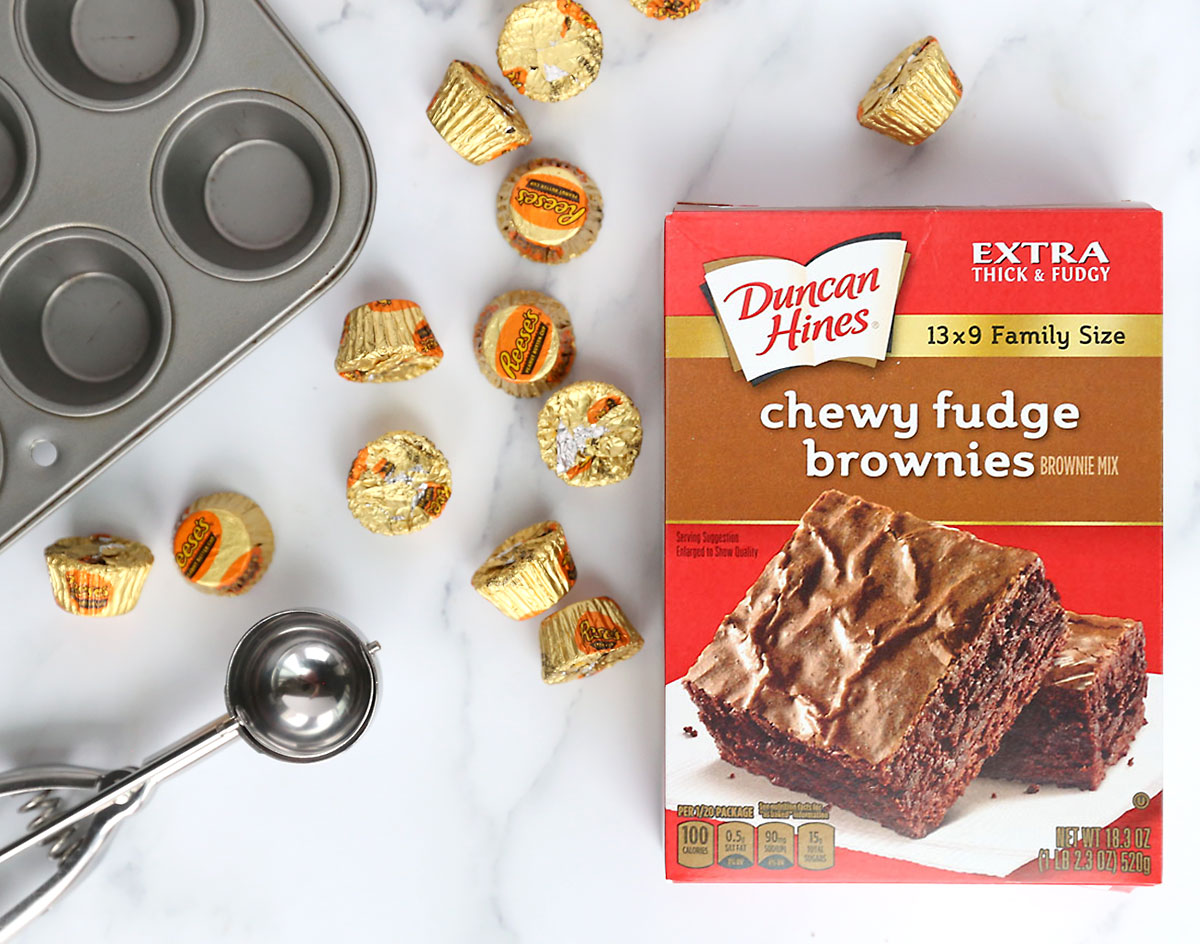
- 1 18.5 oz brownie mix
- 2 eggs
- 1/4 cup water
- 1/2 cup oil
- 30 Miniature Reese's peanut butter cups from a 10.5 oz bag
Want more project ideas? Sign up to get my favorite easy crafts and recipes straight to your inbox!
Instructions
- Preheat the oven to 350 degrees. Spray a mini muffin tin with nonstick spray that has flour added.
- In a bowl, mix the brownie mix, eggs, water and oil until combined.
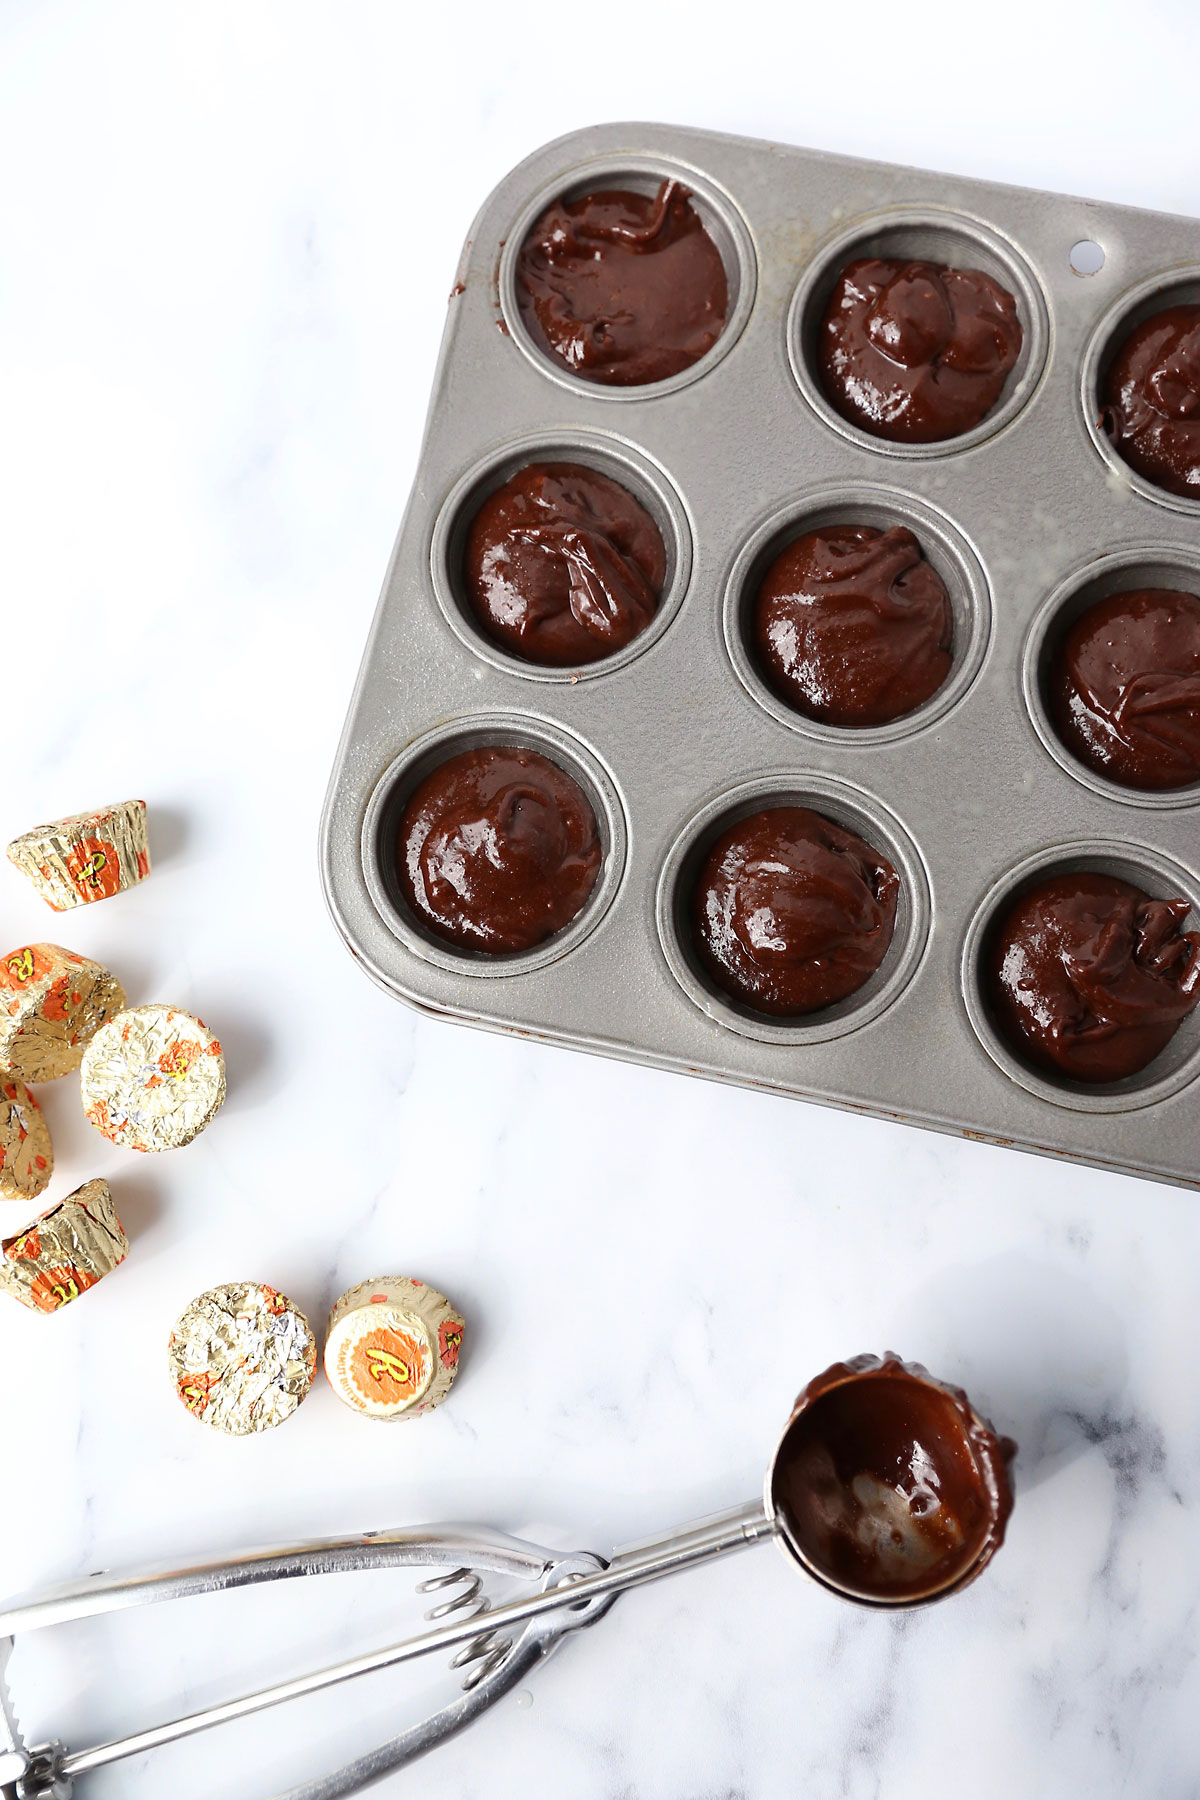
- Fill mini muffin wells about 2/3 of the way full (depending on the size of your muffin tin, that's probably just a bit more than a tablespoon).
- Bake brownie bites until a toothpick inserted in the center of one comes out clean. That's approximately 16 minutes in a metal pan, but could be up to 23 minutes in a silicone pan.
- While the brownie bites are baking, unwrap 30 miniature Reese's peanut butter cups (or as many brownie bites as you have made).
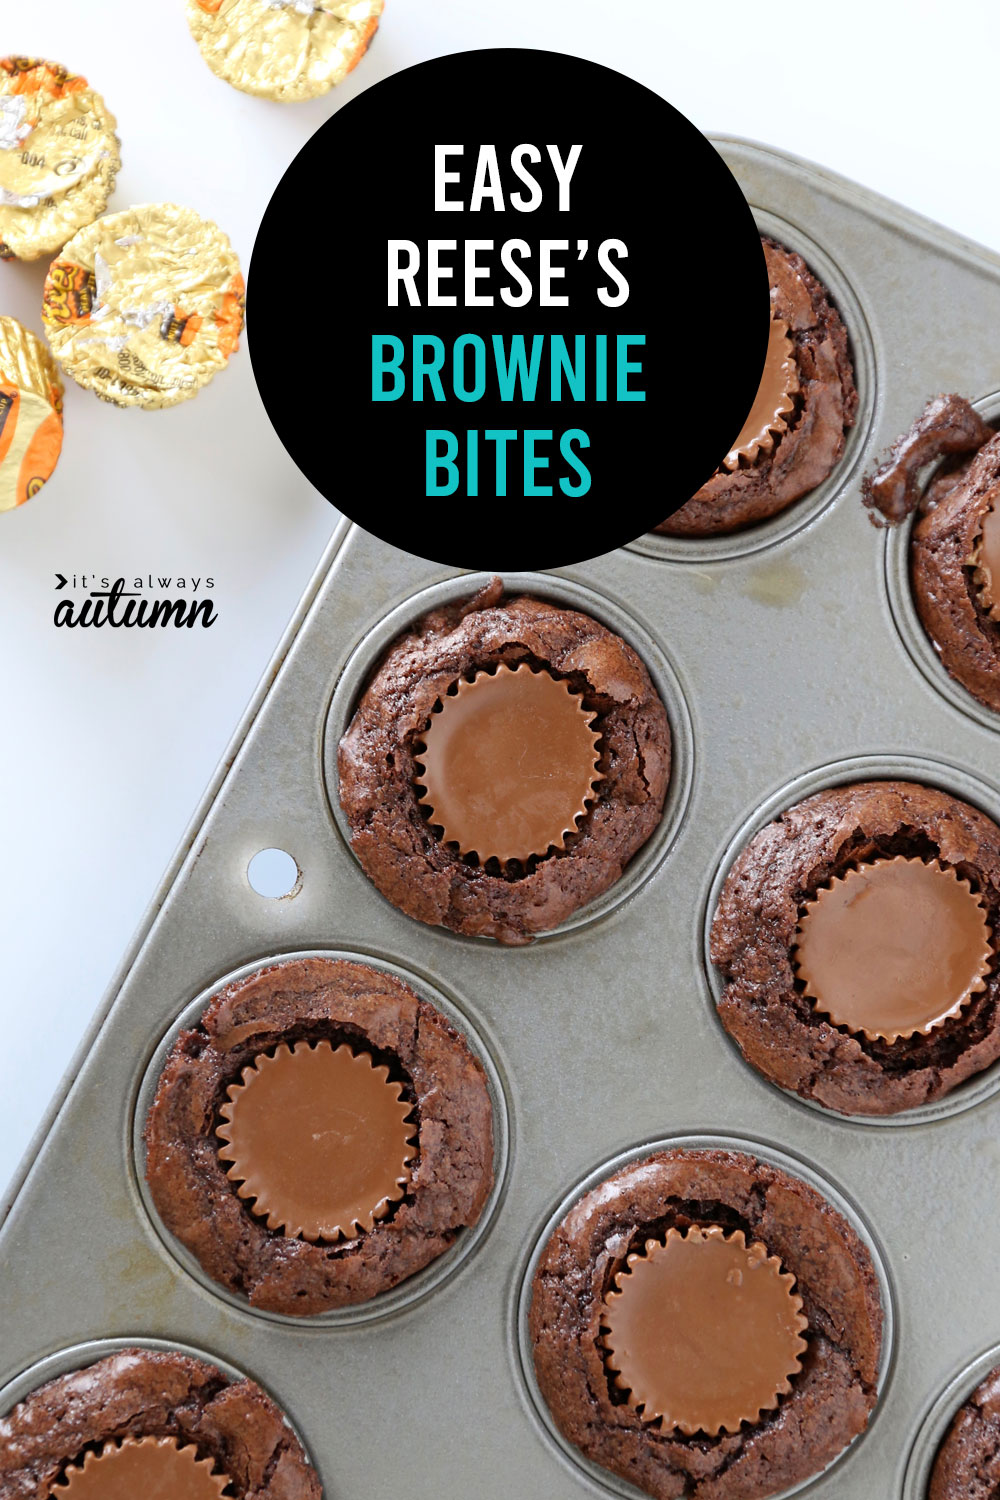
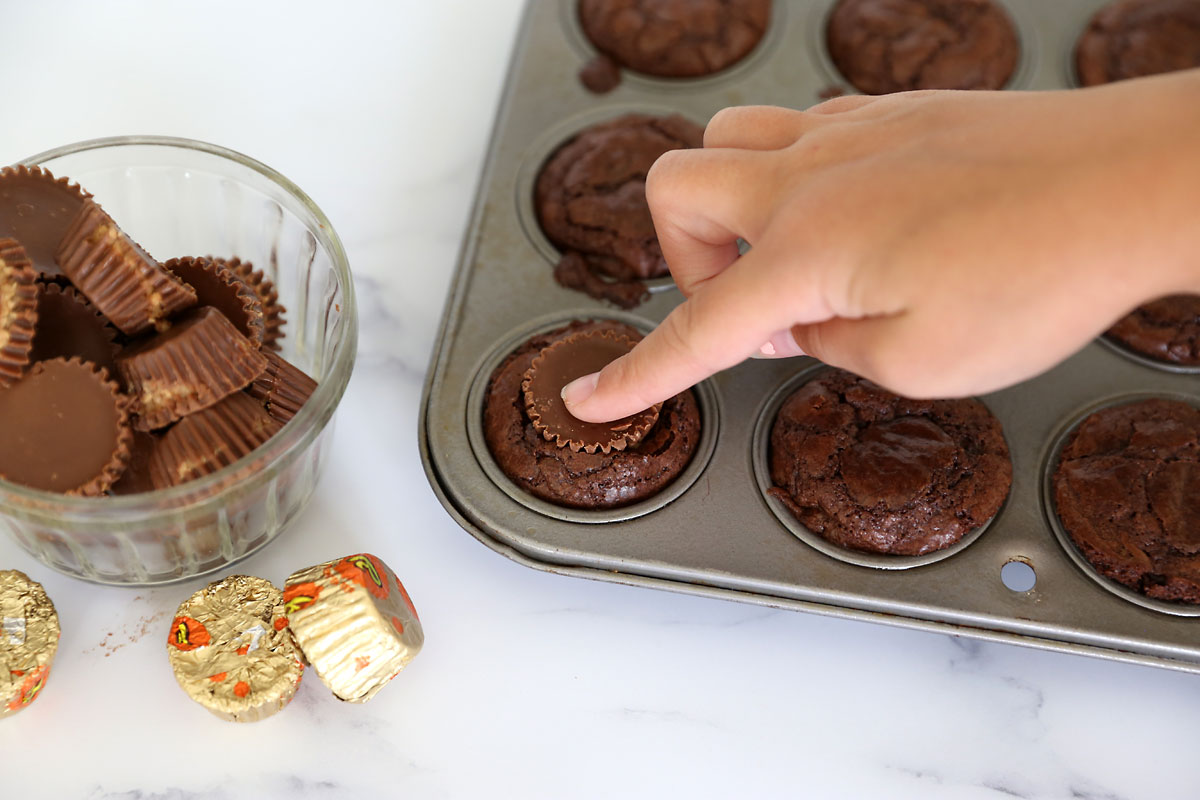
- When the brownie bites come out of the oven, press a peanut butter cup into the center of each one. Press down until the top of the peanut butter cup is level with the top of the brownie bite.
- Allow brownie bites to cool completely before removing from the pan (about two hours).
Tips for making brownie bites
Here are a few tips for the perfect peanut butter brownie bites:
First, don’t forget to use a good non-stick baking spray that has flour in it on your mini muffin tin. I swear by Baker’s Joy spray. It’s miraculous. You can find this with all the other nonstick sprays in the baking aisle, but it has flour added to it, which does wonders for getting baked good to release from the pan. I spray each depression individually before adding the batter.
Next, DO NOT overfill the mini muffin tins. It’s tempting to do so, but don’t do it! You really don’t want the brownies to overflow the cups as they are baking, so only fill them 2/3 of the way full. Mini muffin tin sizes vary, but in my tin that meant just over 1 tablespoon of batter in each well. I used my 1.5 tablespoon cookie scoop and didn’t fill it up all the way.
Third, unwrap your miniature Reese’s cups while the brownie bites are baking, so you’ll be ready to press one into each bite right after they come out of the oven.
Fourth, tempting as it may be, don’t try to take the brownie bites out of the pan until they are cool. You’ll just end up smooshing them, and no one likes that. It will take about 2 hours on the counter for them to be cool enough to remove from the pan (you could speed this up by putting them in the fridge). Then once it’s time to remove them from the pan, don’t try to pick them straight up. Grab the upper edges and ROTATE each brownie bite first. That will ensure the brownie doesn’t break apart when you try to pick it up out of the pan.
ONE LAST TIP: If your pan only has 24 depressions, you will end up with some brownie batter left over. Either pour it into another small pan and bake it along side the brownie bites OR pour it into a mug and microwave it for about a minute for a quick microwave brownie!
Want more delicious treats? Try these:
Easy cheater frosted sugar cookies (using a cake mix)


Mary says
YUM!!!!!!!! What a nice treat for a work meeting – or for kids get together!!!
Melissa says
Can you use muffin tin liners when making these brownies with reeses peanut butter cups
Autumn says
You could probably use mini muffin liners here, but brownie batter sometimes sticks to muffin liners so if you try that be sure to spray the liners.
Bonnie says
Can these be frozen? They are delicious!
Autumn says
Sure!
Katie says
Delicious and super easy to make. I definitely don’t recommend 16 minutes. Start with 10-12.
Sarah S says
Great recipe! I have some more tips:
If you use mini cupcake liners, you can make more! I made 46!
If you want to cool them faster, cool on the counter for 30 minutes and then in the fridge for 30 minutes. This worked perfectly for me.
My last tip is if you have an Aldi grocery store near you, they have store brand bags of peanut butter cups that are unwrapped and come 33 to a bag. This saves you the hassle of having to unwrap the Reese’s ones. Plus, they taste better!