In today’s post: In this continuing series on DIY newborn photography tips, learn how to pose your new baby with family members for gorgeous photos.
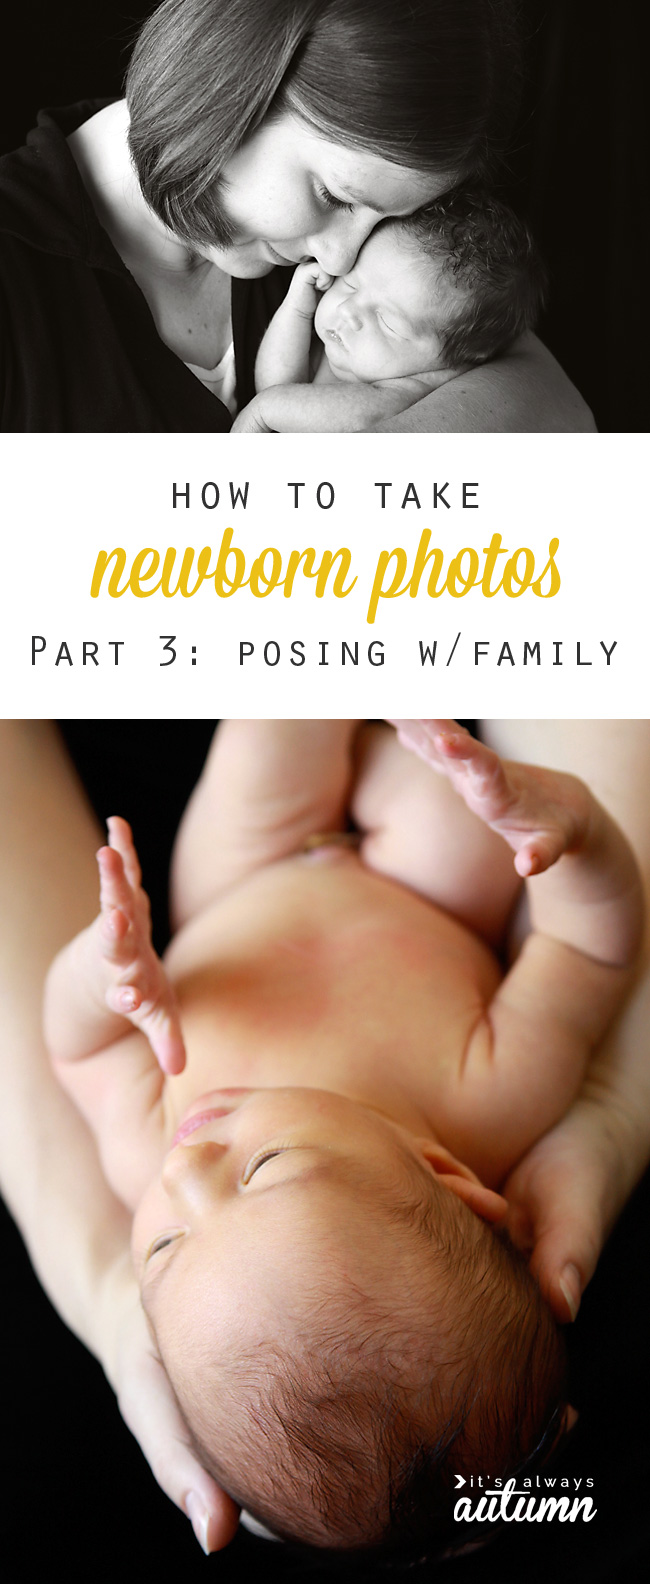
Today I’m sharing some tips for posing a newborn baby with a family member. We’ll cover both poses where you can see the family member, and poses that use a family member to support the baby. If you want photos of yourself and your own baby, read this info and then rope someone into taking the pictures for you. For simplicity’s sake I’ve written this post assuming you are the photographer, not the subject, but the same information applies in either situation.
In case you’ve missed the earlier posts in the series, please read the following info:
I don’t claim to be a pro, and following the steps I’m outlining here isn’t going to make you a pro either. There’s a lot more to photography than props and poses. If you want amazing portraits of your newborn, your best bet is to invest in professional photos.
However, if you don’t have hundreds of dollars to spend on a newborn photo session, there are things YOU can do to get great photos of your newborn, and that’s the point of this blog series. Here’s what you can look forward to in the next few weeks:

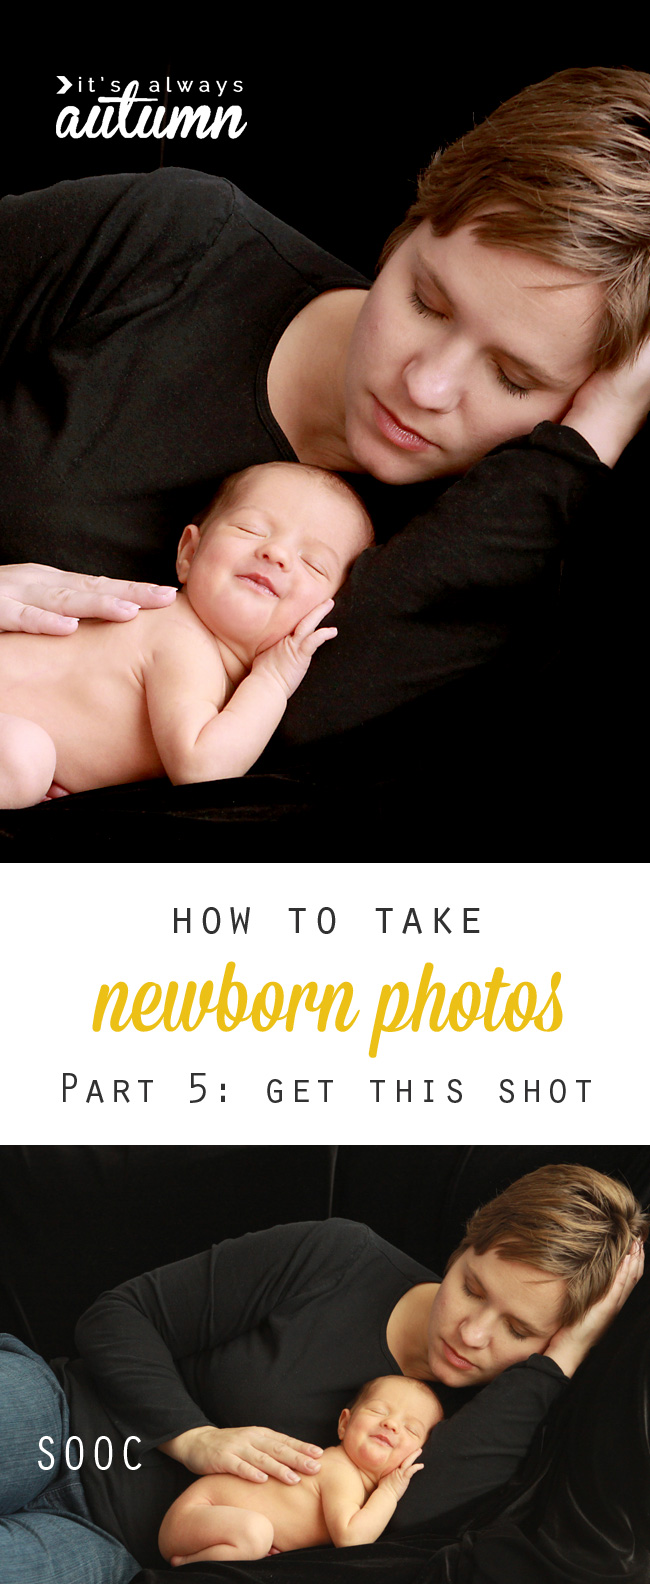
Part 1: DIY Newborn Photos | Part 2: Baby Photoshoot Ideas at Home (Posing) | Part 3: posing baby with family members | Part 4: How to edit baby photos | Part 5: how to get this shot (setup to post processing)
Safety NOTE
PLEASE NOTE: YOU MUST ENSURE YOUR BABY’S SAFETY during a photoshoot. Any time you are taking pictures of a baby, you MUST have another adult acting as a spotter that stands near the baby at all times. Any backdrops that you use must be secured. Do not try any poses that aren’t safe, and when trying any poses I may describe, ensure another adult is within arms reach of the baby AT ALL TIMES. You are responsible for ensuring the safety of your children or anyone else you photograph.
Posing Baby with a Family Member
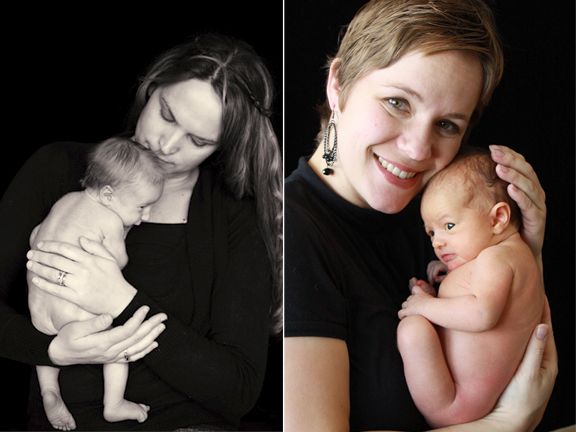
Taking a picture of a mom and her baby shouldn’t be hard, right? It seems like you could just ask her to hold the baby and then snap away. But it’s really more complicated than it seems. I want to start by looking at these example photos:
The photo on the left is from the very first newborn photoshoot I ever did, while the photo on the right is me (hi!) and was taken by my mom when she was taking pictures of me and my baby girl. In that first photo I just asked the mom to snuggle the baby close so I could take a picture. It’s cute (they’re cute!) but as a photo it has a few problems, while the second picture looks much better. Here are some things to remember when photographing mom/dad/grandma etc., holding the newborn baby:
1. Tuck the baby’s legs up underneath her. Just as we talked about in posing newborns on their own, those long spindly legs can be distracting when they stick out willy nilly. Crossing them and tucking them under the baby’s body makes the baby look like a sweet little package.
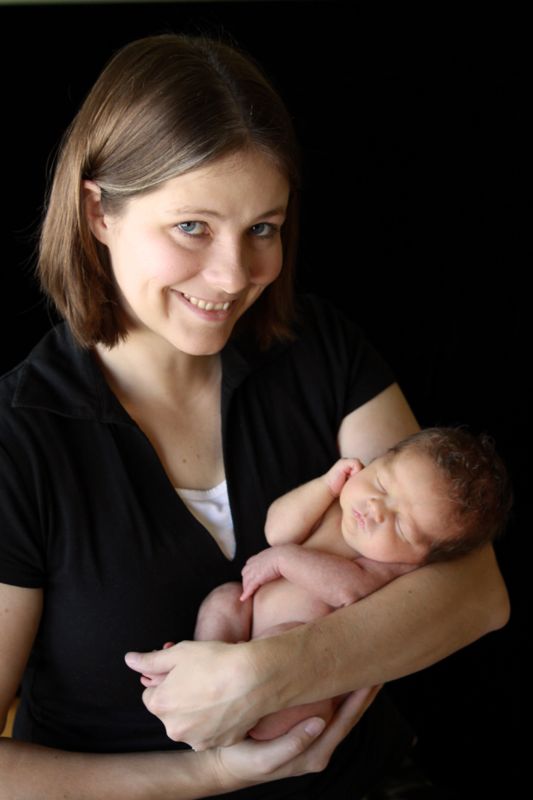
2. Ask your subject to hold the baby close to her face. Most people hold newborns like this:
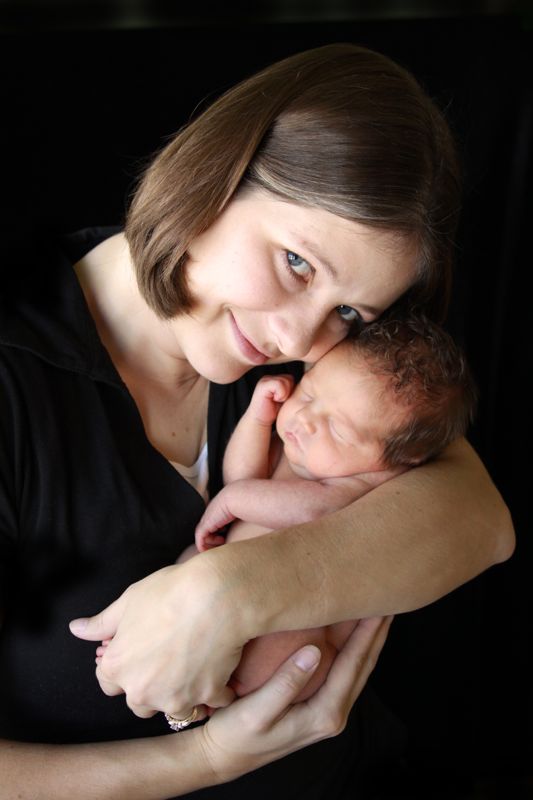
Both Mom and baby look really cute in this picture, but their heads are so far away there’s not a feeling of connection. It might feel awkward for the mom to hold the baby up close to her face, but it’s going to make for a much sweeter photo:
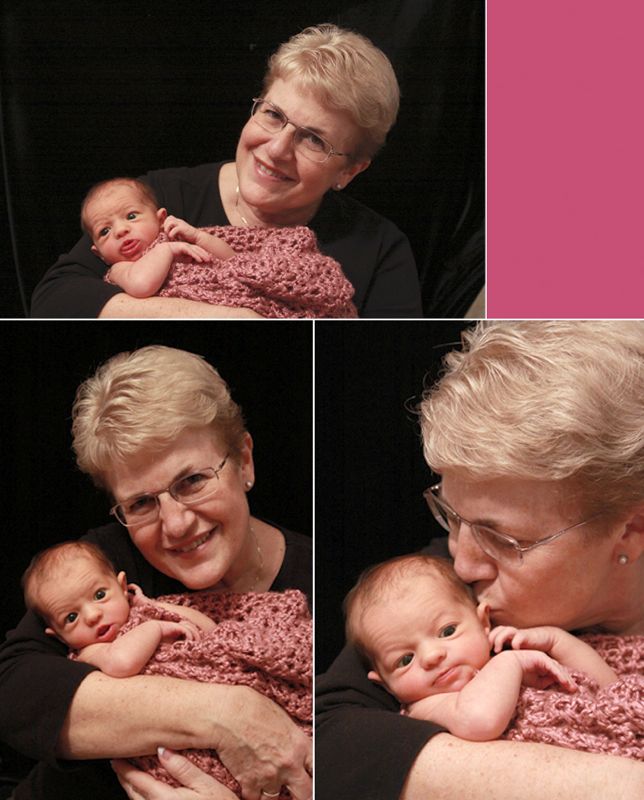
Here’s another example. In the top photo Grandma is leaning away from the baby. It’s still a cute photo, but the bottom two photos are even cuter because there’s a sense of connection in them.
3. Pay attention to where your light is coming from. If you’re using the same setup you used to take photos of the baby alone, your subjects should already be positioned correctly in relation to your light source (large window). They should be facing either the right or left edge of the window (which is where you’ll be standing). Light coming at a 45 degree angle casts nice, soft shadows that define both baby and Mom’s features, while also providing nice catchlights (bright spots) in their eyes.
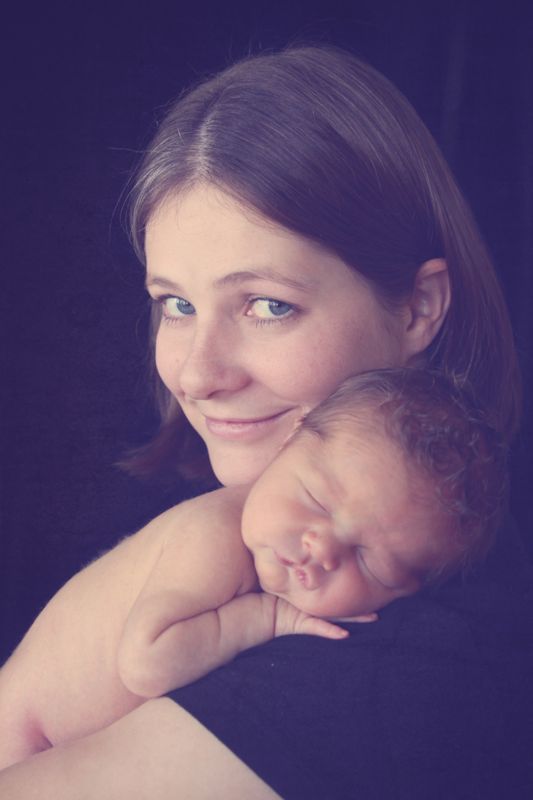
4. Position your subjects so you can see both their faces. A mom or grandma will probably hold the baby up on her chest, the baby facing in. This can make it hard to see both faces at once in a photo, so ask your subject to stand sideways and gently turn the baby toward you while she turns her head toward you as well. (An over the shoulder pose like the one above works well too.)
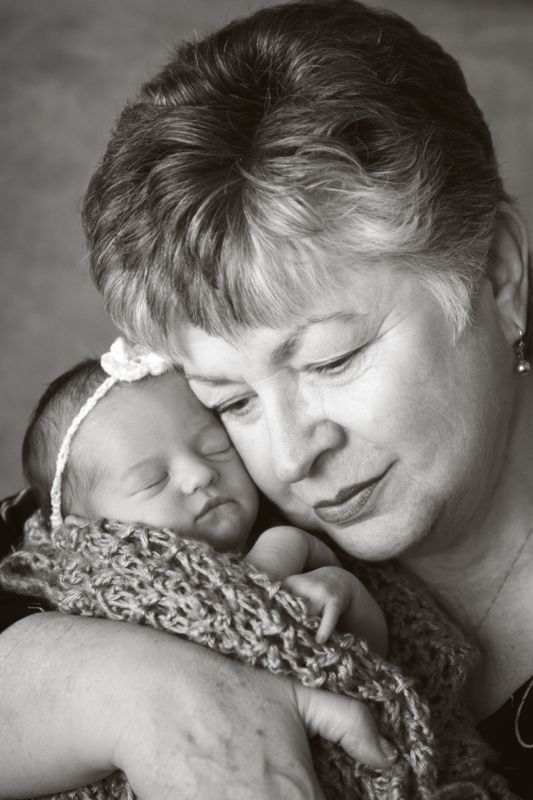
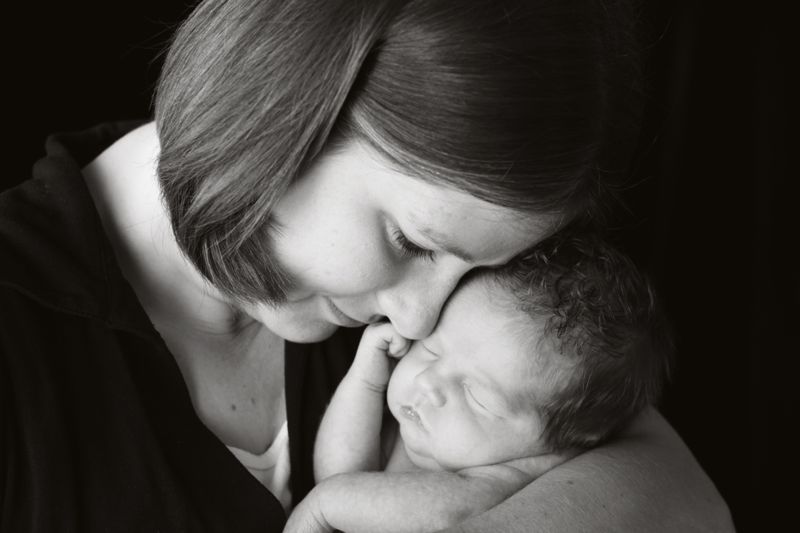
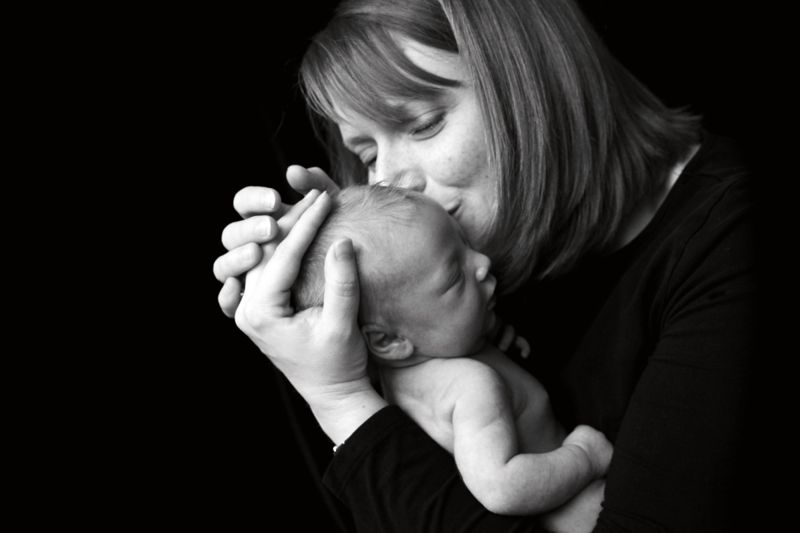
5. Ask your subject to snuggle with the baby and ignore the camera. Most people think they’re supposed to look at the camera when they’re being photographed, so you might need to let your subject know it’s ok to look at, kiss, or snuggle the baby (which is probably what she’d rather be doing).
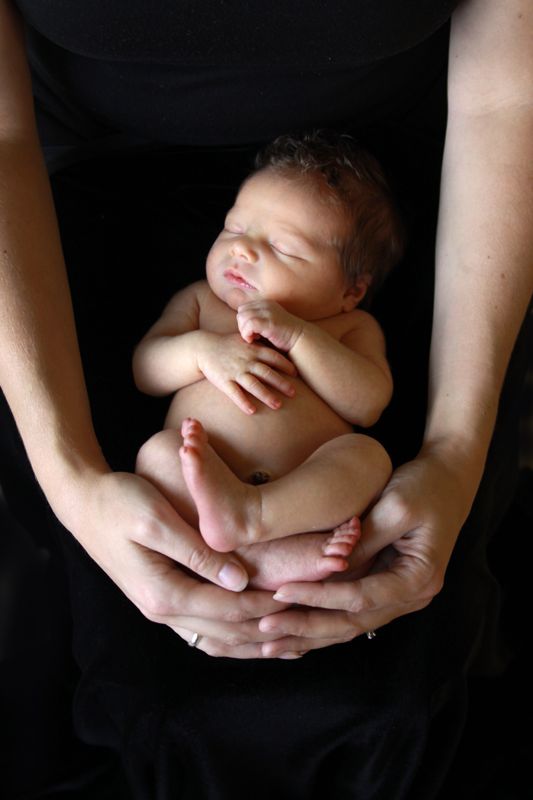
Same as above except baby is lying on her lap, head near her knees and feet tucked in at Mom’s stomach. Make sure the focus falls on the baby’s head, not feet.
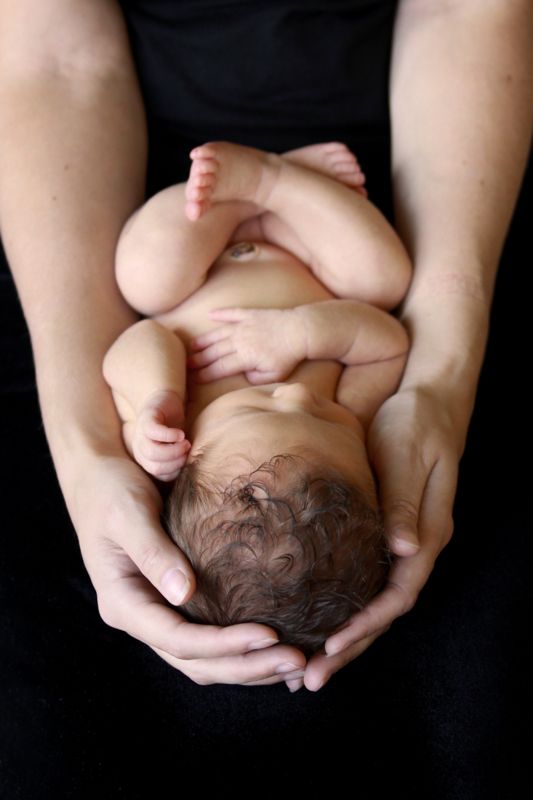
Subjects are in same position as last pose, photographer just moves around behind Mom’s shoulder. For this one it’s very helpful to have another helper who holds the black fabric out from Mom’s lap.
Mom stands in front of a black backdrop, her shoulder facing you. She holds her arms out away from her and then you lay the baby down on them.
Same pose as above, but again the photographer moves to a different angle.
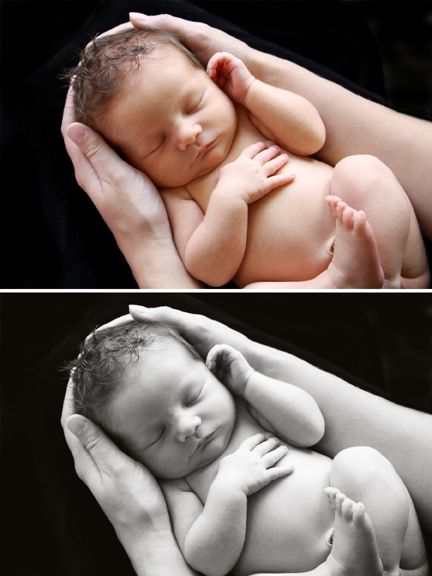
Mom is seated with the black velvet draped over her shoulders and arms. You place baby down, nestled in the crook of her arm.
So – what if you want pictures of baby with older siblings? Here are a few more tips:
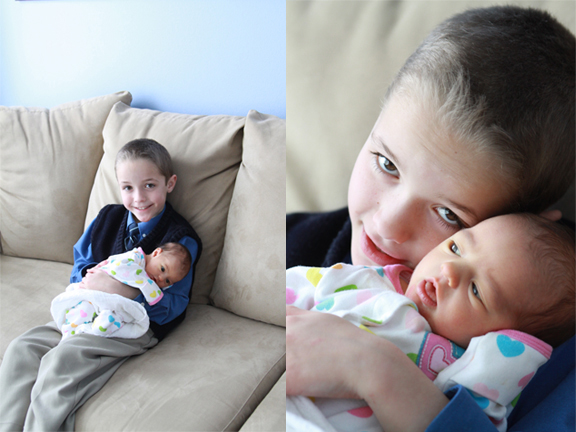
If the sibling is old enough to hold the baby, sit him down and ask him to hold the baby up close to his face, just like we talked about above. Even in a quick snapshot (such as the ones below) having the baby up close to the sibling’s face makes a big difference.
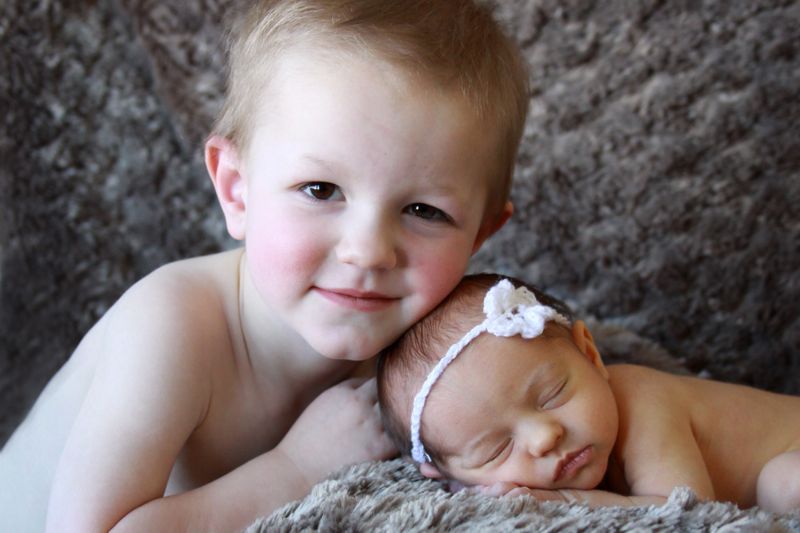
The easiest way I’ve found to take pictures of sibings who aren’t old enough to be trusted holding the baby is demonstrated in the photo below. When your have the baby positioned on your bean bag or couch cushion (like we talked about in posing), have the older sibling come stand, kneel, or sit (depending on how tall the sibling is) right next to the baby. Ask the sibling to gently lean his head in close to the baby and snap away, leaving the baby happy and snoozing the entire time.
I hope you’re enjoying this series – remember to check out the other posts!
Part 1: DIY Newborn Photos | Part 2: DIY baby photoshoot: posing | Part 3: posing baby with family members | Part 4: How to edit baby photos | Part 5: how to get this shot (setup to post processing)
linked up at:


Sandra says
What a fantastic series. So informative with very clear instructions! Thank you!!
Sandra