
In today’s post: This pretty DIY Christmas wreath can be made with sheet music or old books from the thrift store. This is an easy Christmas craft for adults that can be completed in under an hour.

Easy Christmas craft
Today’s easy craft is another one that would be perfect for working on during a craft night with friends! All you need is a wreath form, an old book or sheet music, and some Christmas embellishments to make your own DIY sheet music Christmas wreath.
Project Inspiration: this Facebook post and https://seekinglavenderlane.com/book-page-magnolia-wreath/

Supplies
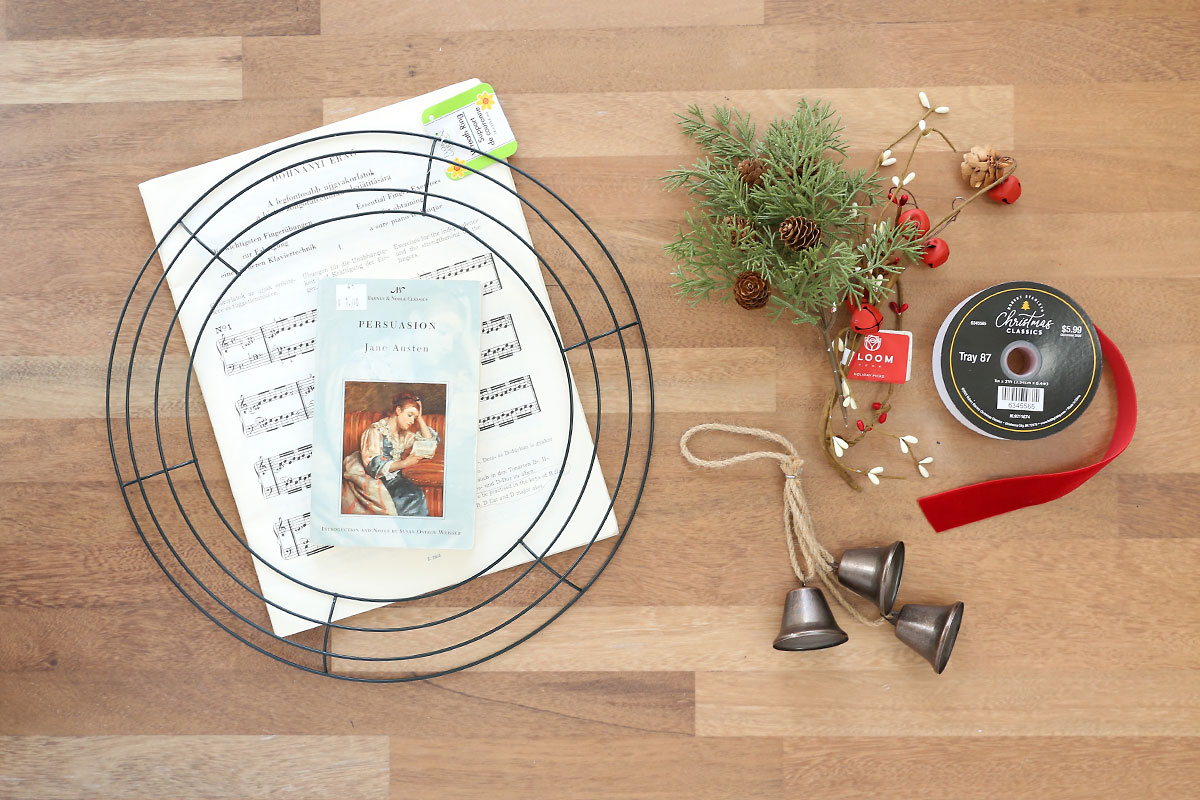
Here’s what you need to make this DIY Christmas wreath:
- Sheet Music or book paper: Check your local thrift store for old sheet music or an old paperback book. I found an old book of piano exercises for a dollar, but if you aren’t able to find sheet music a paperback book works as well! Older books works better because the pages will have yellowed in some areas instead of being bright white. You can also purchase multiple books so you have a variety of colors of pages to work with.
- Wreath Form: I used a 14 inch wire wreath form. This project might work even better with a round foam wreath form, but my craft store was out of them so I used a wire form I had on hand.
- Faux Greenery: Use whatever Christmas themed greenery you like (including berries, pinecones, bells, etc)
- Ribbon: to create a bow and a hanging loop
- Christmas ornament of some type to hang in the middle of the wreath: I used a trio of Christmas bells.
How to Make a DIY Christmas Wreath
Cover the Wreath Form
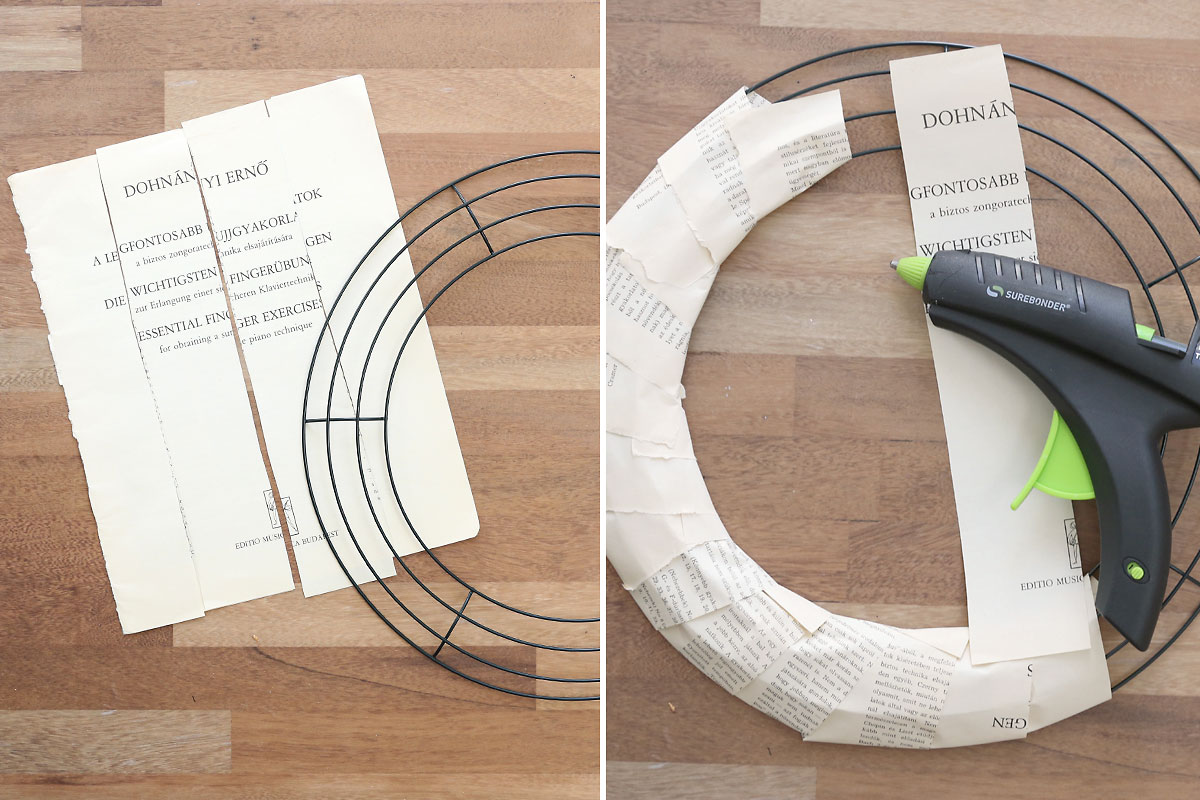
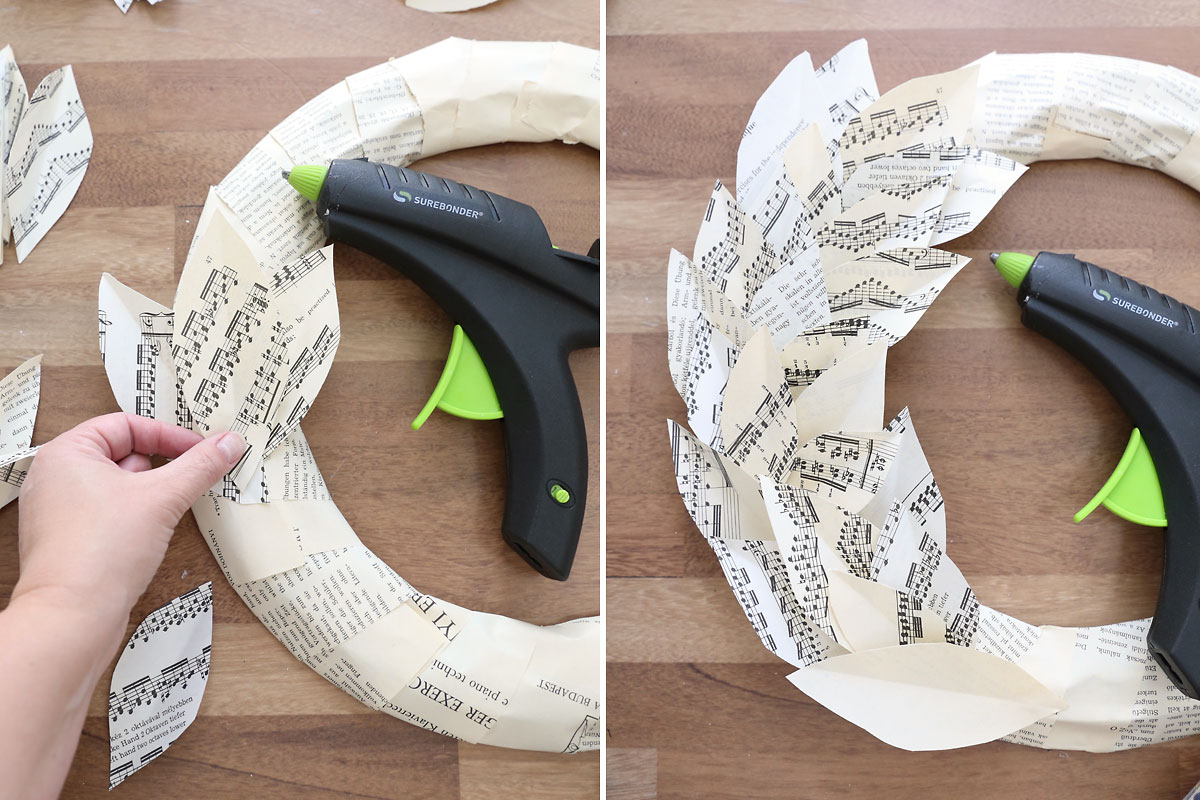
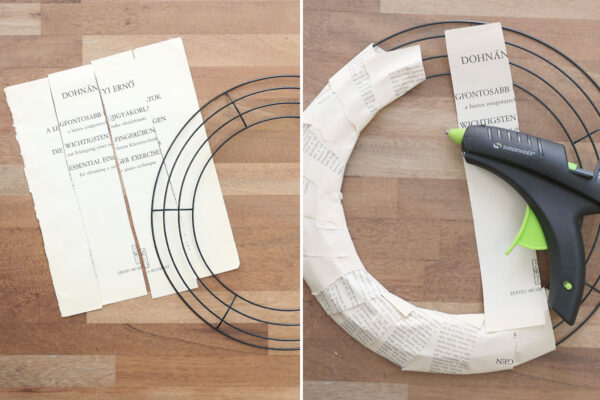
Cut some of your sheet music or book paper into strips a couple inches wide. Wrap the wreath form with the paper strips, using a hot glue gun to secure the paper. Completely cover the wreath form.
Cut Leaf Shapes
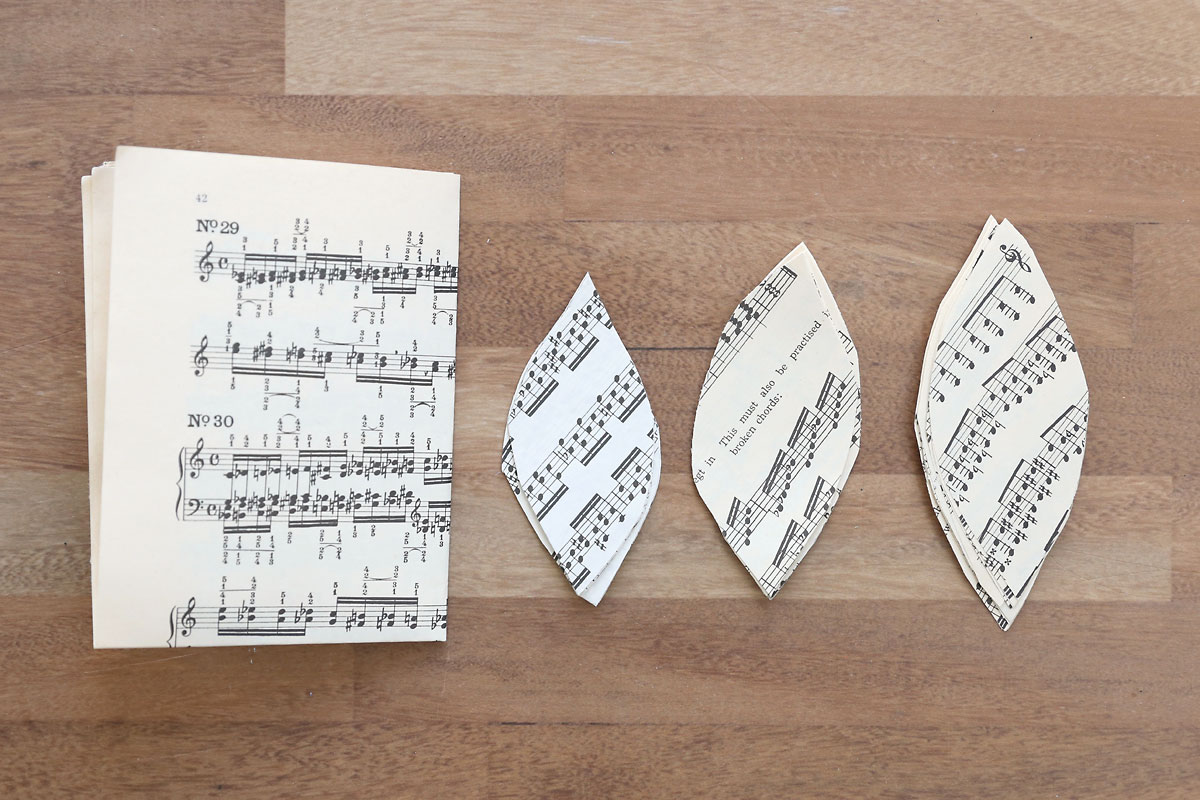
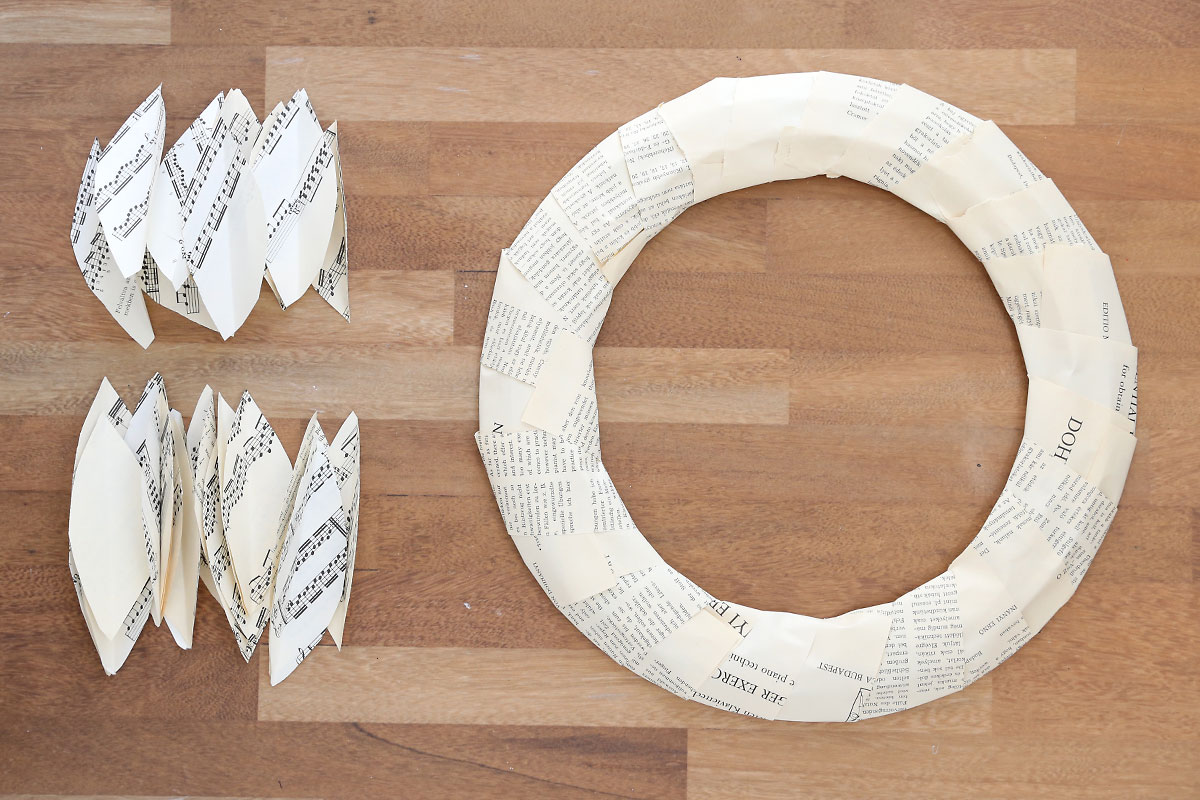
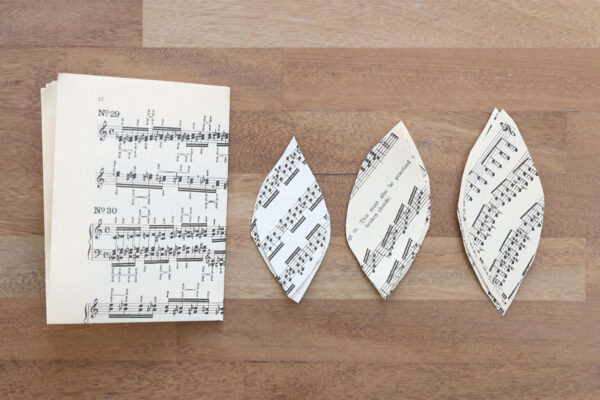
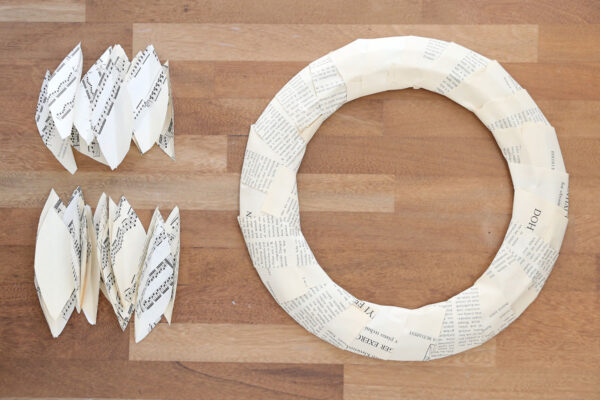
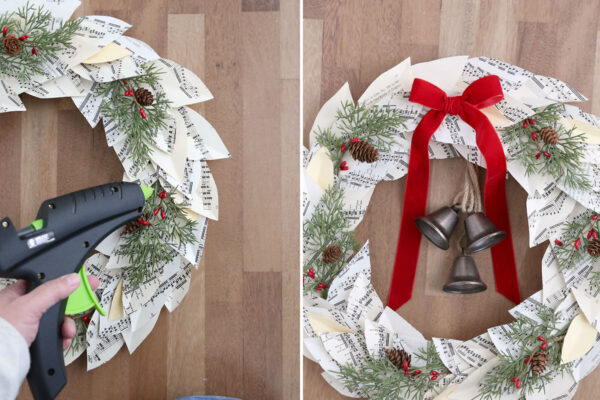
Cut leaf shapes from your sheet music or book paper in a variety of sizes (my leaves are between 2.5 and 4.5 inches long). You can also cut some leaf shapes from pages that don’t have printing on them, or pages that are slightly different colors, to vary the look of the leaves. The leaf shapes don’t need to be even. I used approximately 80 leaves, but you could use even more if you like. Fold each leaf in half lengthwise to give it some dimension.
Glue Leaves to Wreath
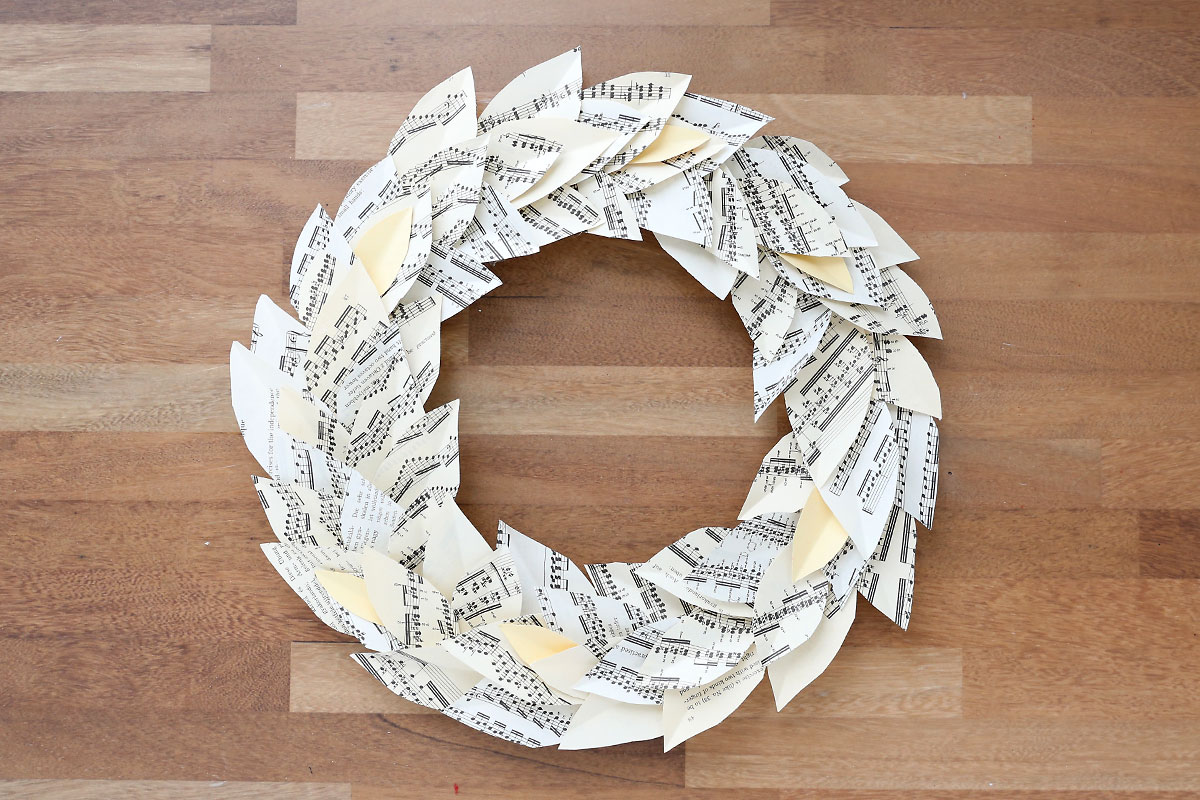
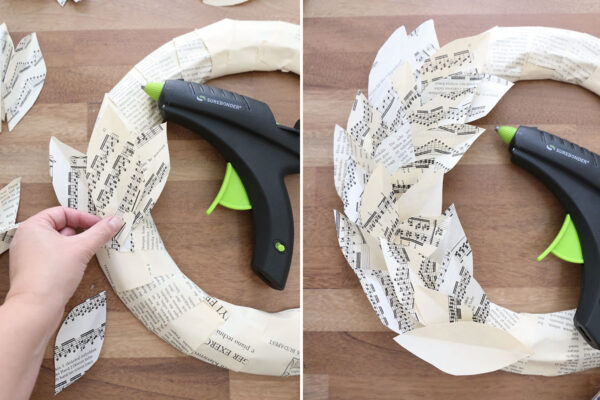
Now you’ll begin gluing leaves to the covered wreath form. Glue leaves on at slightly different angles, layering different size leaves as you go along. Continue until the entire wreath is covered with paper leaves. Use silicone finger protectors to ensure you don’t burn your fingers with the hot glue.
Embellish
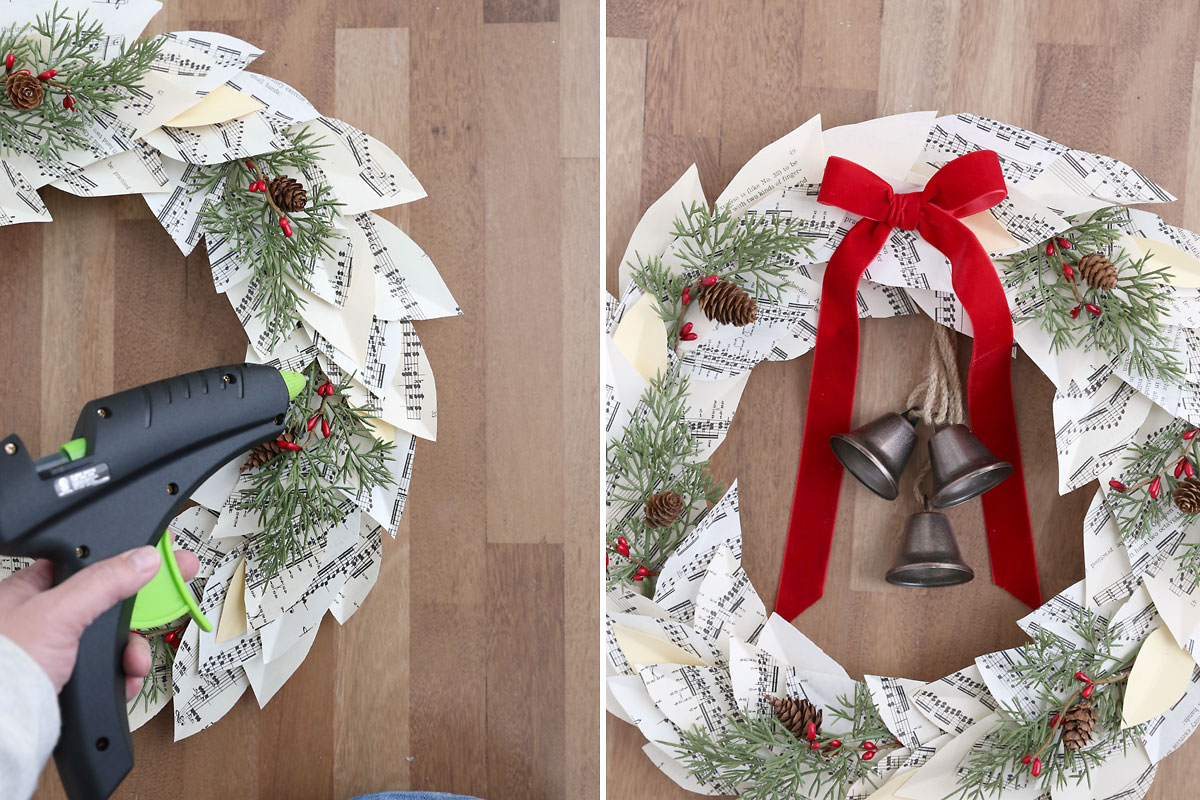
Now you can add any Christmas embellishments you like. I clipped apart small branches from a Christmas greenery pick and tucked them in between leaves. I also added a bow made from red velvet ribbon at the top of the wreath, and glued a trio of Christmas bells onto the back of the wreath so they would hang in the center.
Finish With a Hanging Loop
All that’s left now is to add a hanging loop so you can hang your wreath. If you used a wire wreath form like I did, it’s a good idea to cut through the paper at the back so you can glue a hanging loop directly to the wreath form. Regardless, be sure to use plenty of hot glue and let it set up completely before hanging.

Display
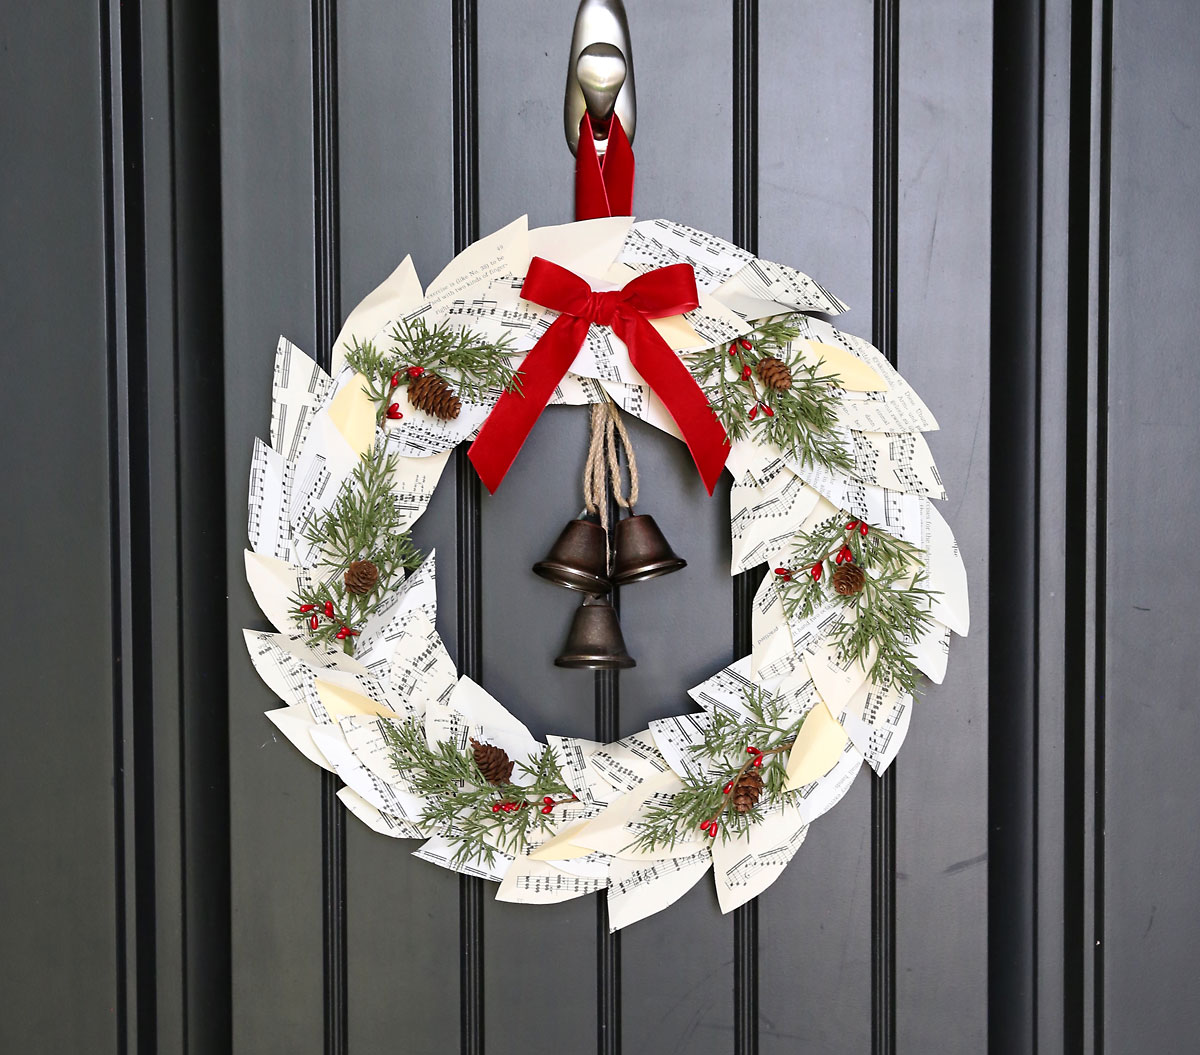
Because this wreath is made of paper, you’ll want to be sure to display it somewhere that it will not get wet. That likely means it will work better displayed inside; only place it on an outside door if it is completely protected from the weather.

Sheet Music Christmas Wreath
Supplies
- Sheet Music or Book Paper
- Round Wreath Form
- Greenery plus berries, pinecones, etc
- Ribbon
- Ornament or Bells
Want more project ideas? Sign up to get my favorite easy crafts and recipes straight to your inbox!
Equipment
- Hot Glue Gun
Instructions
- Cut some of the sheet music or book paper into strips a couple inches wide. Wrap the strips around the wreath form, hot gluing to secure. Continue until wreath form is completely covered.

- Cut leaf shapes from additional sheet music or book paper. The shapes do not have to be even, and it looks better if you have leaves in different sizes. You'll need at least 80 leaves.
- Fold each leaf in half and crease down the middle to give it some dimension, then open them back up.
- Glue the leaves onto the wreath form, overlapping them and attaching them at different angles. Layer different sizes of leaves. It's a good idea to use silicone finger protectors to ensure you don't burn your fingers with the hot glue.
- Continue adding leaves until the entire wreath is covered.
- Add any embellishments you like and secure with hot glue. Also add a loop to hang the wreath with. Use plenty of hot glue to add the loop and and allow it to set completely before hanging.
- Display inside or somewhere protected from the weather.




Jenny says
Autumn! I have not made this yet but I am planning a Crafternoon with some friends and I am adding this to the lineup. Thank you for always having the creative mojo that I love.