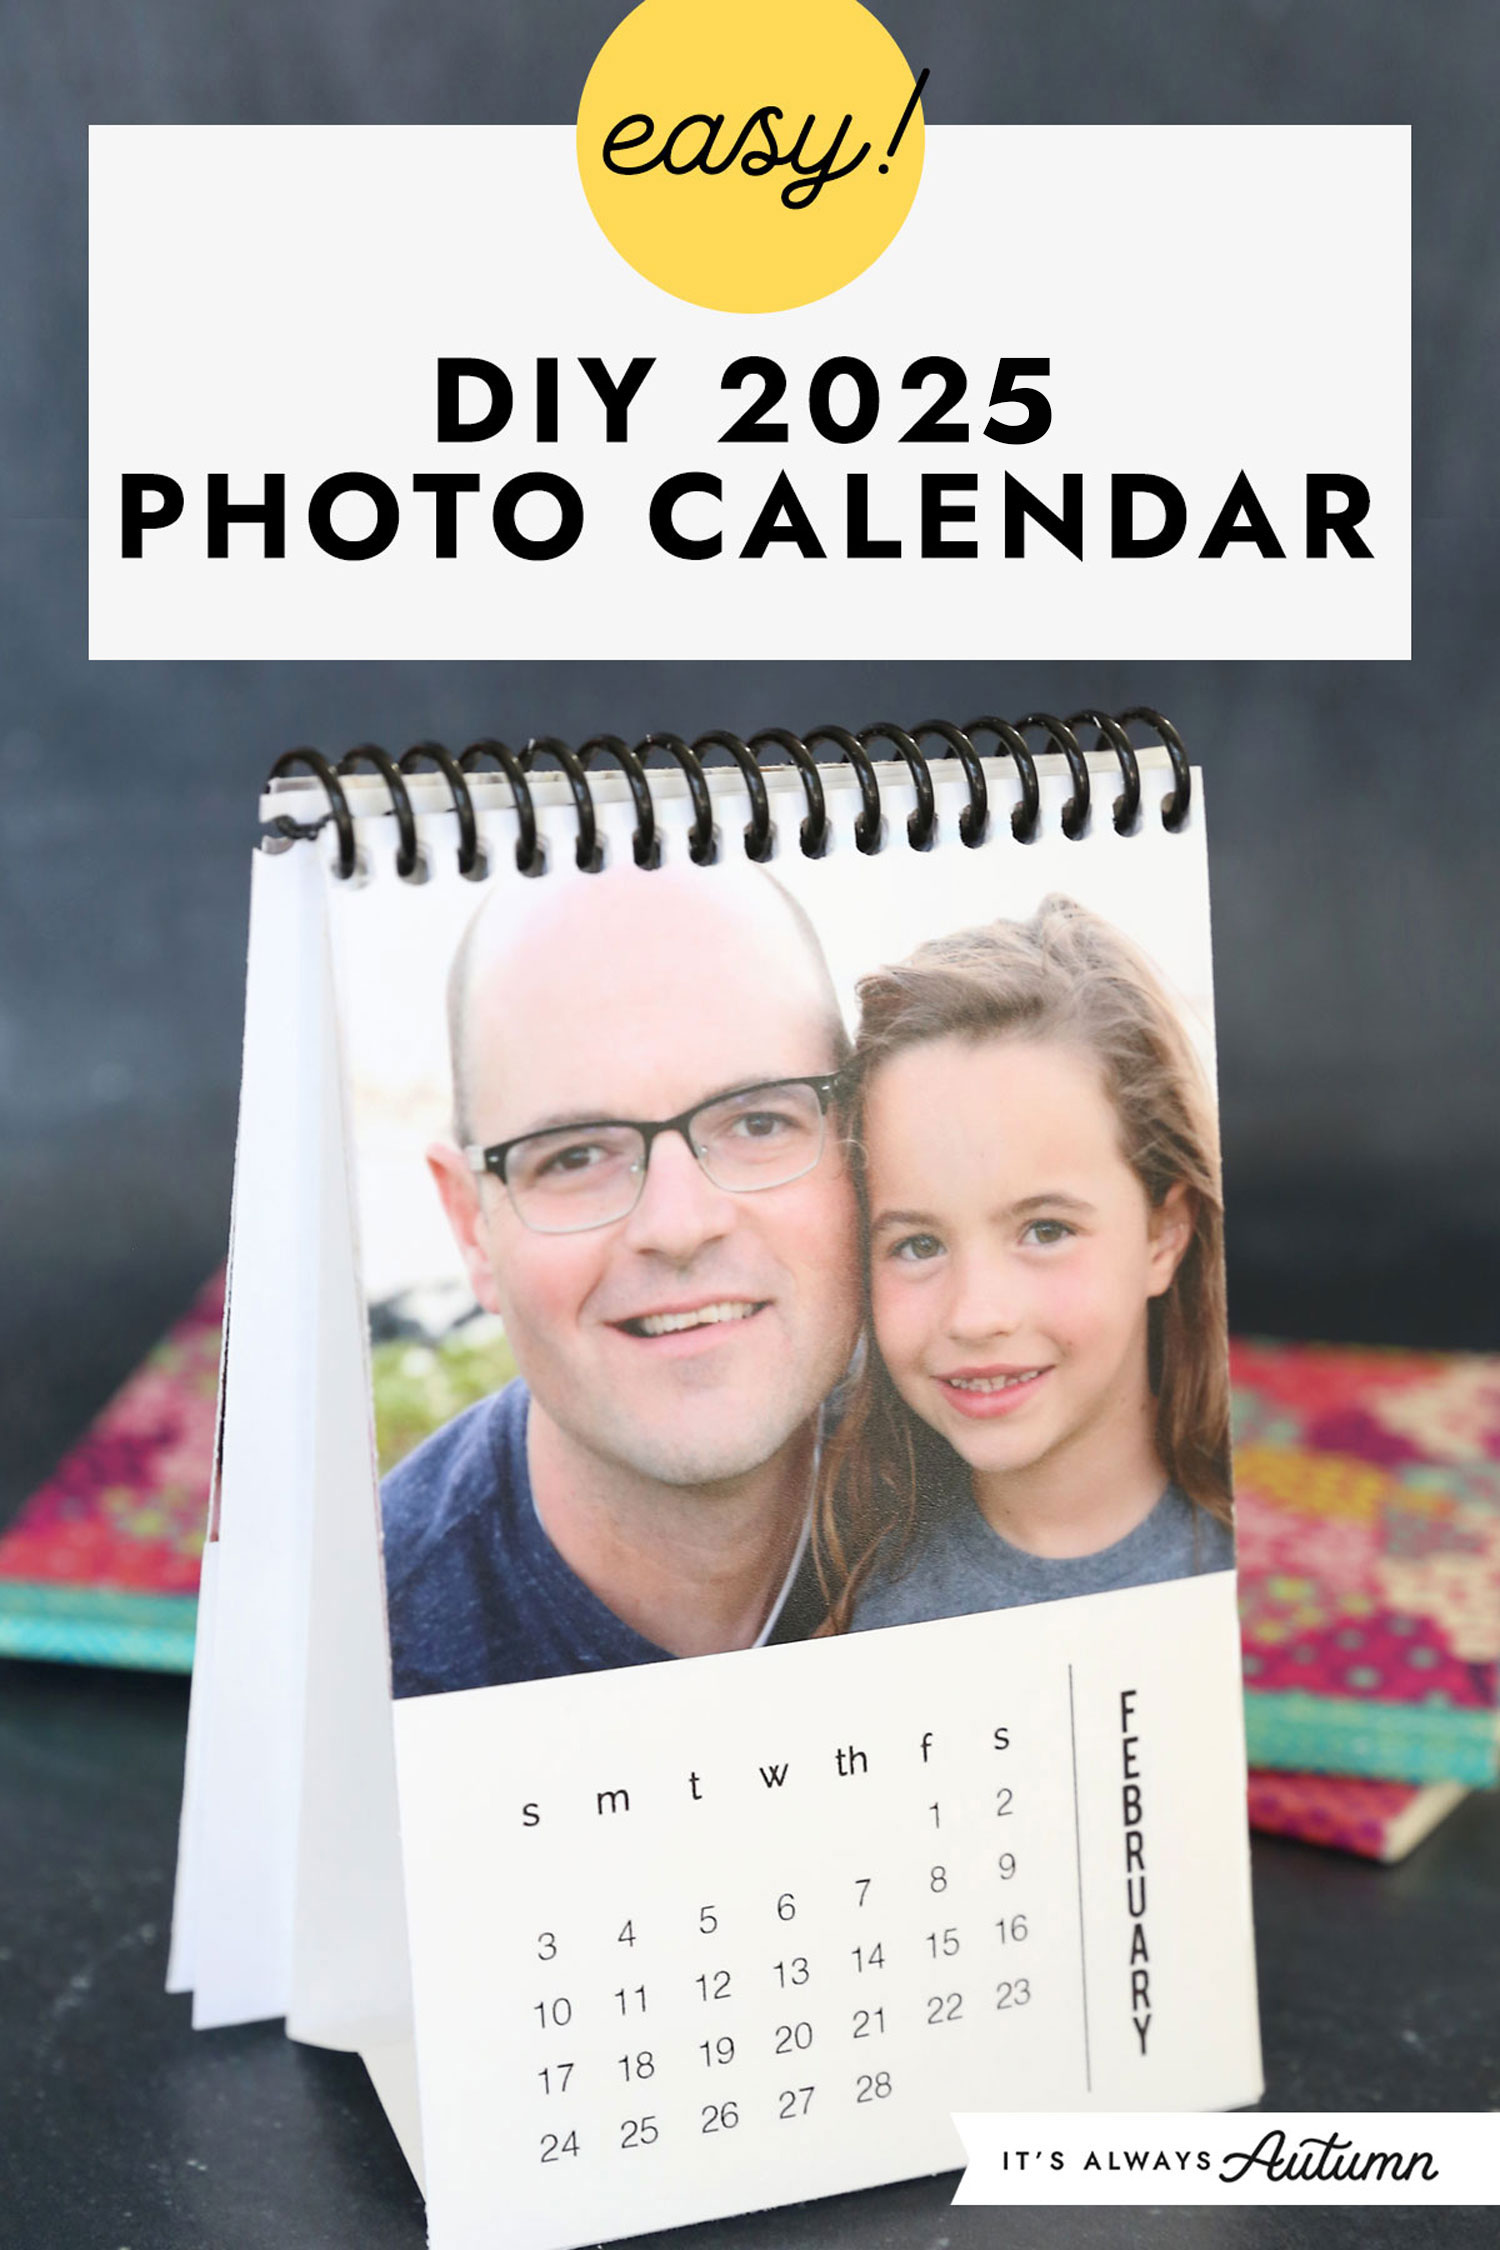
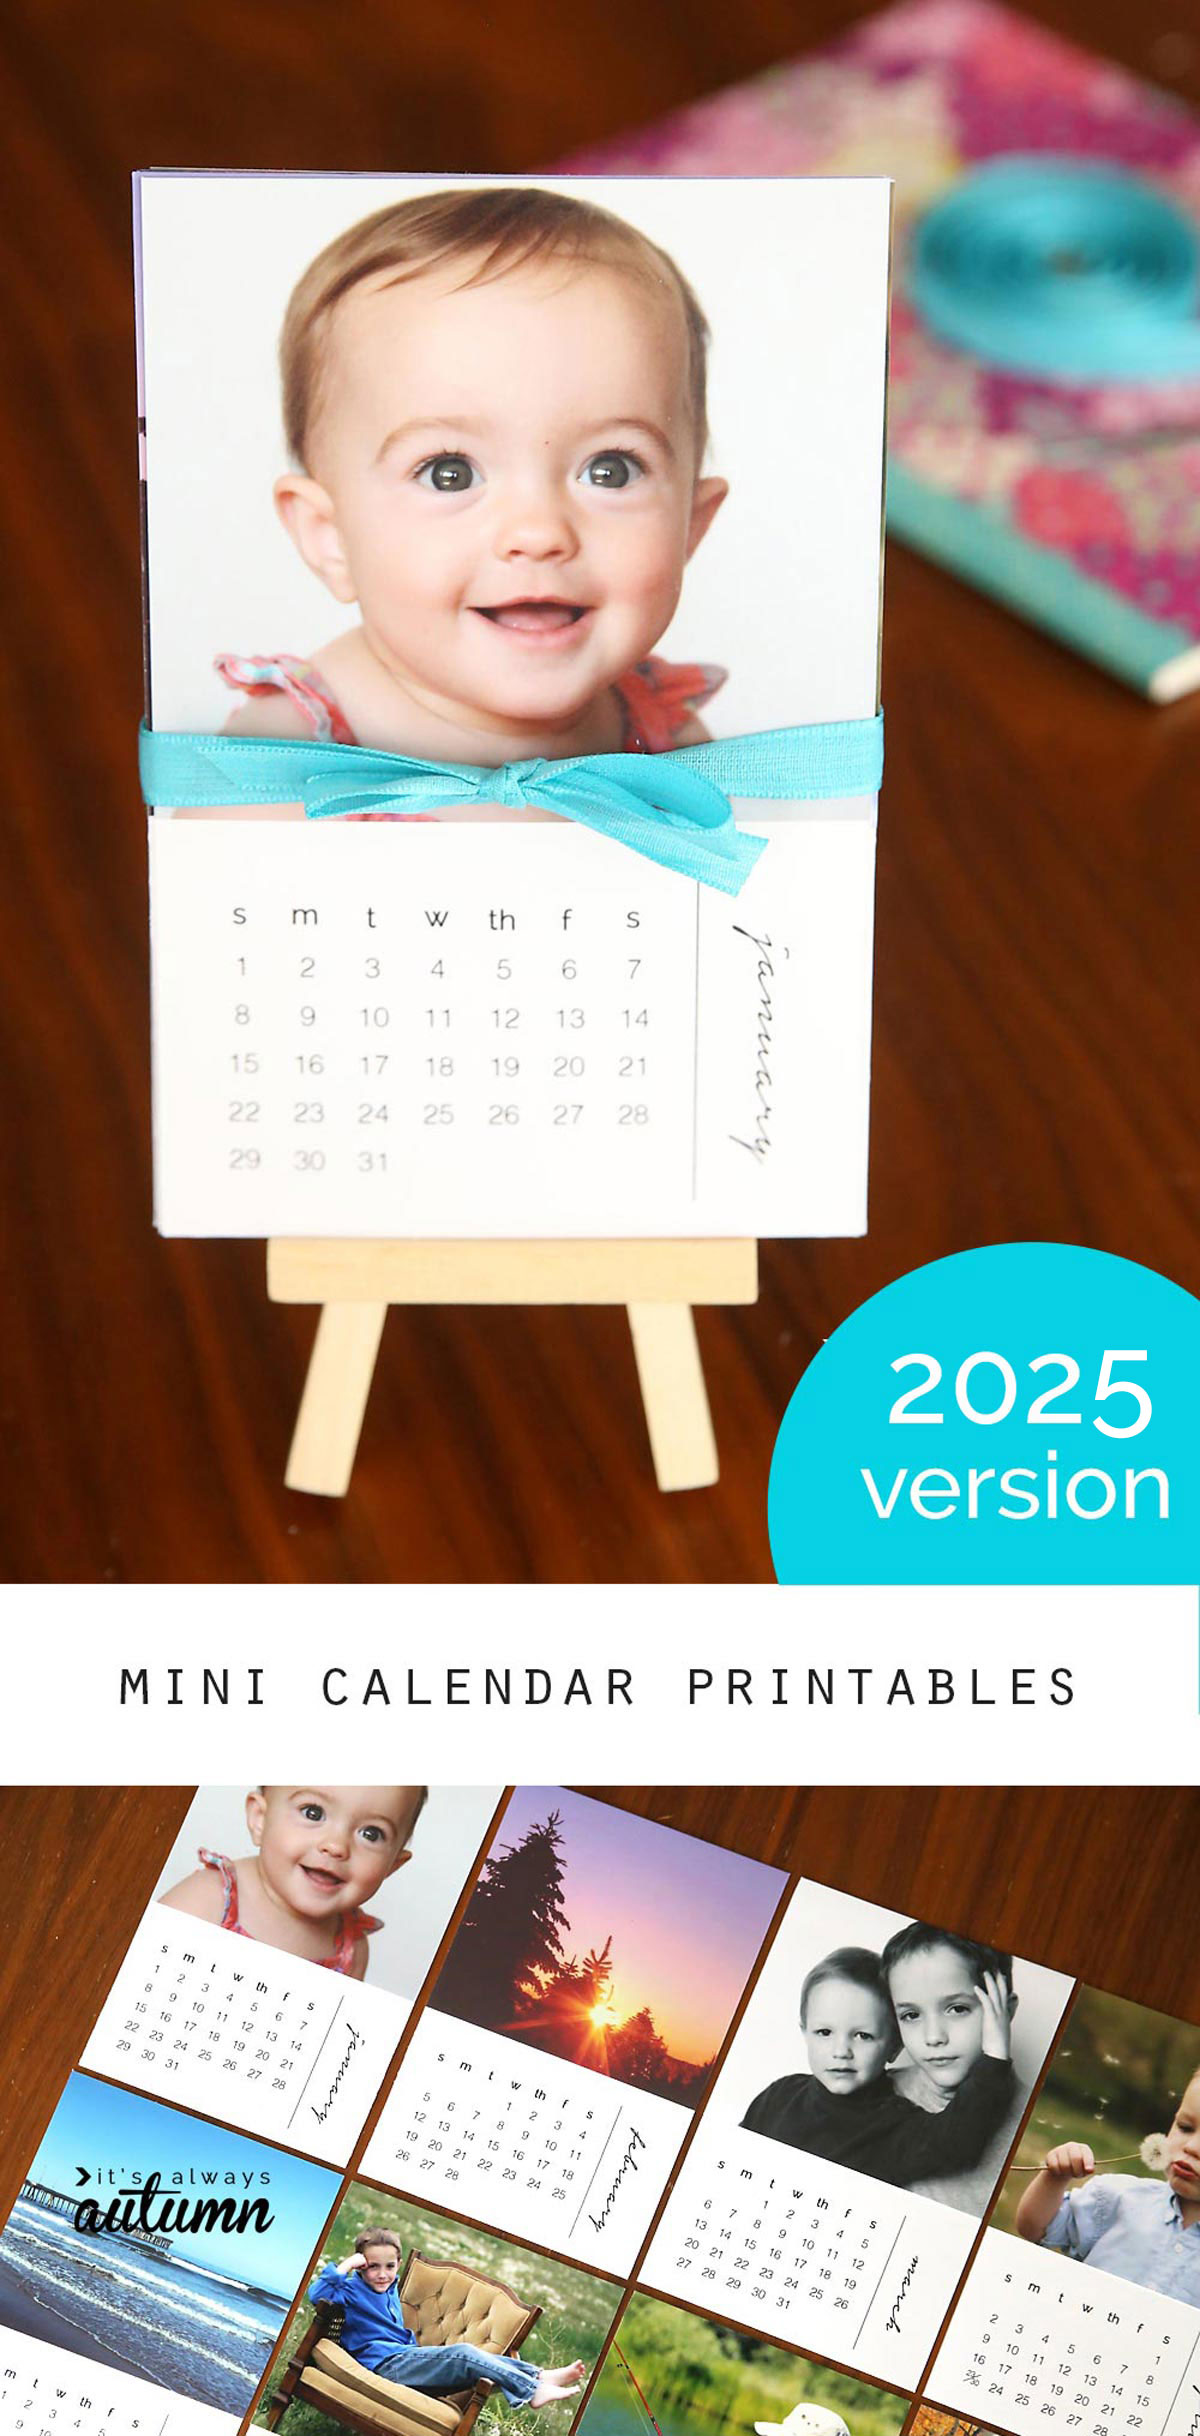
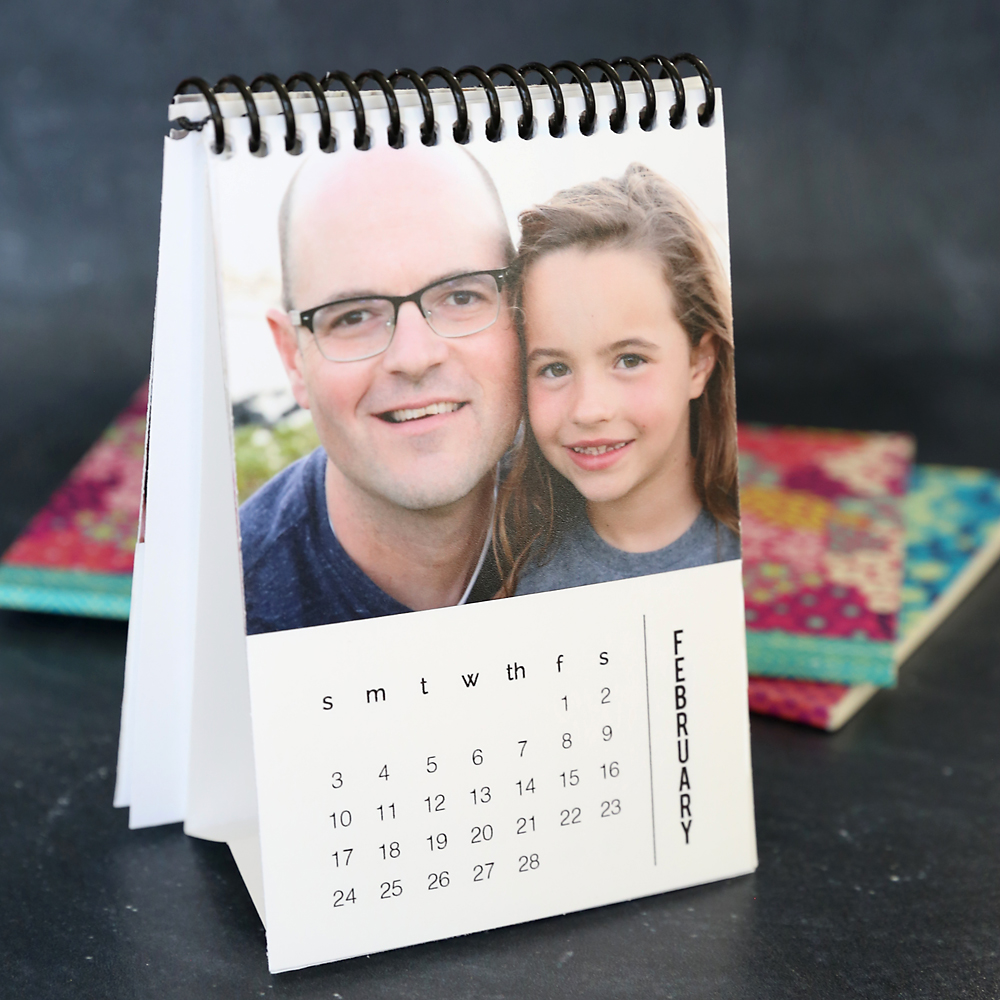
In today’s post: Make a personalized DIY 2025 photo calendar in about half an hour. It turns out absolutely gorgeous and makes a beautiful, inexpensive gift.
I’ve been making these little photo calendars for the past few years, and they’re one of my favorite handmade Christmas gift ideas. All you need to make one is 6 sheets of card stock and 12 of your favorite photos, making it both very easy and very inexpensive (cheap DIY gift for the win!). In fact, it’s one of the easiest tutorials on the blog and many readers make new versions year after year. If you need a last minute gift idea, this is a great option!
Looking for the printable? Keep scrolling until you see the large scissors icon.
For tons of easy DIY gift ideas, click here
You can add any sort of photos you like: pictures of the kids for a calendar for the grandparents, pics of you and your hubby for an anniversary gift, or scenic photos for an easy holiday gift for friends or coworkers.
Perfect Size
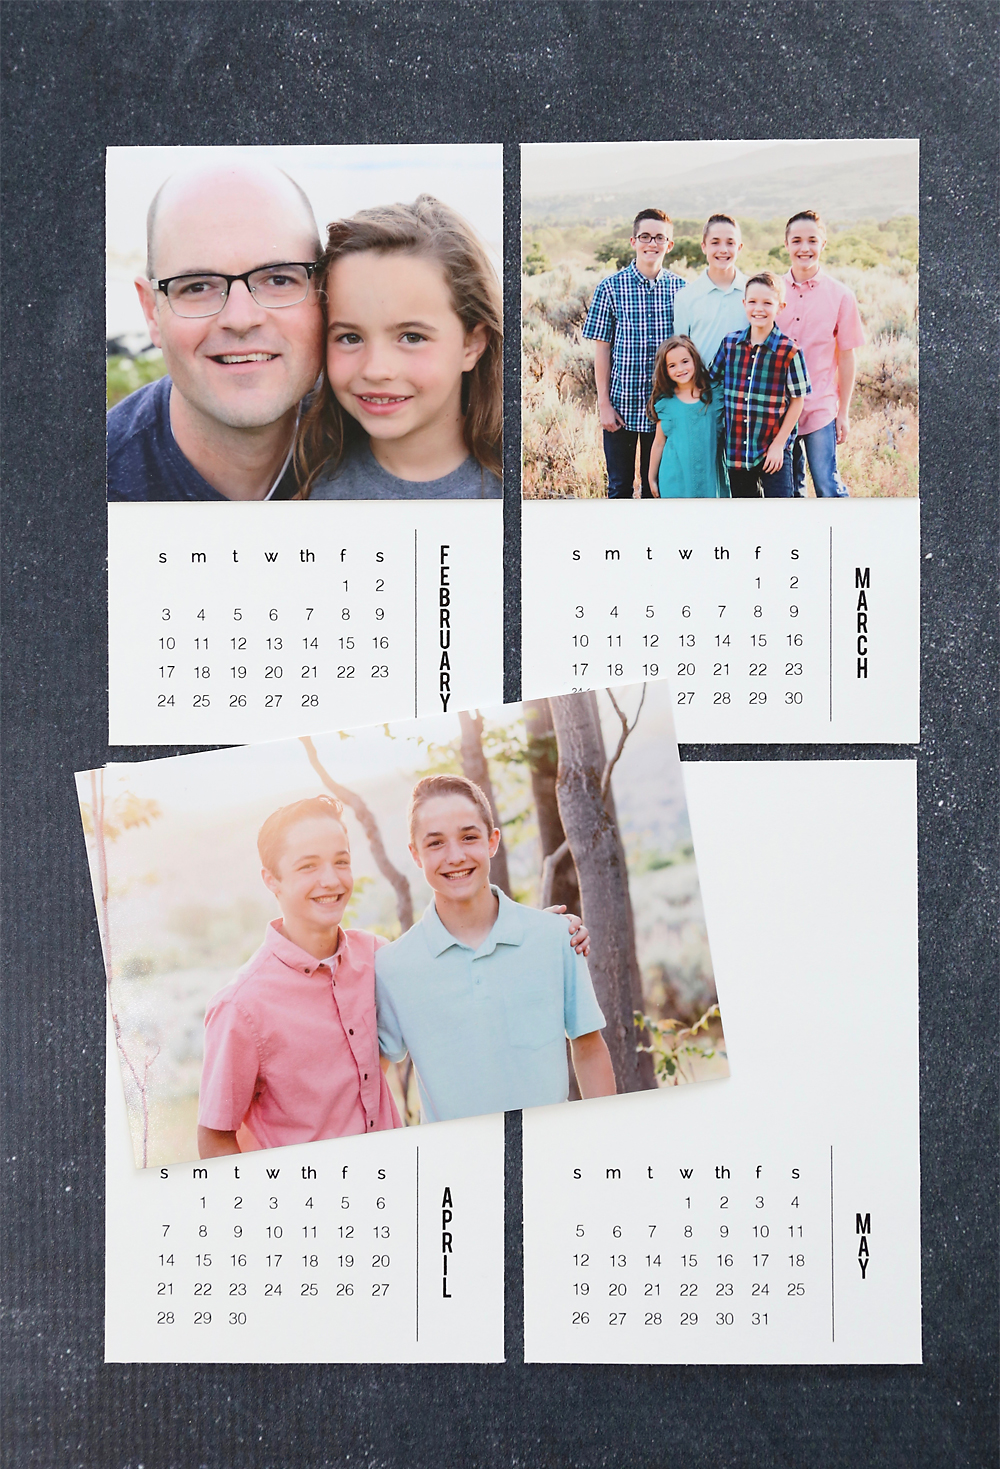
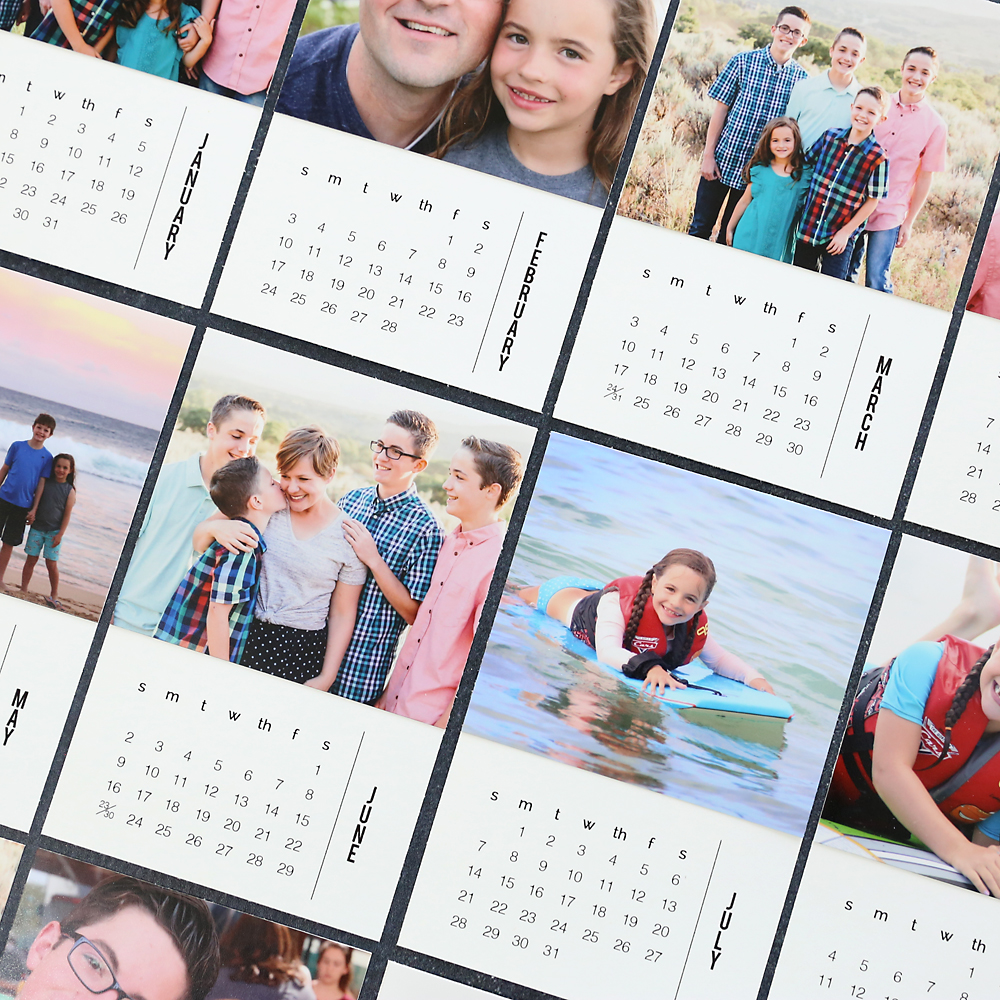
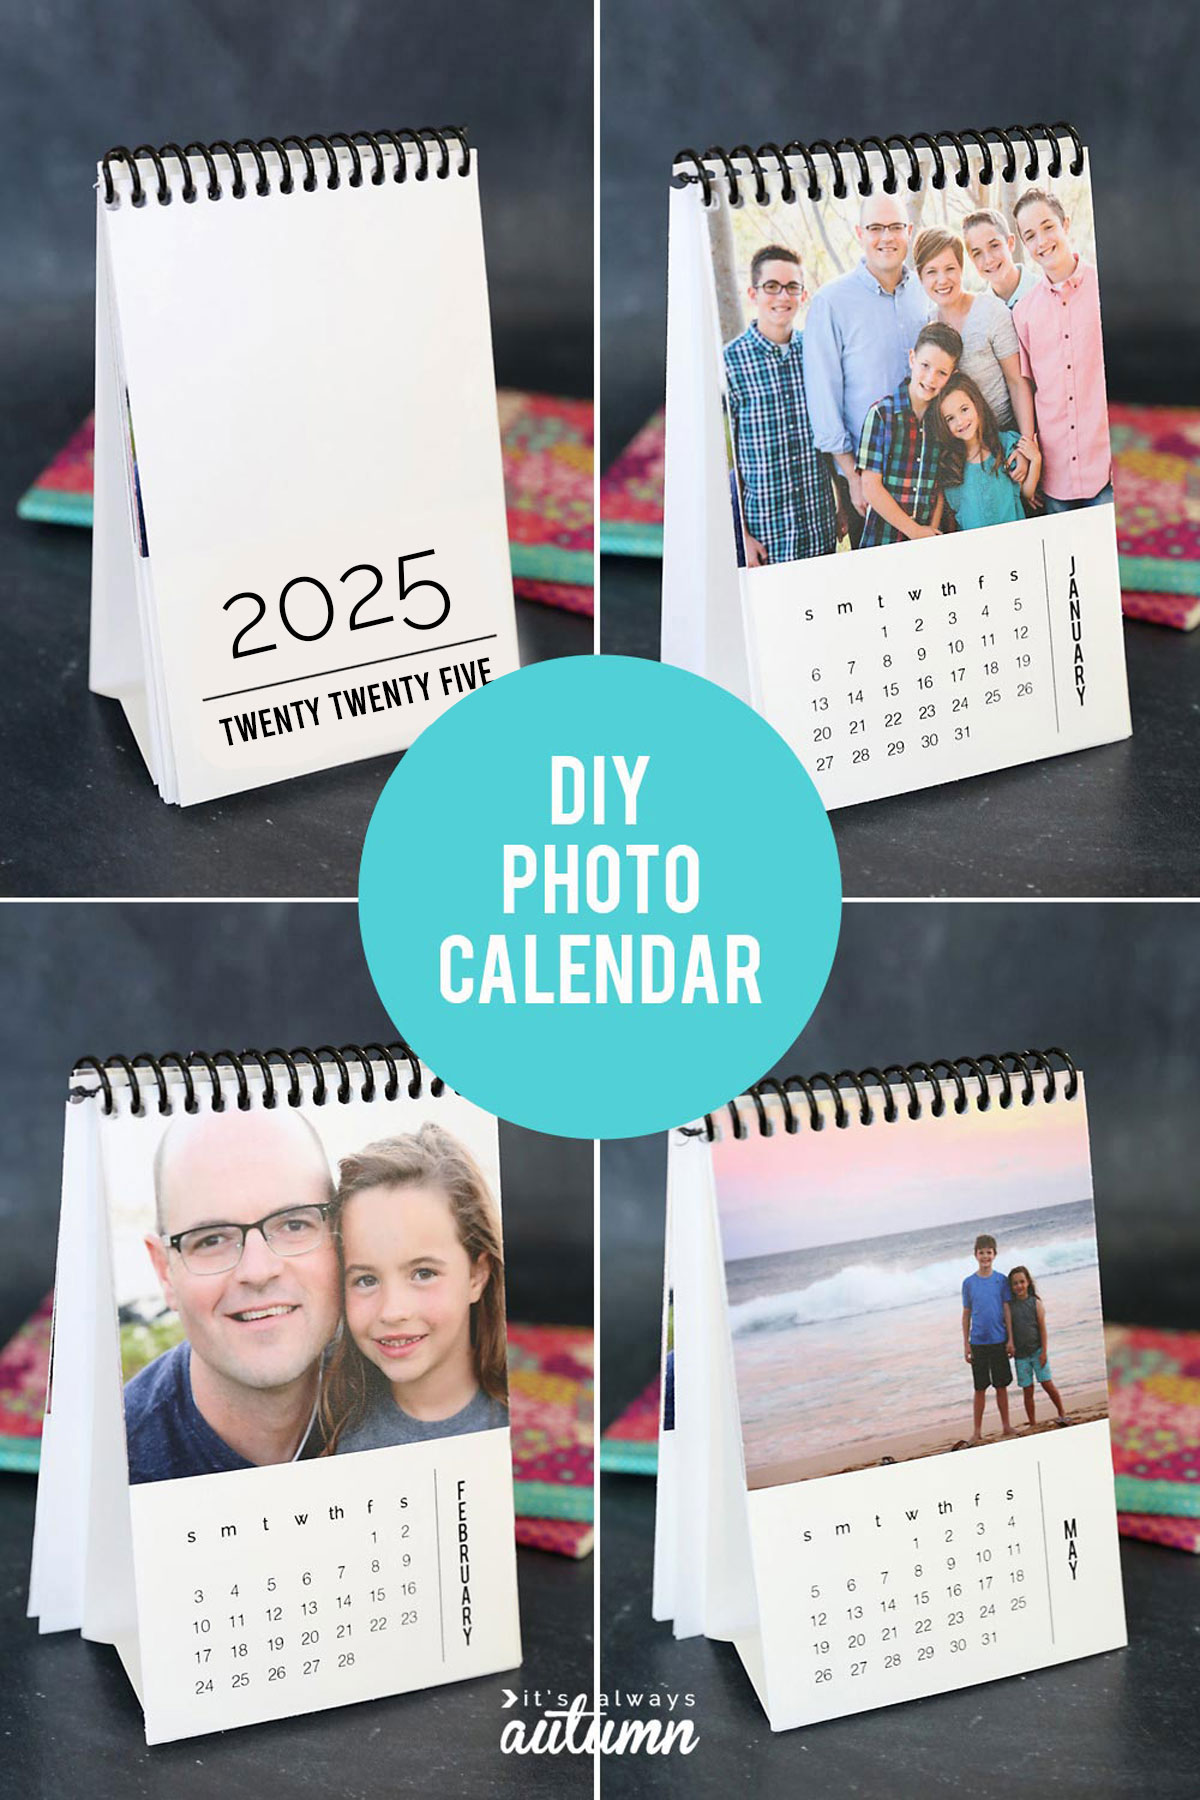
Because most of us use calendar apps on our phone, we don’t really need a big wall calendar anymore. This DIY calendar is mini – it’s just four inches wide by six inches tall – which makes it perfect for keeping on your desk so you can quickly check the date without pulling out your phone. Plus it’s a fun way to display and cherish some of your favorite photos throughout the year. The printable calendar pages include January through December of 2025, plus a cover page and an optional back cover that says “made with love by” with a space for your name if you’re giving this as a gift.
How to Make a DIY Photo Calendar
Once you’ve added your own photos to the calendar, you can take it to a copy shop and get it bound. There’s a video below the instruction card that shows you the process for making the calendar, as well as a second video that will show you how to make a stand for your calendar from a strip of white posterboard.
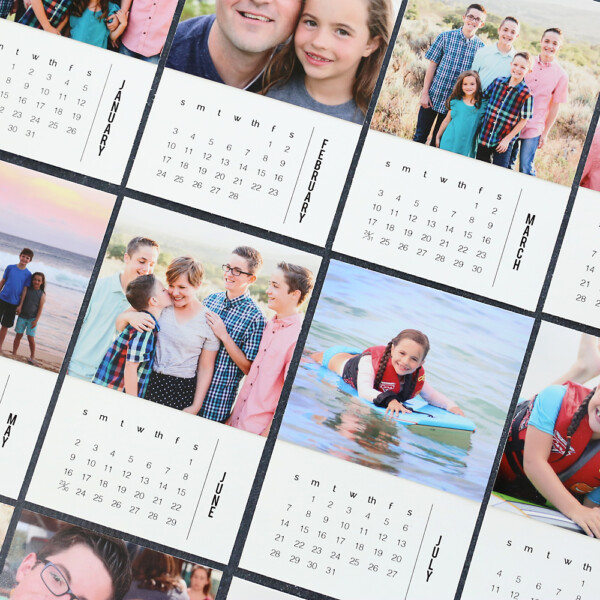
Mini Photo Calendar
Supplies
- 7 sheets Card stock
- 12 4×6 Photos
- Paper Trimmer or scissors
- Adhesive
Want more project ideas? Sign up to get my favorite easy crafts and recipes straight to your inbox!
Instructions
- Download the 2025 Calendar Printables and save them to your computer. Print out at full size or 100% on Card Stock or other heavy weight paper.
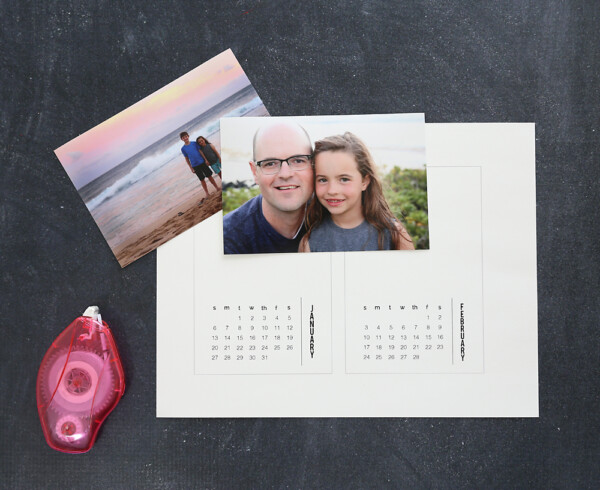
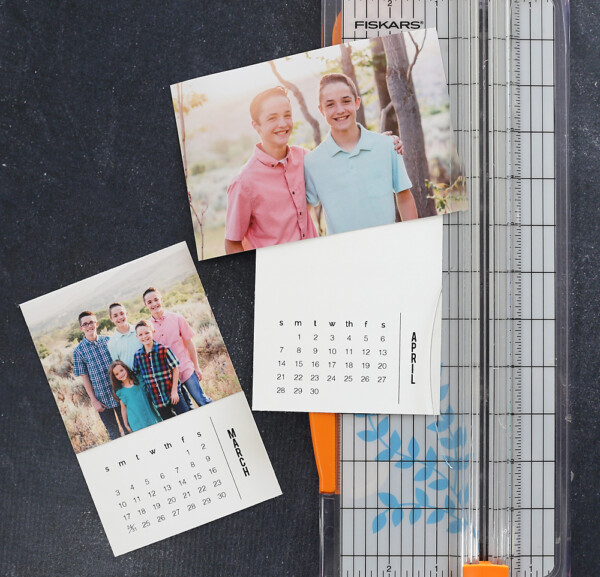
- Each piece of cardstock will have two months printed on it. Use a paper trimmer to cut along the lines on the templates. You'll have 14 pieces: a cover, 12 months, and a back. (You can use scissors if you don't have a paper trimmer, just be careful to make straight cuts.)
- Trim each photo to 4 inches wide and 3.5 inches tall.
- Adhere the photos to the calendar cards. I used a tape runner. You can use any sturdy adhesive, but I'd steer clear of glue or gluestick, because both will cause the calendars to ripple over time.
- Take the calendar to a local print shop to have it bound across the top.
Tips
How to Make the Calendar Video
Here’s a video that shows how to put together the calendar cards:
How to Make a Calendar Stand Video
To make the stand, cut a strip of posterboard that’s 4 inches wide and about 16 inches long. This video describes how to make the stand:
Project Tip
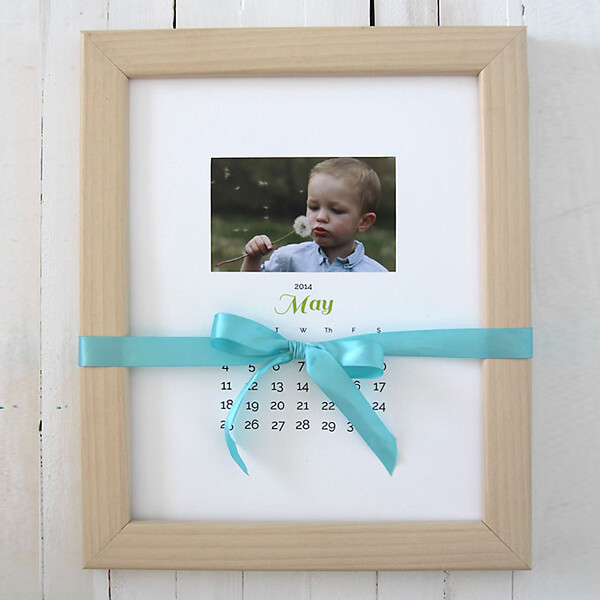
If you don’t want to worry about getting the calendar bound, you don’t need to. Just tie up the pages with a cute bow, and add a mini easel for displaying one month at a time.
L


Anne-Marie Eleniak says
Thank you for the 2024 calendar template. So appreciate you doing this and sharing it. This is one of my favorite gifts to make for family. One they really appreciate and look forward to.
Sonya says
I love this!! I have thousands of photos that I’ve taken, what better way to say Merry Christmas to our neighbours than with a calendar full of photos from our area?
I know I’m “a little” ahead of the game with it being July, but would you happen to have pages available for 2024? My goal is to have a less hectic December, so trying to get some of these gifts done and ready. Thank you for sharing this wonderful idea!
korosh solhi says
I absolutely love the idea of creating a personalized DIY photo calendar! It’s such a thoughtful and unique gift that can be cherished throughout the year. Plus, the fact that it’s easy to make and doesn’t require a lot of materials is a definite win.
The size of the calendar is perfect for keeping on a desk or a small space, making it convenient to check the date without relying on a phone. I can imagine how special it would be to have favorite photos displayed each month, whether it’s pictures of loved ones or beautiful scenic shots.
The addition of printable calendar pages for each month of 2023, along with a cover and back cover, adds a nice finishing touch. And the option to get the calendar bound at a copy shop is a great idea to give it a professional look.
Overall, this DIY photo calendar project seems like a fantastic way to create a personalized and meaningful gift. Thank you for sharing this wonderful idea!
Best regards
دانلود آهنگ
Anne-Marie says
This is one of the things I make every year – thanks to you – and it is one of the most appreciated gifts. Thanks for for sharing your talents and creativity.
Sandy says
I love this… When will you have the 2023 calendar out? I want to start making them.
Thank you
Sandy