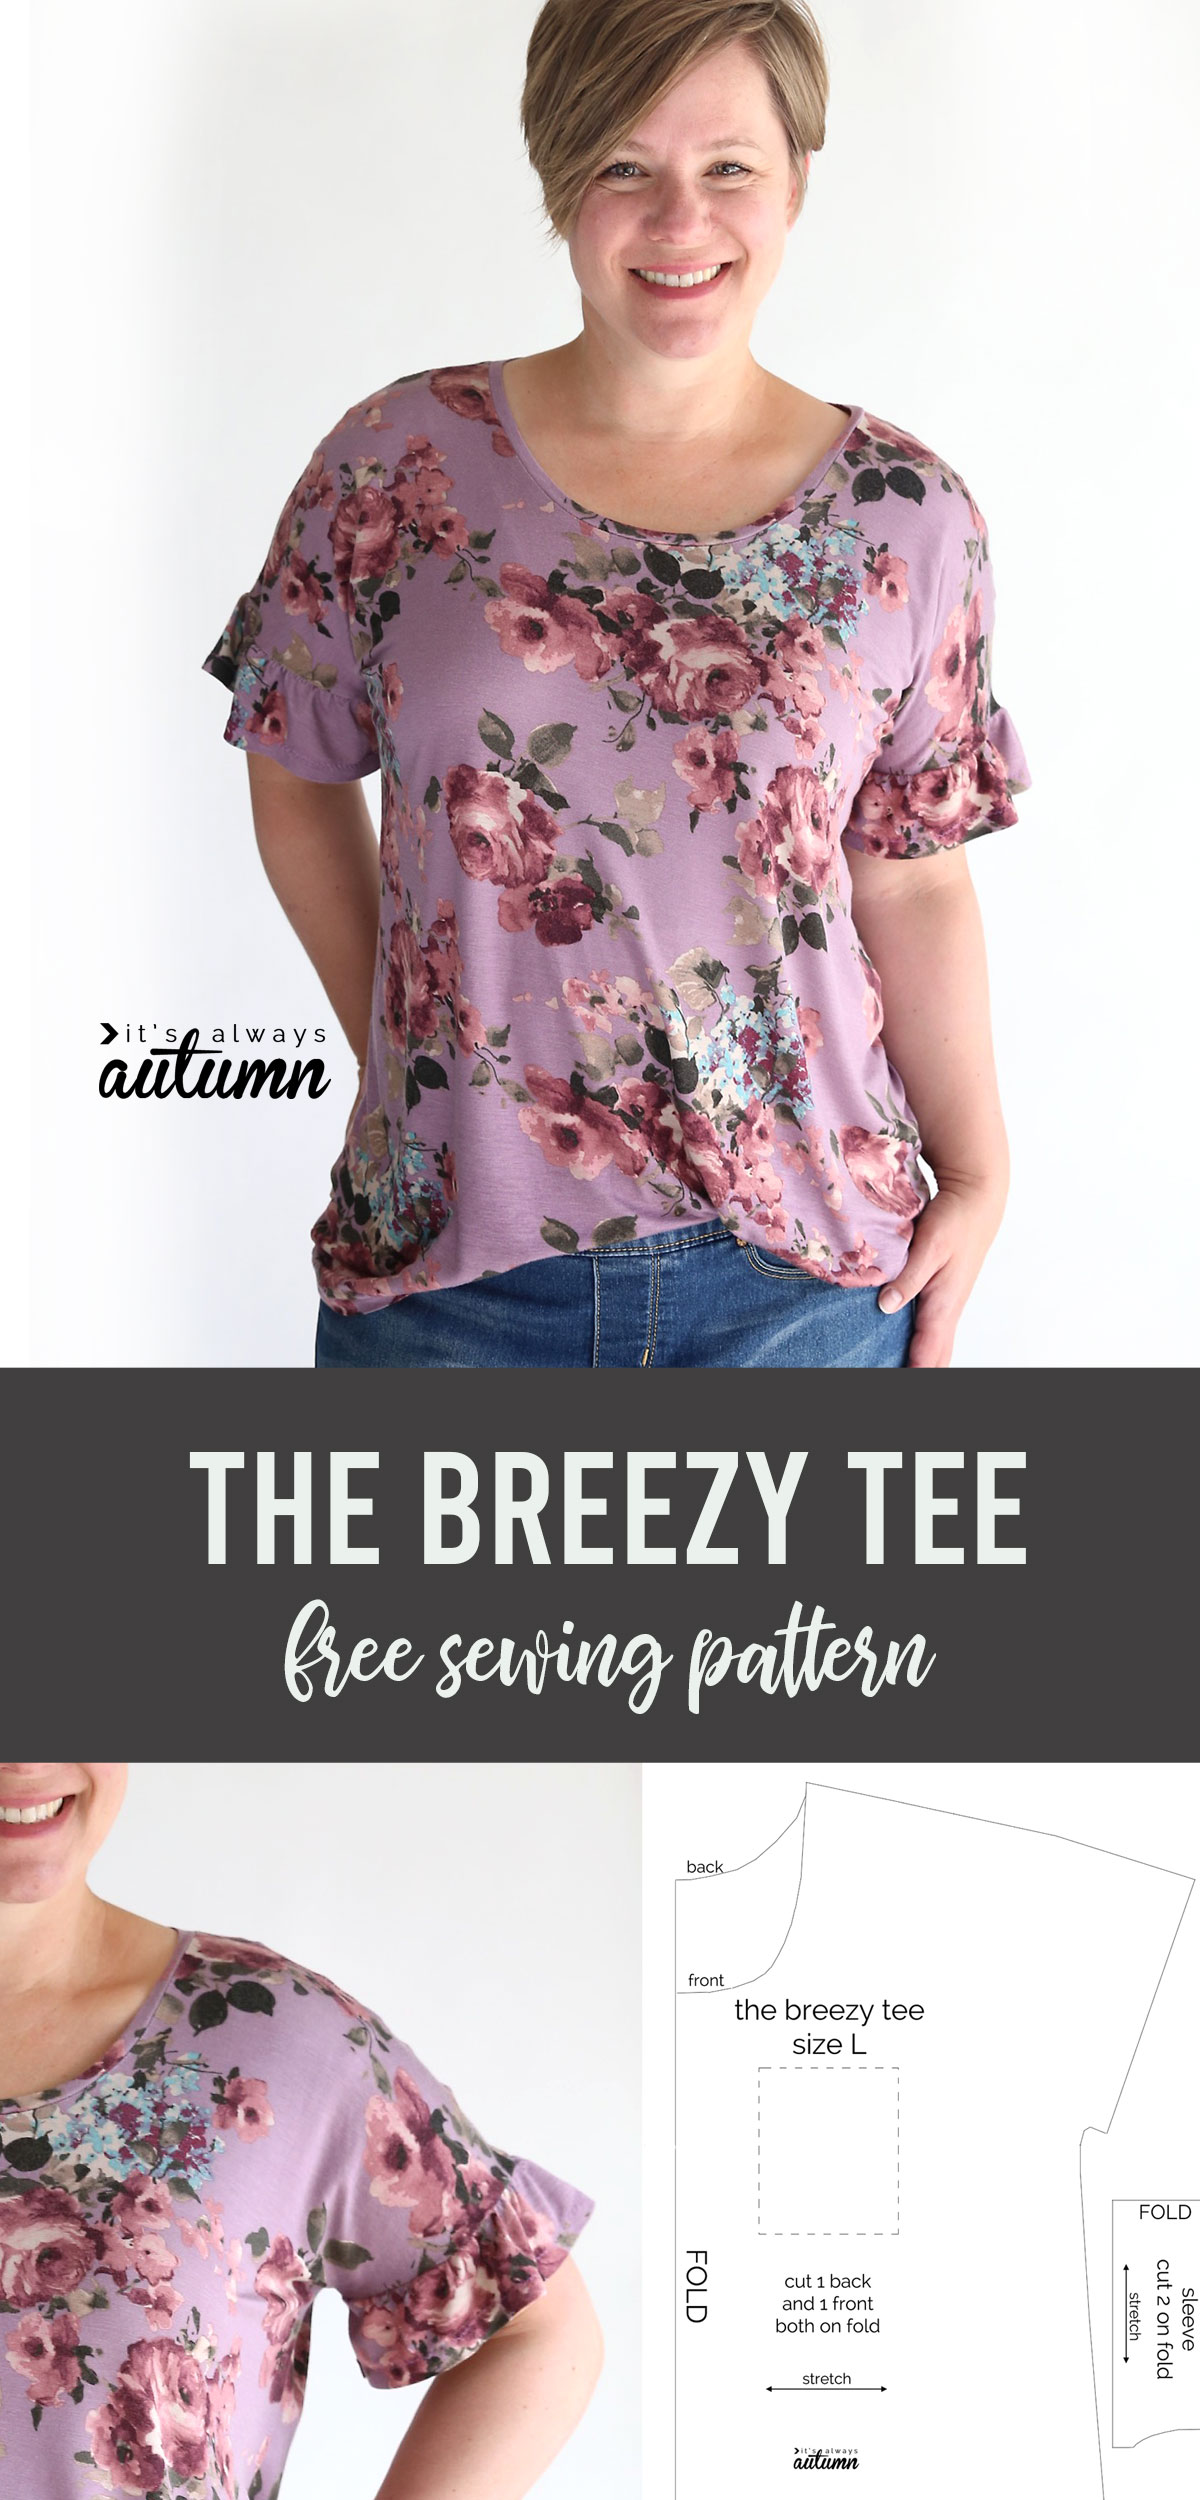
In today’s post: Learn how to add pretty flutter sleeves to a free t-shirt pattern.
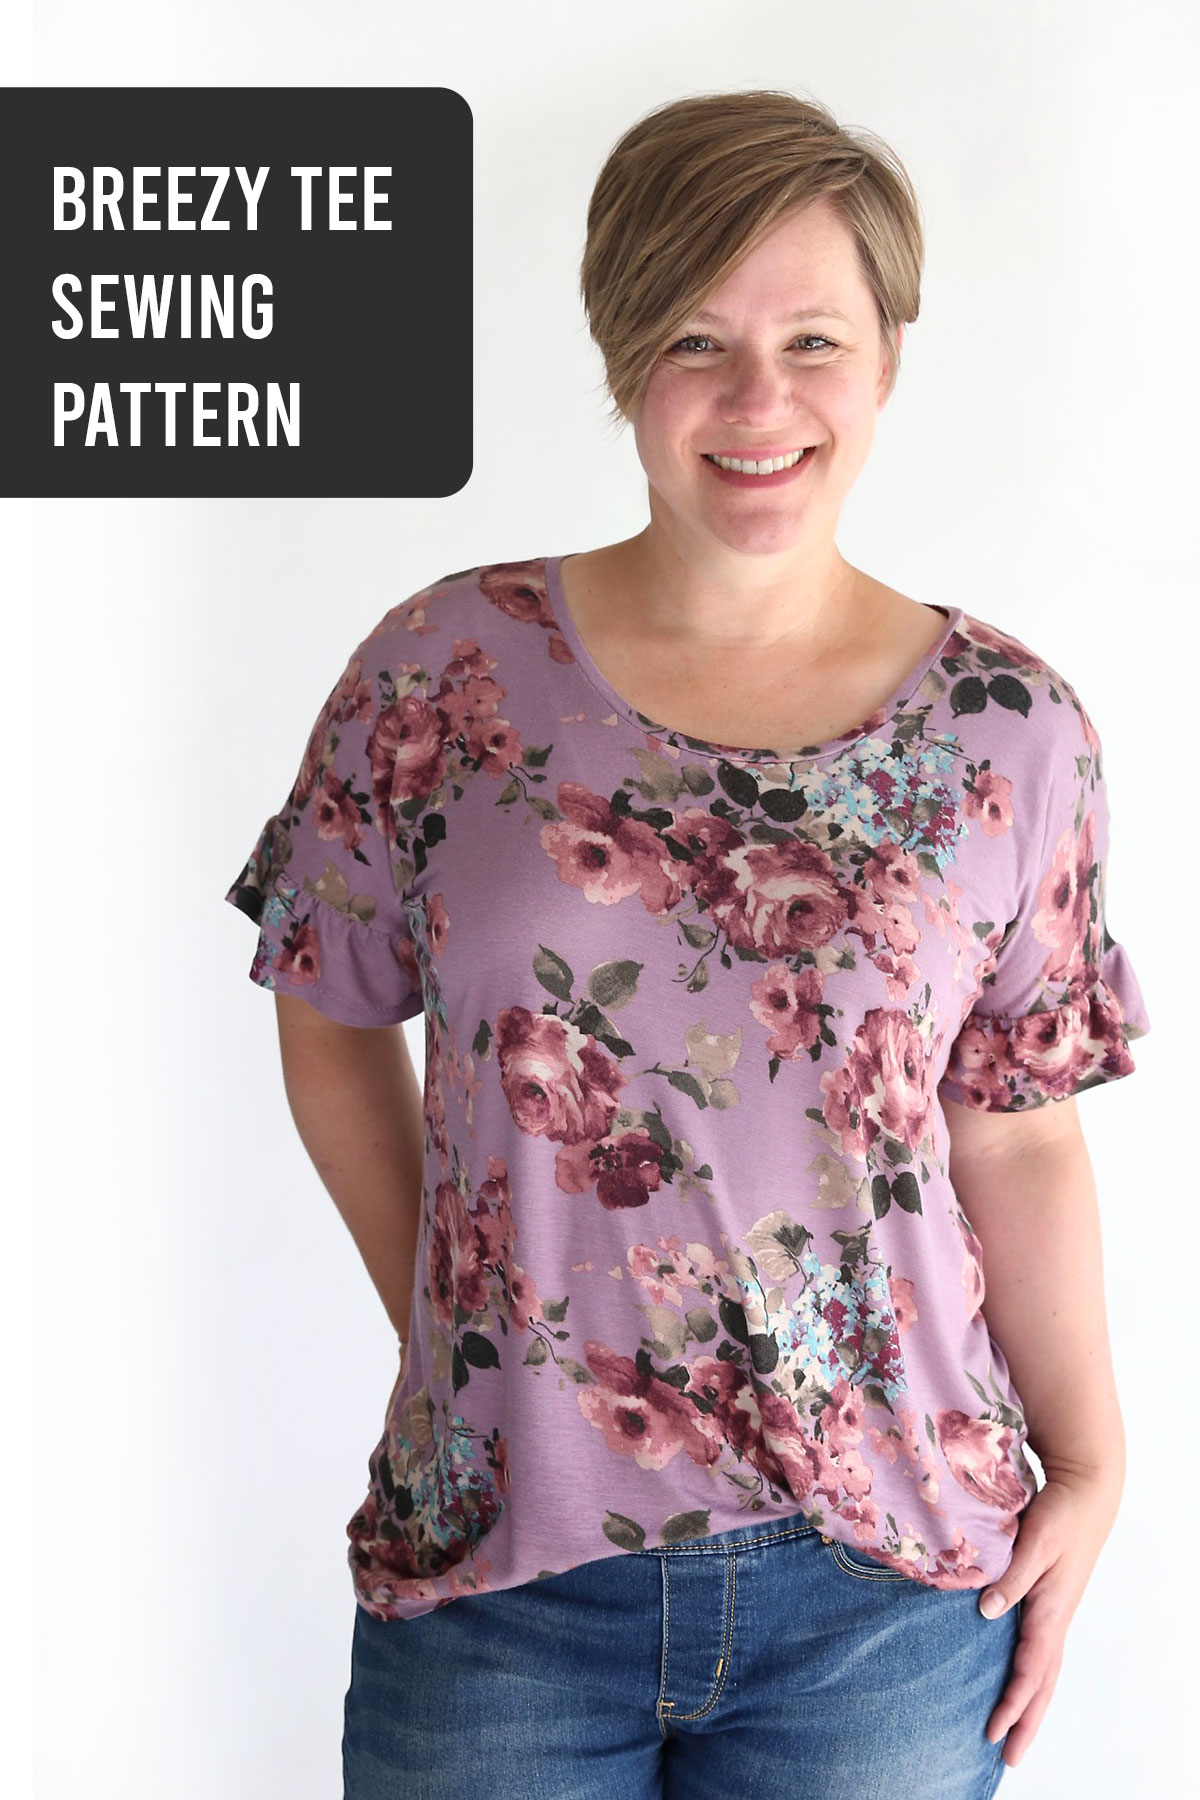
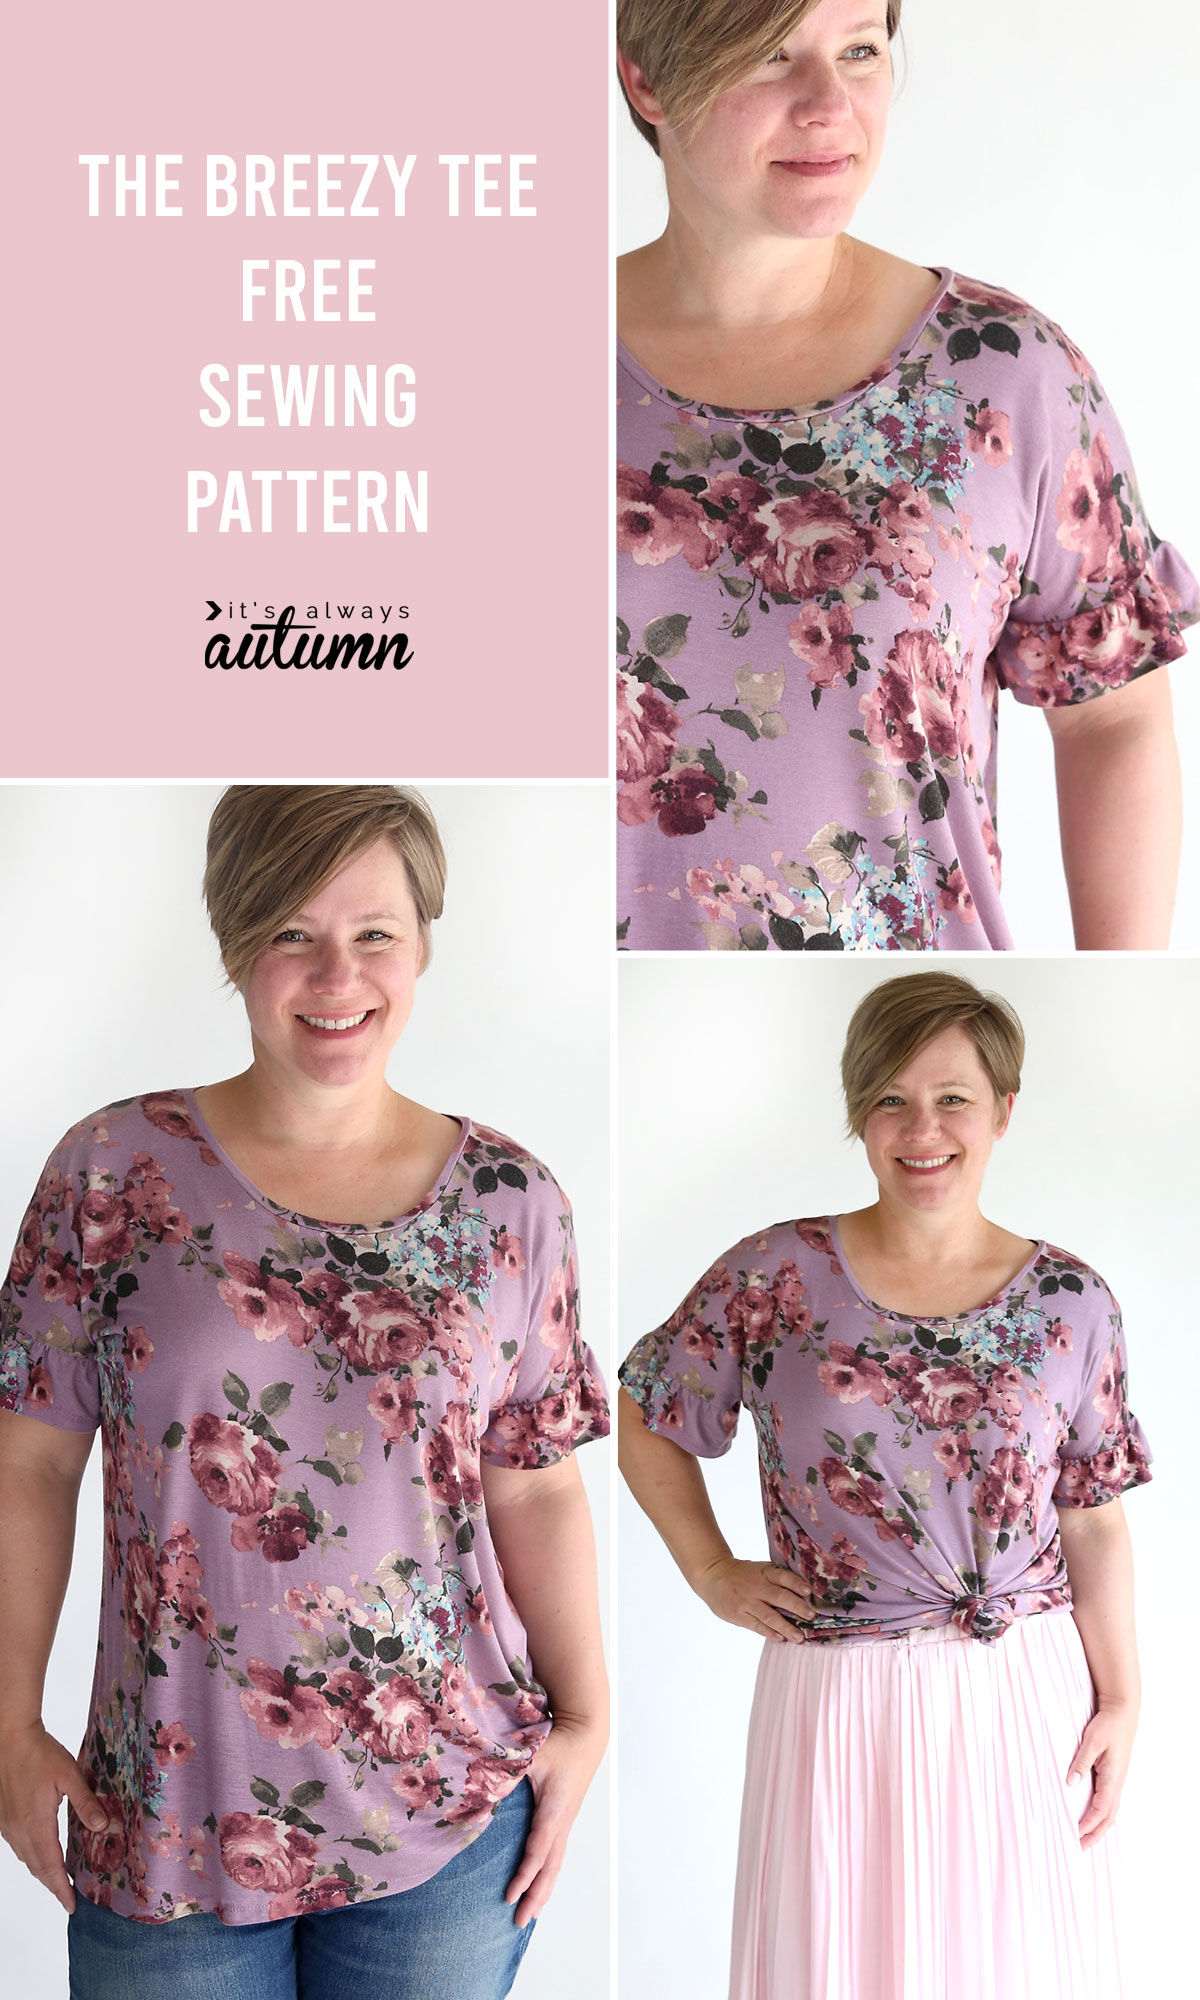
Last week I decided it was time for a SUPER simple sewing project: a comfortable t-shirt for summer. I picked a lightweight knit and a roomy fit to keep things cool as the temps heat up, and added flutter sleeves just because.
I pulled out my free Breezy Tee pattern that I drafted years ago. It’s a VERY simple t-shirt pattern that doesn’t even have set in sleeves – there’s just a front piece, back piece, a neckbinding and a sleeve band.
For this version I replaced the sleeve band with a gathered ruffle to make the shirt a little prettier. This top sews up quickly and the roomy fit makes it super comfortable in warm weather.
The Breezy Tee sewing pattern
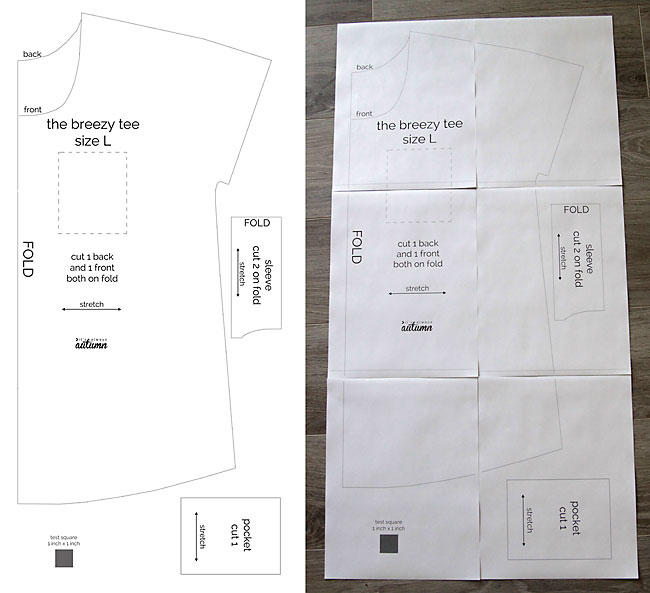
You can download the free Breezy Tee pattern by clicking here. The pattern is 6 pages long. Please BE SURE TO PRINT at 100% or actual size on 8.5×11 paper. On page 5 there’s a test square which must measure 1 inch by 1 inch – if it doesn’t, you probably have “scale to fit” or something like that checked, and will need to uncheck it and reprint. Here’s what it looks like:
Please note this free pattern is only available in size L (38 inch bust). However, it’s meant to be roomy and drapey, so it will likely fit a bit larger and smaller sizes just fine as long as you are using a knit (stretchy) fabric. Or you can adjust the pattern slightly by moving the shoulder/side seam out or in a little bit.
If you are careful with how you cut your pieces you can fit this shirt on 1 yard of 56-60 inch wide knit fabric.
You will want to read the Breezy Tee post for general instructions on how to sew up this shirt. For the variation I’m showing today I cut the front and back t-shirt pieces and a neckbinding piece that was 1.75 inches tall and about 25 inches wide.
Additionally, I cut two ruffle pieces for the sleeves that were 3.5 inches tall and 23 inches wide. The rest of this post will show you how to add ruffles to the sleeves.
How to add Flutter Sleeves to the Breezy Tee
Begin by cutting out your pattern pieces (front and back for the t-shirt plus a neckbinding piece). Remember, for this version we are substituting a ruffle for the sleeve band that’s shown on the pattern, so you do not need to cut out the sleeve piece from the pattern (or the pocket).
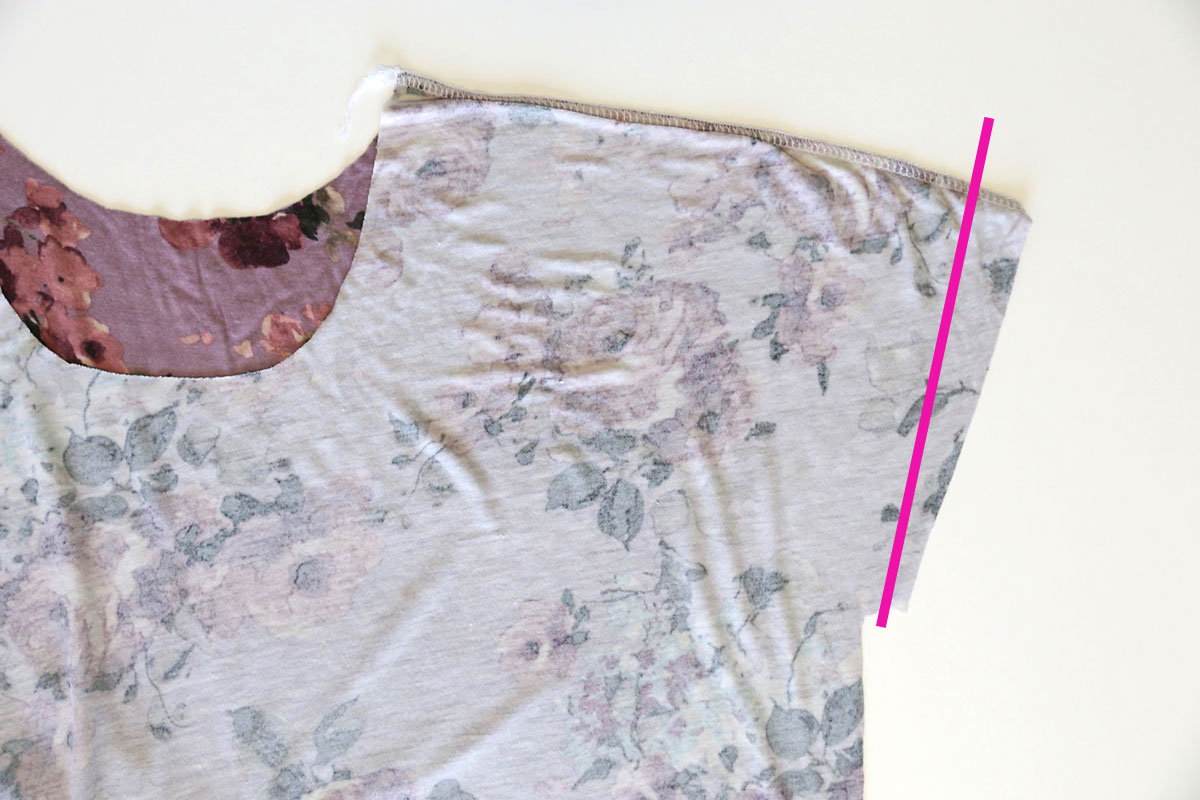
Sew the front and back together at the shoulder seam only. I trimmed about 3/4 of an inch off the end of the built in sleeve, as shown by the pink line below.
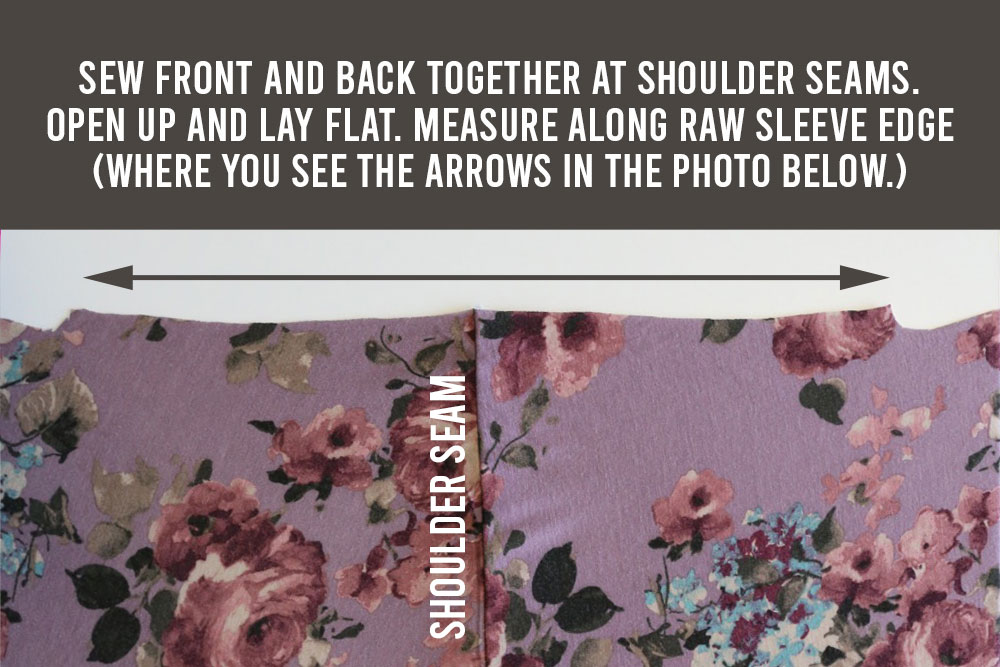
Next, open up the shirt and lay it flat. Measure along the raw sleeve edge as shown below.
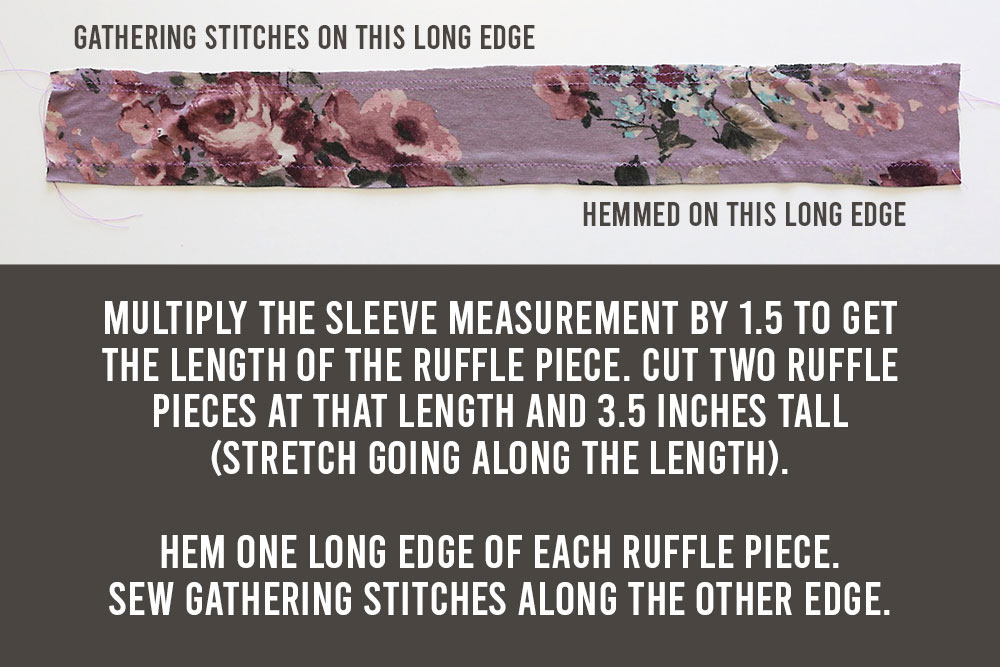
Multiply that measurement by 1.5 to get the length of your ruffle. This will give you a gentle flutter sleeve. If you want the sleeve to be quite ruffled, you could multiply the measurement by 2.
Cut 2 ruffle pieces at that width (1.5 x the raw sleeve measurement) and 3.5 inches high.
Hem one long edge of each ruffle piece and sew gathering stitches along the other edge.
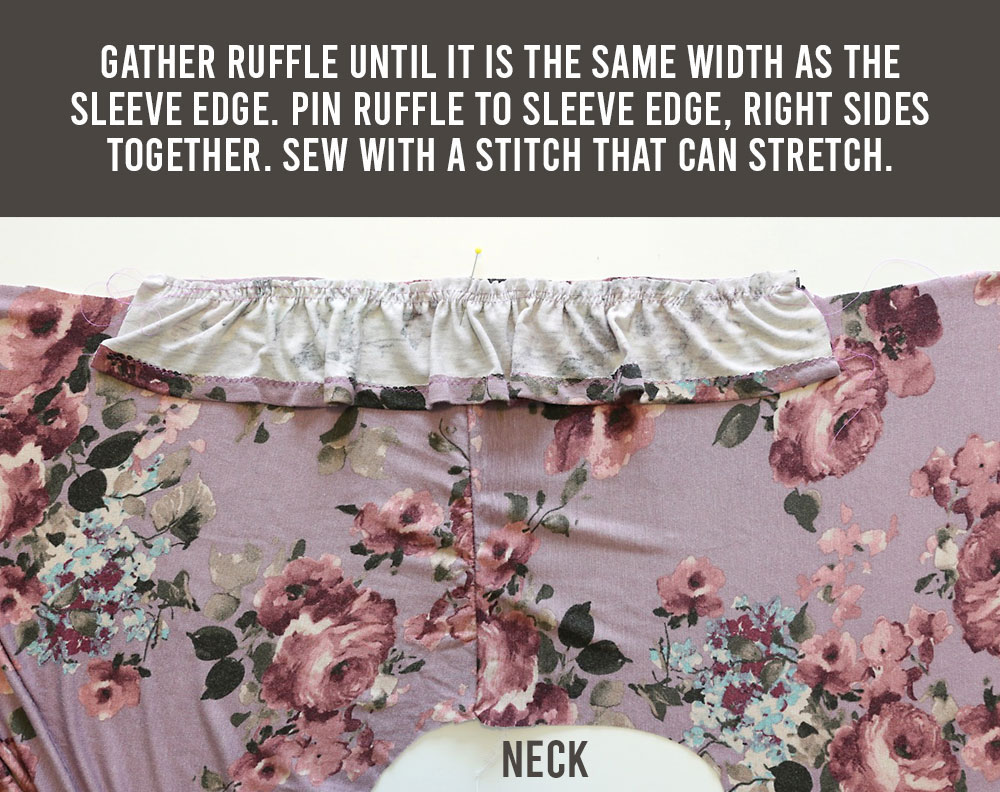
Gather the ruffle as shown in the photo above and sew it to the sleeve using a stitch that will stretch, such as a serged stitch or a zigzag or stretch stitch.
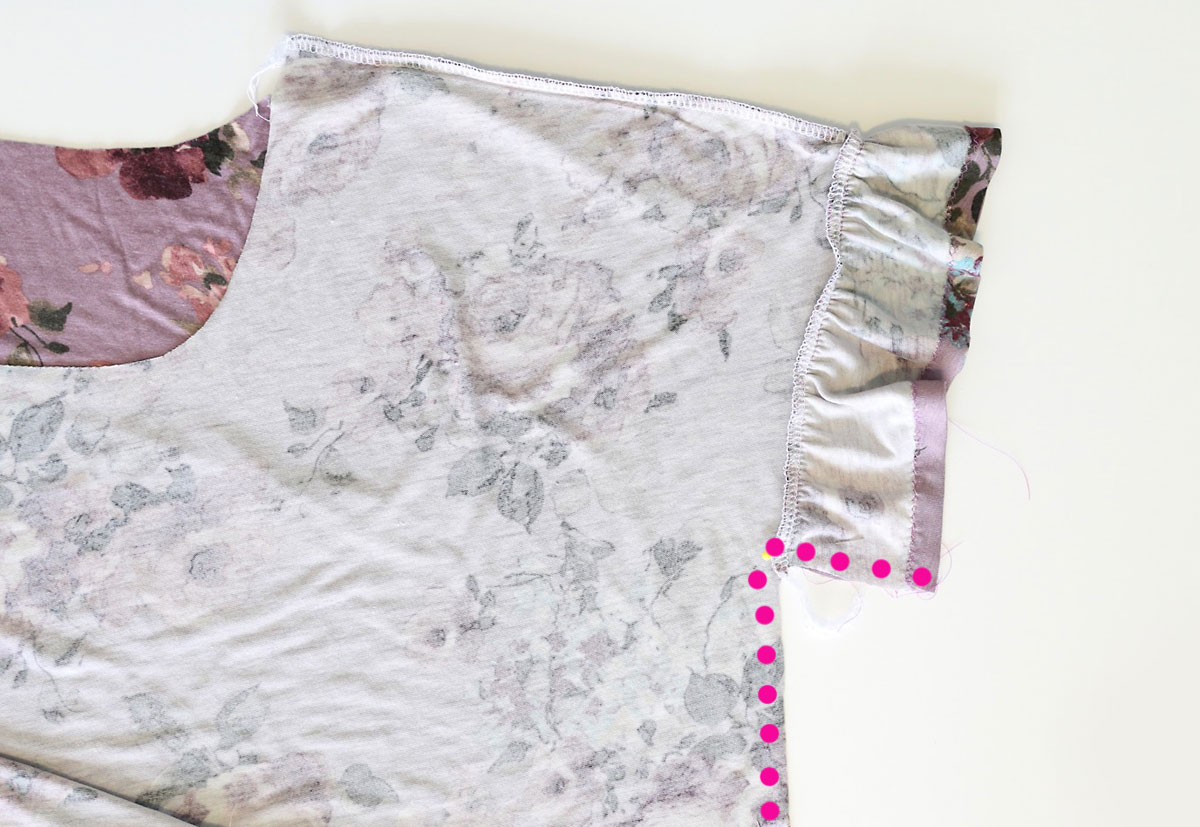
Now you can place the front and back of the shirt right sides together again. Start at the bottom of the sleeve ruffle and sew up the ruffle, under the arm, and back down the side seam.
At this point your shirt is sewn together and you will just need to attach the neckbinding and hem the bottom edge.
For help with neckbinding, visit this post: How to sew a T-shirt Neckline
And for lots more women’s patterns, visit my free patterns archive.



Sherri says
I love that I found your page; I made the classic t shirt and am so happy with my shirt. Quarantine is hard and I didn’t want to go to the store and buy a pattern. I was searching for just this style to make from my fabric I purchased from TwoDreams Fabric Shop on Etsy. Thank you for the awesome instructions and pattern!
Kim says
Do you sell your patterns in different sizes? You should if you don’t.
Megan says
This is so so cute! Im excited to sew this one. I love the drapey look