
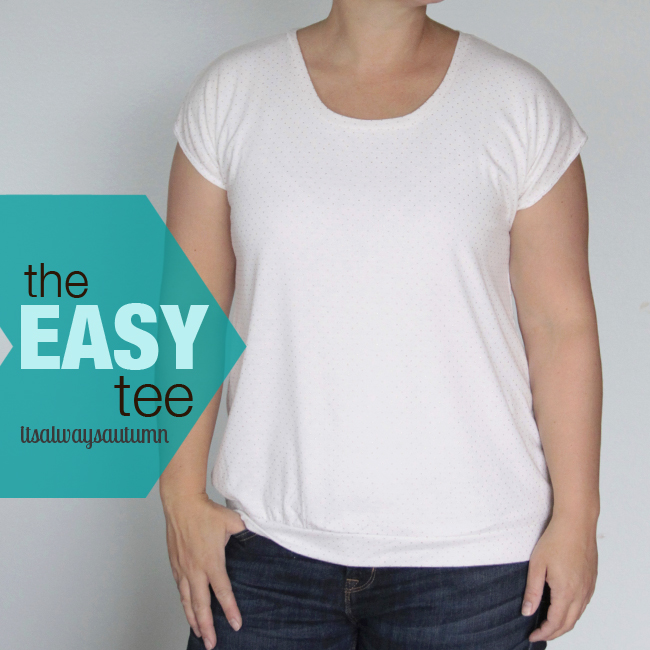
***Be sure to read the original easy tee post for basic t-shirt construction tips***
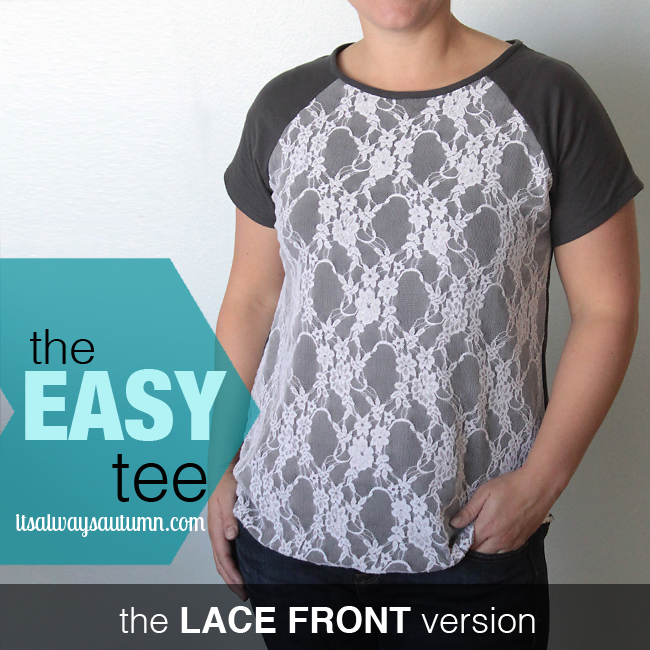
Here’s another version of the raglan sleeve easy tee for you – and this is my favorite one yet! I don’t always LOVE everything I sew – sometimes things look a lot better in my head or at the sewing machine than they do on my body – but this top’s going to be getting lots of wear. I got the idea of a pretty gray and lace raglan top from Anthropologie’s laced indie pullover, which happens to cost $78.
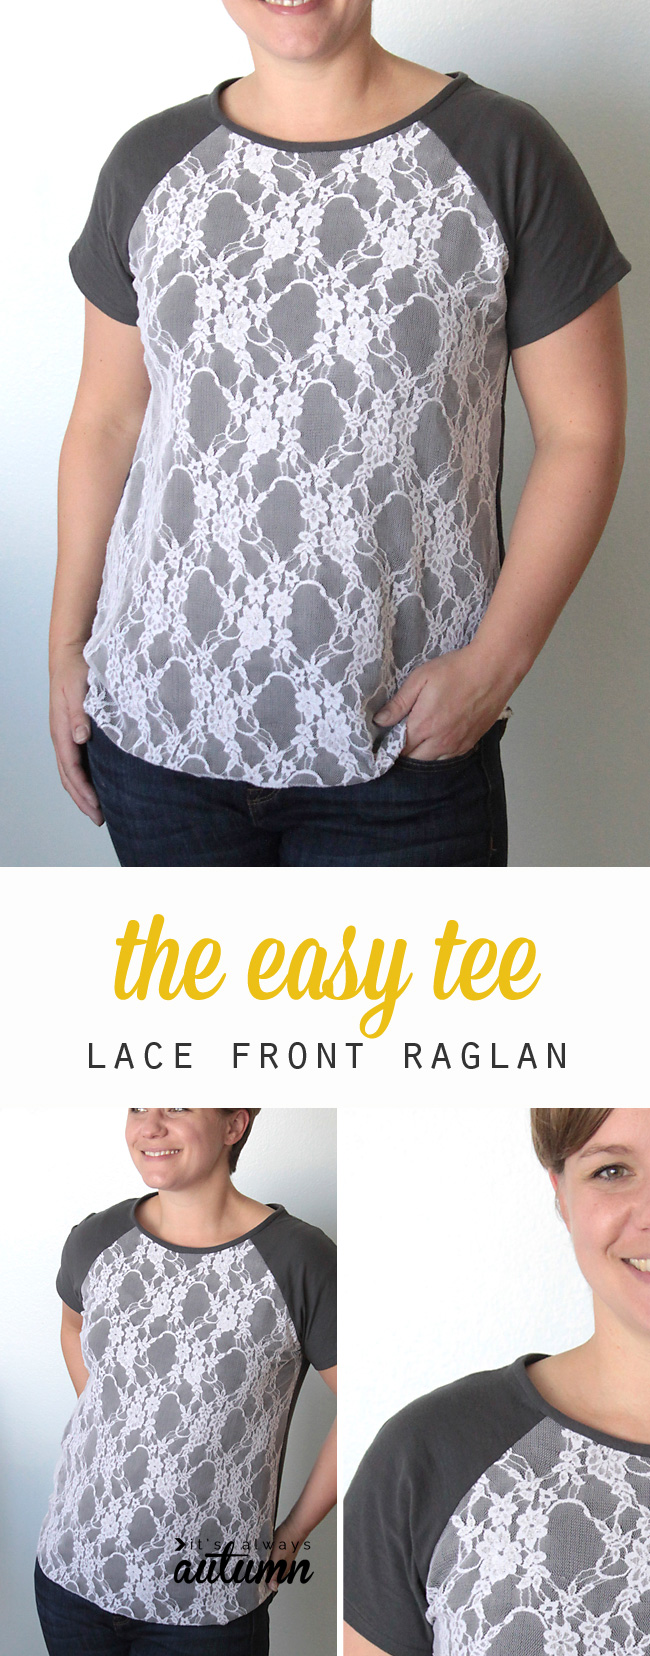
For less than a sixth of the price of the Anthro version I created this lace front raglan, and I have tons of stretch lace left over for other projects.
As promised, I’ve uploaded the raglan sleeve easy tee pattern – keep reading for the free download and tips on making a lace front shirt!
You can find the free easy tee raglan sleeve pattern here. It’s 8 pages and when you print it out you’ll want to be sure to click “actual size” not “scale to fit”. Be sure the gray squares are exactly 1 inch. It looks like this:
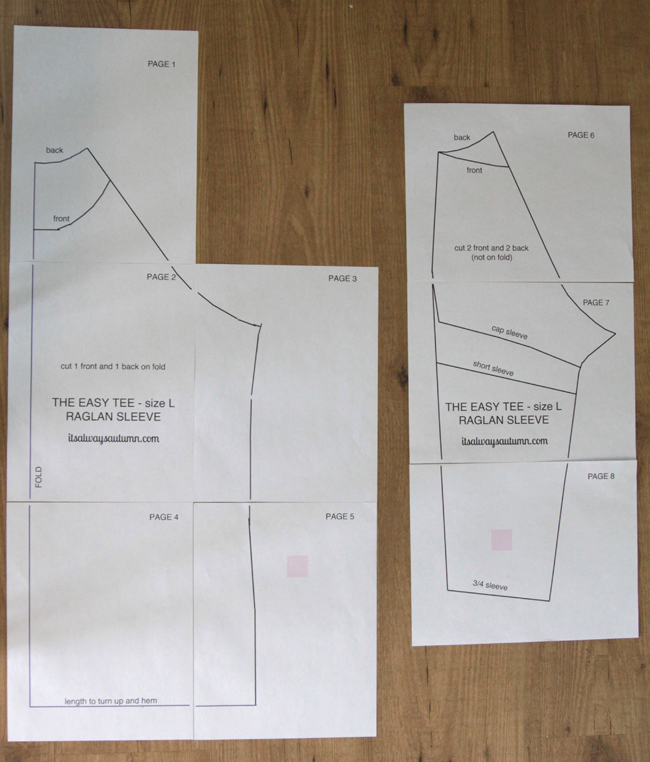
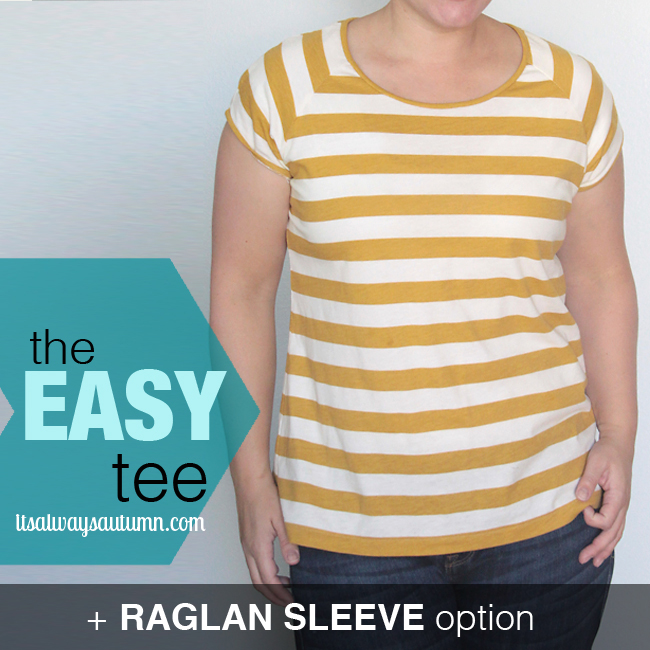
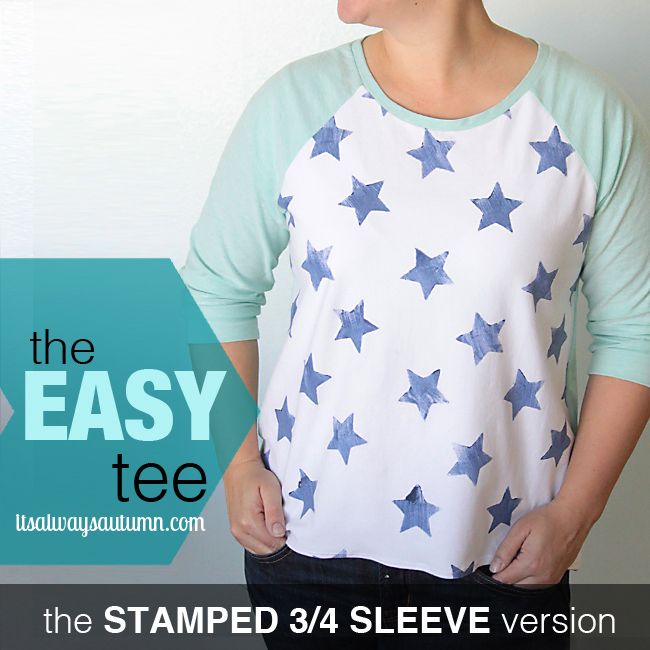
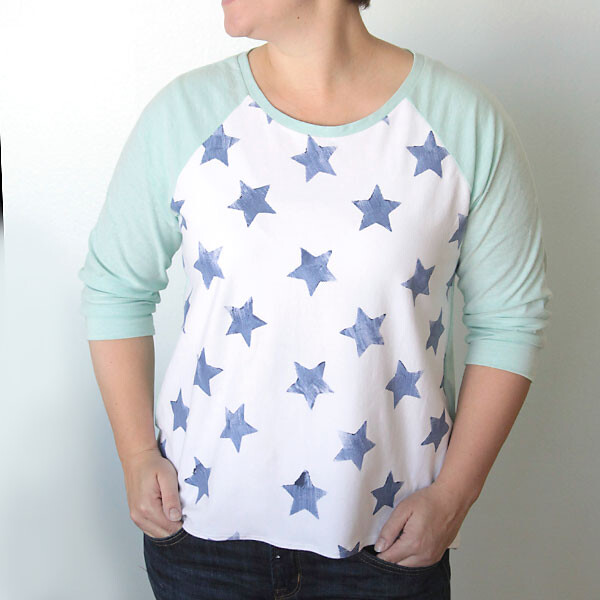
Do not trim your pages – just butt them up together and tape. Notice there are three sleeve length options. The cap sleeve length is what I used for the mustard&ivory striped shirt, and the short sleeve length is what I used for this shirt (3/4 length shirt coming next week!). I also cut my front and back pieces longer for this shirt that what the pattern calls for.
I used this gray knit from Girl Charlee (1 yard) and it’s beautiful – perfectly soft but it holds it’s shape really nicely. I ordered this stretch lace from Amazon since it was a MUCH better price than any stretch lace I could find locally (although it’s a little more expensive now than when I ordered), and it’s quite lovely. It’s very wide, so I probably only used 1/3 of it for this shirt.
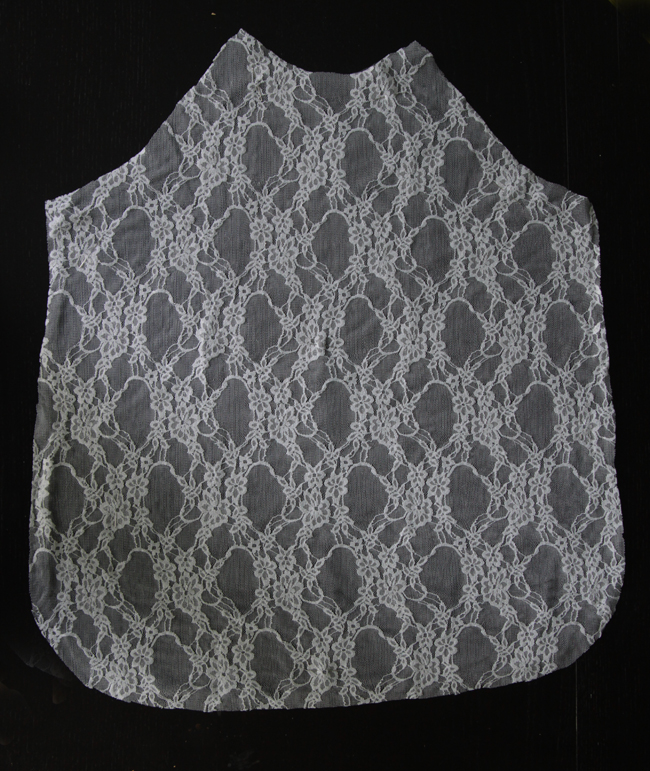
Construction was just about the same as in the original raglan tutorial. I cut all pieces out of the gray knit, and then just the front piece from the stretch lace. I pinned the lace front to the gray front, making sure both pieces were smoothed out. It’s best to use lots of pins to make sure the lace doesn’t shift around while you’re putting the shirt together.
Once the shirt was all sewn up, I used gray knit to bind the neckline and then hemmed the sleeves. Like I mentioned above, I cut the front and back pieces a little long on this shirt. I curved up the hem at the side seams, as you can see below:
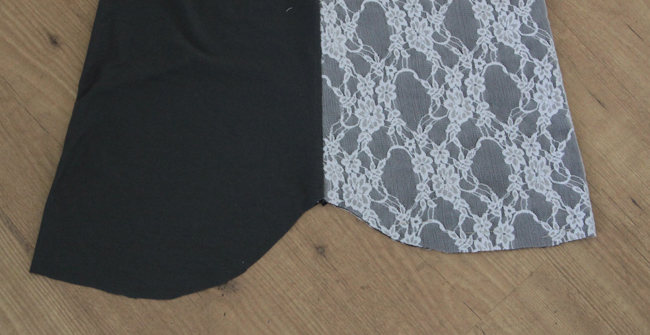
I just serged around the bottom edge of my shirt to finish it off instead of turning it up and hemming.
Find the other Easy Tee posts here:


Please use to “share article” link below to share via facebook, twitter, and more!
Like this post? Follow It’s Always Autumn for more:


LINKING Tip Junkie | Sugar Bee Crafts | Today’s Creative Blog | Naptime Creations | Lil Luna | SNAP | Someday Crafts | Somewhat Simple | House of Hepworths | The 36th Avenue | Whipperberry | Naptime Crafters | Tatertots and Jello | Little Inspiration | I Heart Naptime


Leave a Comment