
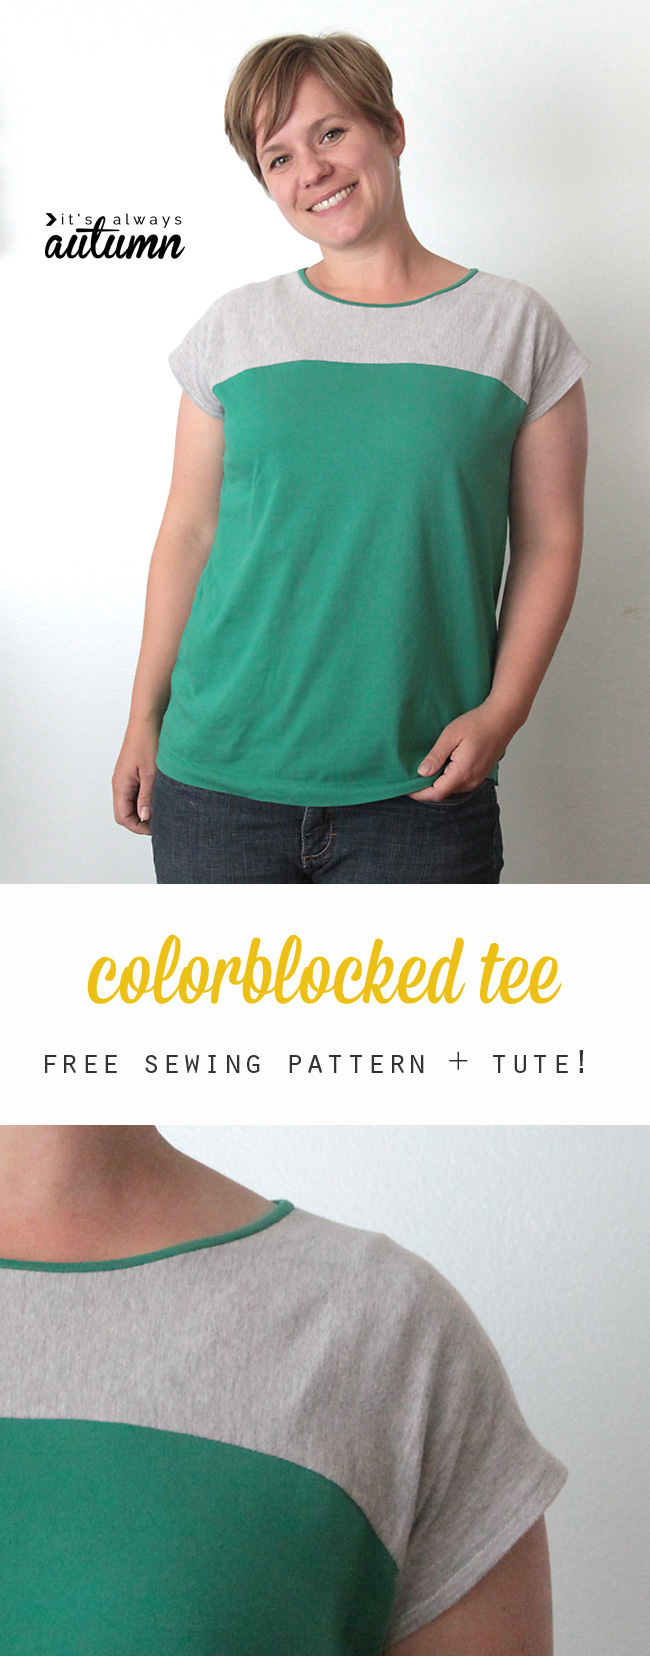
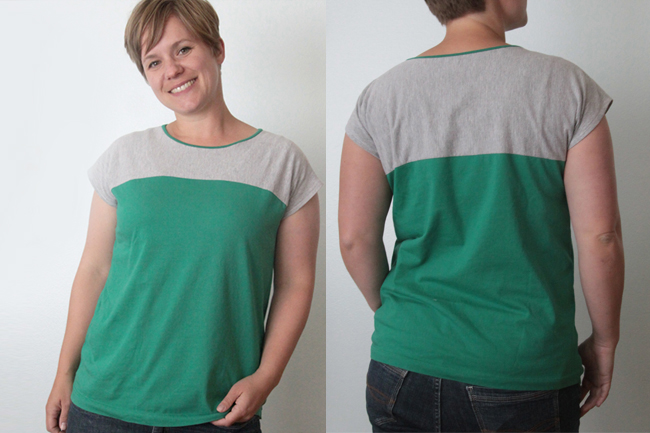
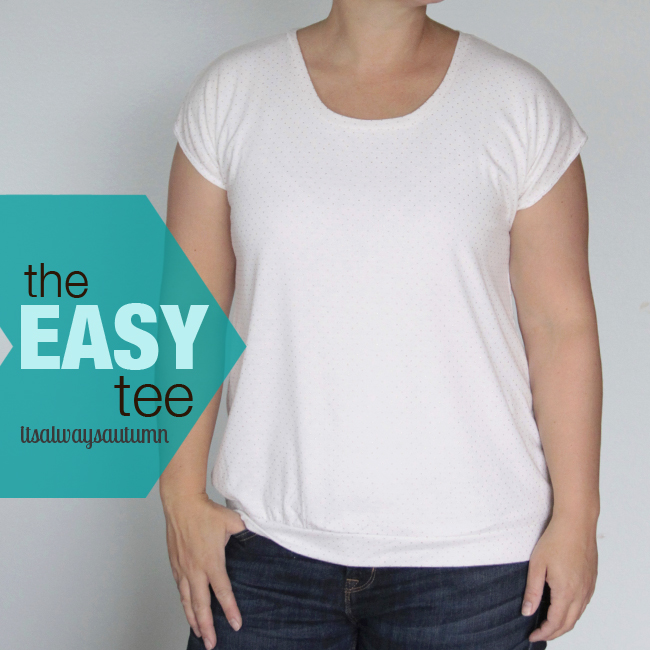
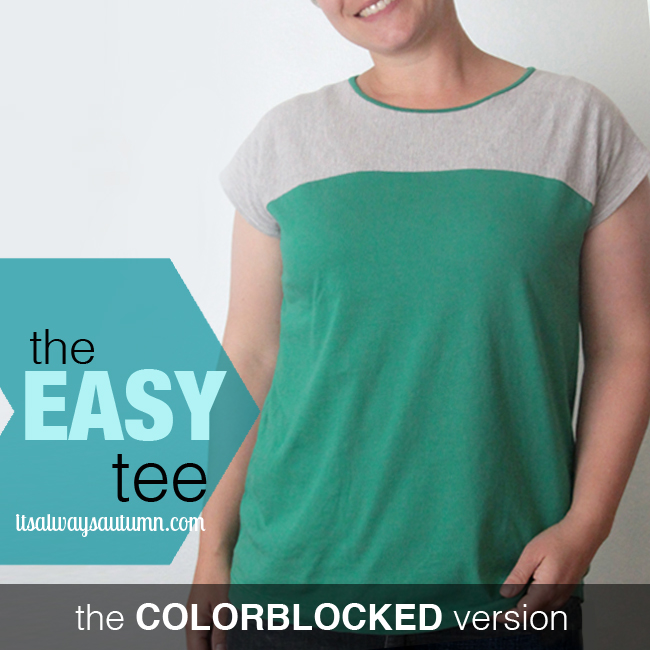
As promised, here’s another variation of the easy tee: the easy colorblocked tee. (Check out the original easy tee and the peter pan collared easy tee as well!) This version is just as simple as the original (only two extra seams) but the colorblocking adds a little more interest. It also makes it really easy to use thrifted tees as a starting point, which is what I did here. That means my shirt cost me $2 and I didn’t even have to hem it. I used grey and green because that’s what I had on hand the day I decided to try this out, but I’m excited to try some other combinations.
Remember, you can get the downloadable pattern for the easy tee here (in size L), or you can create your own pattern using the original tutorial. Keep reading for more photos and colorblocking instructions.
Click here to download your pattern. Remember it looks like this:
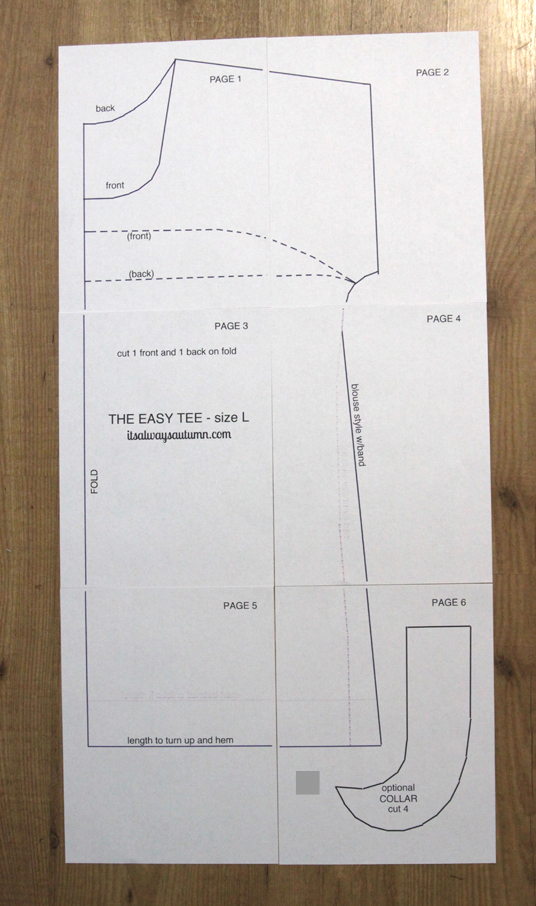
Print out two copies of the pattern this time and tape them together, then cut them apart along the dotted lines. Cut your front piece along the top dotted line and your back piece along the bottom line. Then cut the top pieces (front and back) out of one color and the bottom pieces (front and back) out of another. Be sure to add 1/2 inch seam allowance along the dotted lines when you’re cutting out your pieces. NOTE: For the shirt you see in this post, I cut the front neckline an inch or two higher than shown in the pattern and it DRIVES ME CRAZY because it feels too high. I like how it looks, though, so you might want to cut your neckline a little high and then see what you prefer.
I mentioned I used thrifted men’s tees for this shirt. Using a thrifted tee won’t work for the original easy tee, but two XL men’s tees work great for the colorblocked version. You’ll have to turn the top pattern pieces sideways to cut from an existing tee, which is just fine IF the tee has four-way stretch (most soft t-shirts do). Here’s how I placed my pattern pieces on existing tees:

Remember that since you’re using an existing hem you won’t want to line up the bottom of the shirt with the bottom of the pattern piece. I line mine up with the cut line if you’re adding a band, but compare with a shirt you own and like to decide how long to cut yours. (BTW, I’m showing the pattern placed on the same shirt here, but obviously you’ll be cutting from two different shirts.)
Once cut out, your pieces will look like this:
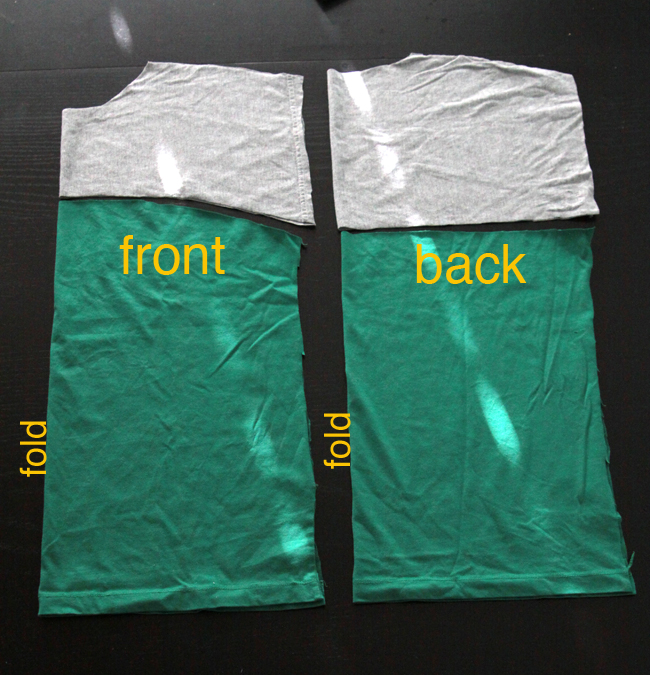
Remember to cut a neckline ribbing strip as well! About 1.5 inches tall by 22-24 inches long seems to work well for me, and I used leftover green fabric for this shirt.
Your first step will be to sew the top and bottom of the front together, then the top and bottom of the back together (make sure you’re sewing them right sides together). Pin well and sew slowly. I used a straight stitch here, but I gave the fabric a gentle stretch as I was sewing to ensure there’s some ease in the seam so the seam won’t pop when you pull the shirt on. Press the seam allowance up using a good amount of steam.
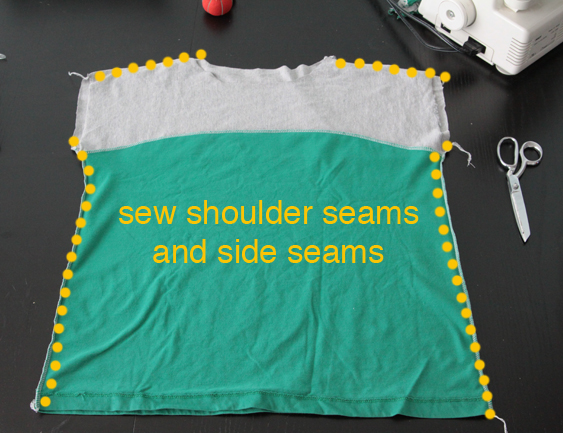
Now you can finish constructing the shirt the same was we did in the original tutorial, using half inch seam allowances:
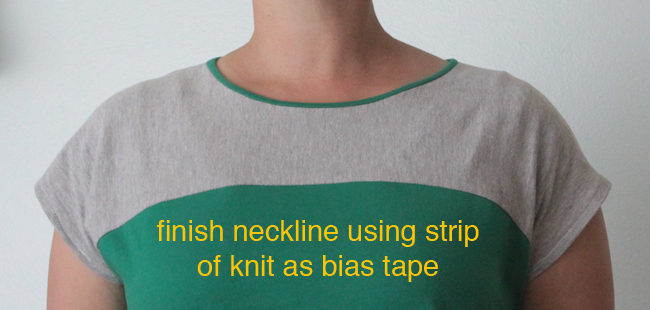
And finish the neckline the same way we did in the peter pan collar tutorial (I used a scant 1/4 inch seam allowance when adding the neckline piece here):
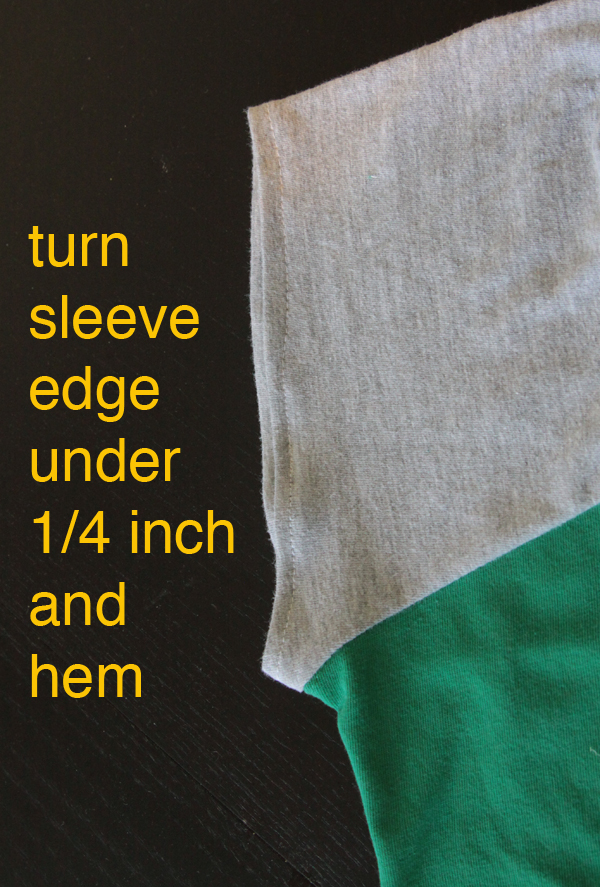
If you didn’t use an existing hem, finish up the shirt with a one of the hem options discussed in the other tutorials.
Find the other Easy Tee posts here:


More variations are coming! Follow It’s Always Autumn so you don’t miss any:


LINKING Monday: Skip to My Lou | Brassy Apple | Craft-o-Maniac Tuesday: Tip Junkie | Sugar Bee Crafts | Not JUST a Housewife | Homework Today’s Assignment: Be Inspired | Shwin and Shwin | Today’s Creative Blog | Naptime Creations | Chef in Training | The Winthrop Chronicles | Lil Luna Wednesday: Handy Man, Crafty Woman | Southern Lovely | Sew Much Ado | SNAP | Someday Crafts | The NY Melrose Family | Printabelle | Simply Kierste Thursday: Somewhat Simple | House of Hepworths | Momnivore’s Dilemma | The Shabby Creek Cottage | Yesterday on Tuesday | The 36th Avenue Friday: Chic on a Shoestring Decorating | The Shabby Nest | Stuff and Nonsense | It’s a Hodgepodge Life | At The Picket Fence | 504 Main | Whipperberry | Naptime Crafters Weekend: Tatertots and Jello | Little Inspiration | I Heart Naptime


Tracy says
Hi! First of all, I love the shirt and all the variations. I have just one question though…in the printed pattern, the color block appears to be about an inch to an inch and a half below the front scoop neck. But in your picture of the finished version, it looks like there is at least three inches from the neckline to the seam between the colors. What am I missing?
Tracy says
Whoops, sorry. Looks like I need to work on my reading comprehension skills. I just saw at the beginning that you said you cut it higher.
SUSAN says
Sorry to trouble you but I cannot find how to print the pattern out as I love these idea’s.
Regina says
Danke für diesen tollen Schnitt,er ist auch für Anfänger gut geeignet.
Vielen Dank,liebe Grüße