
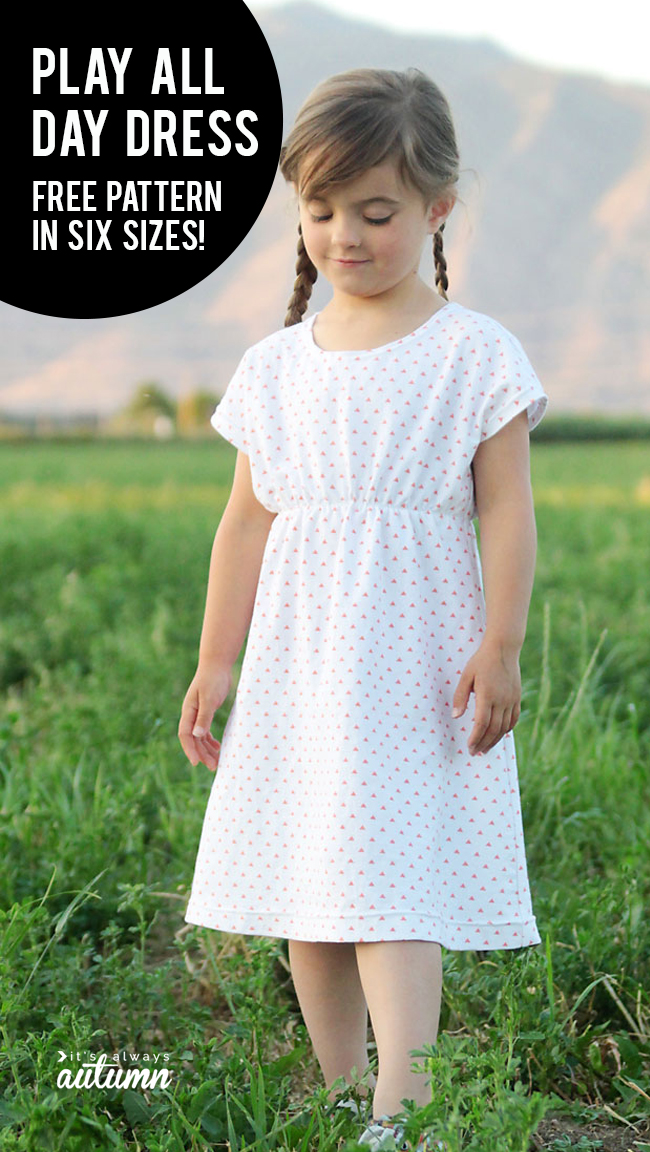
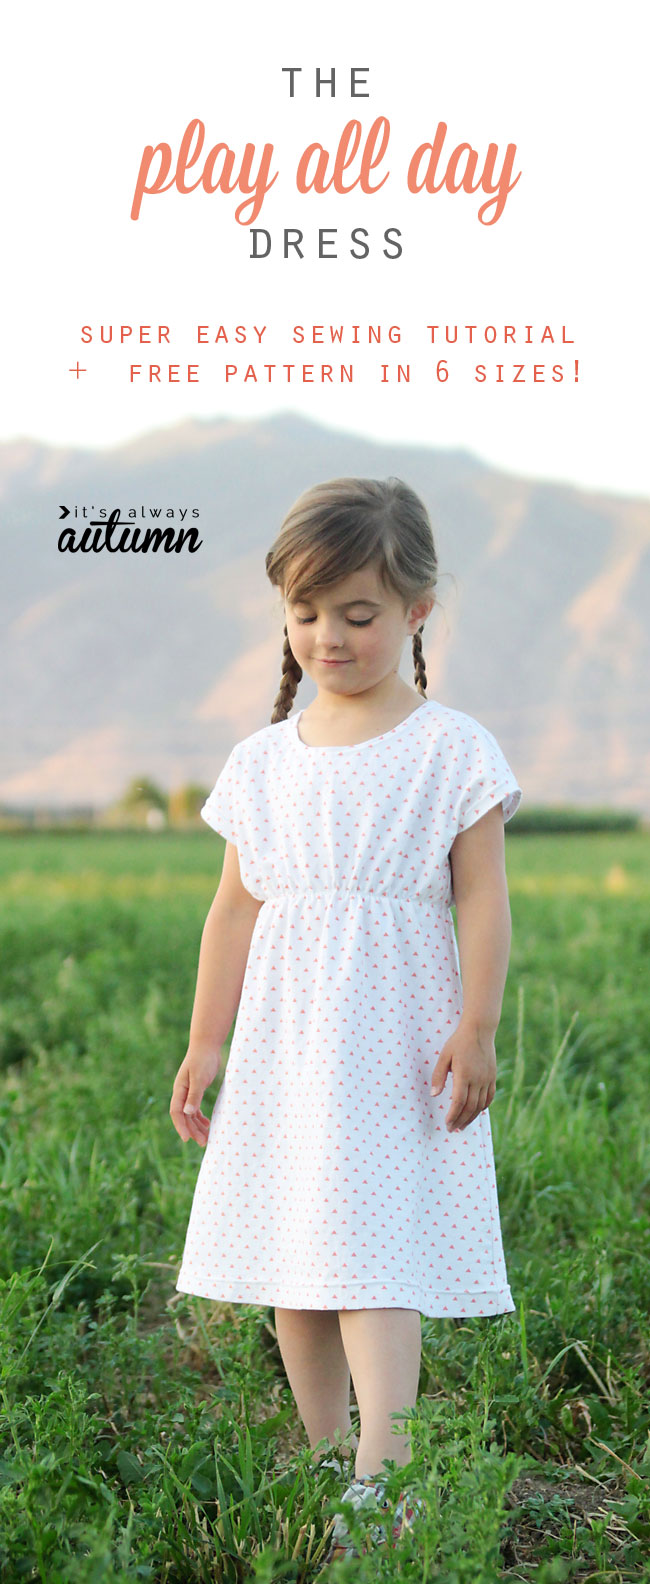
I have a fun freebie for you guys today: it’s the Play All Day girls’ dress pattern. This pattern is designed to be the absolutely easiest way to make a basic knit dress for a girl. And when I say easy, I mean easy. The first time you make one it will probably take about an hour, and if you make more it will be even faster. There are only two pattern pieces, minimal seams, and some elastic. No set-in sleeves, no casings, no easing, no gathering, no basting, and hopefully, no frustrations! And the best part is that this free pdf sewing pattern comes in six different sizes: 4, 6, 8, 10, 12, 14.
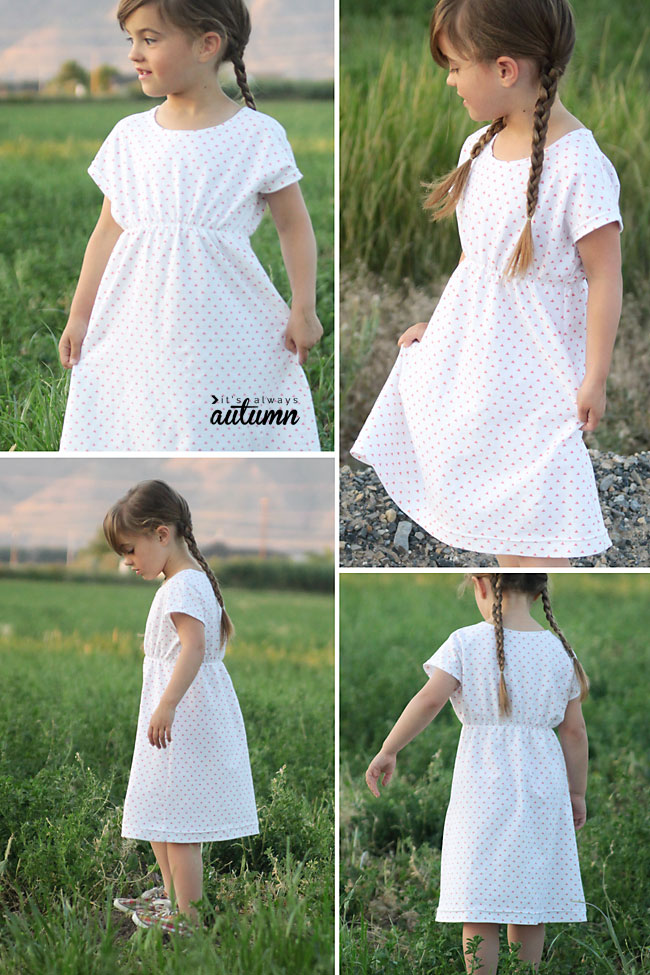
The first time I made this style of dress was when I made my daughter a swimsuit coverup last summer. She loved the comfort and easiness of it so much that she wore it long after summer swim days were over. The design is so basic this pattern would work as a swim coverup, a nightgown, or a play dress.
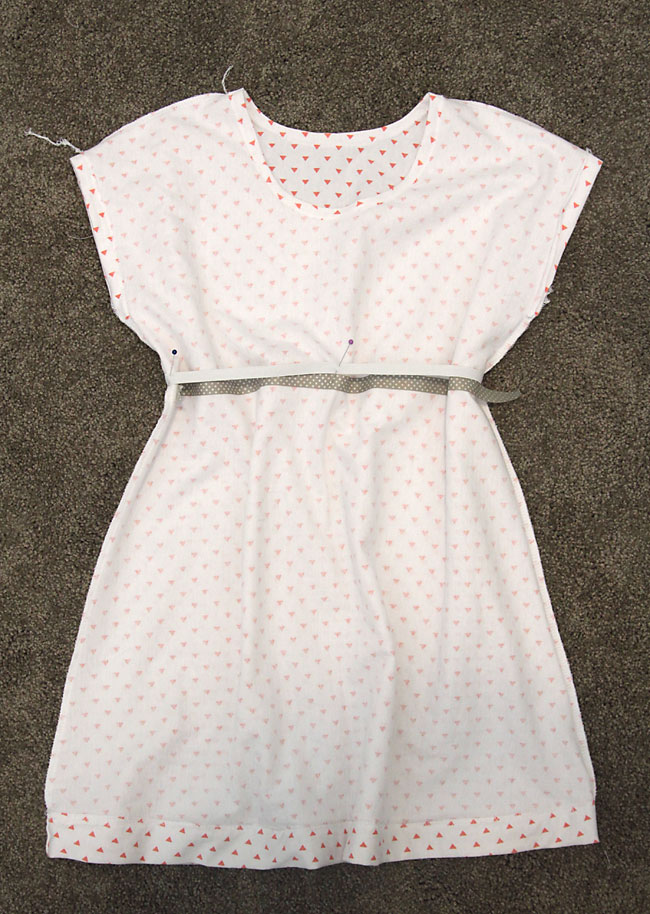
I made this version out of a white jersey knit sheet with coral triangles on it. The size 4 is slightly big on my daughter, so (combined with the white color) it ends up with more of a nightgown feel. A brighter color or a bolder pattern would make it look more like a day dress.

Either way it’s perfect for little (or big) girl adventures.
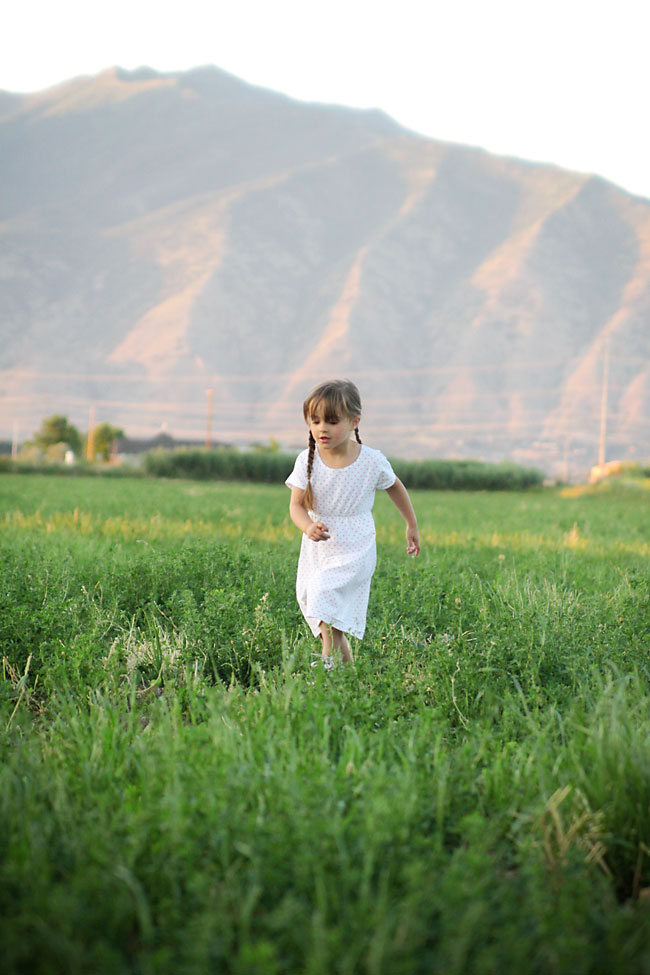
And it’s so easy to make! This dress is designed to be sewn with knit (stretchy) fabric. Choose the size that’s closest to what your daughter wears in ready-to-wear clothes. The dress should hit at or just above the knee for most girls. If your daughter is tall for her size, you may want to cut out the pieces a little long just in case.

You can download the free Play All Day girls’ sewing pattern in six sizes by clicking here. Please note this is a free download, so it’s not going to look quite as professional as pdf patterns you purchase.
The pattern will print on 8 sheets of paper. You MUST make sure it is printing at 100% and NOT scale to fit. There is a 1 inch test box on page 1 which needs to measure exactly 1 inch or the sizing will be off.
Don’t trim the pages at all; just butt them up against each other and tape together as seen below. Different sizes are in different colors, so I recommend using a color printer or you might have a hard time figuring out which size to cut.

You’ll cut two pieces, both on the fold: one using the back neckline and one using the front (dashed line) neckline. This pattern is made for knit fabrics, and the stretch direction is noted on the pattern.
A few notes before we start:
1. Make your life easier by using a fairly stable knit, especially if you are new to sewing with knits. An interlock is a great knit to start with. Anything very thin or very stretchy will make this project much more difficult than it ought to be, especially if you aren’t used to sewing with knits.
2. I highly recommend using a double needle for the hems and neckline. It’s very easy to use and gives a much more professional looking finish. You’ll get a double row of straight stitches on the top, and then on the underside you’ll get an interlocking zigzag that keeps the inside of your hems looking very tidy.
You may use a zigzag instead, but a double needle looks a lot better. And don’t use a straight stitch for hems or the neckline – it will snap as soon as it gets stretched.
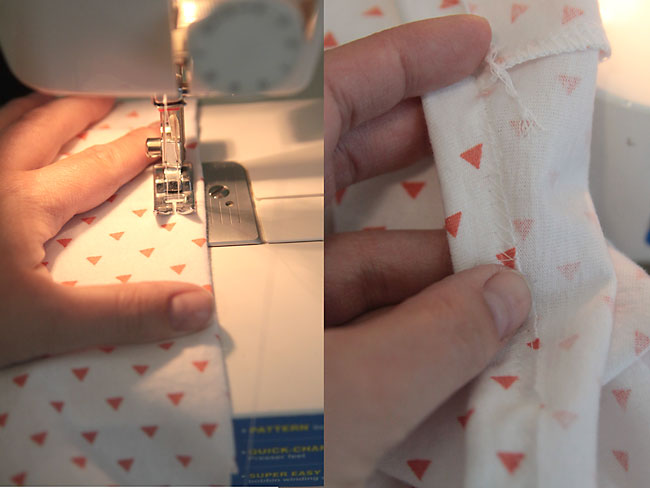
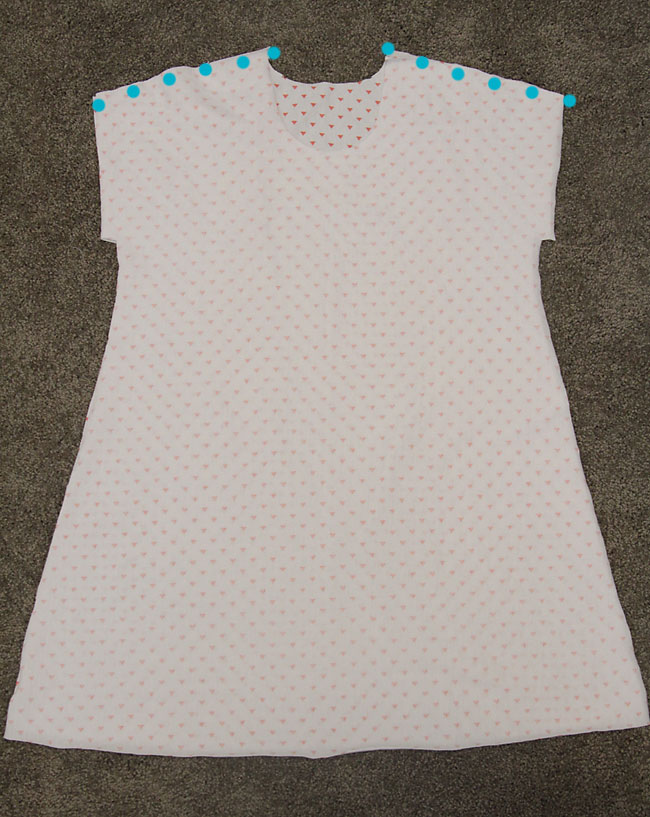
Start by placing the front piece on top of the back piece, right sides together. Sew both shoulder seams:
Open up the dress and lay it down flat. You’ll see a portion along each sleeve that juts out about 1/2 an inch. Fold it under and press; sew with a double needle or zigzag. Repeat on the other side.

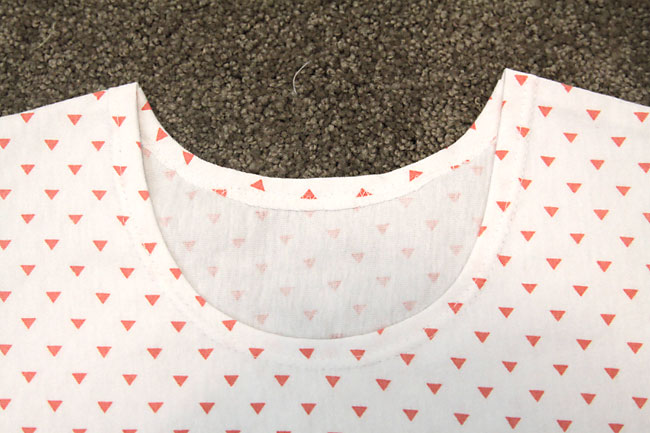
Next, turn the neckline under 1/2 an inch and pin well. Sew with a double needle or zigzag, then iron flat using steam if needed.
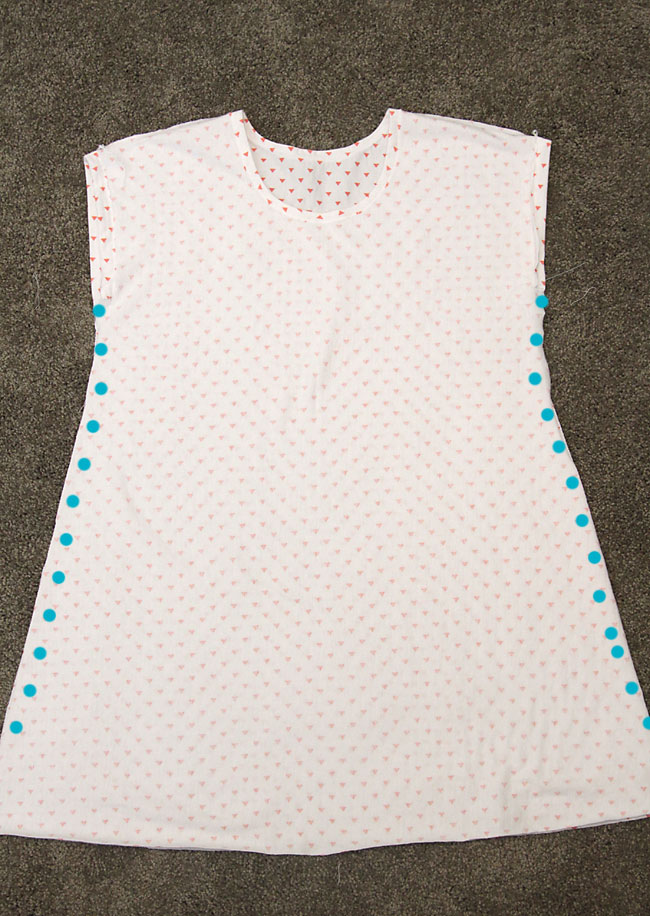
Turn the dress inside out again and pin front and back together at the sides. Sew down side seams (straight stitch is fine here).
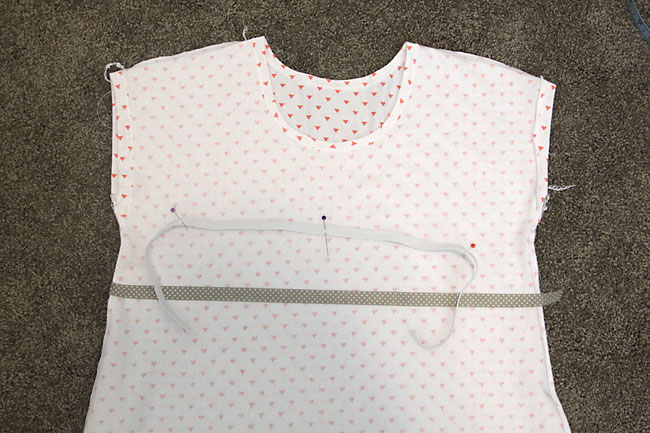
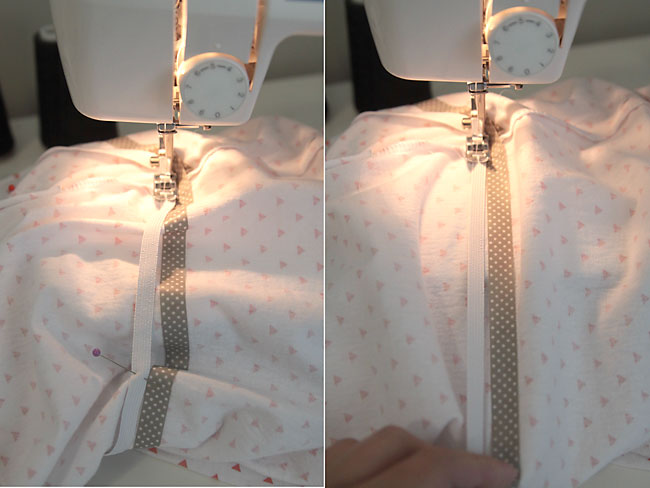
Cut a piece of 1/4 inch elastic to the length specified on the pattern for the size you are making. Fold it in half and put a pin in the middle. Then fold in half again and use pins to mark each quarter. With the dress inside out, use tape or chalk to mark the elastic line on the dress (position shown on the pattern). Overlap the ends of the elastic and sew them together.
Slide the elastic over the dress, matching up the pins and seam on the elastic to the center front, center back, and side seams of the dress. Pin the elastic just above the tape.
Now you’re going to use a zigzag to sew the elastic onto the dress. Pull the elastic as you sew so that it lays flat against the dress, right next to your tape, and sew all the way around.
Once the elastic is sewn into the dress, it will cinch up the waist, as you can see below. Now just fold the bottom edge of the dress up 1 inch and hem (again using a double needle or zigzag).
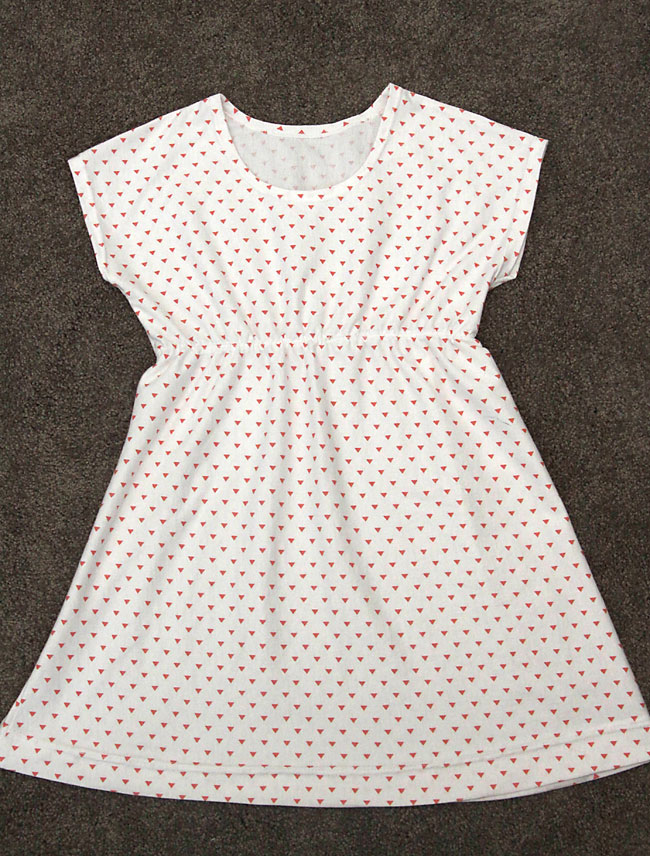
Done!
Because the fit of this dress is so easy, this would be a great pattern to use for for sewing dresses to donate. Simple Simon and Co. holds an event each July called “Skirting the Issue” where they post tutorials and collect skirts to donate to girls in foster care. If you haven’t heard about it, check out the details here. If you’d like to sew a dress instead of a skirt to donate, feel free to use this pattern, and I’d love to hear about it. And next week I’ll be posting a roundup of more free dress patterns and more places where you can donate handmade dresses, so check back!
One last note – I used this jersey sheet set from Target for this dress. The material is super soft and very easy to sew with. I was able to make one dress in each of the six sizes from the full size sheet set, which makes it a great deal!


Julie Fitzgerald says
Whats the seam allowance ?
Autumn says
Half an inch, thanks!
Minnir says
I have made your little dress two times to donate to Little African Dresses. I plan to make more. I like the simple pattern. I make all size 6. I have to add about three inches in length because they require longer dresses. I would appreciate more simple dress patterns.
Candis Cumberbatch says
Good Morning,
I hope this isn’t too much of a silly one but I am very new to sewing and patterns. I’ve printed a pattern and taped it together but I’ve never made a dress or something with different neck lines. What would be the best way? Print two copies once for the front and one for the back if I wanted to keep it correct? Also since the elastic isn’t enclosed should I be using a special elastic so it doesn’t bother the person wearing it (fold over)?
Autumn says
Hi Candis. I just use the same pattern for the front and the back – I just cut the lower front neckline under the pattern, not cutting through the pattern. But you can certainly print and tape together two if you’d like!
And I’ve found that the elastic doesn’t bother the girls I’ve made this dress for, but if you are sewing for someone that is sensitive to textures you could use a softer elastic. If you can find a narrow fold over that might work, or sometimes you can find lingerie elastic that is nice and soft. Good luck!
Pam says
Can the Play all Day pattern work on woven cotton instead of knit?
Autumn says
It’s make for a knit fabric because there are no closures. If you want to make it from a cotton, you’ll need to be sure the neckline is large enough to fit over the head without stretching. It might take a little tinkering to make sure it will work!
Debbie says
Thank you for this pattern. My nine-year-old granddaughter is eagerly learning to sew. This was her first garment and first experience with knits. I sewed the neckline and put in a casing for elastic due to latex allergies in her family. She sewed one side of the dress, then I sewed a bias tape casing on the elastic line. The elastic was inserted, stitched at each end to anchor, then the second side was sewn. She is so proud of her dress!