
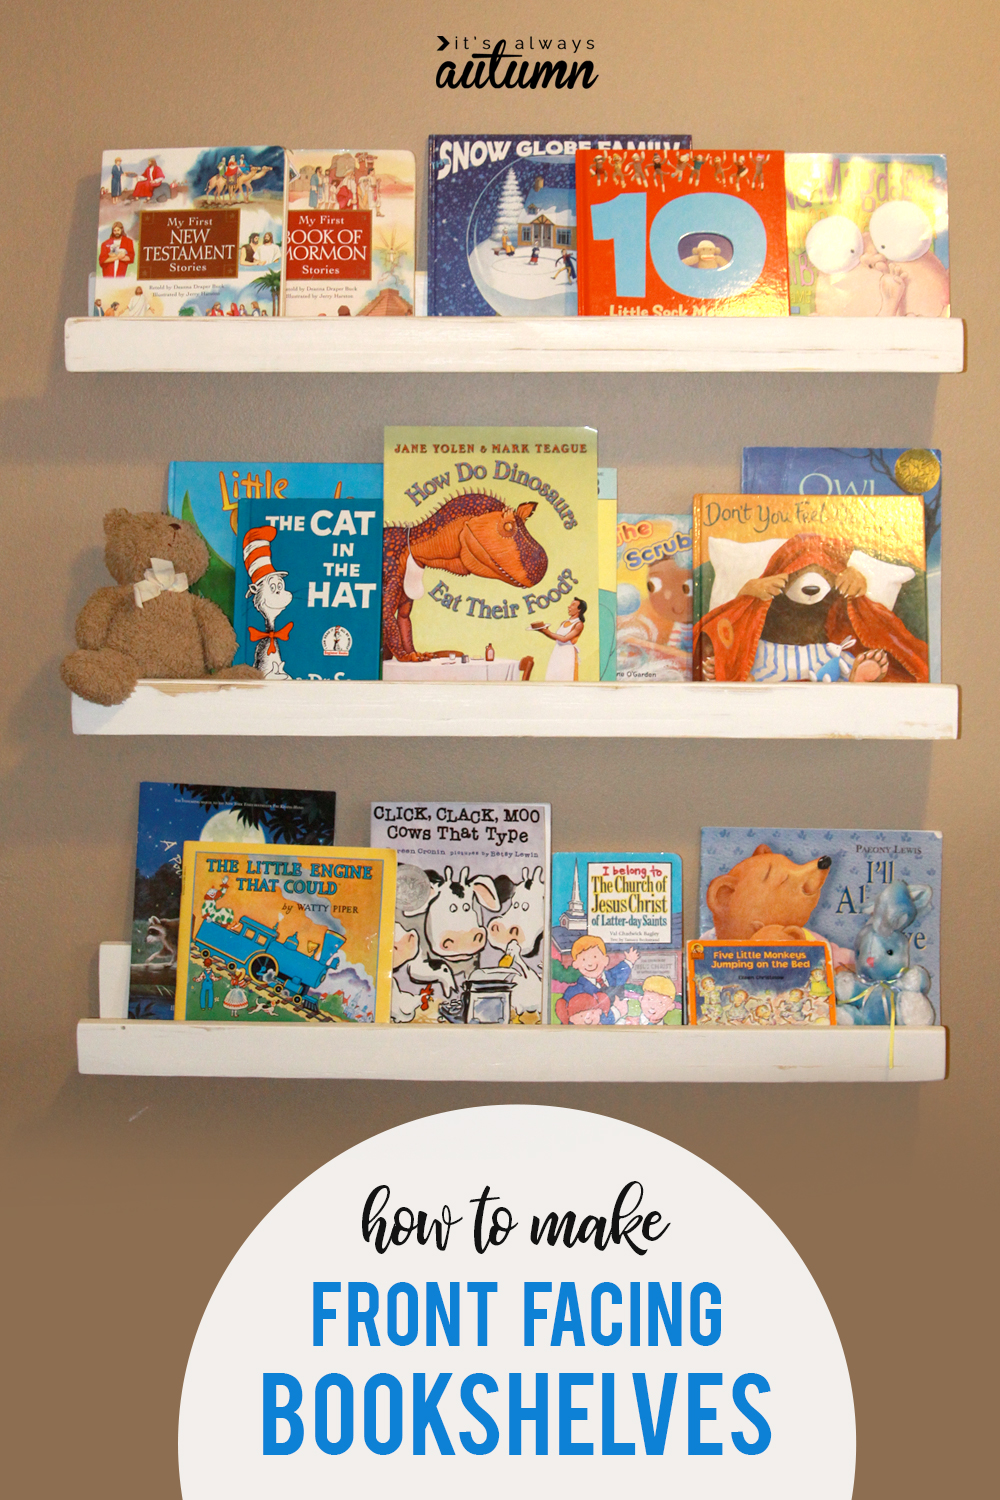
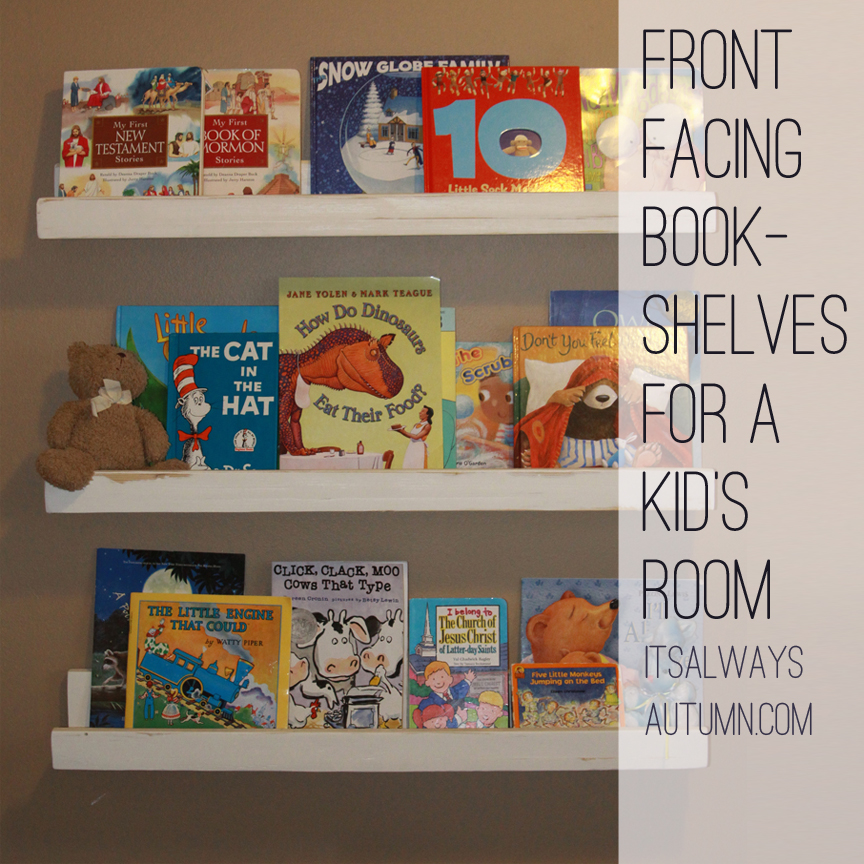
In today’s post: Learn how easy it is to make front facing bookshelves with basic supplies from the hardware store. This is a great way to store and display books in a kid’s room!
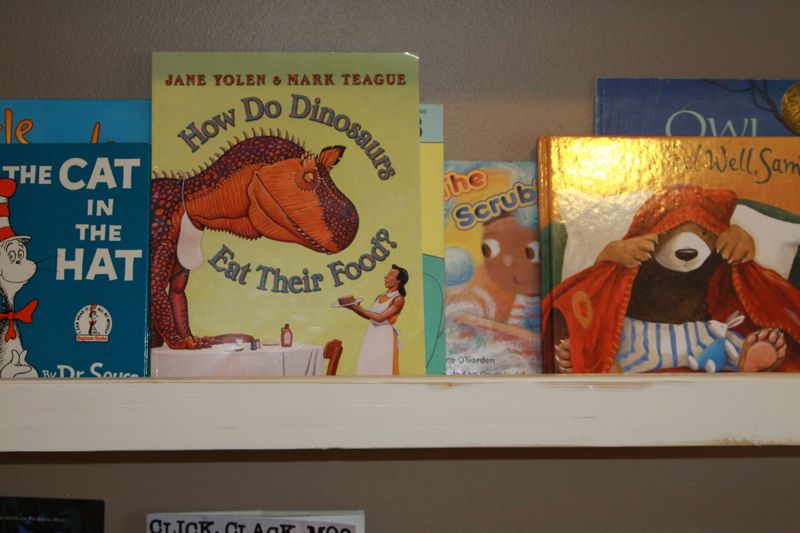
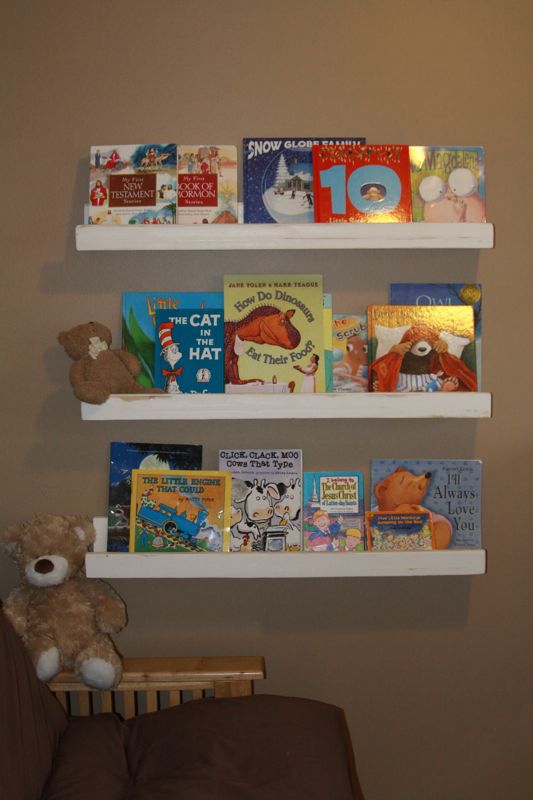
We have a bit of a book problem in our house. We have lots of them. We have a full sized bookshelf upstairs, two full sized bookshelves downstairs, a half sized bookshelf in the front room, and stacks and piles and bins full of books scattered around the house. Now, we also have some empty wall space, particularly in the little kids’ rooms, where I haven’t done a ton of decorating. After seeing some front facing bookshelves on another blog, I knew I needed to combine my empty walls with my surplus of books to make something both functional and attractive:
It didn’t cost much and it wasn’t very hard. This set of three front facing shelves probably cost under $20 and took an hour or two to put together, then another hour to sand and paint. I love them so much I immediately made four more (for the four other kids in the house who all wanted their own shelves too).
Read on to learn how you can make some too!
How to make front facing bookshelves {DIY kids bookshelves}
You’ll need the following supplies to make three two and a half foot long front facing shelves:
Pine boards (as discussed below)
wood glue and clamps
2 or 2 1/2 inch wood screws
drill
sander (or sandpaper and some muscle)
paint
studfinder (for mounting on the wall)
Ok, lets talk wood. The size of wood you need will depend on how big you want your shelves to be. Wander over to the “hobby wood” section of Home Depot and find their pine boards. You’ll see three numbers below each pine board, which will look something like this: 1x4x8. The first number simply means the board is one inch thick. The second number tells how many inches tall the board is (4 in this example) and the third number tells how many feet long the board is (8 ft). If you want to make three 2 and a half foot long shelves you’ll want to buy boards that are 8 feet long, so that’s the measurement I’ll be using from here on out.
For the front lip of the shelf you’ll want to find a 1x2x8, which is also called a furring strip. These may only be available in 8 foot lengths. Look through them and pick one that’s nice and straight and not completely full of knots, chips, or slivered wood.
Next, get a 1x4x8 for the back section of the shelf. Again, look for one that’s as straight and smooth as you can find.
Finally, you need either a 1x6x8 or a 1x8x8, depending on how deep you want your shelf to be. I used 1×6 boards for the shelves in my baby girl’s room, and that works well for picture books. For my older kids’ bookshelves I used 1×8 boards since their books take up more room on each shelf.
Grab one of the handy dandy carts that let you lay lumber down flat on them and pull it (with your three your old sitting on top) with one hand while you push your baby in the stroller with the other hand to the back of the lumber department where the big saws are. Ask the helpful employee back there to cut your boards down to size for you.
OR, if you’re really savvy, head straight to the saws in the first place, and pull the boards you need out of their leftover wood section. Nothing’s marked, but if you can figure out what you need you’ll probably save yourself some money.
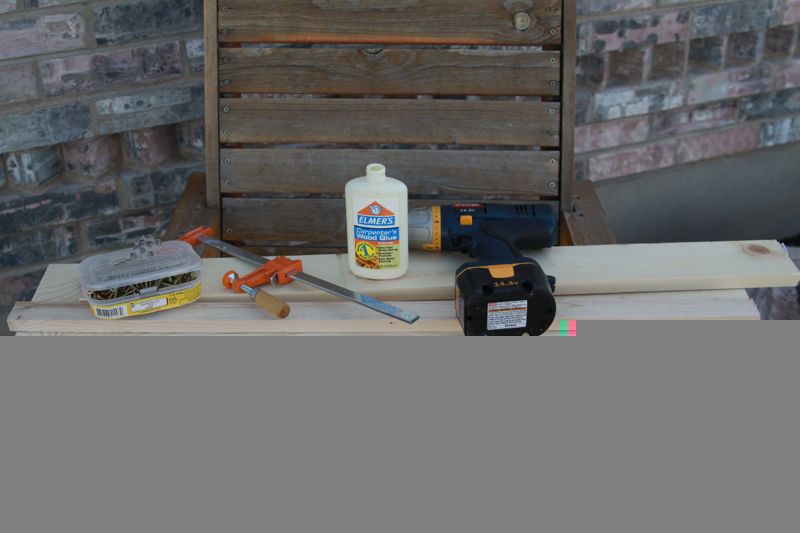
At home, gather the rest of your supplies:
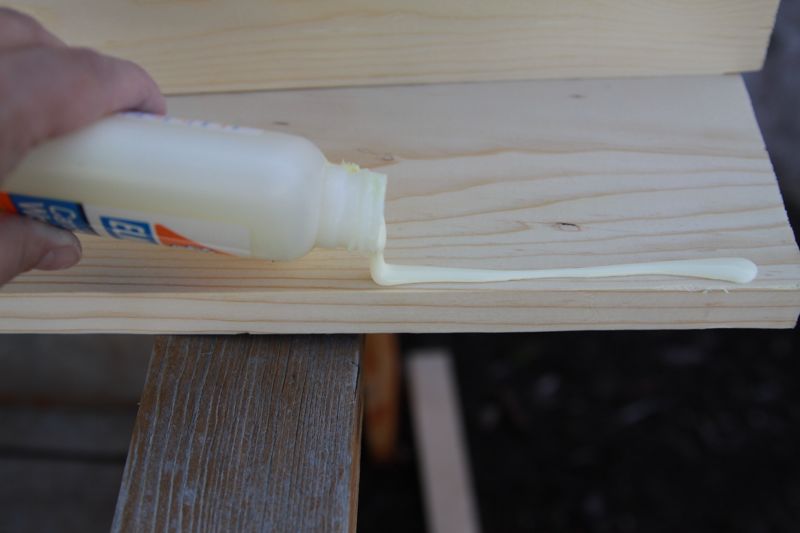
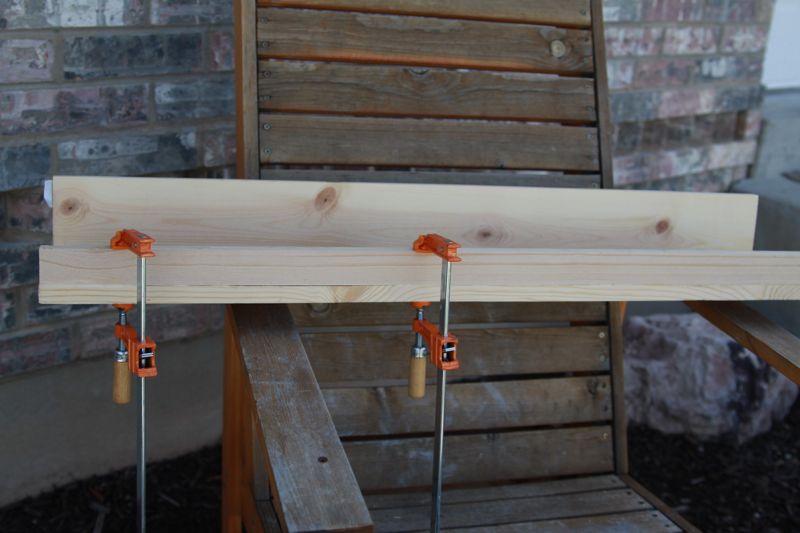
Lay your 1×8 (the bottom piece of your shelf) down and run a thin line of glue all along one edge. Place the 1×4 (back piece of the shelf) on top of it and clamp the two boards together, making sure to line up the side and front edges as well as possible.
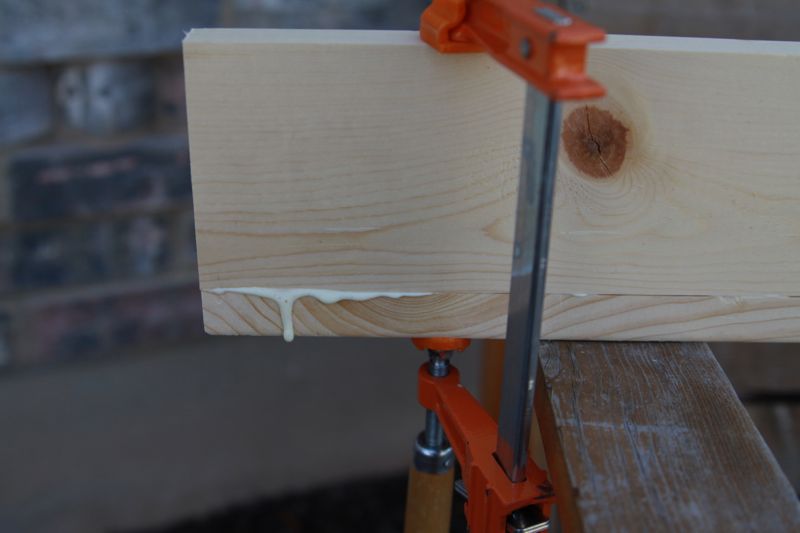
When you clamp the pieces together wood will spill out the seam – just wipe it off with a paper towel. Tighten your clamps until you can’t see any space left between the two boards.
Flip the board up so the 1×8 is standing straight up drive screws through it into the 1×4. I started by drilling guideholes, but I found that pine is soft enough that I didn’t need to drill holes first as long as I started the screw nice and slowly.
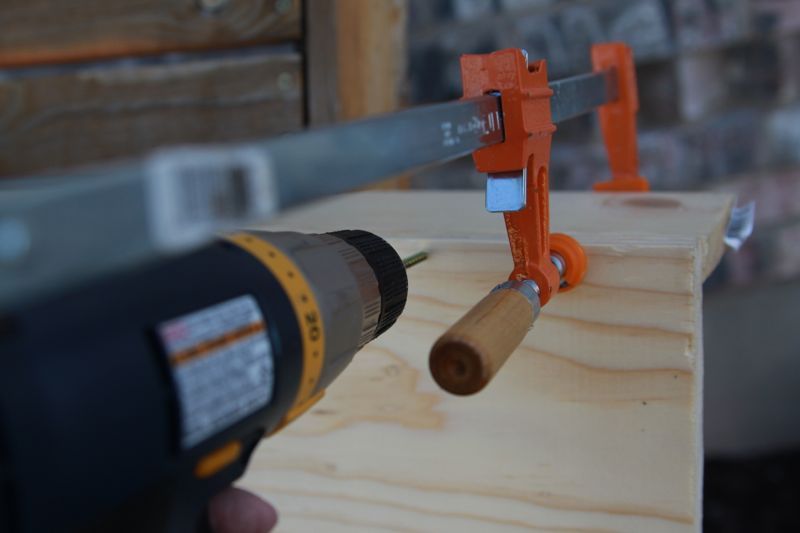
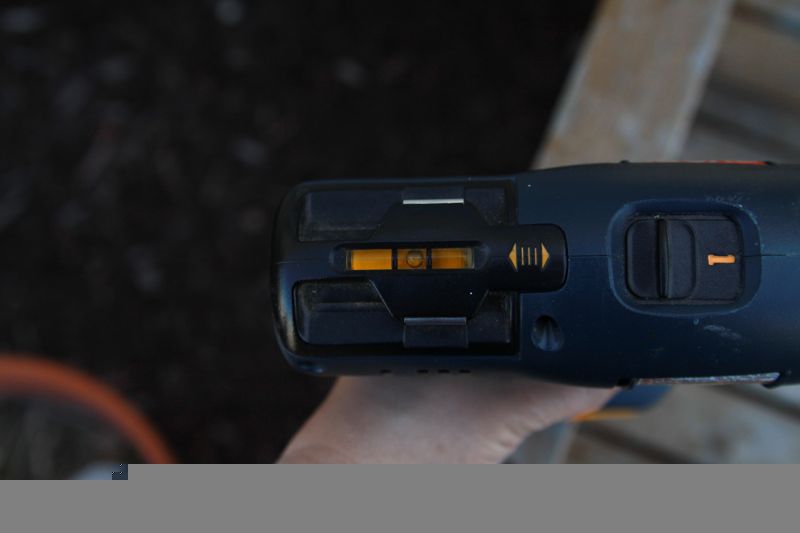
Use the built in level on your drill to make sure you are driving the screw in straight. You want it to go directly into the 1×2. Be sure not to try to drill into or through any knots – you might end up splitting the wood. I used on screw at each end of the shelf and one screw in the middle.
I found that as soon as all three screws were in I could remove the clamps and go on to the next step, which is to repeat the process with the 1×2 pieces that form the from of the shelves. It’s even more important this time to make sure the front and side edges match up, because this is the most visible part of the shelf. It’s likely one or more of your boards won’t be completely straight, so lining things up can be a little tricky. Just do your best and remember no one will be examining the final project with a magnifying glass.
At this point I set my front facing bookshelves aside for a few hours to make sure the glue was completely dry. Then I pulled out the sander and gave it a good once over, concentrating on the front portion of the shelf. I didn’t sand the back at all (it’s just going to be up against the wall), and I didn’t worry too much about the bottom either. I did round the edges just a little so the corners wouldn’t be quite so sharp.
After you sand, wipe the shelf down quickly to remove all dust. Now you can paint as you desire. Most people would probably tell you to prime it first, but my primer was all dried up and I was too impatient to wait until I could go get more, so I simply painted each shelf with one good coat of the satin paint I used for the trim in my house.
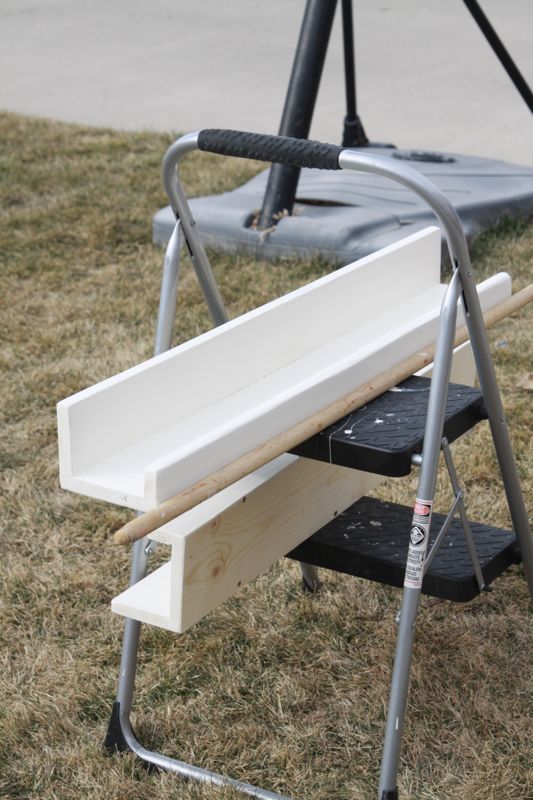
When the paint dried I gave it another quick sand for a slightly distressed look.
To mount the bookshelves on your wall, just find and mark the studs where you’d like your shelves to be. Again, I started by drilling guideholes but then realized I really didn’t need to. Simple drive a screw through the back piece of your shelf into a stud in two different spots, making sure the shelf is level before driving the second screw.
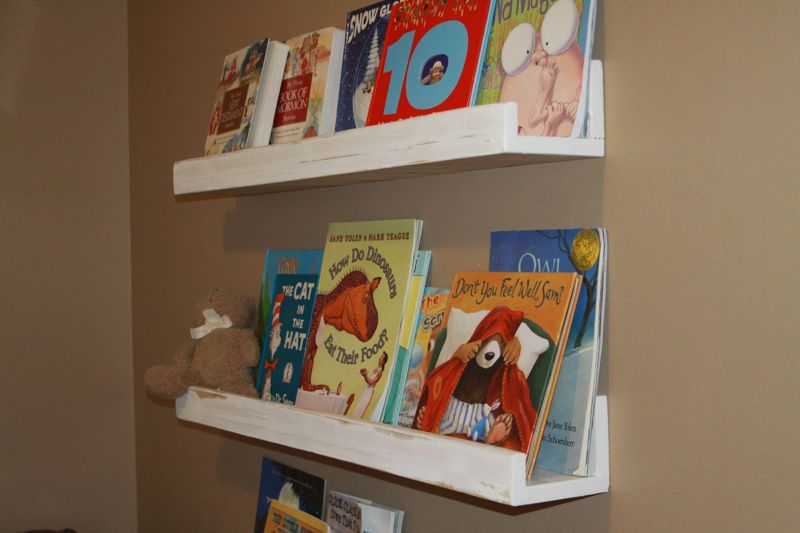
Then stand back and enjoy your fantastic new kids’ bookshelves!
You may also like these posts:


Denise says
A drill with a built-in level?!? We need to upgrade our tools! 🙂
autumn says
Anytime!
Katee says
I have been considering making some of these I may just have to now but I may need to borrow the clamps