
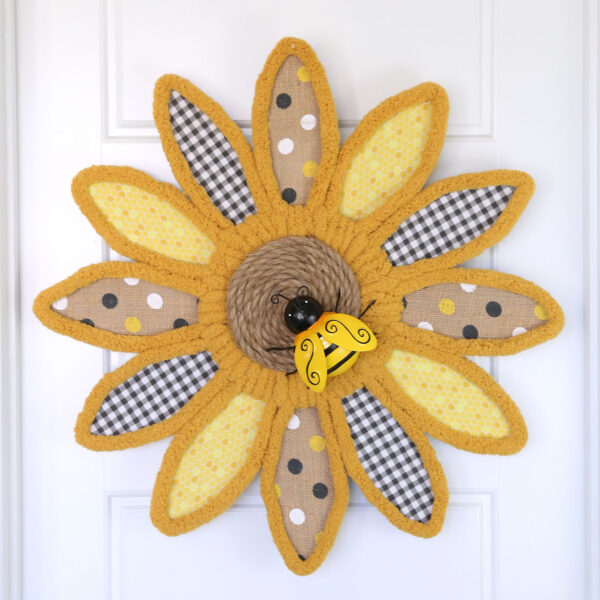
In today’s post: Learn how to turn six bunny wreath forms from Dollar Tree into an adorable sunflower wreath that’s over two feet wide! This is a fun craft for adults that you can complete in 2-3 hours.
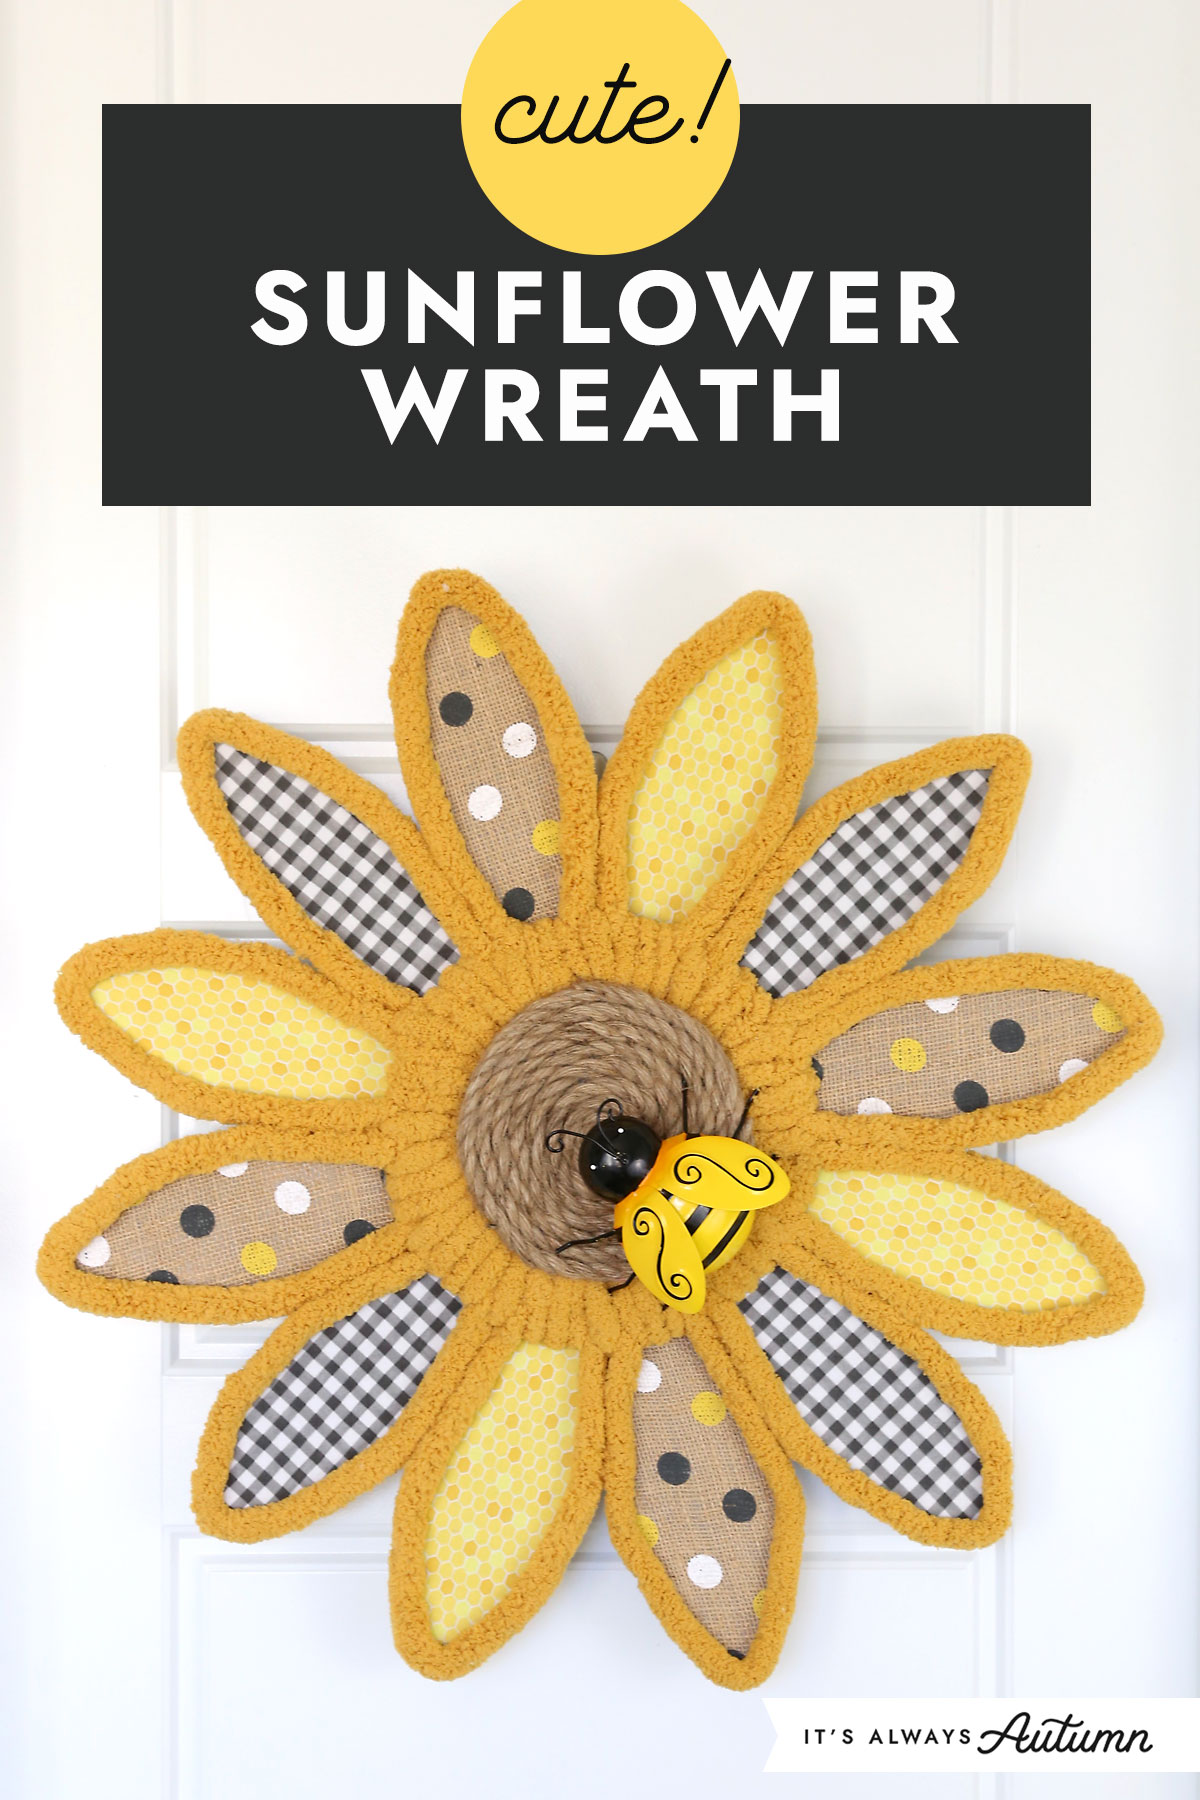
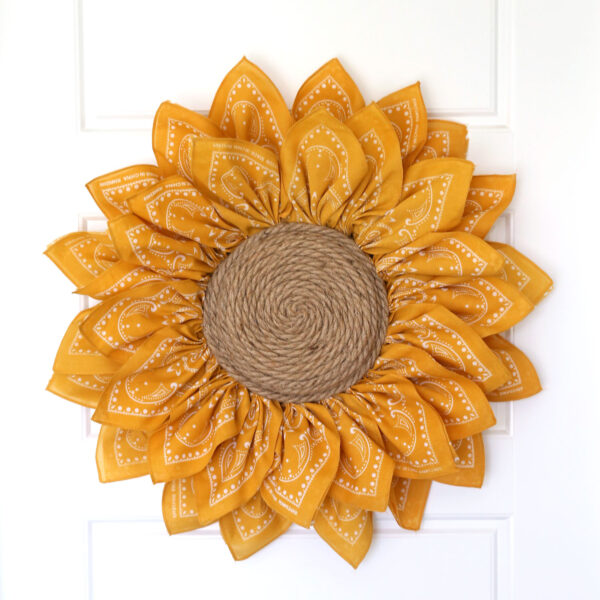
Dollar Tree Sunflower Wreath
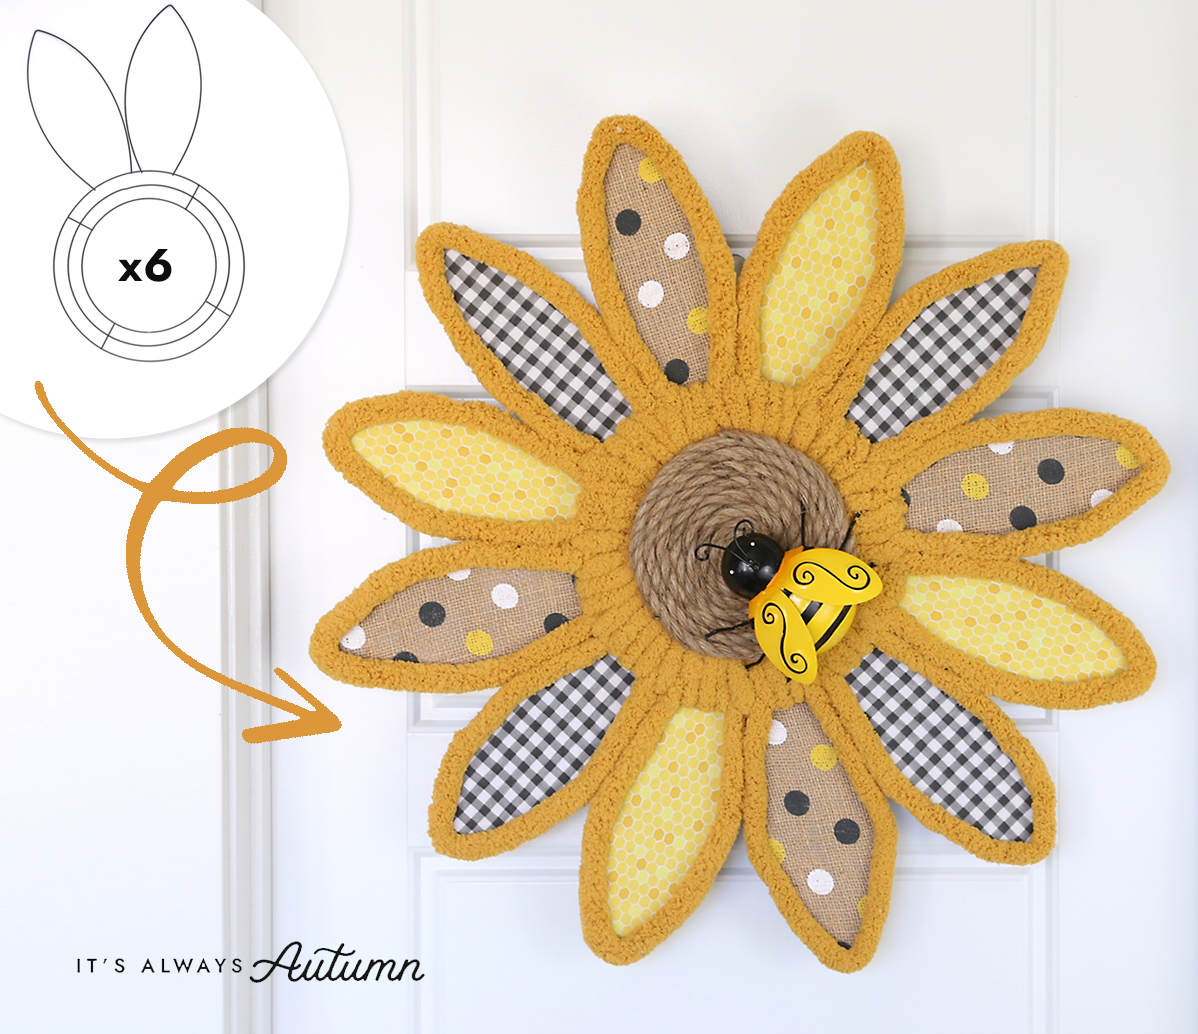
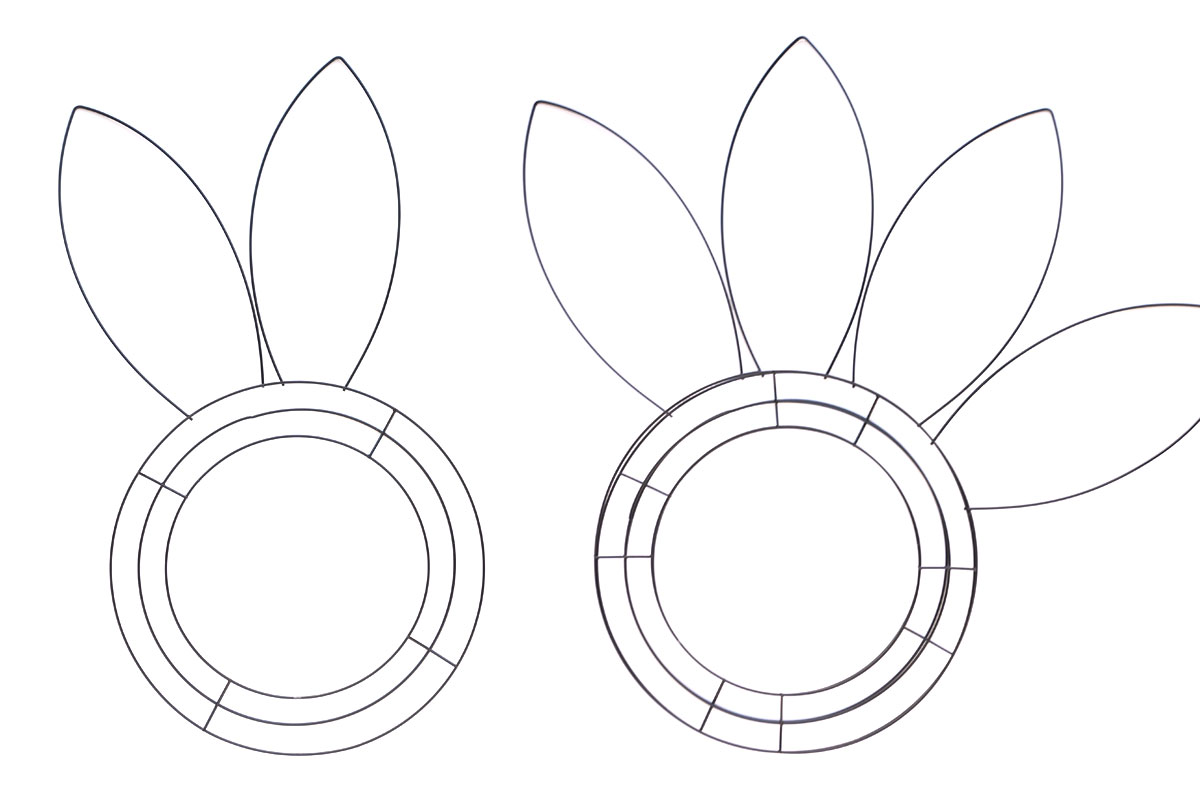
When I saw this idea online I knew I had to try it: you stack six of the bunny head wreath forms from Dollar Tree on top of one another to create a giant sunflower wreath form! Then you can decorate your sunflower wreath however you like. I’m not sure who originally came up with the idea (if you know, let me know in the comments so I can credit them) but it’s pure genius!
Supplies
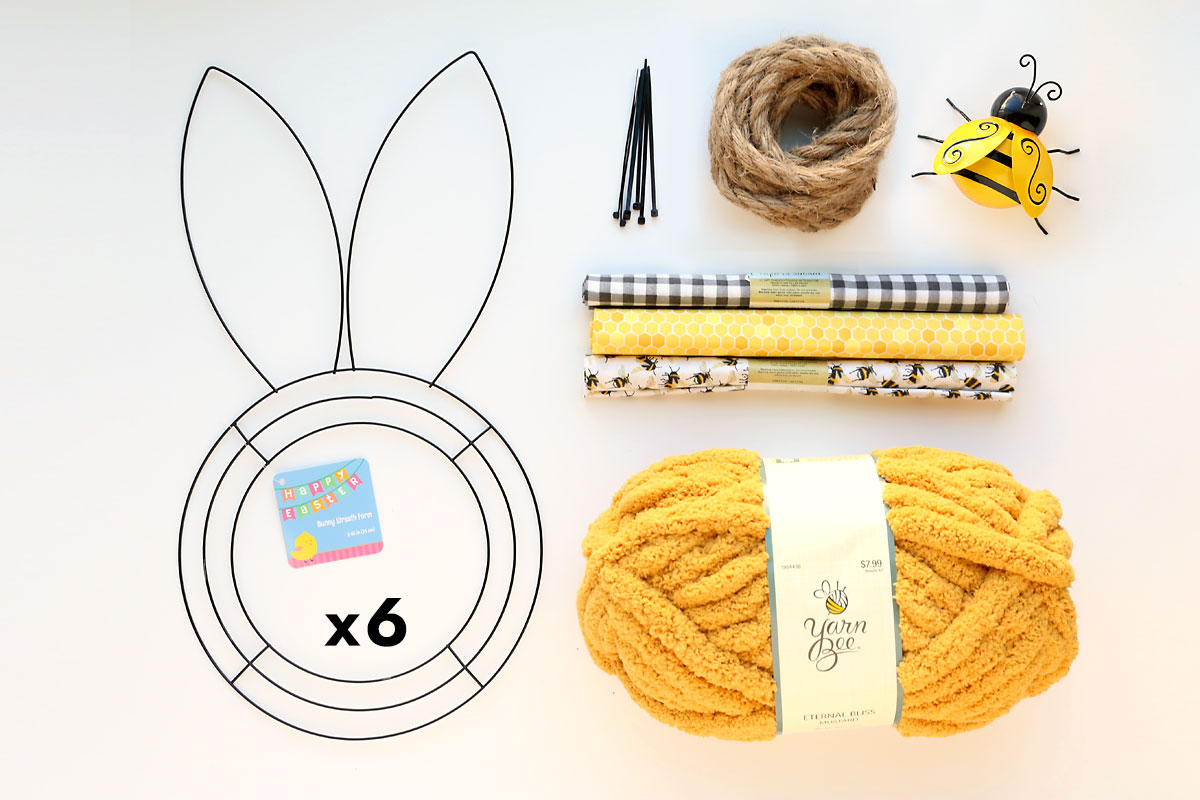
Here’s what you need to make your own sunflower wreath:
- Six bunny wreath forms from Dollar Tree: you might want to call around to the stores in your area to find out who has them in stock, and make sure to get them before Easter or they’ll be gone.
- Zip Ties: you’ll use these to secure the wreath forms together. I bought a pack from Dollar Tree but you can find these at just about any large store.
- Rope: this will be used to create the center of the sunflower. I used one package of the wider rope sold at Dollar Tree.
- Fabric: I used three different fat quarters of fabric from Dollar Tree.
- Posterboard (not pictured): You’ll need one piece of posterboard to create templates for the petals and center.
- Chunky Yellow Yarn: I used Yarn Bee Eternal Bliss yarn in Mustard, found at Hobby Lobby. One ball is plenty.
- Bee Decoration or other decoration (optional): I found this metal bee at Hobby Lobby.
You will also need a hot glue gun as well as parchment paper to protect your work surface from getting hot glue on it (or wax paper, freezer paper, or even foil).
How to make a DIY Sunflower Wreath
I tried a couple different methods for creating this wreath so I could share the simplest one with you! Putting together this wreath is fun, but it will take a few hours to complete. Some of the steps are easy to do while watching a show or listening to an audio book. Plan on about three hours start to finish.
Make templates
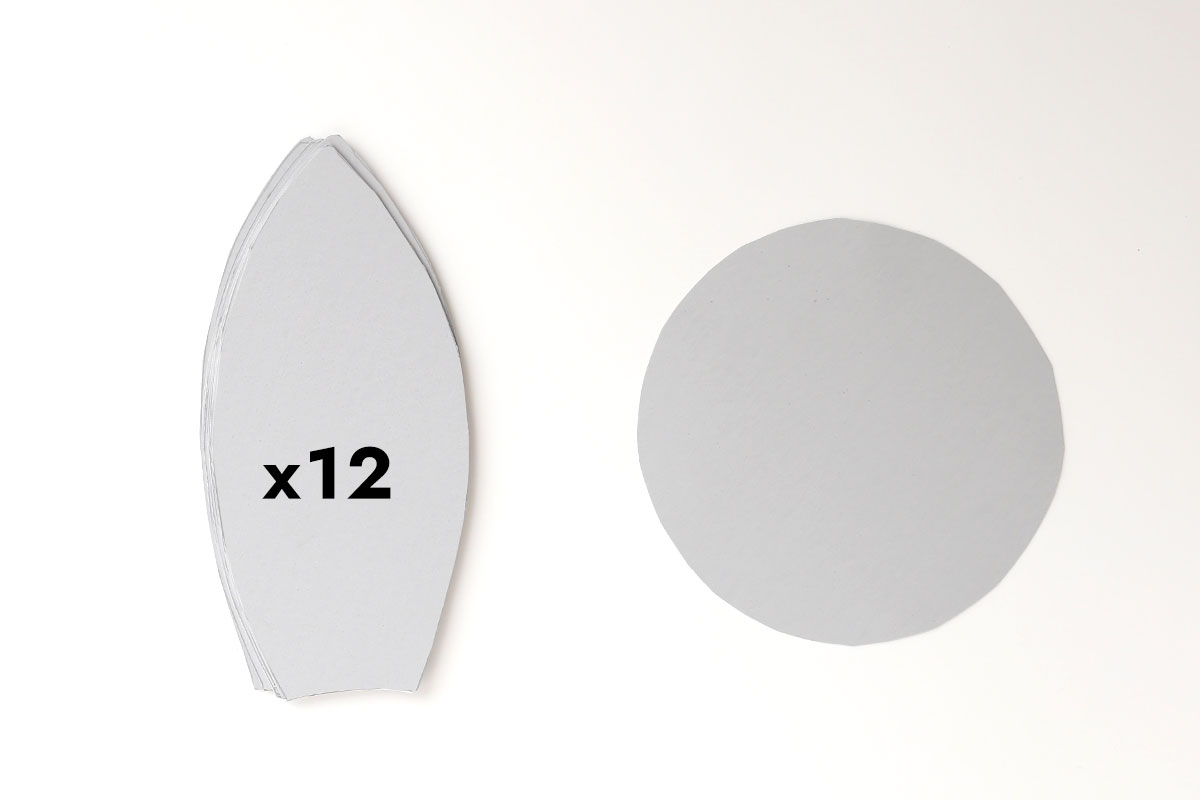
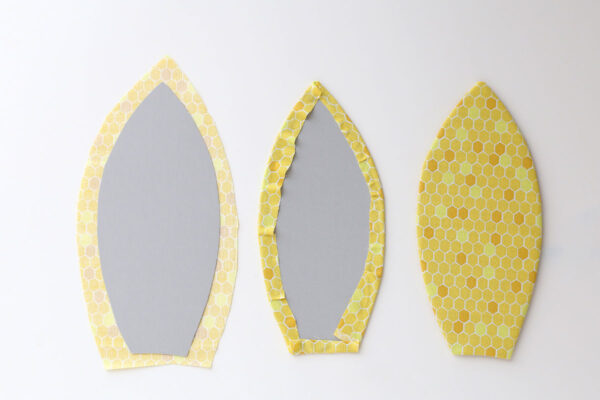
To begin, place on bunny wreath on a sheet of posterboard. Trace both ears (tracing on the inside of the wreath form). These will become the petals for the sunflower. Trace and cut out 12 petals.

Also trace a circle from the center of the wreath form onto the posterboard and cut it out. You’ll use this to create the center of the sunflower.
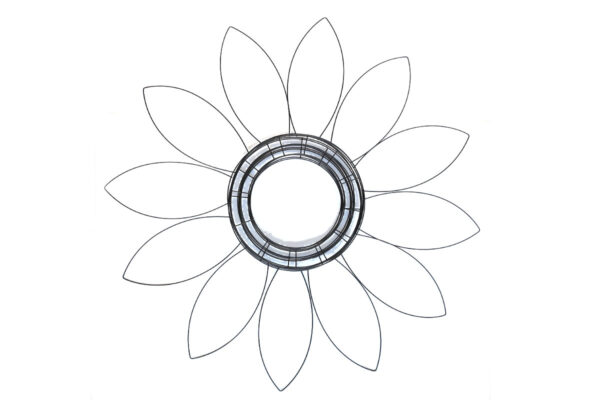
Create Sunflower Wreath Form
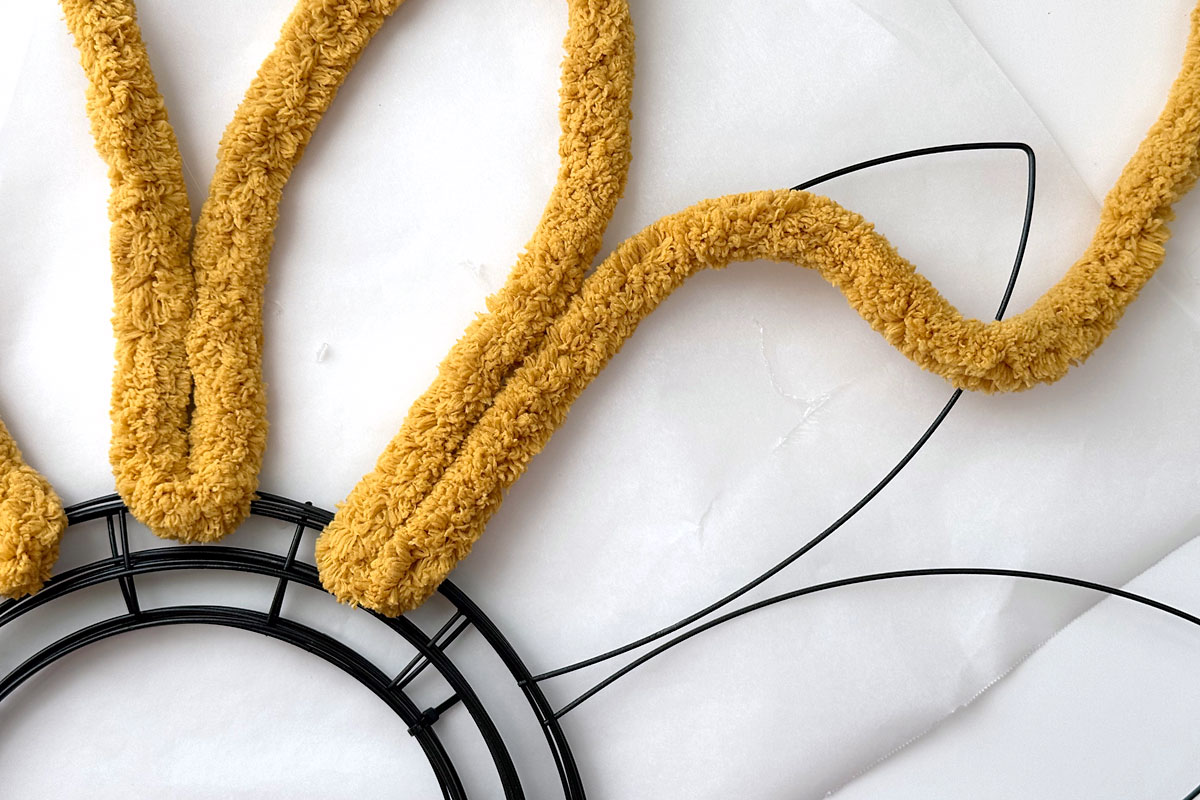
Next, place one bunny wreath form down in front of you. Place another bunny wreath form on top of it with the ears directly to the right of the first bunny’s ears:
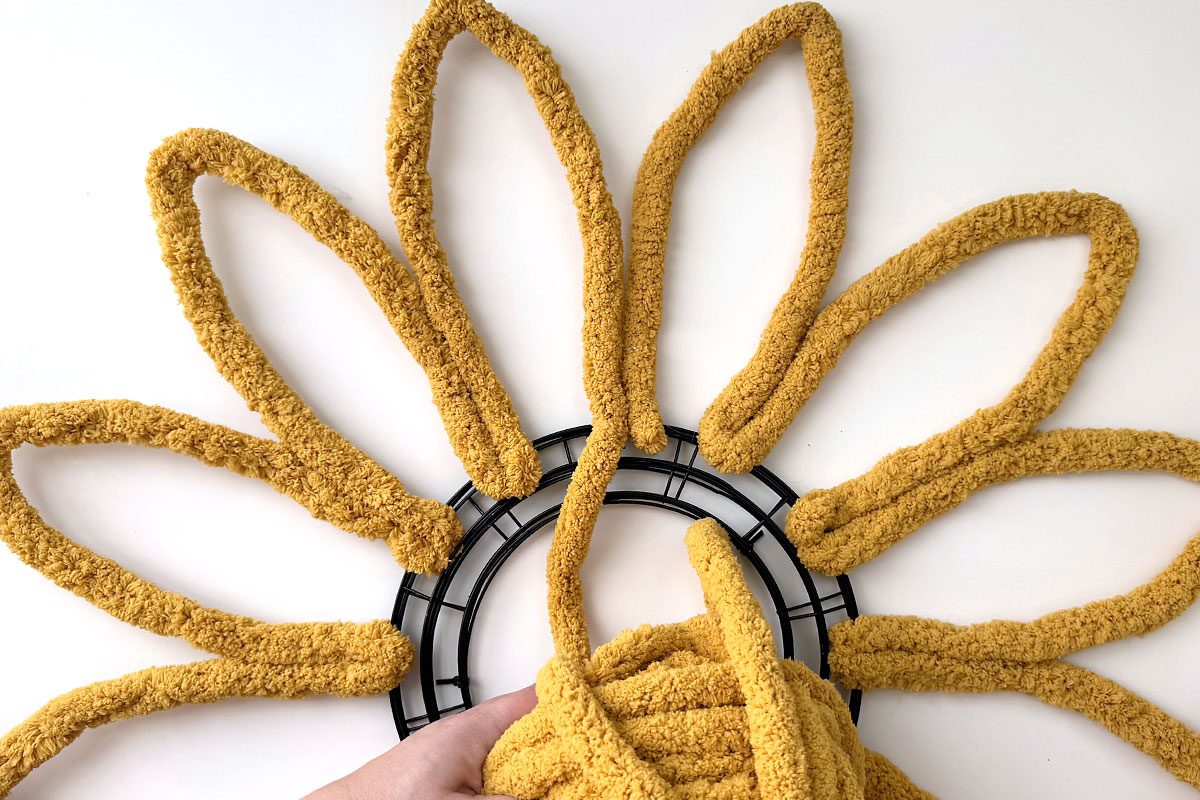
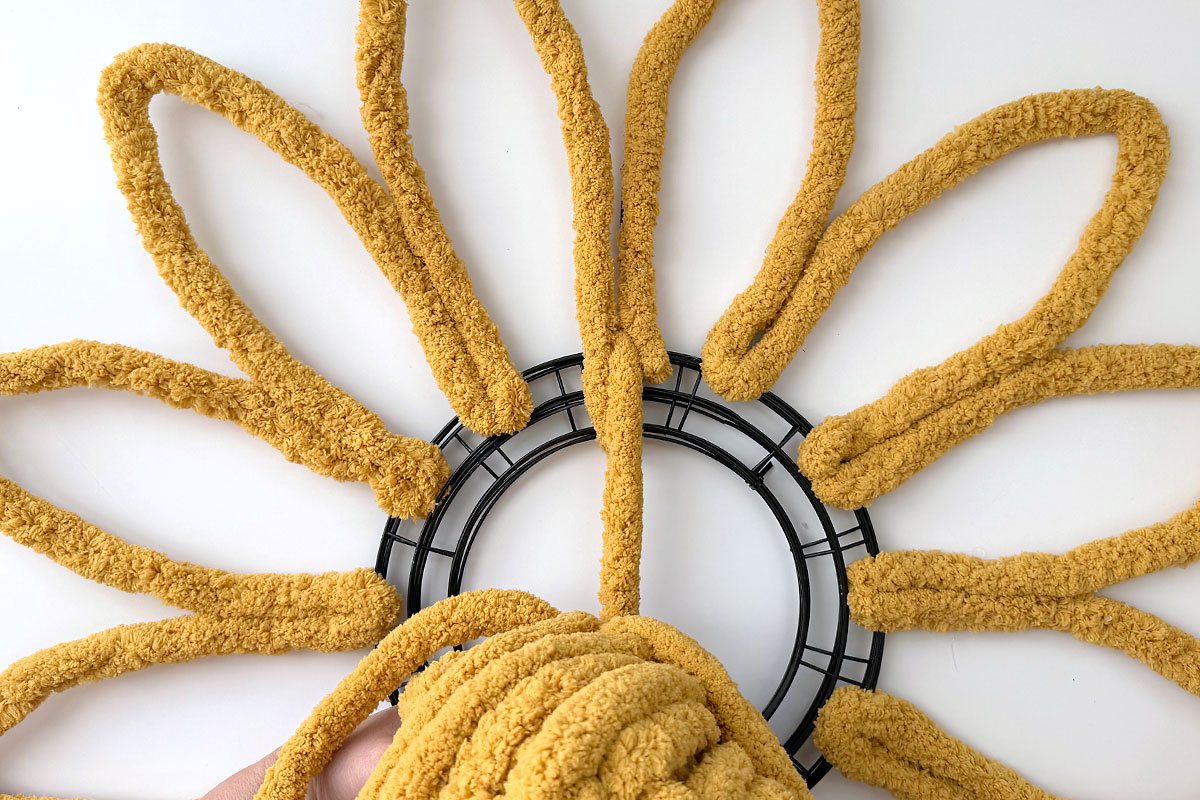
Continue stacking the rest of the bunny forms until you have a sunflower shape:
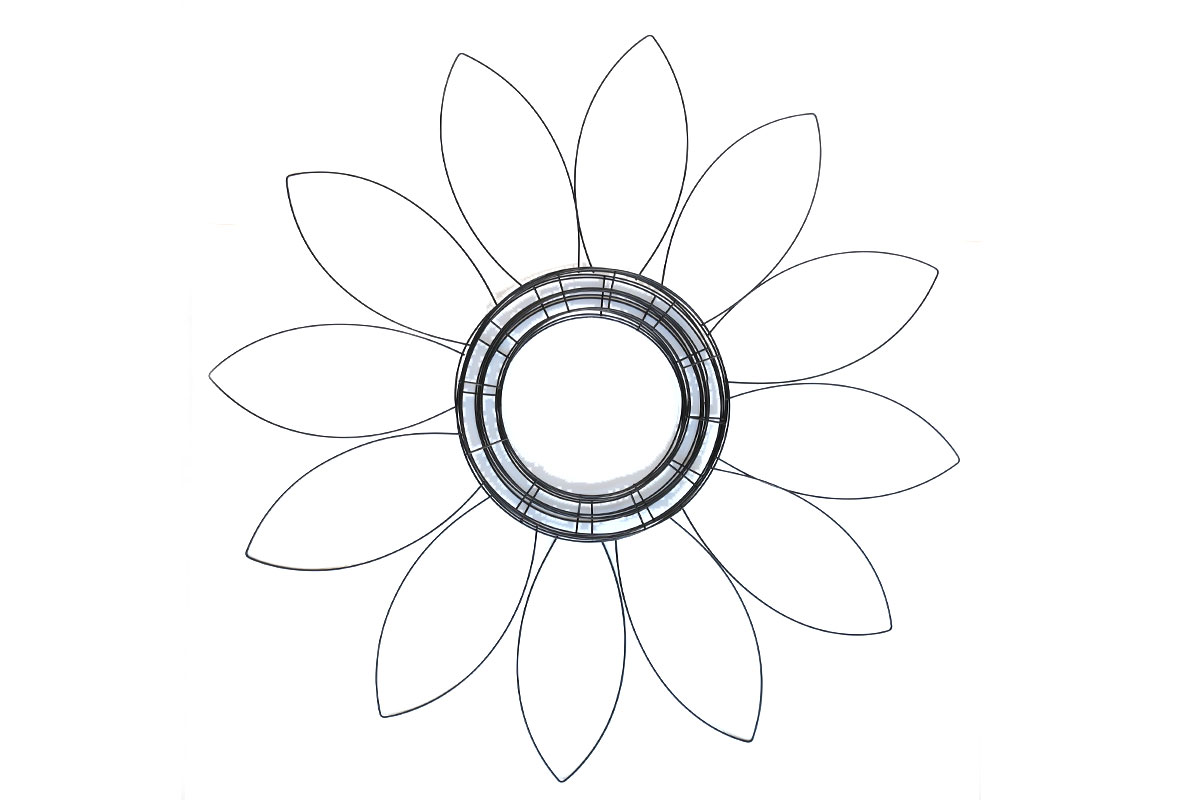
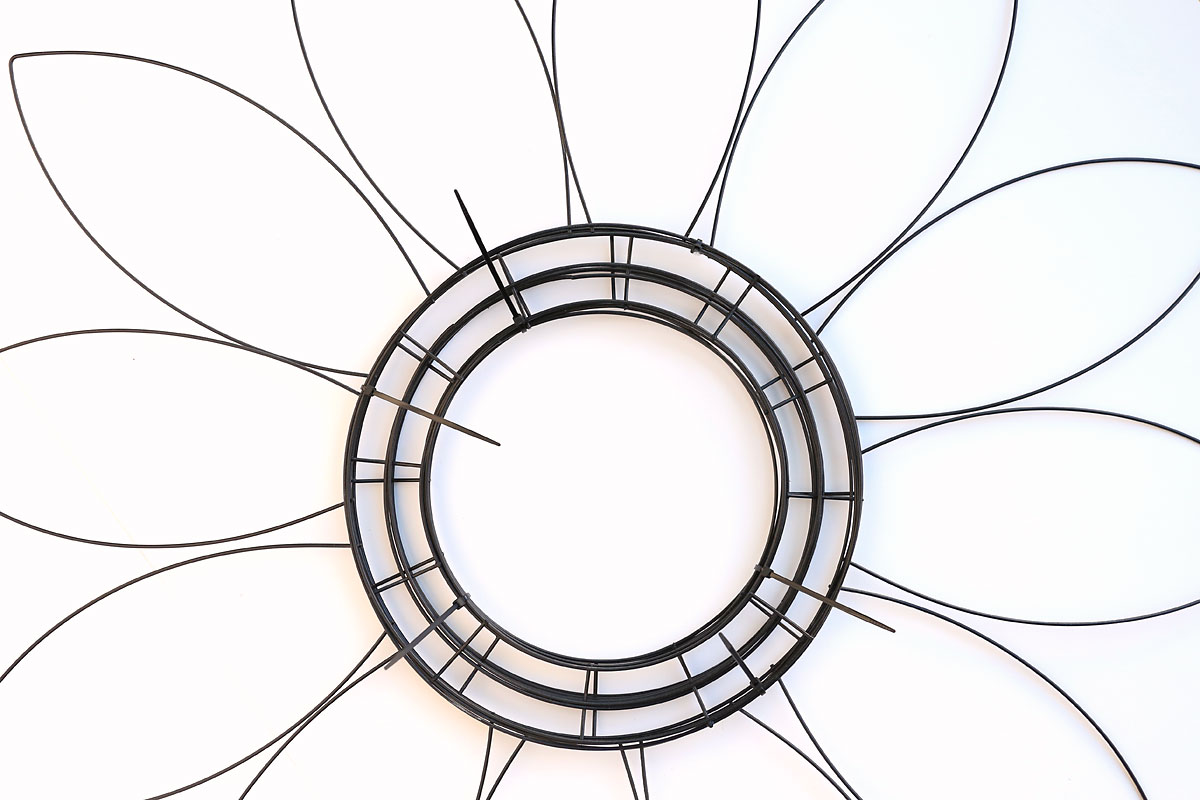
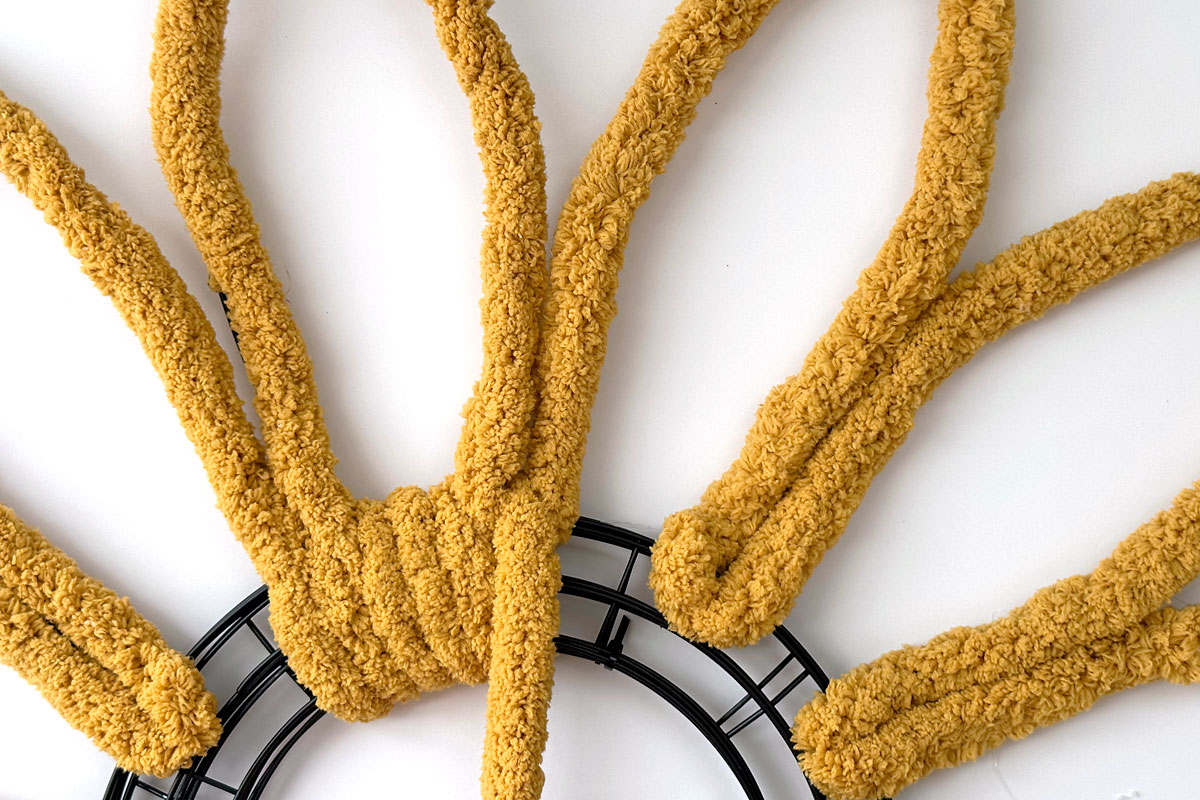
At this point, make sure the petals (ears) are evenly distributed around the center cirlce. They should NOT be overlapping. Use 5-6 zip ties to attach all the wreath forms together at different spots in the center circle. After you’ve added all the zip ties and have the petals positioned, pull the zip ties very tight and trim the ends.
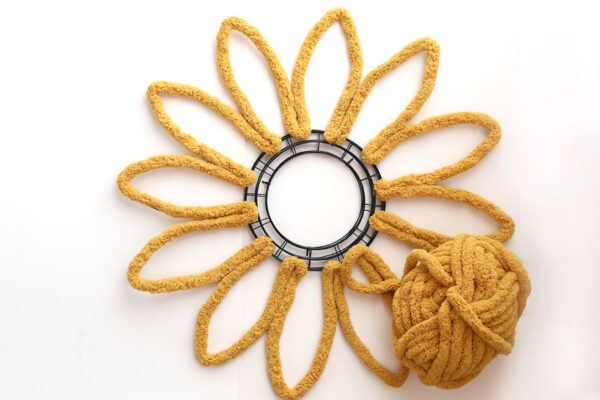
Cover Wreath Form with Yarn
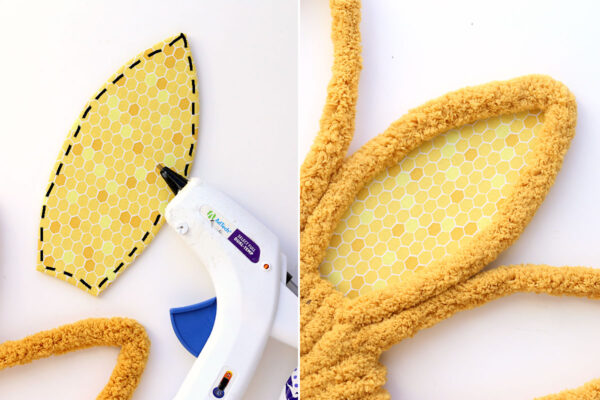
Now we are going to use the chunky yellow yarn to cover the wreath form, starting by outlining the petals. First I tried wrapping the petals with yarn but that is a huge hassle! So it works best to just hot glue the yarn to the petals. Make sure you put a piece of parchment paper (or wax or freezer paper) underneath the wreath form to protect your table from the hot glue. Beginning at the bottom of one petal, apply a line of hot glue along the wire, then immediately place the yarn over the glue and press down to secure.
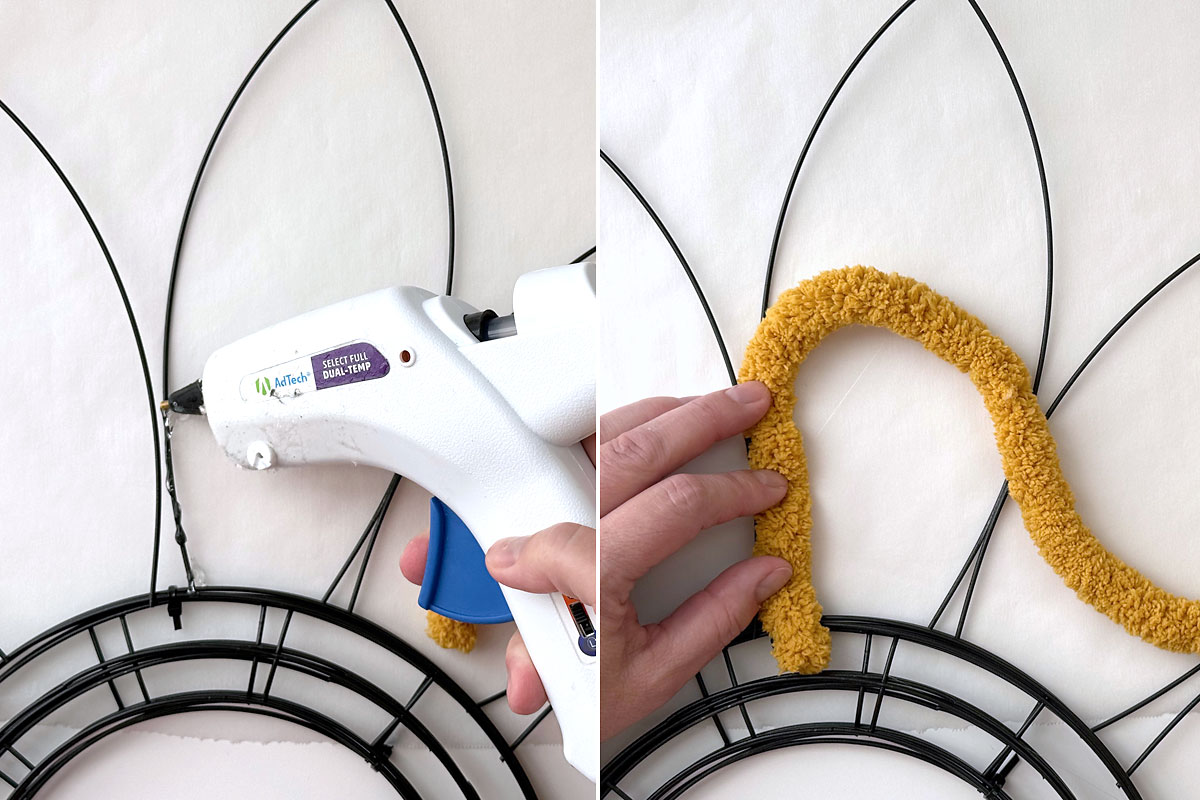
Continue adding glue up the wire and pressing yarn into the glue. Because the wire is thin you will end up with some glue on the parchment paper, so as you finish each petal just lift it from the paper to make sure it doesn’t get glued down. When you finish the first petal, just start gluing yarn up the next one. Be sure that the petals don’t get glued to each other; if they are too close to one another just squeeze them to narrow them slightly.
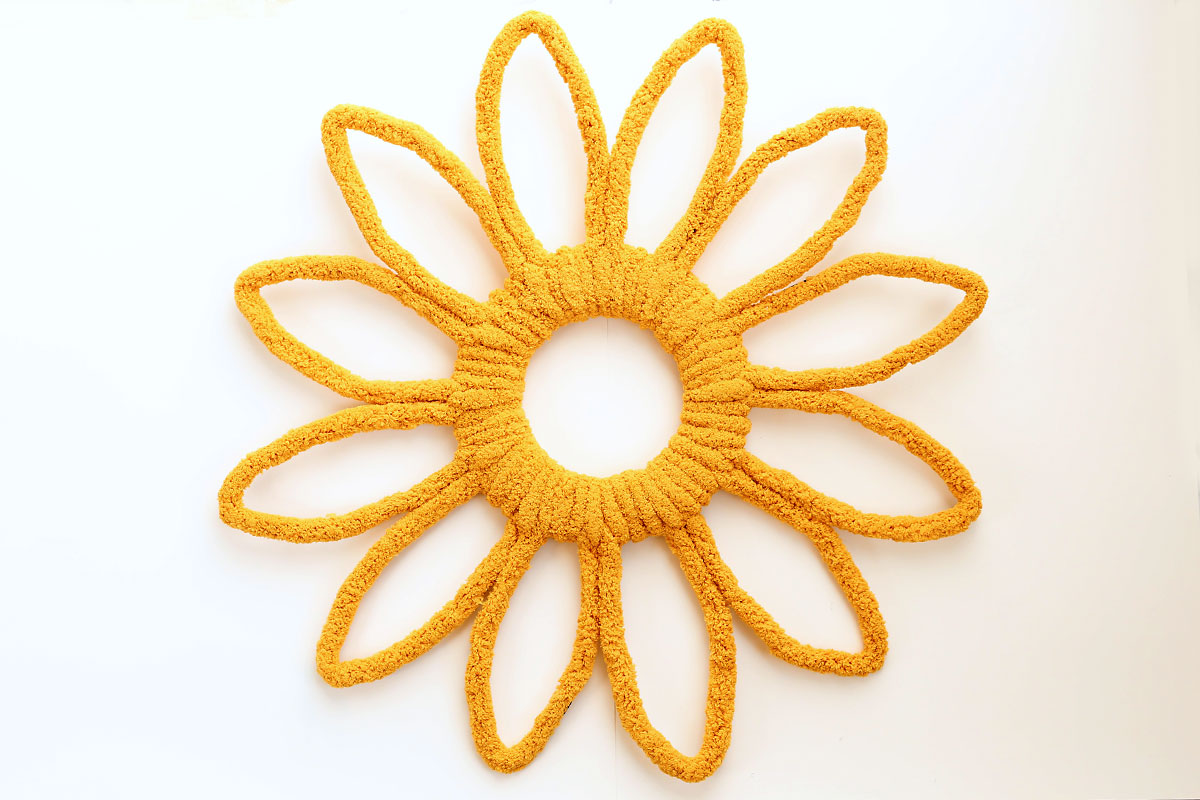
Continue all the way around the wreath form until you have all the petals outlined with yarn, as shown below:

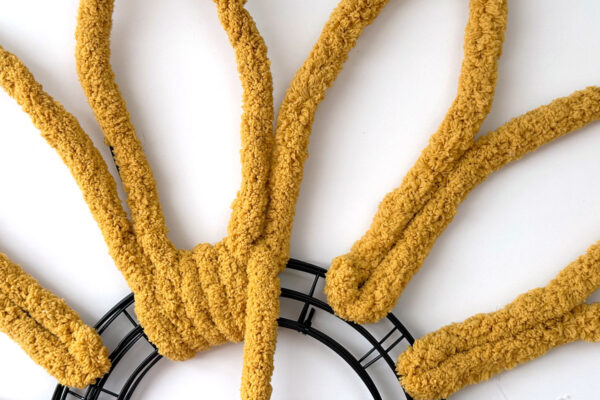
At this point you’ll start wrapping the center circle. This is hard to do with a big ball of yarn, so unravel the ball at this point. Measure out 6-7 more yards of yarn and cut the rest off to save for another project. Place the wreath form in front of you with the petal you just finished outlining at the top, as you see here:
Push the yarn through the center circle, then bring it up behind the wreath form and pull it between the top two petals.
Then push the yarn through the center circle again, and this time bring the yarn back through the petal just to the right of center. Repeat that two more times, until you have three wraps of yarn going through that petal.
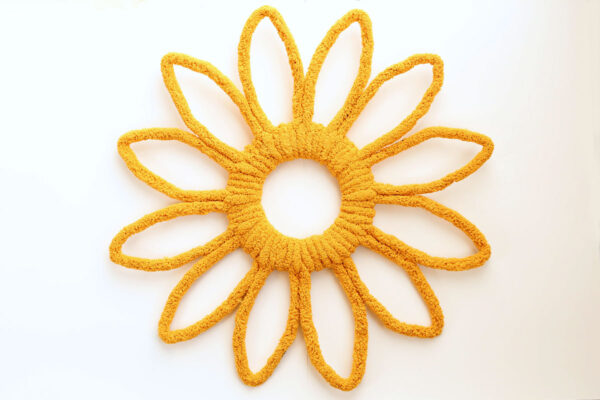
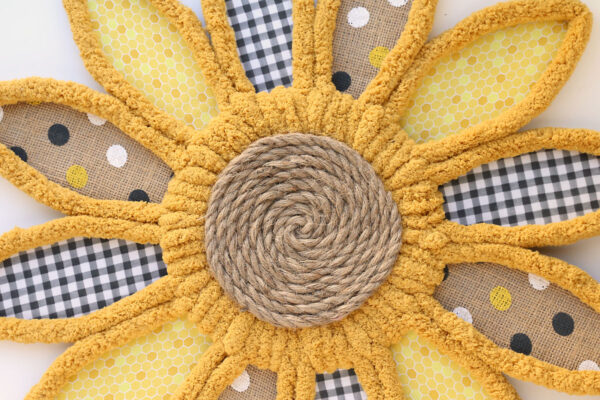
Repeat this pattern to wrap the entire center circle: wrapping the yarn once in between petals, and then three times inside each petal. When you finish wrapping the center circle, tie off the yarn in back and trim any excess. This is what is looks like now from the front:
Add the Petals
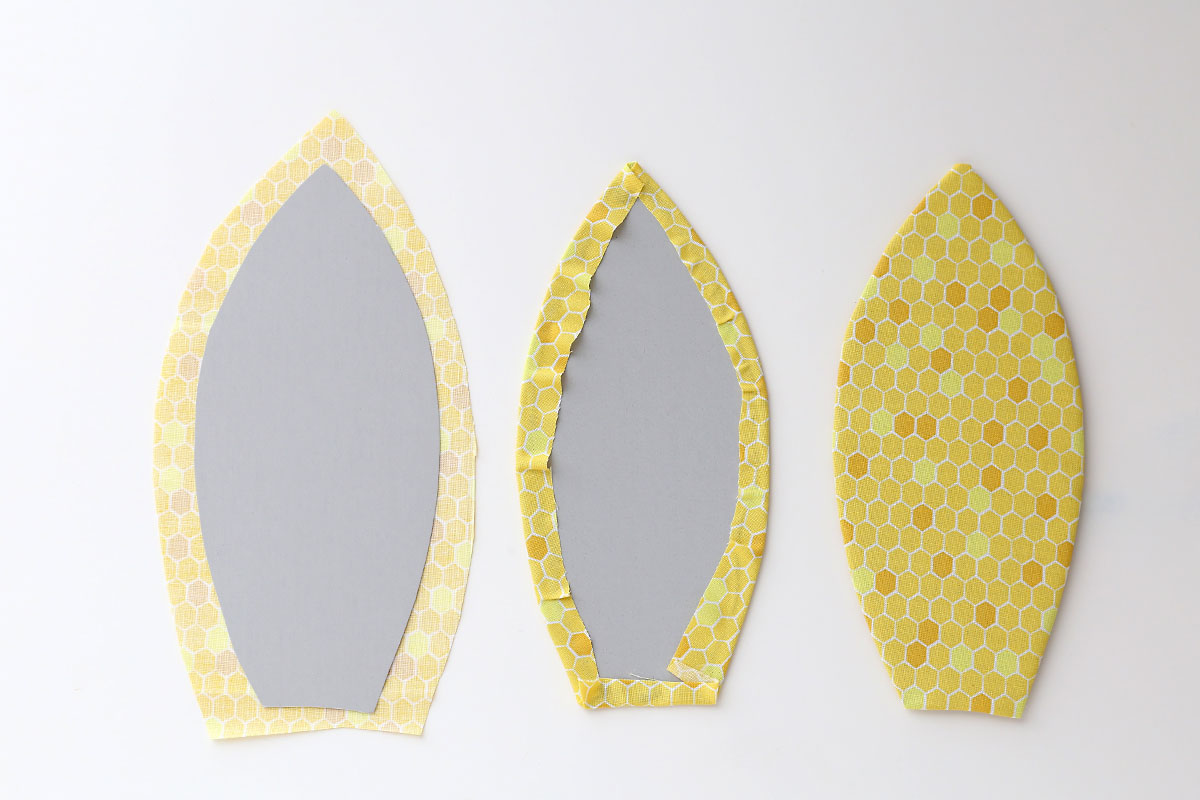
Now it’s time to add the petals. Iron all the fabric you plan to use. Grab the 12 petal templates. Place them down on your fabric and cut around them, leaving about an inch border around the template. Make sure the template is facing the wrong side of the fabric. Wrap the border around the template and use hot glue to secure.
Lay out the wreath and place the petals under it to decide where you want each one to go.
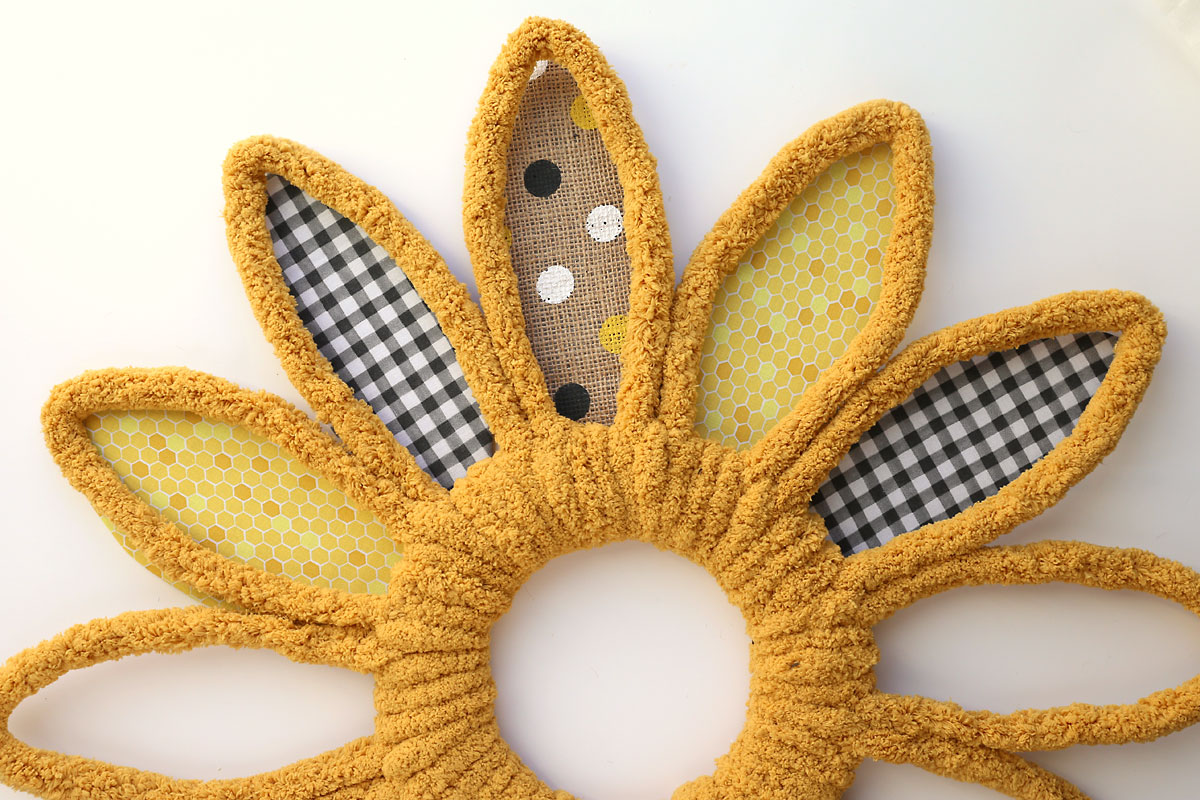
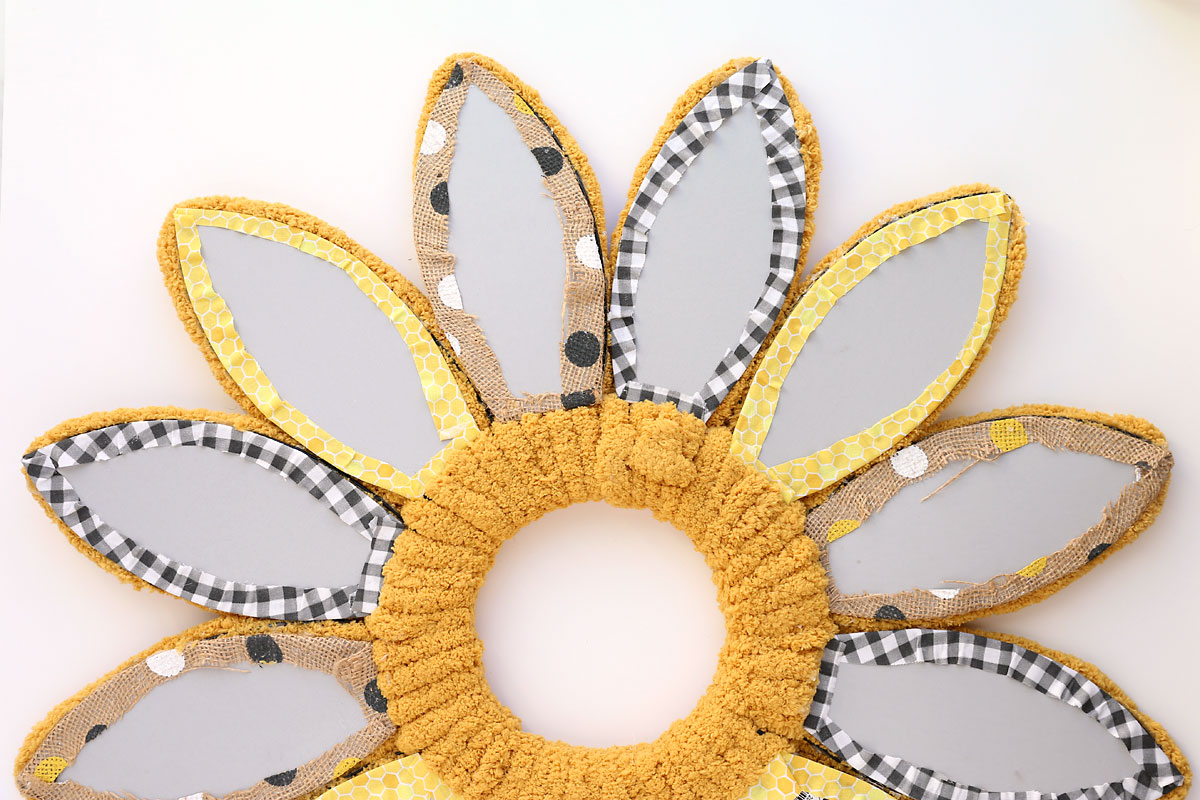
Run a line of hot glue near the outside edges of a petal (as shown by dotted lines in the photo below), then place it behind a petal section on the wreath. Press it to the yarn/wire to secure.

Repeat this process to adhere all the petals. Here’s what it looks like from the back:
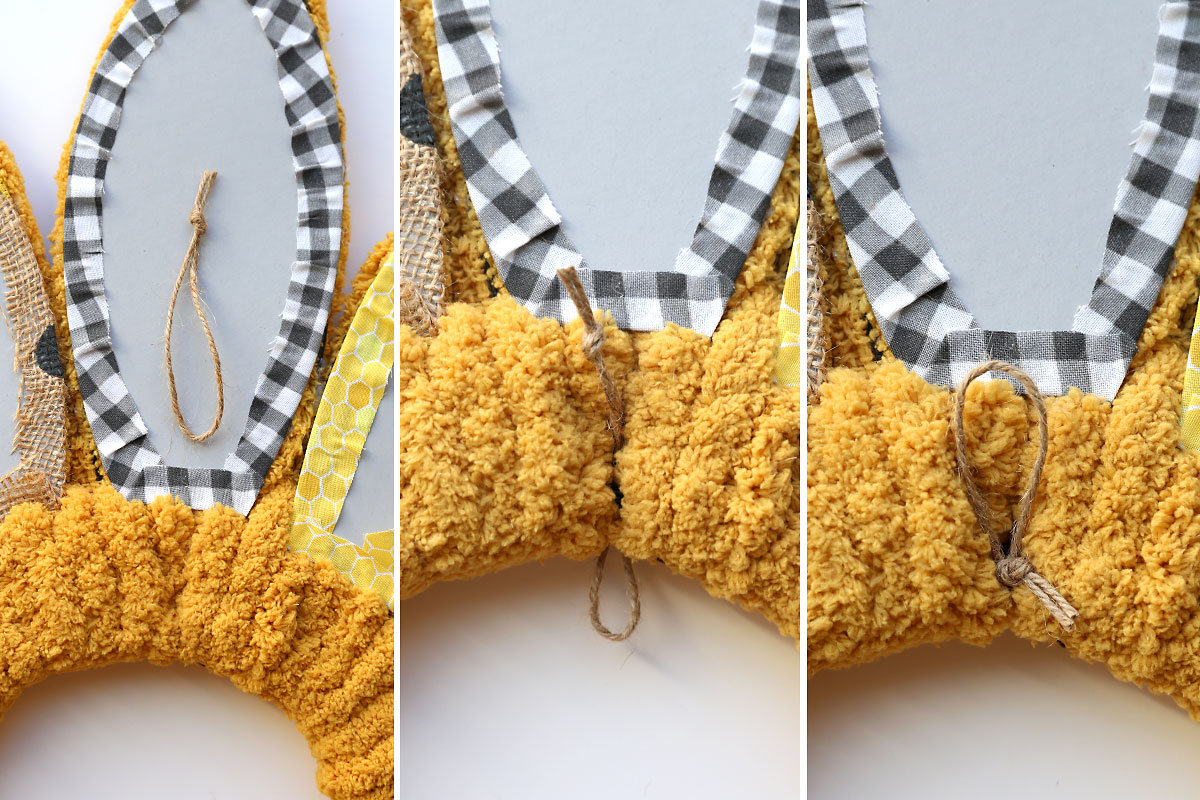
Add a Hanging Loop
At this point you’ll want to add a loop or a line of twine/ribbon across the back of the wreath that you can use to hang it. When doing so, make sure that you tie the twine/ribbon to the wire wreath form itself, not just to the yarn covering it. So you’ll want to pull the yarn apart a bit in the back, then tie on a loop.
Finish the Center
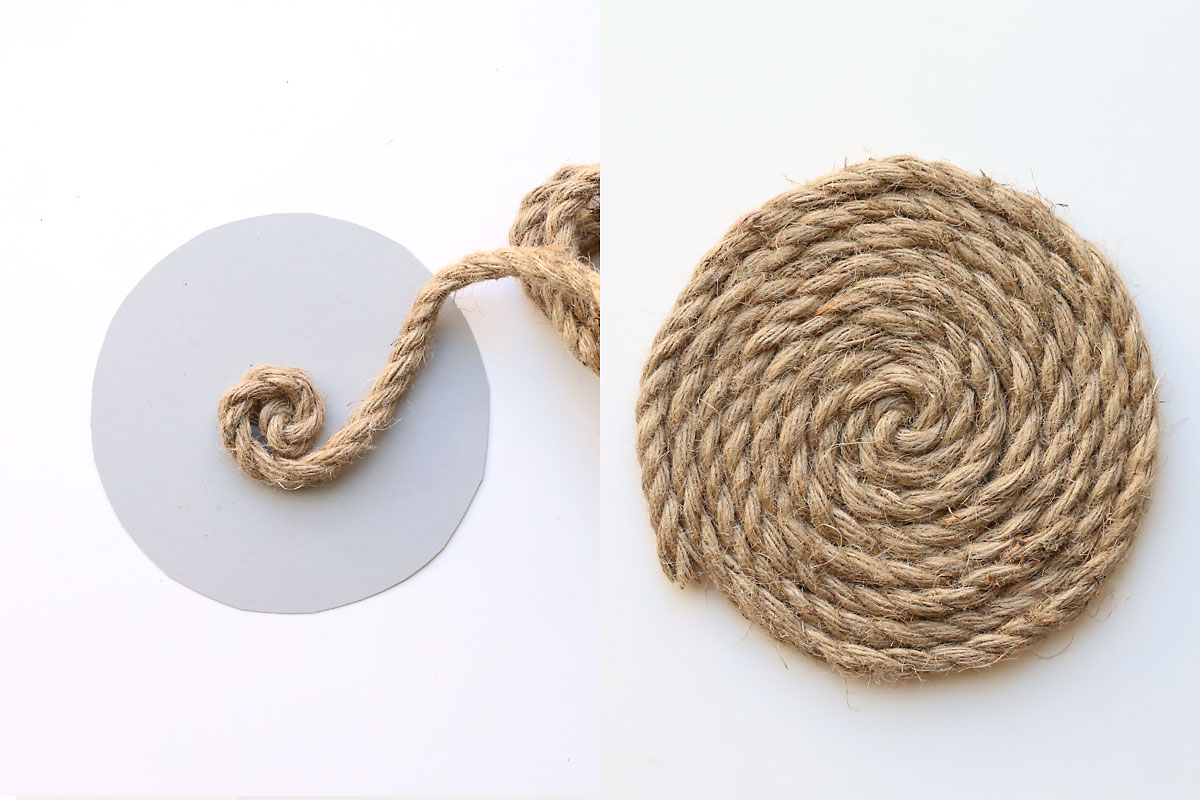
Now all that’s left is to finish the center of your wreath! Grab the circle you cut from posterboard in the first step, as well as some rope. Hot glue the rope to the circle in a spiral, as shown below:
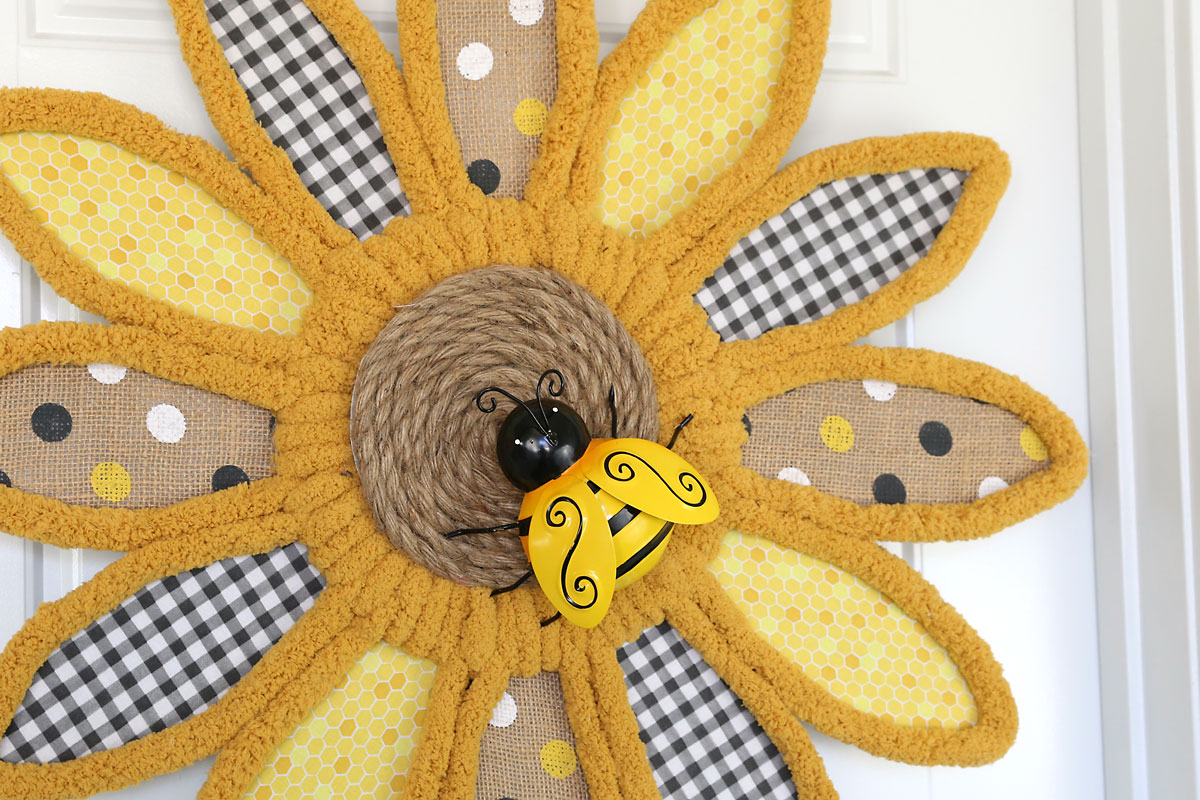
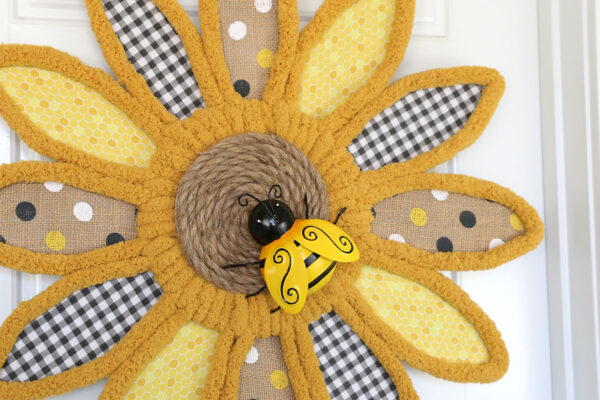
You can attach this to the wreath from the back or on the front – I thought it looked cuter on the front. Use plenty of hot glue to glue this to the center of the wreath.

Then you can add any extra decorations that you like. I added a cute metal bee:
Help the Wreath Hang Straight
Depending on what sort of wreath hook you are using, the top of this wreath may get pushed out a few inches from from the door while the bottom edge of the wreath touches the door, making it look top heavy. If that happens and it bothers you, just find a small box (like a mini toothpaste box) and glue it to the back of the wreath at the bottom of the circle. This will act as a spacer so the bottom of the wreath is as far away from the door as the top!
Sunflower Wreath using Bunny Wreath Forms
Supplies
- 6 Bunny Wreath forms from Dollar Tree
- 1 ball Very Chunky Yarn Yarn Bee Eternal Bliss brand from Hobby Lobby
- Zip Ties
- 1 sheet Posterboard
- 3 Fat Quarters Fabric
- Rope
- Any additional decorations
Want more project ideas? Sign up to get my favorite easy crafts and recipes straight to your inbox!
Equipment
- Hot Glue Gun
Instructions
- Trace the inside of the ears from one bunny wreath form onto posterboard to make petal templates. Cut 12. Trace the center circle of one bunny wreath form and cut from posterboard.

- Stack six bunny wreath forms on top of each, evenly distributing the ears all the way around the center circle to create a sunflower shape. Use zip ties around the center to secure tightly.
- Use hot glue to glue chunky yarn to the front of the petals, outlining each one separately. Be sure not to glue any petals to each other; if any petals are touching squeeze them gently to make them narrower.
- Measure out 6-7 more yards of yarn and cut off the rest. Use the yarn to wrap the center circle. Wrap once in between each set of petals and then three times inside each petal.
- Continue until the center circle is completely wrapped in yarn. Tie it off in the back and trim excess.
- Cover each petal template with fabric, pulling the fabric around the template and hot gluing to secure.
- Hot glue each petal behind the petal space on the wreath.
- Add a hanging loop on the back of the wreath. Be sure this loop is attached to the wire wreath form, not the yarn.
- Glue rope to the circle template in a spiral to make the sunflower center. Use plenty of hot glue to glue this to the front of the wreath.
- Hot glue on any additional decorations if desired.


Cindy Matherne says
Thx! Great tutorial! Making this in the near future! 😊🌻🐝
ANN says
WONDERFUL DIRECTIONS !! THANK YOU SO MUCH, I’M DIGGING IN SHORTLY WISH ME LUCK 🙂
Diana metcalf says
This is very cute 🥰
Kathy says
Great directions! Made this so easy!
Tracy says
If you hang this on a glass door what should you use on the back to make it have a finished look or should you not hang it on an exterior door
Autumn says
I think it would be hard to finish the back completely just since it’s so large. You could try tracing the shape in posterboard and cutting it out and gluing that over the back, but it would take more than one piece of posterboard so that might be more work than it’s worth.