
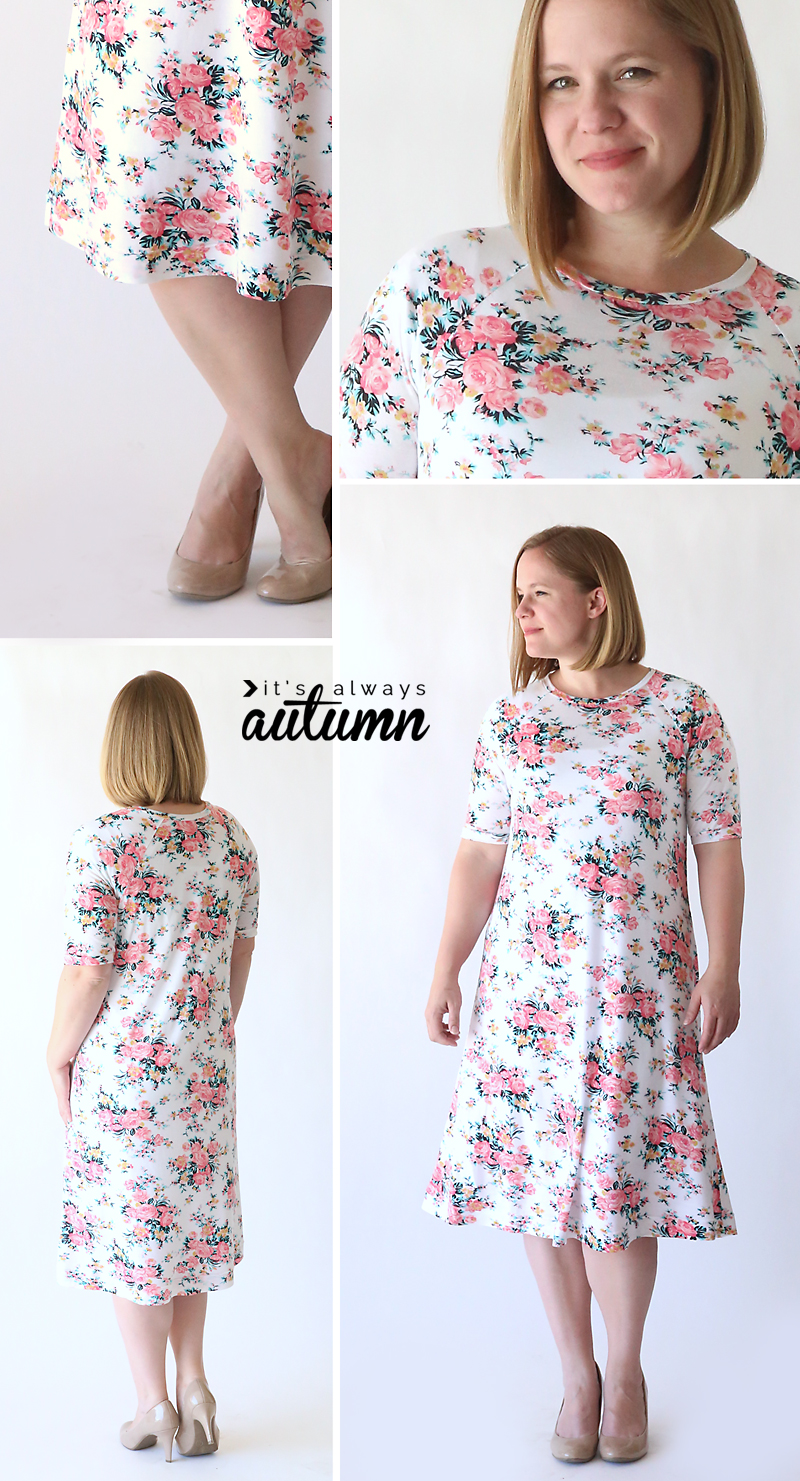
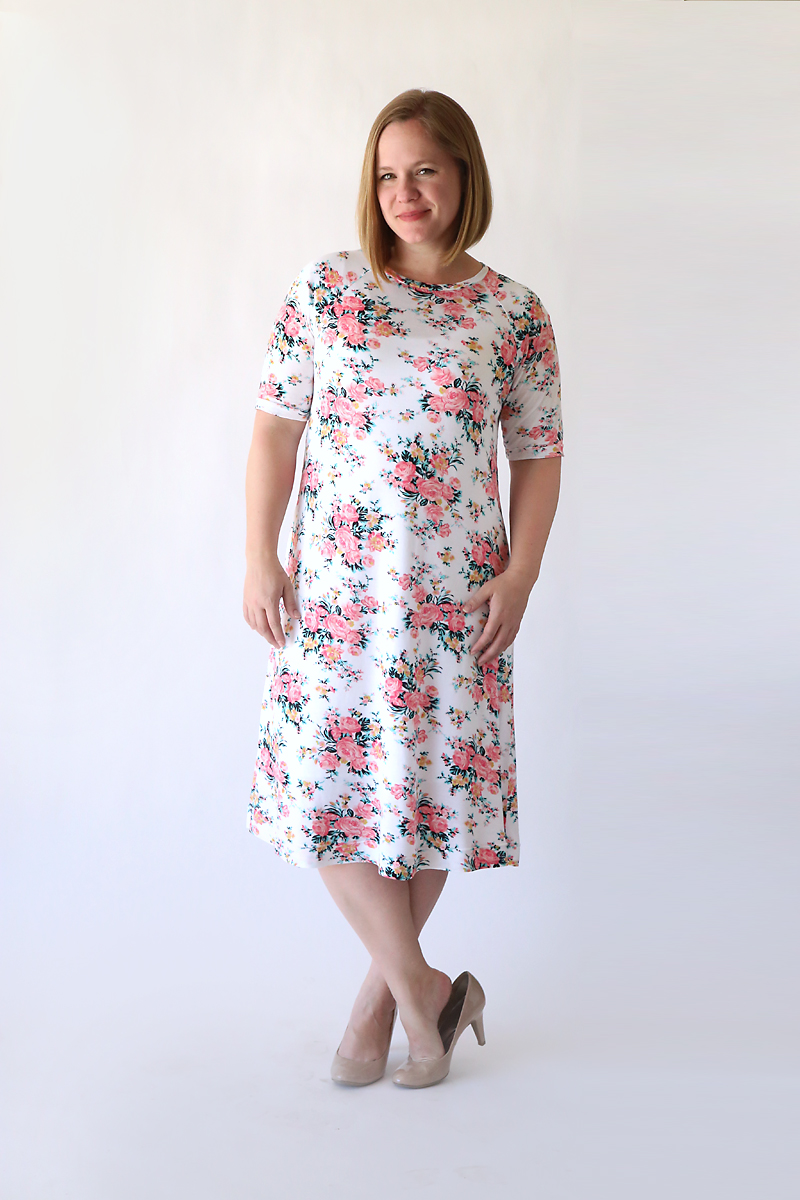
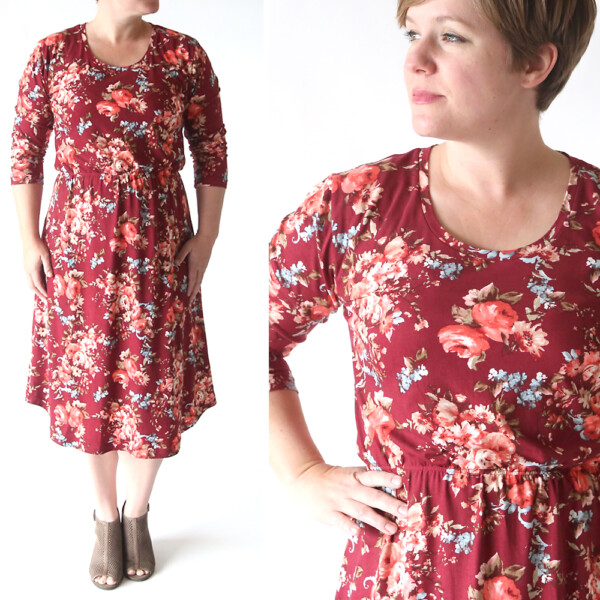
Since I plan to spend the entire summer avoiding the waistband of my jeans and wearing comfy dresses instead, I made a new dress. And to do so I revisited an old favorite of mine: the Easy Tee. This dress is made using the free Raglan Easy Tee pattern and I’m excited with the way it turned out. And the fact that making the dress was every bit as easy as making the tee is!
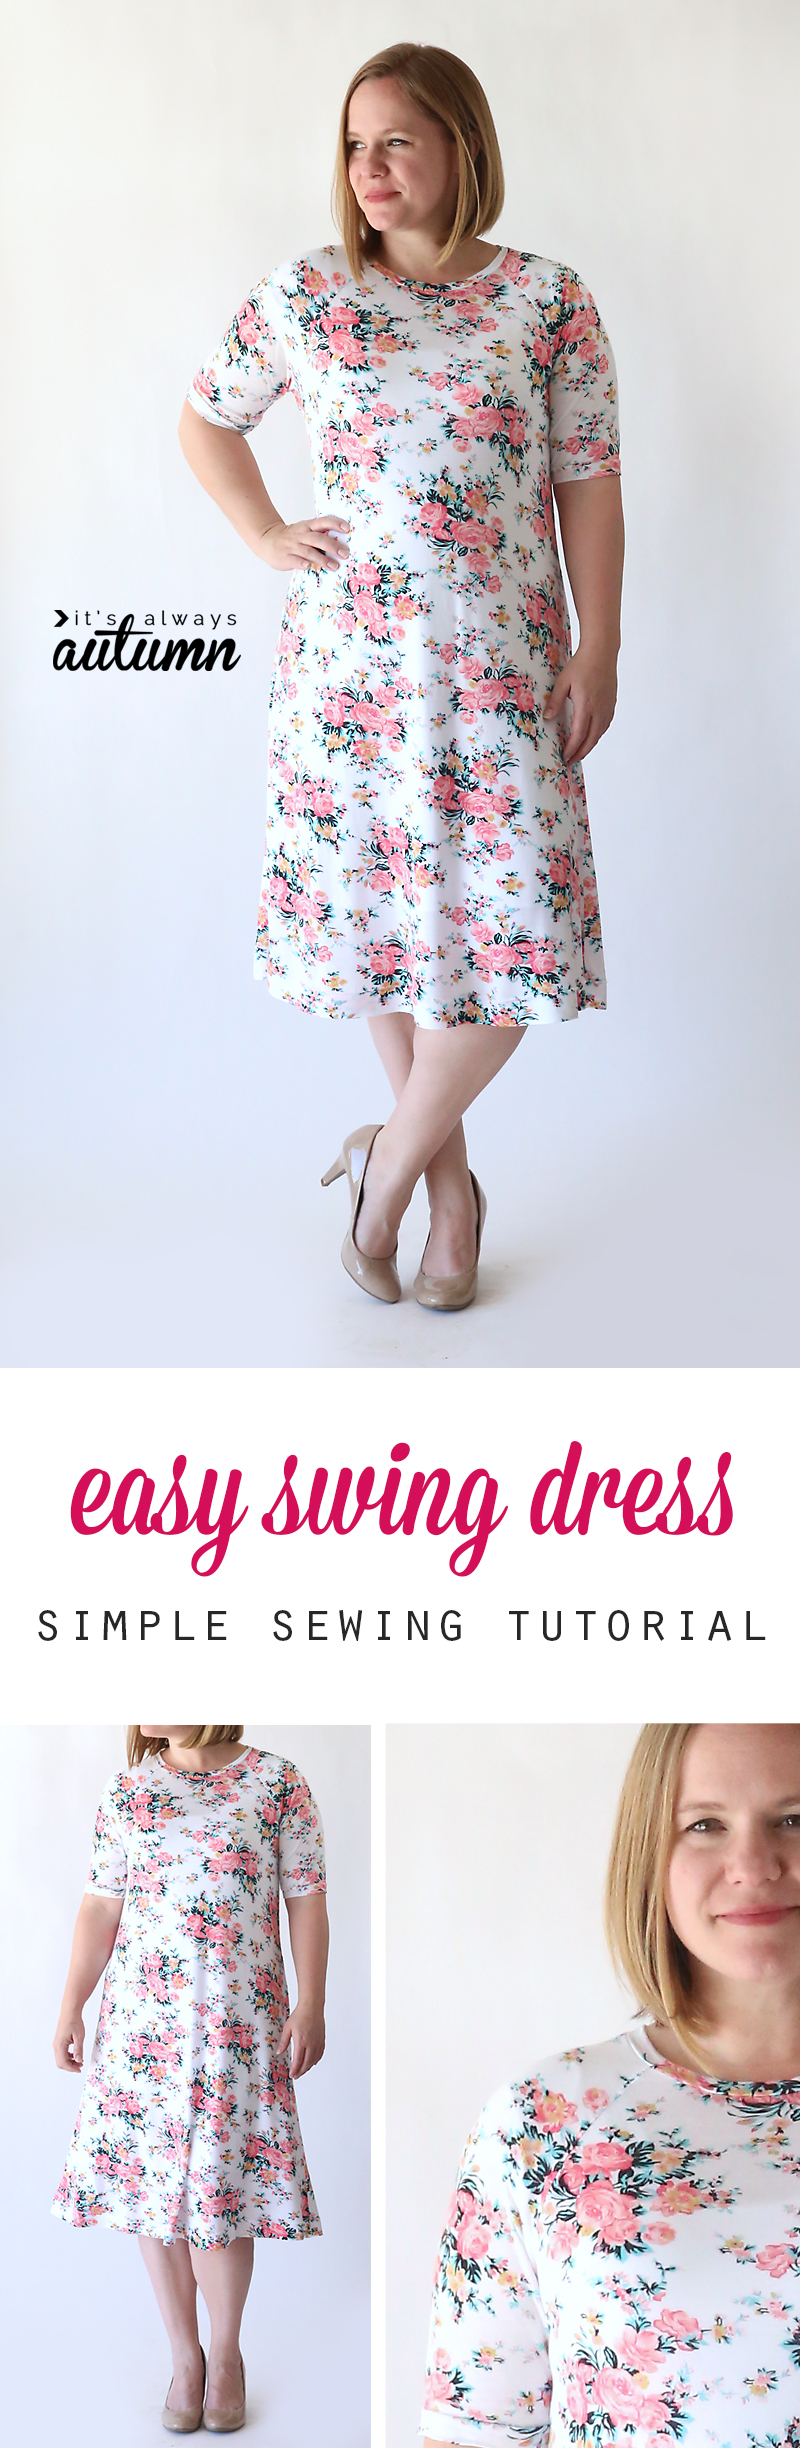
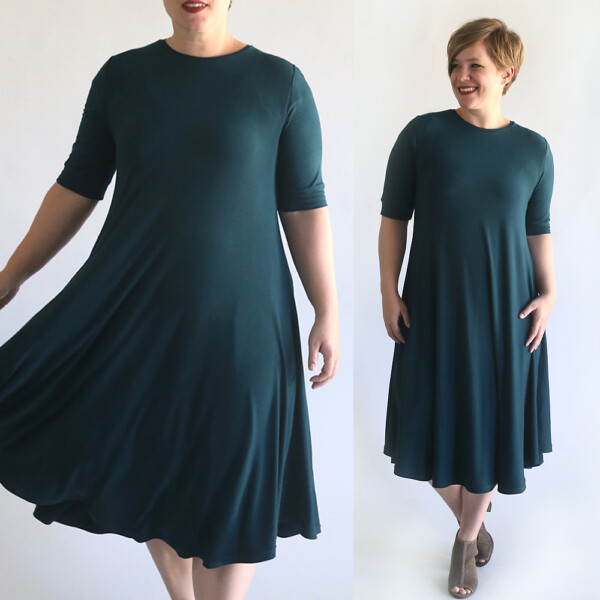
I’m calling it a “swing dress” because it isn’t fitted, but honestly there’s not a TON of swing in it, because I only had two yards of this fabric. I plan to make a swing-i-er one soon using three yards, but for now I have an easy to wear, comfy new dress that does a great job hiding what it’s supposed to hide.
Here’s how to sew a simple swing dress using the free Easy Tee pattern:
First, download the Raglan Sleeve Easy tee pattern found here and print it out at 100%. Make sure the test box measures exactly 1 inch by 1 inch. Butt the pages together (no overlapping), tape them, and cut out the pattern pieces.
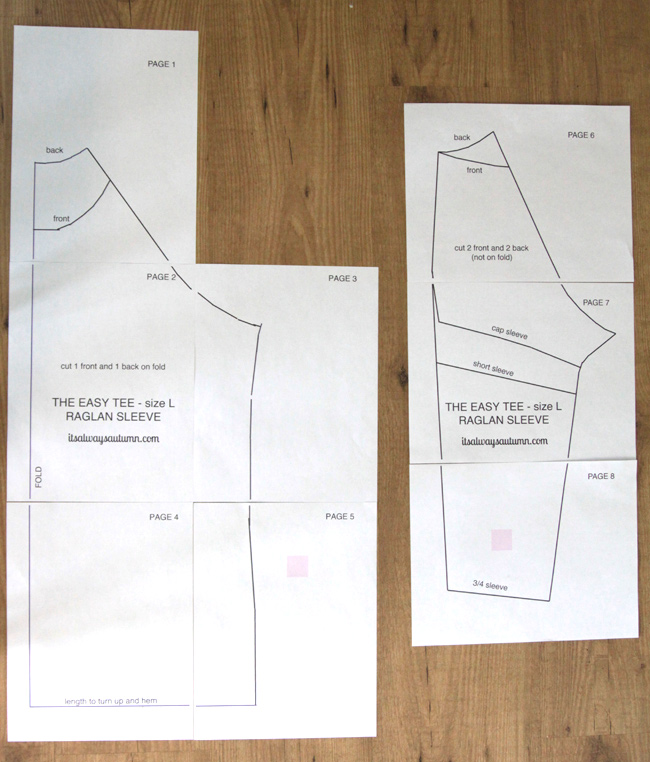
I used 2 yards of a lightweight cotton spandex knit. You’ll likely want something fairly drapey for this dress, since it’s not at all fitted. 1/2 inch seam allowances are included in the pattern.
I made a few adjustments when cutting out the dress pieces. First, when cutting the bodice pieces I added about 16 inches of length to the pattern, as you can see below. I also tilted the pattern slightly, so the top of the bodice would be a bit more fitted and the lower portion would flare out a bit. If you have plenty of fabric, you can make that flare as wide as you’d like. Since I was working with 2 yards of fabric, I knew I’d have to fit two of these bodice pieces (each cut on the fold) side by side on a piece of 60 inch wide knit.

I changed the sleeve slightly as well. First, I cut two sleeves on the fold, instead of 4 sleeve pieces not on the fold. I went with an elbow length, which was right in between the short sleeve and 3/4 sleeve lengths.

I cut all the pieces using the back neckline so I’d end up with more of a crew neck than a scoop neck. So I ended up with two matching bodice pieces and two matching sleeve pieces. I also held onto all the scraps because I knew I’d need to cut a neckband piece (about 2 inches tall and 22 inches long) and two smaller rectangles to bind the sleeves.
To start sewing, I placed on bodice piece flat on the ground, right side up. Then I laid one sleeve piece on top of it, matching up the raglan seam and sewing together as shown below.
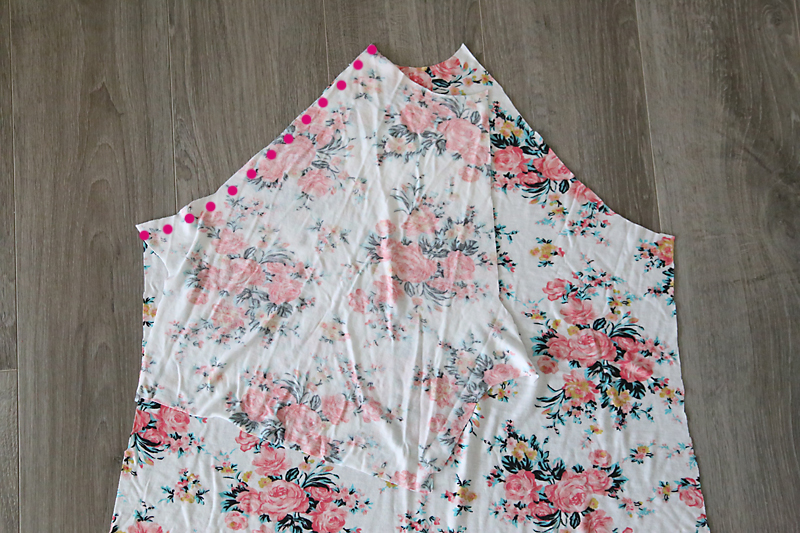
I repeated with the other sleeve. Then I sewed the other sides of those sleeves to the other bodice piece. (For a few more photos of this process, check out this post).
And this point, it starts to look like a dress:
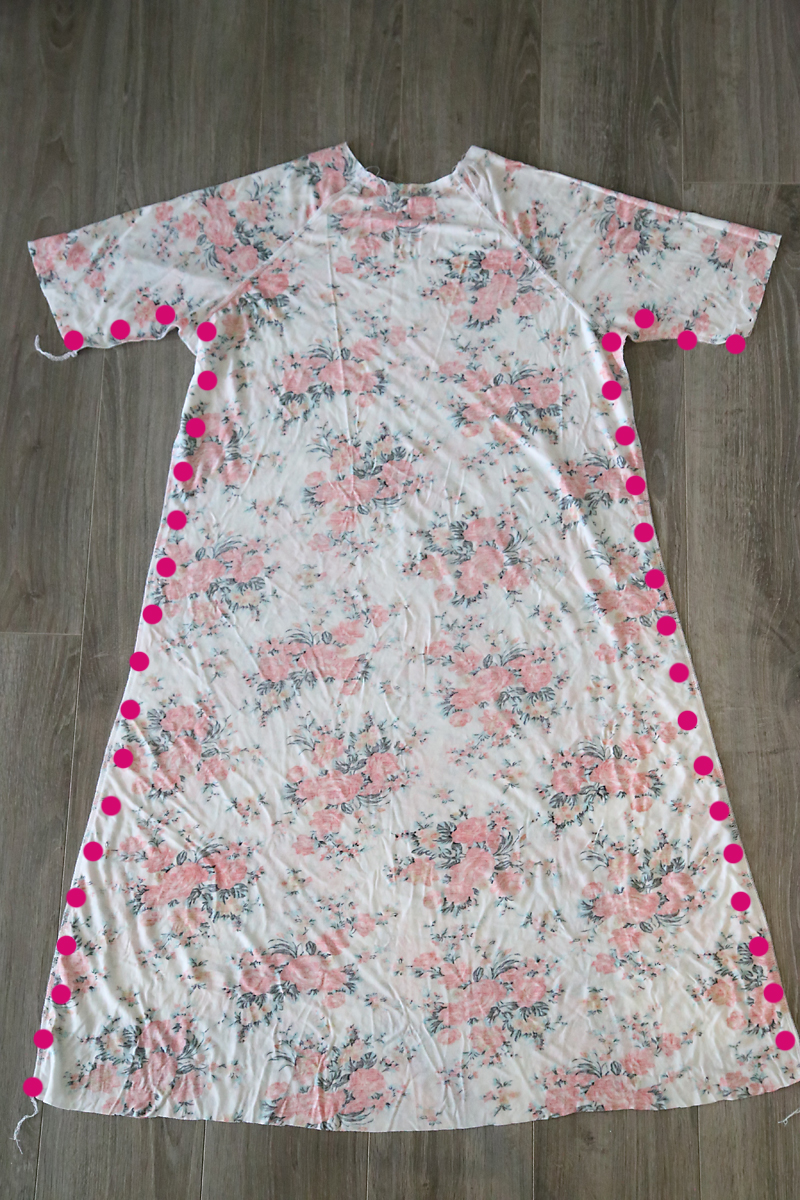
I sewed the side seams, all the way up the underarm and then back down the sides of the dress. When sewing sleeves in like this, I give the fabric a bit of a stretch as I go around the underarm curve, just to make sure the seam won’t pop when I’m wearing it.
Next I tried on the dress and cut the front neckline curve a few inches lower than the back. I also cut a neckbinding piece, about 2 inches tall and 22 inches long (stretch going along the length).
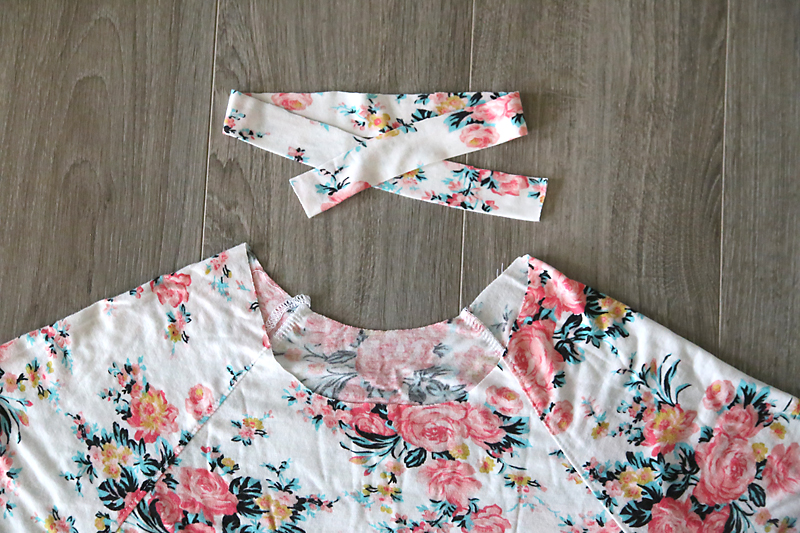
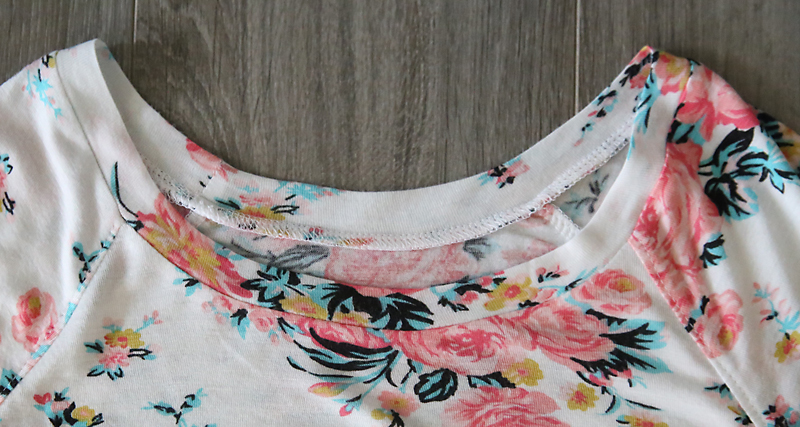
I bound the neck the same way I did in this post, and ironed it flat.
I finished off the sleeves with a similar binding, but you could just turn them up and hem them with a double needle if you prefer.


Finally, I hemmed the bottom of the dress by turning up a couple of inches and hemming with a double needle. If you’ve never used a double needle before, don’t be intimidated. Just google it. They’re easy to use and give you a great finish on knit garments. And that’s it – one more reason not to wear jeans this summer.

Kira says
I just wanted you to know that I LOVE site. I have made multiple of your sewing patterns and they have all been so easy to follow. So thank you thank you thank you for taking the time. I so appreciate it.
Cassie says
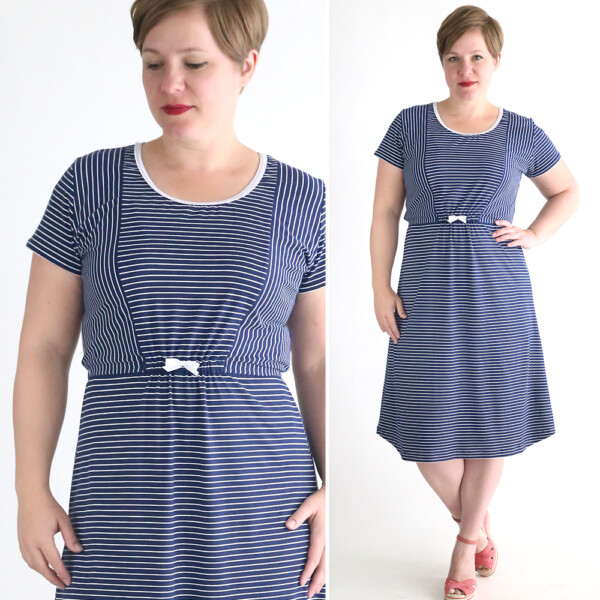
I’ve been stalking your blog for about a week now and I’ve made two dresses from your patterns! Just finished this one and I’m soooo amazed at how it turned out. Definitely not as swingy as yours, not sure what happened, but still, it looks nice! Thanks for sharing your patterns!
TEMA says
Thank you so much for this tutorial. I love to hand sew so will not be using a sewing machine and will add a bit of extra with my thread but generally will be totally following your pattern.
Thank you so much for sharing…
TEMA
Jen says
New to sewing. Is this possible not using a serger? I see it was serged on the neckline. Tips on no serger to create this?
Kathleen says
Use a zig zag stitch or a stretch stitch on your regular machine.
Sandi says
It is adorable! I believe I too will make it with more swing! Lol first I have to finish my other small projects!