
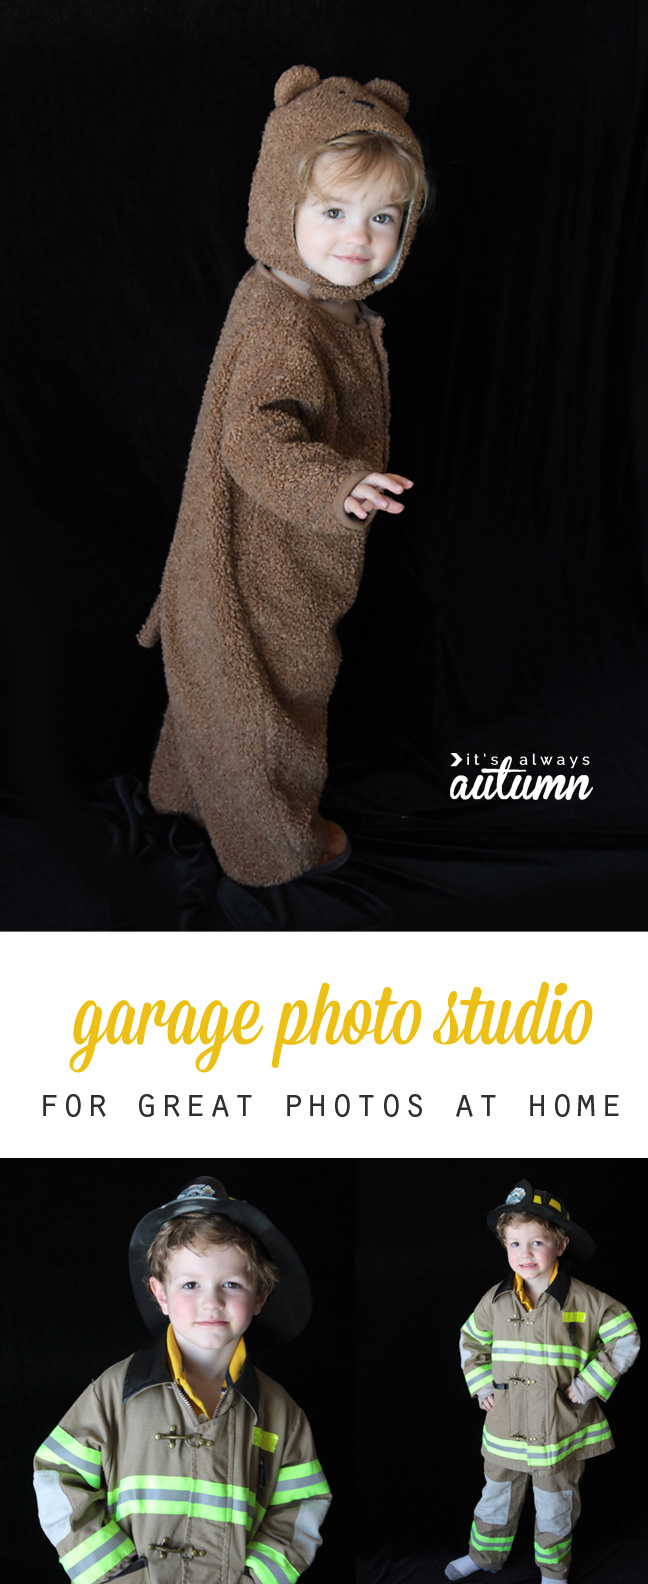
In today’s post: If you want great photos of your kids but don’t want to invest in lights, set up a super easy garage photo studio!
Hiring a pro to take photos of your kids is generally your best bet for getting stunning portraits, but what if you don’t want to pay a couple of hundred dollars for a full photo session? What about the times when you just want a few great shots – like at Halloween? Today I’ll show you how easy it is to set up a simple garage photo studio that will give you gorgeous natural light so you can take beautiful pictures at home.
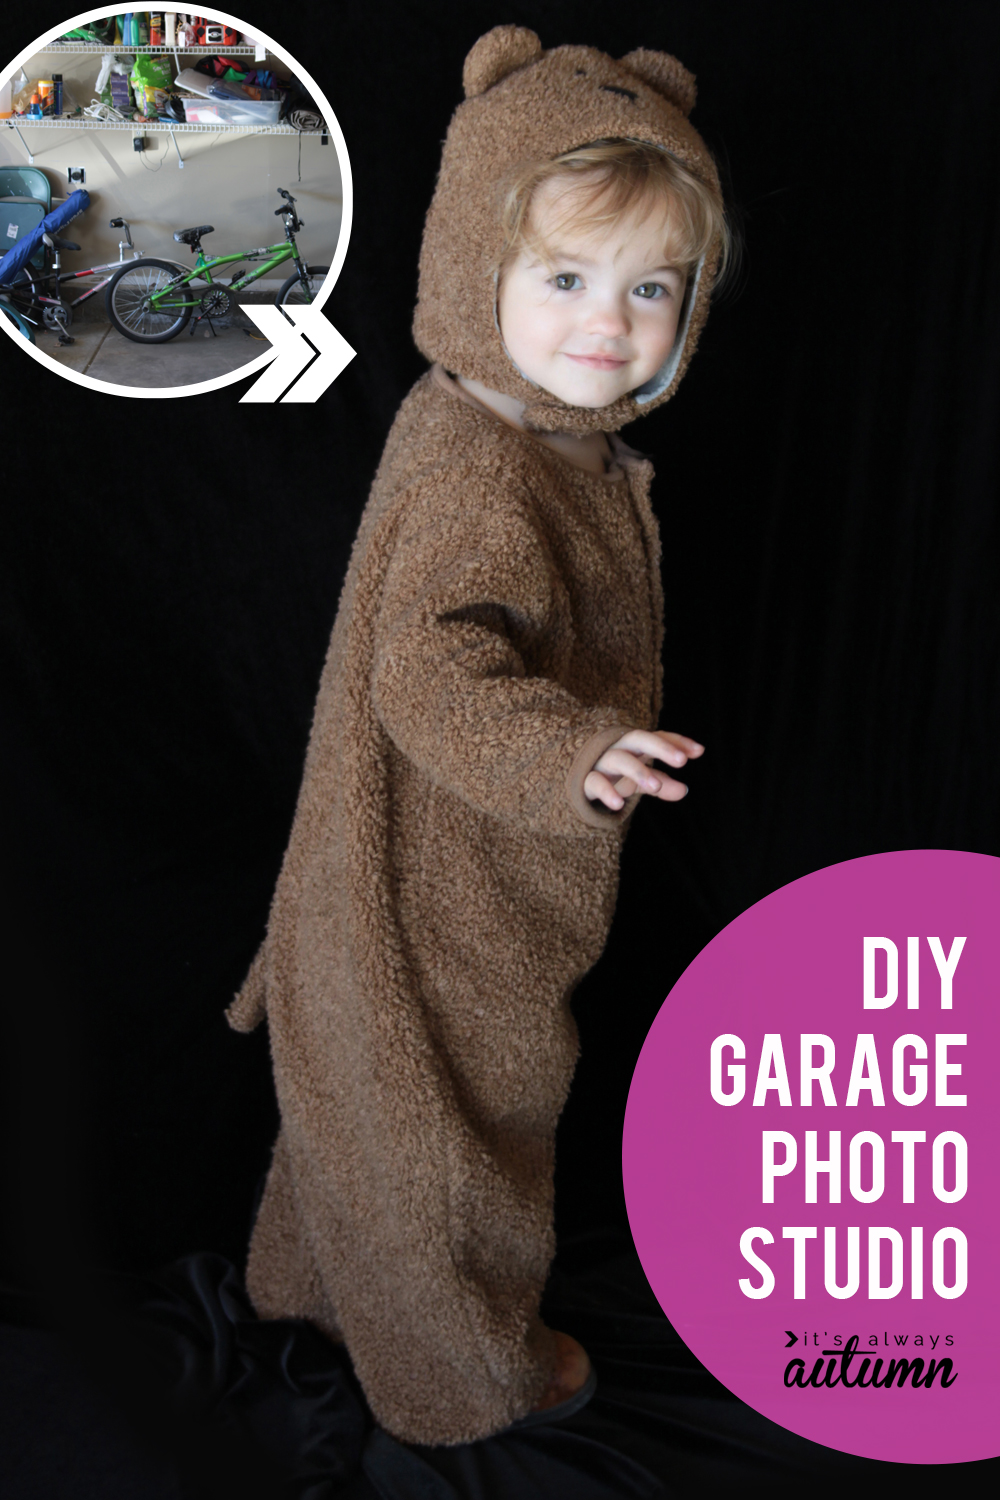
DIY Garage Photo Studio
Garages work well as makeshift photo studios because an open garage door lets in tons of soft, directional light – and good light makes the difference between gorgeous photos and snapshots (we’ll talk more about why it’s so important in a minute). Using your garage is just like using window light, but usually better because you get even more light in the garage, and once you’ve moved your car out there’s usually plenty of room to work with.
Here’s why I like garage light so much:
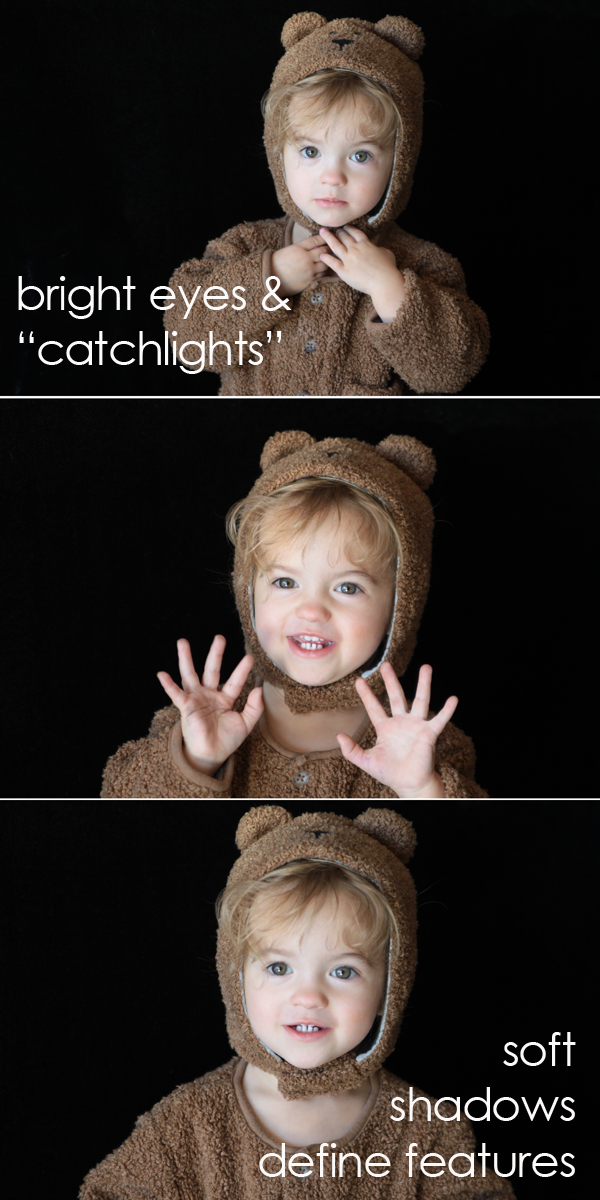
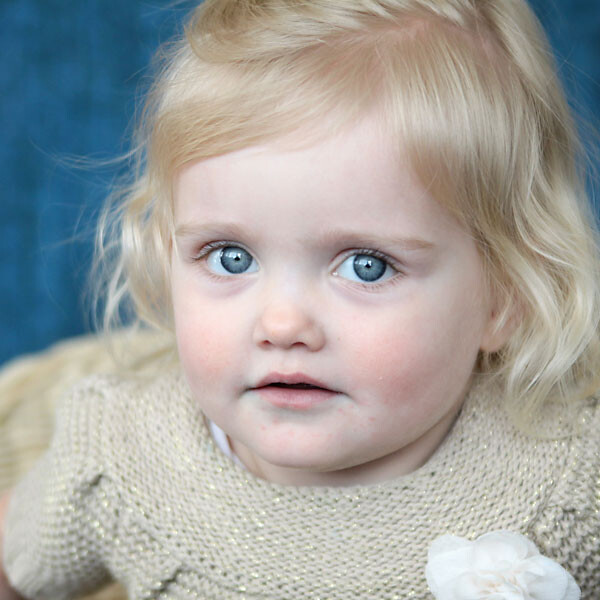
See how nicely her face is lit? There are no harsh shadows and no zombie eyes as a result of using the flash (which you often have to use to take photos indoors). Her eyes are bright and they have “catchlights” which are the little white dots that make it look like her eyes are twinkling (you get catchlights when there’s lots of light in front of your subject). Also, the skin color is very true to life – not yellow/orange like you get when taking pictures under artificial light.
How to set up a simple garage photo studio
First, you need a garage with the door wide open on a sunny day. Here’s what mine looks like:
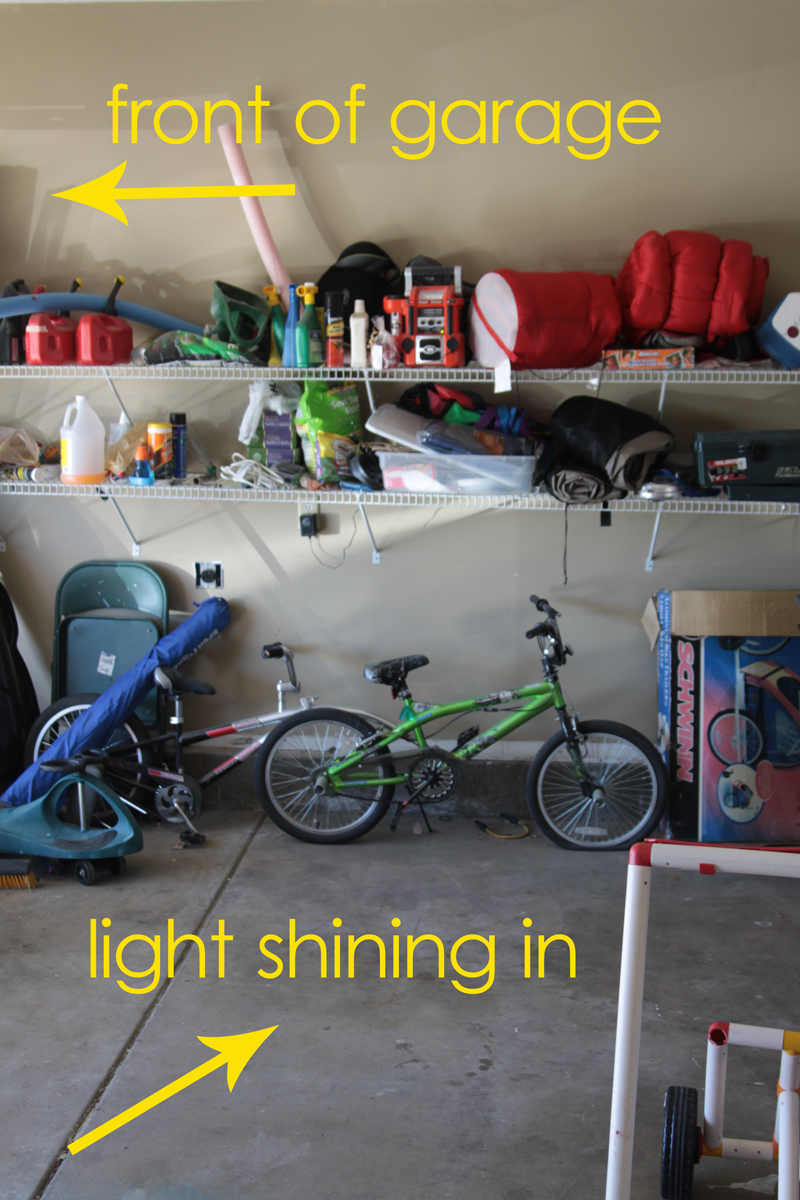
Now, you need to figure out where to put your subject. You don’t want your subject to be in direct sunlight, so move far enough into the garage that your subject is in the shade.
Next, you need to figure out where your subject should face so that she is nicely lit. Read this post for a detailed explanation of how the light should hit her face, then figure out which side of the garage she should stand on for the best lighting situation. In the photo of my garage above, I had my daughter stand in front of the shelves you see at the top of the photo, so the light would hit her at a 45 degree angle. If I had asked her to stand on the other side of the garage (bottom of the photo), much of her face would have been shadowed, making a dull photo. If the garage is plenty bright, having her stand at the back of the garage would also work nicely.
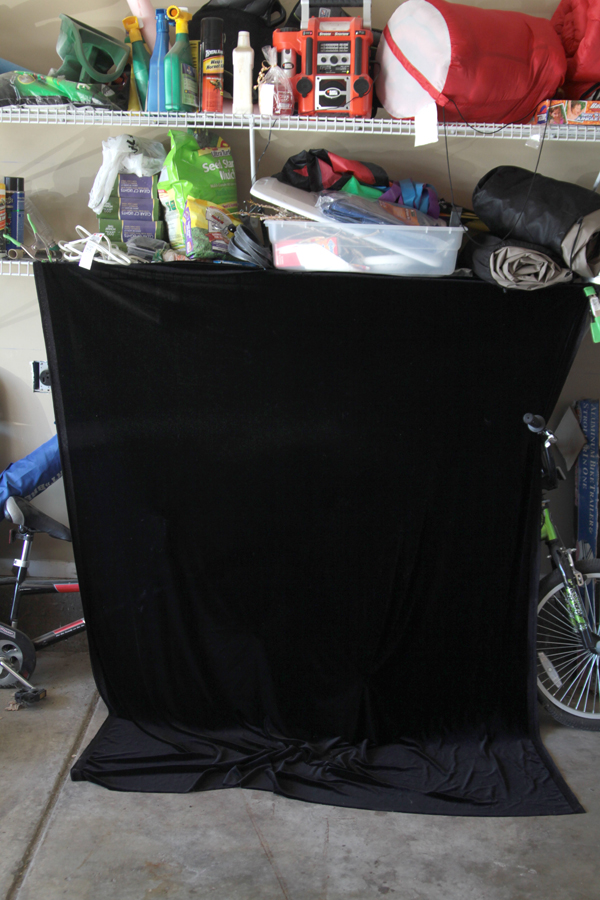
Once you’ve decided where your subject should stand, hang a blanket or a large piece of fabric for a backdrop. Use clamps to attach the backdrop to shelves or anything else that might be on the wall, or tape it directly to the wall, etc. Your goal is to make sure the backdrop hangs evenly without any bumps, and try to hang it low enough so that some of the fabric can be spread out on the ground, like you see here:
Now, like I said, you can use a blanket, a sheet, or any large piece of fabric, but black stretch velvet is THE BEST for using as a backdrop.
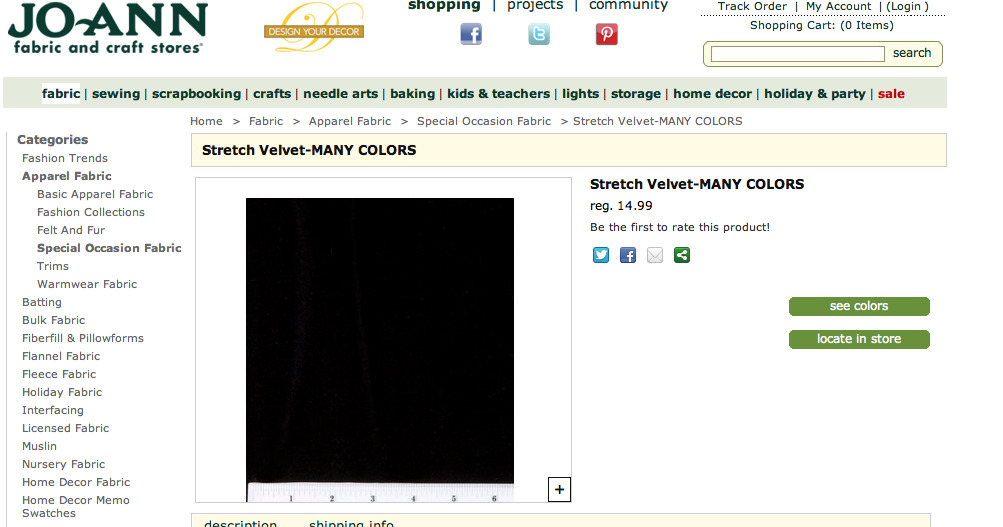
You can find it easily at Joann’s and it’s 60 inches wide, which is nice, but what’s most important is that it sucks in the light, meaning you won’t see any wrinkles in your final photo. If you use anything else as a backdrop, any wrinkles in the fabric/blanket will show in the final photo. I’ll be sharing tips on smoothing these out after the fact using Photoshop Elements later this week, but it’s BY FAR simplest just not to have any wrinkles in your photo to begin with.
Black stretch velvet runs for about $15/yd at Joanns (find it here), and you’ll want 3 yards to make a nice backdrop, so use a 50% off coupon so you can get it for under $25 total (that’s a bit of an investment, I know, but you’ll save more than that on one photo shoot, so it might be worth it). BTW, the piece you see above is 2 yards, not 3, and it’s great for smaller kids but doesn’t work quite as well for taller people.
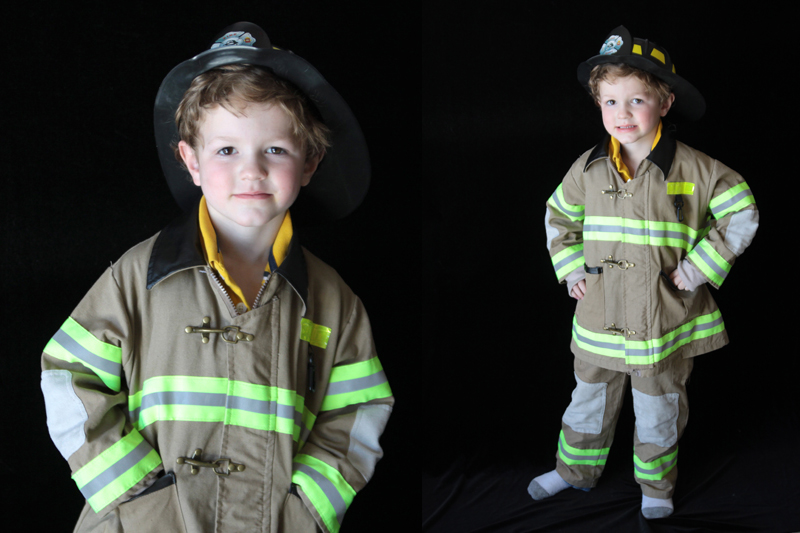
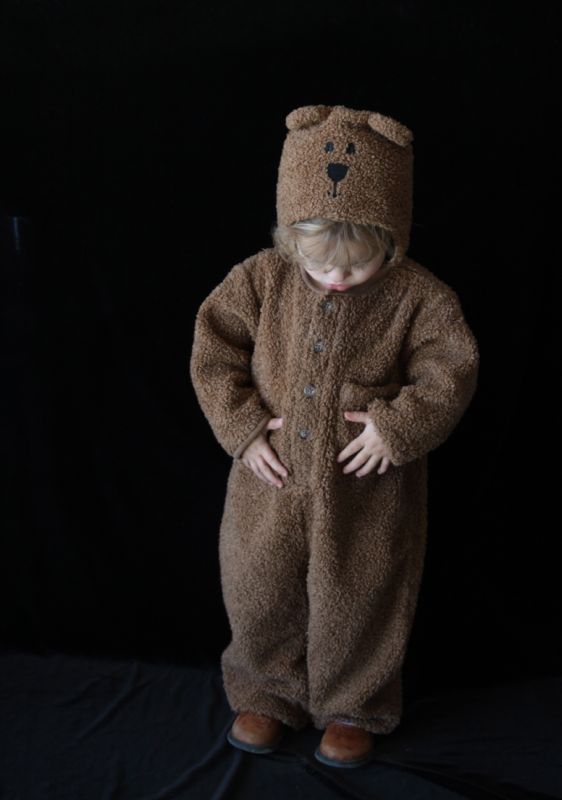
If you have enough yardage than you can spread some of the stretch velvet out on the ground, your subject can stand on it and you’ll end up with a completely seamless black background, like you can see in the photos above and below.
If you don’t have stretch velvet and don’t feel like buying any, or you just want a different color background, go ahead and use any blanket or sheet you happen to have lying around as a backdrop. Just keep these things in mind:
1. Wrinkles will show, so iron the sheet or blanket first, or hang it up and them steam the wrinkles out.
2. Heavy weight blankets with some texture in them tend to show wrinkles less than sheets.
3. If you stretch out your blanket and clamp it at the top and bottom you’ll get fewer wrinkles.
4. Fleece also works pretty well as a backdrop – it often goes on sale for $4 or $5 a yard and you can get just about any color imagineable.
A few last tips for a garage photo studio:
For another backdrop idea, check out this post. I show you how to use 4×4 panels of extra thin plywood to make awesome inexpensive & wrinkle-free backdrops for use with babies, toddlers, and seated older kids, like this:

If you find that your photos are overexposed (way too bright) using a black backdrop, pull out your camera manual and find out how to set it to “spot metering” instead of “evaluative metering.” I don’t have time to do a full explanation of that right now, but making that change will help your camera get the exposure right if you shoot on auto.
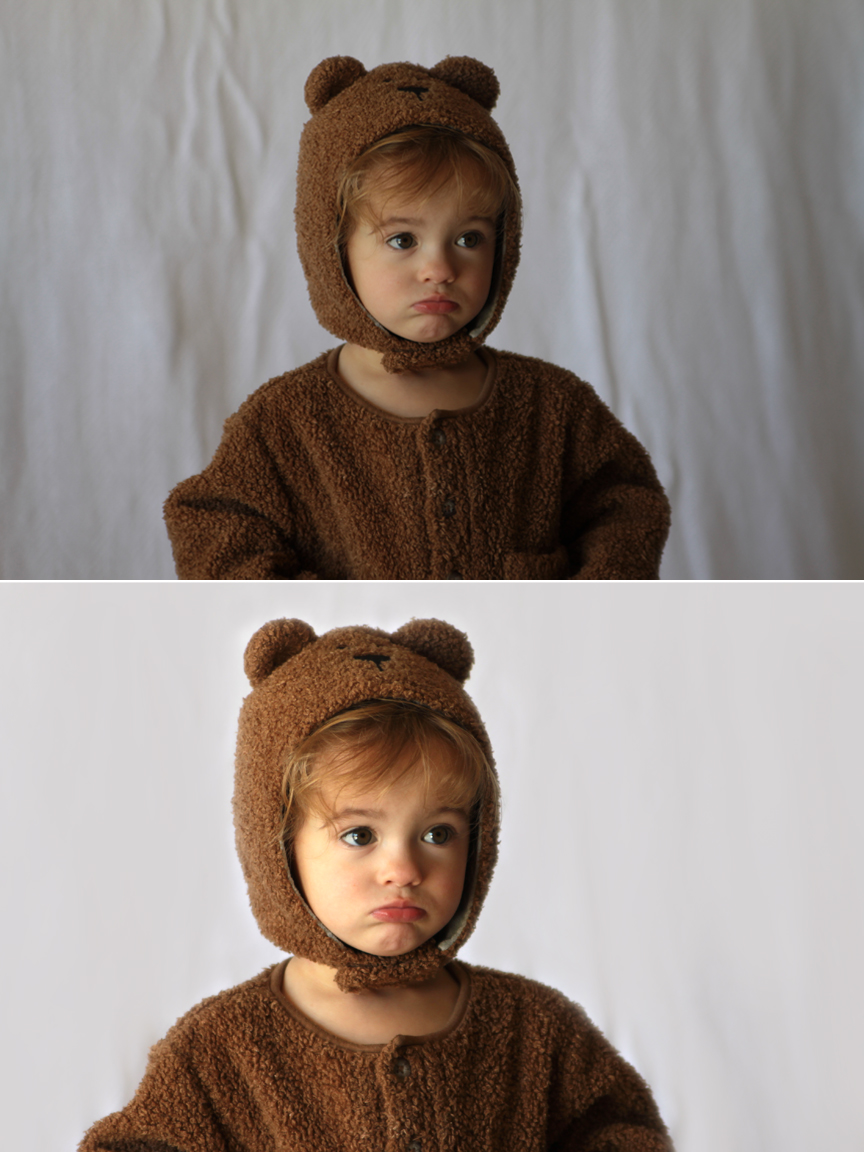
Lastly, check back later this week. I’ll show you you how to smooth out wrinkles in your backdrop in Photoshop Elements so you can use your garage photo studio even if you don’t have black stretch velvet:
Thanks for reading through to the end! It’s fantastic to be able to hang up a piece of fabric and take advantage of natural light to get gorgeous photos in your easy garage photo studio.


Kate says
Hi, I know it’s been forever since you posted this but I just wanted to say thank you for all the advice you provided! I used a lot of your ideas in photo shoots with my daughter and the shots came out great! The stretchy velvet advice is invaluable 🙂
Mary says
Does stretch velvet in other colors besides black work well as backdrops?
Thanks for such great information!
Tracy K. says
Autumn you’re a genius! Thank you so much for this tutorial!