
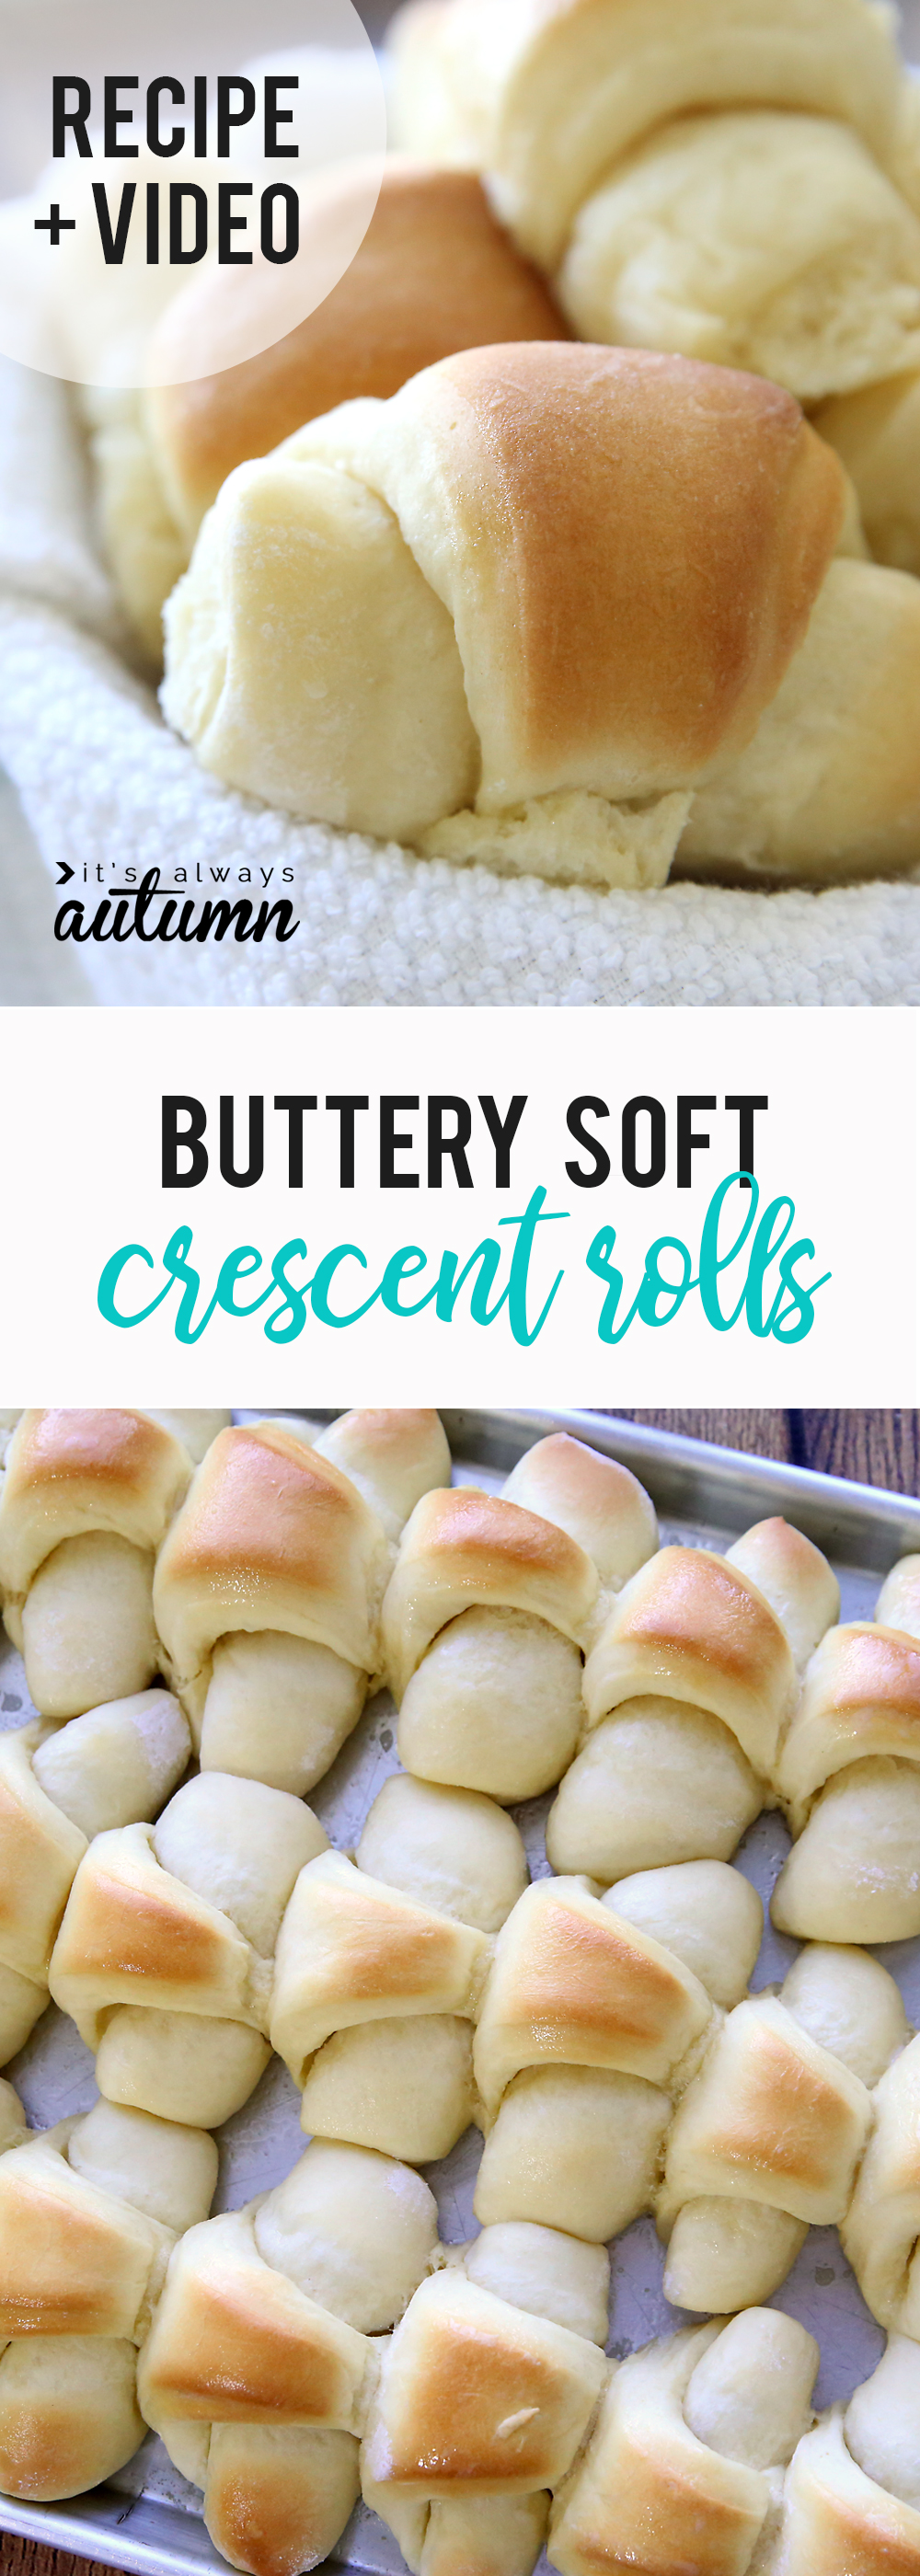
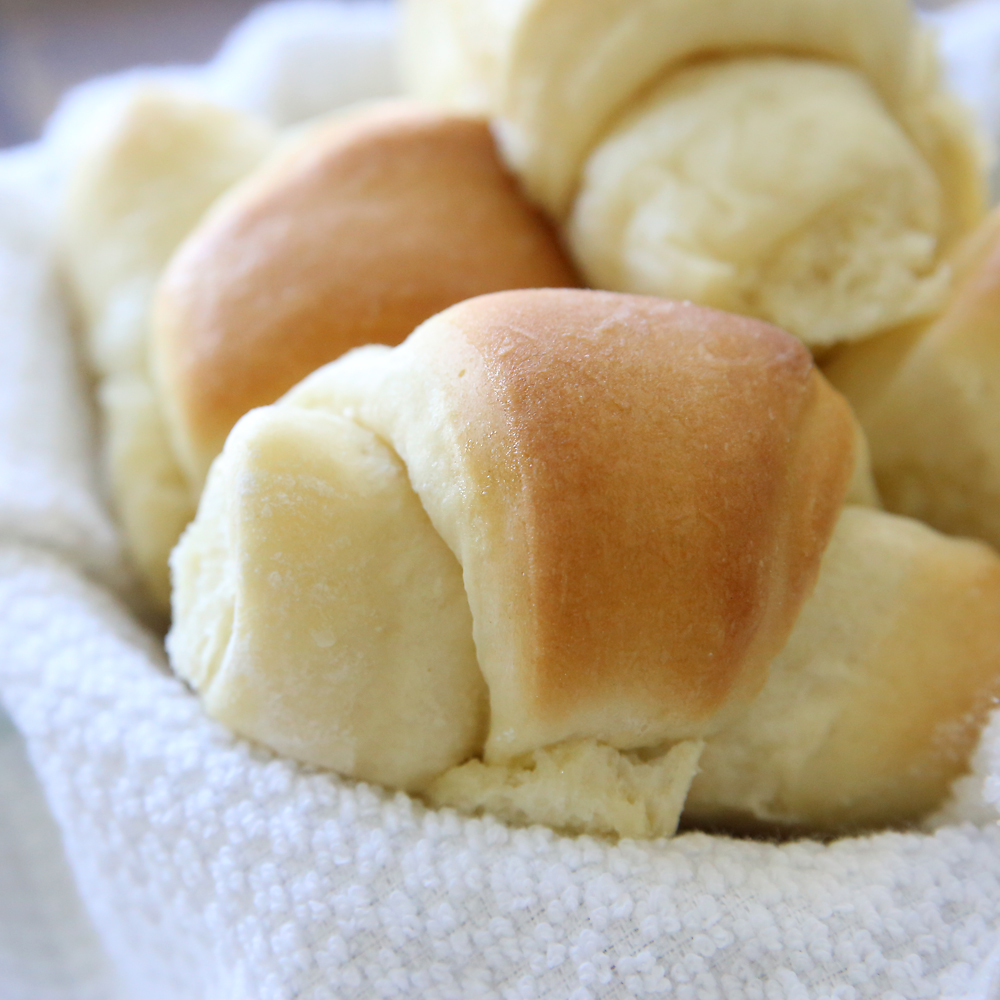
In today’s post: the best rolls you’ve ever tasted! Learn how to make amazing homemade crescent rolls for Thanksgiving or any other time you’d like to impress everyone at the table.
Baking bread is one of those things that people think is really hard. I understand why it’s a bit intimidating, but honestly, it’s not that hard. Certainly not rocket science. I learned how to make bread in home ec in eighth grade, and if a bunch of eighth graders can do it, you can too. Plus once you show up at Thanksgiving with a tray full of these unbelievably delicious crescent rolls you’ll be famous. Seriously.
I took my favorite dinner roll recipe and made it a little bigger for times when you need more rolls (24 big rolls instead of 16) and added an extra layer of butter to make these over-the-top amazing.
I promise you that store bought rolls just cannot compare with these. I make them for Thanksgiving and anytime I want dinner to be extra special, or anytime I feel like raking in the compliments.
I’m going to walk you step-by-step through how to make these homemade crescent rolls so you can start raking in the compliments too!
How to make homemade crescent rolls

Buttery Crescent Rolls
Ingredients
- 1 and 1/4 cup Warm Water
- 4 tsp Active Dry Yeast or 3 tsp Instant Yeast
- 3 tbsp Butter softened
- 2 Eggs
- 1/3 cup Sugar
- 4 and 1/2 cups All Purpose Flour
- 1 tsp Salt
For Topping Dough
- 6 tbsp Butter softened
Want more project ideas? Sign up to get my favorite easy crafts and recipes straight to your inbox!
Instructions
- Combine water, yeast, 3 tbsp butter, eggs, sugar, salt, and 3 cups of flour in the bowl of a stand mixer. Mix using dough hook on low until combined.
- Continue mixing and gradually add last cup and a half of flour. Dough should pull away from sides of bowl (but not the bottom of the bowl if you are using a KitchenAid). Knead on medium for 5 more minutes.
- Turn out dough onto floured surface and knead 2 or 3 times, pulling into a tight ball. Cover with kitchen towel and allow to rise until doubled, 60-90 minutes. (You can also place the dough in a large bowl and cover with plastic wrap to rise.)
- Turn dough onto floured surface and divide into 2 equal pieces. Roll each piece into a 12 inch circle. Spread 3 tbsp softened butter on each circle, then use a pizza cutter to slice each circle into 12 triangles.
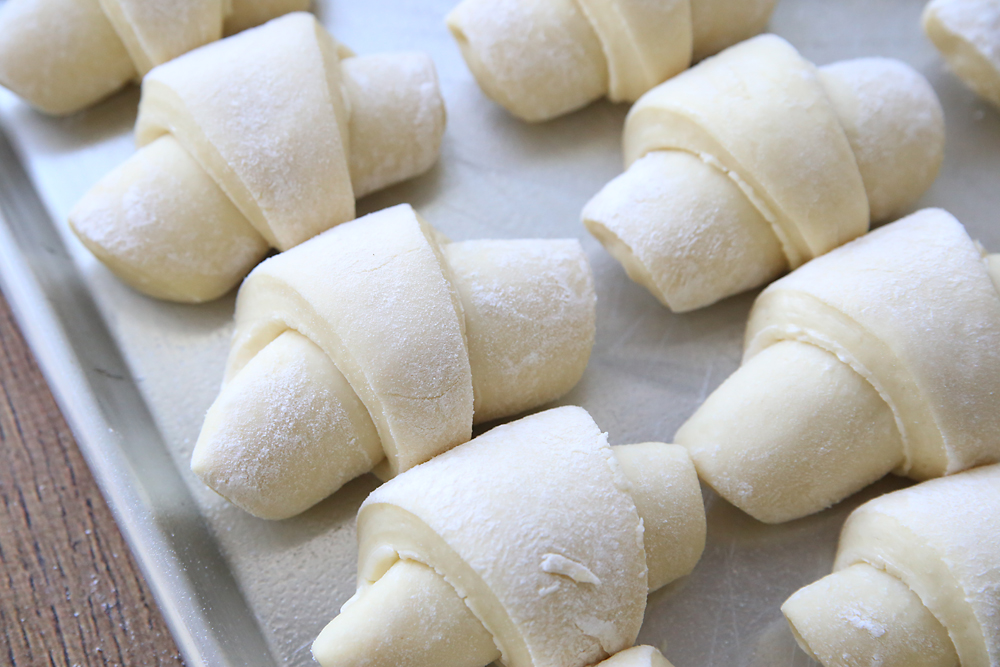
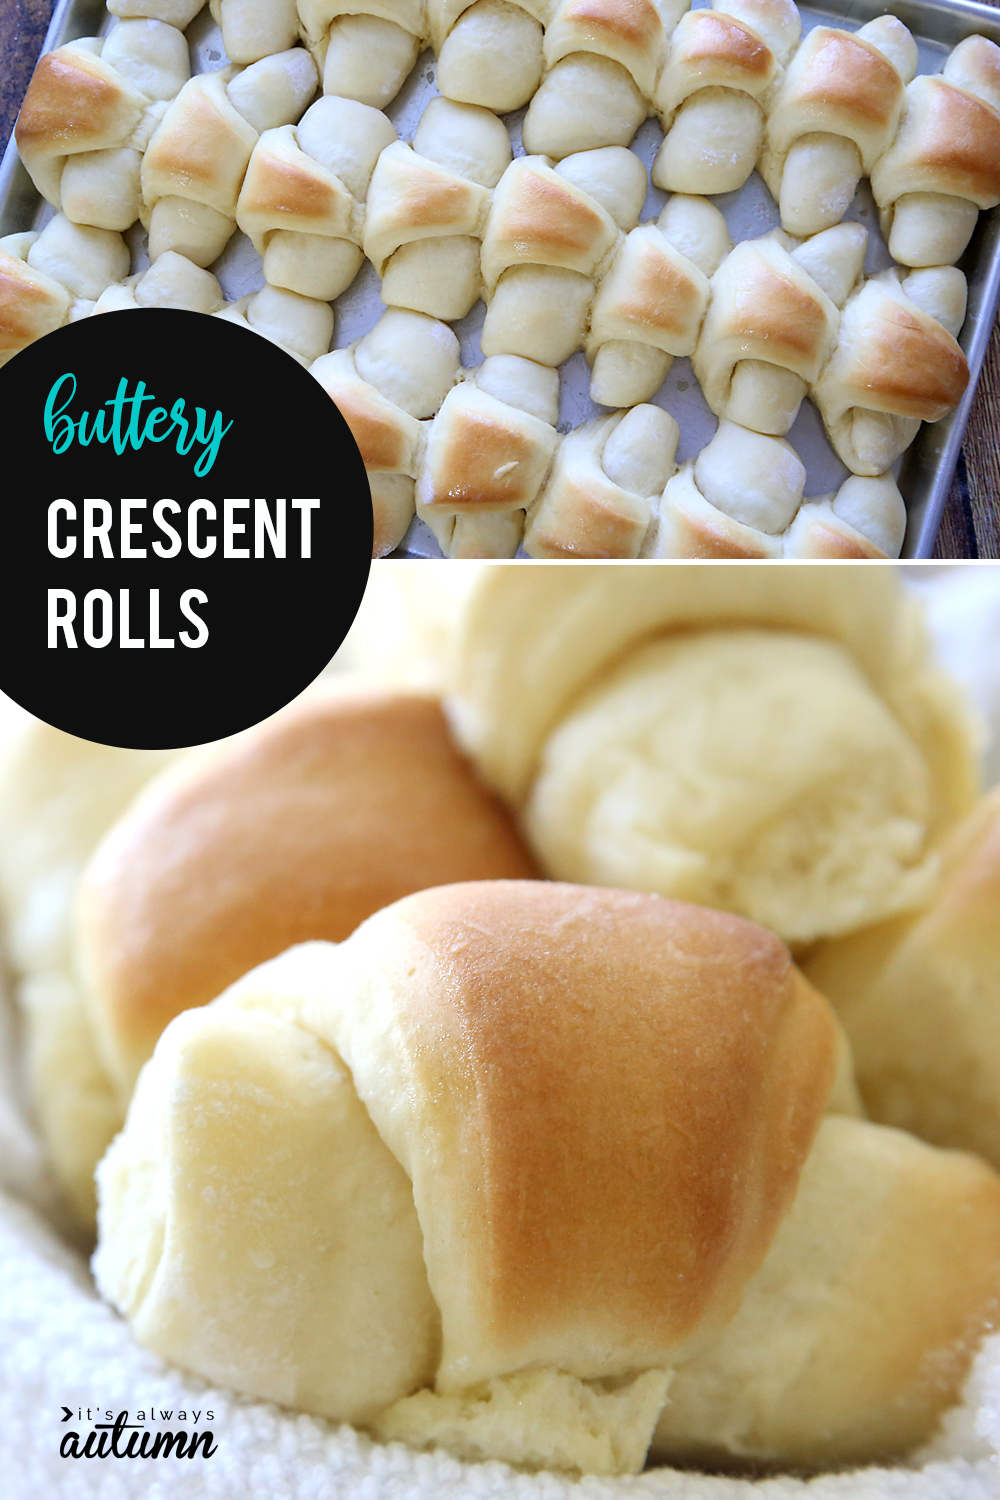
- Roll each triangle up from the wide side, creating a crescent shape. Place on greased 12x17 cookie sheet (jelly roll pan). Cover with a kitchen towel and allow to rise again about 45 minutes until noticeably puffed.
- Meanwhile, preheat the oven to 350 degrees F.
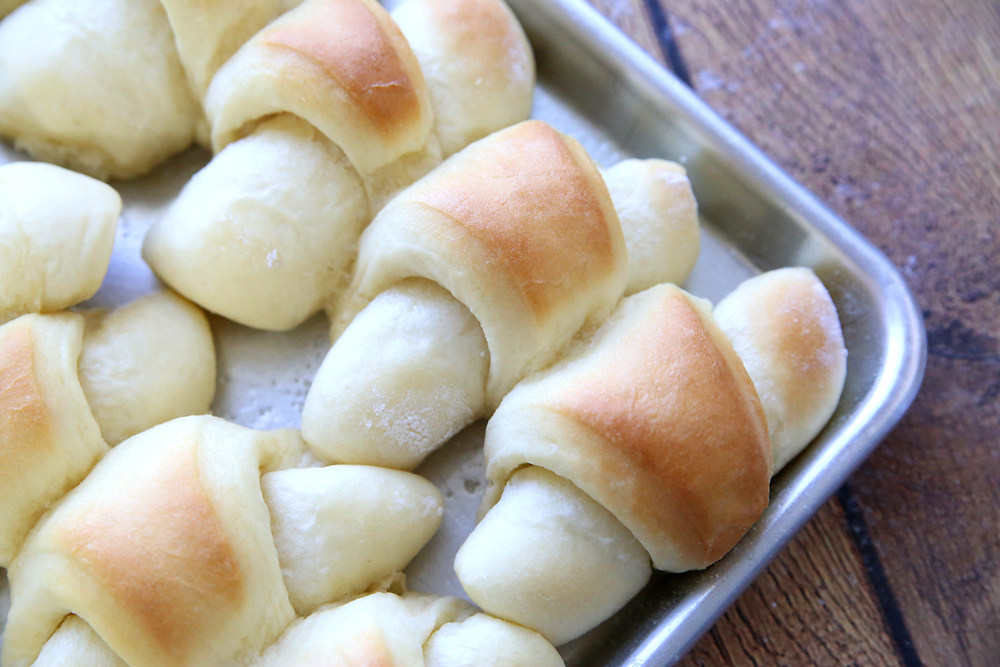
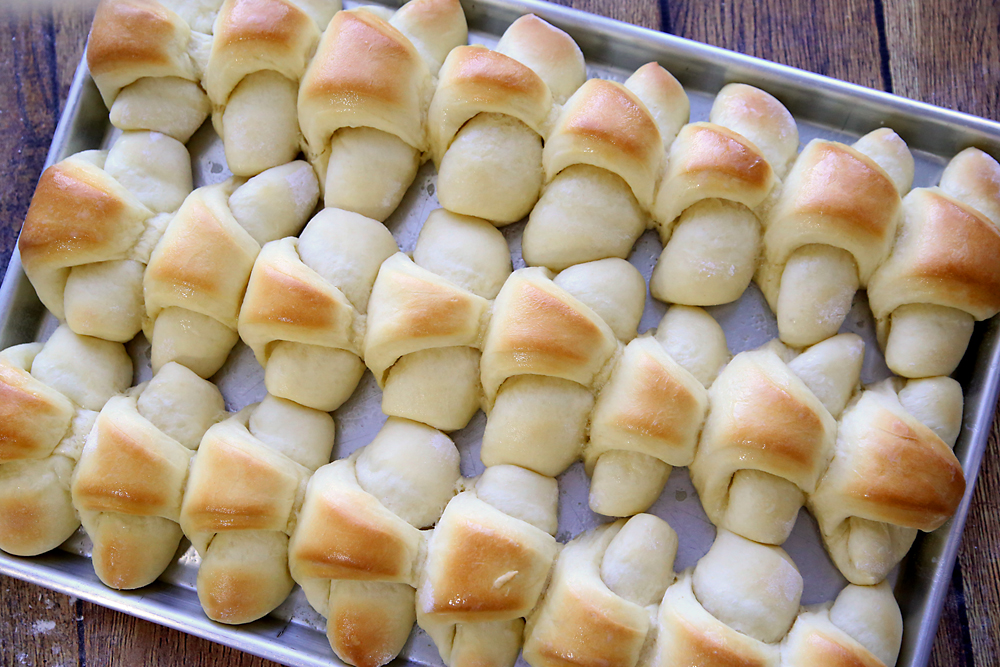
- Bake at 350 15-20 minutes, until tops are golden brown. Remove from the oven and brush with additional melted butter, if desired. Serve warm.
Tips
Next, watch this video to learn everything you need to know about making rolls. I explain about yeast and what kind of flour I use and how to know if you’ve kneaded the dough long enough and when it’s done rising, etc. The video is about eleven minutes long and it really does cover everything you need to know to make homemade dinner rolls.
Please note that I made this video for my original dinner roll recipe, so the amounts mentioned in the video are slightly different from the ones on the recipe card above, since today’s batch of cresent rolls is larger (24 large rolls).
The video above shows you how to shape standard round dinner rolls. The quick 1 minute video below shows the process for making crescents instead (written instructions follow):
How to shape crescent rolls:
At the end of the first rise, punch dough down and divide into 2 equal pieces. On a floured surface, roll each piece out into a 12 inch circle. Soften 6 tablespoons of butter and spread half on each circle. Use a pizza cutter to slice the circles into 12 equal slices (just like pizza). Roll up each triangle from the outside edge to form a crescent roll shape. Place all 24 rolls on a greased 11×17 inch cookie sheet with high sides (aka jelly roll pan). Allow to rise again for about 45 minutes, then bake at 350 for 15-20 minutes until middle sections of each roll are quite golden brown and edges are light golden brown. Melt remaining 2 tablespoons of butter and brush over baked rolls.
A couple extra notes:
- I mentioned in the video that you can mix your bread by hand if you don’t have a mixer, and I even promised to give you some tips for that. And then I didn’t (sorry!). Click here for a really good overview of how to knead bread by hand.
- You should start making rolls just over 3 hours before you want to serve them. Here’s the general time table: 15 minutes to mix and knead | 60-90 minutes first rise | 10 minutes shape | 45 minutes second rise | 15-20 minutes bake time (and those times are absolutely not set in stone – if you let it rise a little too long or not quite long enough the rolls will still turn out fine!)
- You can make the rolls ahead, up through the shaping step, and then freeze them to bake later to save time. Click here to learn how.
- This recipe is for white rolls. You can substitute up to half the flour with whole wheat flour if you’d like, but they will not be as pillowy soft. If you want to make 100% whole wheat rolls, you’ll need to find a different recipe.
- This recipe calls for 6 tablespoons of softened butter to be spread over the dough before rolling up – I actually usually use 8 tablespoons, or a full half cup. Either will work, but I’m of the “more butter is better” school of thought.
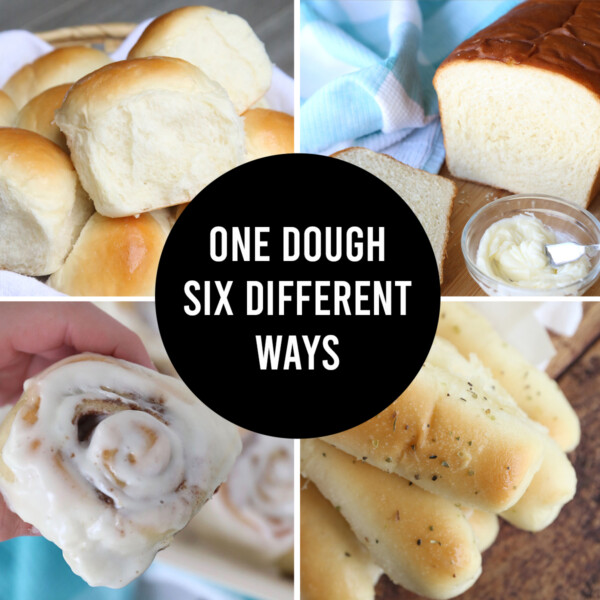
Want more bread recipes? Visit these posts:
How to make perfect dinner rolls
Easy 4 ingredient no-knead artisan bread
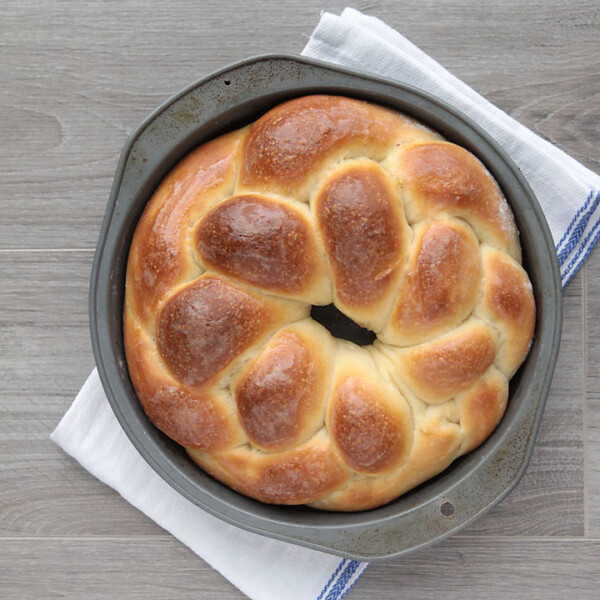
Beautiful braided bread recipe
How to make french bread at home
Better than Olive Garden garlic breadsticks


Kondi Krisztina says
Hi Autumn!
I’m from Hungary, and I love your recipes and videos! I made the artisan bread yesterday and my family loved it! I’m so grateful that you shared your recipe, I’ve always wanted a great bread recipe and there it is! 🙂
Linda T. says
This is the third yeast roll recipe I have tried for Thanksgiving. I am not very confident when it comes to recipes that use yeast because they have failed to rise for me too many times. I watched your video and I made these yesterday and they were fantastic and will be the only ones I make from now on (even though I forgot to spread the butter on after rolling out the dough and cutting into wedges!)
Kelsi says
Wondering if you have tried this recipe with Gluten-Free all purpose flour and it if will work just as good for this recipe? I would love to try and make these, but my daughter is gluten-intolerant, so I would have to use the flour mentioned above.
Bobbi Convery says
Autumn,
I made several batches of these today for a church function. This recipe was so easy and they came out tasting so good! They weren’t all perfectly beautiful, but they will get eaten anyway! It was fun for me, because it was so long since I had made bread of any kind, and fun for my hubby because he got to eat some!
Thank you.
Kristie says
Your bread recipes have never failed me. And I always get loads of compliments. Thanks for sharing another great recipe!