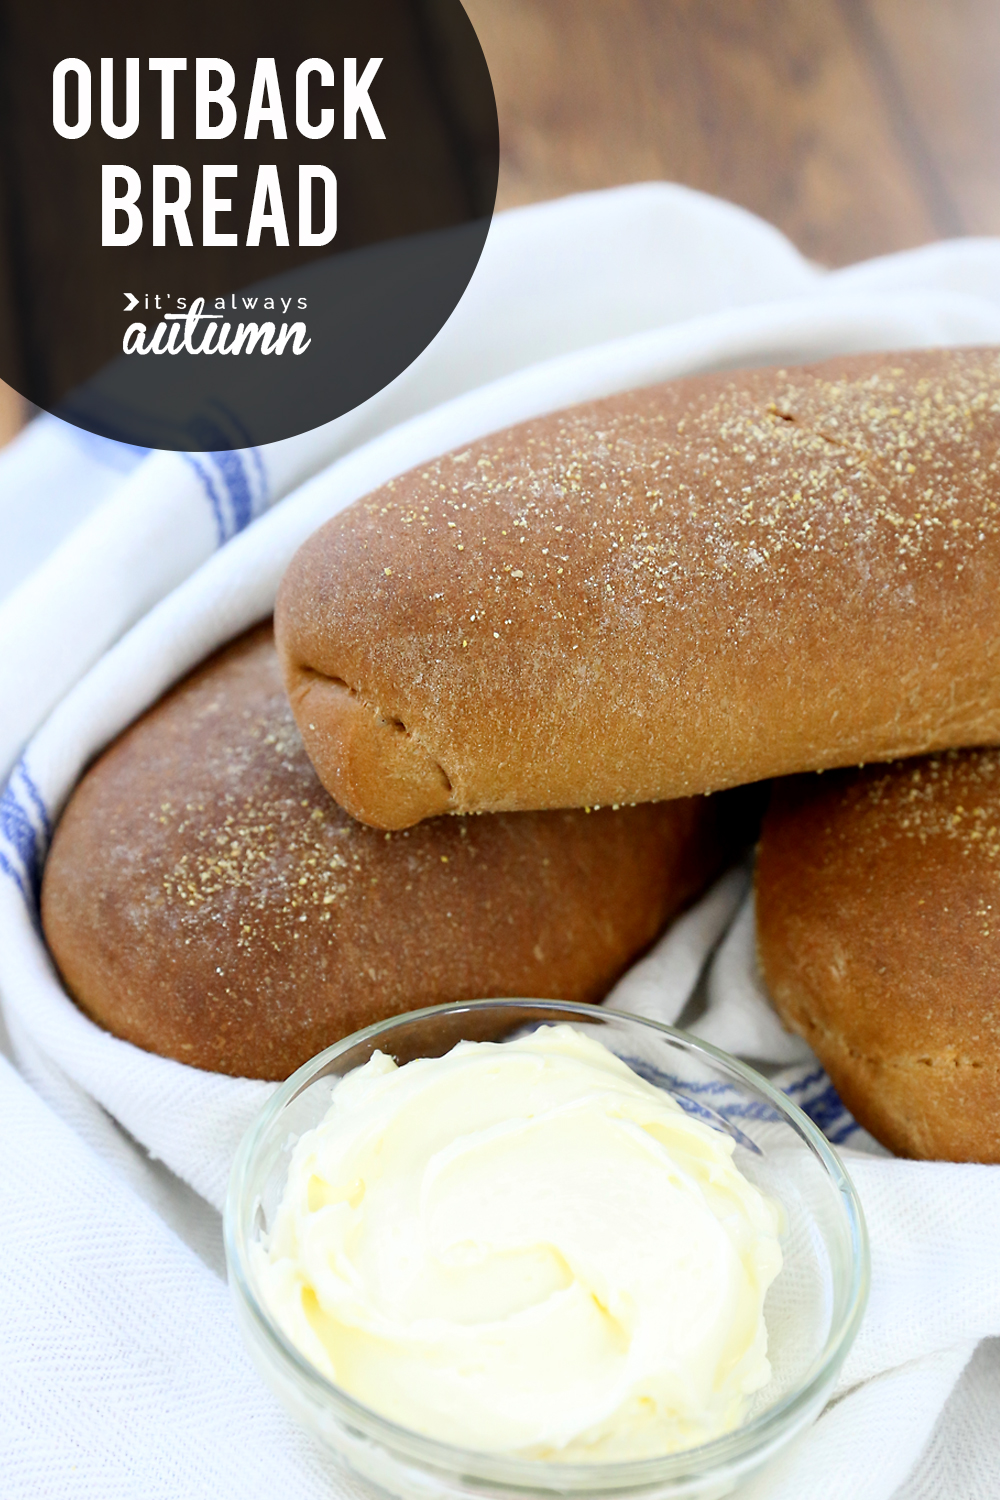
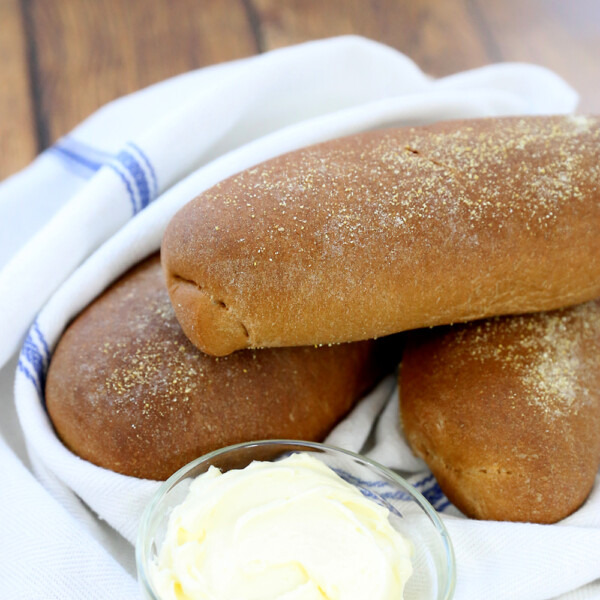
In today’s post: Love the soft brown bread at The Outback Steakhouse? Now you can make it at home with my Outback bread copycat recipe. Step by step instructions make it easy to bake this tender sweet molasses brown bread.
My very favorite part of eating out at the Outback Steakhouse is the sweet dark brown bread they bring out before the meal. It’s soft and delicious, with hints of molasses and honey. A few years ago I tinkered with my best dinner rolls recipe to see if I could modify it to resemble the sweet molasses bread from the Outback. I got pretty close, but a few readers let me know their bread didn’t rise very well, so I’ve had another go it. This time it’s perfect!
h
Why You’ll Love This Bread
Outback Steakhouse bread is soft, tender, with hints of honey and molasses and a gorgeous brown color. Usually bread made with whole wheat flour isn’t quite as soft as bread made with all white flour, but this recipe uses half whole wheat flour and it’s amazing! It’s better than your standard honey wheat bread because the molasses gives it an extra depth of flavor. I could honestly skip the meal and just eat this bread.
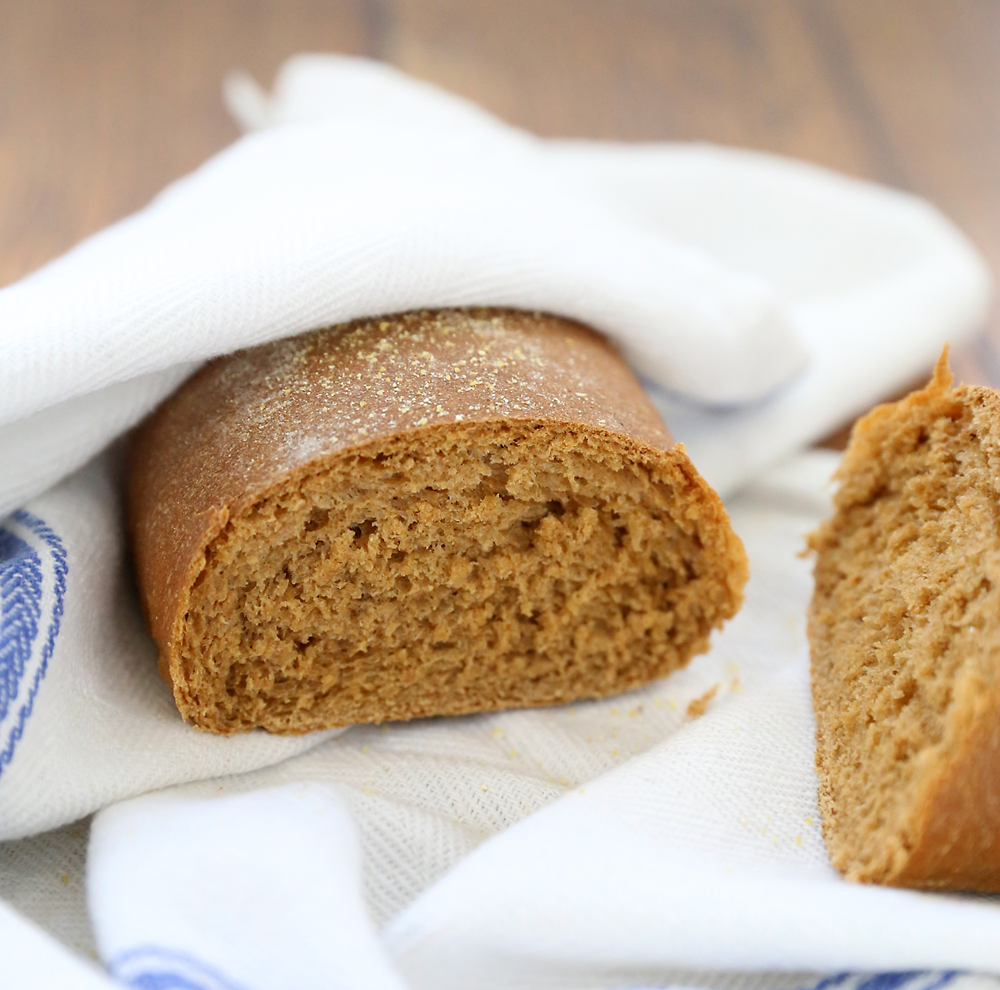
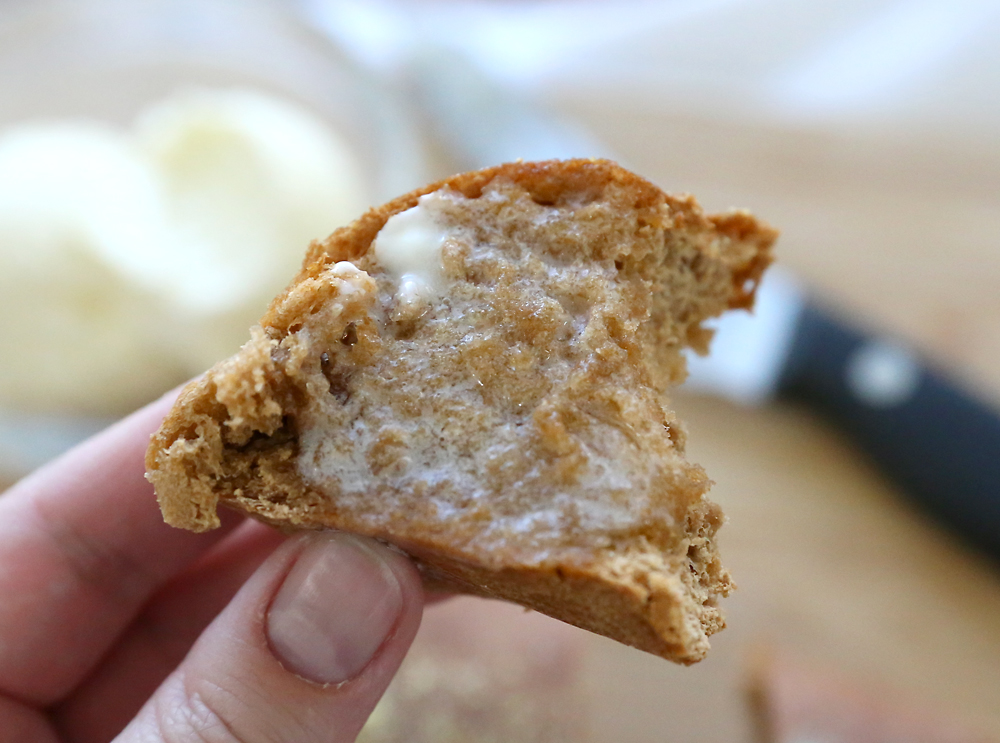
Make sure you whip up some butter to serve with!
A Note About Color
This bread gets some color from the molasses and unsweetened cocoa powder that are in it (don’t worry, it doesn’t taste like chocolate!) but if you want a nice deep brown you’ll want to add some coloring. Most commercial dark brown breads are made with caramel coloring, which is hard to find in your local grocery store. You can mix red/yellow/blue from your standard food colors to get a brown, or pick up some brown paste food coloring from the cake decorating section. You’ll need quite a lot of coloring to get the very dark brown color you see at the restaurant. I used just a bit of brown gel coloring.
Loaves or Rolls?
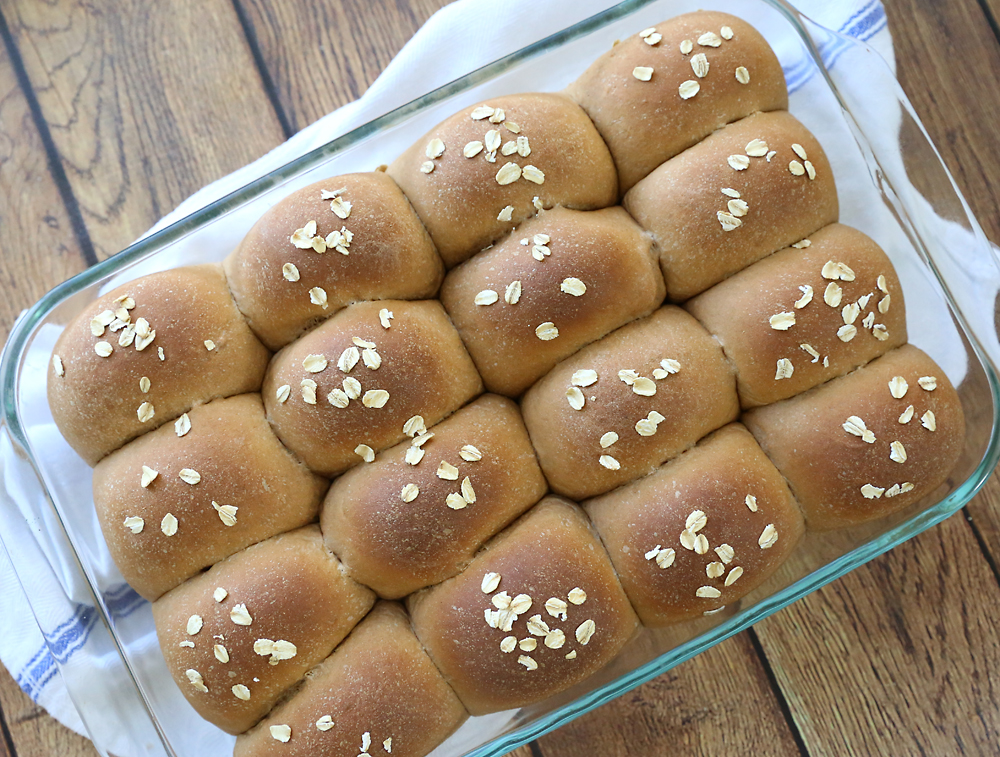
So before we get to the recipe, let me tell you a little secret: I like this bread even better made as rolls. Actually, I like just about ANY bread recipe better made as rolls. Why? Because they don’t have crust! Rolls don’t take as long to bake and so they stay soft and tender the whole way through. So I’ll show you how to make this bread in small loaves just like you get at The Outback, but then I’ll also show you how to make it as rolls, which is what I do almost exclusively.
How to Make Outback Bread
You’ll find a printable recipe card at the end of the post, but baking bread can be intimidating, so I’m including step by step instructions and photos for you here.
Proof the Yeast
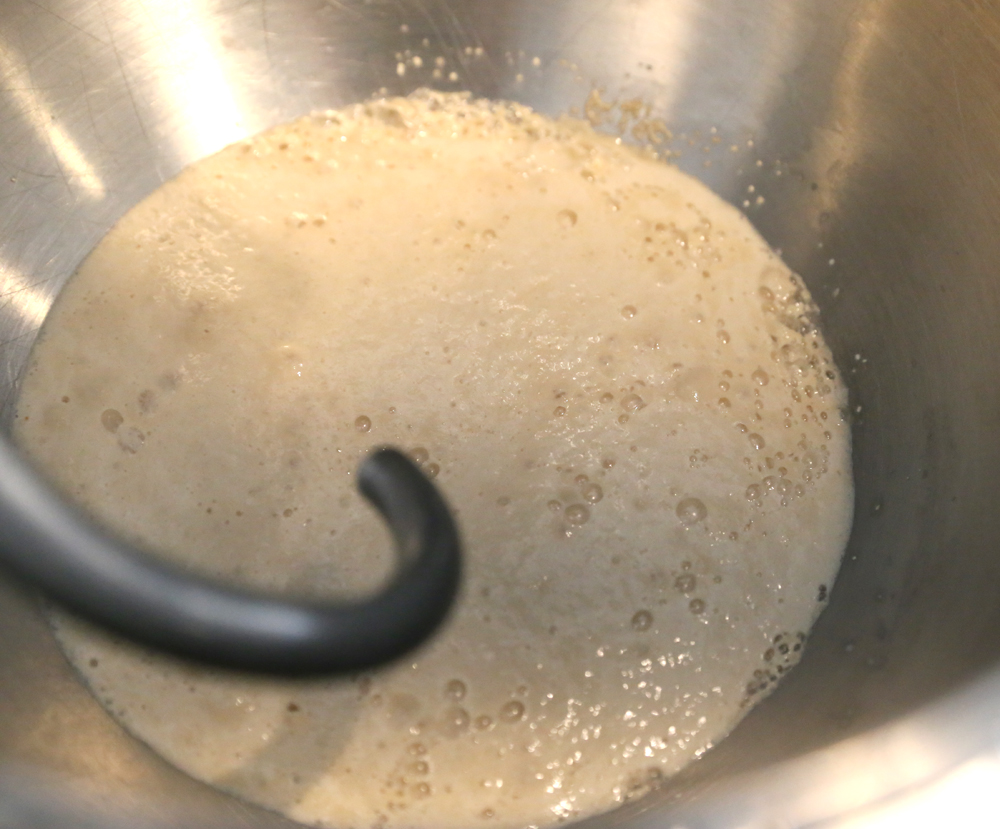
Start by placing the warm water, yeast, and sugar in the bowl of your mixer. The water should feel warm to the touch, but not hot. Give it about 10 minutes to let the yeast proof – it will get nice and puffy looking, like this:
Add The Other Ingredients
Then you can start adding the other ingredients to the water mixture. First add the whole wheat flour, the butter, the egg, the molasses, and the honey. If you want to add food coloring, do so now. Using a dough hook, turn the mixer on low and start letting everything combine.
Once that’s going add one and a half cups of bread flour, the baking cocoa, and the salt. Keep mixing until everything is incorporated.
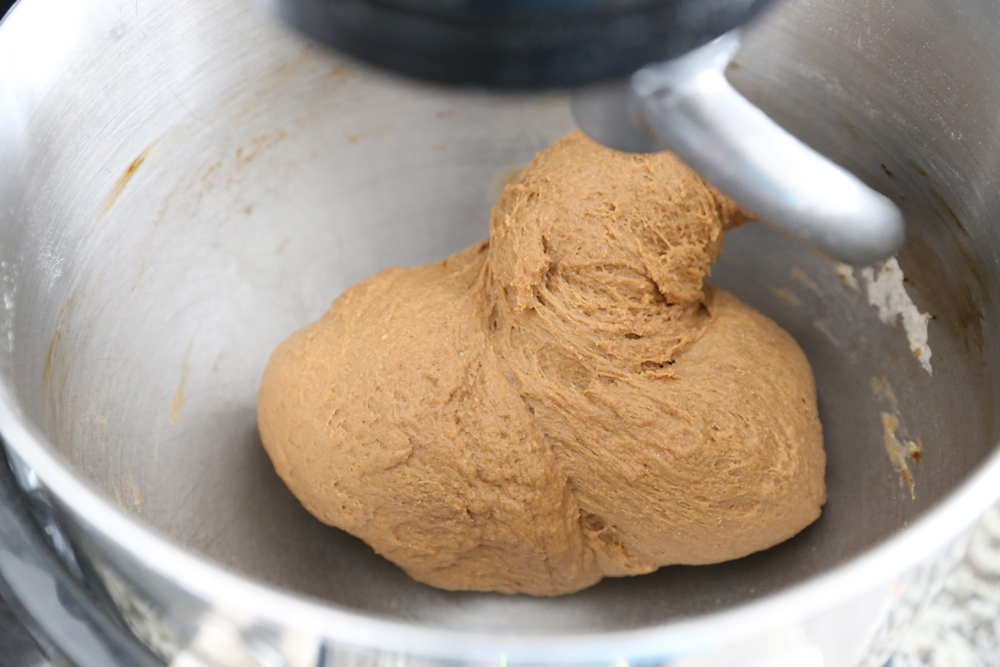
At this point you may need to add 1/4 to 1/2 cup more bread flour. You want the dough to pull away from the sides of the mixer bowl, so add more flour as needed. If the dough is already pulling away from the mixer, you don’t need to add more. It should look like this:
Knead the Dough
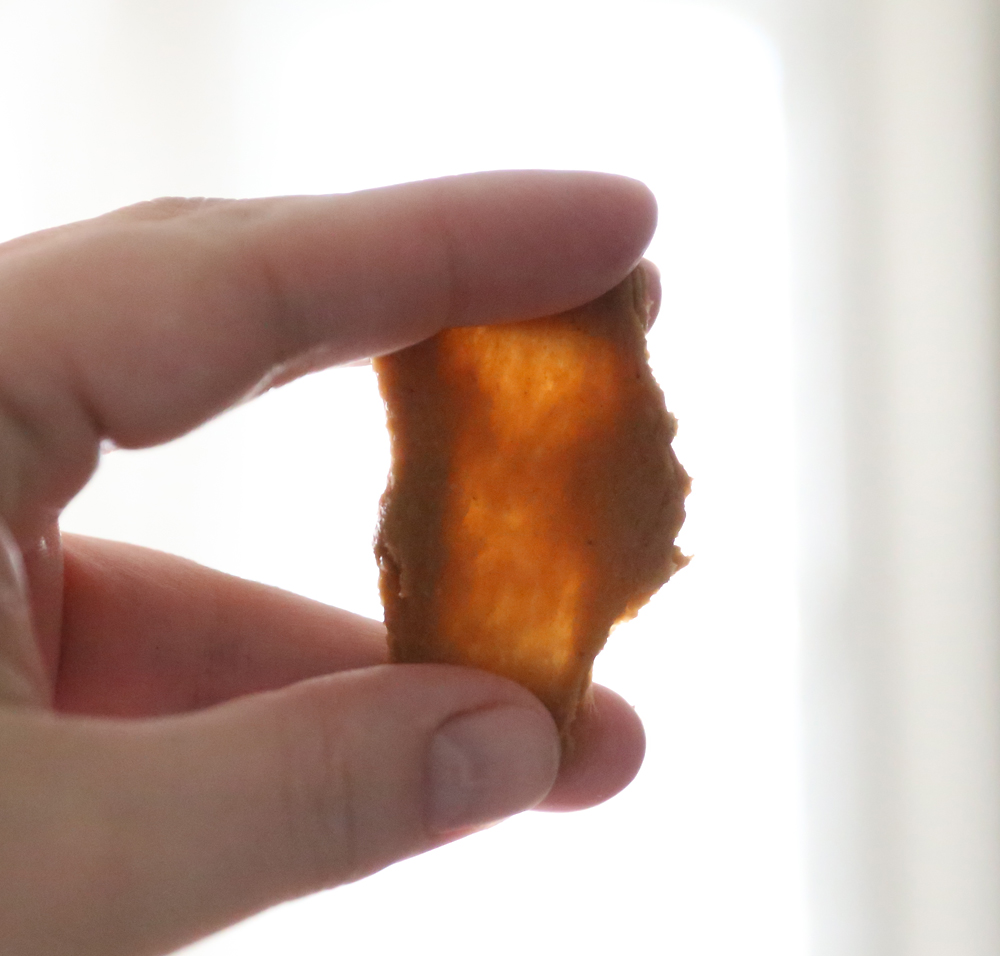
You’re going to let the dough knead for about 10 minutes total to really build up a lot of gluten, which will help give it a nice rise. If it starts sticking to the bowl too much, you can add some more flour to keep it looking like it does in the photo above. After about ten minutes you should have a nice dough that’s smooth and very elastic. You can pinch off a piece and do the “window pane test” – if it’s ready you’ll be able to stretch the dough thin enough that you can see light through it without the dough tearing.
After kneading, turn the dough out and form it into a tight ball. I spray the inside of my mixer bowl and place my dough back inside it to rise. Cover bowl with plastic wrap or a damp towel to keep the dough from drying out. When I’m making this dough in the winter months I like to turn on my oven for a few minutes to warm it up and then turn it off and then let the dough rise in the warm oven. If you let it rise in the oven, cover it with a damp towel instead of plastic wrap.
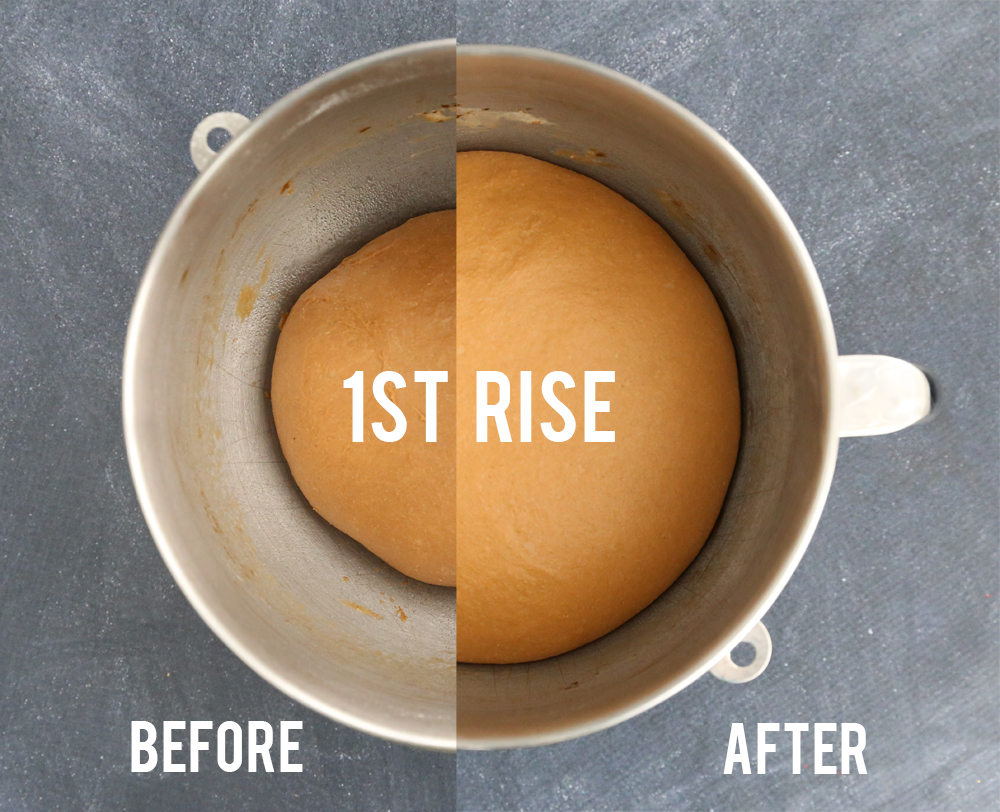
Rise time will be 60-90 minutes depending on how warm it is. You want the dough to double in size.
Shaping the Dough
Once the dough has risen, decide whether you’d like to make your Outback bread into small loaves or rolls. For small loaves, divide the dough into 6 equal sections. Gently press each section into a 6×6 inch square. Roll the square up into a log, pinching the seam at the bottom.
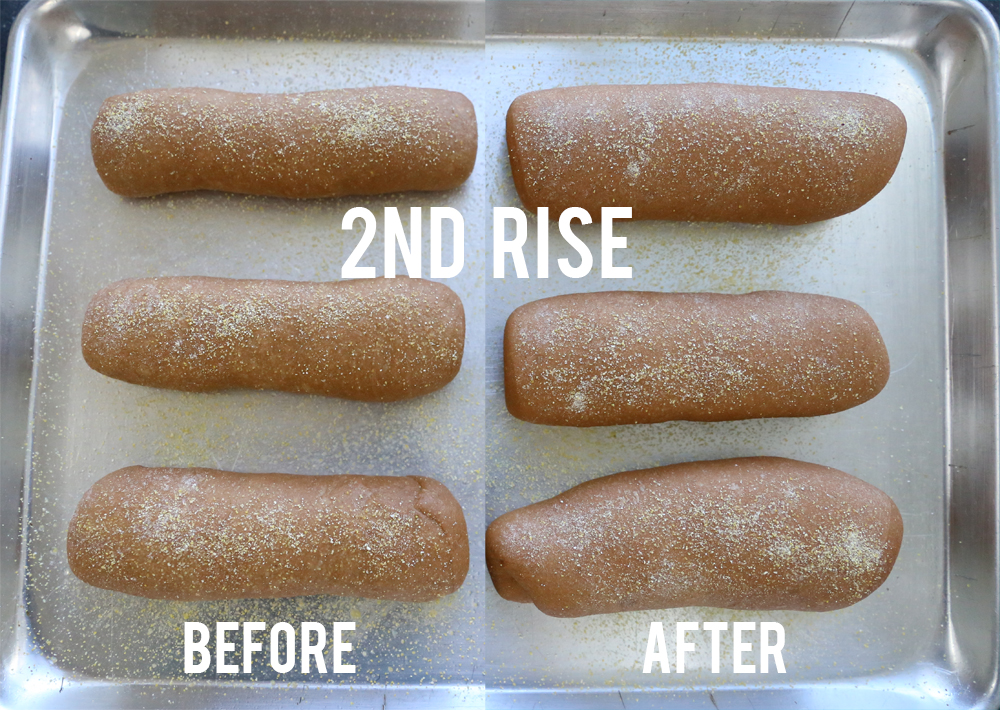
Place each log onto a greased cookie sheet pan (no loaf pans needed). Spray gently with water and sprinkle with cornmeal if desired. Cover with a dry towel and allow to rise until doubled again, about 50-60 minutes. The second rise won’t look as dramatic as the first rise, but you’re still looking for an increase in volume and a nice puffiness:
Bake the Outback Bread
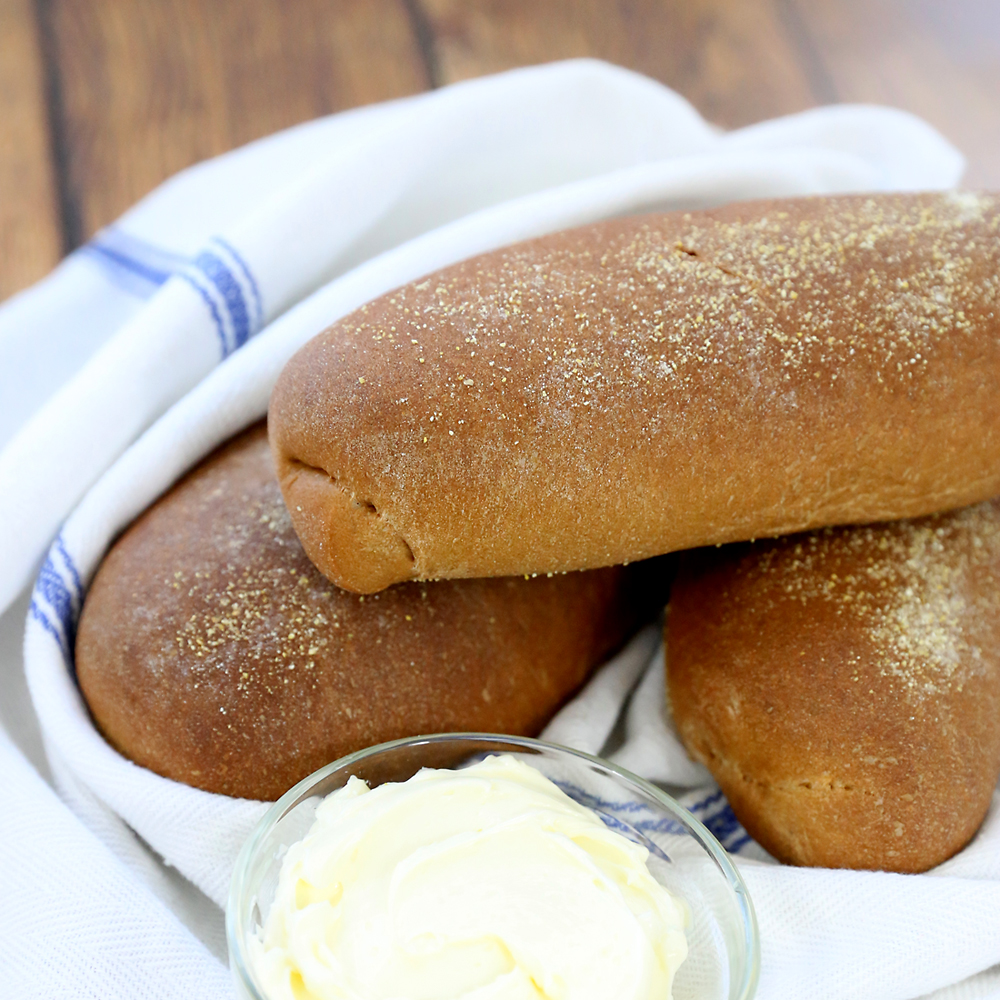
Bake the bread in a preheated 350 degree oven for 25-30 minutes until a loaf sounds hollow when you tap on the bottom. Allow loaves to cool for at least 15 minutes before serving.
How to make Outback bread rolls
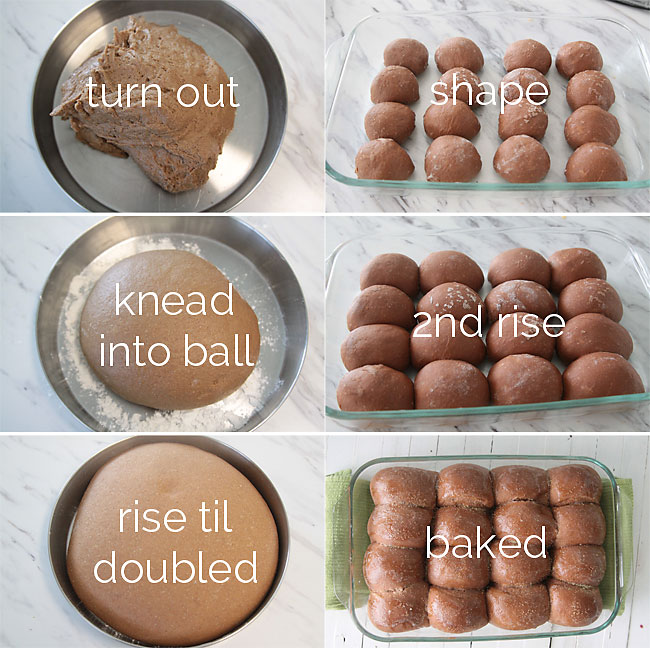
Once the dough has doubled in size, separate it into 16 sections and form into balls. Place them in a greased 9×13 pan and let them rise, covered, for another hour until the dough balls have grown in size enough that they touch one another. Bake at 350 for about 20 minutes until cooked through. If you use food coloring, it can be hard to tell when the rolls are done, since they won’t get much browner than they already are. The easiest way to tell if they’re finished is to gently pull one roll away from the one next to it and check to make sure they look baked through. If in doubt, give them another minute or two. Better slightly overdone than doughy inside.
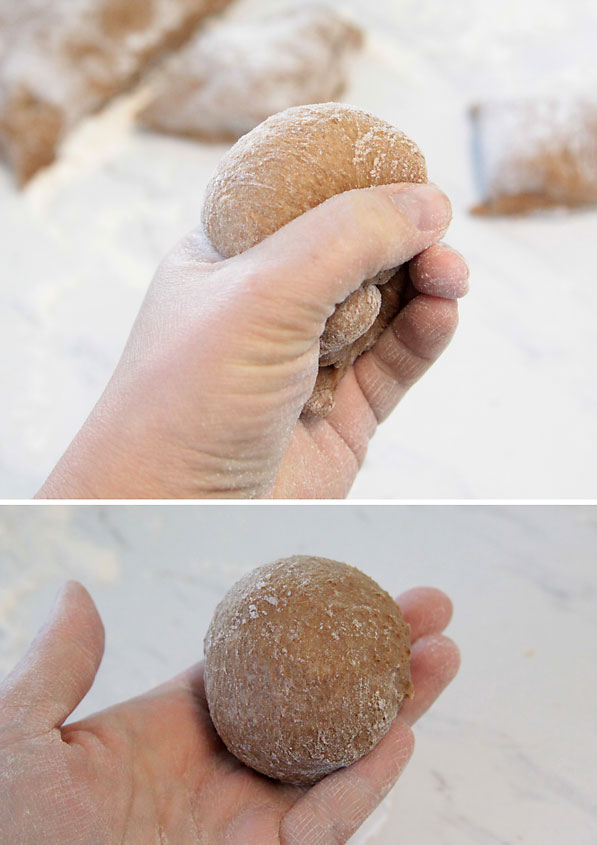
Here’s how I shape rolls. I cut the dough into 16 equal sections, then pick up one section in my right hand. I make a circle with the thumb and forefinger on my left hand, then gently push the dough piece through it, dusting it with flour if needed. Once I’ve pushed the entire piece through, I crimp it together at the bottom. That makes a nice tight ball.
Here’s what the whole process looks like if you’re making rolls:
Outback Bread recipe tips
Ok, I have a couple final tips to make sure your bread turns out amazing:
- Flour: This bread uses two types of flour – whole wheat flour and bread flour. I use white whole wheat flour whenever I’m baking wheat bread. It gives you a bit lighter finished product, but if you only have normal whole wheat flour you’ll be just fine. HOWEVER, you should definitely use bread flour and not all purpose flour. It has a much higher protein content which does a better job building gluten and will make sure you get a good rise on the bread.
- Cocoa: Yes, we use a little bit of baking cocoa (also known as unsweetened cocoa powder) in the recipe. It adds color and a little depth of flavor, although the bread does not taste like chocolate. DO NOT use dutch process cocoa, as it is extra acidic and can make it hard for the yeast to rise. Look for natural baking cocoa (like the Hershey’s brand). If you do not want to use cocoa, I’ve had readers recommend substituting instant coffee instead.
- If you need help with bread baking in general, you can click over to my Very best dinner roll recipe. That post includes a step by step video that walks you through the entire process.
Outback Sweet Molasses Bread Recipe
Ingredients
- 1 cup Warm Water
- 1 tablespoon Active Dry Yeast
- 1 tablespoon Sugar
- 1 and 3/4 cups Whole Wheat Flour
- 1 Egg
- 2 tablespoons Butter room temperature
- 2 tablespoons Molasses
- 1/4 cup Honey
- 1.5 to 2 cups Bread Flour
- 1 tablespoon Natural Baking Cocoa not Dutch process; Hershey's brand works great
- 1 teaspoon Salt
Want more project ideas? Sign up to get my favorite easy crafts and recipes straight to your inbox!
Instructions
- Place warm water, yeast and sugar in bowl of a stand mixer.
- Allow to proof for 10 minutes (mixture will bubble).
- Add in whole wheat flour, egg, butter, molasses and honey and turn mixer on low, using the dough hook.
- Add in 1 cup of bread flour, cocoa and salt and continue to mix on low.
- Gradually add in remaining half cup to one cup of bread flour. Dough should pull away from the sides of the mixing bowl.
- Continue to knead on low for about 10 minutes until dough is soft and elastic.
- Turn dough out and roll into a ball. Allow to rise in a warm place, covered, for 60-90 minutes until doubled in size.
- Shape as 6 small loaves on a cookie sheet or as 16 rolls in a 9×13 pan and rise again until doubled (45-60 minutes).
- Bake at 350 for 27-30 minutes for loaves or about 20 minutes for rolls.
Love bread? Give some of these recipes a try:
Easy 4 ingredient artisan bread recipe
The very best dinner rolls recipe
How to make homemade french bread

Laura says
Made exactly as recipe stated and made the small loaves. Froze the ones not eaten. Thawed for 1-2 hours and reheated in microwave on 50% power or air fryer. They were excellent!
Sandy says
This is delicious bread. I bake it as a loaf for sandwiches. My husband’s uncle who lives out of state visits us once a year and always requests this bread. I use the dough feature on my bread machine and then finish it as a loaf, baking it in the oven at 350 for 30 minutes. This bread never fails to get rave reviews.
Erin says
I made it as written except I put it in the fridge for the first rise, for about 8 hours. The chilled dough rolled out easily. The rolls were a perfect copycat of steakhouse rolls!