
In today’s post: Halloween Bleach Dyed T-Shirts are made using cute signs from Dollar Tree. They turn out so cool you won’t believe how easy they are to make! Find step by step directions to make your own shirt below.
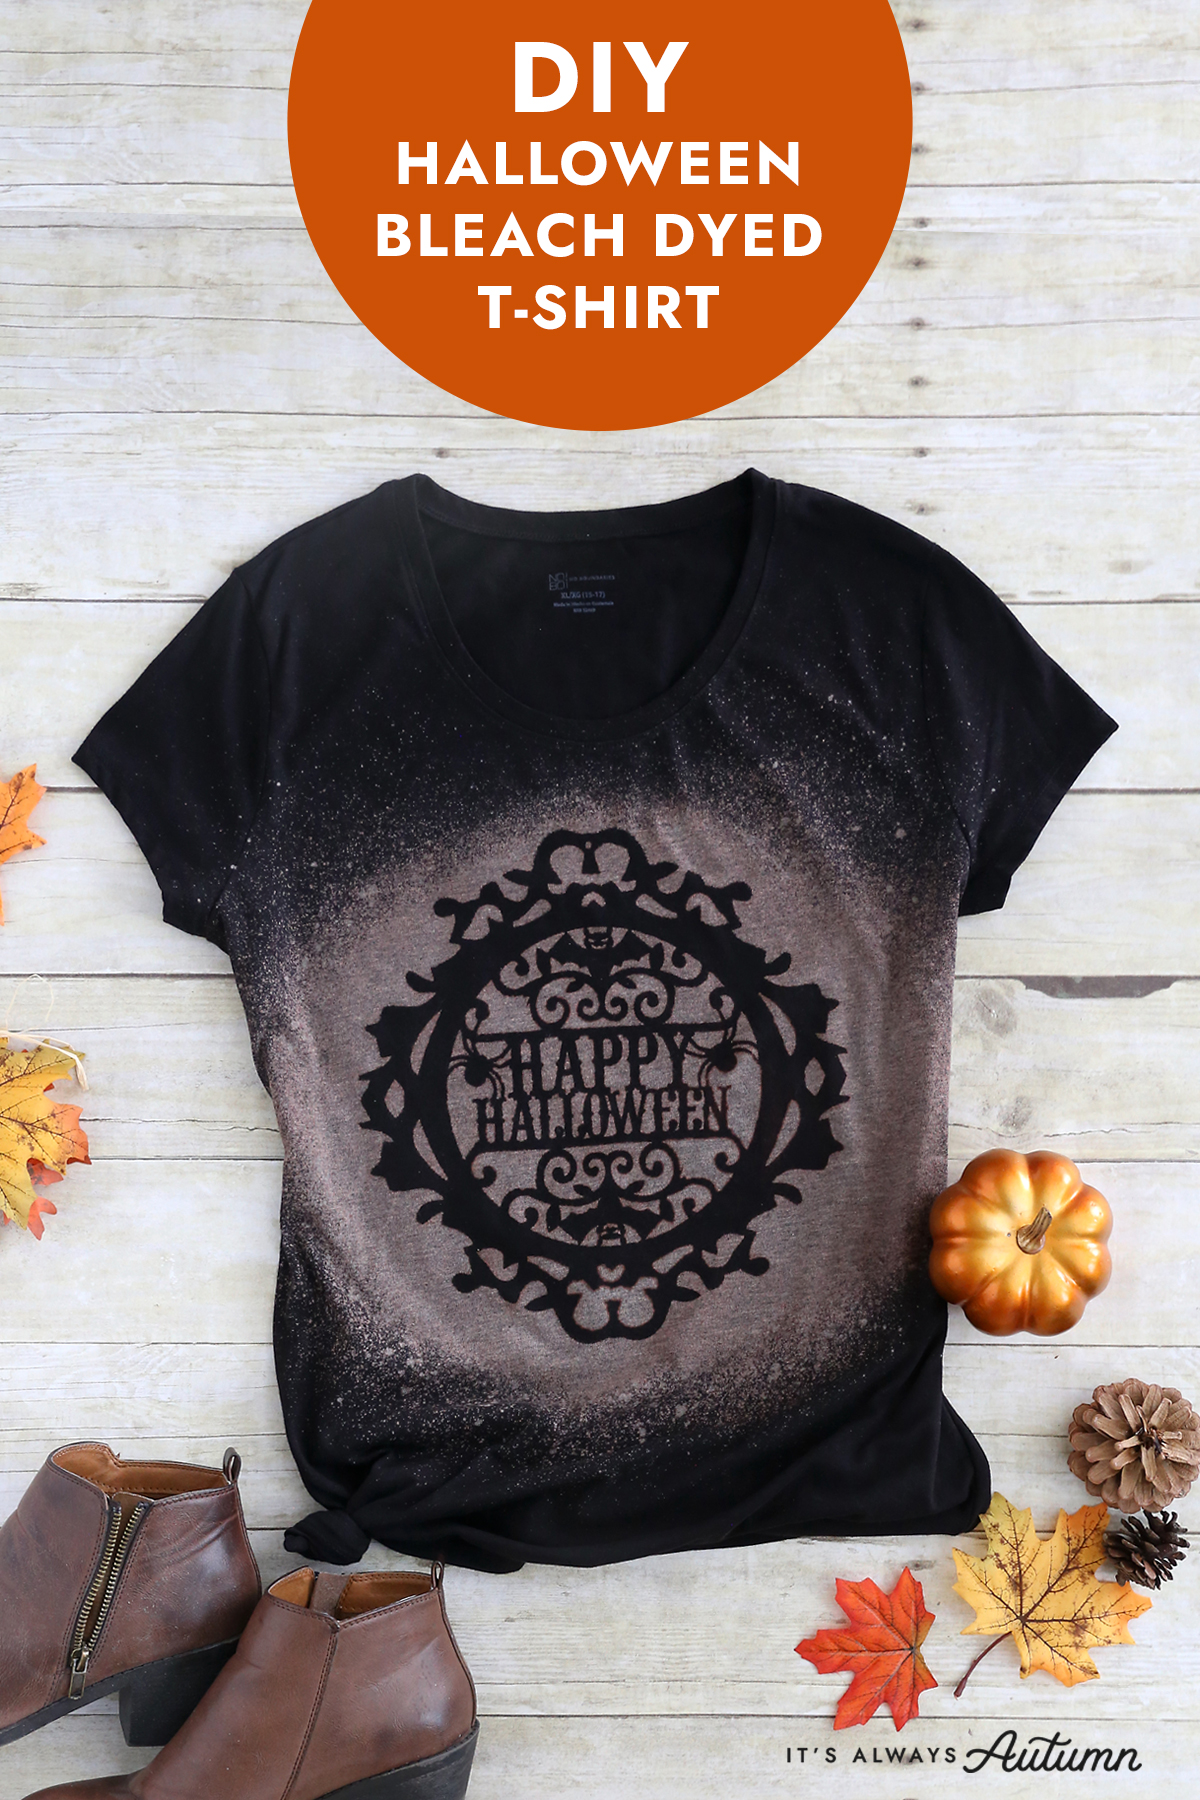
Halloween Bleach Dyed T-shirts
Today’s project is so satisfying. Seriously! It’s pretty awesome that you can make yourself a cool shirt for Halloween using a wood cutout from the dollar store, a cheap tee, and some bleach. Here’s what the wood cutouts look like:
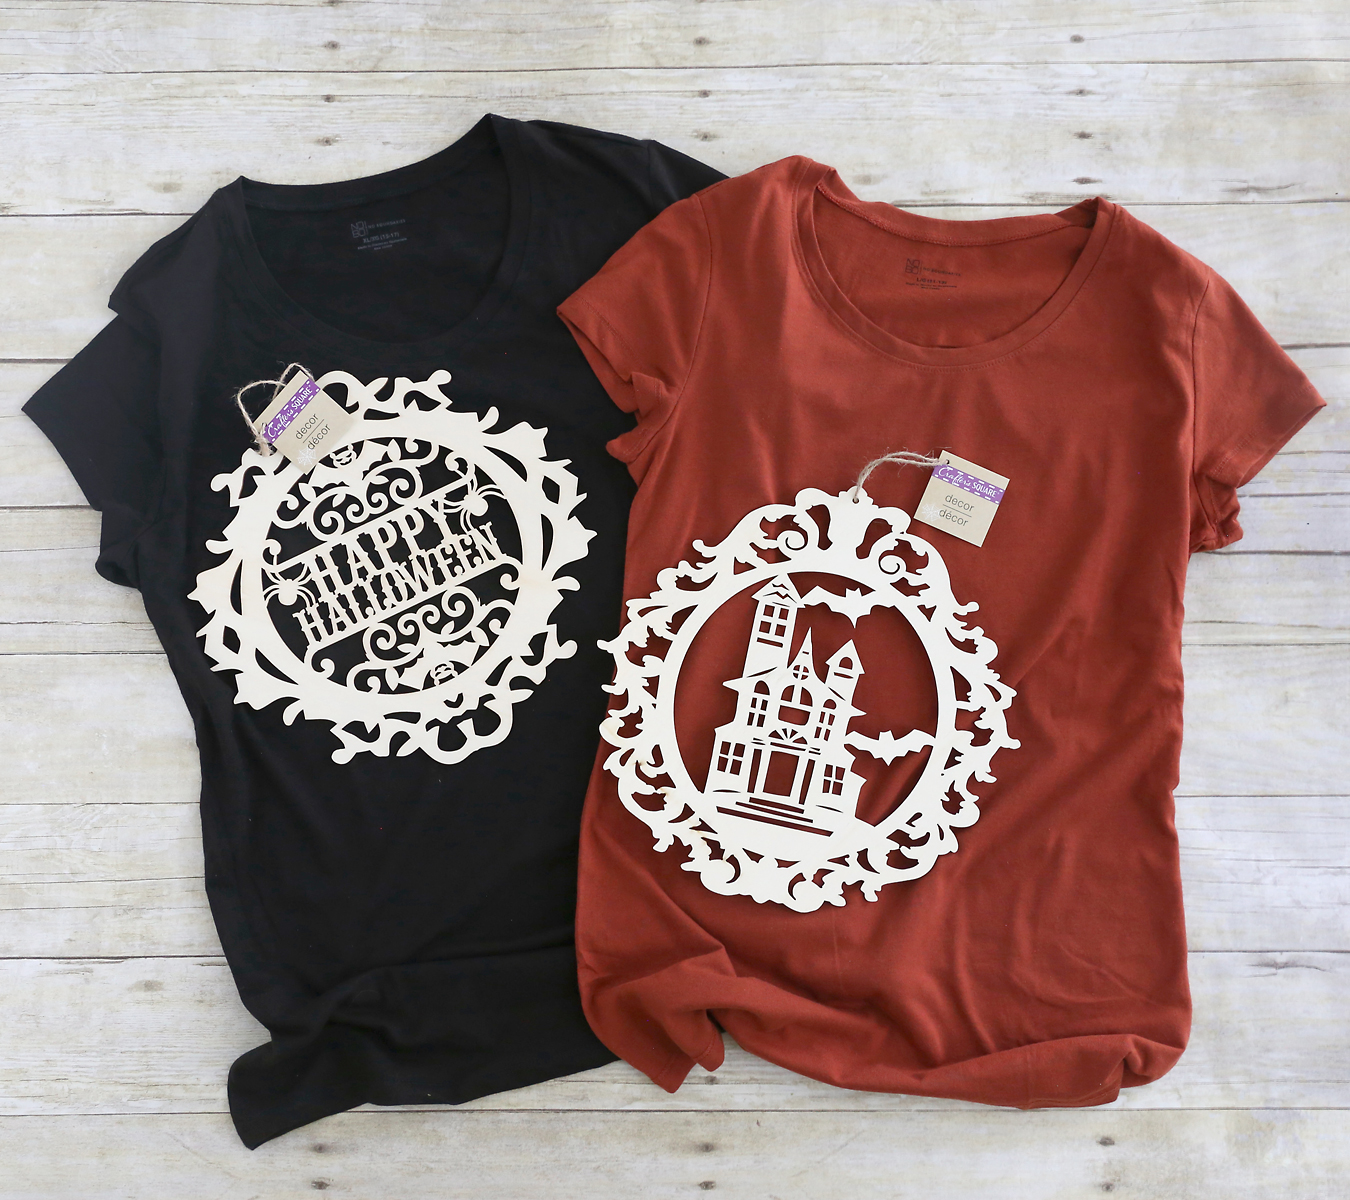
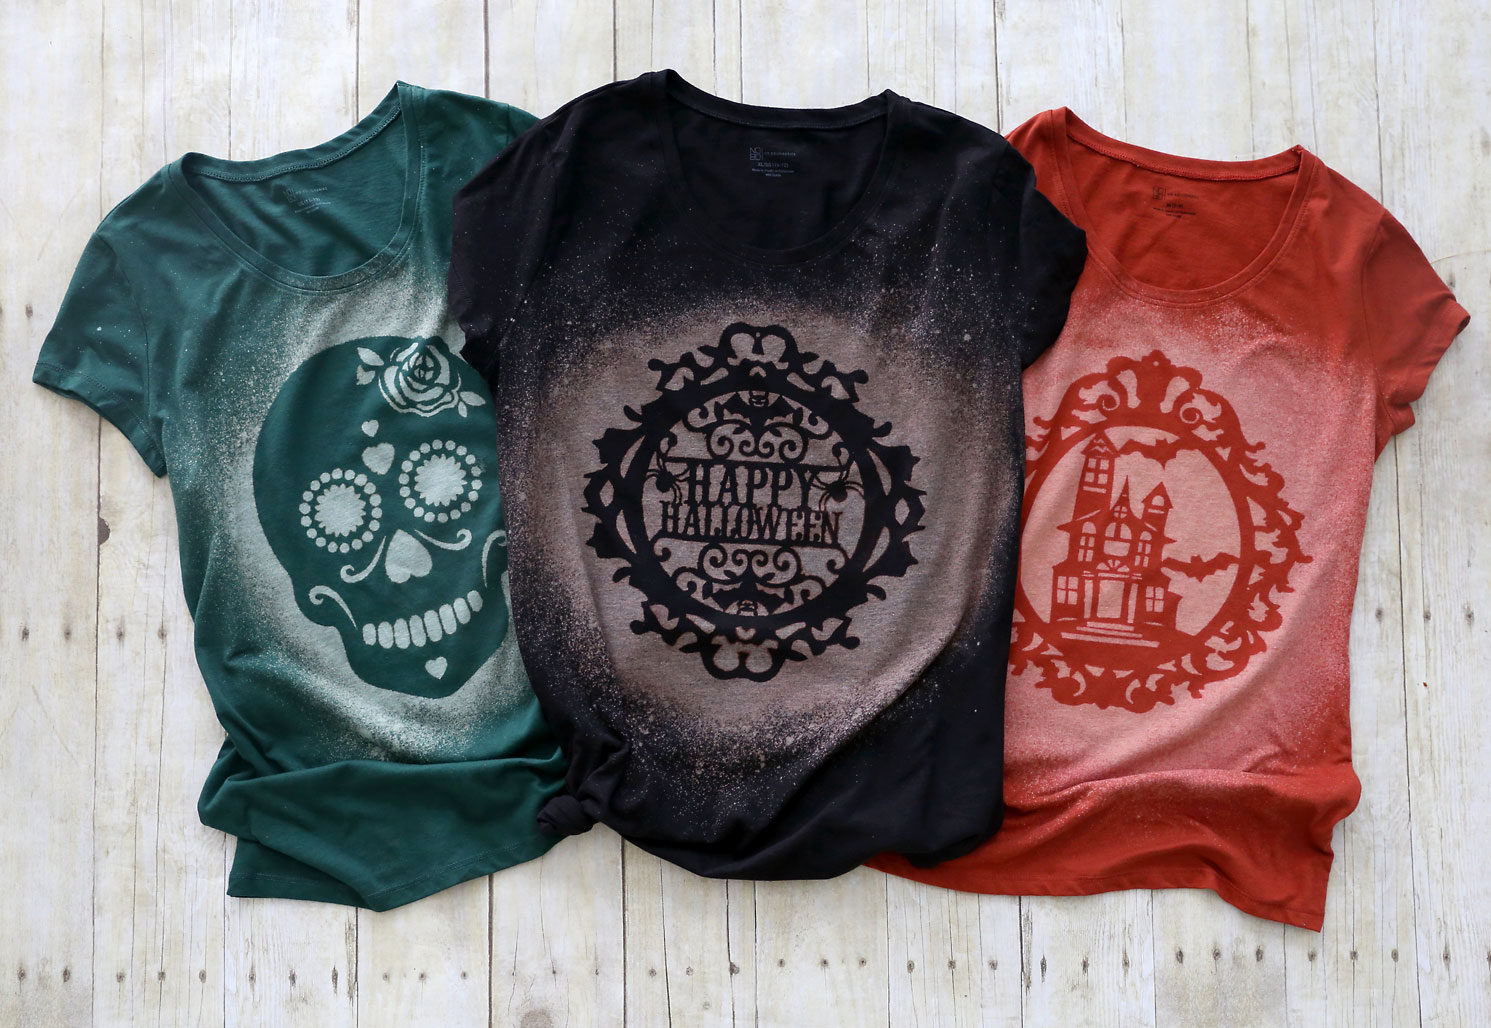
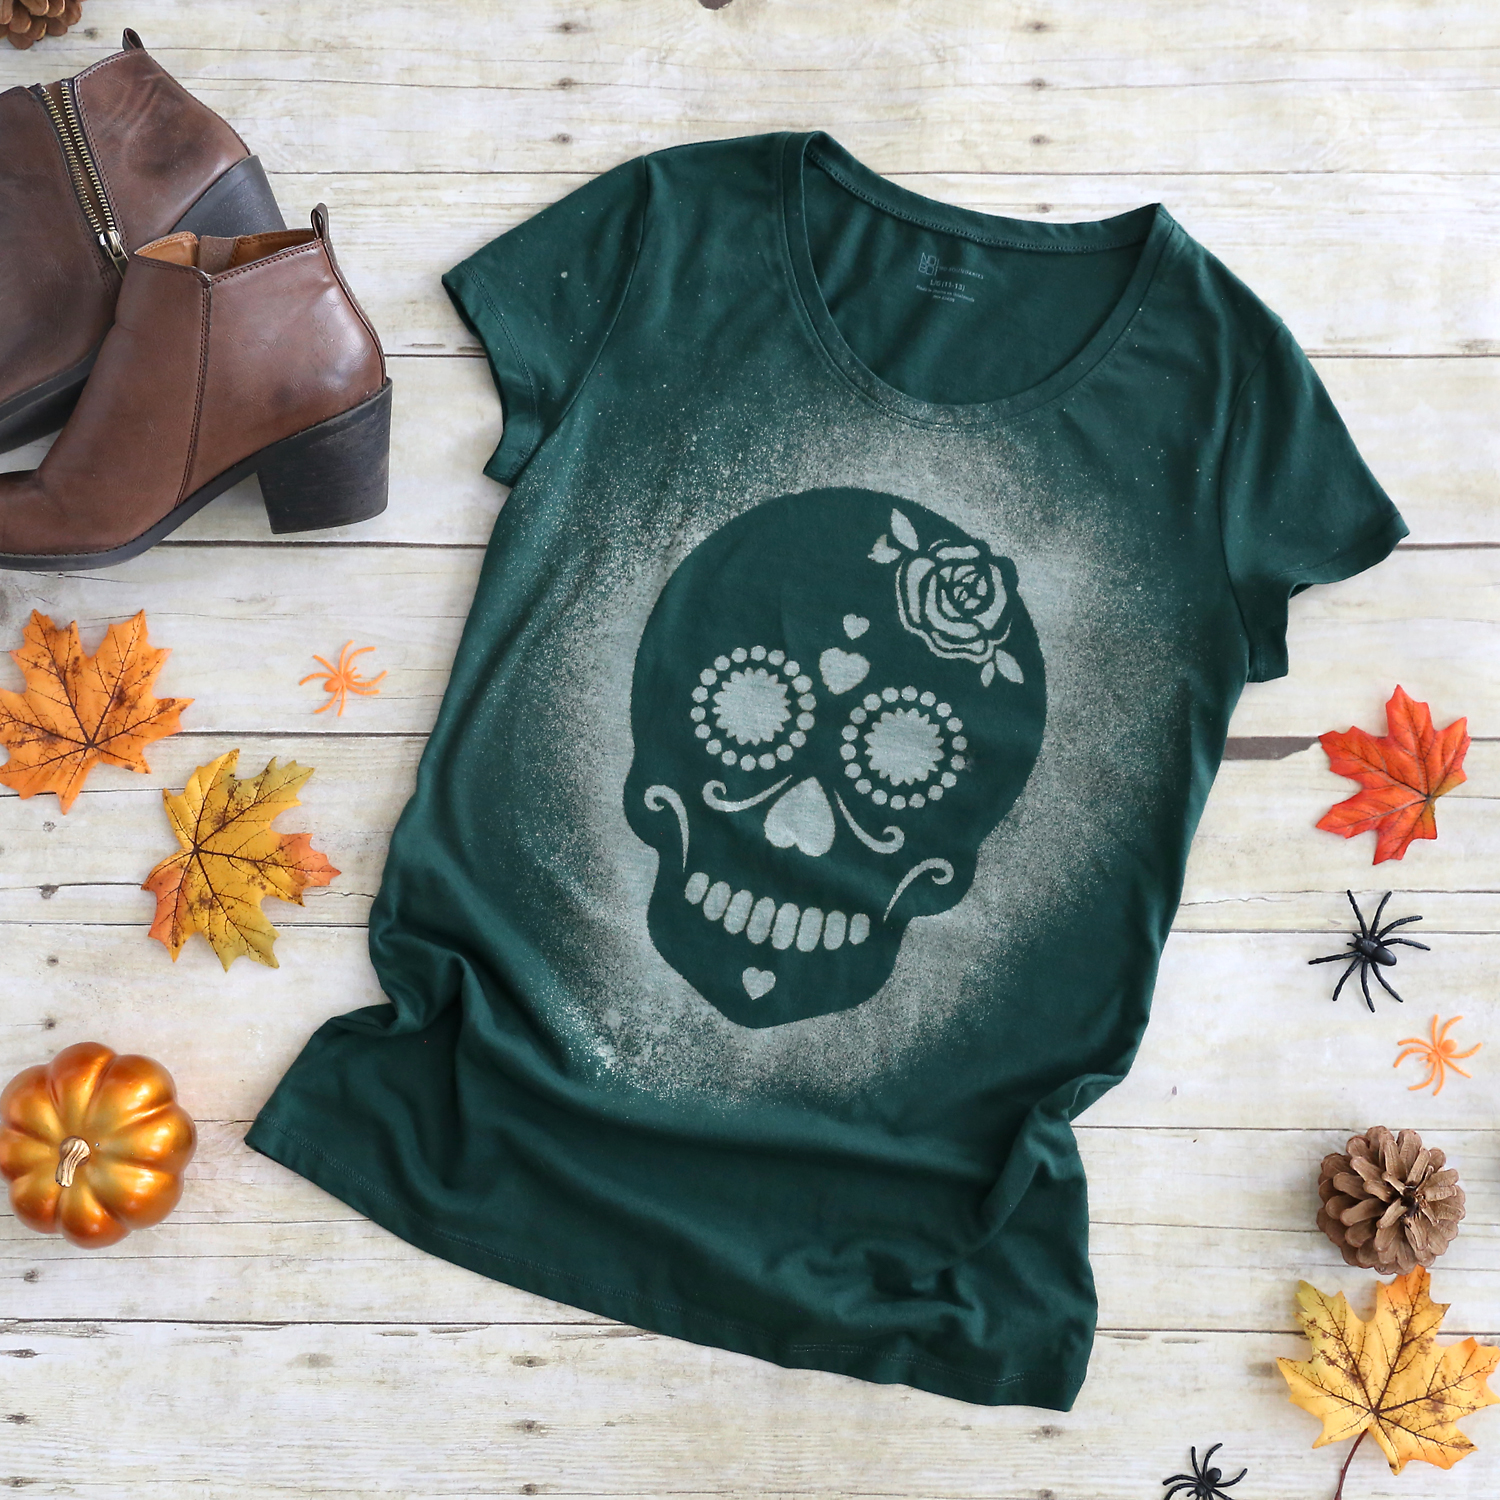
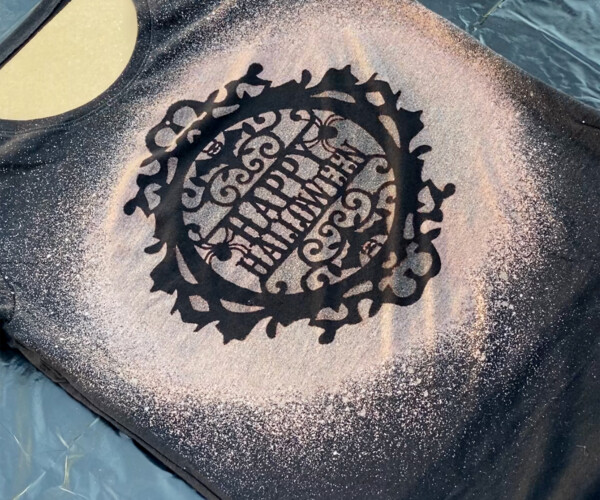
And here are the cool shirts you can make with them:
Get the Halloween Signs
Now, it might seem early to be thinking about Halloween, but I’ve learned that Halloween supplies sell out very quickly at Dollar Tree. In fact, I had to call around to a few different stores to find these adorable wood Halloween signs I used in this post because an employee told me they can’t keep them on the shelves! So if you’d like to make your own bleach dyed Halloween shirt, try to purchase the signs right away.
If you can’t find the signs, you can use a Halloween stencil instead. You can find cool stencil sets on Amazon by clicking here – just pay attention to how big they are before you order. You may also be able to find stencils at your local craft store.
Easy Halloween DIY Project
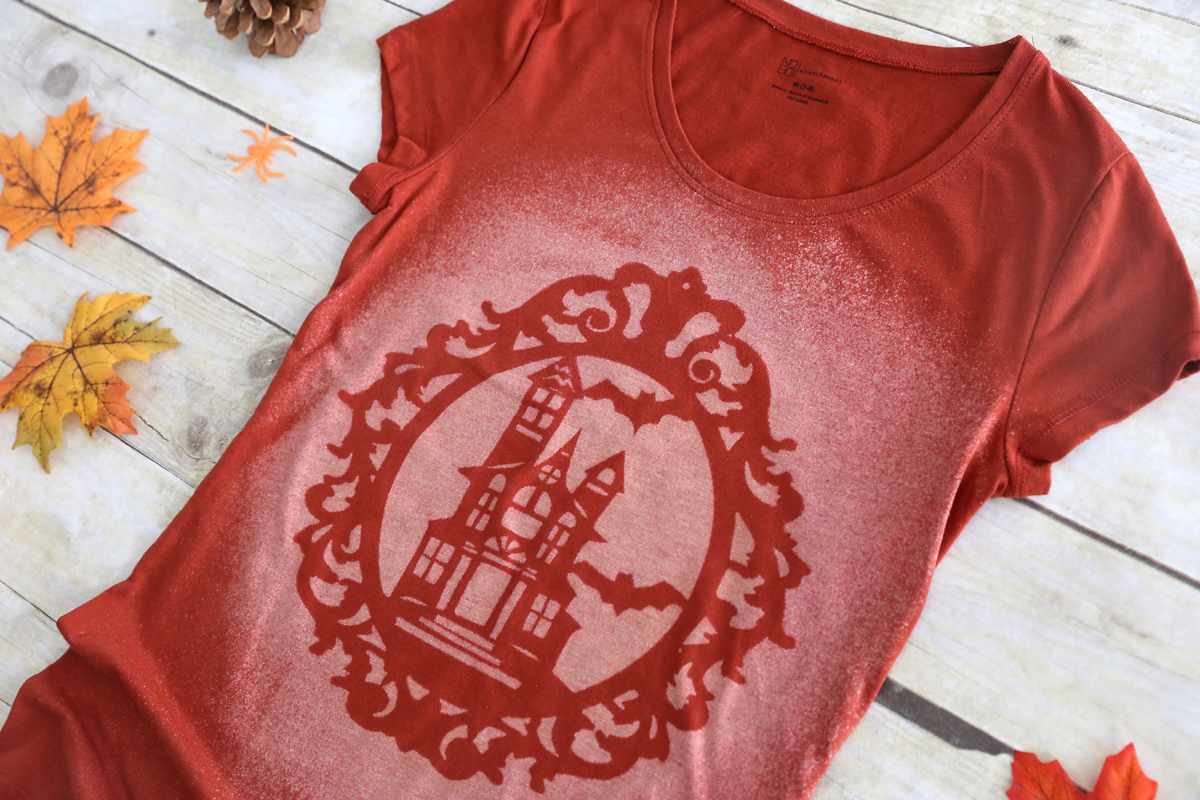
Bleach dyeing is basically reverse stenciling: you’ll use the wood sign as a stencil and spray bleach mixed with water over it. Everywhere the bleach touches the shirt it will remove color, leaving the parts covered by the sign dark. I was really impressed by the clean lines I was able to get using the wood signs as a stencil! The secret is to temporarily adhere the wood sign to the shirt using basting spray or a glue stick. This ensures that none of the bleach leaks under the sign, ruining your design.
Working with Bleach
You’ll need to make sure you have a well ventilated place to do this craft. If possible, I’d recommend doing it outdoors or in a garage with the garage door open. Just be sure it’s not windy when you get started.
If you’ll be involving children in this project, make sure they are well supervised as bleach can cause irritation if it gets on your skin or in your eyes and definitely should not be ingested. Also be aware that it will bleach any fabric and many other surfaces that it comes into contact with. You might want to have kids wear plastic gloves and old clothes, and you’ll definitely need to place a large trash bag or plastic tablecloth under the shirt as you spray it.
What You’ll Need
I love it when crafts don’t require many supplies! To make bleach dyed Halloween shirts, you’ll need:

- Wood Signs from Dollar Tree (or other Halloween sign or template)
- T-shirts: I found tees at Walmart for about $4
- Basting Spray or other washable adhesive spray OR a glue stick
- Spray Bottle
- Bleach
- Cardboard to go inside the shirt
- Trash bag or plastic tablecloth to protect the surface you’re spraying on
Video Demonstration


Halloween Bleach Dyed T-Shirts
Supplies
- Wood Halloween Sign
- T-Shirt
- Washable Adhesive spray like Basting Spray or Glue Stick
- Spray Bottle
- Bleach
- Water
- Cardboard
- Trash Bag or Plastic Tablecloth
Want more project ideas? Sign up to get my favorite easy crafts and recipes straight to your inbox!
Instructions
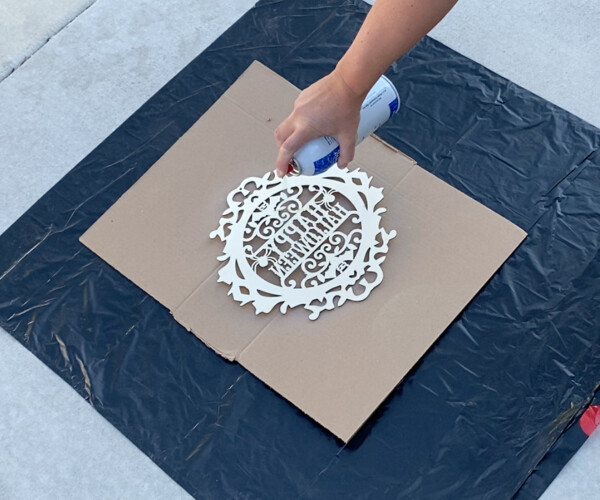
- Spray the back of the wood sign with basting spray or other washable adhesive spray until it is slightly sticky to the touch. If you don't have basting spray, you can use a glue stick instead. See note.

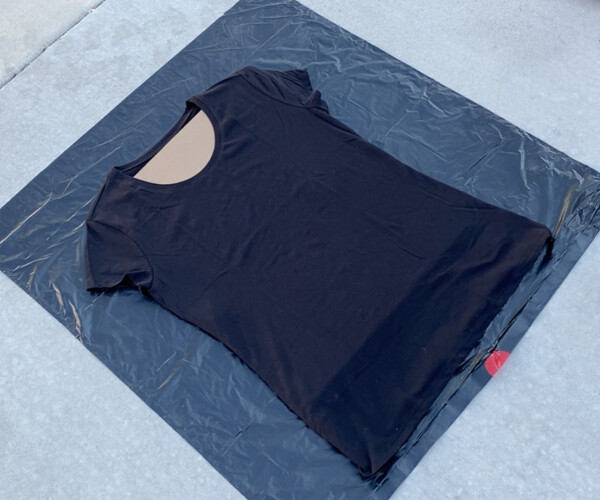
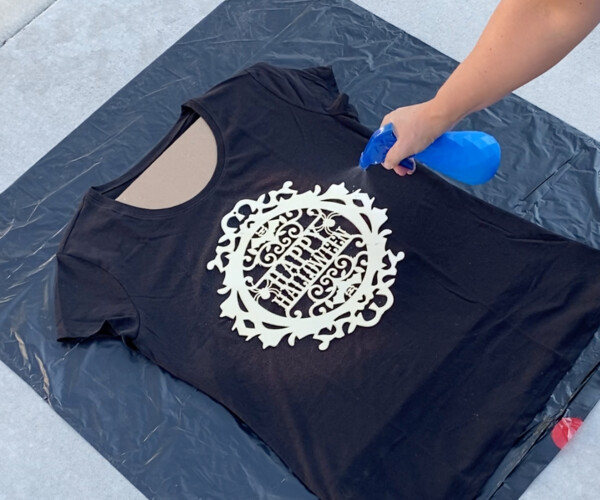
- Place a piece of cardboard inside the t-shirt to protect the back of the shirt from the bleach spray. Ideally, the cardboard should be big enough to fill the entire shirt. Place the shirt down on a trash bag or something else that will protect the surface in a WELL VENTILATED area (outside is best as long as it isn't windy).
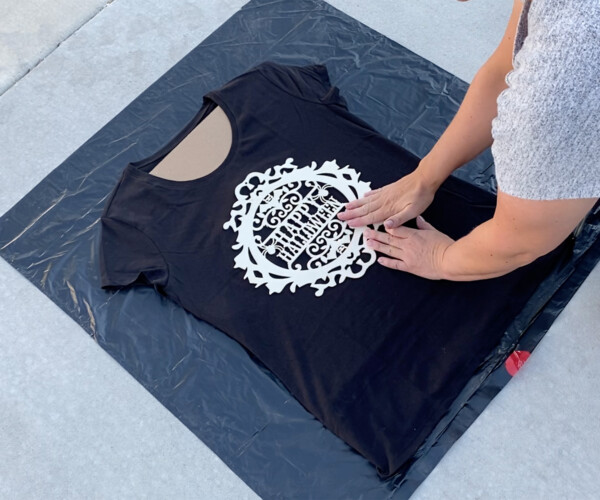
- Place the sign sticky side down on the t-shirt and press well so it adheres.
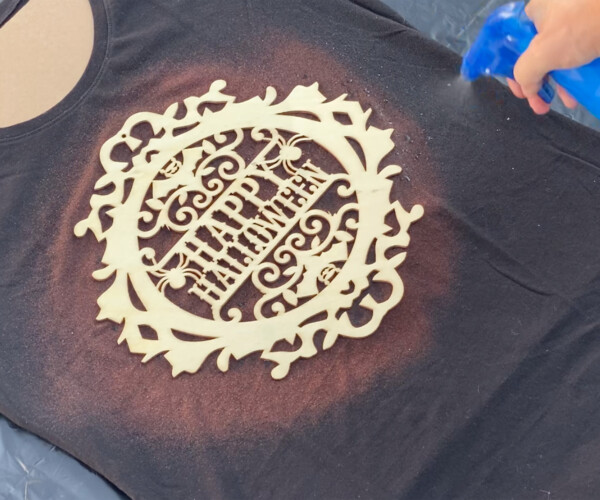
- Make sure the spray nozzle on your spray bottle is turned so you get a fine mist (test this with water). Mix 1 part water and 1 part bleach in the bottle and begin spraying it over the sign. I started by spraying inside the sign, then sprayed around the outside of the sign, trying to move around the sign in an even circle. You only need to get the fabric lightly wet, so DO NOT soak it with the bleach water. If you do you will ruin your shirt because the bleach will begin to leak under the sign.
- As you wait, you will begin to see the spray lightening up the fabric around the sign. Be patient and don't spray more immediately as it takes a few minutes to see where you have sprayed. After 5 minutes or so you can add more spray in any areas it seems like you have missed. Again, do not soak the fabric.
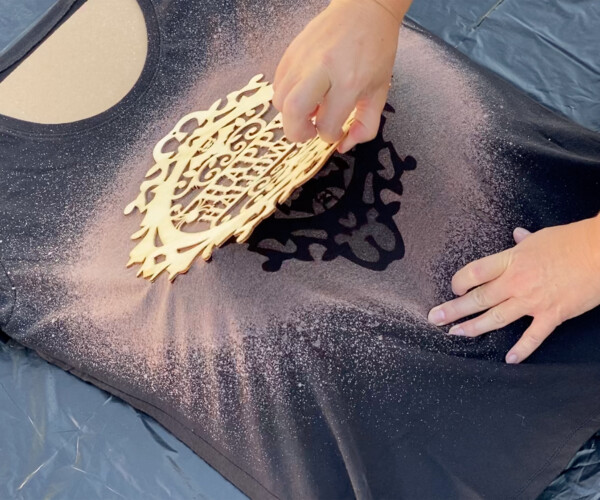
- Allow the bleach spray to dry for 20-30 minutes, then gently peel the wood sign off the shirt.
- Immediately rinse the shirt in running water until the entire shirt is very wet, including all the parts that were bleached. Rinse and wring out the shirt a couple of times, then wash and dry it on a normal cycle in your machine before wearing.
Tips


Pam says
After bleaching how do you get the bleach on the shirt so white I’ve always seen it turned Orange?
Jen Maginnis says
Does the bleach ruin the stencils or can you reuse them over a few times?