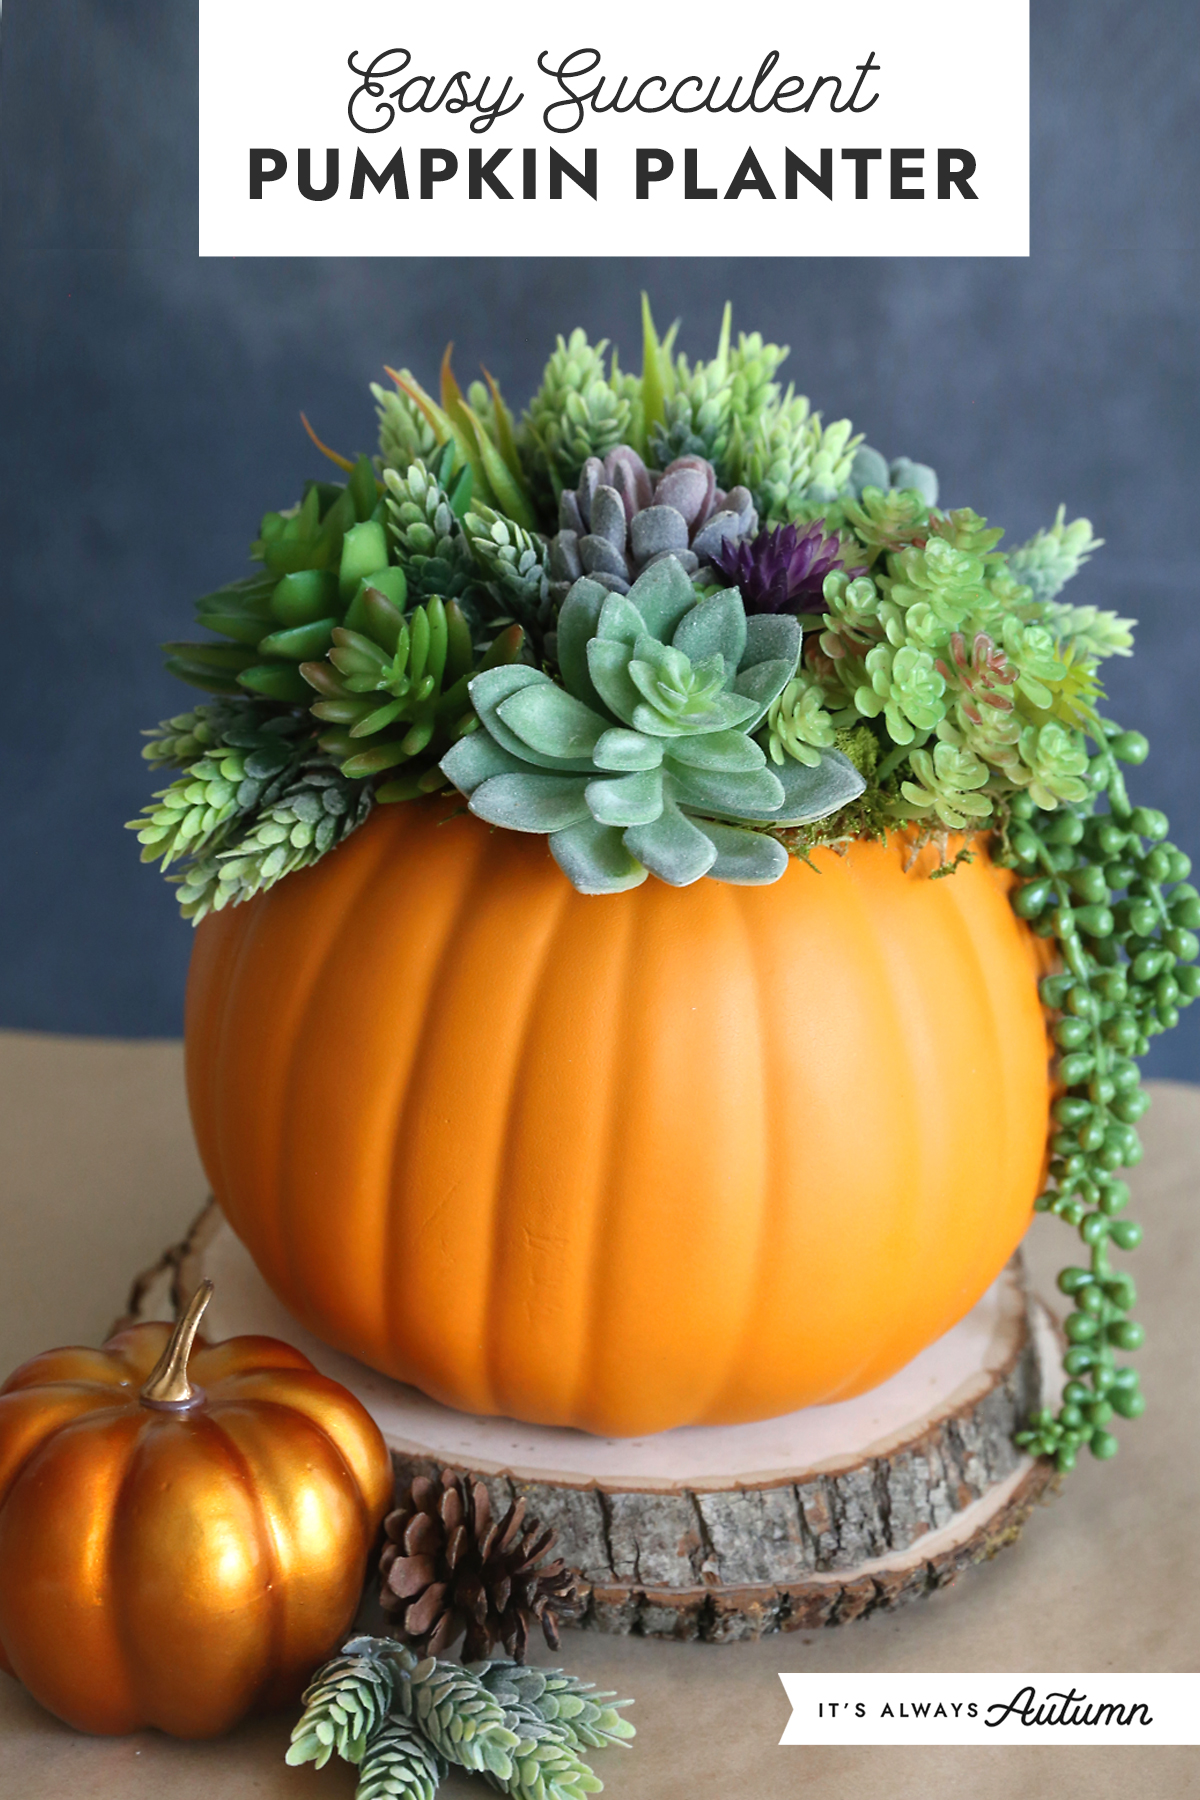
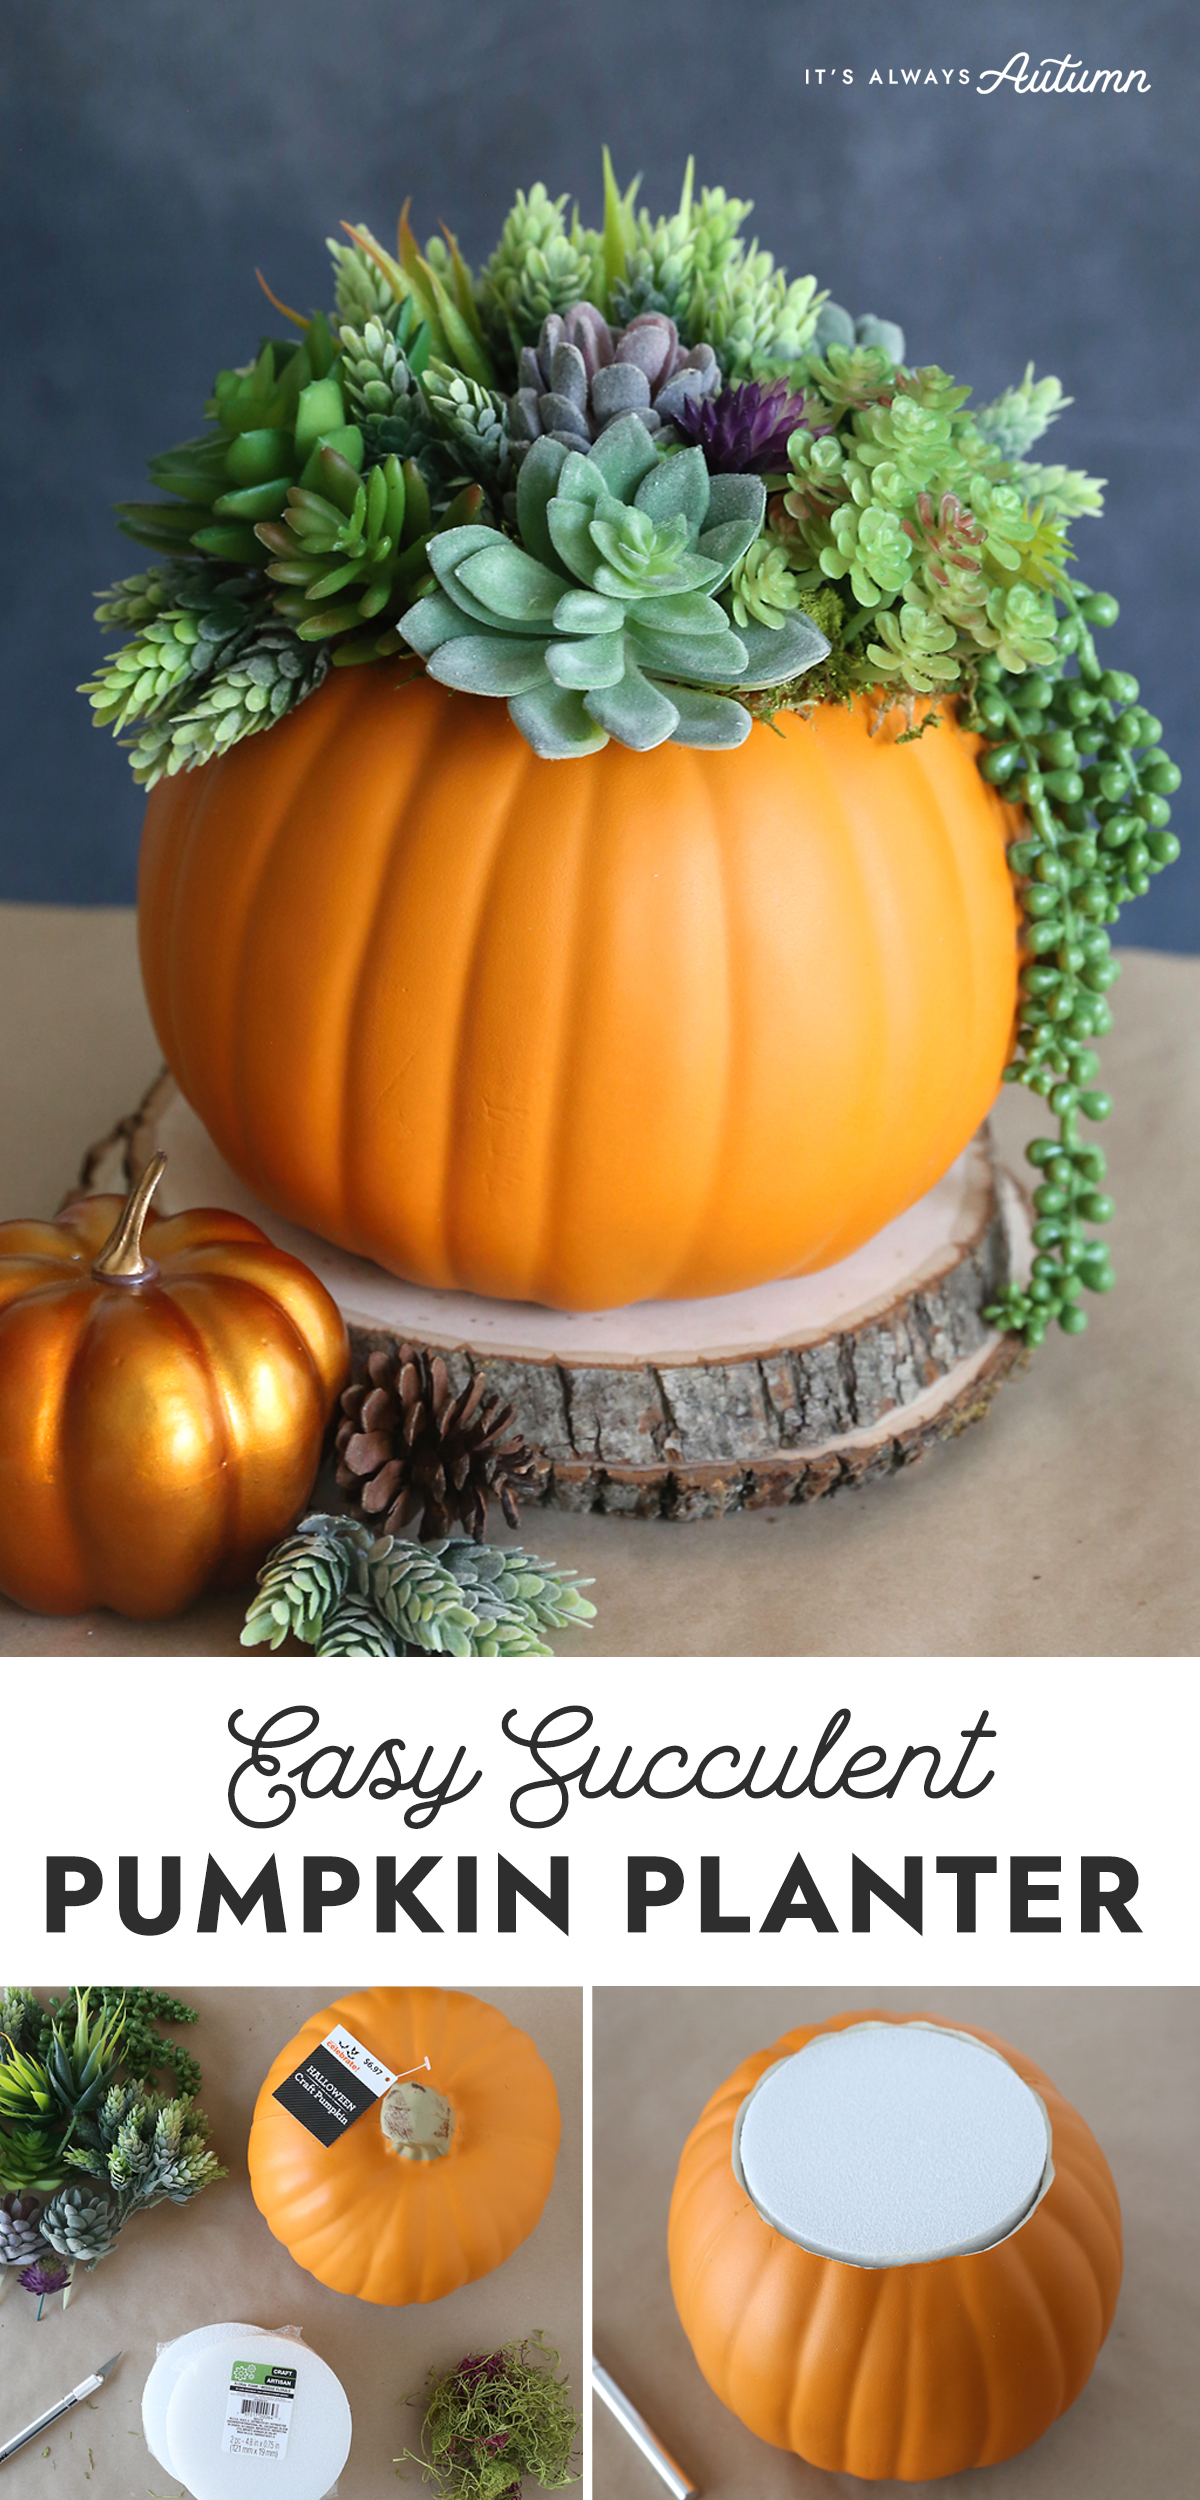
In today’s post: Make a gorgeous pumpkin succulent planter for your fall table. This easy DIY version uses realistic looking faux plants and a faux pumpkin so it will last for years!
I love plants. Or at least I love how plants look in other people’s houses. In my own house? Well, the thing about plants is that they require watering. Regularly. And maybe something called deadheading? Or pruning maybe? I don’t really know…I can’t seem to make the mental space for taking care of plants.
But they’re so pretty! And green! And it’s fall (finally!!) and I wanted a pretty pumpkin planter to help me enjoy the season. Luckily for me, faux succulents look pretty darn real, meaning I can have my planter without have to lift a finger to make sure it doesn’t die. And I made it out of a faux pumpkin too, because once I’ve actually put something like this together I don’t want to worry about whether the inside of the pumpkin is past it’s prime.
DIY Pumpkin Succulent Planters
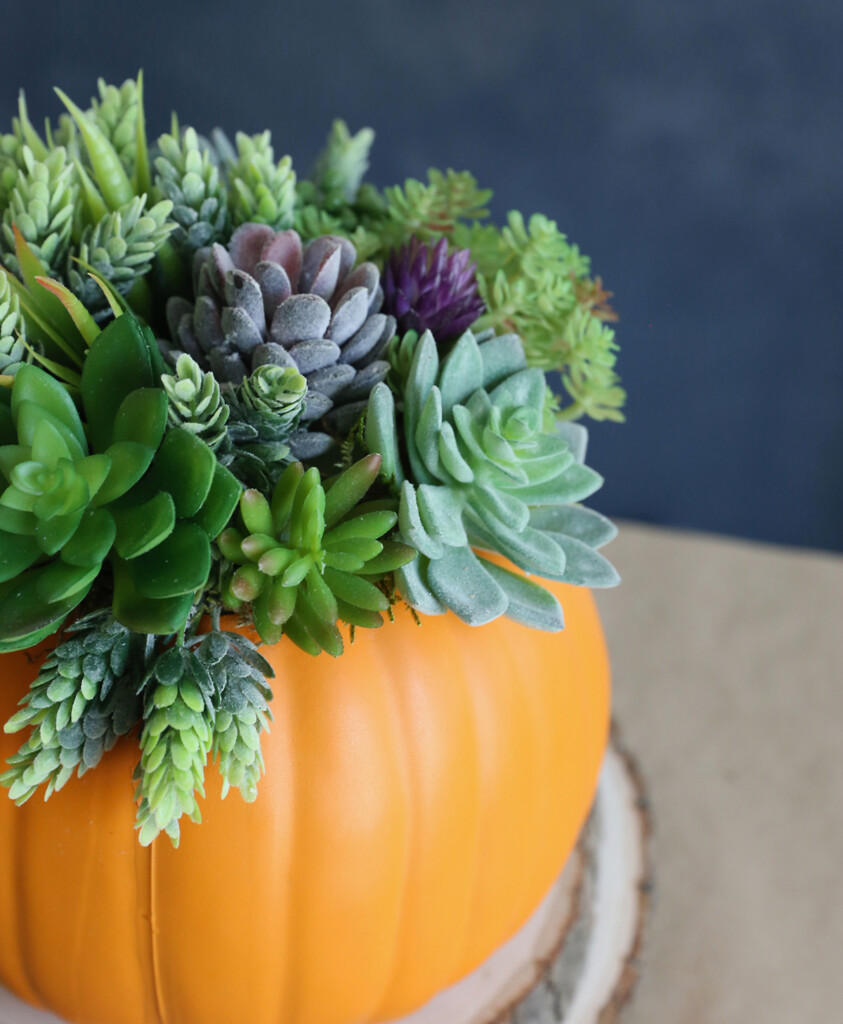
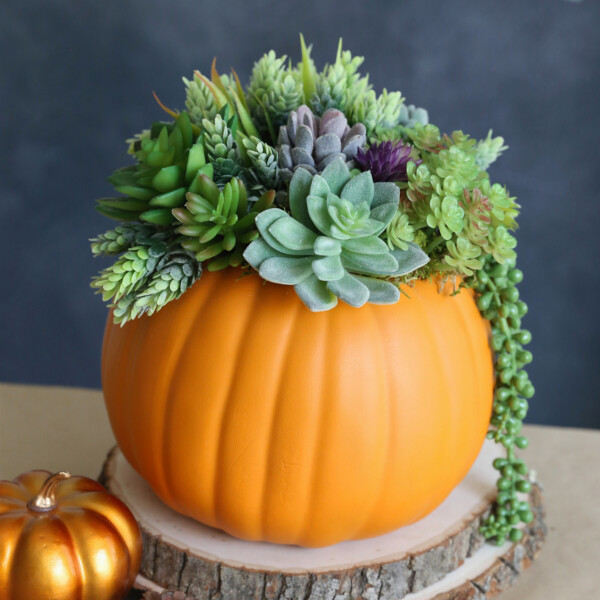
And it turned out so cute! The pumpkin acts as the “flower pot” for the collection of succulents. And the best part is that this pretty succulent pumpkin centerpiece only takes about half an hour to make, and it’s easy! You don’t have to be a pro at arranging flowers or putting together centerpieces for this simple fall craft idea.
I worked on my arrangement together with a friend, and it was fun! I highly recommend finding a time to do easy crafts with friends – it’s nice to have someone to look at what you’re making and give you feedback. My friend helped me see that my first try at this planter combined too many different colors of succulents and looked a little chaotic. Sticking with a more monochromatic color scheme ended up working much better.
What You Need
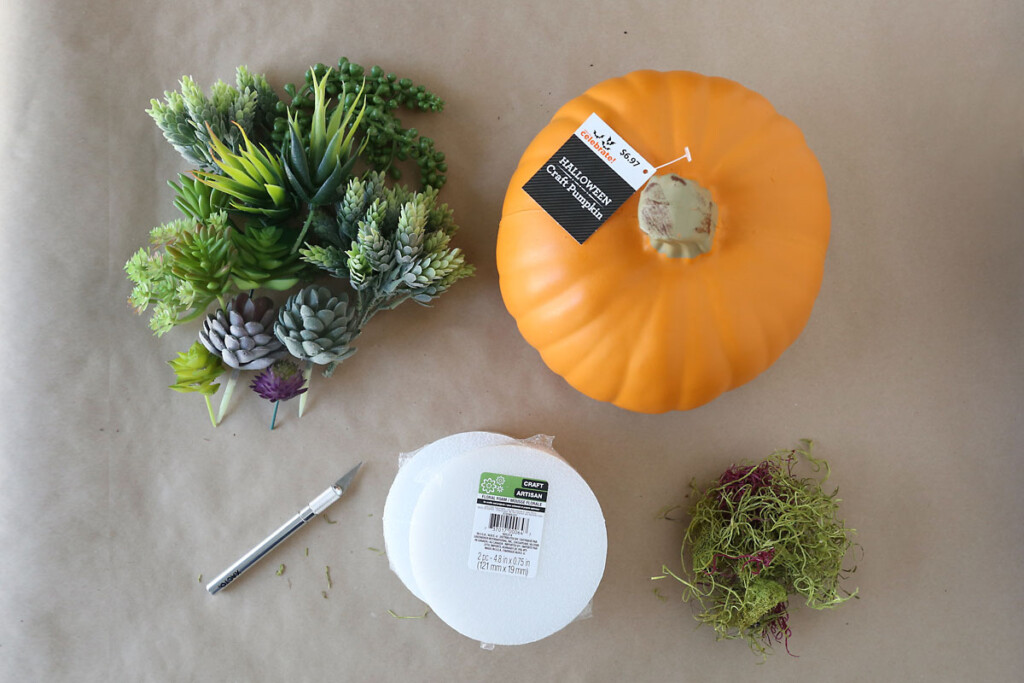
You only need five supplies to make succulent pumpkins:
- faux pumpkin
- faux succulents
- exacto knife
- floral foam discs
- faux moss (optional)
That’s it! No need for a glue gun, dirt, water or anything else. This is easy.
Where to Get Faux Plants
I looked around at a variety of stores to find faux supplies that looked good without being super expensive. Here’s what I used:
- I ordered this set of faux succulents on Amazon, as well as a few other varieties to compare. The one I’ve linked here was definitely my favorite and it filled the top of my craft pumpkin perfectly!
- I found the craft pumpkin at Walmart for $7, which is about half of what they usually cost at craft stores. It’s almost 9 inches in diameter.
- I also used a bit of craft moss from Walmart – I’ve seen some at the Dollar Tree as well.
- I got the floral foam at the Dollar Tree as well and it fits perfectly in the Walmart pumpkins.
How to Make It
You can make this DIY fall craft in just three easy steps – keep it for decorating your own fall table or give it away as a gift! I’ll walk you through the details here, or you can scroll down to the printable tutorial card so you can print the instructions.
Fill Pumpkin with Floral Foam
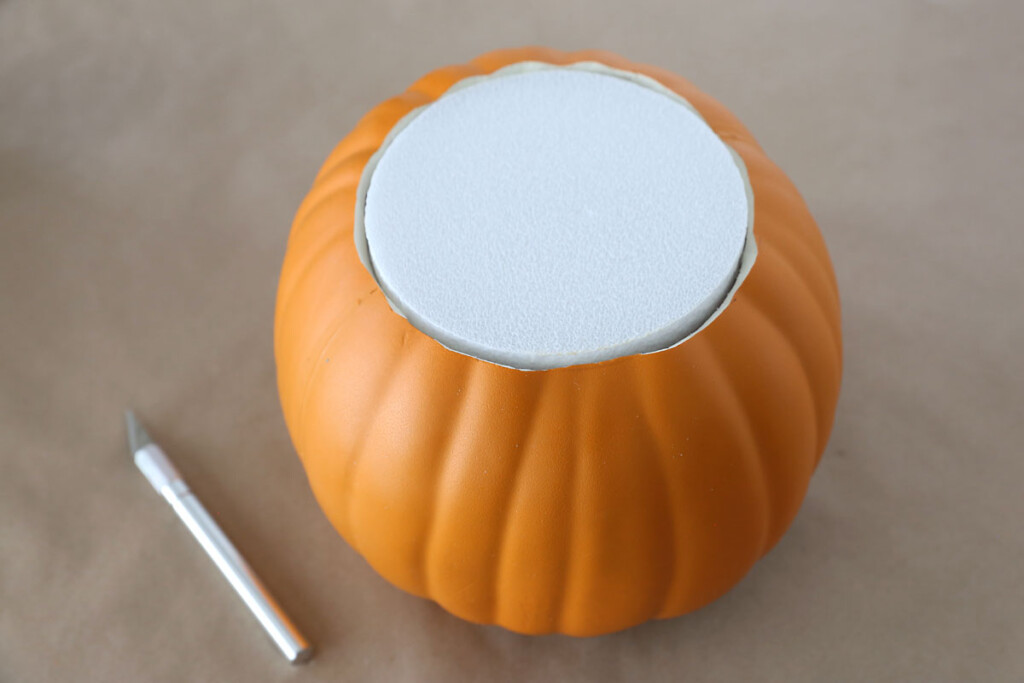
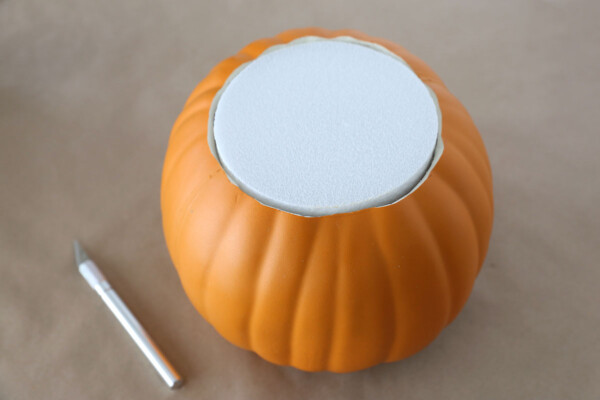
I thought about gluing the succulents to the top of the pumpkin, but that makes it hard to play around with the placement of the plants. It’s much easier if you cut the top off your pumpkin and fill it with floral foam, then stick the succulents into the foam. I cut the stem off first, then placed a floral foam disc on top of the pumpkin and traced around it. Next, I used an exacto knife to cut along the line and then filled the pumpkin with the foam discs. They came in packs of 2 at the Dollar Tree and 7 discs filled the pumpkin perfectly.
Add Succulents
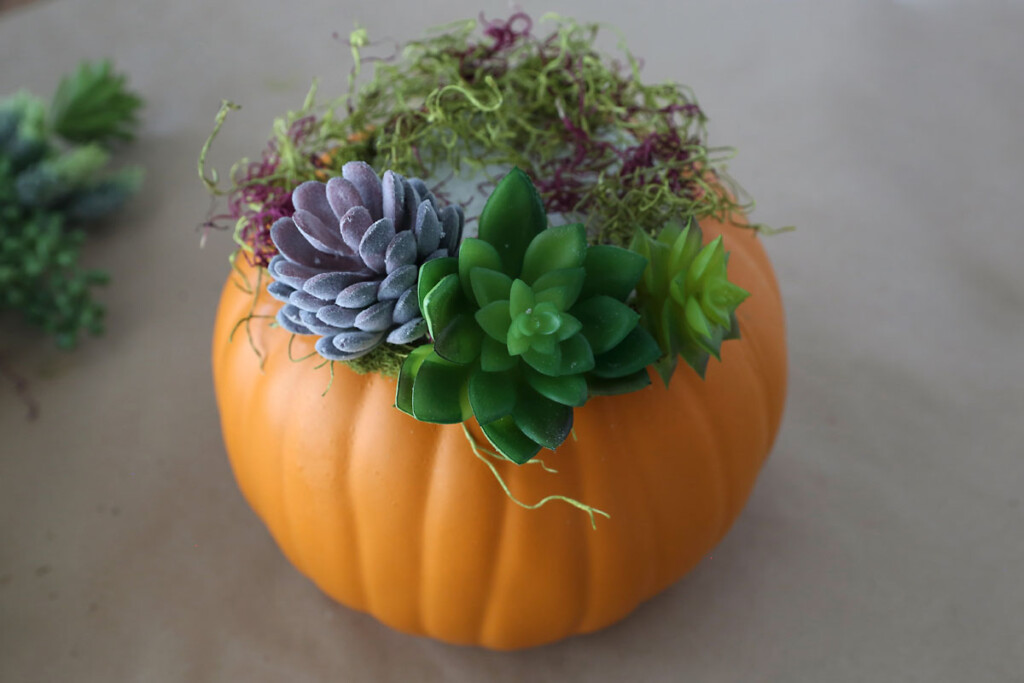
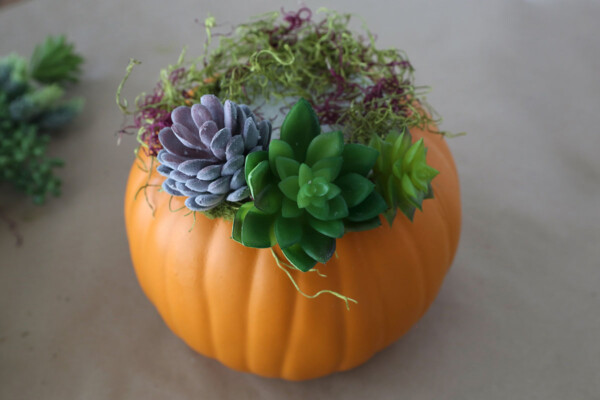
Next, you get to play! I worked on this craft with a friend, and she started by placing succulents at the front, along the very edge of the floral foam. She worked back from there, putting taller succulents in the middle of the foam. If you purchase the same set of succulents that I used, you can allow the drapey plants to hang down the side of the pumpkin. Additionally, you can place other plants sideways for more interest. Mix it up: place succulents of different textures and different colors next to each other, and place larger succulents next to smaller ones. Because the faux succulent stems are rigid, you can stick them directly into the foam to try out a certain arrangement; if you don’t like how it looks, it’s easy to remove individual plants and place them somewhere else.
Use Moss to Cover Bare Spots
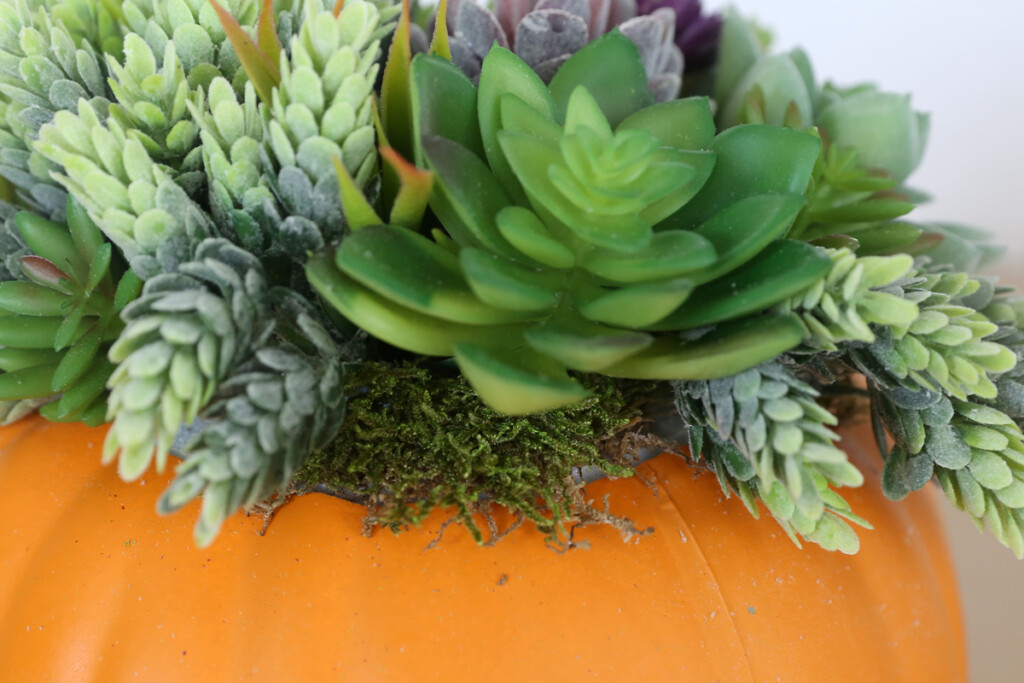
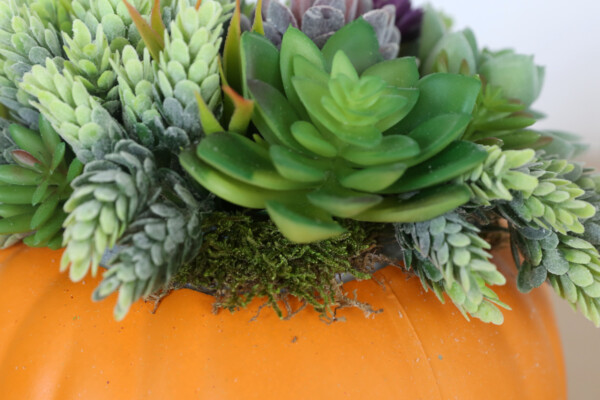
Once you have all the succulents placed how you want them, you may notice a few places where you can see the white floral foam. This is where moss is really helpful. Tear off small sections of moss and use them to cover any white spots. I tried placing a whole layer of moss down first, but I founded it was easier just to use bits of moss for coverage as needed.
In the photo below, notice how some of the smaller succulents with lots of leaves are pointing outward instead of up – this is a nice way to add interest to the arrangement.
Pumpkin Succulent Planter
Supplies
- Faux Pumpkin
- Faux Succulents
- Exacto Knife
- Round Floral Foam Discs enough to fill your pumpkin
- Faux Moss
Want more project ideas? Sign up to get my favorite easy crafts and recipes straight to your inbox!
Instructions
- Cut a round hole in the top of your pumpkin that is the same size as your floral foam discs. Stack enough floral foam discs inside the pumpkin to fill it completely, so the top of the foam is level with the top of the pumpkin.
- Begin placing faux succulents into the floral foam, working from the out edges in toward the center, and building higher toward the center.
- Use small sections of moss to cover any white spots that are visible after all your succulents have been placed.
Tips

Christine says
This looks very interesting. Please send me the website thank you
Anhdao Nguyen says
Hi Autumn,
Thanks for your great idea! I’m wondering if I can plant real succulents inside with soil?
Thanks again!
Ann
Autumn says
Probably! I don’t have experience with real succulents though (because I always kill plants 😉 ) so I’m not the best person to give advice here.