
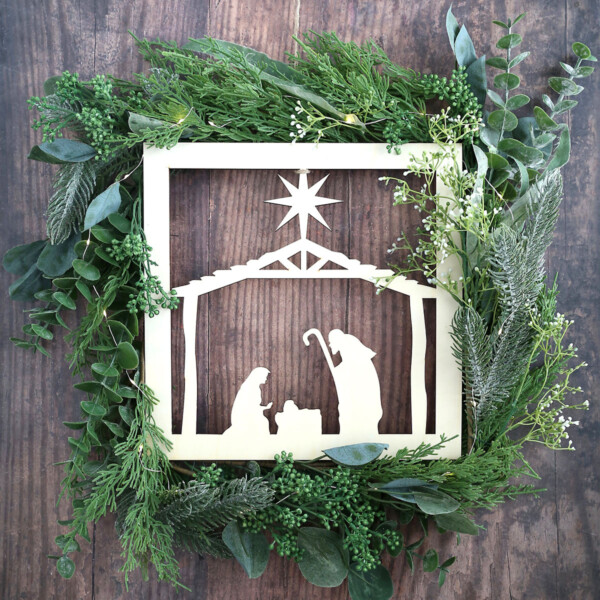
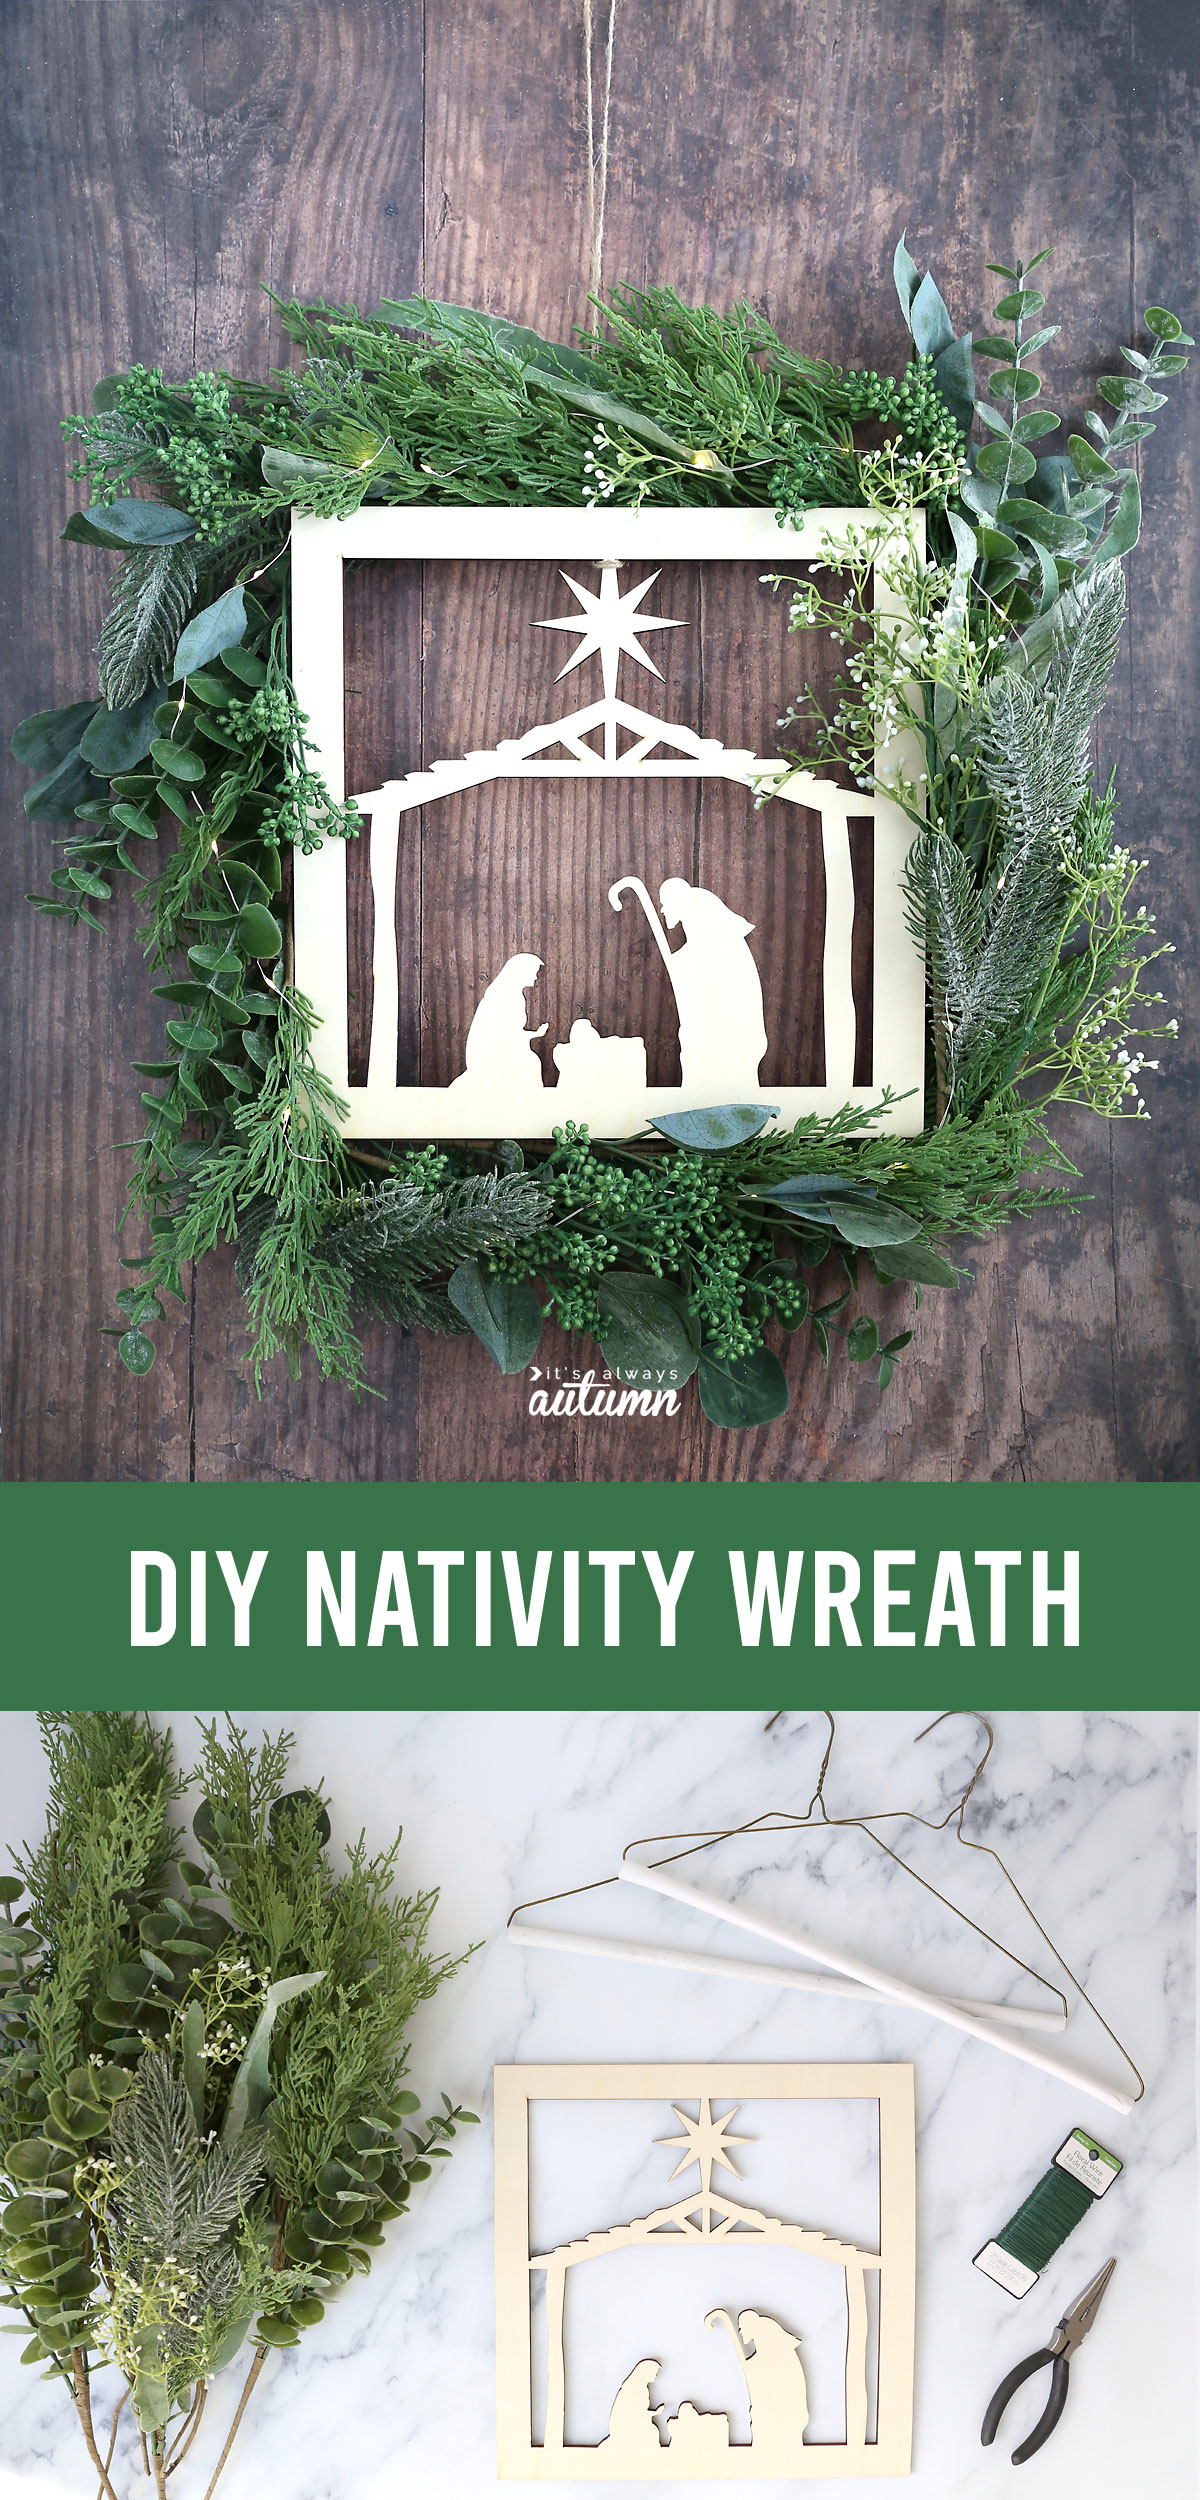
In today’s post: You can make this gorgeous wreath using an inexpensive wood nativity cutout and faux greenery.
For someone who likes making things as much as I do, I’ve made surprisingly few wreaths in my lifetime. In fact, if you include today’s project, I’ve only made two! The first was an embroidery hoop wreath that I made last Easter…but I decided I hated it. It was a valiant attempt but it just didn’t work.
Luckily, today’s wreath turned out better! I had the idea to make a pretty green Christmas wreath that included some sort of nativity or stable scene. I just had to find a simple nativity scene that would work…
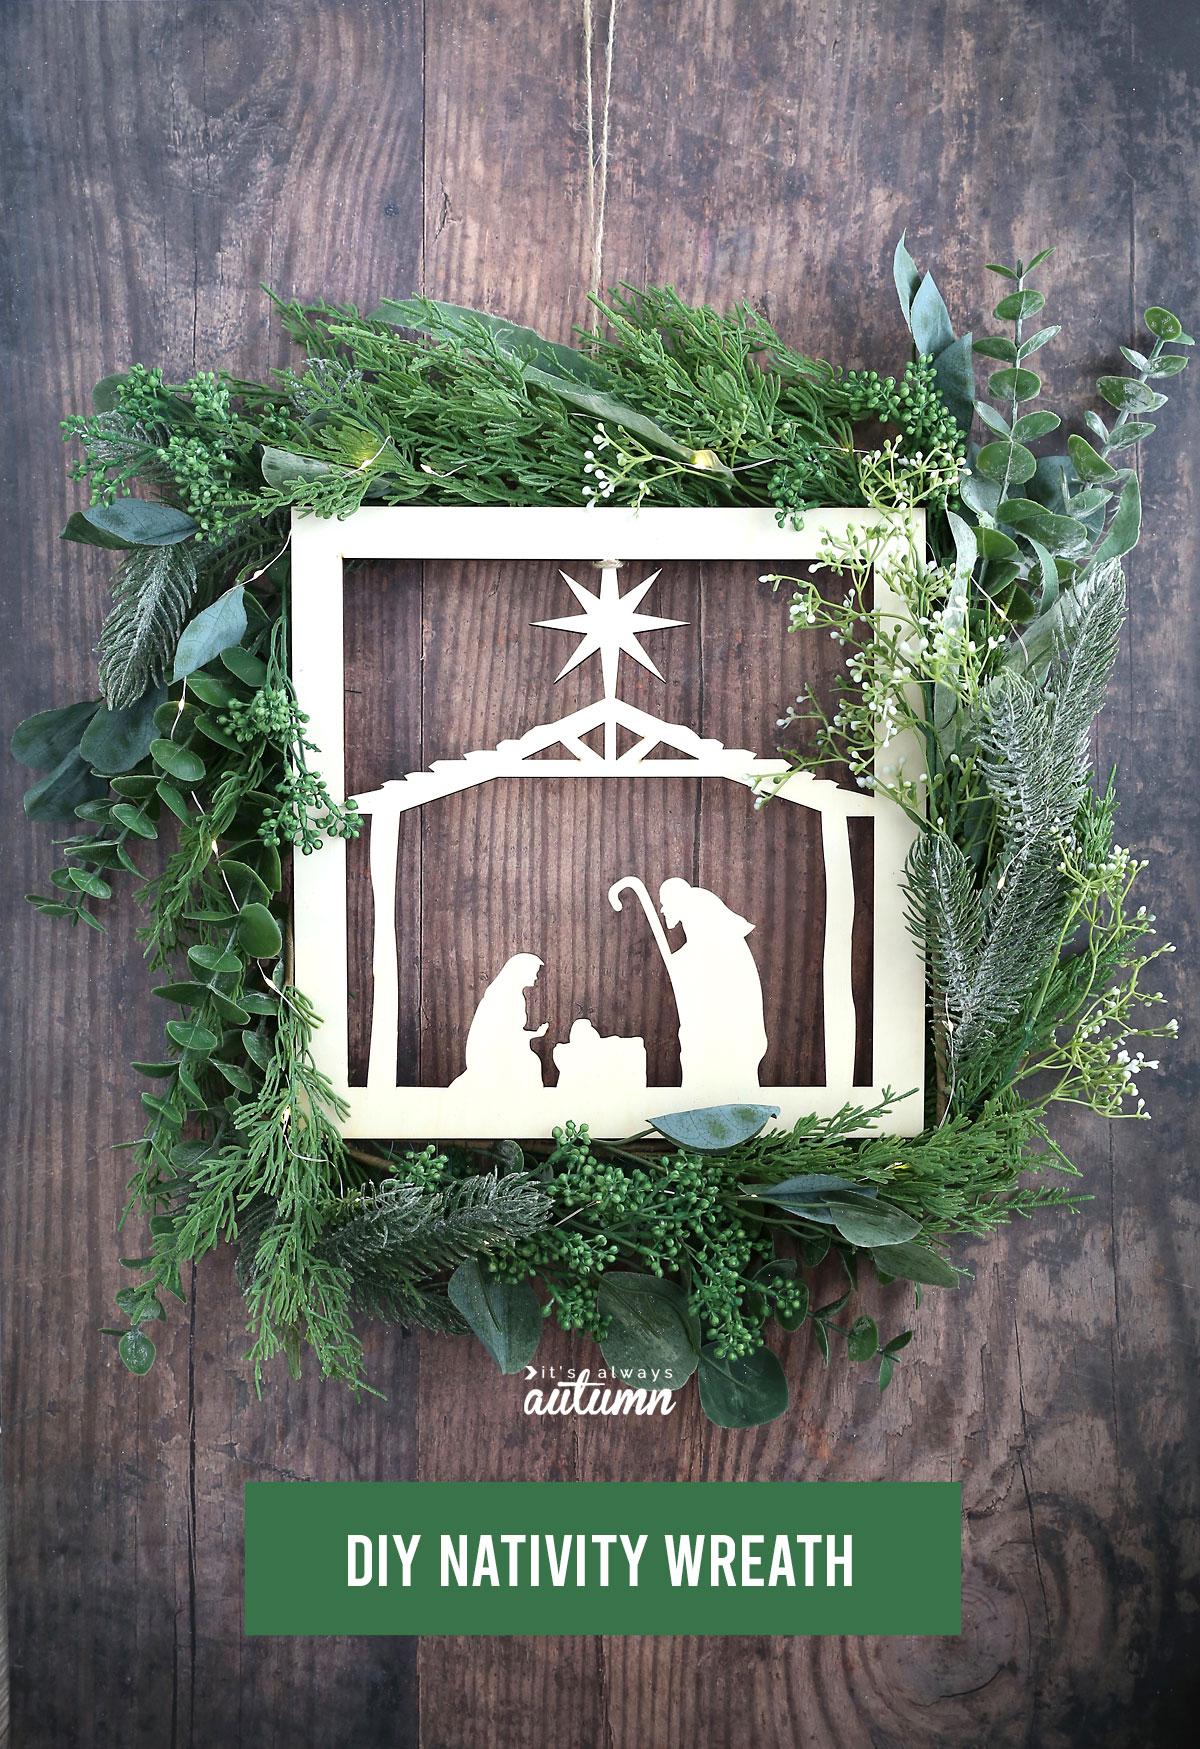
After a fair bit of searching, I came across this beautiful wood Nativity cutout on Amazon. It comes in a set of 2 for under 10 bucks and I think it’s really lovely! I combined it with a pretty garland from Jo-Ann to make my first ever (successful) wreath:
DIY Nativity Wreath Supplies
To make this wreath, you will need the following:
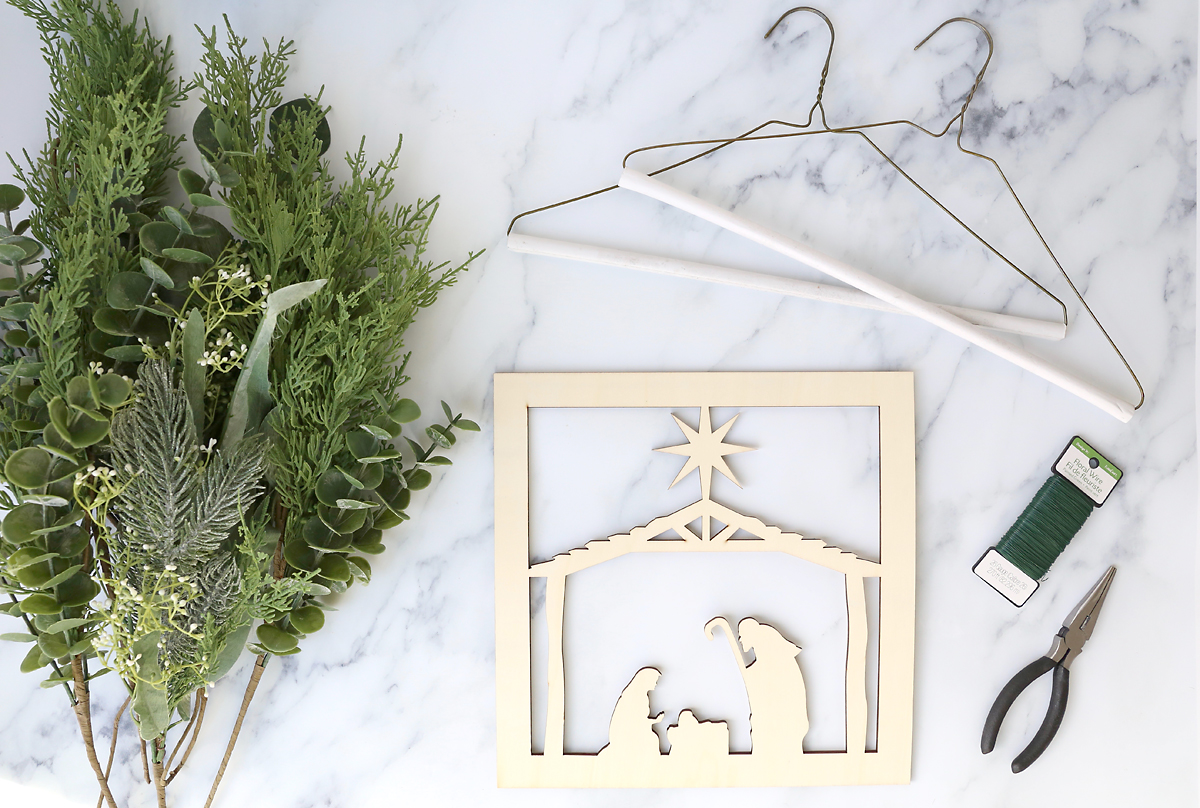
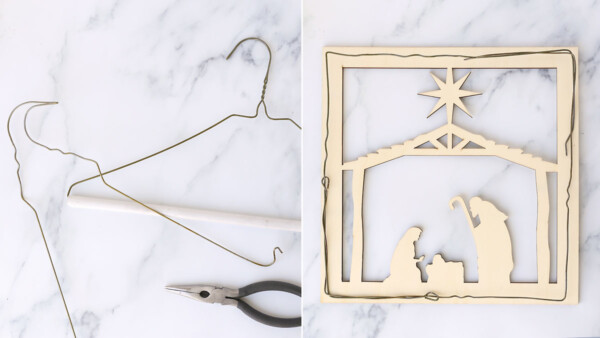
- Wood Nativity Cutout: the one I used is almost 12×12 square
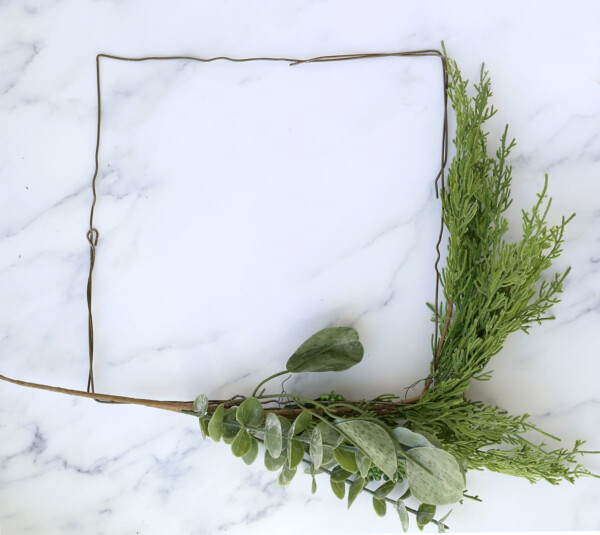
- Faux greenery: I used this Eucalyptus Leaf Garland from Jo-Ann, which I separated into 6 branches
- 2 Wire Hangers: you’ll use these to create a square base to attach the greenery to
- Pliers: for manipulating the wire hangers
- Floral Wire
- Hot Glue Gun + Glue
- Twine, Ribbon, or something else to hang the wreath with
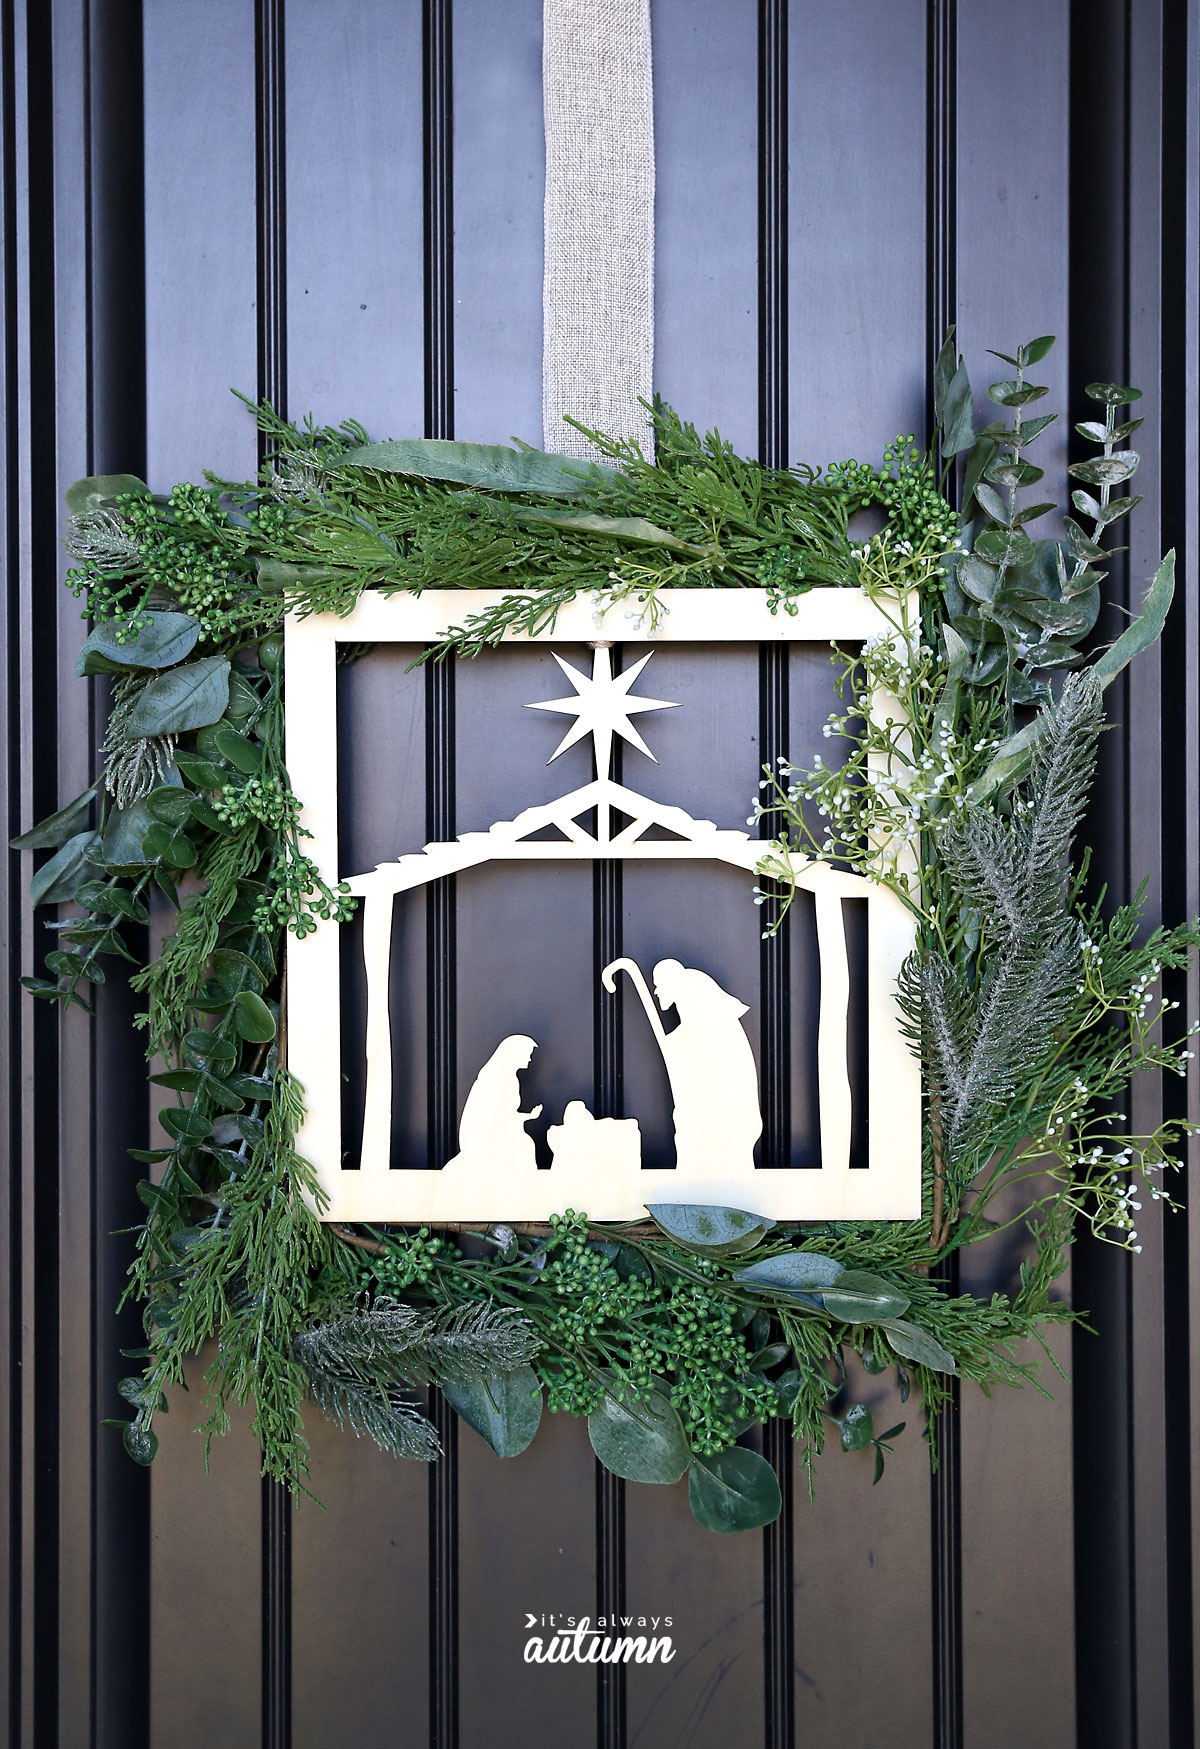
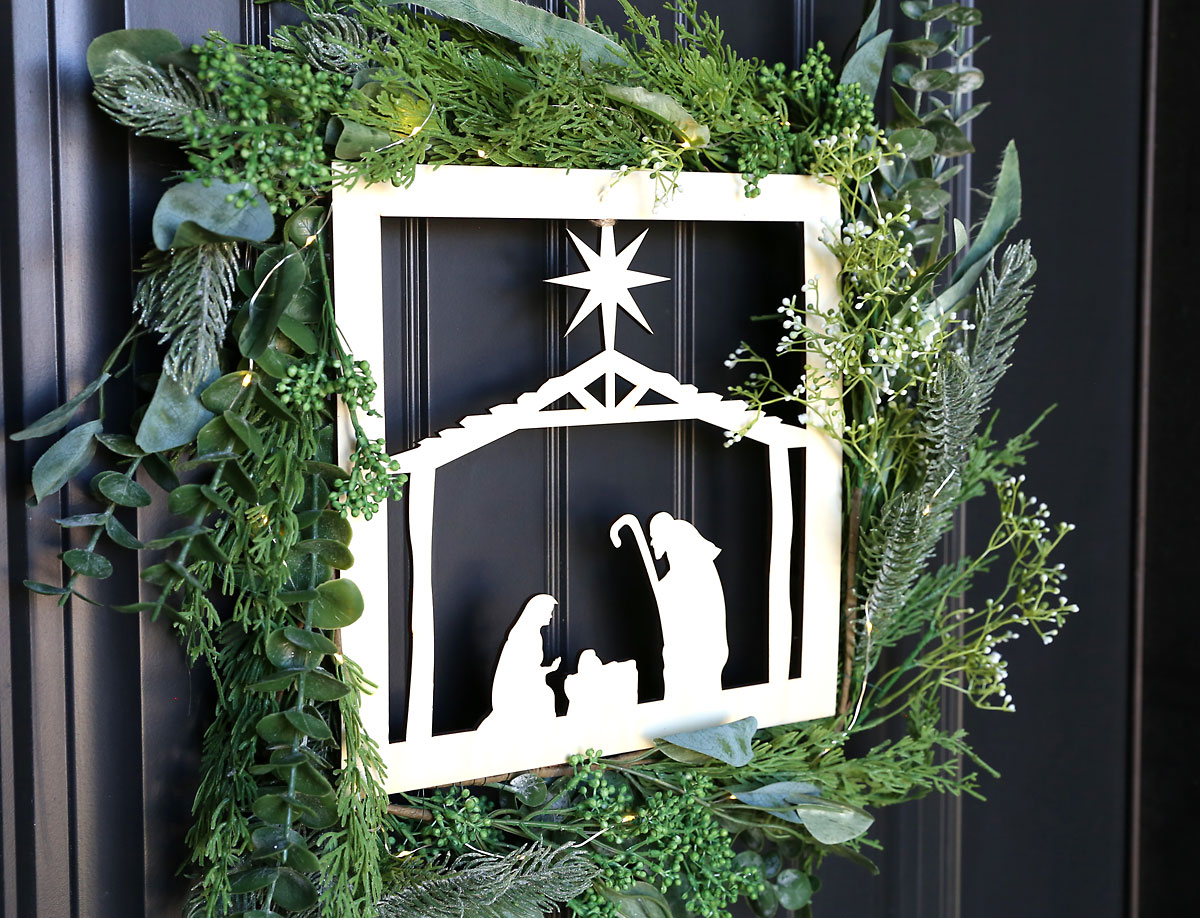
OPTIONAL SUPPLY: You can add a string of battery operated fairy lights (like these) to the wreath if you would like. Fairy lights add a pretty glow to the wreath, which you can see in the photo below, and most other photos in this post. For comparison, the 2nd photo in this post shows the wreath WITHOUT the lights. The drawback with fairy lights is that most strands only last about 4-5 days if they are left on all the time, so you’d probably need to switch the strands out fairly often or only turn them on for a few hours a day.
How to Make a Nativity Christmas Wreath
DIY Nativity Christmas Wreath
Ingredients
- Wood Nativity Cutout
- Christmas Garland or Greenery Branches
- 2 Wire Hangers
- Pliers
- Floral Wire
- Hot Glue Gun
- Ribbon, Twine, or Wreath Hanger
- String of Fairy Lights optional
Want more project ideas? Sign up to get my favorite easy crafts and recipes straight to your inbox!
Instructions
- Use pliers to unwind a couple of wire hangers. Shape them into a square that is just a little smaller than the nativity cutout. This square will be the base that you wire the branches onto to create your wreath. Do not attach the wood cutout to the base at this time.

- Separate the garland into branches or sections (my garland separated into 6 sections). Lay them around the square base so you can decide how you want them to look.

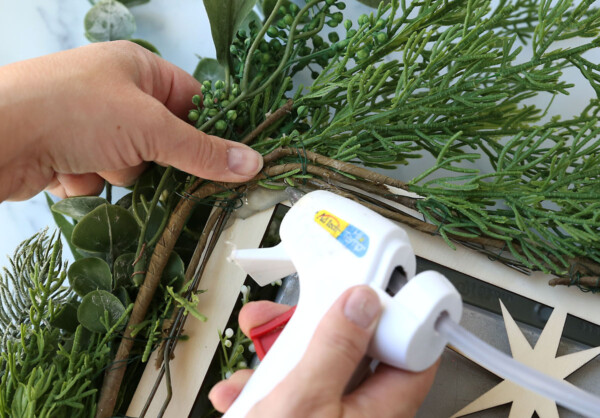
- Use floral wire to attach the first branch to the square base, bending the branch if necessary. Because the square base is a little smaller than the nativity cutout, the branches should attach to the outside of the base rather than being wired right on top of it.

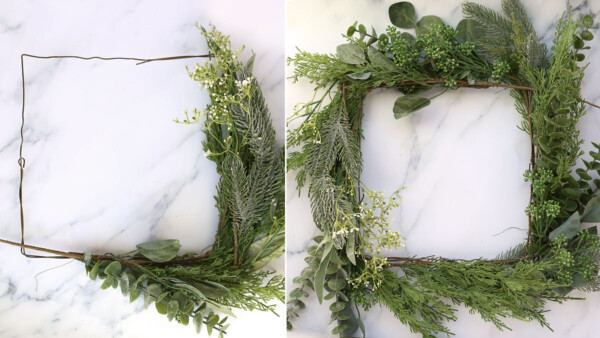
- Continue adding branches, wiring each one to the base, until the branches surround all outer edges of the square.
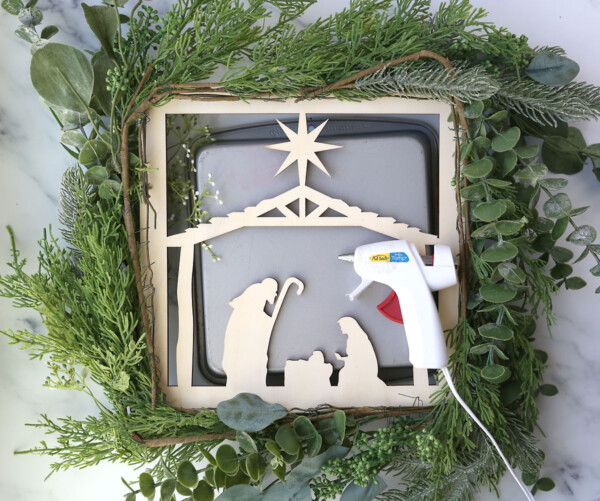
- Flip the cutout over and place it face side down on top of a book, box, or 9x9 cake pan to support it. Place the square wreath you’ve just made face down over the cutout. Move the branches outward so the square base touches the back of the cutout, at least at each corner.

- Working on one corner at a time, use LOTS of hot glue the attach the square base to the wood cutout. Hold the square and cutout together until the hot glue hardens. Glue all 4 corners down.

- Add more glue to secure the cutout to the wreath. Use more glue than you think you need to make sure it is secure.
- Use twine to create a loop at the top of the wreath (make sure the twine goes around the star on the wood cutout) to hang the wreath on an over the door wreath hanger. OR glue a long piece of ribbon in between the square base and the wood cutout at the top of the wreath, and then staple the other end of the ribbon onto the top of your door.
- OPTIONAL: Twine a string a battery operated fairy lights into the wreath, hiding the battery pack in the back.


bahij91020 says
Very useful post! This article provides better information. Seafood Junction Menu
Dee says
Where did you get the wood cut out.
Autumn says
Amazon! It’s linked under the first image in the post.
Kristie says
I love how simple this looks. It speaks the message of Christmas. Thank you for sharing!