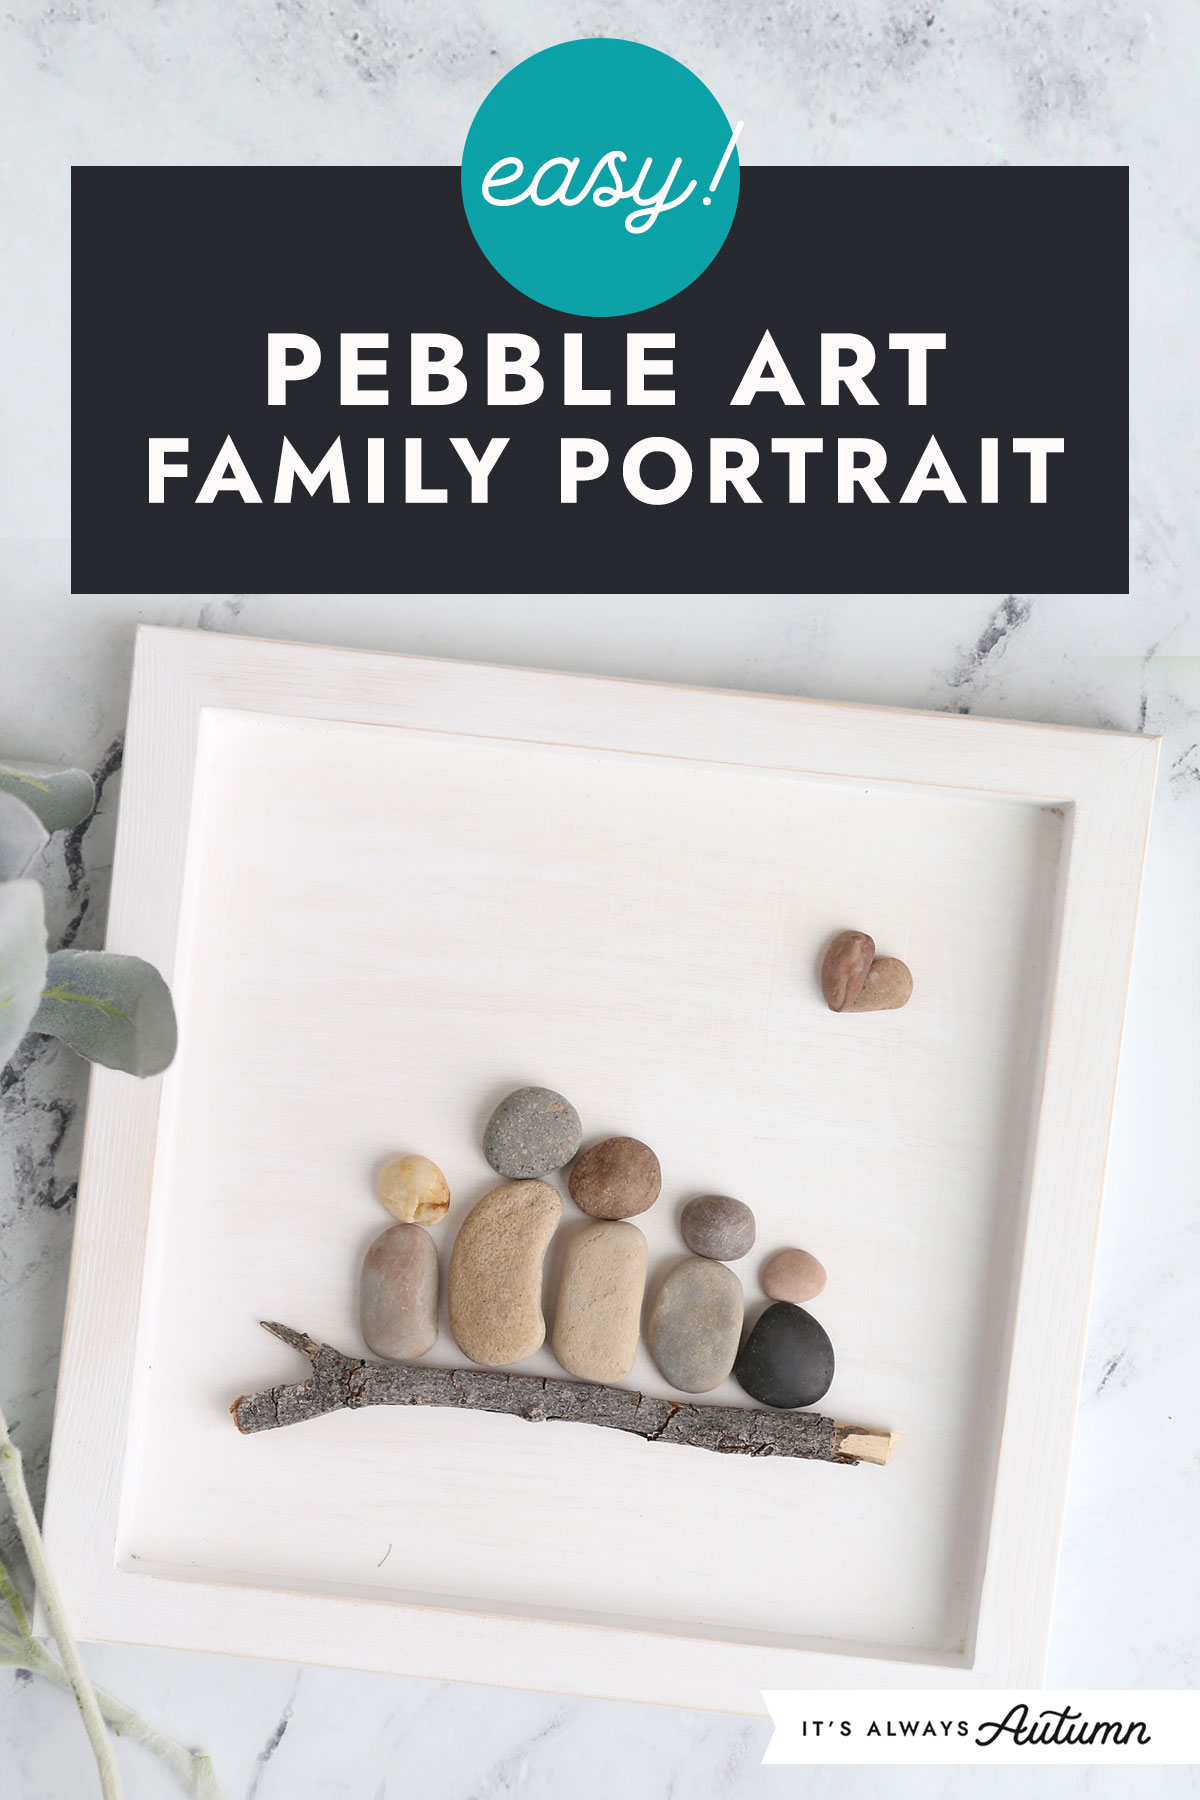
In today’s post: You can make a beautiful family portrait using pebbles, twigs, and glue! Pebble art is an easy and relaxing craft, and it makes a gorgeous gift. Learn everything you need to know to get started.
Why You’ll Love Pebble Art
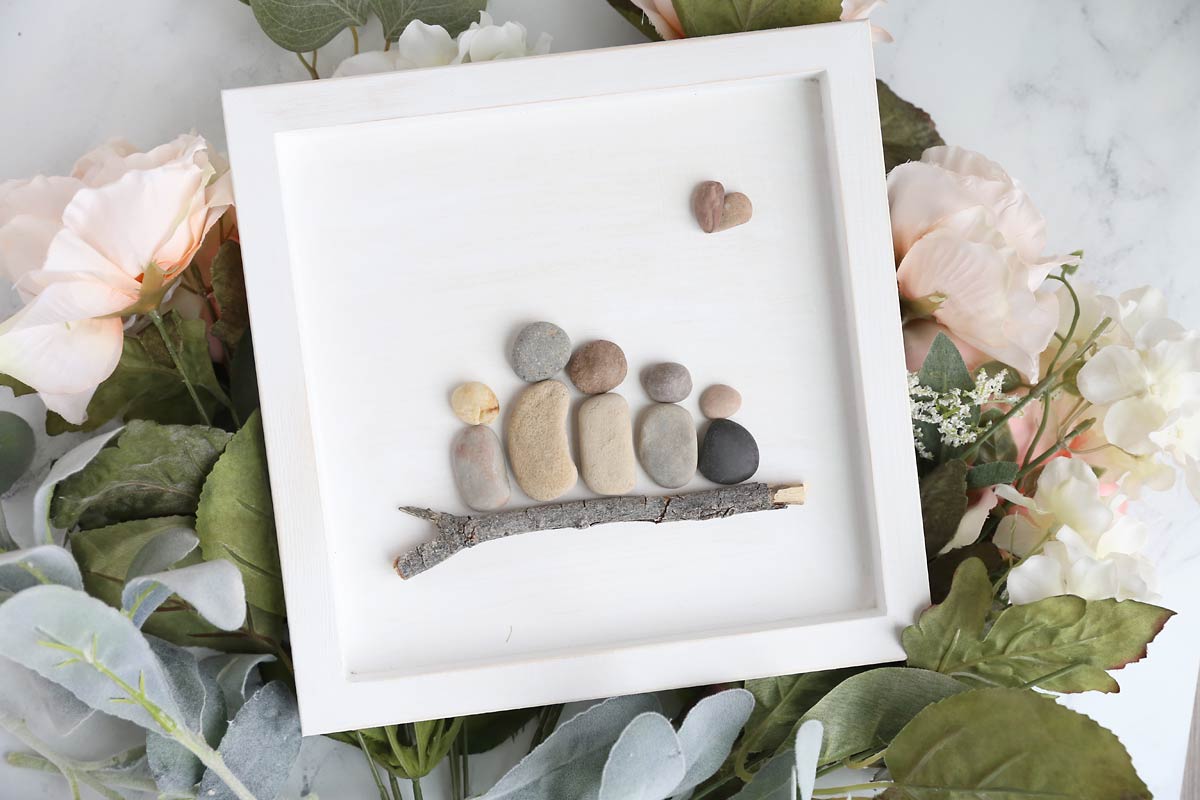
- This is a fun, no stress craft that doesn’t take any special skills or equipment. Sorting through rocks and finding the ones you’d like to use for your portrait is actually very relaxing!
- You can use materials you find in nature.
- A pebble art portrait can be personalized to represent your loved ones.
- You’ll end up with a very cool finished product that makes a great one-of-a-kind gift.
Where Do You Get Pebbles?
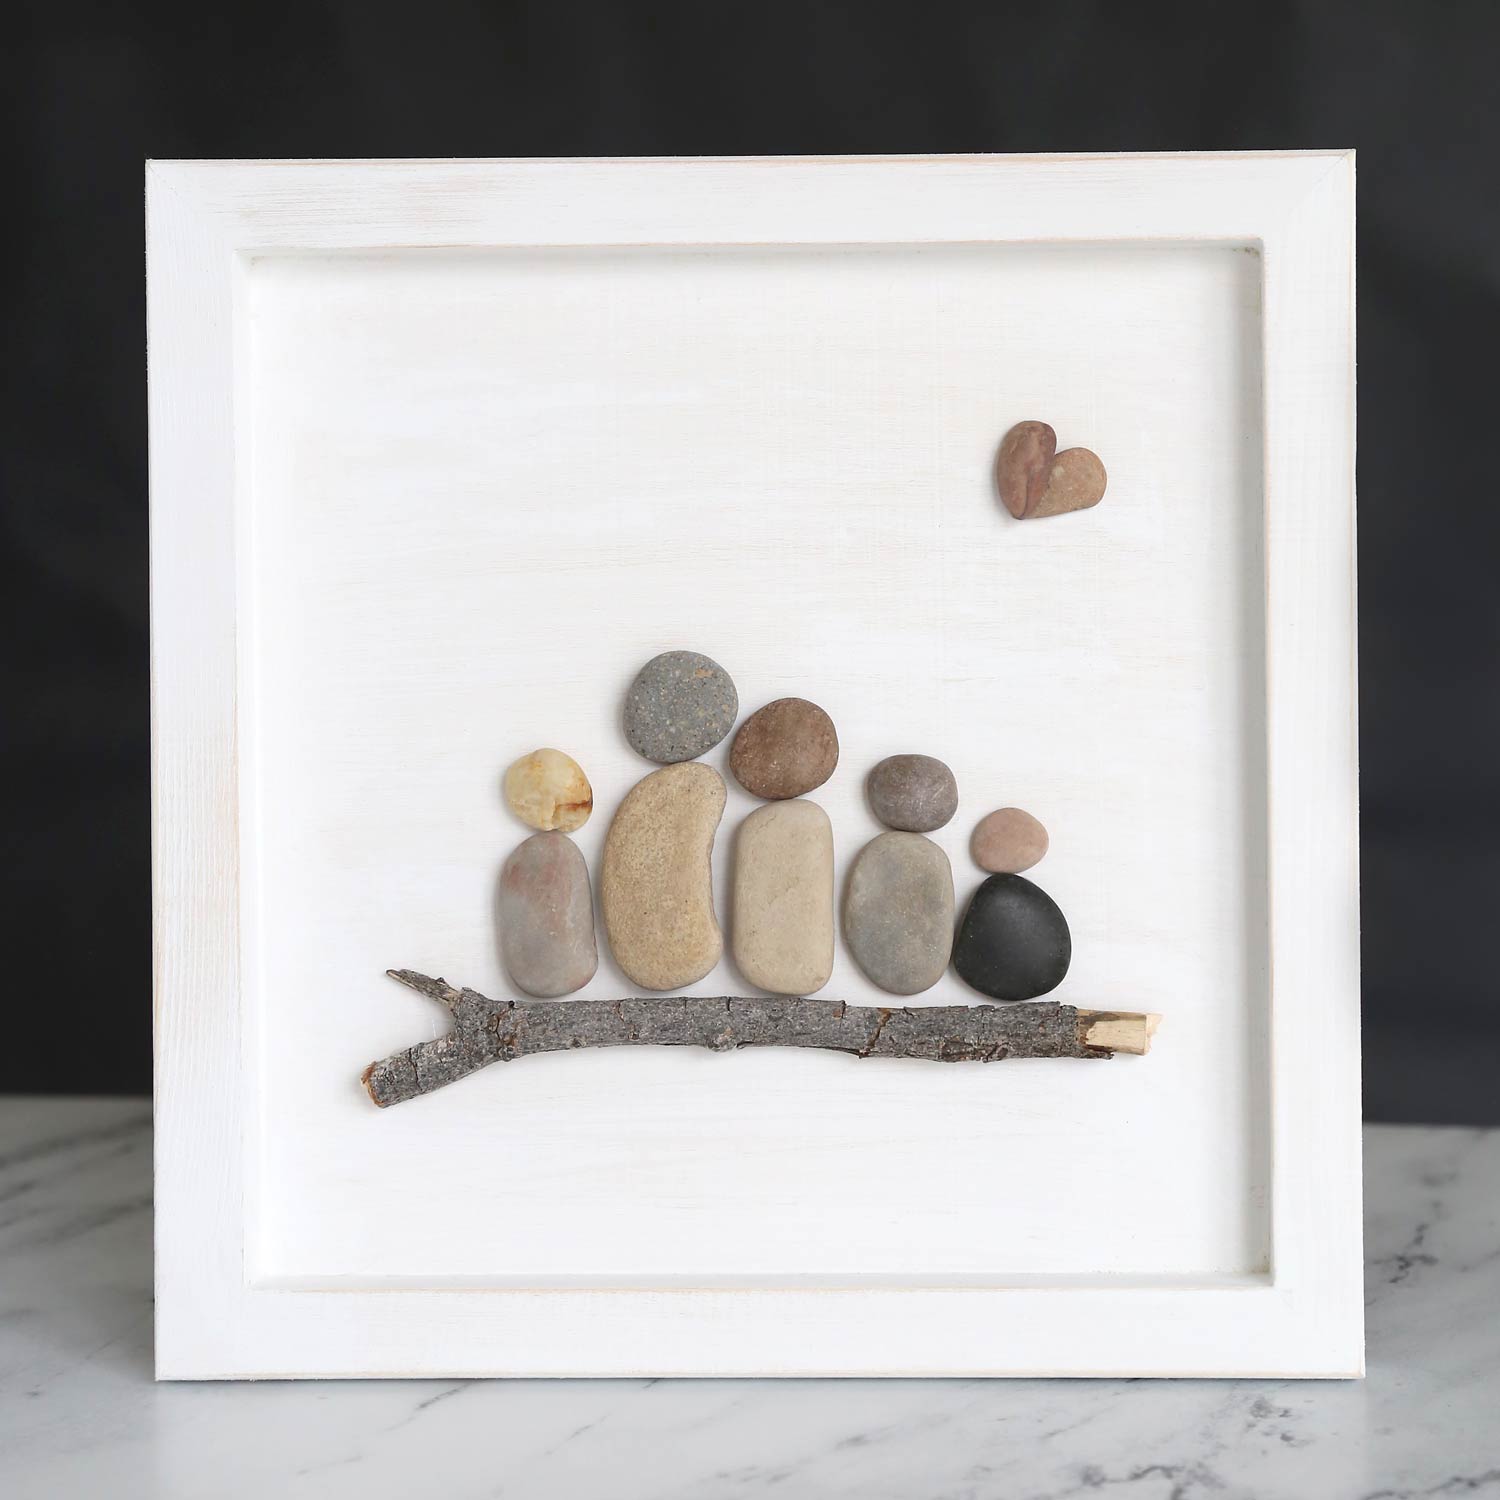
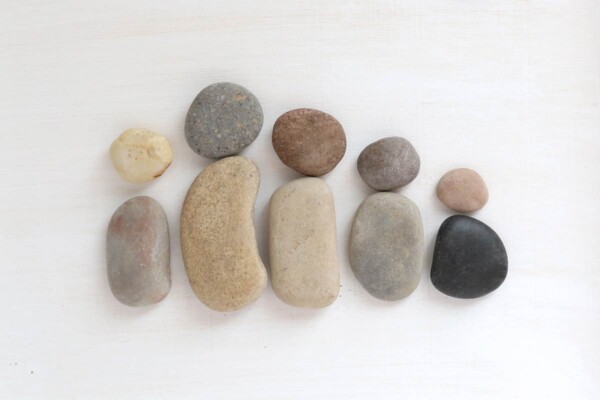
To make pebble art you’ll want a variety of flat, smooth pebbles. If you are making people, you’ll want small round pebbles for the heads, and slightly larger oblong pebbles for the bodies. You may want some small rocks for arms, ponytails, or to make ears and tails if you’ll be including a pet in your portrait. You can even look for heart shaped rocks, or two rocks you can glue together to make a heart. You’ll want a variety of sizes, shapes and colors so you can have fun choosing which ones to use. Here are some places you can find pebbles:
- Outside. Start by checking in your very own yard. If you have any small rocks or pebbles in your landscaping you may be able to find flat ones that will work for your art. You can also explore public land nearby. You’ll find the smoothest pebbles near water. From what I’ve read, it’s generally legal to collect rocks from creeks or rivers on public land (which is where we’ve gotten most of our pebbles), but almost always illegal to remove rocks from the beach. Look up your local regulations for whether it is legal to collect rocks from the public lands in your area. This post on collecting rocks may be helpful. DO NOT take rocks from National Parks. As you collect pebbles, look for fallen twigs or sticks you may want to use as well.
- Landscaping River Rock. You can purchase bags of small river rock at home improvement stores. You’ll have to weed through the bag to pull out the usable rocks – many of them won’t be flat or round enough to use. But you do get a lot of rocks for a fairly inexpensive price.
- Craft stores/Dollar Tree/Amazon. You’ll pay more per pebble for “craft pebbles” from craft stores, but more of them should be useable for pebble art than buying a bag of landscape rock. You’ll find lots of options on Amazon. When ordering from Amazon, pay attention to the pebble size, whether they are all one color or a variety of colors, and whether they are polished or raw. Any of these options are fine; just pay attention so you know what you are getting.
What You’ll Need
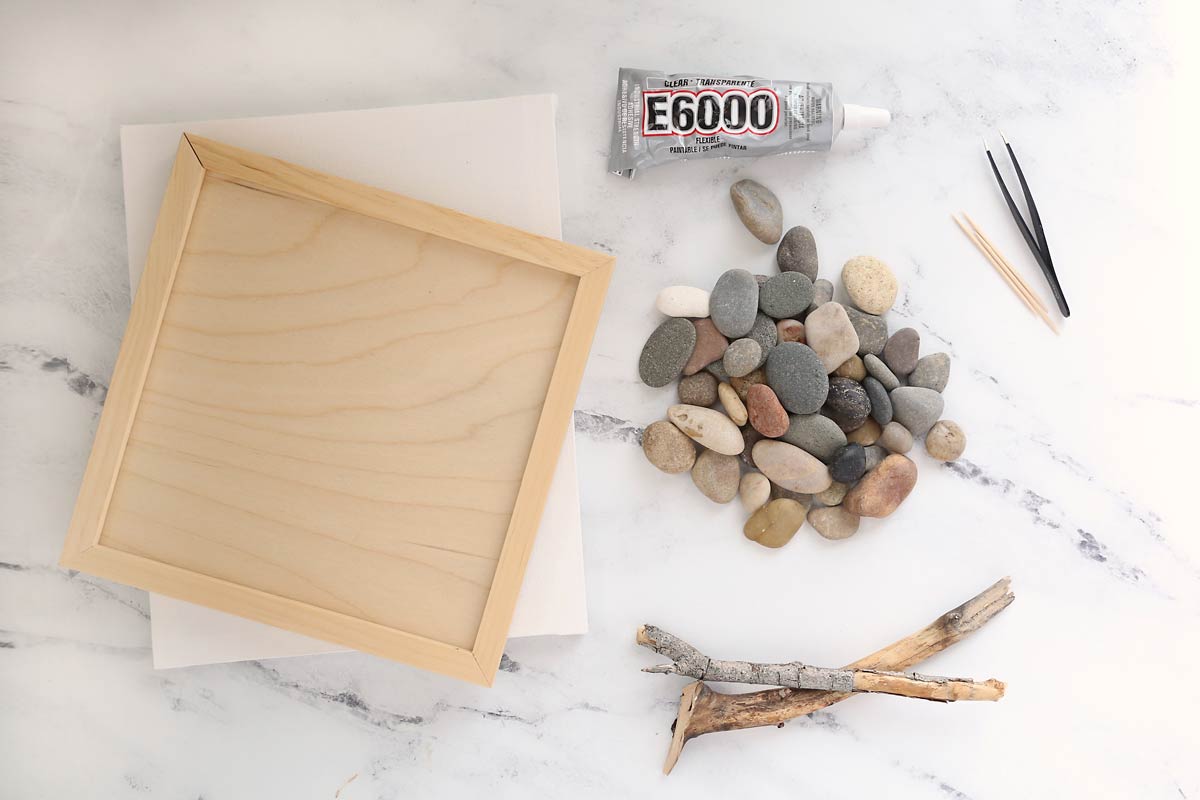
To make a pebble art family portrait, you’ll need:
- Pebbles
- Stick or Driftwood: this is optional, but it can make the family look like they are sitting on a bench together
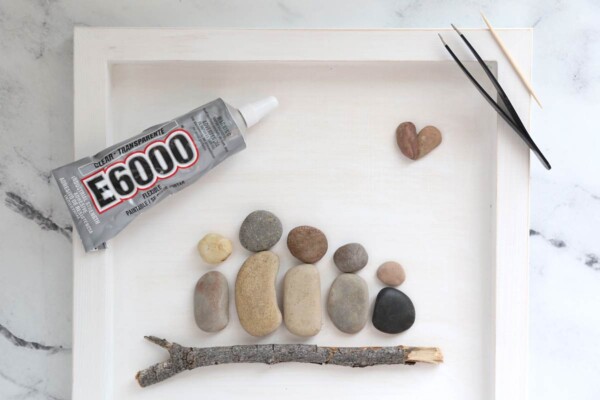
- Glue: You want a very strong permanent glue, such as E6000 glue, Gorilla glue, or Krazy glue. I prefer this type of glue to hot glue because it’s easier to control and add in small amounts.
- Base such as a picture frame, shadowbox, or canvas: You have lots of options for the base on your portrait. If you choose to use a frame, you’ll want to glue the rocks to a piece of cardstock that fits in the frame. If you are using a shadowbox or canvas, you’ll glue the pebbles directly to the piece. You’ll be able to find a variety of wood pieces at the dollar store that work great as a base for your portrait. Also check Walmart and Hobby Lobby for cool frames, wood pieces, and shadowboxes. I used a 10 inch x 10 inch wood shadowbox from Walmart that I painted white and sanded gently.
- Toothpicks + Tweezers: A toothpick makes it easier to apply small amounts of glue in a specific spot, and tweezers can come in handy when handling small rocks.
- Sharpie (optional): depending on what sort of portrait you’re making, you may want to add details or words using a black sharpie.
How to Make DIY Pebble Art
This is an easy craft project that will probably take under an hour, depending on how much time you spend playing around with the pebbles to create your design. Some people may finish in under half an hour, while others could spend hours choosing the perfect rocks. This is a suitable project for kids; however, they WILL need help with the gluing. Finally, the glue takes a couple of hours to fully dry, so even though your project can be completed in under an hour it won’t be ready to display until the next day. Here are the instructions.
Prep The Base
Decide what to use as the base for your pebble art project and do any prep that is needed. I used a wood shadow box from Walmart that I painted white and sanded slightly. If you’ll be using a photo frame, cut a piece of white card stock that will fit inside the frame and place it in the frame, removing the glass or plastic. You’ll glue the pebbles to the cardstock.
Sort Your Rocks
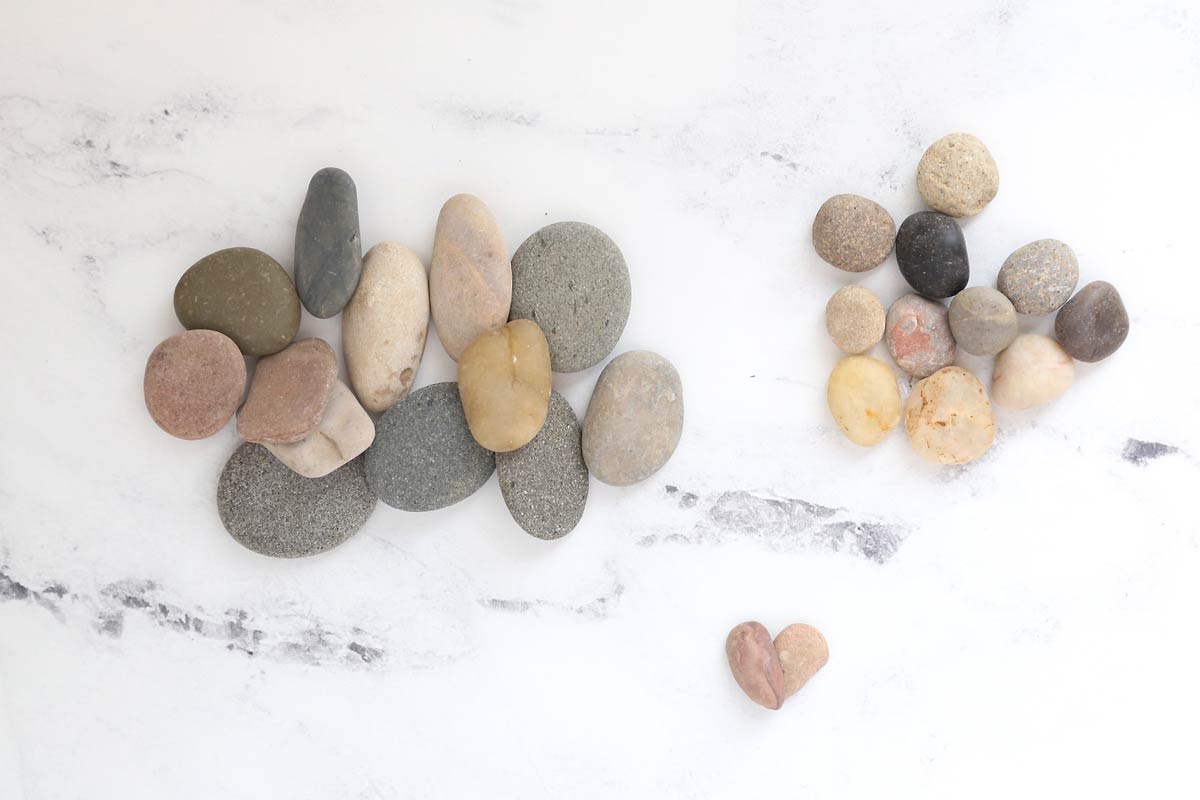
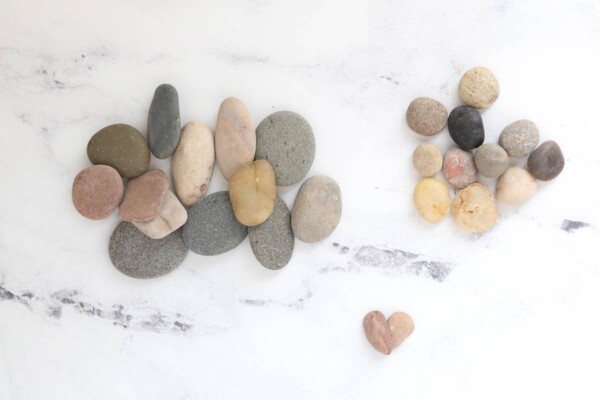
It’s easiest if you sort through your rocks first. Sort them by shape. Find smaller sized pebbles that are round for heads, and larger sized pebbles that are oblong for bodies. If you’d like to add a heart to your portrait, look for two rocks you can overlap to create a heart shape. Also sort out smaller pebbles in different shapes if you’d like to add arms, ears for pets, etc.
Create Your Design
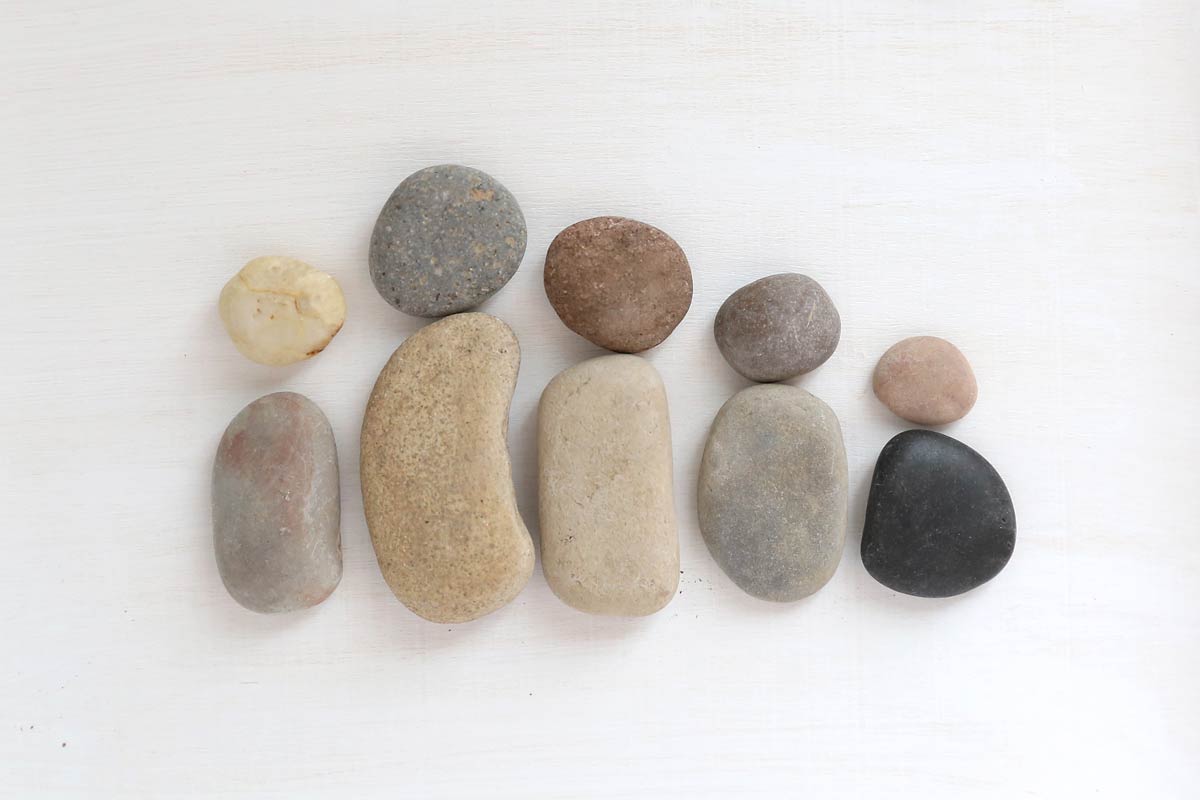
Next, start putting rocks together to design the portrait. Combine head and body rocks to represent the people in your family. I like to mix different color rocks to make the portrait more interesting, but you could create all the family members using the same color rock if you’d like. You can use a ruler to make sure the pebble family is lined up and you like the placement. I do not mark anything with a pencil because it can be hard to erase visible pencil markings once the pebbles are glued down. I just line everything up until I like how it looks. Also, decide whether to add a twig or small piece of wood at this time. I like the edges of the twig to extend a bit further than the pebble family. If you need to trim your twig, you can use scissors to score around the edges of it and then snap it for a more rustic look.
Glue Everything Down
Once you are happy with the overall design, it’s time to glue everything down to the base. You’ll pick up each item one at a time, put some glue on the back, and place it back down in the same spot. Do not try to squeeze the glue directly from the tube onto the back of small pebbles; that can make a mess. E6000 glue dries shiny, so you do not want excess glue to be visible on your finished portrait. Instead, squeeze out some glue onto a napkin or paper plate and then use a toothpick to transfer a small amount of glue onto the back of each item. I started by gluing down the twig. Notice what parts on the back side of the twig touch the base and add glue to those areas, then place the twig back down. Next I glued the body for the mom pebble because it was in the middle of my design, then the head. I continued in the same way, trying not to bump the pebbles that are already glued down.
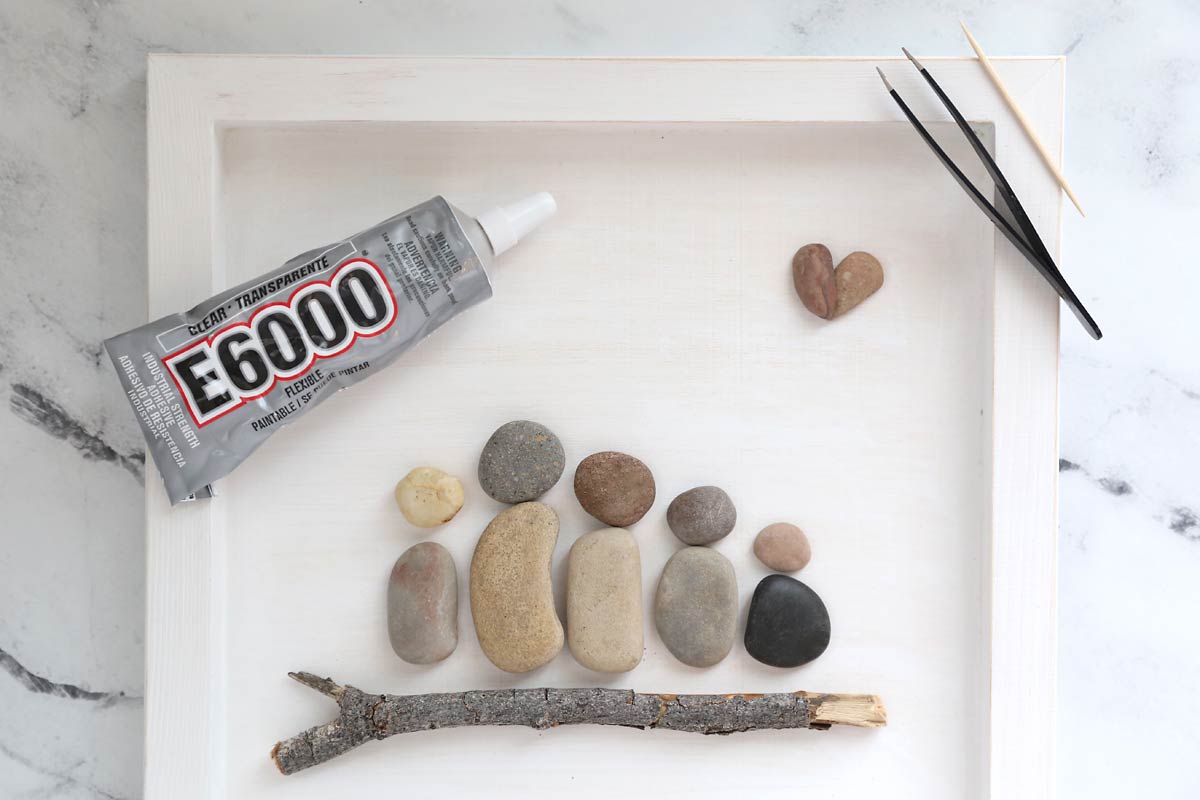
If you are using E6000, it does not dry right away, so if you bump pebbles they’ll slide around a bit. So be careful during this process and be sure to help children or they will get frustrated. (You may want to use something like Aleene’s Tacky Glue if you’re doing this project with kids so they don’t end up with super glue on their skin.) When the portrait is complete, gently pick it up and lay it down somewhere that it can dry overnight without getting bumped.
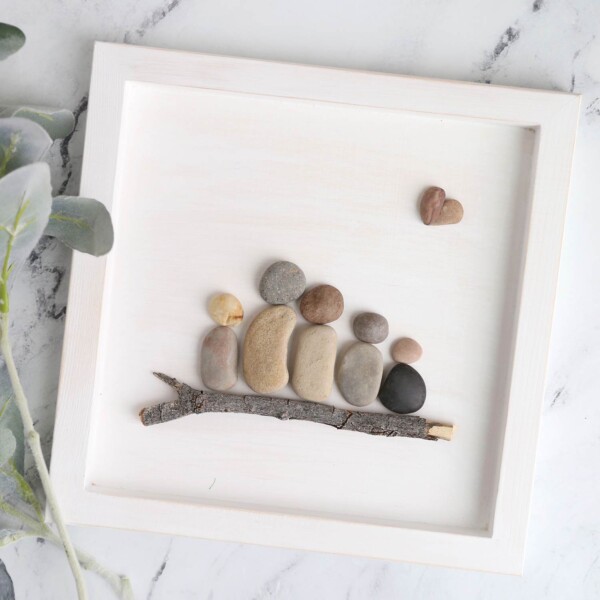
Pebble Art Family Portrait
Supplies
- Pebbles
- E6000 Glue
- Base frame, shadowbox, canvas, etc.
- Toothpicks
- Tweezers
Want more project ideas? Sign up to get my favorite easy crafts and recipes straight to your inbox!
Instructions
- Prepare the base for the portrait. If you are using a picture frame, remove the glass and place a piece of card stock inside the frame.
- Sort the rocks, looking for small round rocks for heads and slightly larger oblong rocks for bodies. Also look for rocks you can overlap to look like a heart.
- Arrange the pebbles to create a family portrait. Add a twig if desired underneath the pebbles.
- When you are happy with the placement, carefully glue the pebbles down. Use the toothpick to place a small amount of glue on the back of each pebble. Leave the artwork to dry for 4-6 hours.
More Pebble Art Ideas
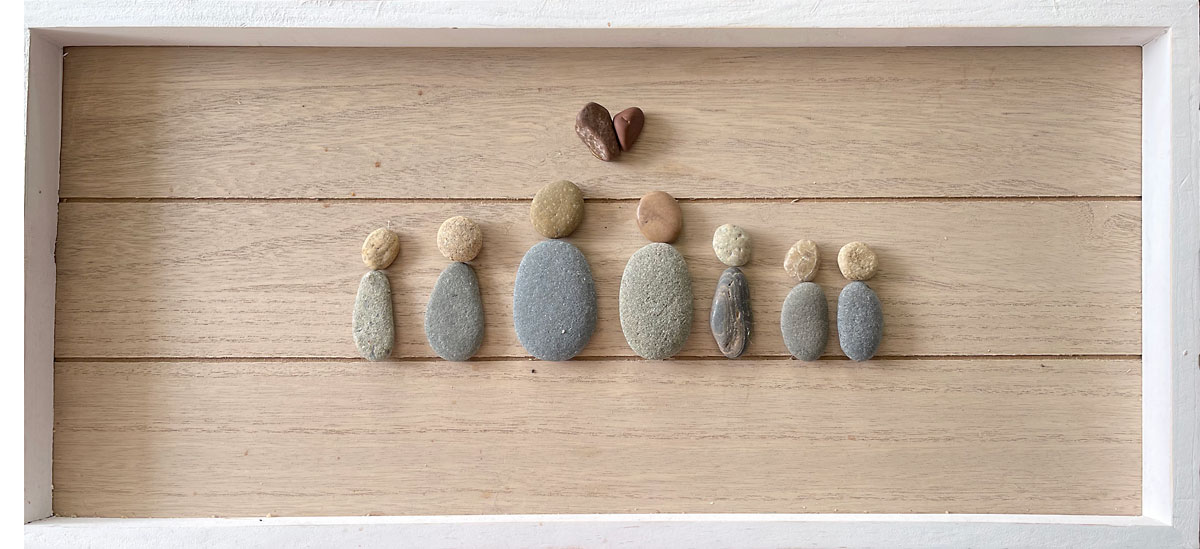
Here’s another example of a pebble art family portrait:
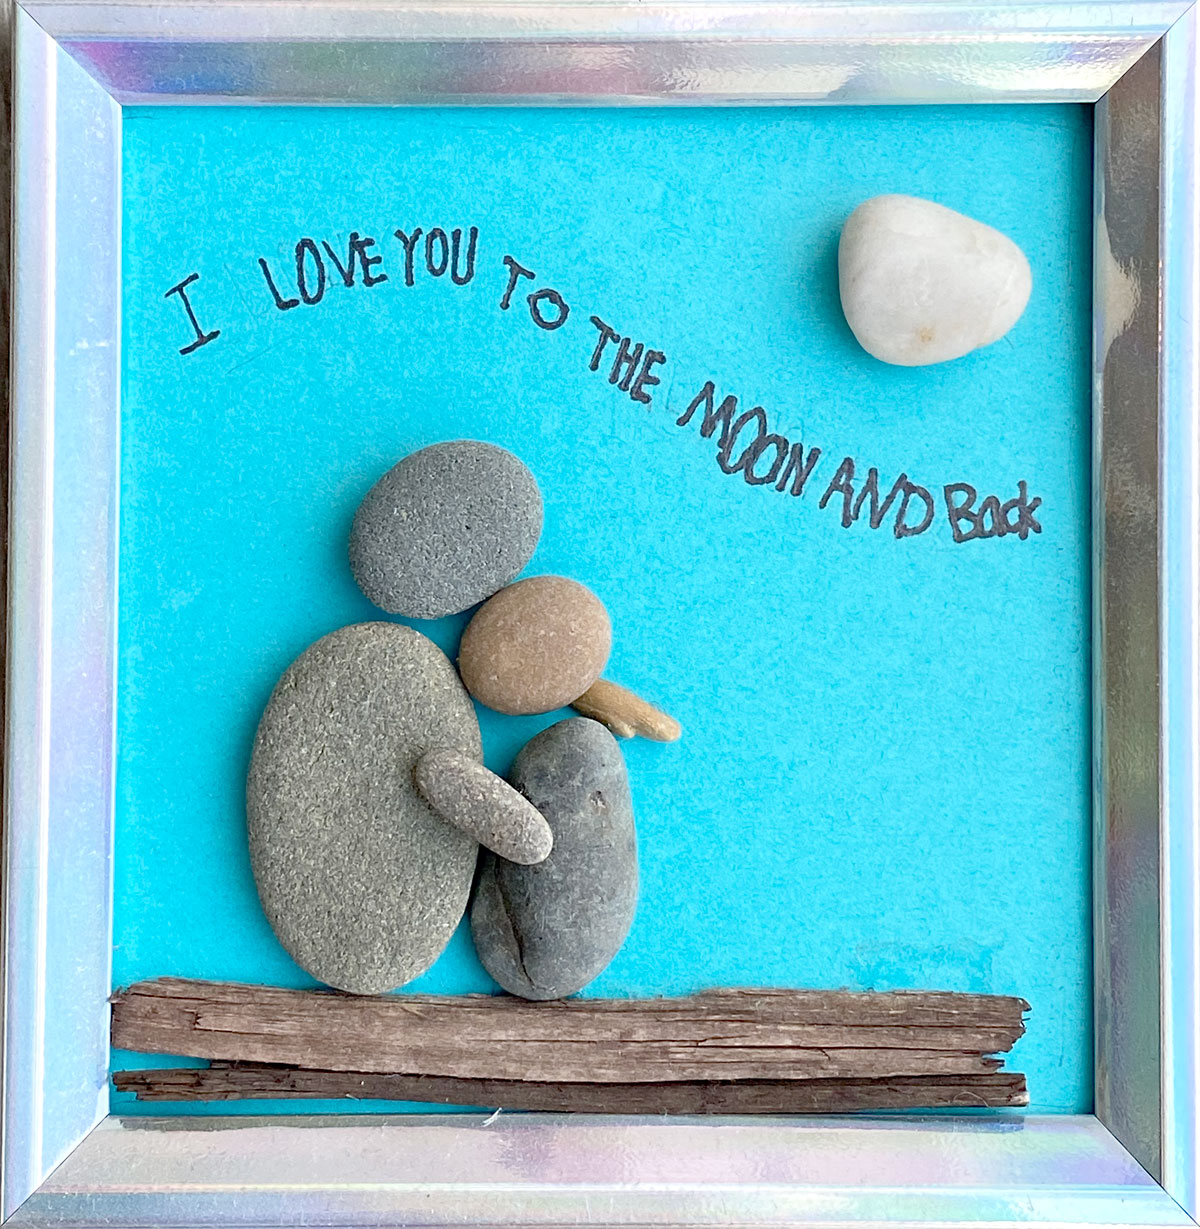
You can also make simpler portraits with just a few people, like one of a bride and groom or this one my daughter made of the two of us:
You can also have fun making animals with pebbles. My mom made this gorgeous portrait of birds at the beach. She used cardstock that had been washed with watercolors as the background and used a fine tip Sharpie to add bird beaks and bird feet.
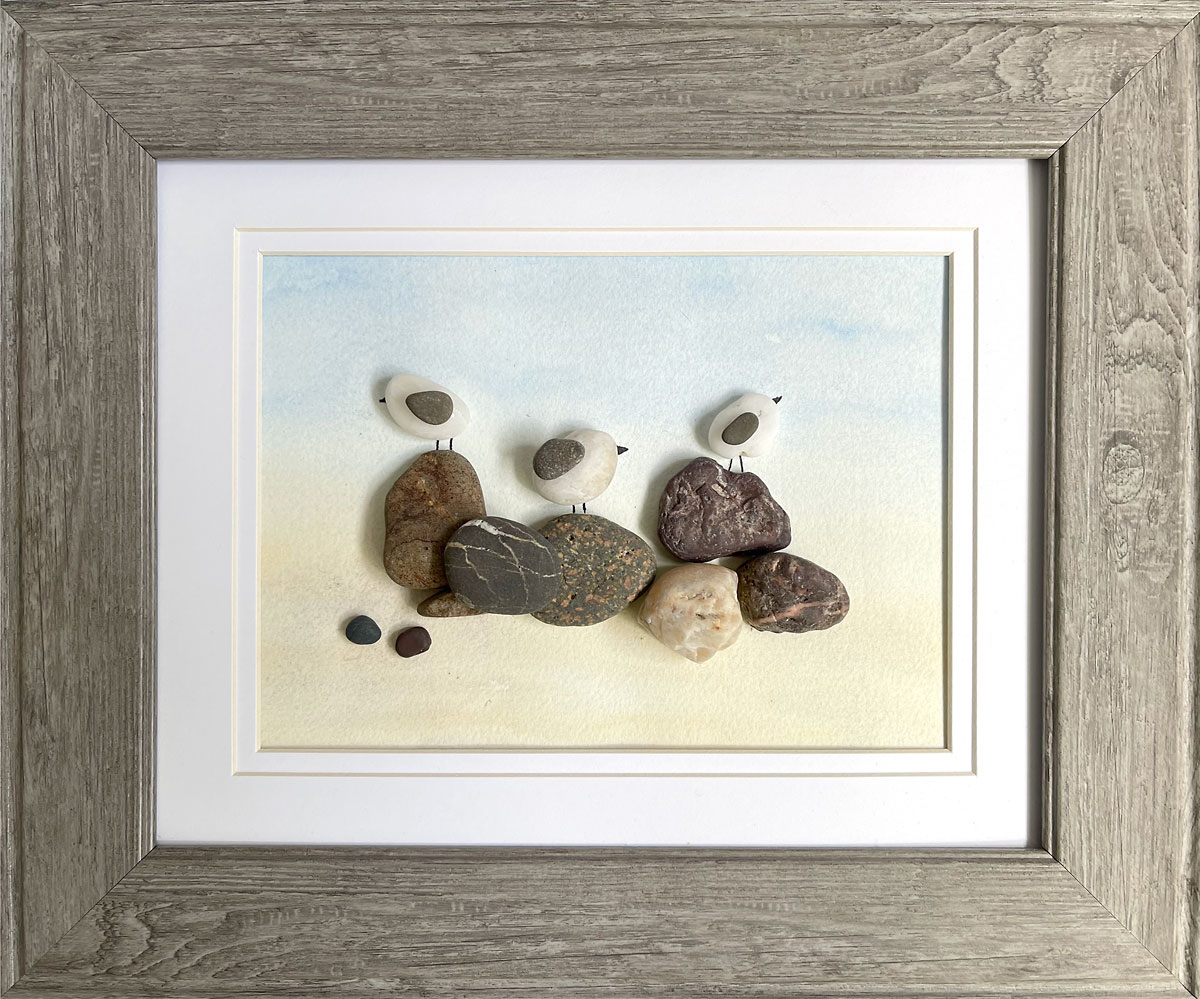
.

Carol says
I can’t wait to make the pebble art. Your instructions are so easy to understand.
Sally says
This is such a cute idea! Thank you for sharing. We have a granddaughter that will enjoy making this project!
Alyce Gold says
I learned about the rock pictures today… Thank you… I am an 82 year old retired teacher that still visits classrooms.. I shall try it…