
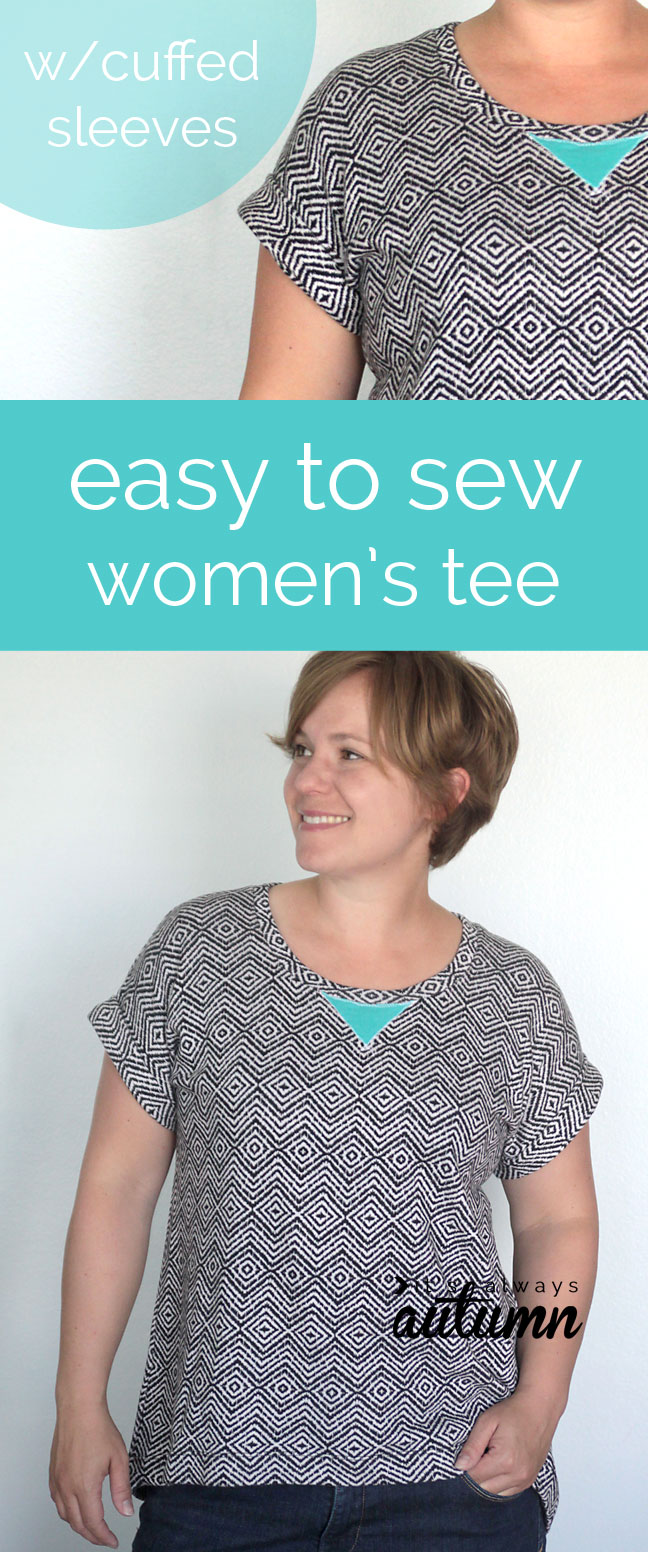
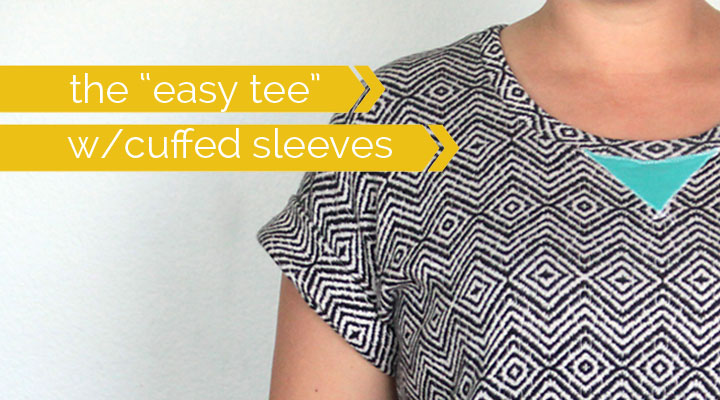
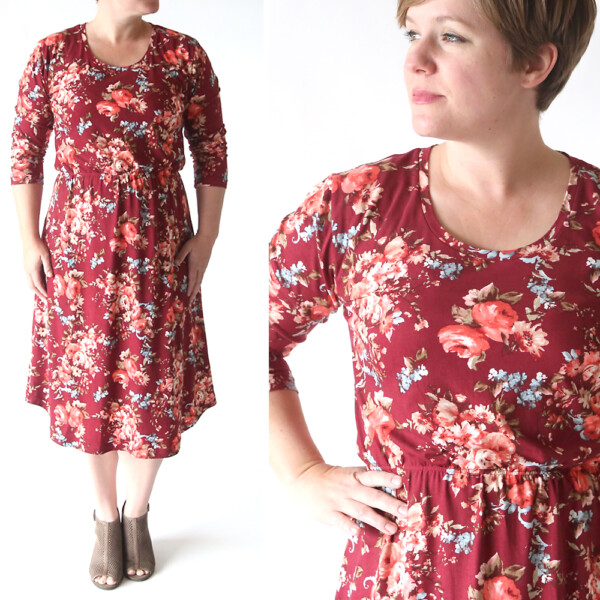
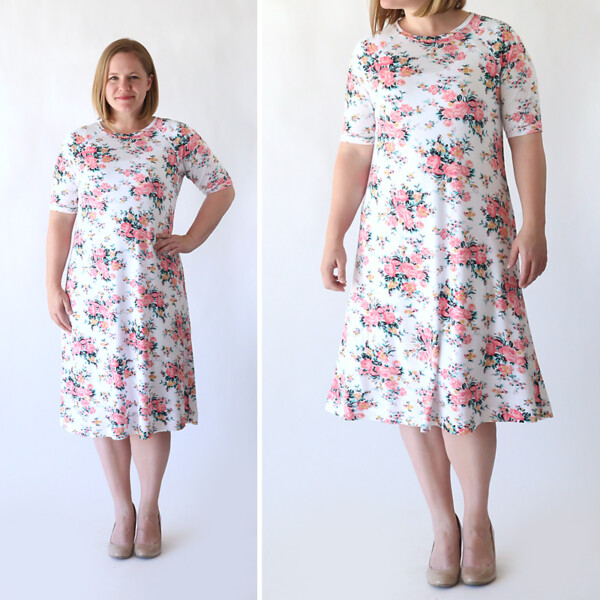
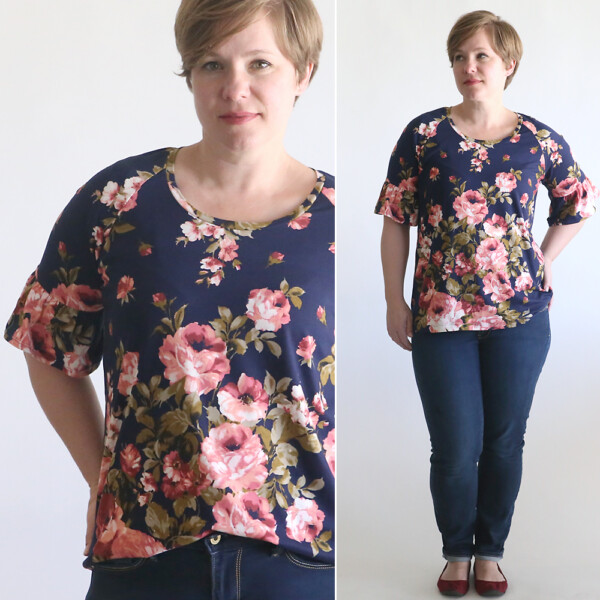
I first shared the free pattern for The Easy Tee (in size L only) last summer, and since then I’ve made a bunch of different variations. The Easy Tee is awesome because it’s a super quick sew – no set in sleeves and simple hem band options – and it’s loose and drapey, making it pretty flattering on a mother-of-five body. But the thing I liked the least about it is that the sleeves are fairly short, and my upper arms are not exactly slender. I wanted to figure out how to get a little more coverage and help the shirt be even more flattering – so today I’m going to show you how to add rolled cuffs to the sleeves.
If you haven’t read the original easy tee post, you should do so to get a basic idea of construction (and how to make your own pattern in whatever size you wear). The free pattern in size L is available in this post.
Place 1 yard of pre washed knit fabric on the ground. It will be about 60 inches wide, and 1 yard or 36 inches long. Fold in each side far enough to place your pattern piece on, as shown below. That will leave you with a strip of extra fabric down the middle, as well as extra fabric beneath your pattern pieces (I made the back of this shirt extra long, so there wasn’t extra fabric below the back piece).
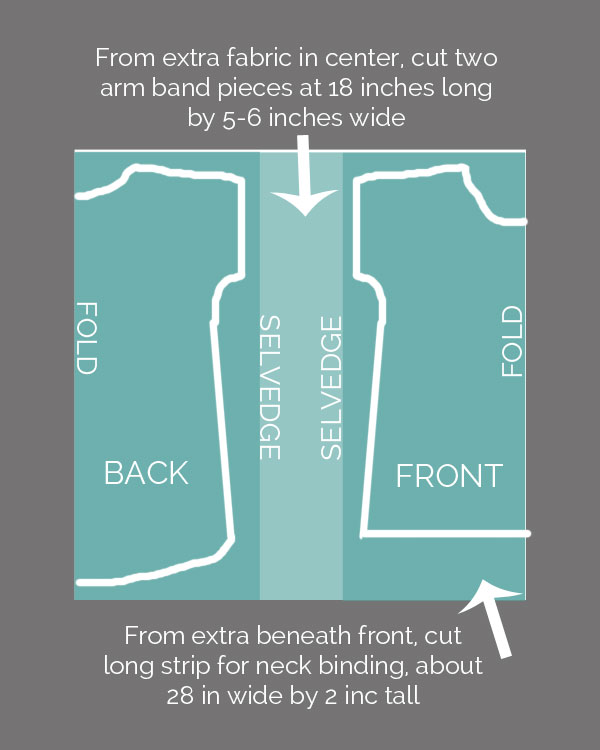
You’ll use the extra strip of fabric in the middle to cut two sleeve cuffs, and some extra from beneath the pattern pieces to cut a long strip for neck binding, as directed in the diagram above. Place the shirt front and back RST and sew up shoulders and side seams.
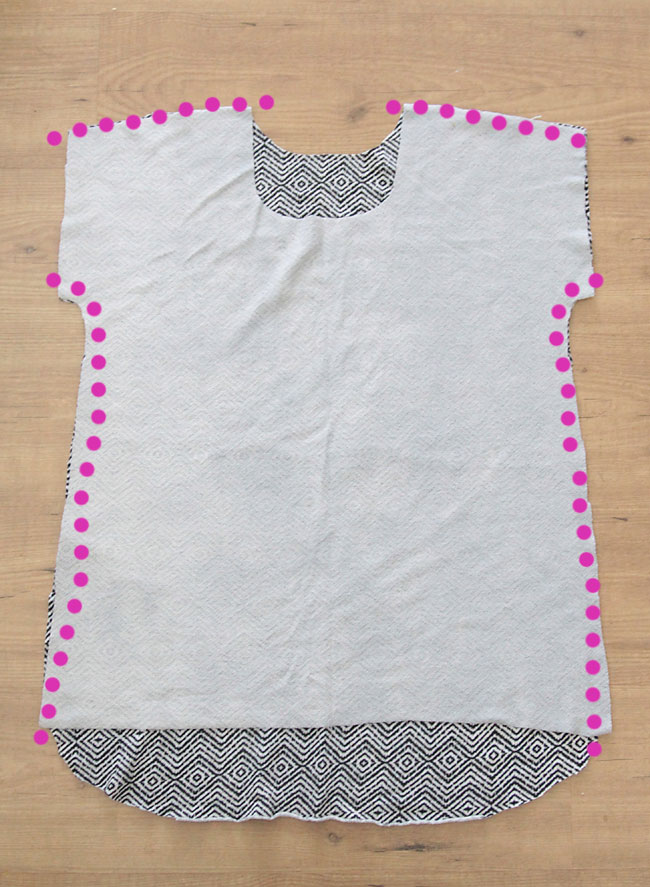
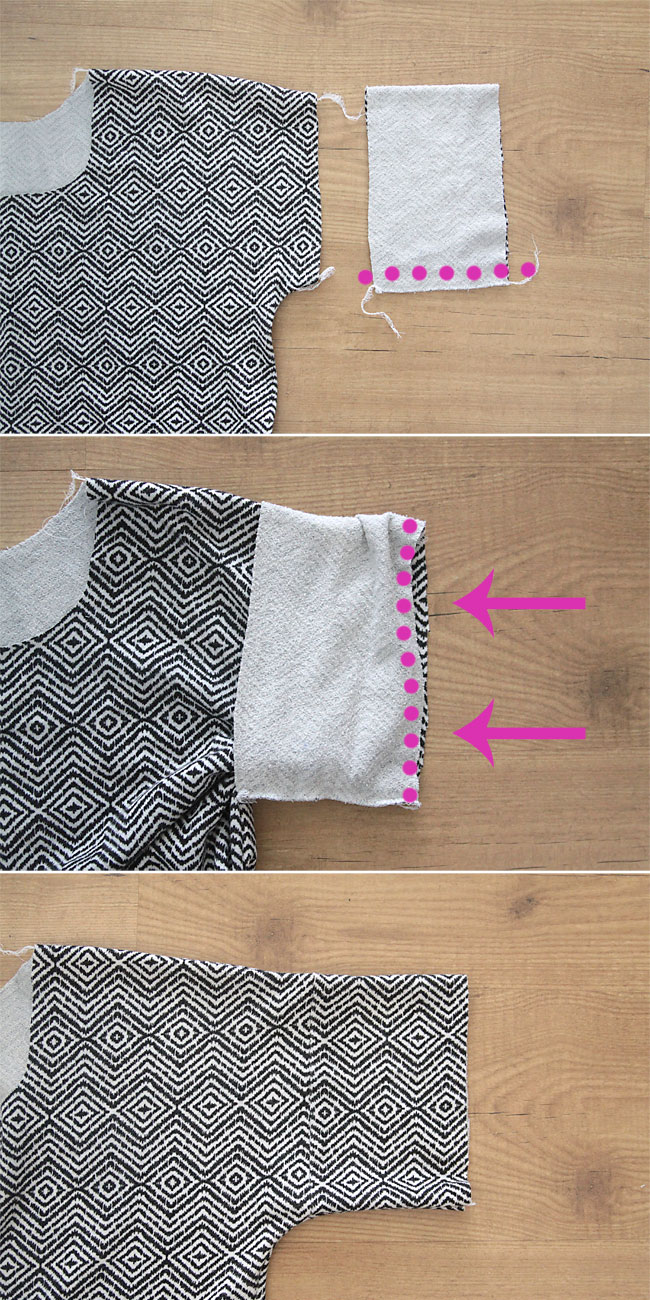
Press seams and turn shirt inside out. Fold one sleeve cuff in half and sew the two short ends together. Make sure it’s the same size as the sleeve opening – take it in a little if needed. Following the photos below, place the sleeve cuff over the sleeve and pin then sew the raw edges together, all the way around the sleeve. Flip the cuff back out and press the seam.
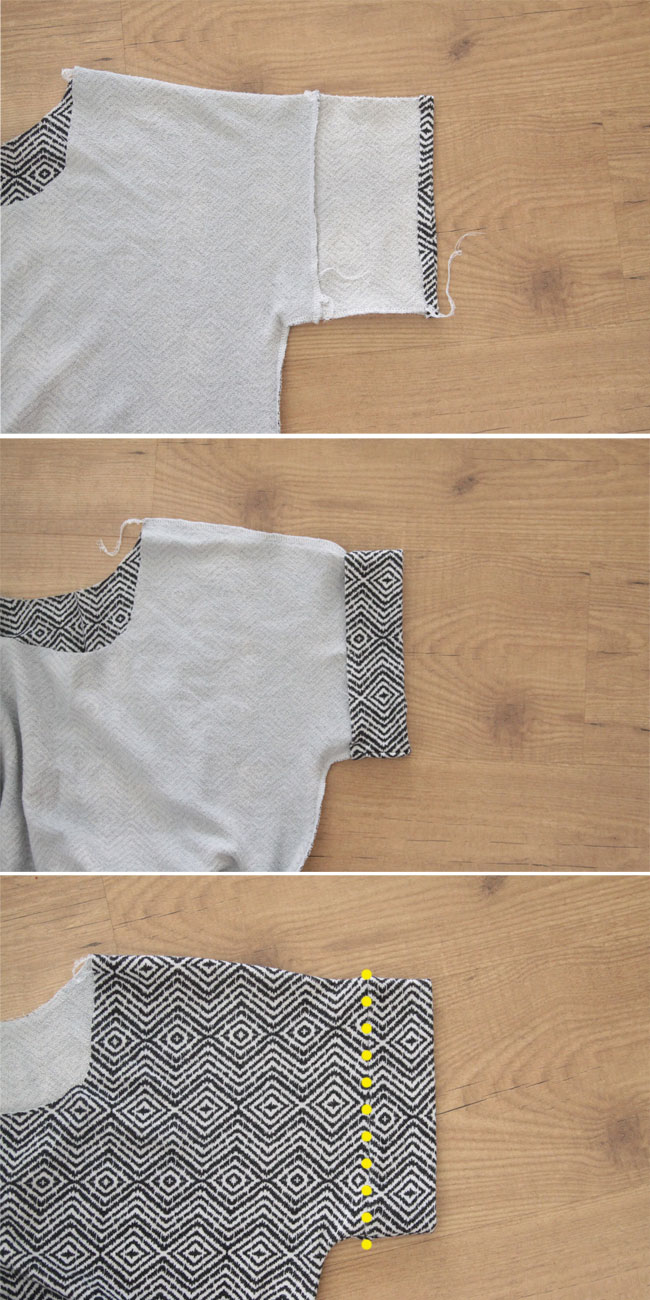
Now, turn the shirt inside out. Following the photos below, turn the edge of the sleeve cuff up about 1/4 inch and press. Now fold the sleeve cuff over until it just covers the seam line and pin in place. Turn shirt right side out and sew “in the ditch” along the previous seam line, securing the cuff to the sleeve.
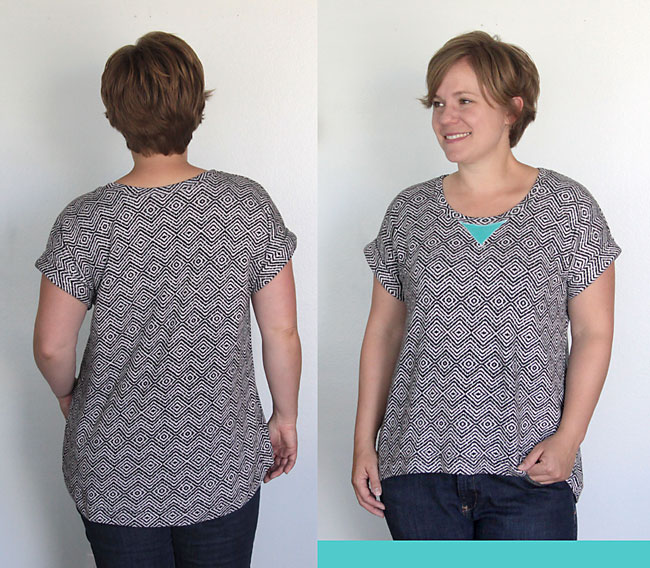
This gives you a really tidy looking cuff that looks good from the inside, too. Roll them up and tack in place or wear unrolled for a little bit longer sleeve.
It didn’t take much longer than just hemming the sleeve and I think it’s a lot more flattering on me. I finished the neckline the same way I did in the original tutorial, and just turned up the hem and sewed with a double needle.
Fabric info: I used this french terry knit from Girl Charlee for my top. I’ve never sewn with french terry before and I like it! It’s super soft, very drapey, and very easy to sew on. I was a little worried the french terry would be like a bathrobe or something, but it’s really nice. It’s flat and smooth on top with a “pile” on the bottom – but it’s not at all scratchy on my skin – again, very soft.
For a final detail, I cut out a triangle from some aqua knit and placed it right below the neck binding at the center front. I just zigzagged around it a few times to secure it on. It adds a little pop of color that I think looks great with the B&W diamond print.
Nancy says
Thanks for the pattern.
Pat Hurdle says
How do get the pattern?
This looks like a great T shirt.
Mary Holt says
I love this kind of blouse to wear in simmer! Thank you, Mary
cheryl says
I have made one dress and two tops using the easy tee pattern. They are all different. I LOVE it. So versitle and easy to make. The cuffs and different hemlines on this one are great! Thanks!!!!
autumn says
You’re welcome! Thanks so much for letting me know – and send me a picture sometime!
Pat says
Thanks for the easy tee which can easily be transformed into a maxi dress. Your directions are very explicit and easy to follow. Thank you for sharing. Can’t wait to try the different tee designs you show.
Sharlyn says
Just printed my pattern this week, and hope to have some time to play with it next week. I’m going to make the maxi dress too, thanks for all the great ideas and the pattern for all us “real” girls. ;-). Mother of 5 here too!