
In today’s post: You can make these cute DIY Christmas trees using pieces from a wood tower game. This is an easy Christmas craft for adults that takes less than an hour to put together.
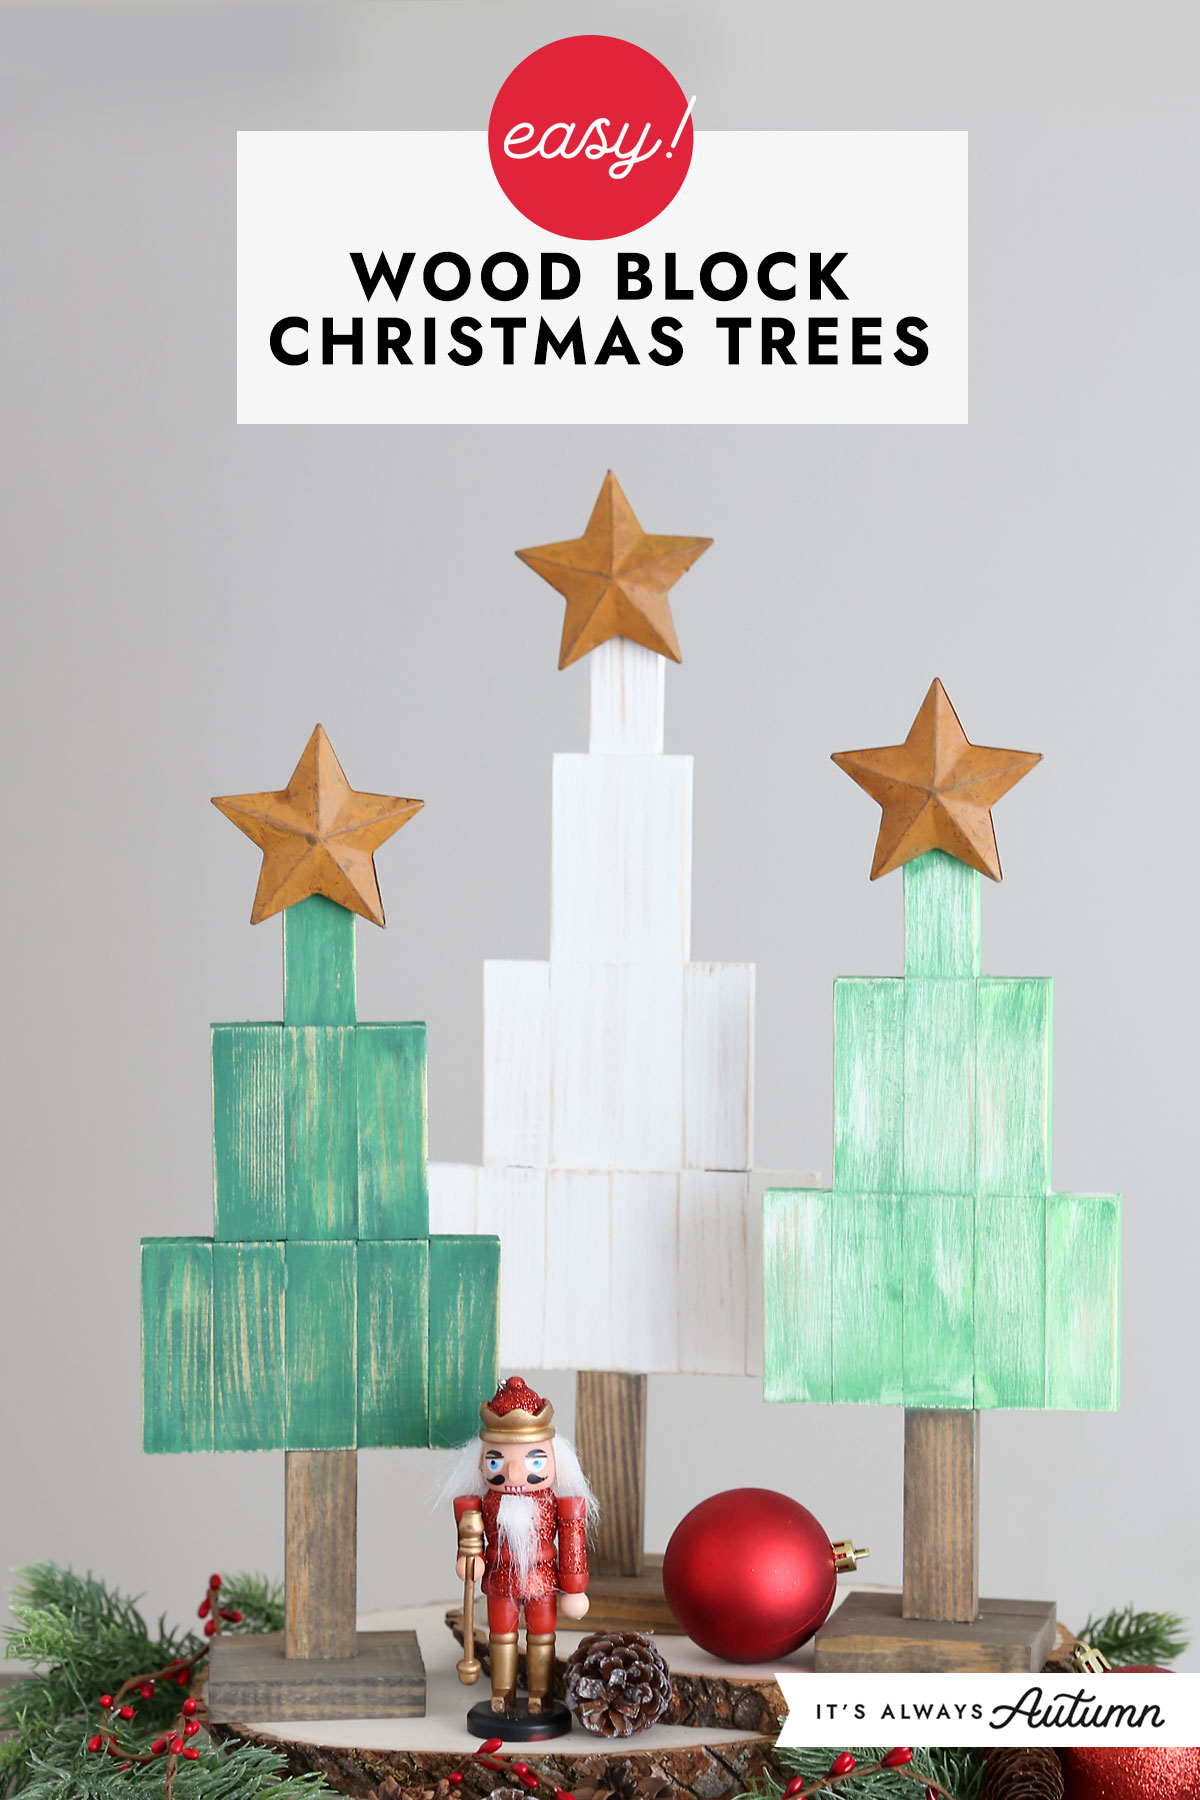
These cute wooden Christmas trees don’t require any tools (no cutting necessary!) because they are made from the wood blocks in a tower building game, like Jenga. They’re easy to glue together with a hot glue gun, and you can paint them any color you’d like – or even stain them for a more sophisticated look. I used the Walmart version of the game, which is called Jumbling Tower. The game comes with 48 blocks, which is enough to make 2 small trees and 1 larger tree. The smaller trees are about 12 inches high, while the larger one is about 15 inches.
Dollar Tree Option
For a smaller (and cheaper!) version of these trees, check your local dollar store to see if they carry a mini version of the stacking game. Dollar Tree’s version is called Tumbling Tower and comes with 72 smaller blocks, so this is a great option if you want to make lots of tree for gifts.

supplies
This is what you’ll need:
- Wood Blocks: you’ll need 13 blocks for the 12 inch trees and 17 blocks for the 15 inch trees.
- Hot Glue Gun: you will need a Hi Temp glue gun for this project, preferably a full size one (not a mini). In order to glue the wood together securely, the glue has to get pretty hot. If you prefer not to use a hot glue gun, you could use wood glue instead, but that would require clamps.
- Stars: I used metal star ornaments that I found at Hobby Lobby in the Christmas decorating section. Because they were ornaments, they did have a small metal loop at the top, but the loop was easy to snap off using pliers. If you can’t find metal stars, you could use wood stars painted in any color you like.
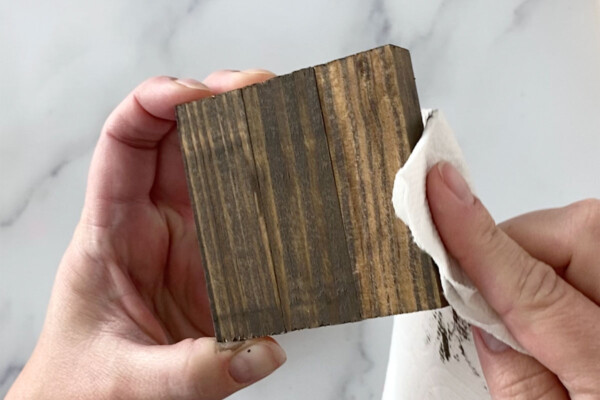
- Paint: I used white and green acrylic craft paint for the trees, and brown acrylic craft paint for the trunk/base. I wanted the base to have more of a stained look, so I mixed the brown paint with a little bit of water to make it runny. Then painted it on and immediately wiped it back off with a paper towel so you could see the wood grain.
- Sandpaper: This is optional if you’d like to give your trees a distressed look. I used a coarse grit sandpaper.

Wood Block Christmas Trees
Supplies
- Wood Blocks 13 for smaller tree, 17 for larger tree
- Stars
- Hot Glue Gun
- Paint + Paintbrush
- Sandpaper optional, for distressing
Want more project ideas? Sign up to get my favorite easy crafts and recipes straight to your inbox!
Instructions
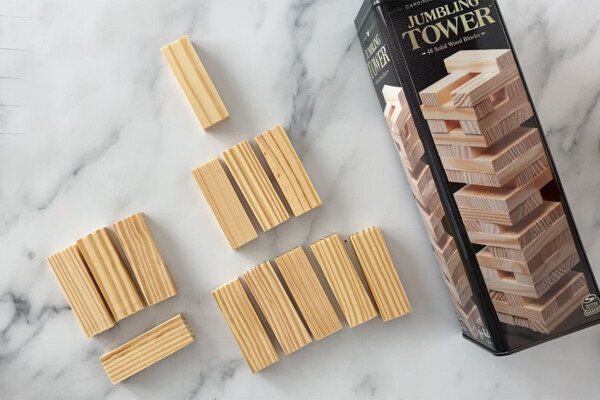
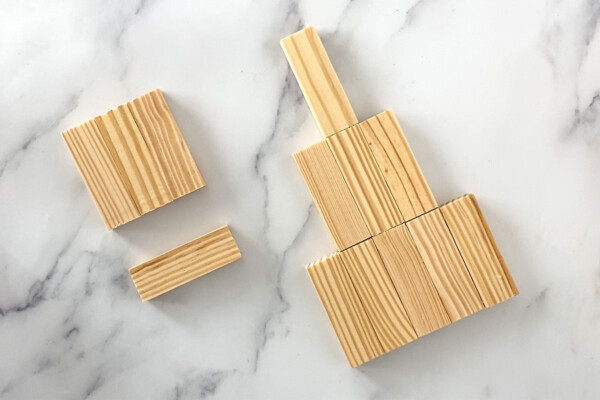
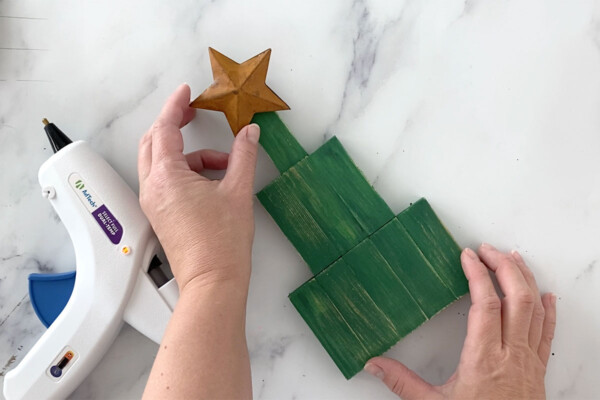
- Set out the blocks you will need to glue together. For the tree you'll need one block for the top, three blocks for the second row, and five blocks for the third row. For the base, you'll need three blocks, with one more for the trunk.

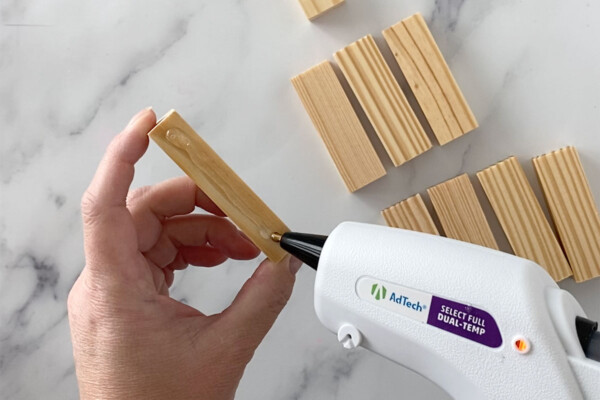
- Starting with the bottom row for the tree, place a line of hot glue on one side of a block. Work very quickly to press the block firmly to another block. Squeeze tightly so you don't end up with a gap in between the blocks. Continue to glue the blocks together as you had them laid out above.
- Once you have the blocks glued together in rows, glue them together to create a tree shape. Do not glue the trunk to anything yet.
- Paint the base and the trunk. For a stained look using acrylic paint, water down the paint slightly. Paint it on and then immediately wipe some of it back off using a paper towel so you can see the wood grain.
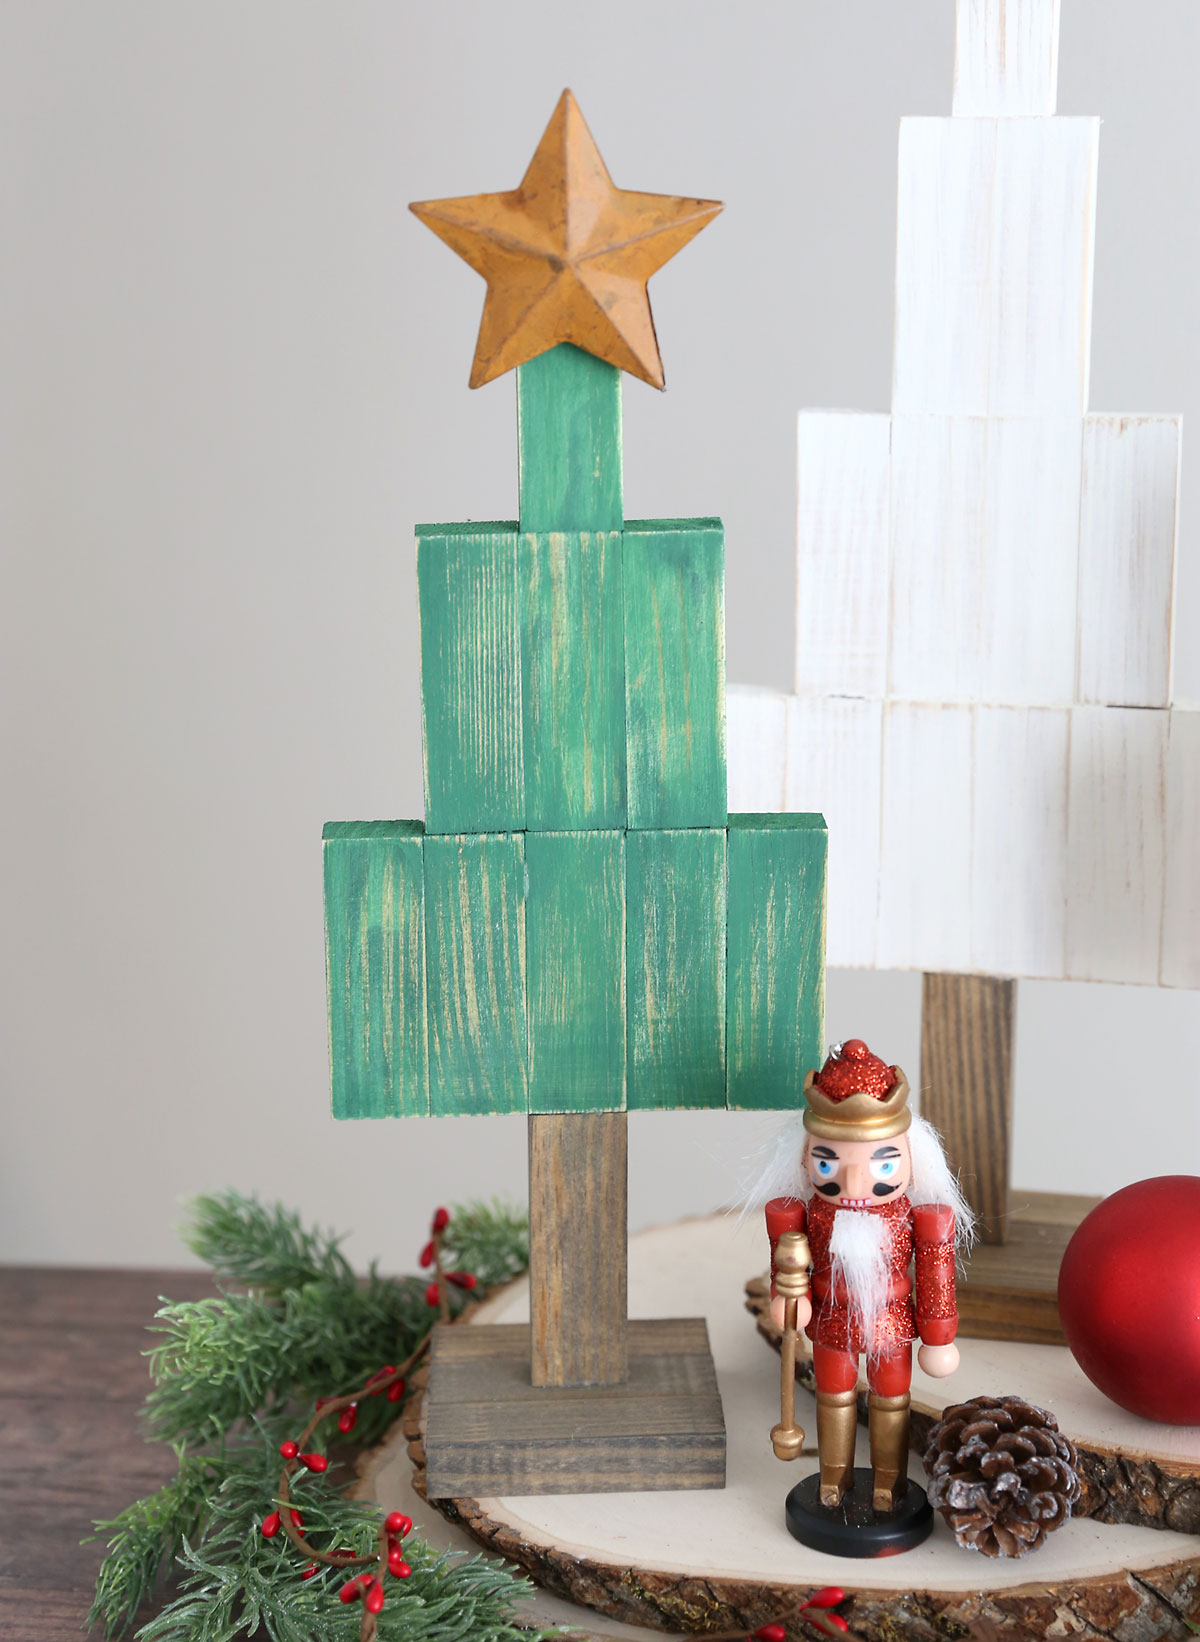
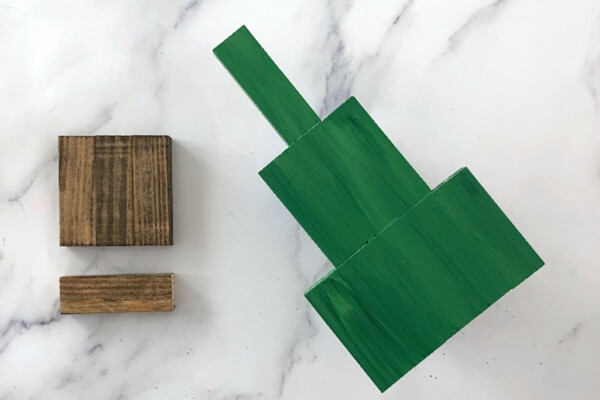
- Paint the tree whatever color you prefer. I used two different colors of green paint here to give it a little variation. Allow the paint to dry – you can use a hair dryer to speed the drying process.
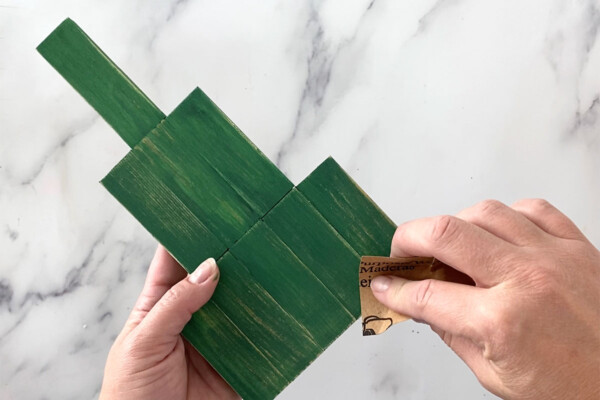
- When the paint is completely dry, use coarse sand paper to sand off some of the paint, giving the tree a distressed look (optional).
- Hot glue the star to the top of the tree and allow the glue to cool and set.
- Hot glue the trunk to the base of the tree, then hot glue the tree to the top of the trunk.

More Christmas Crafts
Visit these posts for more fun Christmas craft ideas:
30 Easy Christmas Crafts for adults
25 Easy Christmas Crafts for kids
C
L


Leave a Comment