
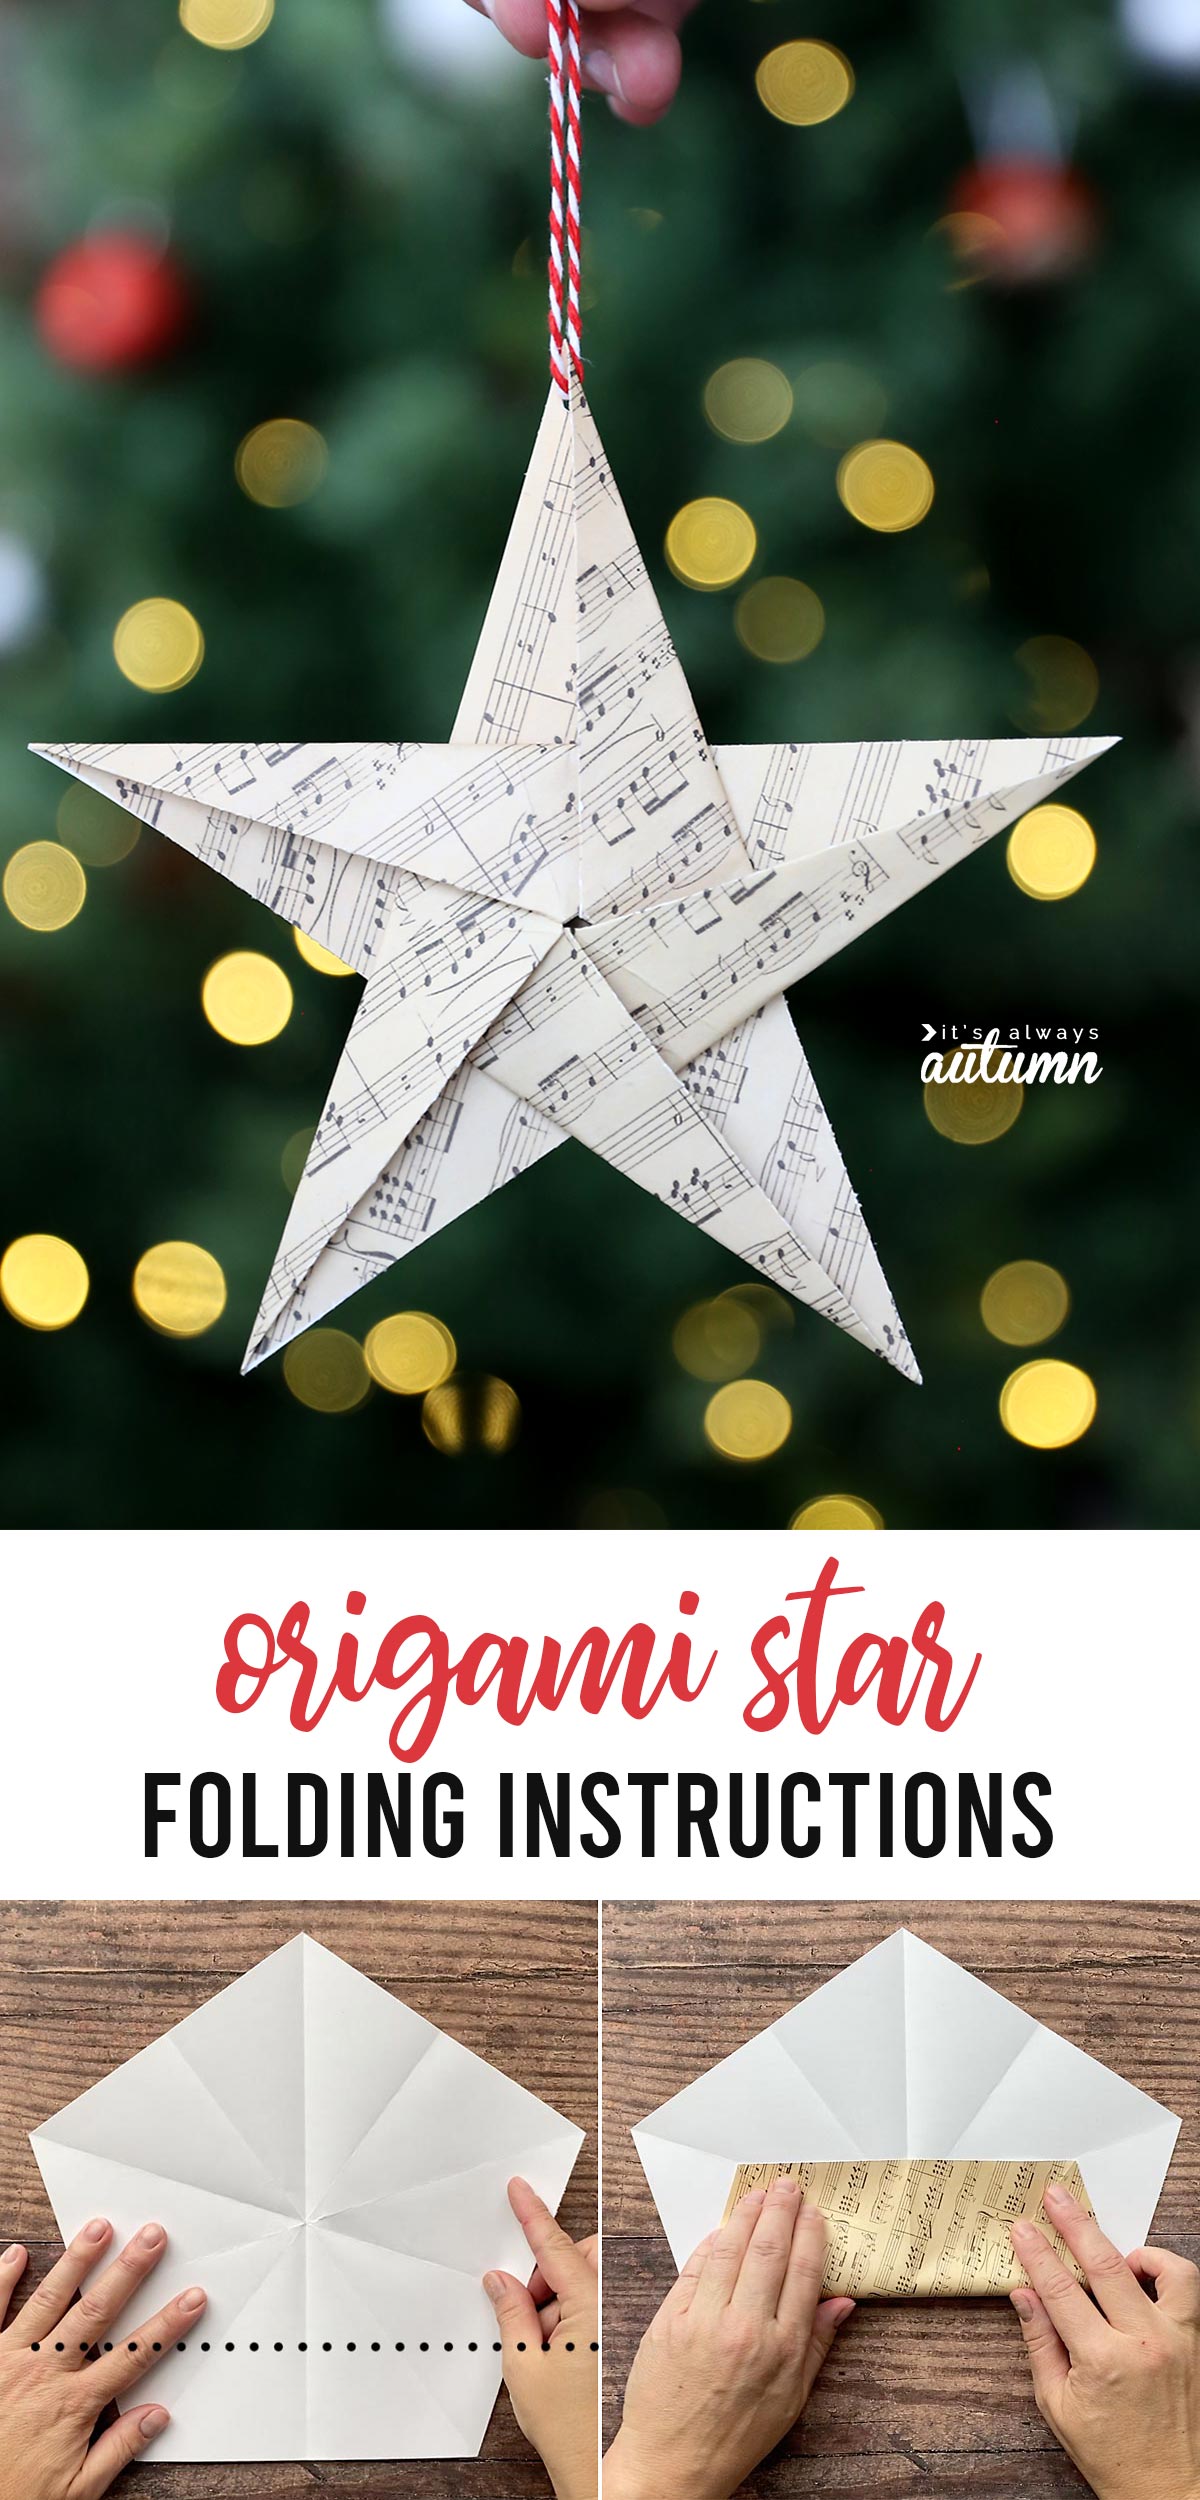
In today’s post: Learn how to fold a pointed origami star – it only takes five simple steps.
Origami is basically magic, right? Taking a flat piece of paper and turning it into something else entirely is pretty cool! But it can also be intimidating, and I rarely have the patience to work through long instructions. That’s why I like simple origami projects that I can master quickly, like these origami stars. They only take 5 steps to make and the finished stars make great DIY Christmas decorations!
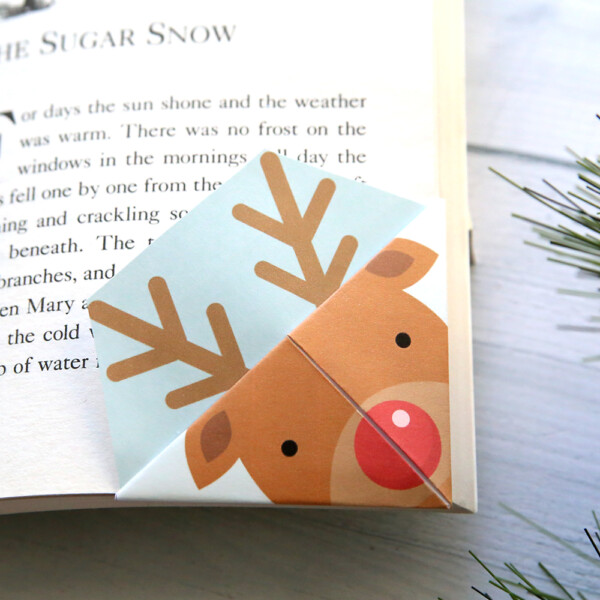
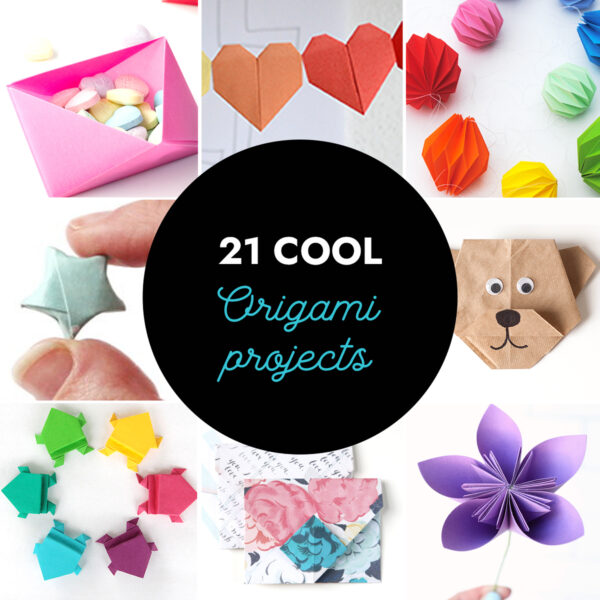
For more easy origami tutorials, click here.

The little paper stars look great on your Christmas tree, and are also really nice strung up as a garland. Depending on the paper you make them out of, these would be pretty cool for the Fourth of July as well!
I have a instructional video for you today that walks you through each of the five steps to folding a paper star. Your first star might take you about 15 minutes to make, but once you get the folding process down you can easily complete one in five minutes.

Origami Star Video
I’ve created a step by step video that shows you exactly how to fold an origami star. Watching the video is the easiest way to learn how to fold a star as it explains each step in detail. However, if you don’t want to take the time to watch it, you’ll find written instructions and photos further down in the post.
Origami Star Supplies
You really only need two supplies to make an origami star: a piece of paper and a pair of scissors (or paper trimmer). Normal copy weight paper–or just slightly heavier printed scrapbook paper–works very well. Cardstock will not work because it’s just too heavy and stiff to perform well with all the folding. I tried making stars out of lots of different patterned papers and I found that I preferred the ones that have a fairly uniform background (like the sheet music paper in the first photo of the post). Origami paper would also be an option.
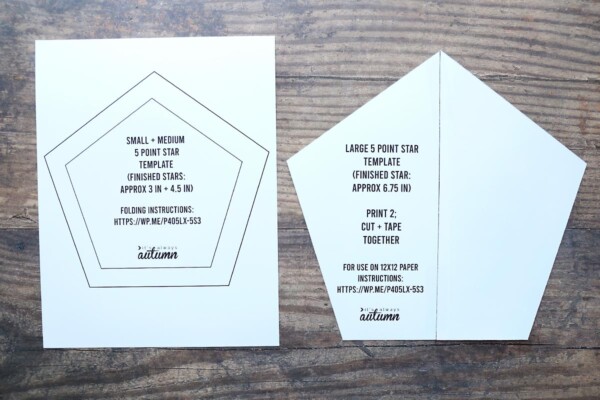
Before you can begin folding your star, you need to cut your paper into a perfect pentagon. To make it easy to get a pentagon shape, I’ve created two printable templates for you. You can print the templates, cut them out, and trace them on the back of the paper you’ll fold into a star. Printing the templates onto cardstock is a good idea so your tempates will be sturdy and reusable. Click below to download the templates, and print them at 100% or full size.

The small + medium template prints onto one sheet of 8.5×11 paper. For the large template, you’ll need to print 2 copies and tape them together as you can see below:

Cut a Pentagon from a Square
If you prefer not to use my templates, you can find tutorials online that teach you how to cut a pentagon from any square sheet of paper, like this one:
additional Supplies to Turn Stars into Ornaments
If you’d like to turn your folded stars into ornaments, you will also need a hole punch and twine. A small hole made with a small hole punch (like this one from Amazon) looks better on the stars than a standard size hole punch, but either would work. Alternately, you can use a needle and thread to make a loop without leaving a visible hole at all. The stars are so lightweight that they can easily be hung with thread.
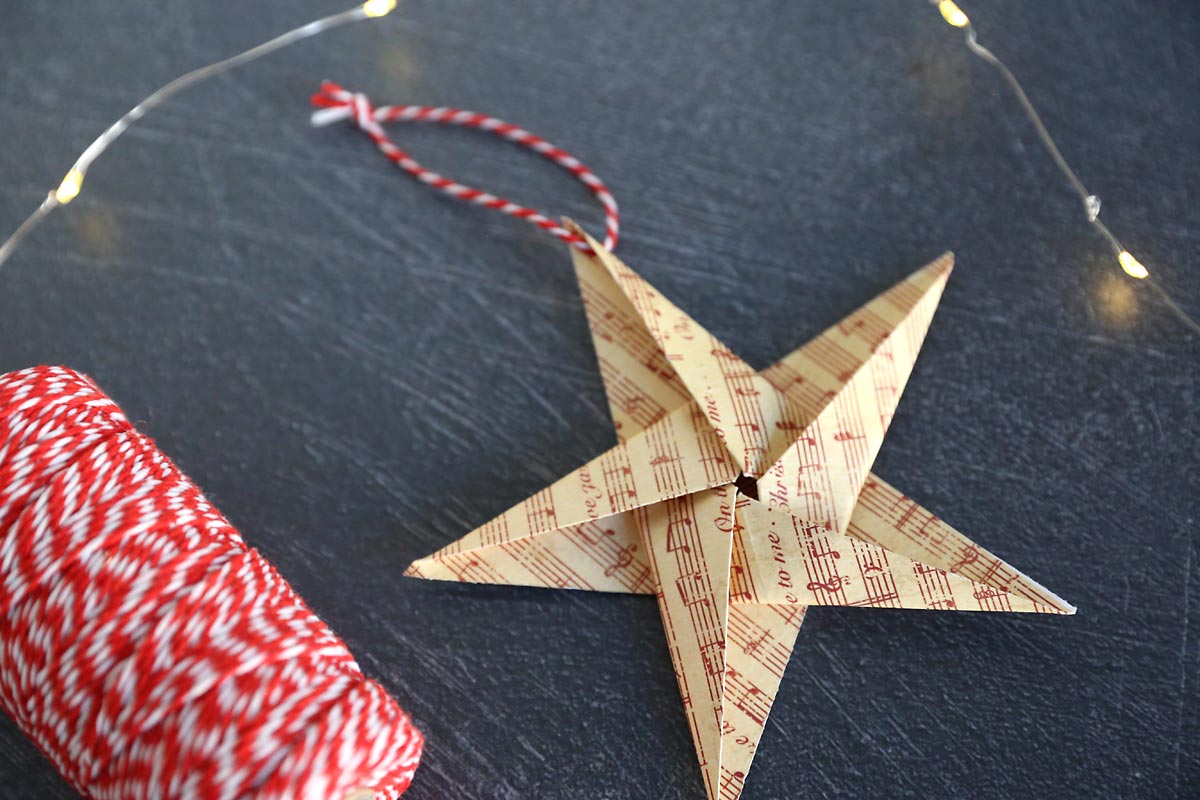
If you’d like to turn your stars into a garland, I’d recommend using a needle and thread to string them together. Or you could punch small holes and string the stars along a strand of fairy lights, like these battery operated lights from Amazon. Just be aware that battery operated fairy lights usually only last 3-4 days if the lights are left on all the time, so you could also consider this longer strand that plugs in.


Origami Star
Supplies
- 1 sheet Paper (not cardstock)
- Star Template
Want more project ideas? Sign up to get my favorite easy crafts and recipes straight to your inbox!
Instructions
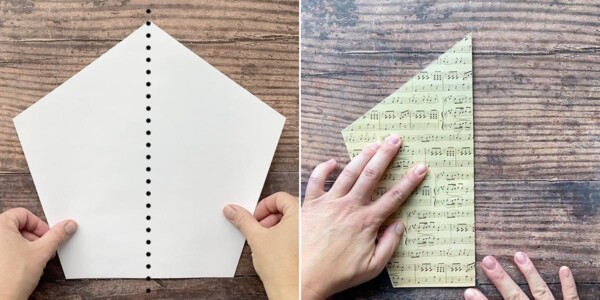
- Choose which size pentagon template you'd like to use based on how big you want your final star. Trace the pentagon template onto the back of your paper and cut along the lines. Place the pentagon on the table in front of your, printed side down.

- Fold #1: With one corner of the pentagon pointing away from you and one of the flat sides of the pentagon toward you, fold the pentagon in half right to left and crease. Open it back up and rotate so the next point is facing up. Repeat the fold and open it back up. Repeat 3 more times for a total of 5 folds.

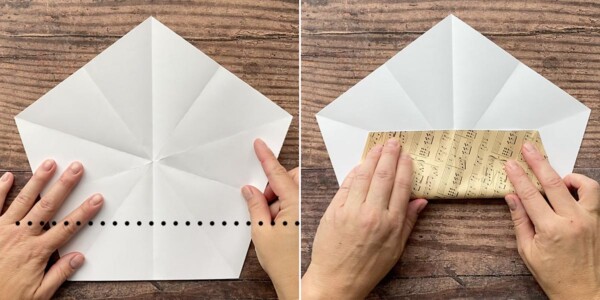
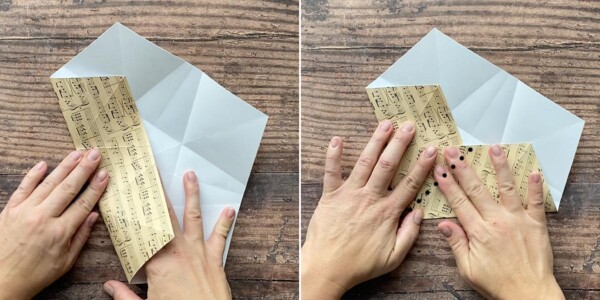
- Fold #2: With one corner of the pentagon pointing away from you, fold the bottom flat side upward. Match the bottom two corners of the pentagon with the fold lines that extend to the side corners. Crease. Open it back up and rotate to the next corner. Repeat the fold until you've done it 5 total times.
- Fold #3: With one corner of the pentagon pointing away from you, lift the lower left side of the pentagon along the crease from fold #2. Also lift the bottom of the pentagon along the crease from fold #2. This will cause some of the paper to stick up; fold it down to the left and crease. Open the pentagon back up and rotate it to the next corner, repeating the fold for a total of 5 times. (This step is easier to see on the video.)
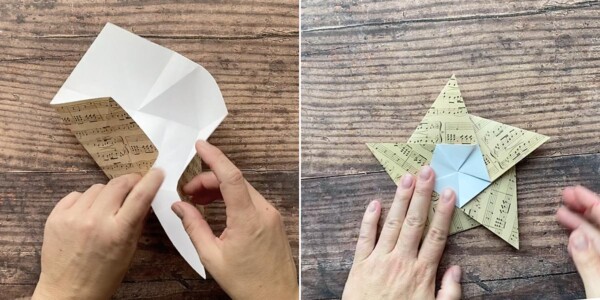
- Fold #4: Bring each of the straight edges of the pentagon toward the middle, allowing each of the corners to fold as the pentagon closes into a star shape with a small pentagon in the middle.
- Fold #5: Flip the star over to the other side. You will see points along the outside and a pentagon shape in the middle. Fold one corner of the pentagon in to the middle, creasing the fold all the way out to the point to create a sharp star point. Rotate and repeat. When you get to the 5th fold, you will have to slightly open the 1st fold to complete it.
- Press down along each final fold. If you'd like to make your star an ornament, punch a small hole near the top of one point and thread twine through it, then tie in a loop.


Tips
Video Tutorial


Jeanette says
i loved making these but can’t find the right paper. The only thing i could find in a Christmas these in 12″ x 12″ was 60 lb paper. Where did you get yours? Thank-you.
Laurence says
super idée !! merci
Lynda Bobka says
I would love to make this, but I have printed the large template twice now and taped it two different ways. It does not lineup I have pictures so if you let me know your email, I can send them to you but for the life of me cannot get this to work.
Kopec Marion says
Very nice video. Thank you
Gretchen says
Help! How can I access the star templates for the origami stars? I love them…have printed the directions…
Christina says
i am sure the instructions are great, and I also have printed them, but cant find where to fet the template. Please help.
Autumn says
Scroll down in the post and look for the heading “Origami Star Supplies” – there are two paragraphs of text then a blue box that says “Print the Templates” which has links to both templates.
Kate says
You are absolutely the best resource for how-to origami. So many folks on YouTube don’t talk in their origami videos so its harder to follow them! Thank you so very much! I do have one question for you. The stars you show as examples in this post…are you using a light cardstock or is that thin like standard orgami paper? I love the designs and it looks like a good thickness. Thank you!
Katie
Autumn says
Thanks for you kind comment! Glad you like the tutorial. The paper I used is not cardstock; I think cardstock would be pretty hard to work with. I used patterned paper that you can buy at Hobby Lobby or Jo-Ann. It’s probably a little thicker than origami paper but it’s definitely not cardstock. Good luck!
Autumn says
Sorry you are having trouble finding the templates. They are in a blue box titled “Print the Templates”. Scroll past the Origami Star Video and Origami Star Supplies heading to find the blue box.