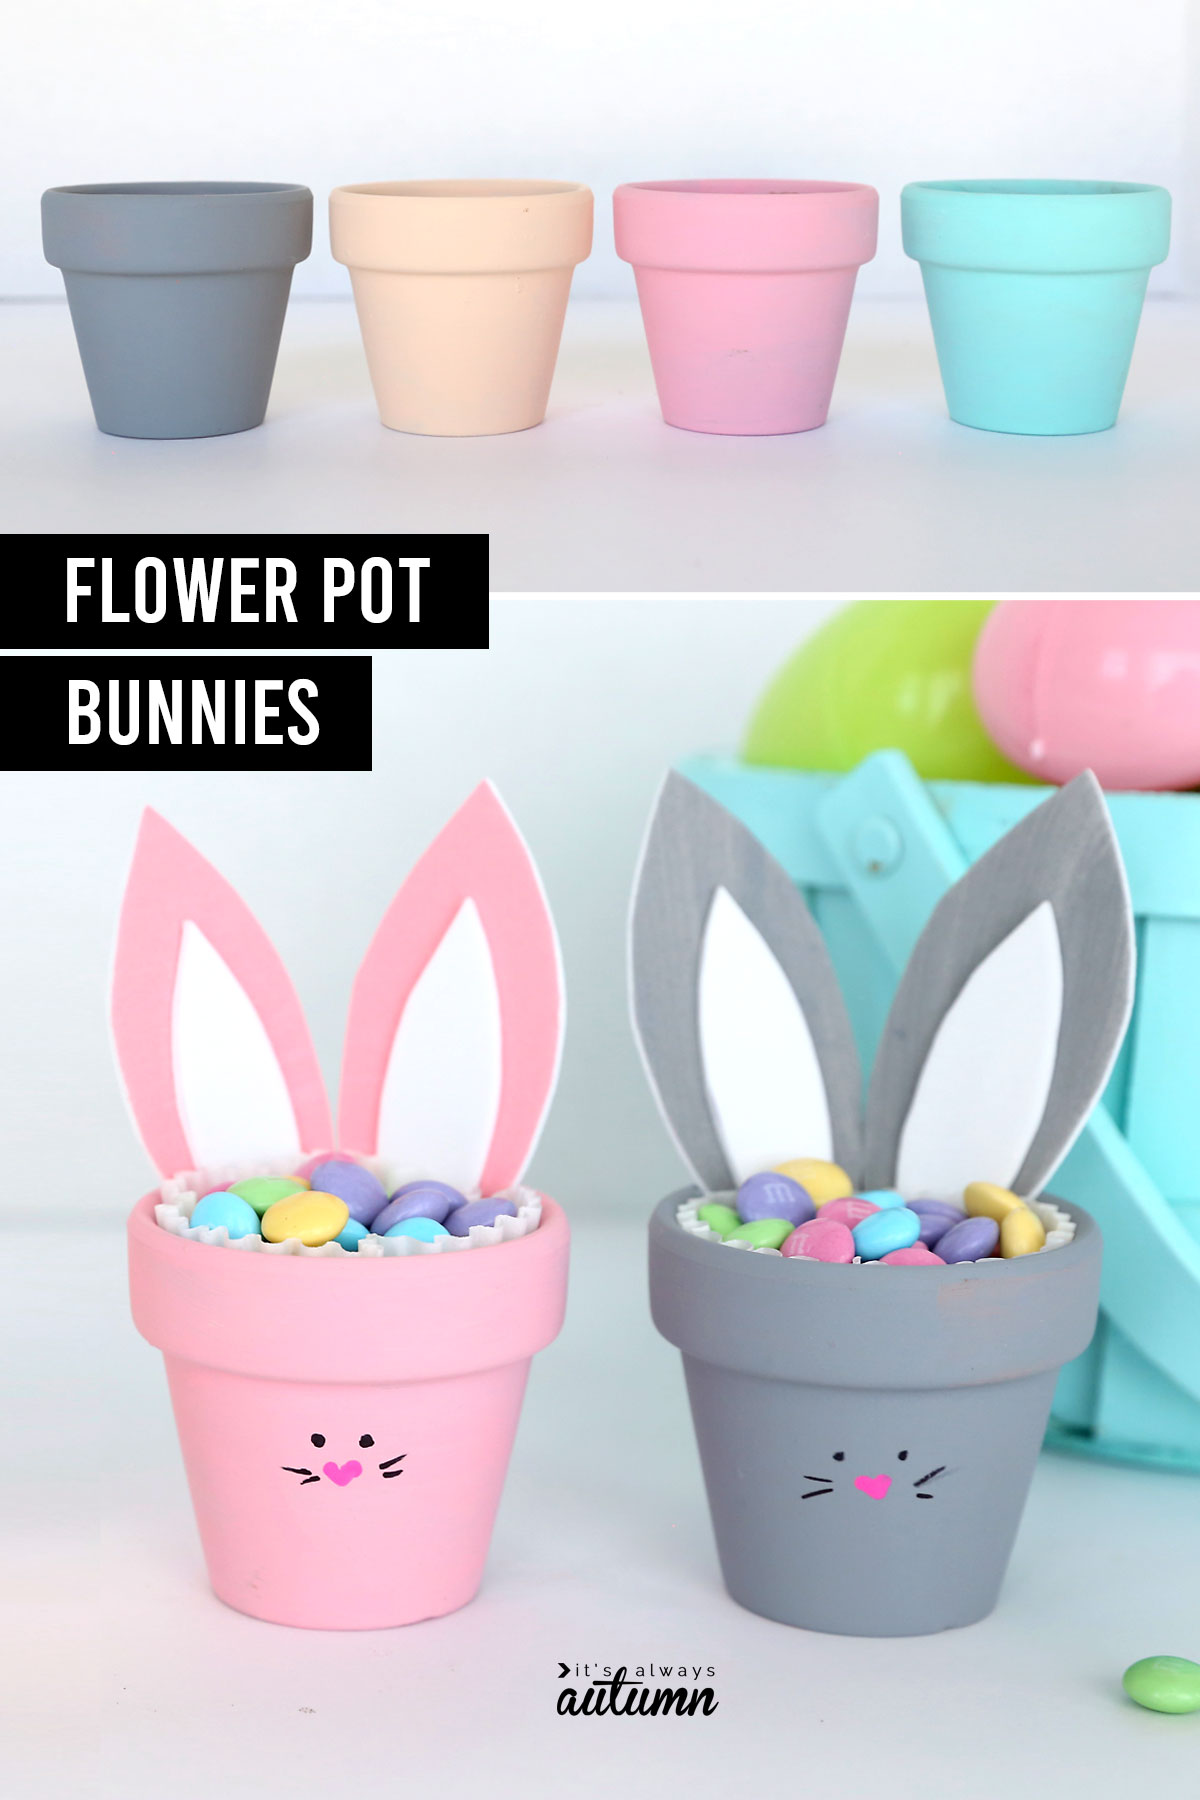
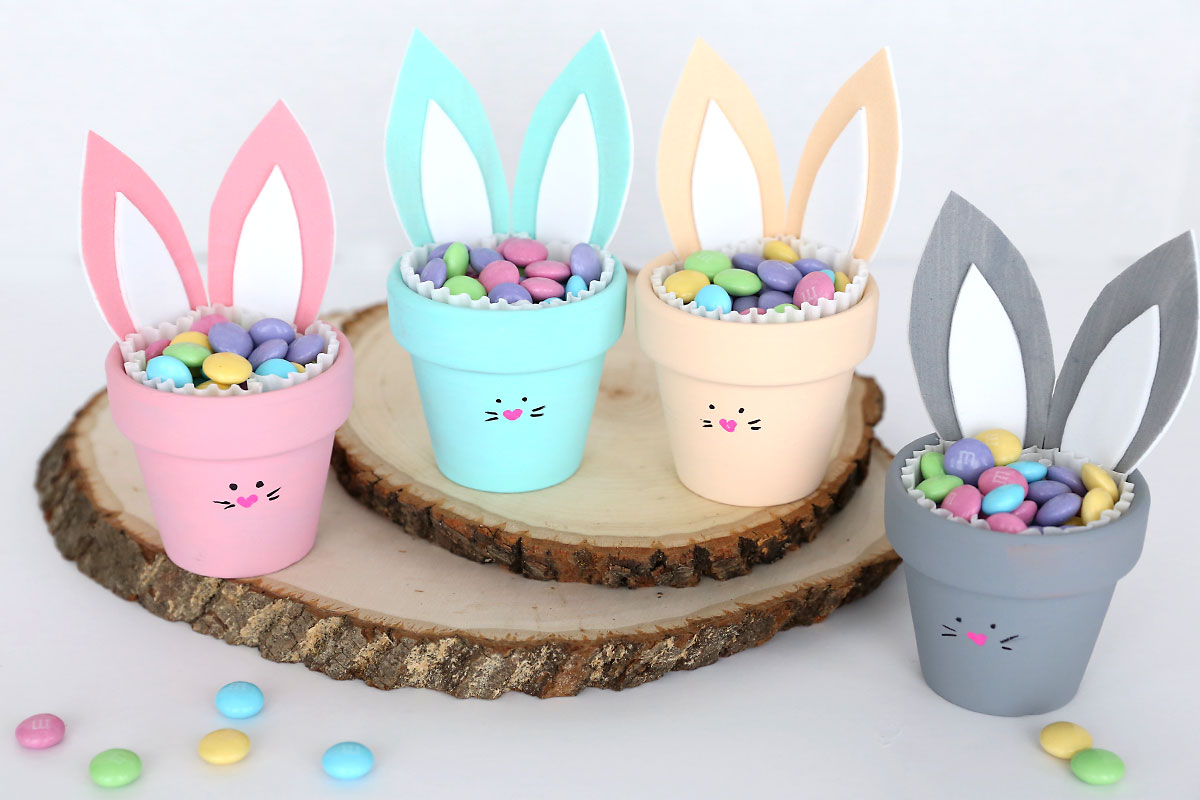
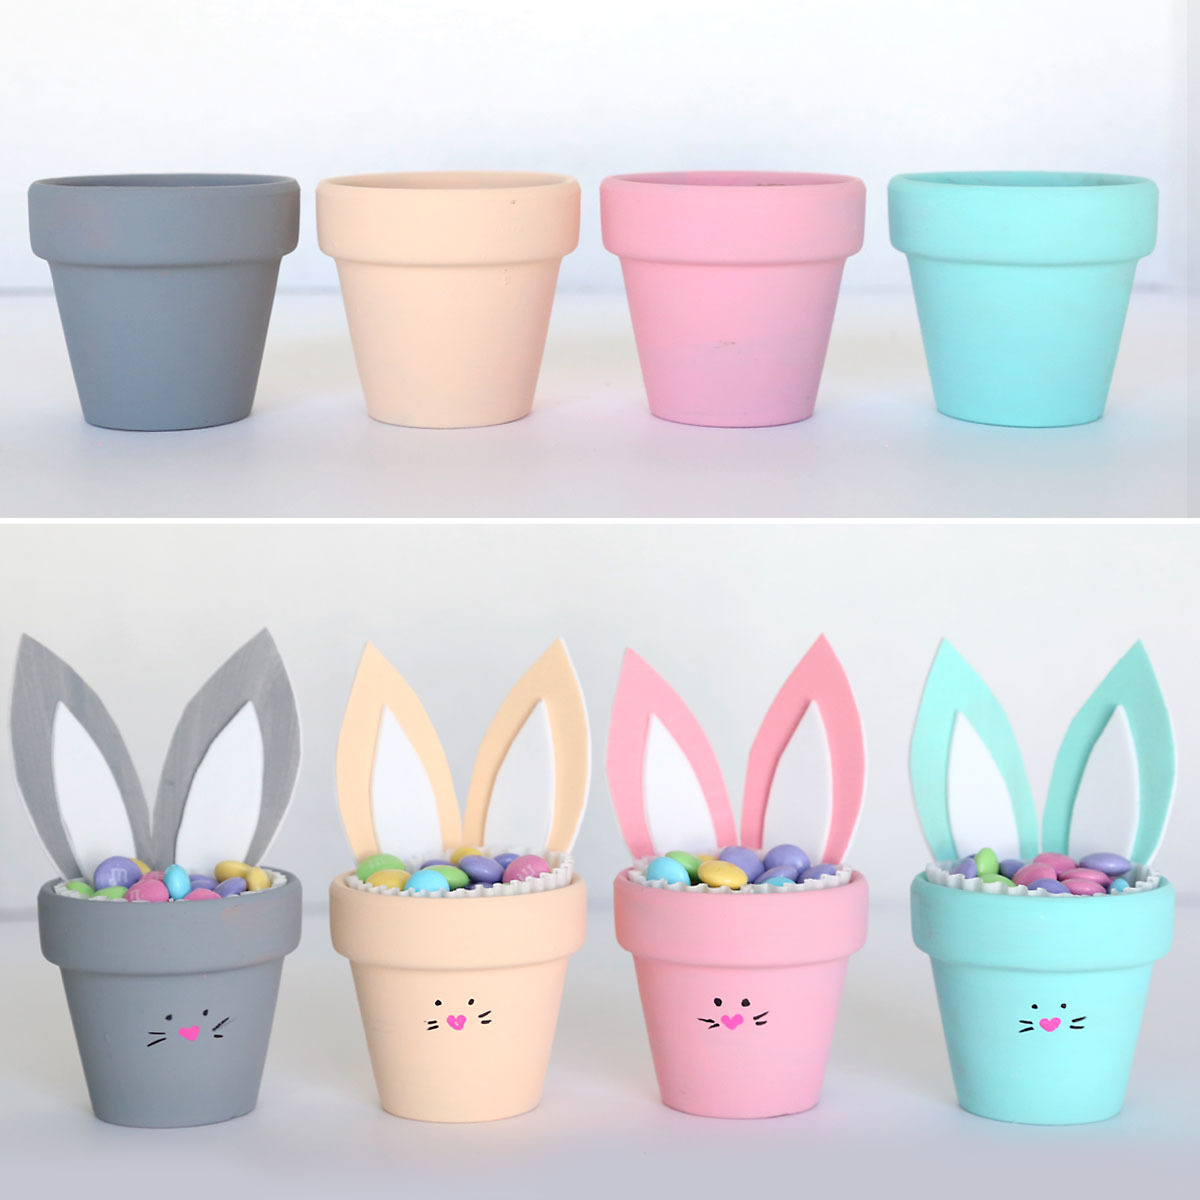
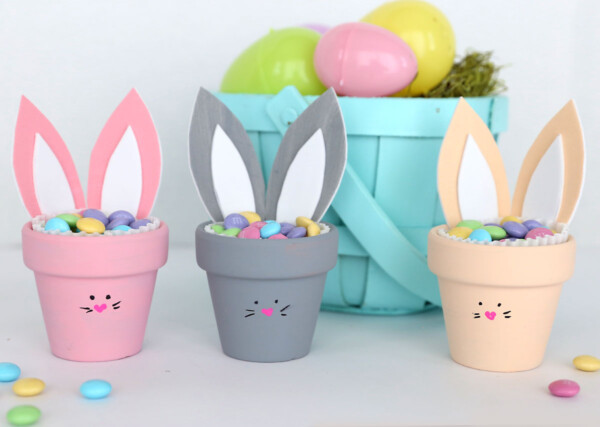
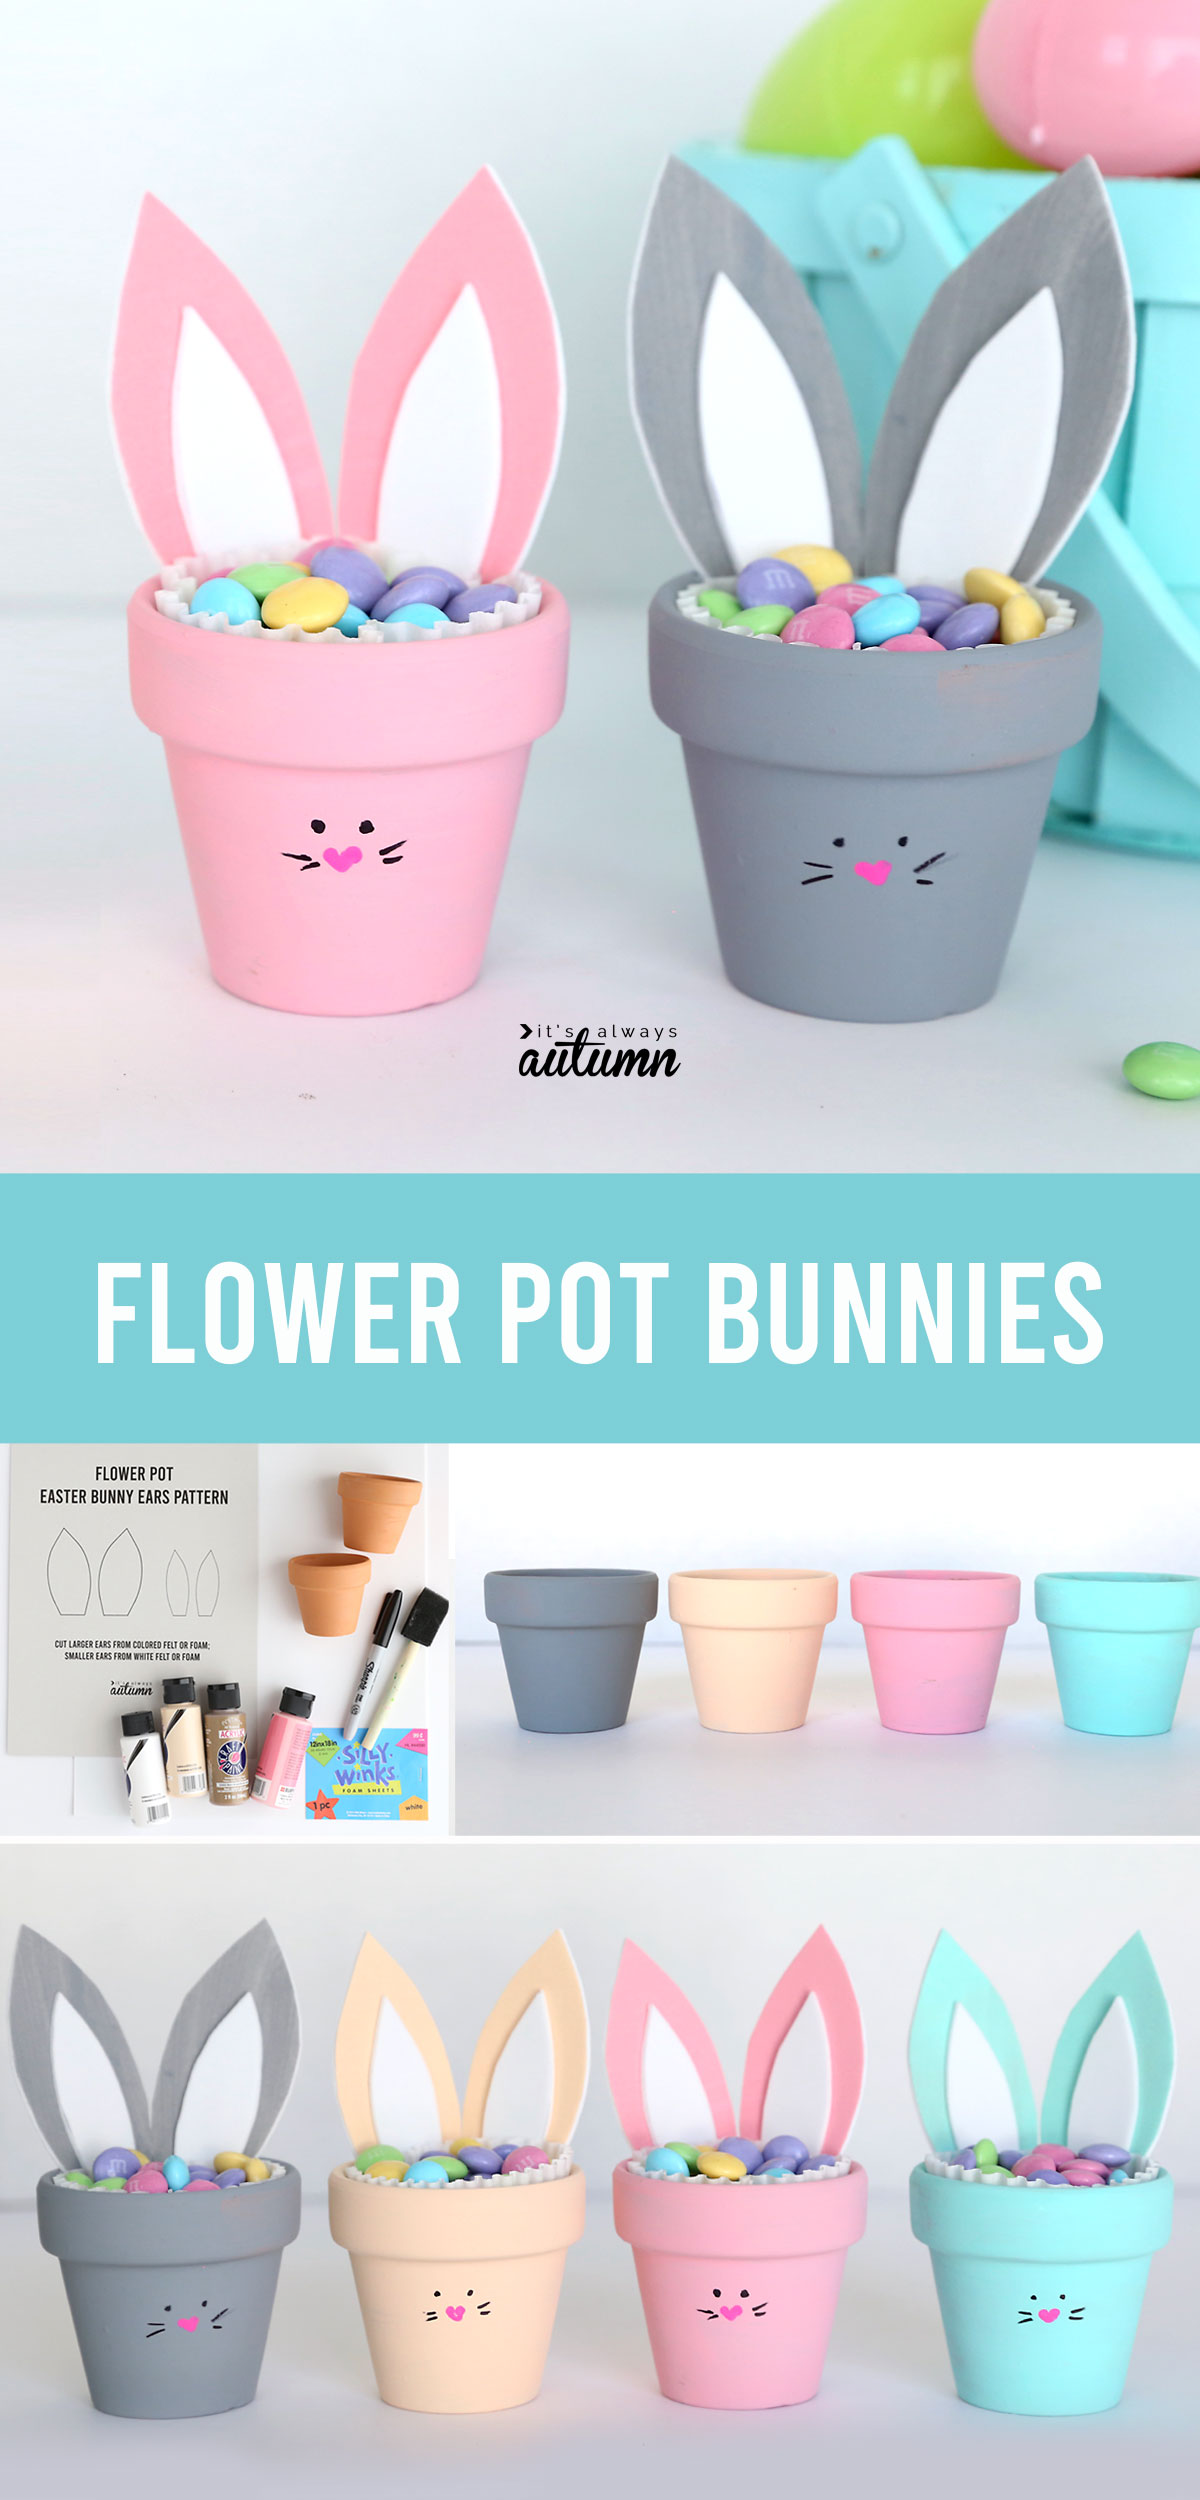
In today’s post: These little flower pot bunnies turn out adorable and are easy enough to make with your kids. Line them with a cupcake liner and fill them with Easter treats to make them even more fun.
I’m not sure what my daughter likes most about these bunnies – the fact that they are adorable or the fact that they are full of M&Ms!
Flower Pot Bunny Craft VIDEO
Watch this video to see how to make this craft:
Tips for Success
This craft is so easy, your kids may be able to do it without any help from you. Here are a few tips to make things simpler:
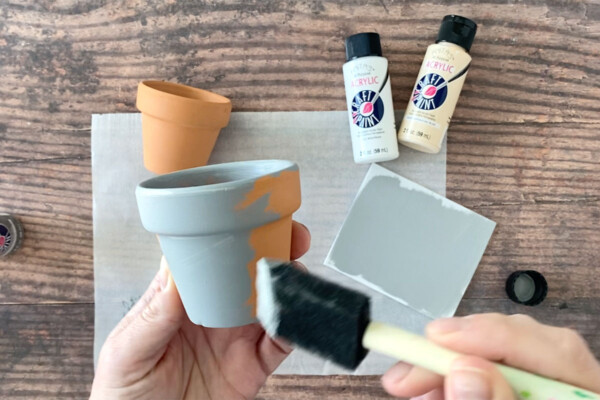
- Start by painting the pot. The bottom of the pot doesn’t need to be painted, but you do want to paint the top half inch of the inside. You can use a hair dryer on low to speed up the drying of the pot.
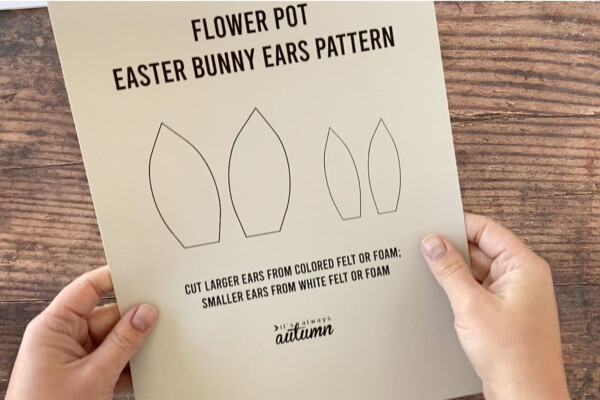
- Next, paint a 4×4 inch piece of craft foam sheet to match your pot. This is what you’ll use to make your bunny’s ears. You can cut out the ears in any shape you want, but if you want them to look like mine, you can use my downloadable ear template: click here to print the Bunny ears template
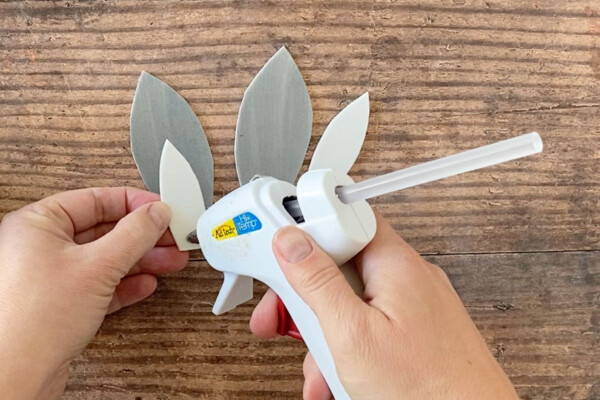
- Once the ears are cut out, you’ll glue the bunny together using hot glue. Remember to do the hot gluing for your young children, or supervise older children.
Supplies
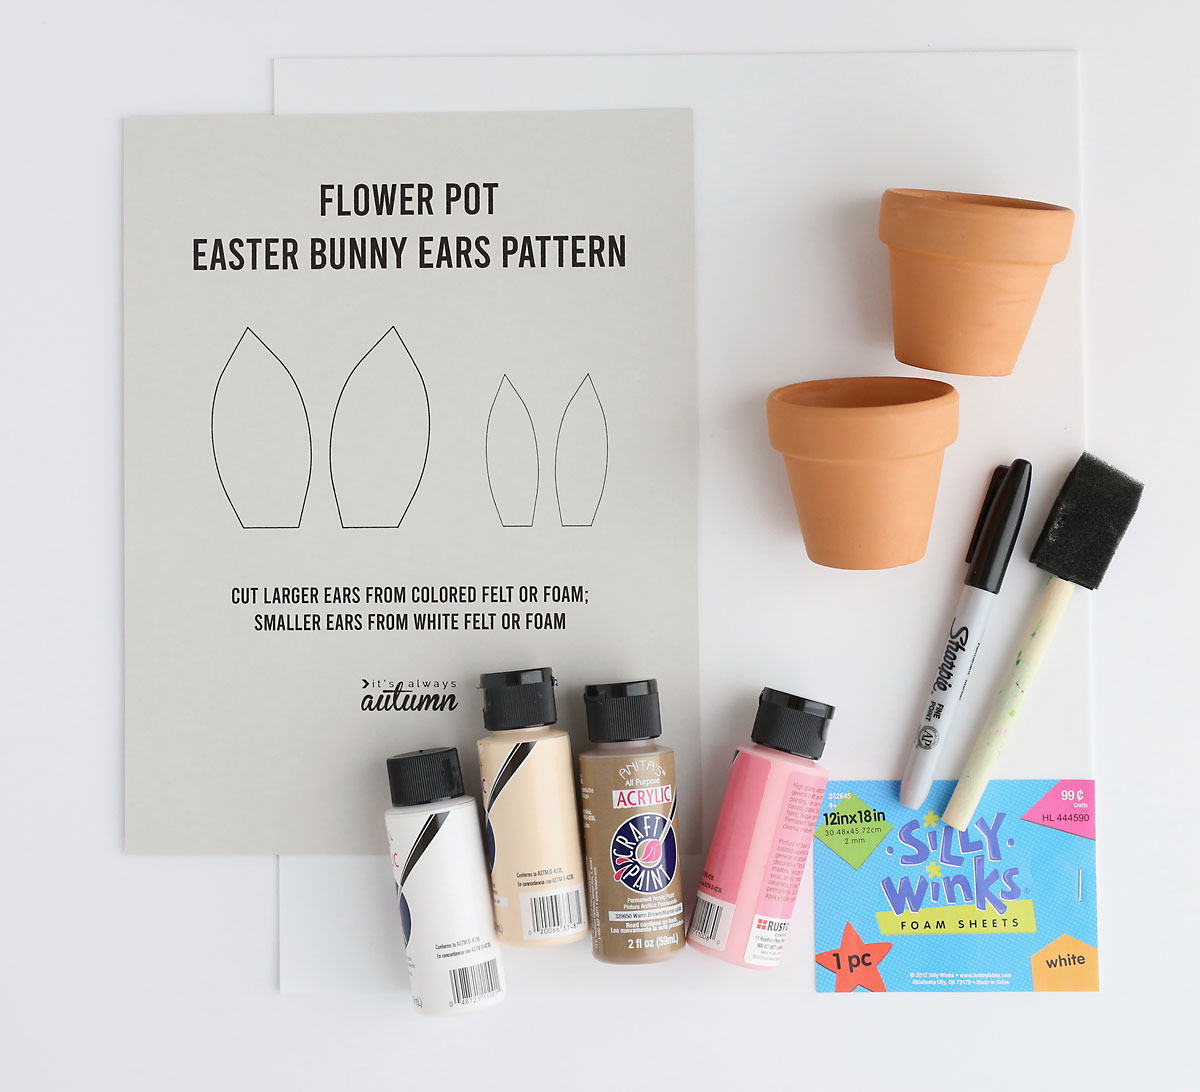
I found all of the supplies for this bunny craft at Hobby Lobby. This is what you’ll need:
- 2.5 inch tall terra cotta flower pots
- Acrylic paint in whatever color you want the bunnies
- Small foam paintbrush
- Sheet of white craft foam
- Black Sharpie to draw eyes and whiskers
- Pink paint OR pink sharpie to draw a nose (optional, you could draw the nose in black)
- Hot glue gun
- White standard size cupcake liners and Easter candies
Also, if you’d like to use my template for cutting out the ears, you can download it by clicking here. Print it at full size or 100%.
How to make Flower Pot Bunnies
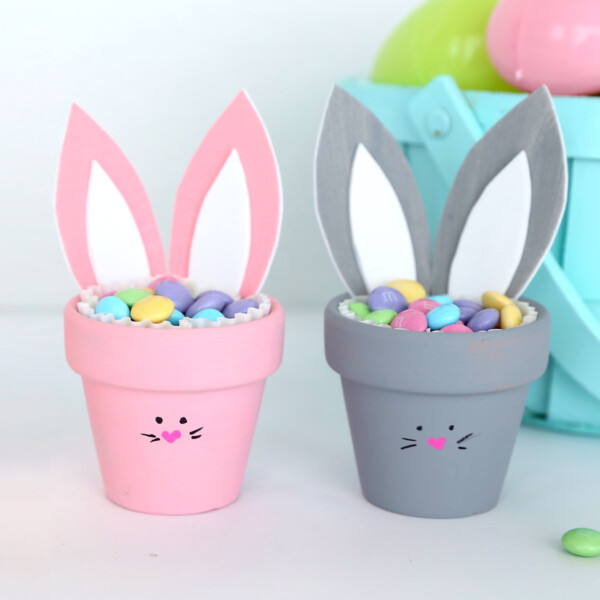
Flower Pot Bunny Craft
Supplies
- Small Flower Pots 2.5 inches high
- 1 sheet White Craft Foam
- Acrylic Paint
- Foam Paintbrush
- Black Sharpie
- Cupcake Liners
- Easter Candy
Want more project ideas? Sign up to get my favorite easy crafts and recipes straight to your inbox!
Instructions
- Optional: Print the template for the bunny ears found at itsalwaysautumn.com. Link in notes.
- Paint the outside of a pot in the color of your choice. You don't need to paint the bottom of the pot, but you should paint about half an inch insides the top rim of the pot. Also cut a 4x4 inch square from craft foam and paint it to match. Allow pot and foam to dry (you can use a hair dryer on low to speed the drying).
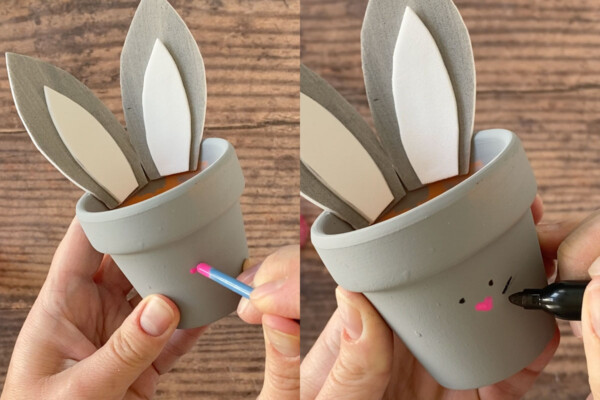
- Trace the large ear template on the painted foam and cut out two ears (they should be mirror images). Cut two small inner ears from white foam. Hot glue the white inner ears onto the painted ears.
- Glue the ears to the inside rim of the pot. Draw or paint a nose, eyes, and whiskers on the front of the pot. I used the end of a paintbrush dipped in bright pink paint to make the nose and a black Sharpie to draw the eyes and whiskers.
- Place a cupcake liner inside the pot. It will need to fold slightly to fit. Fill the pot with Easter candy.
Tips
Thanks for visiting! Find even more Easter crafts for kids here


Chris says
Thank you for sharing this WONDERFUL project, Autumn!
Chris says
Hello Autumn!
I just LOVE your bunny pot project! It couldn’t be cuter for Spring.
Can you possibly help me?
I would like to save your bunny ears template,
but it is a pdf. Would you be able to send the template to me as a word document?
My printer would accept that, so we can use it for a pattern.
Thank you for your help, Autumn!
Autumn says
If you export the pdf on a computer, you can select an option to save it as a word document. Hope that helps!
Vargas says
Cute idea
Barbara Warner says
Cute idea. Would be a nice favor or place setting card on my Easter table. Thanks so much.
CYNDI says
UNABLE TO PRINT EAR TEMPLATE