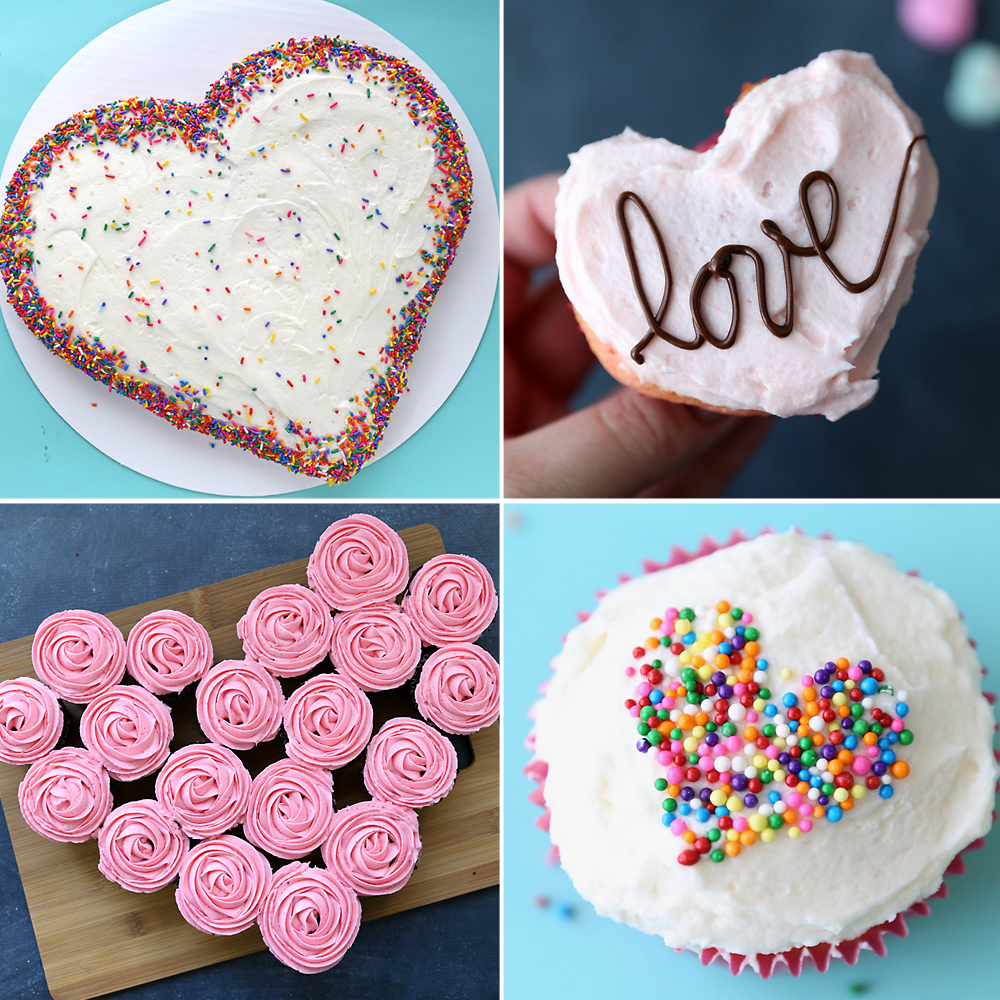
In today’s post: Learn how to make four different heart shaped cakes for Valentine’s Day without any special baking pans.
I do a lot of cooking and baking, but I try hard not to accumulate too many different kitchen gadgets. If I can make do without a specialized cooking item, I probably will. I just don’t like storing things I don’t use very often, and I really don’t like storing things I’ll only use once a year, like heart shaped cake tins. But what do you do if you want to make a heart shaped cake and don’t have any heart shaped tins? Well, you make it work. Keep reading for four different ways to make heart shaped cakes for Valentine’s Day, your anniversary, or any special occasion without any special equipment.
Video
Watch this video to see all four heart-shaped cake techniques, and then get more specific instructions for each one below:
Method #1: How to make a heart shaped cake
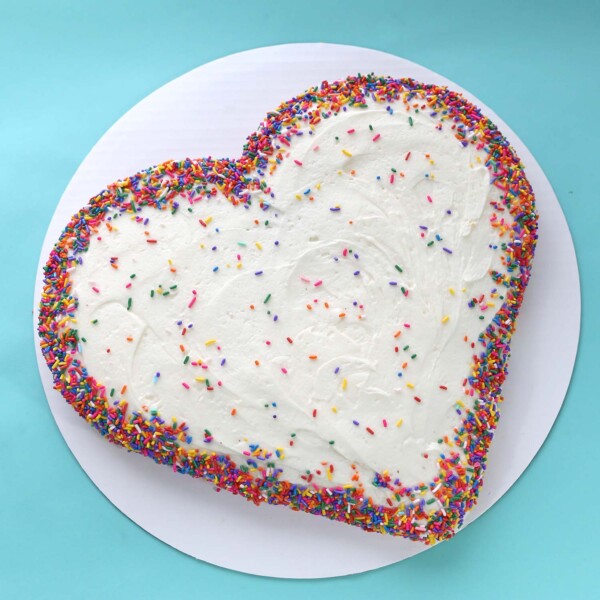
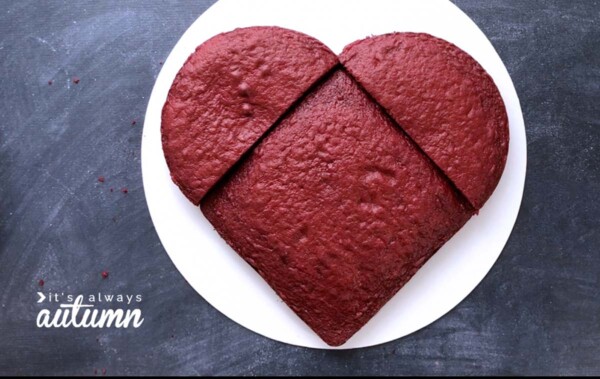
So this little trick makes it super easy to make a heart shaped cake without any special baking pans. All you need is a 9-inch square cake pan and a 9 inch round cake pan. You may use 8-inch pans if that’s what you have, just make sure the diameter of the round pan is the same as the size of the square pan. Line each of them with parchment paper and use cooking spray to make it easy to remove the cakes once baked.
Heart Shaped Cake
Ingredients
- 1 Boxed Cake Mix
- Other Ingredients listed on boxed mix
Want more project ideas? Sign up to get my favorite easy crafts and recipes straight to your inbox!
Equipment
- 9×9 inch Cake Pan square, see note
- 9 inch Cake Pan round
Instructions
- Line both cake pans with parchment paper for easy cake removal. Preheat the oven to 350 degrees, or as directed on the cake mix.
- Add additional ingredients to the cake mix as directed on the box and use an electric mixer to beat well.
- Divide the cake batter between the two pans, using a little more mix in the square pan so that the batter is the same level in each pan.
- Bake as directed for 9 inch round pans, removing from the oven when a toothpick inserted near the center comes out clean. Remove from oven and allow cake to cool completely.
- Turn the square cake out of the pan and remove the parchment paper. Place on large plate, cutting board, or cake board.
- Turn out the circle cake onto another surface and remove the parchment paper. Slice the circle cake in half and place each half next to the square cake to form a heart shape. If needed, even out the tops of the cakes by slicing a little off the top so they are level.
- Frost and decorate as desired.
Tips
Tips + Tricks
Mix up your favorite cake recipe (or use a box mix) in a large bowl. Line each pan with parchment paper and use nonstick spray to grease the edges. Then divide the batter between the two pans, using a little more batter in the square pan so that the batter comes up to the same level in each pan. Bake as usual, taking cakes out of the oven when a toothpick inserted near the center comes out clean. Allow cakes to cool in the pans, then turn out. Slice the circle cake in half and place each next to adjacent sides of the square cake, as shown below, to create a heart shape.
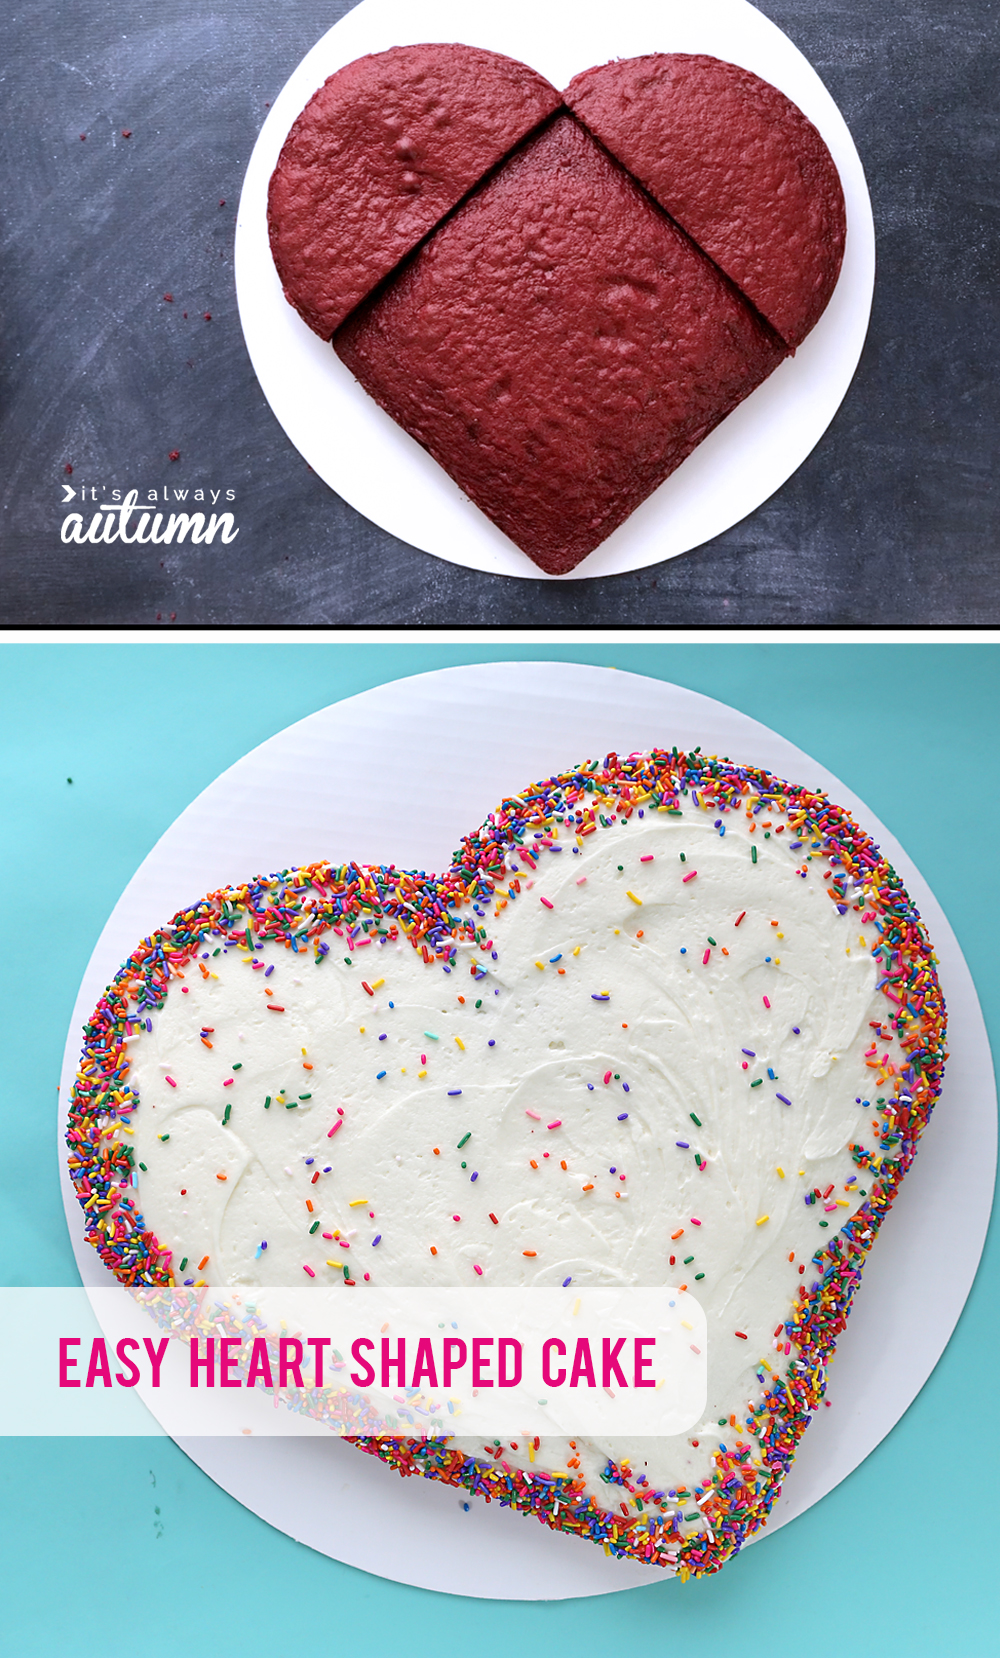
This cake ends up fairly large, so I placed it on a 16 inch cake round. If you don’t have any of those, you could cover a piece of cardboard (or foam core from the dollar store) with foil and use that, or place the cake on a large platter or cutting board.
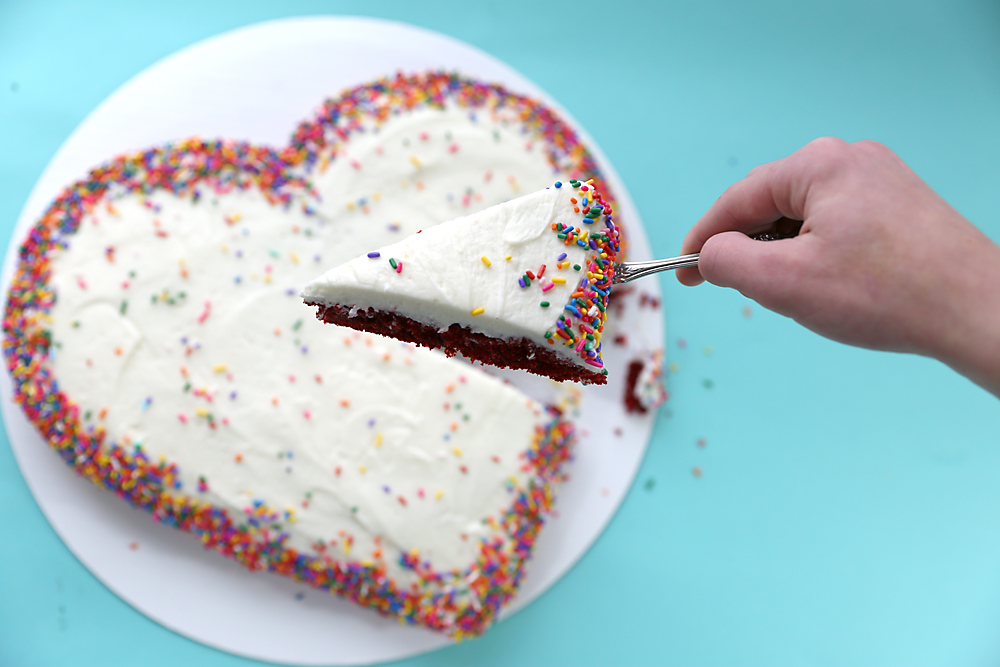
I also used a long knife to slice the rounded tops off the cake so it would be fairly smooth, brushed off any loose crumbs, then frosted (no need for a crumb coat if you frost carefully). You will need more frosting than normal for this cake, so plan on multiplying your frosting recipe by 1.5. We love cream cheese frosting with chocolate cake, so that’s what we used. Add sprinkles if desired and your heart shaped cake is done!
Method #2: How to make heart shaped cupcakes
Heart shaped cupcakes aren’t hard to make in a normal cupcake tin! Start by preheating the oven and mixing up your cake batter. Then place cupcake liners inside a cupcake tin and add the batter to them. Only fill the cups halfway (which may means this makes more cupcakes than you are used to). Any more and the cupcakes will puff over the cups and lose their heart shape.
Then, pull off a couple of 4 inch wide strips of aluminum foil. Take one strip and fold it in half lengthwise (hot dog) 3 times so you have a long, skinny strip of foil. Rip that into 1 inch pieces. Repeat until you have 2 pieces for each cupcake.
Take another strip and tear it in half (hamburger) and crumple each half up into a tight ball. Repeat until you have one piece for each cupcake.
Place the foil between the cupcake liners and cupcake tin as shown below to create a heart shape. Bake as normal and allow to cool completely before removing from tins. Frost and enjoy!
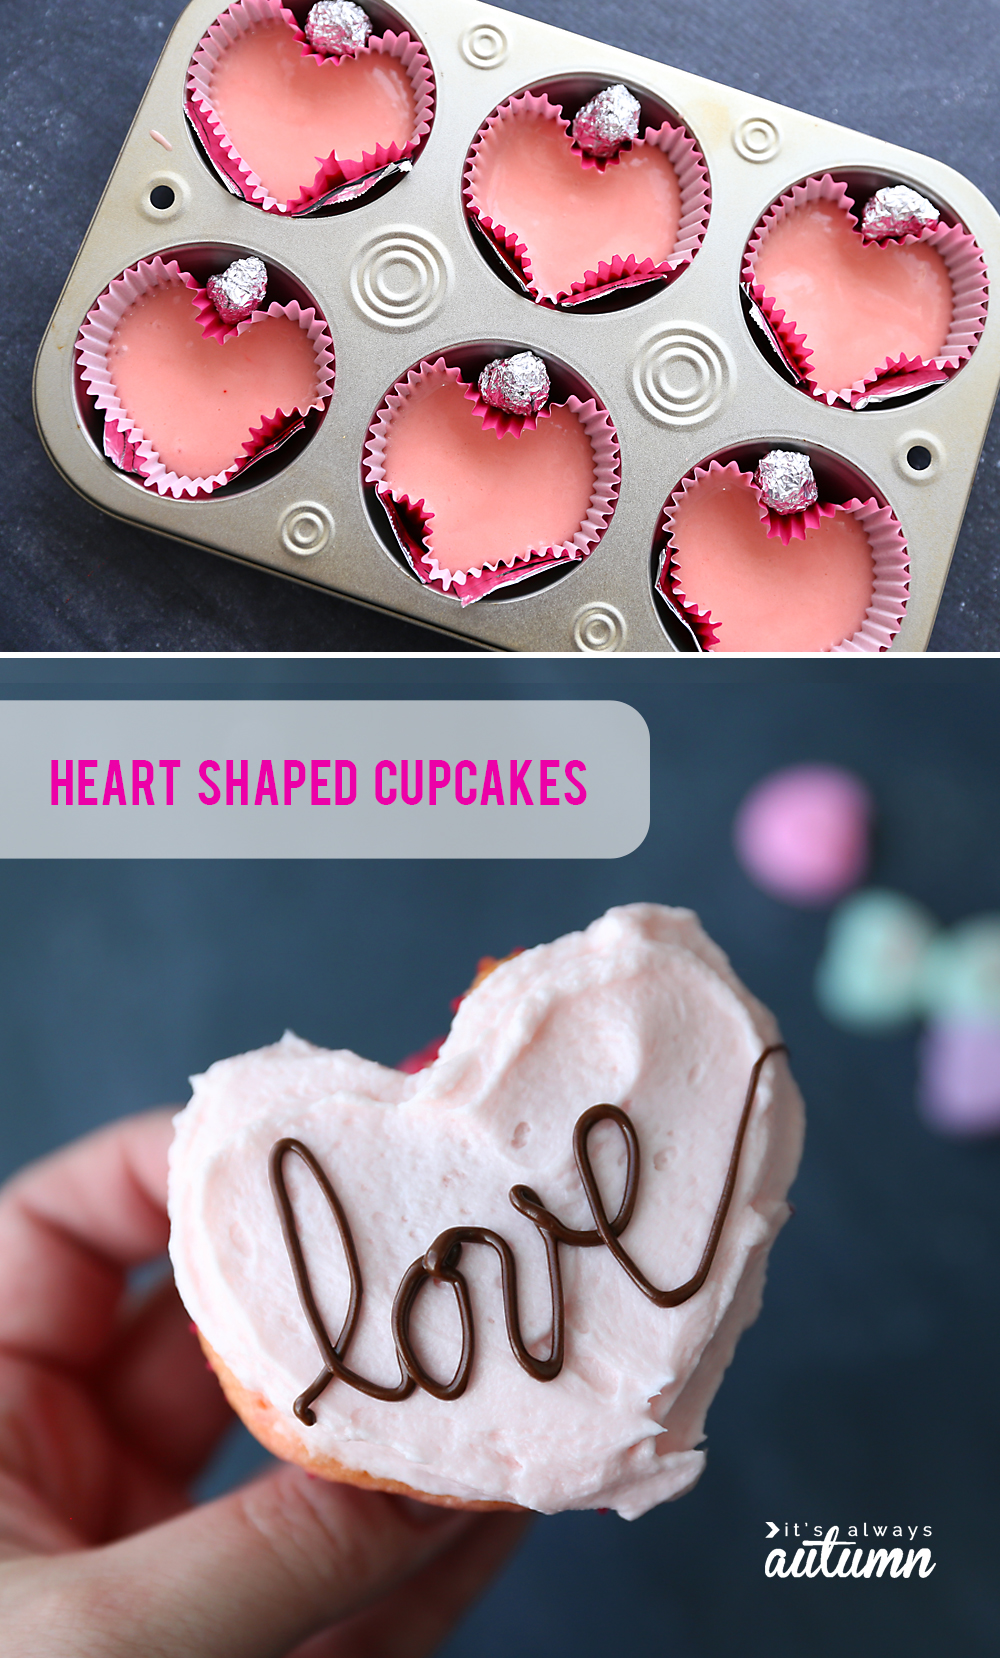
Note: to write the word “love” on my heart shaped cupcakes I melted some chocolate chips in a sandwich baggie, then snipped a tiny hole in one corner of the baggie. I then “piped” out the chocolate.
Method #3: Heart shaped cupcake pull-apart cake
For this “cupcake cake” you will need 19 cupcakes. Make sure not to overfill them before baking; it’s better if the tops are just gently rounded instead of overflowing the liners.
Once the cupcakes are baked and cooled, frost them using a star tip in a swirling motion to make them looks like rosettes (as shown in the video at the beginning of the post). If you’re intimidated by this, don’t be – it’s actually really easy! You can practice first just on wax paper and then scoop the practice frosting back into your piping bag to use on the cupcakes once you get the hang of it.
Once the cupcakes are frosted, place them together to form a heart shape, as seen below:
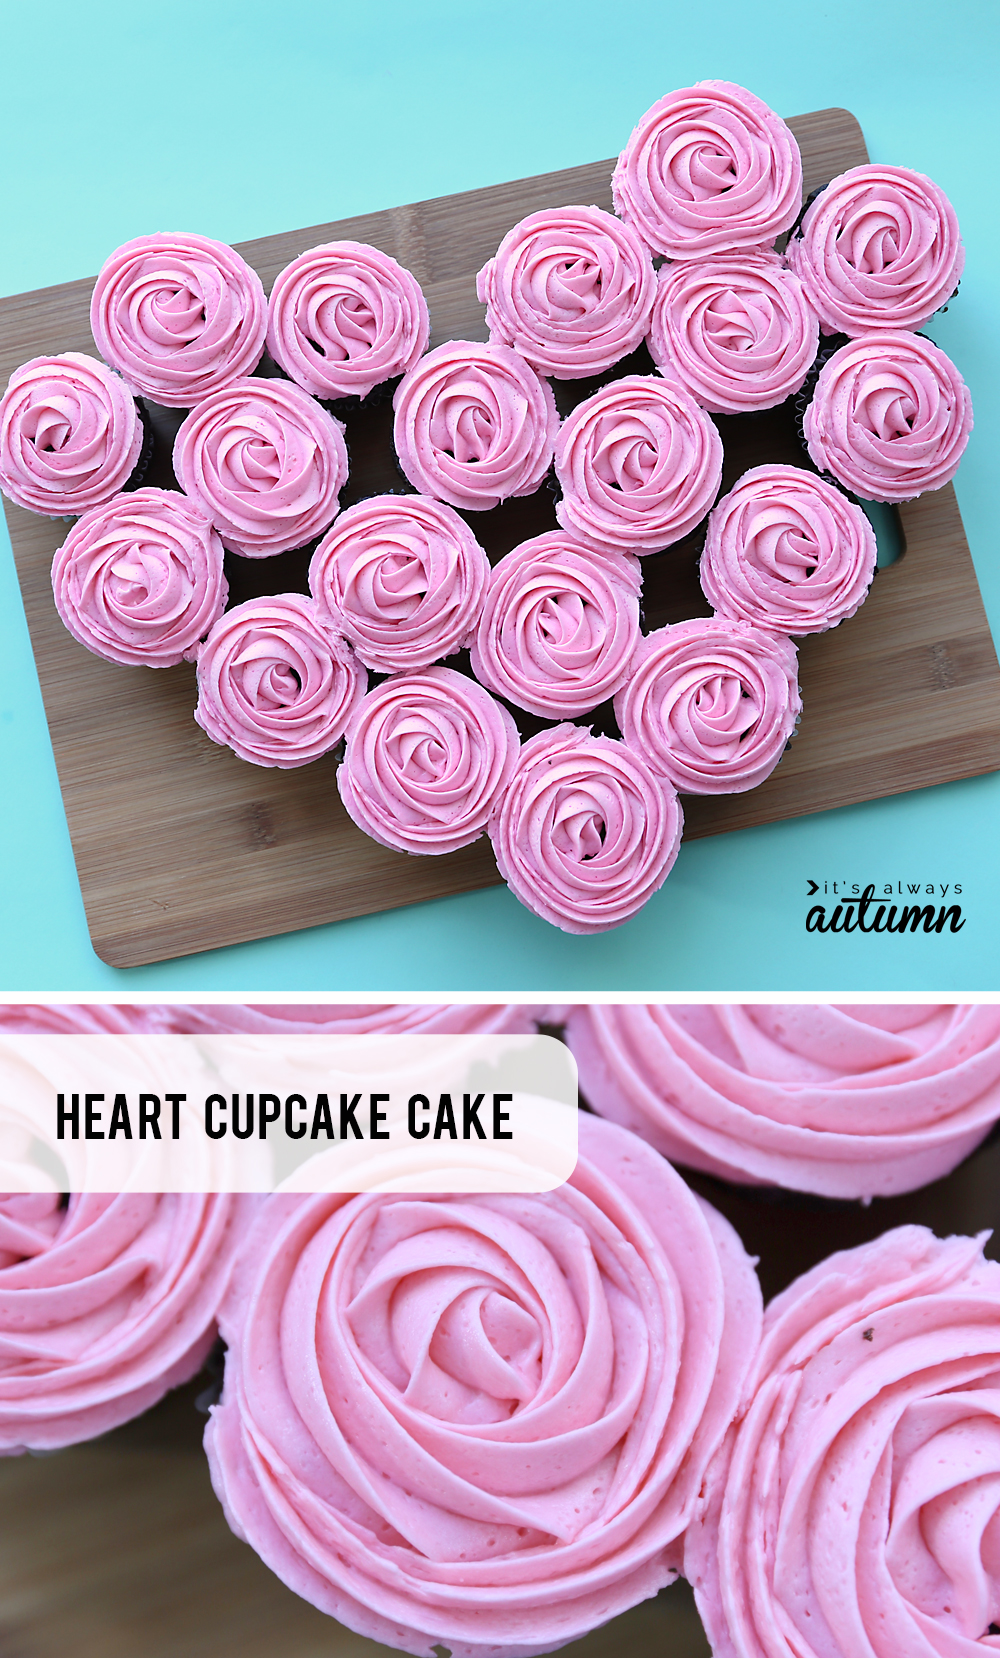
Alternately, you could put the cupcakes in a heart shape before frosting and push them as close together as possible. Then spread frosting across all the cupcakes, covering the gaps between the cupcakes with frosting as well. This will create a true “pull-apart” cake.
Method #4: Cupcakes with heart shaped sprinkle decoration
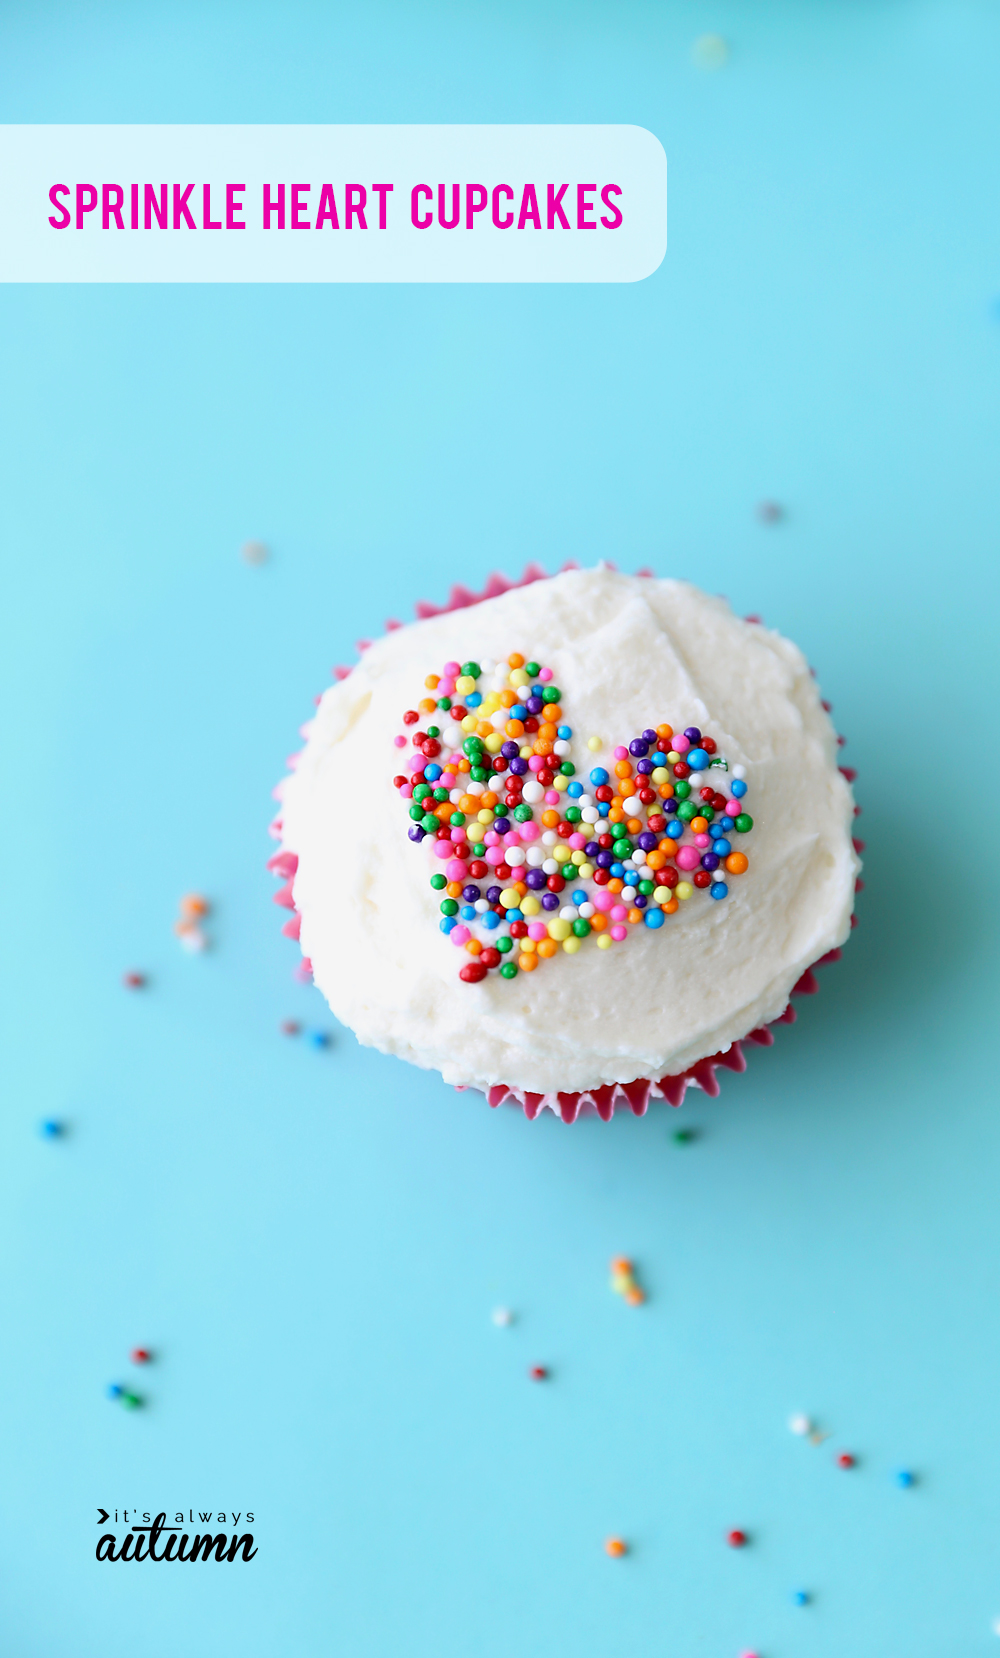
Ok, this method’s a bit of a cheat because the cake isn’t actually shaped like a heart, but the cute sprinkle decoration on top is. The method is very easy, but it will take a few minutes to decorate an entire batch of cupcakes.
Bake and cool your cupcakes as usual. Before frosting, prep a couple of heart templates. Cut a square of aluminum foil that’s a big bigger than each cupcake. Fold it in half and cut a heart shape out of it. Open it back up, and you now have a template for the sprinkles.
Frost one cupcake, smoothing out the top of the frosting. Immediate place a foil template on top of cupcake, laying it gently over the frosting, then pour on sprinkles. It’s best to do this on a cookie sheet as the extra sprinkles will spill off over the edges of the foil. Pull up the template and wipe it off as needed to use on the next cupcake.
Note: if you want, you can use a heart shaped cookie cutter instead of making templates from foil! Just gently place the cookie cutter on top of the frosting and pour sprinkles inside it.
And lastly, a word about cake and frosting. I almost always use boxed cake mixes when I bake cakes. I know, it’s almost embarrassing to admit, but box mixes actually taste quite good if you don’t overbake them! Check out this post for ideas on how to make box mixes taste even better.
As for frosting, I always make homemade because it’s so easy and so much better than storebought! I use this easy recipe for chocolate frosting, and I’ve been using this wonderful buttercream recipe for vanilla frosting.
Want more Valentine’s fun? Visit these posts:
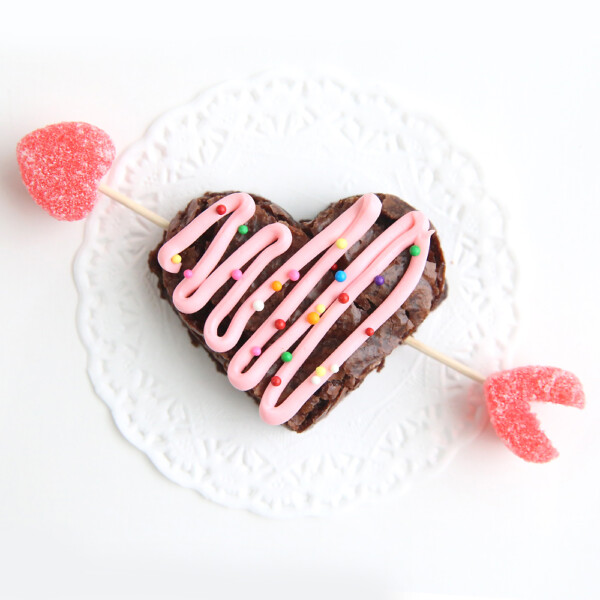
Shot through the heart (shaped) brownies
25 easy Valentine’s treats to make with your kids

Vickie says
Thank you good direction
Rebekah Anderson says
Instead of the foil, I put a marble in each cupcake pan to form the heart shape. It’s easier and faster than using the foil.