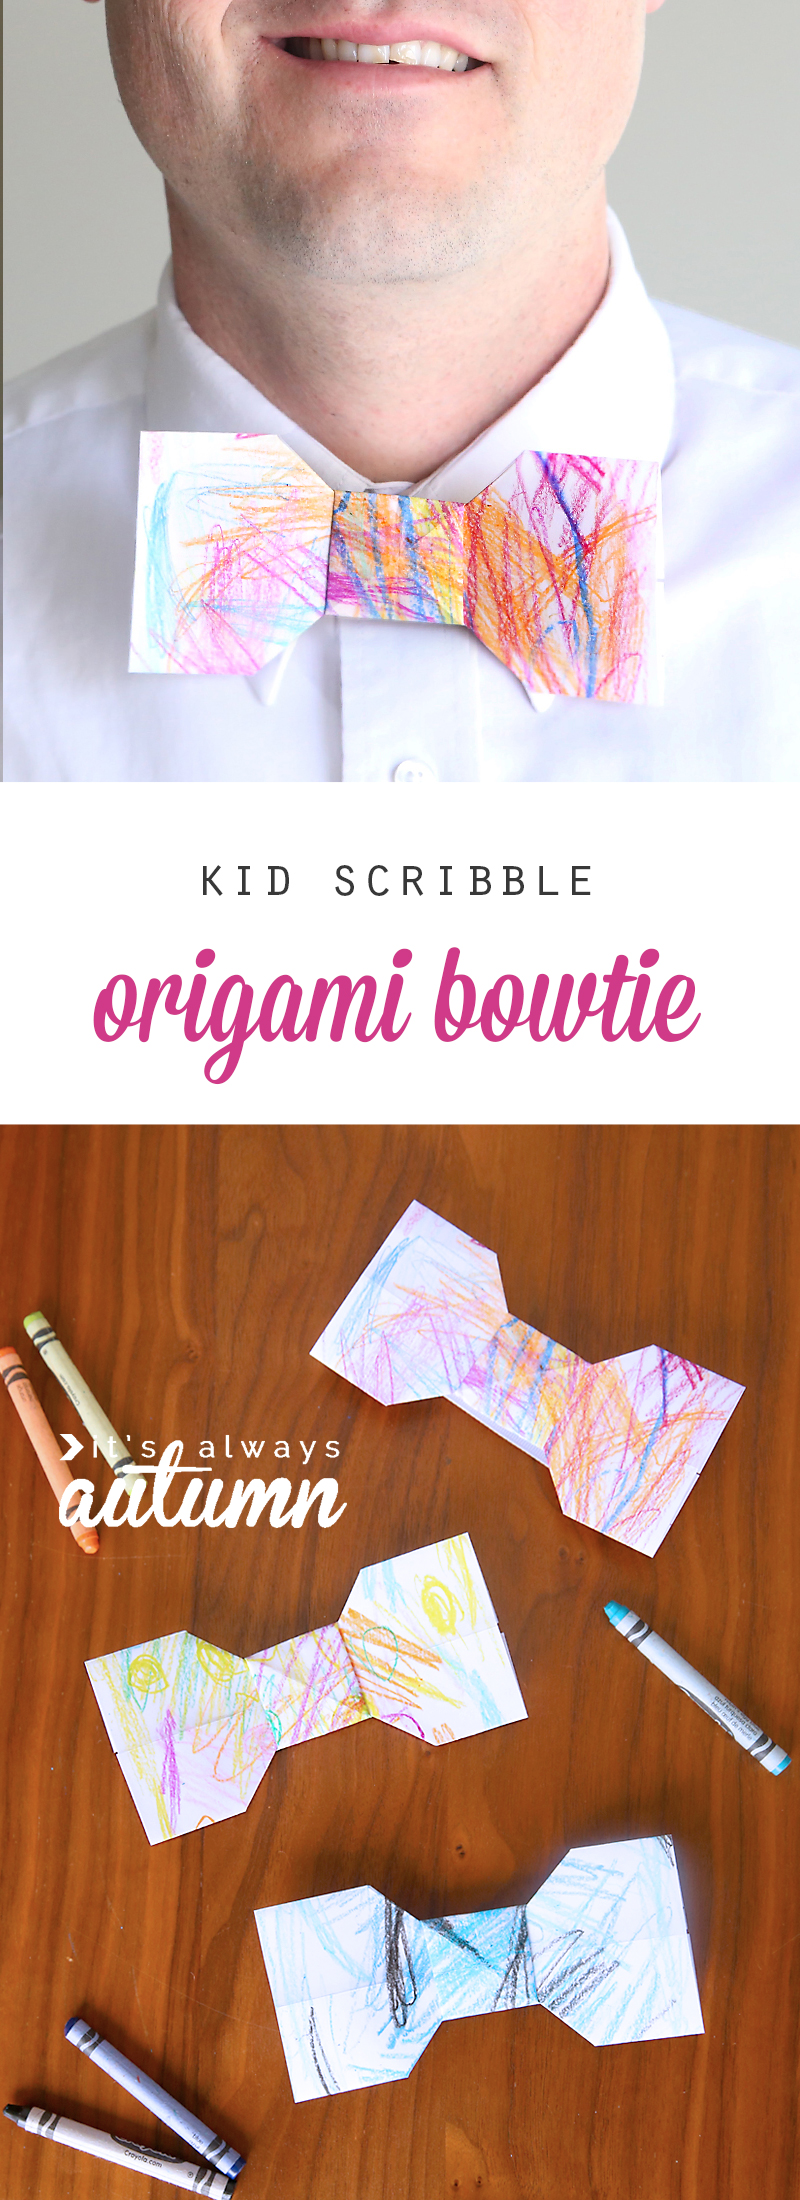
Turn your child’s artwork into a cute origami bowtie for Dad with this easy video tutorial.
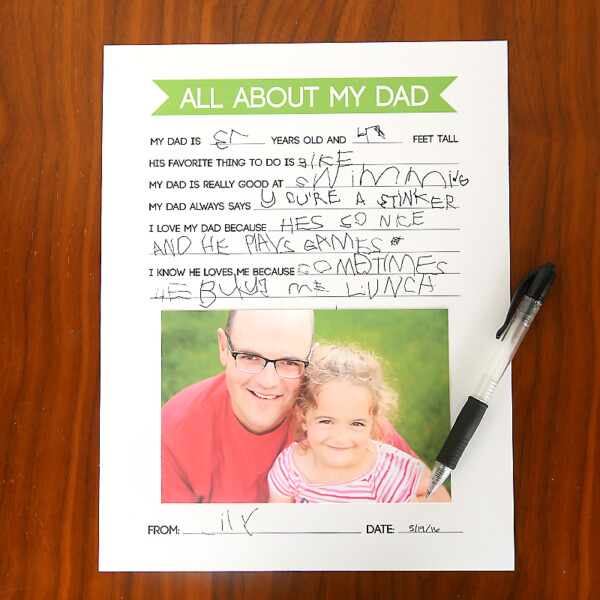
So when it comes to Father’s Day I don’t do a lot of shopping for my husband. He and I usually treat ourselves to one joint gift for Mother’s/Father’s Day, then we like to help the kids make things for each other’s respective day. One year he made me a video with each kid talking about why they love me, which was completely awesome. This year I’ve already helped my daughter fill out an All About My Dad questionnaire, which turned out really cute. This week we also figured out how to make origami bowties.
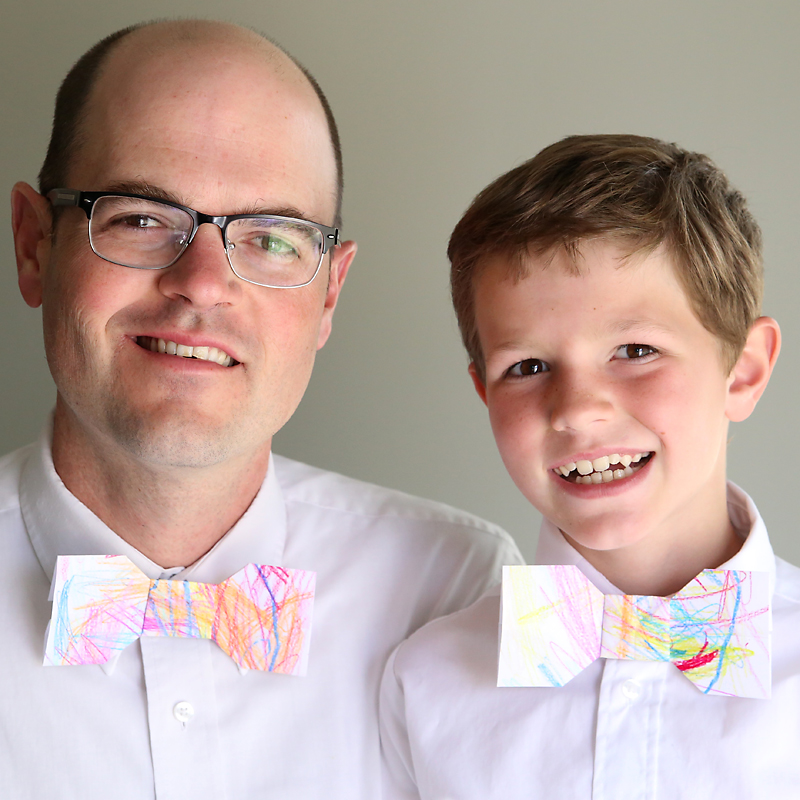
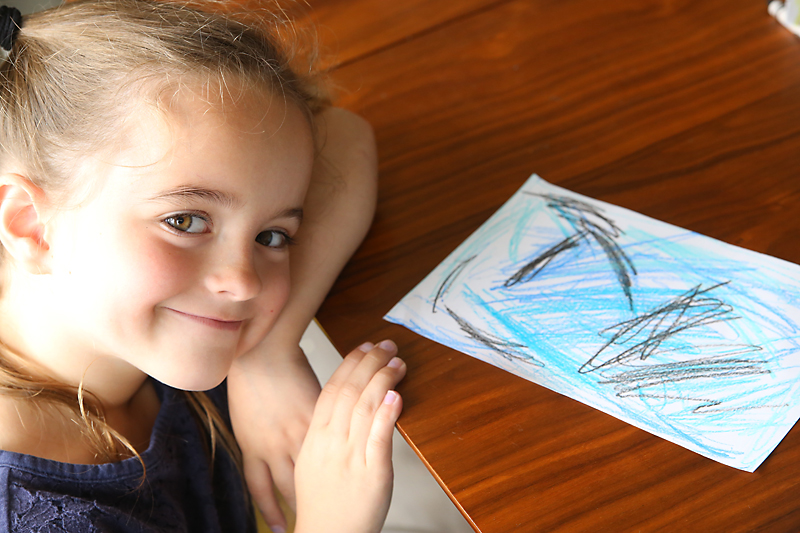
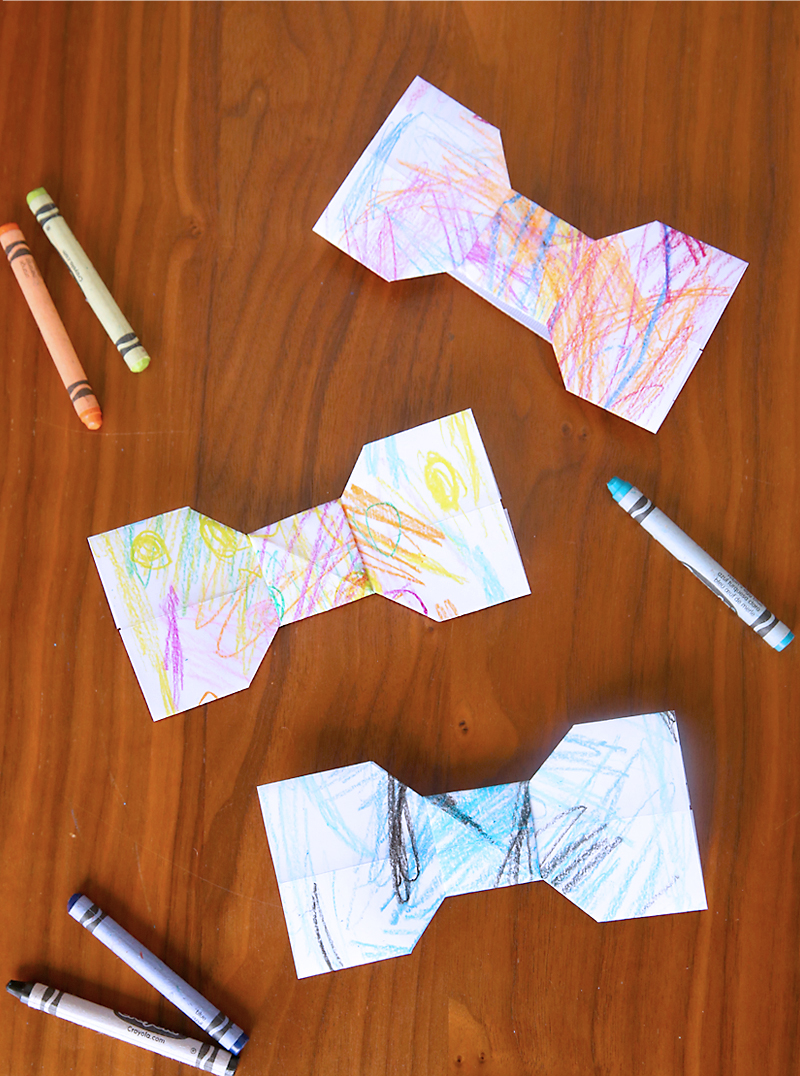
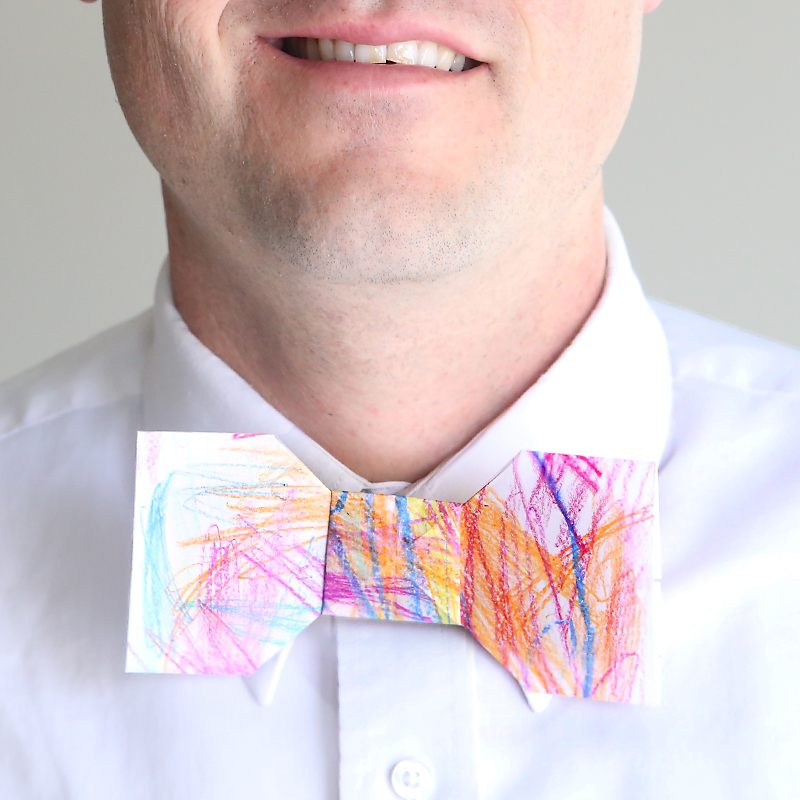
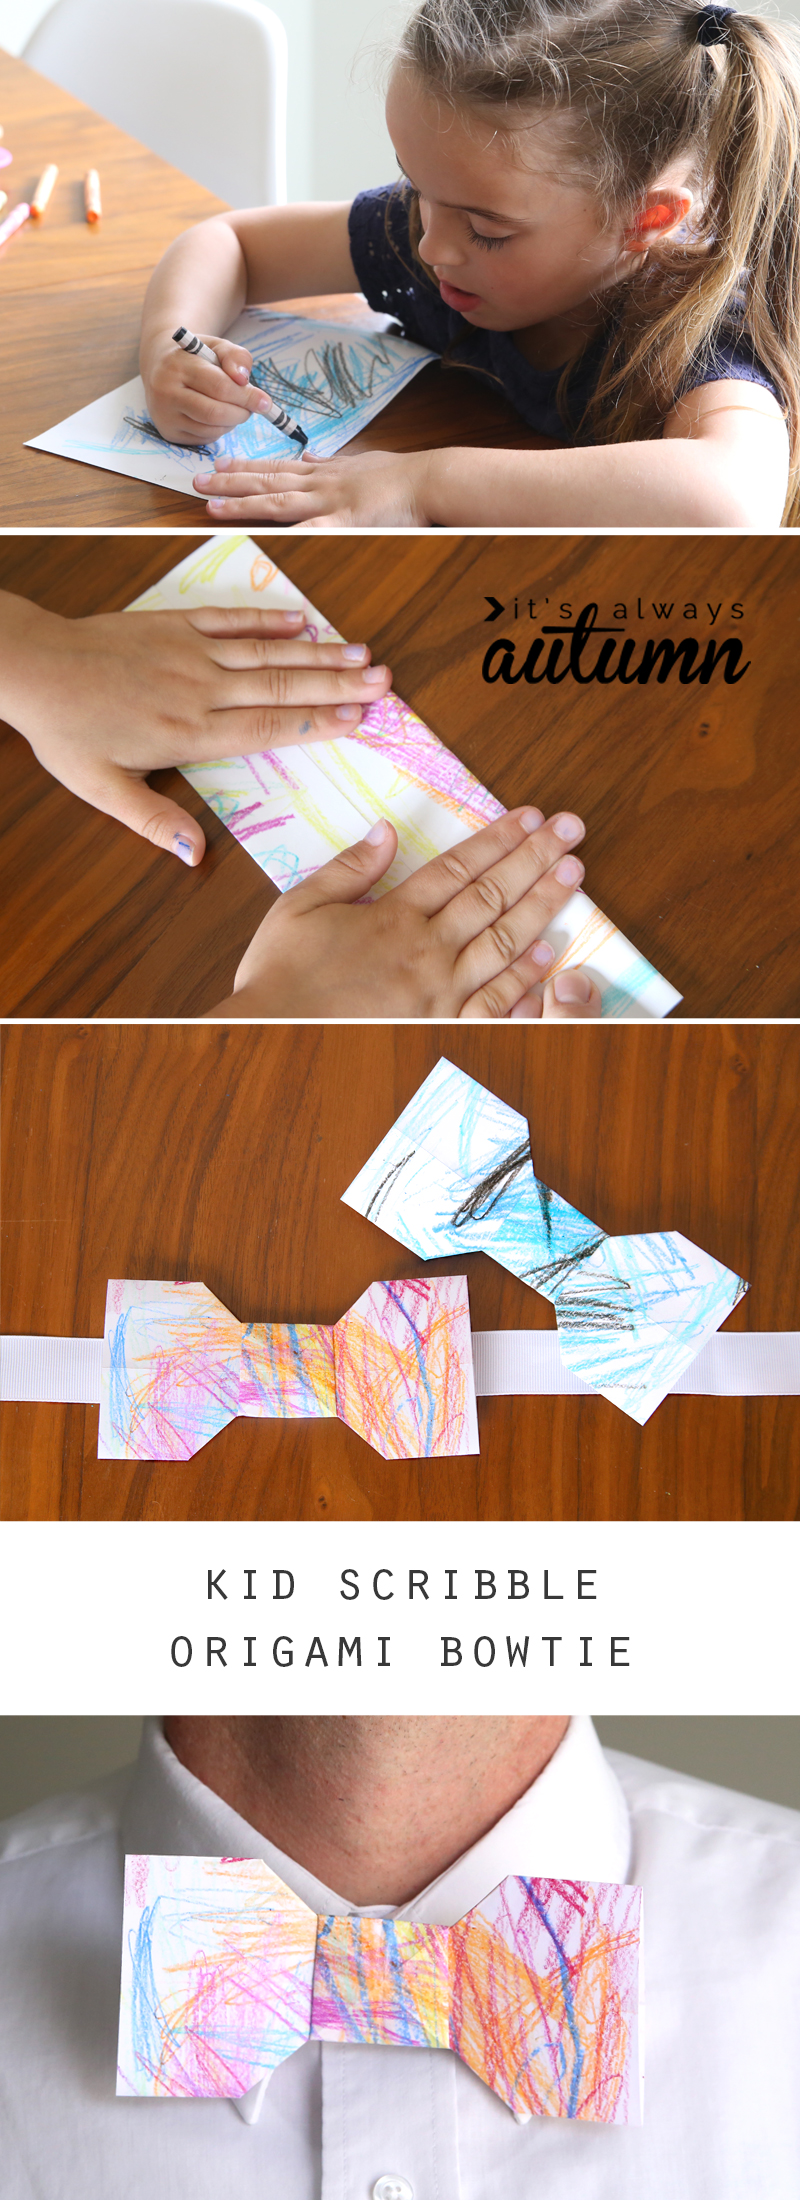
They turned out so cute! My kids colored the paper, then I folded the bowties and glued them onto a piece of ribbon so my husband can wear them (we just safety pinned the ribbon together at the back of his neck, under his shirt collar). My son even made a Dad-and-me matching set:
What’s really fun about these bowties is that this is a Father’s Day gift kids of any age can make: even very little ones can scribble on a piece of paper that you fold, while older kids can color the paper AND learn how to fold the bowtie.
Your child can even write on the back of the paper, then fold it up to give as a card if you don’t want to make it wearable.
The origami part isn’t too hard; once you know what you’re doing it takes about a minute. Here’s a video to walk you through the entire process.
A few notes:
- Use printer paper for easiest folding. Thicker paper will work but it’s more difficult to deal with.
- Cut a standard 8.5×11 piece of paper in half to begin.
- I hot glued the finished bowtie to a 20 inch piece of ribbon. My husband flipped up his collar and I safety pinned the ends of the ribbon together in the back, then he flipped his collar back down, covering the ribbon completely. If your husband has a large neck size you might want a slightly longer ribbon.
Happy Father’s Day!


Eva says
Such a cute, creative idea. My daughter would love this. Thanks for sharing with us. xx