
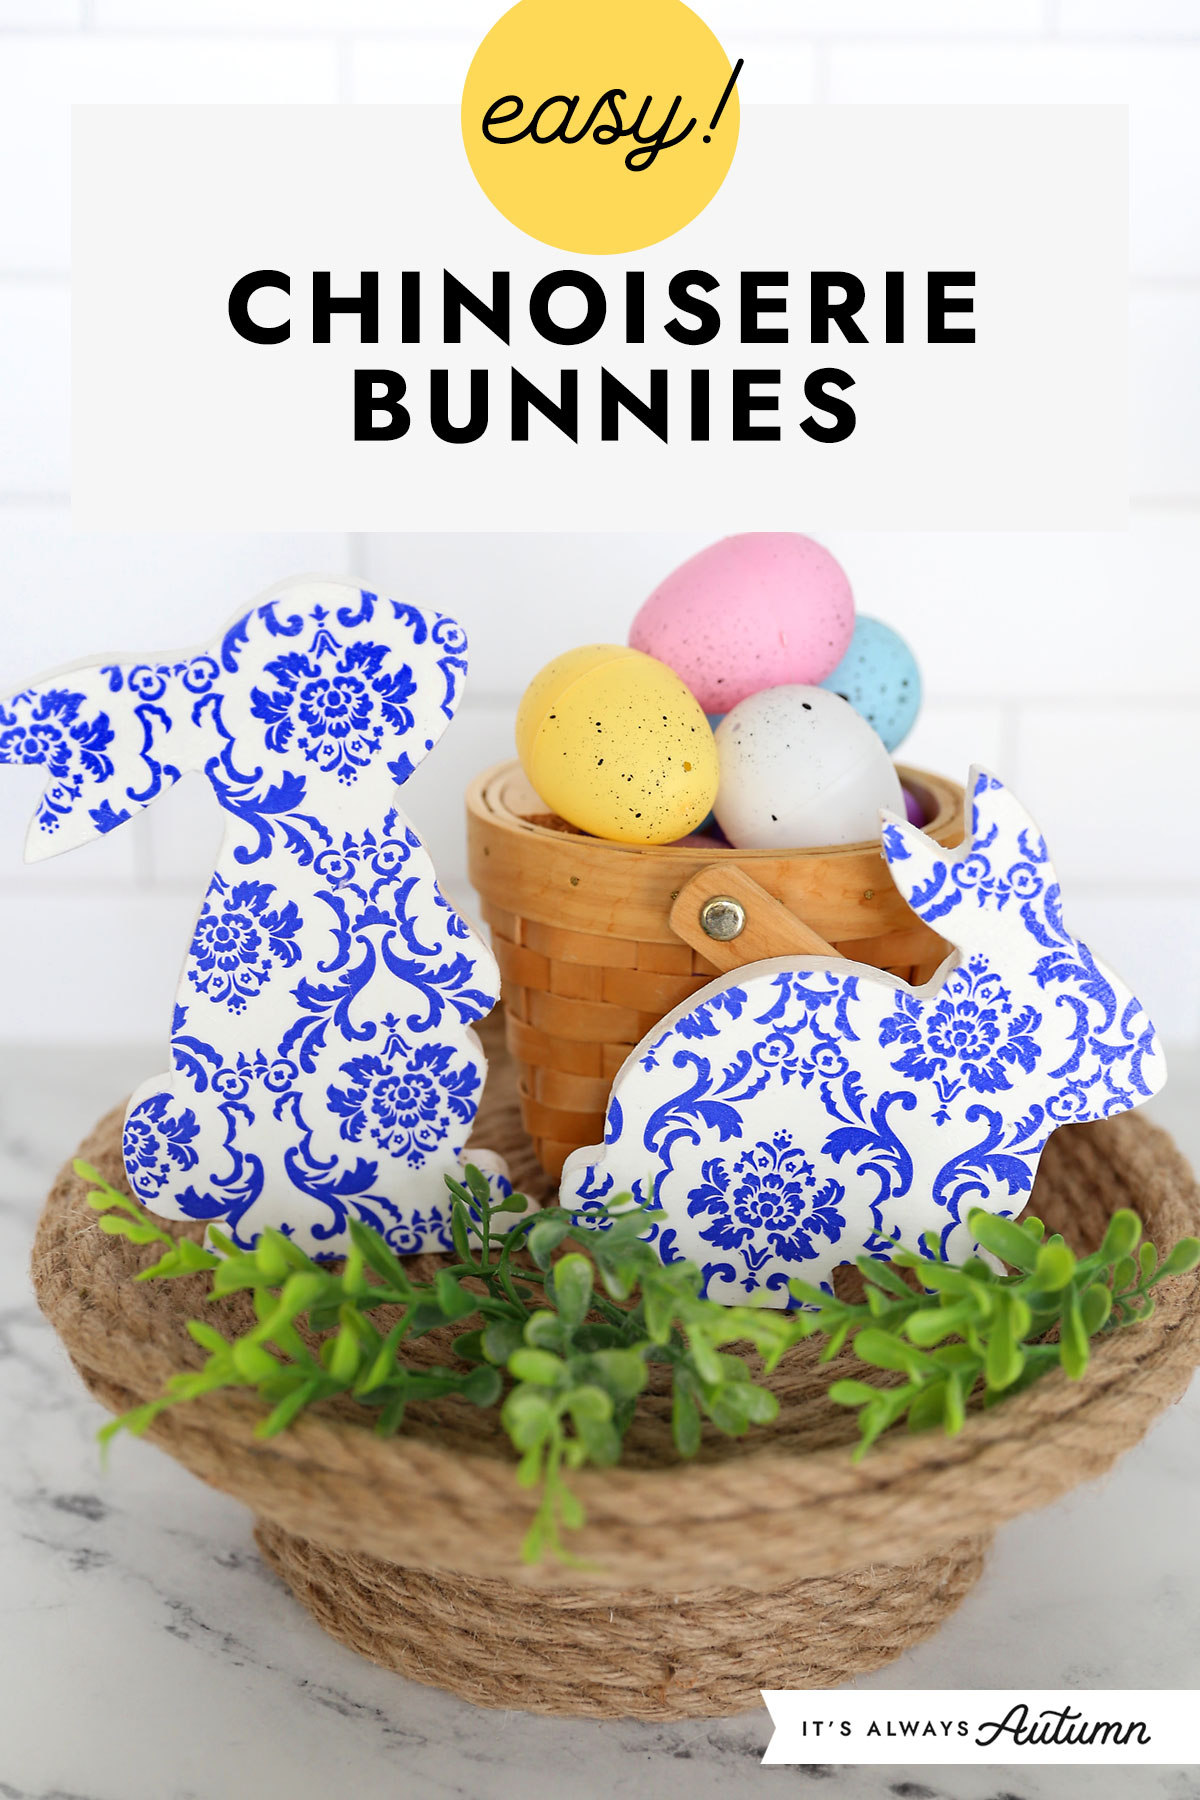
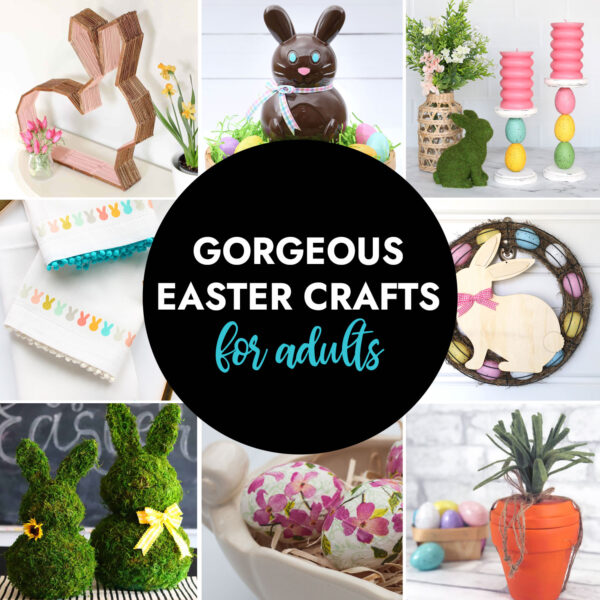
In today’s post: Transform plain wooden bunny cutouts into pretty porcelain look pieces using napkin decoupage. This is an easy Easter craft for adults you can complete in under an hour.
Easy easter Craft
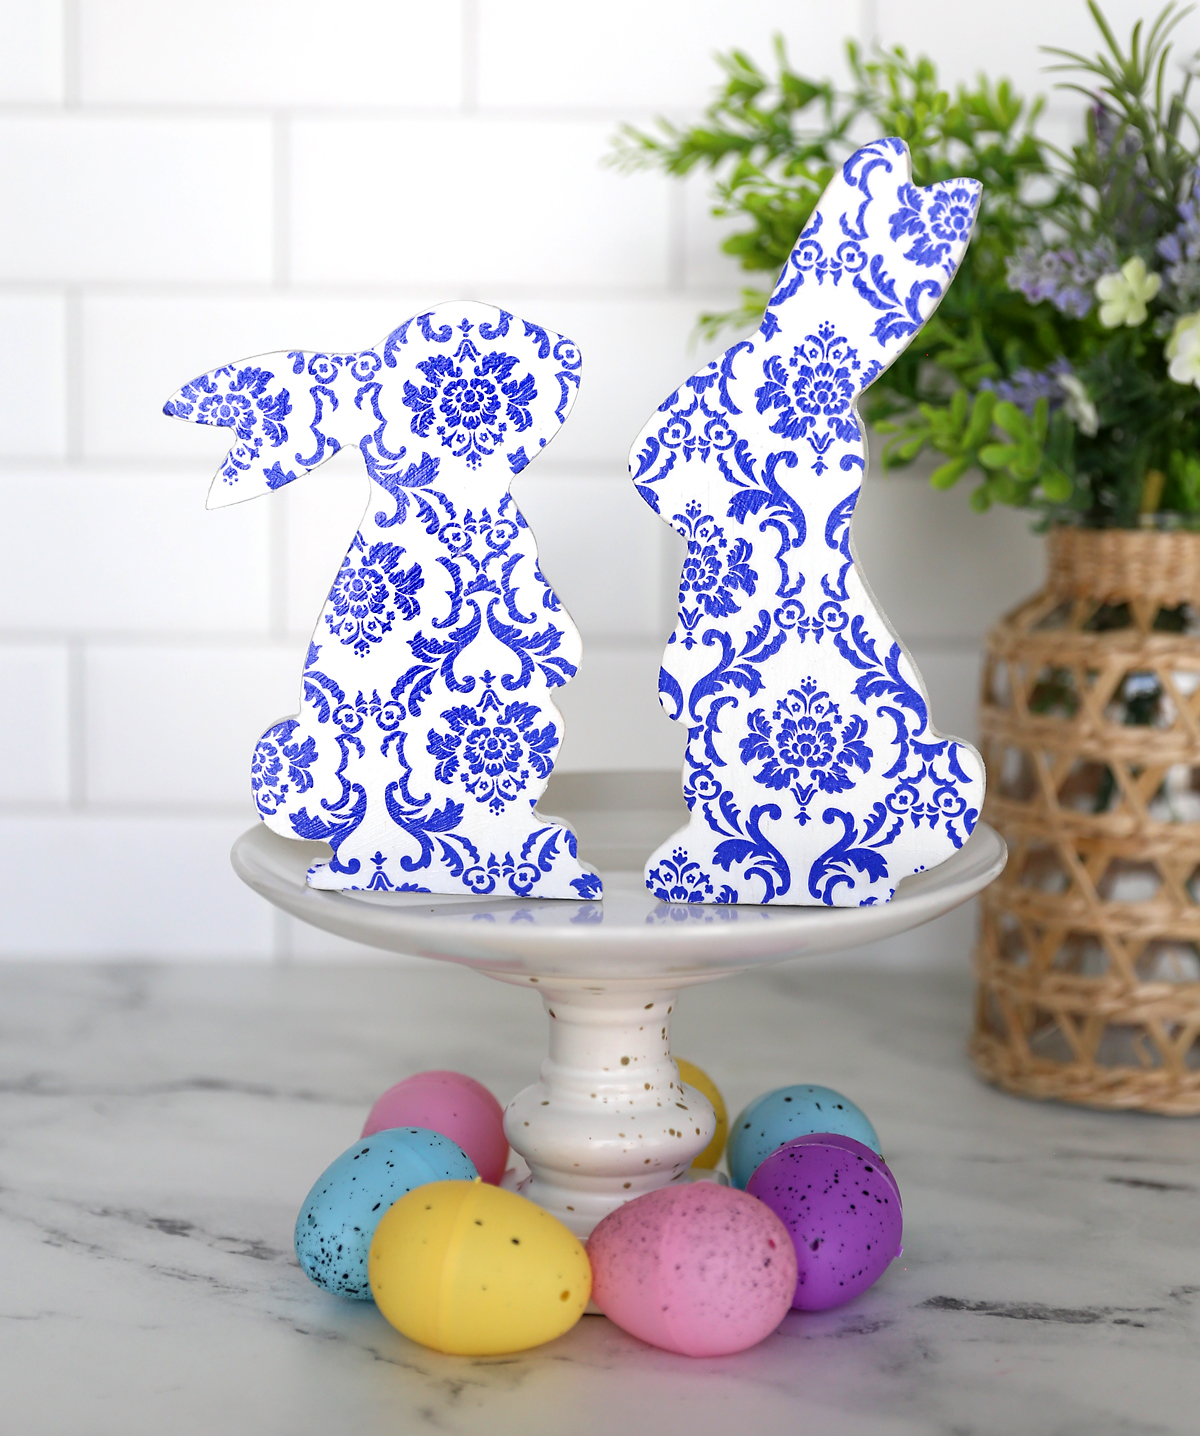
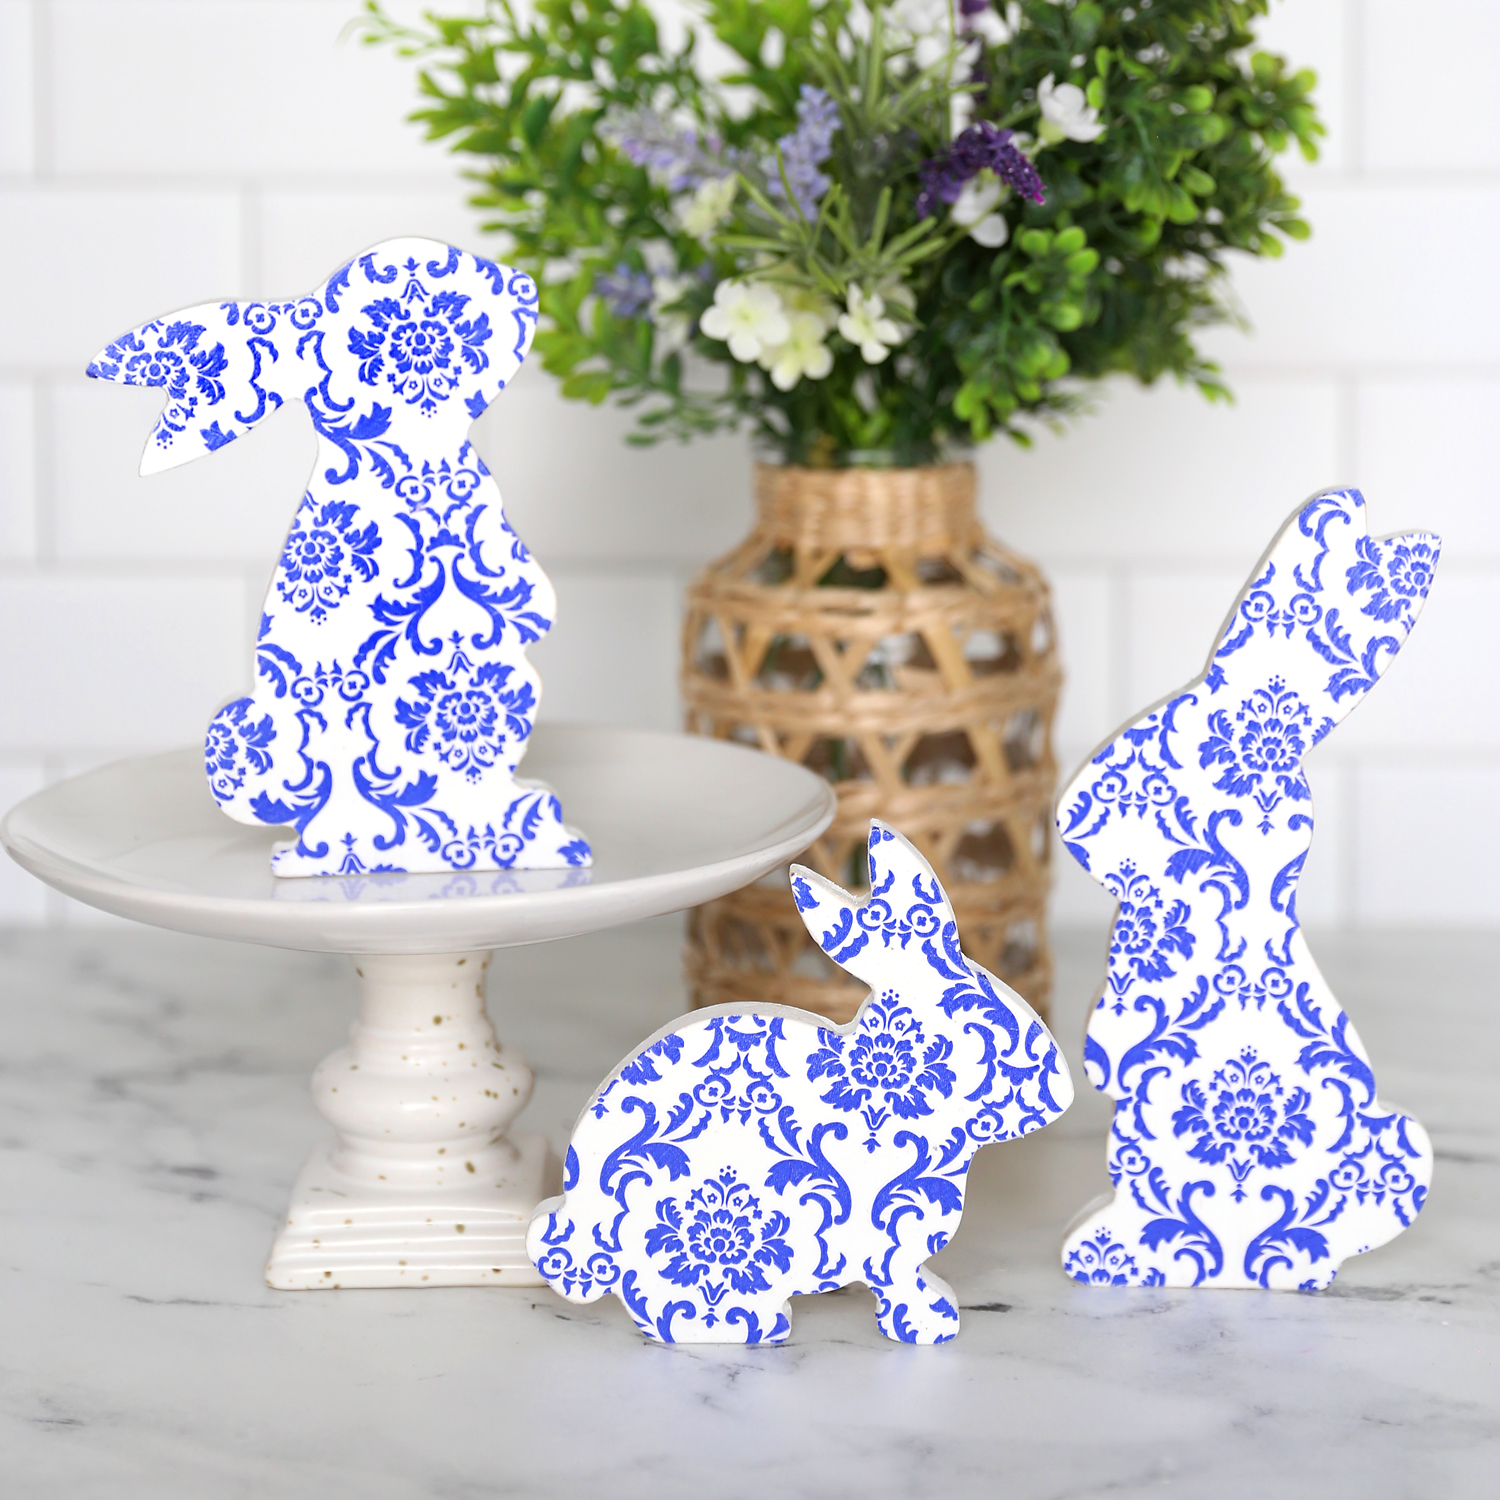
This pretty blue and white pattern (often called chinoiserie) is popular in home decor. You often see it on plates and porcelain, and it has a lovely, dainty feel. Today’s project will show you how to transfer that pattern onto wood bunny cutouts so you can make some cute Easter decor. It is so so easy, and the secret is using napkin decoupage.
What is Napkin Decoupage
Napkin decoupage is a fun, easy way to decorate an object like a wood cutout – it’s SO much easier than trying to paint a decorative pattern or floral. Napkins come in so many pretty designs, so the options are really endless with this easy craft technique. The basic process is simple: you take just the top layer of the napkin and use Mod Podge to adhere it to the base project. Once it’s completed you can’t tell the design isn’t painted directly onto the wood.
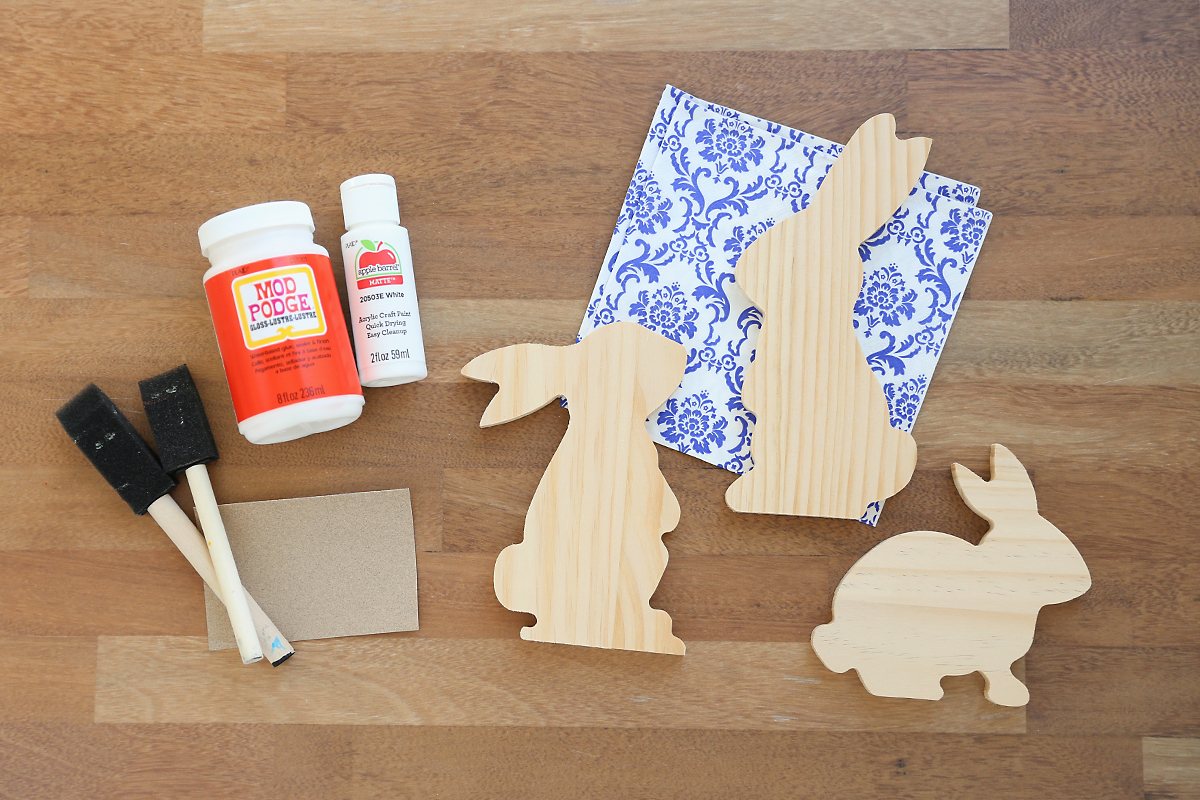
Supplies
Here’s what you need to make these chinoiserie bunnies:
- Wood Bunny Cutouts: I used these bunny cutouts from Amazon
- Napkins in a pretty design: I used these chinoiserie napkins from Amazon
- White paint
- Mod Podge: I used gloss but matte will work as well
- Sandpaper
- Paintbrushes
- Plastic Wrap
How to Make Chinoiserie Bunnies
Prep the Wood Cutouts
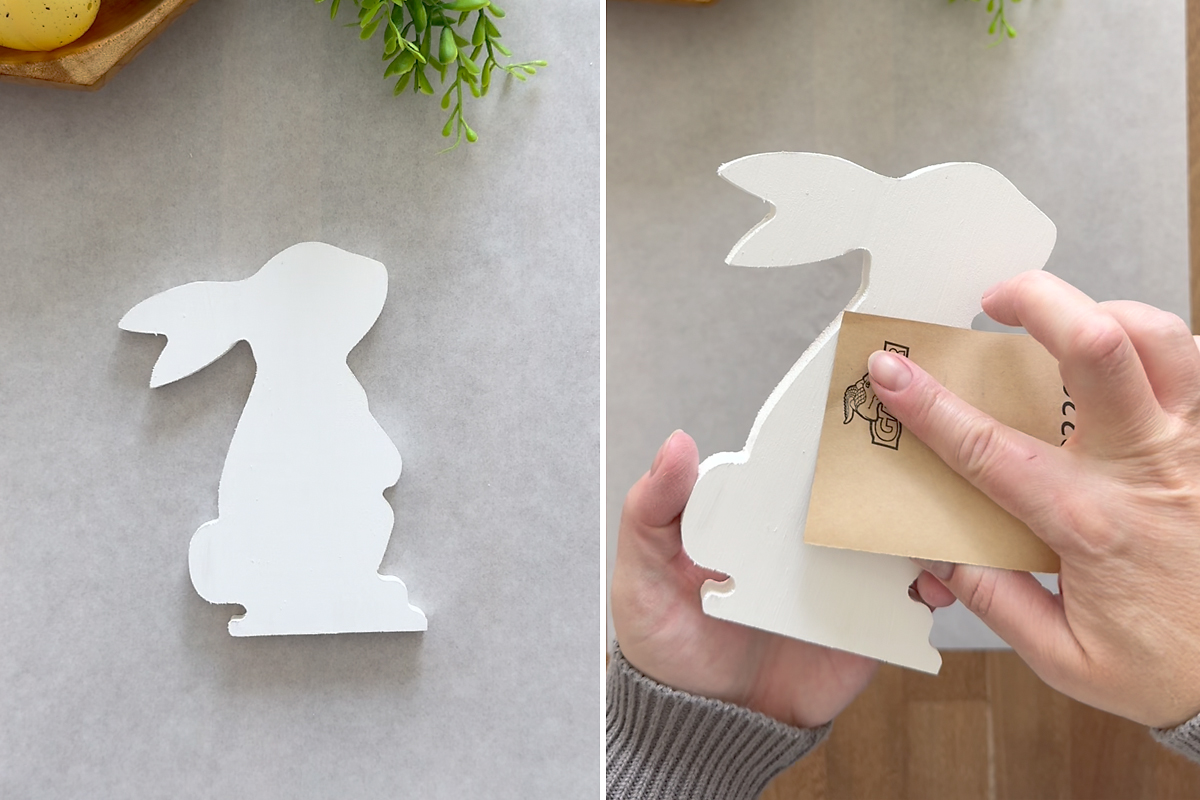
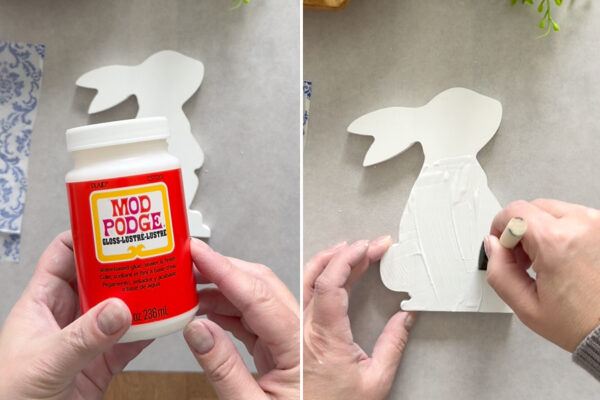
To begin, make sure the wood cutouts are fairly smooth, sanding off any rough patches if needed. Then you’ll paint each bunny cutout with a coat of white craft paint. Be sure to paint the front AND sides. Allow them to dry completely. You can use a hair dryer to dry them quickly. Then give them another quick sand just to make sure they are smooth. Don’t do enough sanding that you remove the paint.

Prep the Napkin
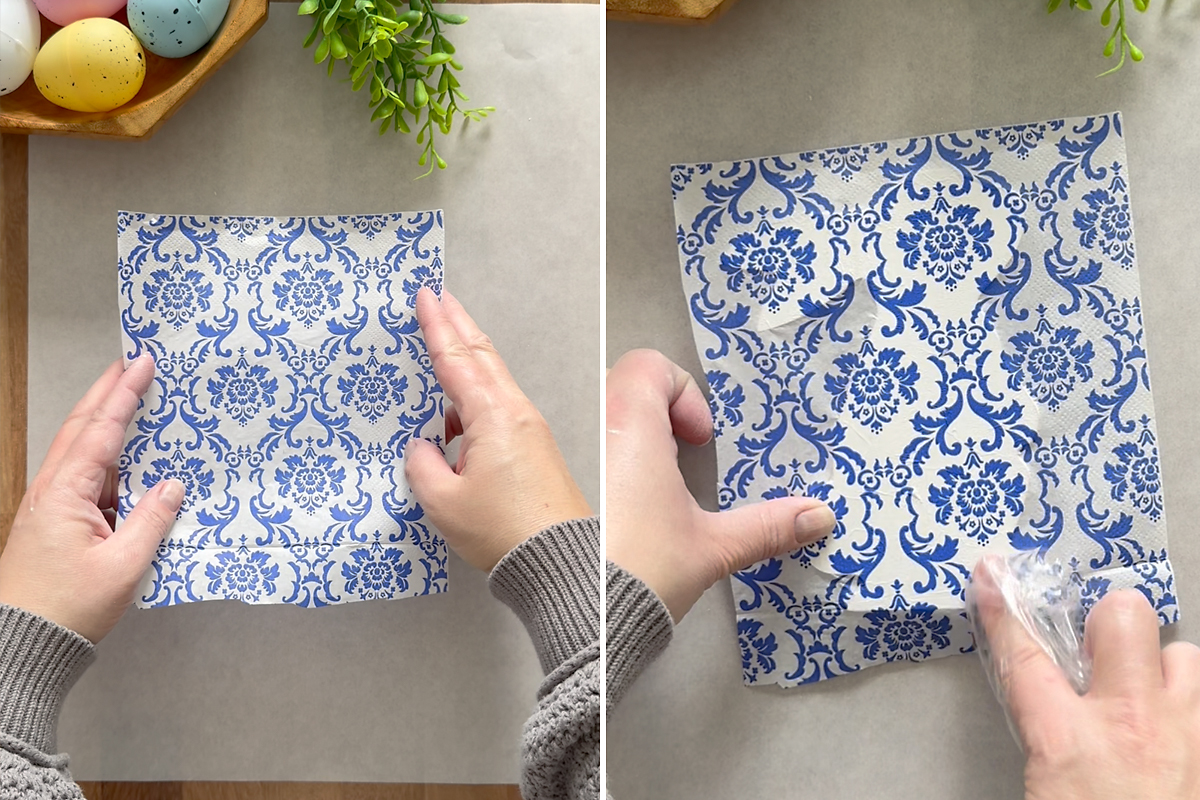
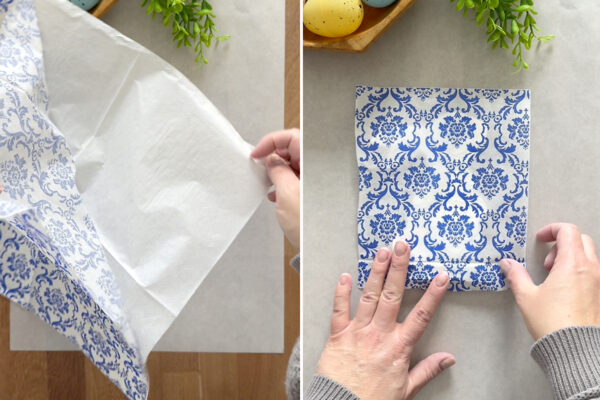
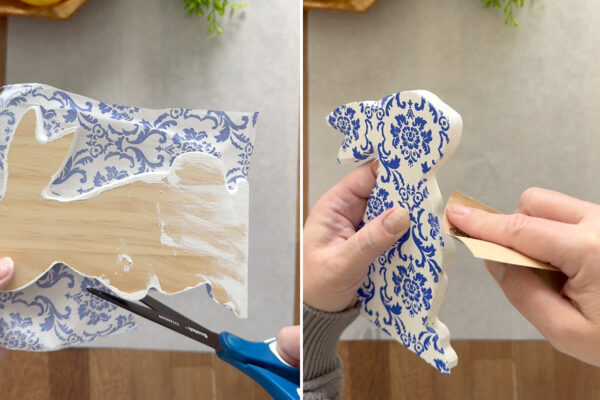
Napkins usually have two layers, and for decoupage you only want the top layer that has the pattern printed on it. So open up a napkin and separate the two layers. If it’s hard to get them apart, put a little piece of tape on the tape layer and another piece of tape on the bottom layer near a corner and pull the tape pieces apart. Then cut a piece from the top layer that’s a little bigger than your bunny cutout.

Adhere the Napkin
Paint a thin, even layer of Mod Podge on just the front surface of the bunny. Carefully lay the napkin over the wood cutout. Grab a piece of plastic wrap and wad it up, rub it over the bunny to smooth out any wrinkles (the plastic wraps ensures the napkin doesn’t stick to your fingers and pull away from the wood cutout). Allow the bunny to dry thoroughly – again you can use a hair dryer to speed the process.

Finish + Seal
Once the bunny is dry, cut away the excess napkin as close as you can get. Then use sandpaper to sand away any remaining napkin from the edges.

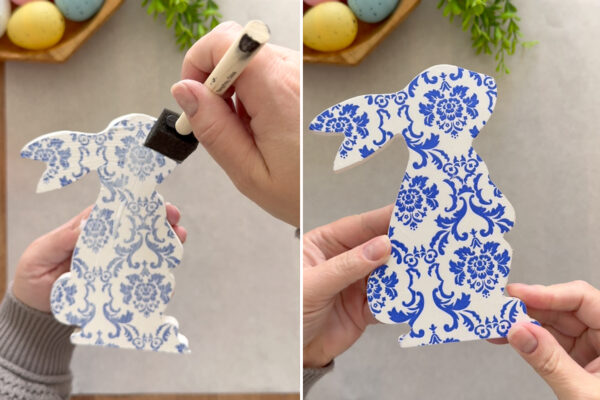
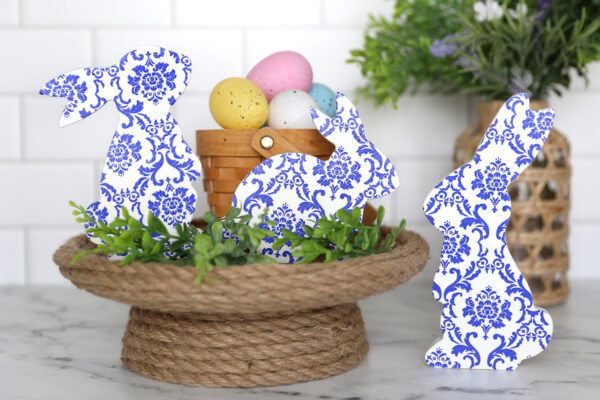
Finally, you’ll paint over the top of the bunny with one more coat of Mod Podge. It will go on cloudy but dry clear. Once the final coat is dry, your new chinoiserie Easter bunnies are ready to display.


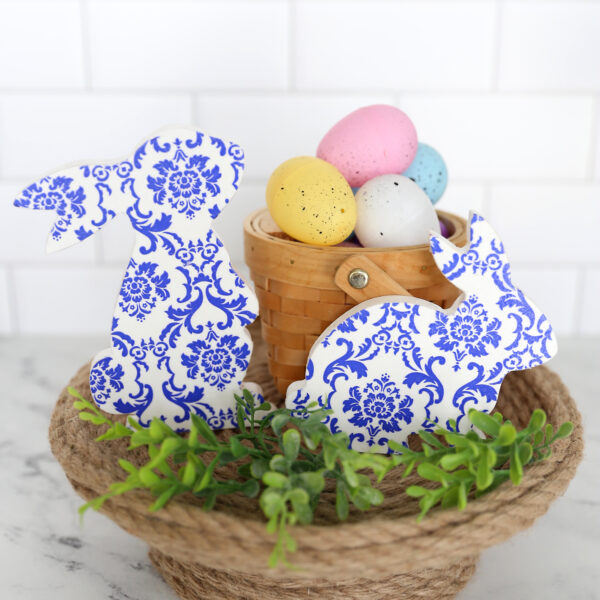
Napkin Decoupage Chinoiserie Bunnies
Supplies
- Wood Bunny Cutouts
- Paper Napkins
- White Craft Paint
- Mod Podge
- Sand Paper
- Foam Paint Brushes
- Plastic Wrap
Want more project ideas? Sign up to get my favorite easy crafts and recipes straight to your inbox!
Instructions
- Paint the front and sides of the wood bunny cutout and let dry thoroughly. You can use a hairdryer to speed this process. Sand the bunny a bit to make sure it is smooth, but not enough to remove the paint. Wipe away any dust.

- Peel the layers of napkin apart. If this is hard to do, put a little piece of tape on either side of a corner and pull the tape apart. Discard the bottom layer of the napkin. Cut a piece of the top layer that is larger than the wood cutout.
- Paint a thin even layer of Mod Podge over the the top surface of the bunny (not the sides).
- Carefully place the napkin over the bunny. Grab some plastic wrap and wad it into a ball, then rub it over the napkin to smooth out any wrinkles or bubbles. Allow it to dry fully.
- Cut away the excess napkin, then sand along the edges to remove any more excess napkin.
- Paint the bunny with one more coat of Mod Podge. It will go on cloudy but dry clear.
- When the bunnies are dry they are ready to display.


Amy Hunter says
These are darling!!