
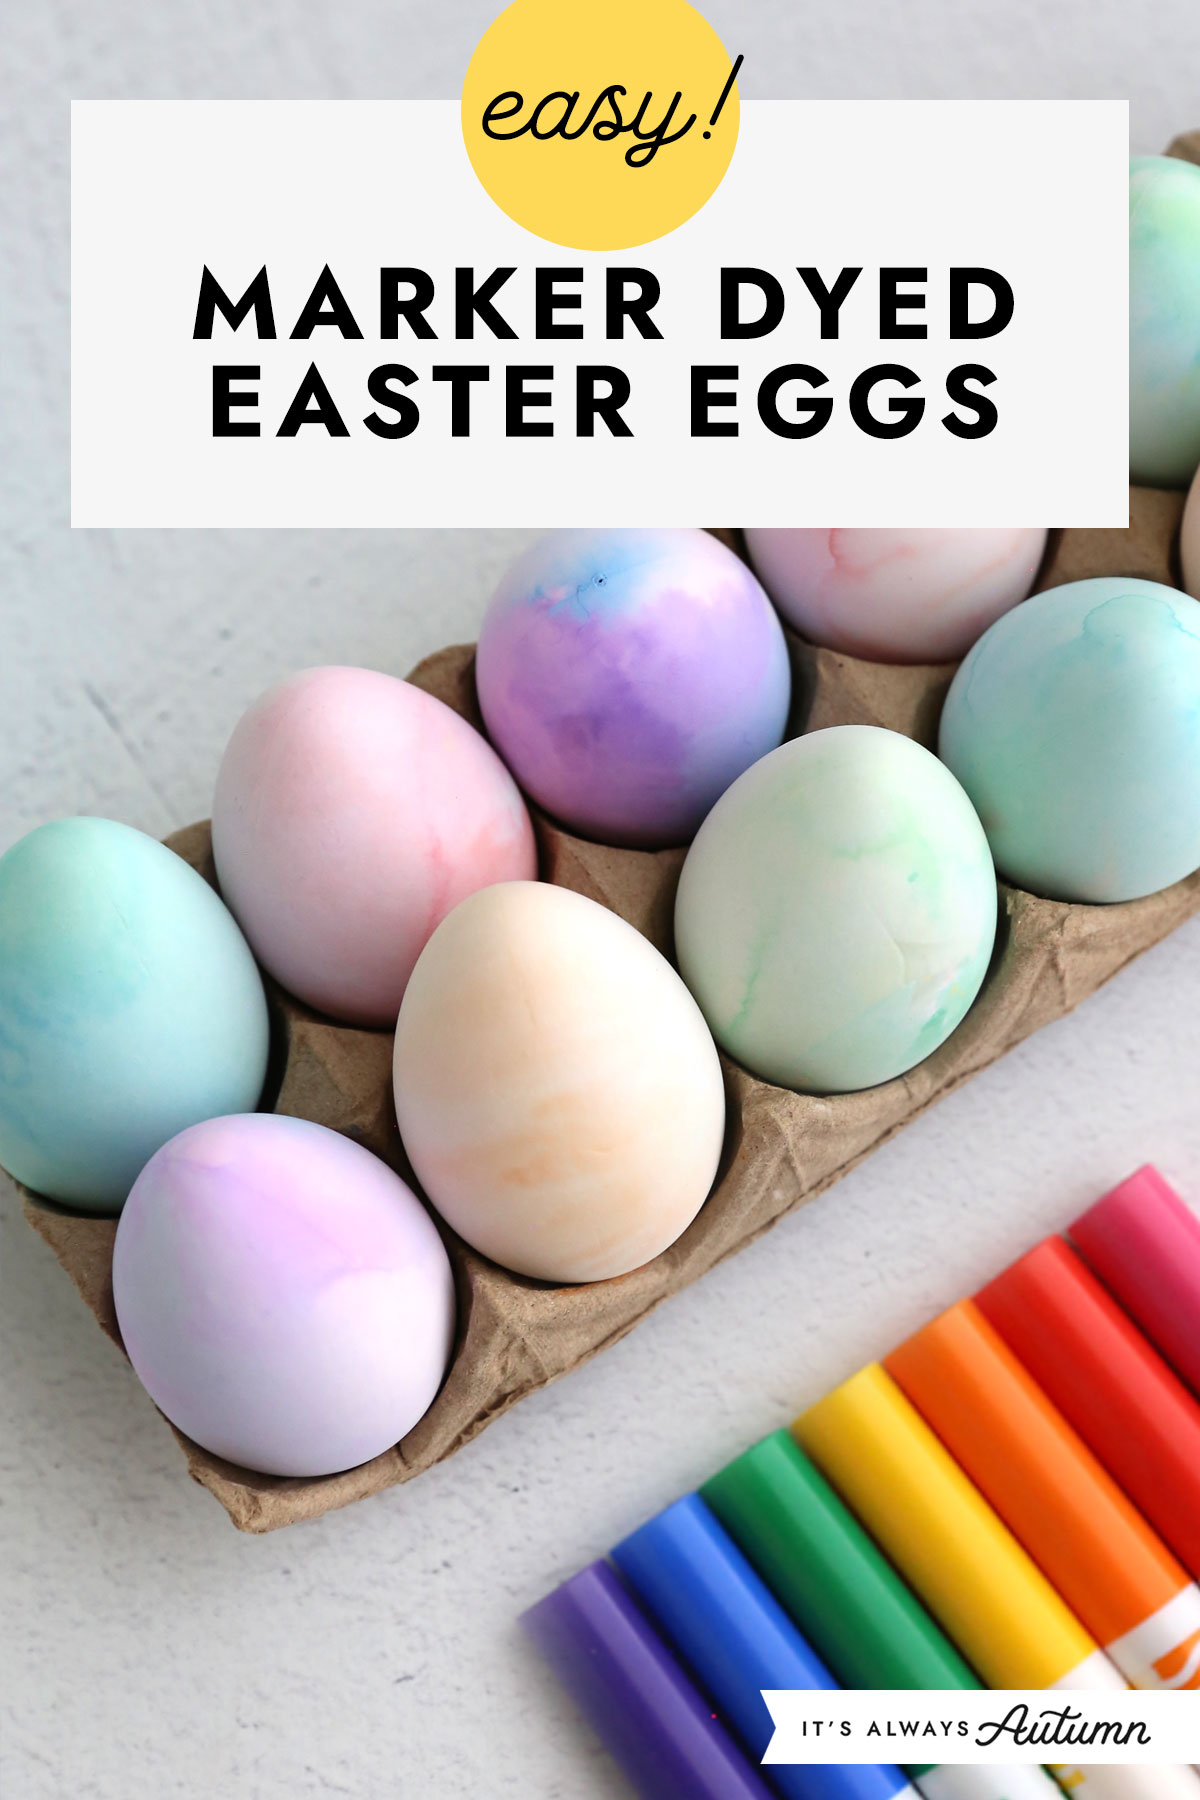
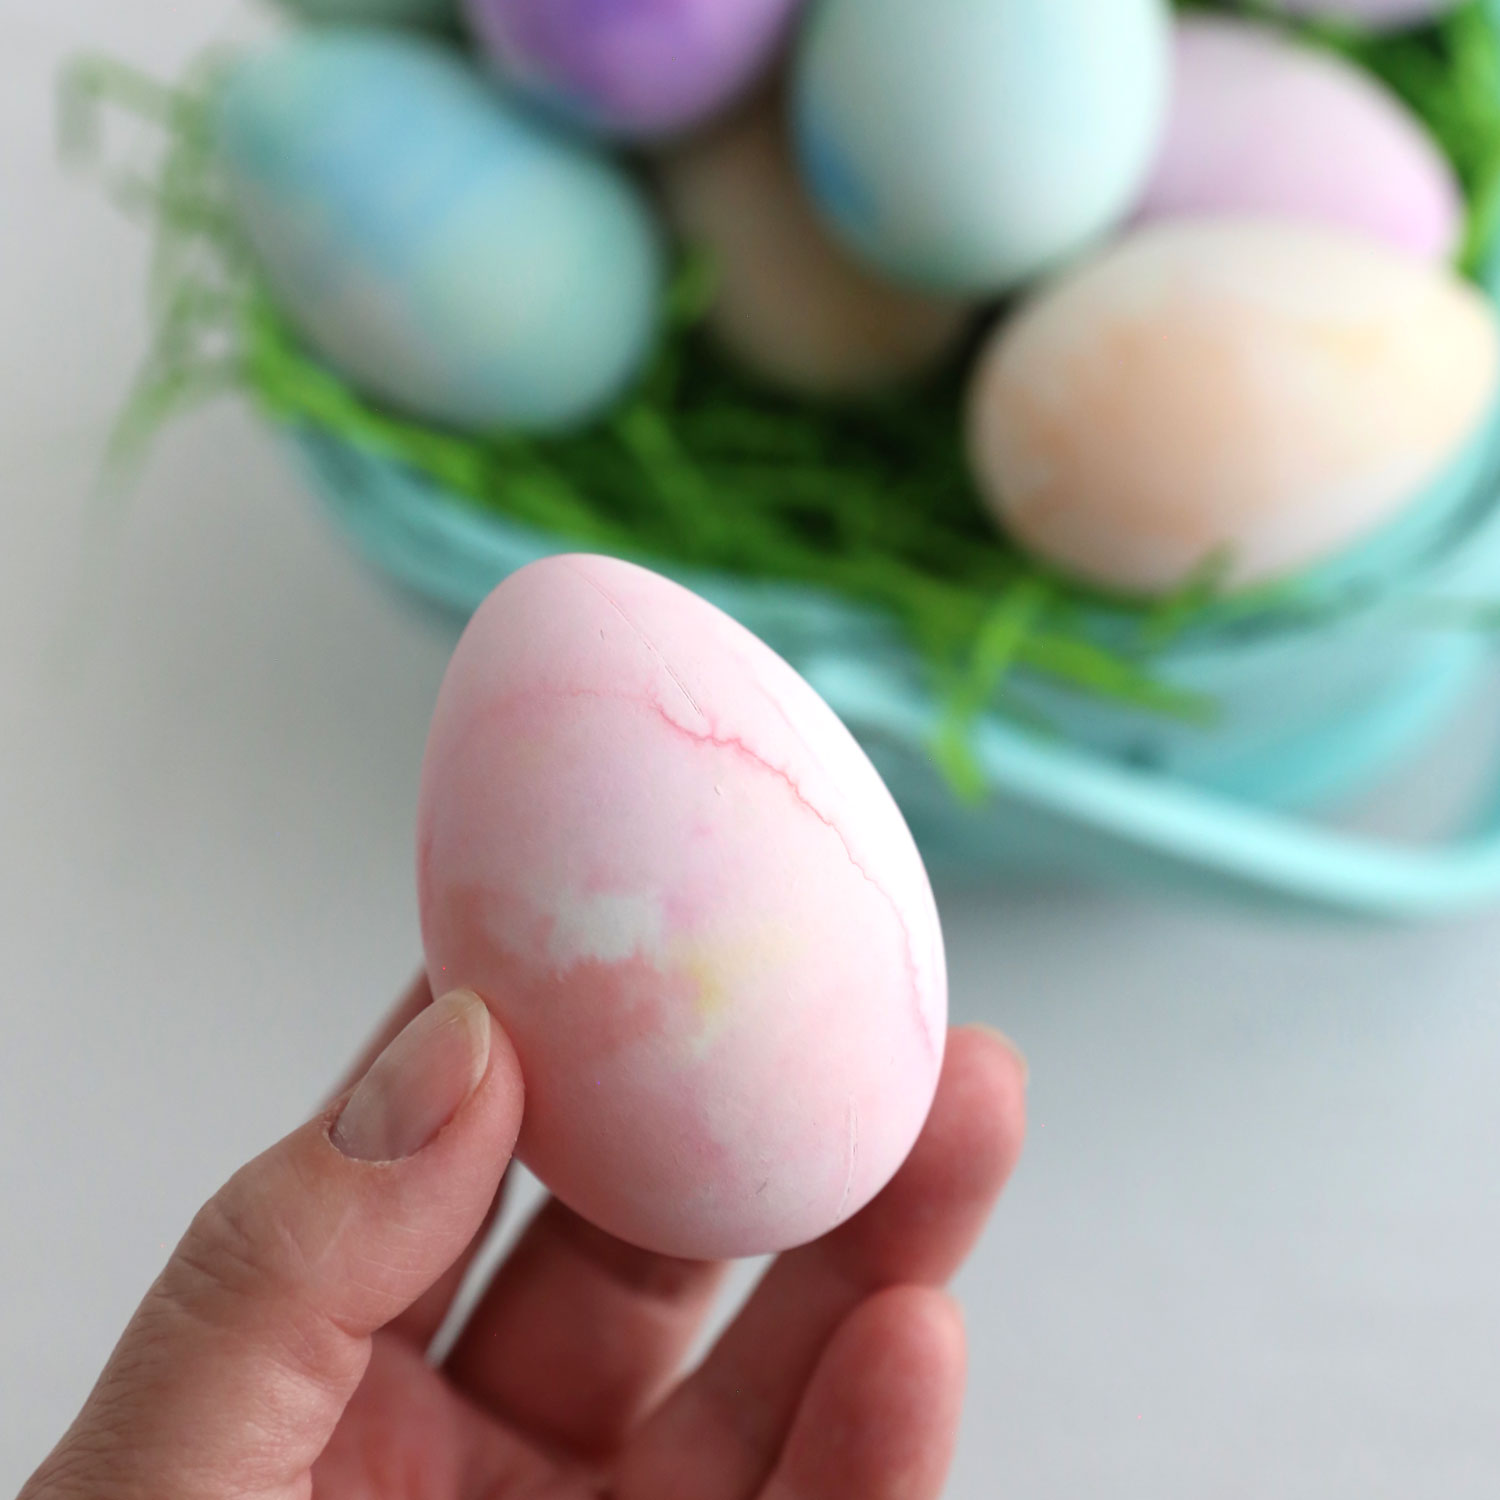
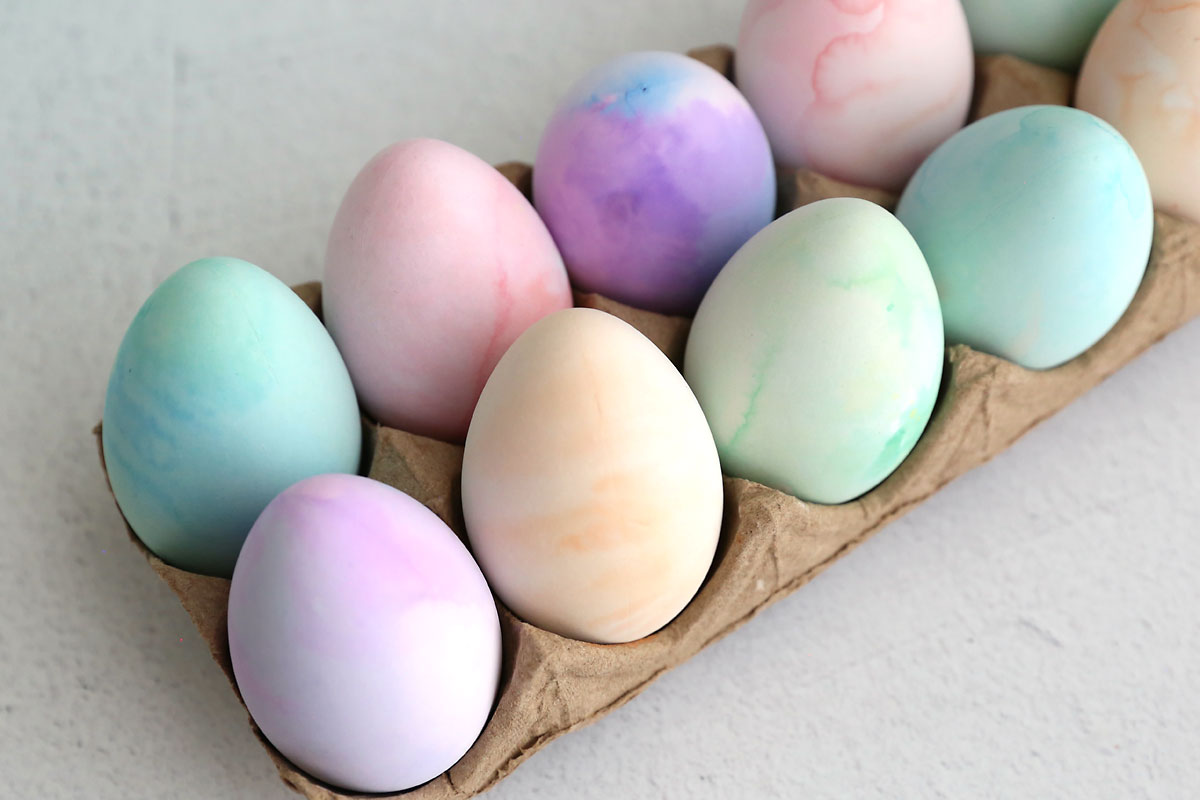
In today’s post: This crazy easy egg decorating idea for kids gives you beautiful watercolor Easter eggs using markers and plastic wrap!
I don’t like dyeing eggs. Well, let me amend that statement: I don’t like dyeing eggs with kids. It’s messy (cups full of DYE? whose idea was that?!?) and it’s actually kind of boring (dunk egg. wait. remove egg. dunk another. wait some more.). Instead of dye, this year we made gorgeous watercolor eggs using markers and plastic wrap! You can mimic the look of painted eggs without the mess.
Watercolor Easter Eggs
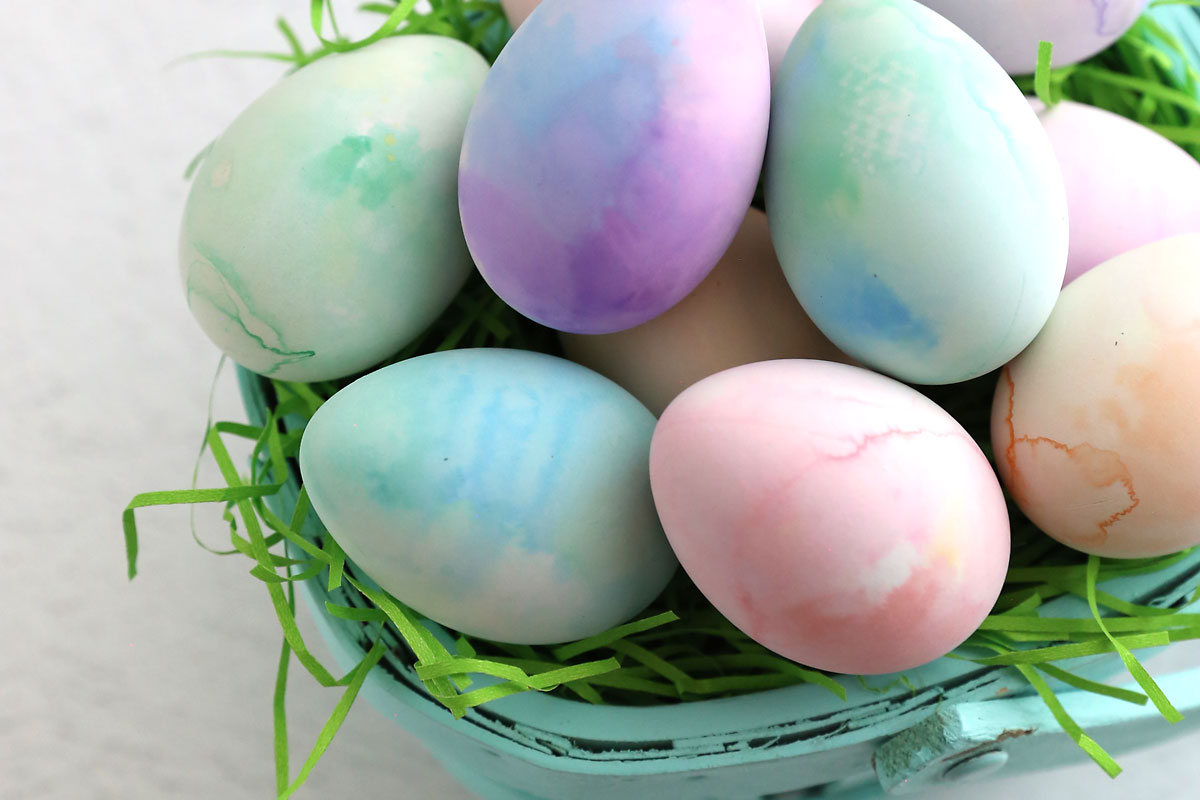
Sounds a little weird, right? Yes, you can color eggs with markers and plastic wrap! It’s fun because you get to play with color mixing and it’s easy enough for very young children. You end up with a beautiful pastel watercolor effect without using paint!
Supplies
This is what you’ll need to make watercolor Easter eggs using markers:
- Crayola Markers: the classic markers work better than washable ones, generic markers also work
- Plastic Wrap
- Small bowl of Water
- Napkins or paper towels for cleanup
- Dyeable Craft Eggs
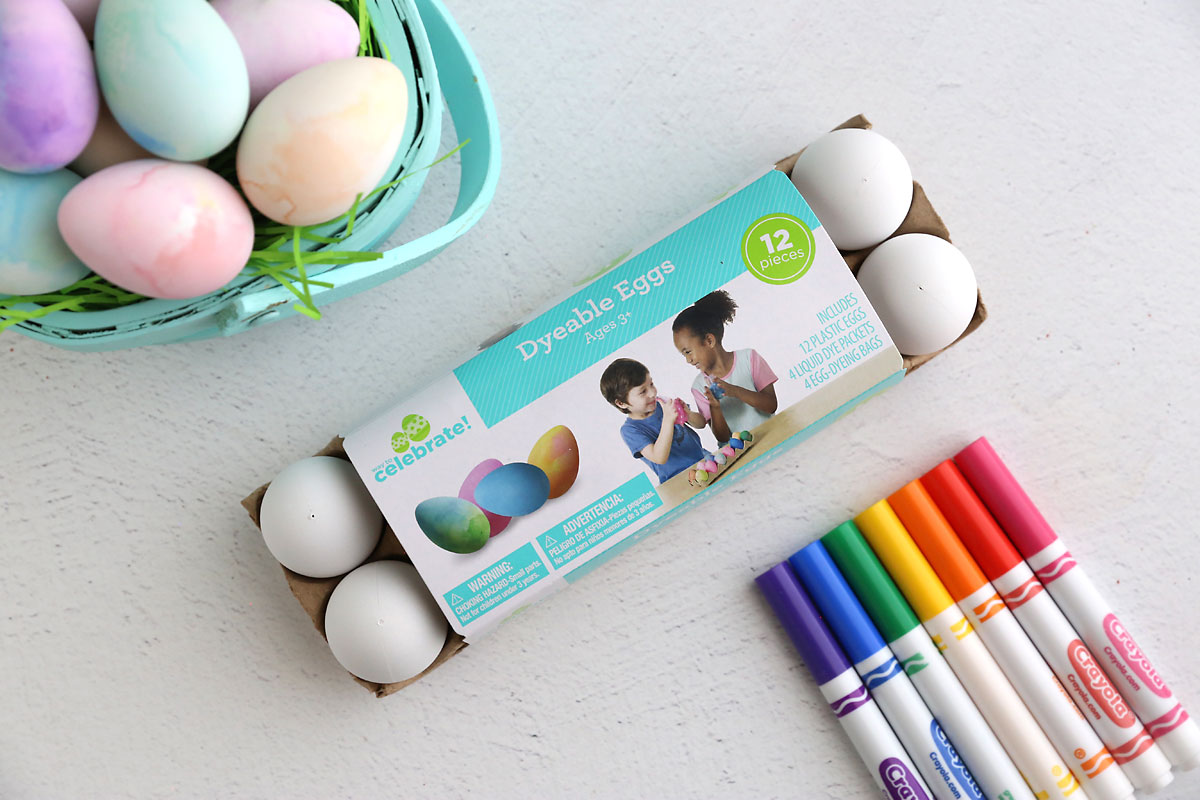
Use Craft Eggs NOT Real Eggs
We used dyeable craft eggs for this project – I found them at Walmart for about $3/dozen. This saves the step of hardboiling eggs, ensures you don’t end up with extra eggs you don’t want to eat, and avoids any possible food safety issues from the markers. Because these watercolor eggs turn out so pretty, you might want to use them as part of your Easter decor!
How to Make Watercolor Eggs
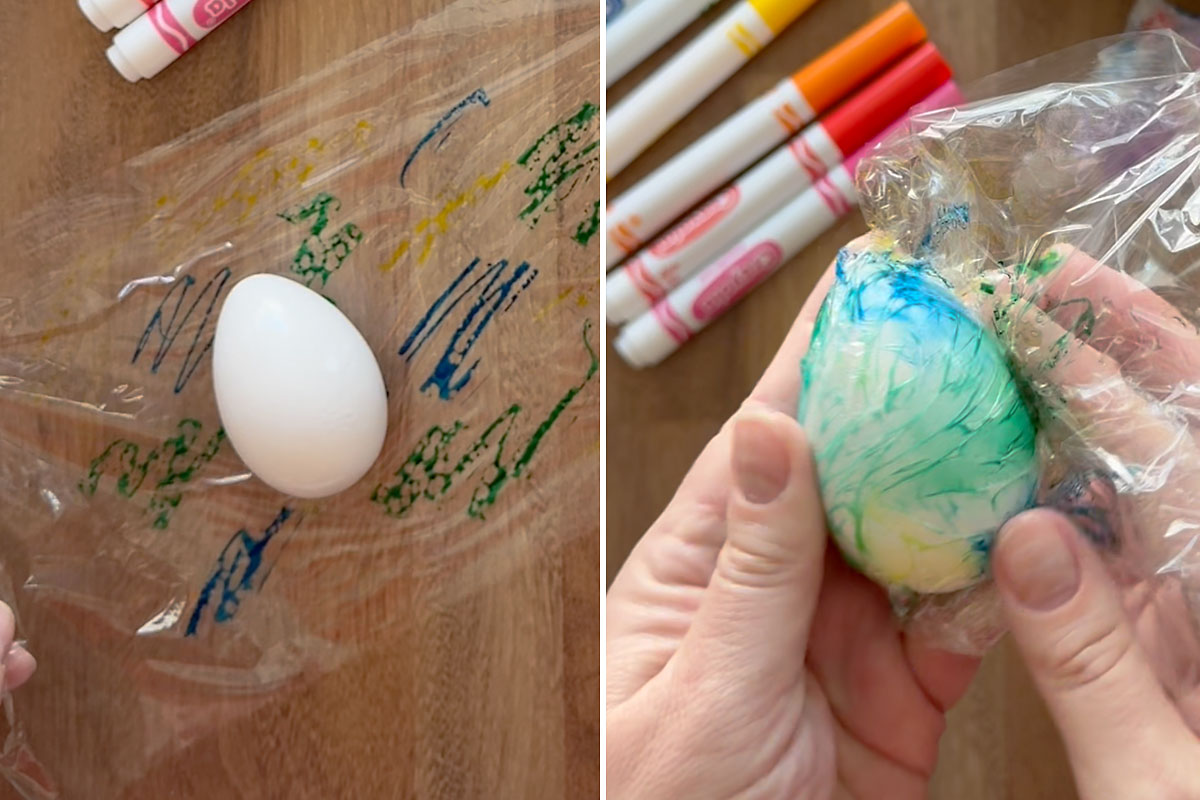
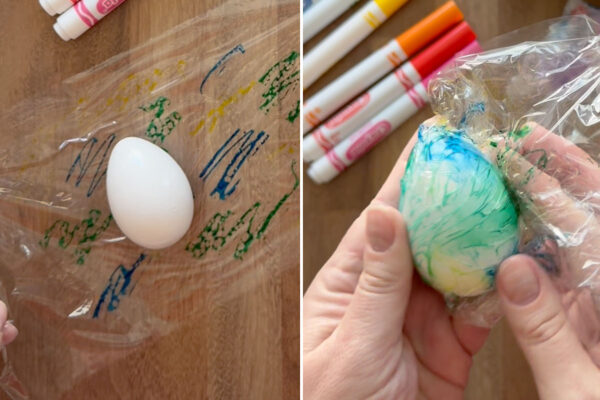
Scribble on Plastic Wrap
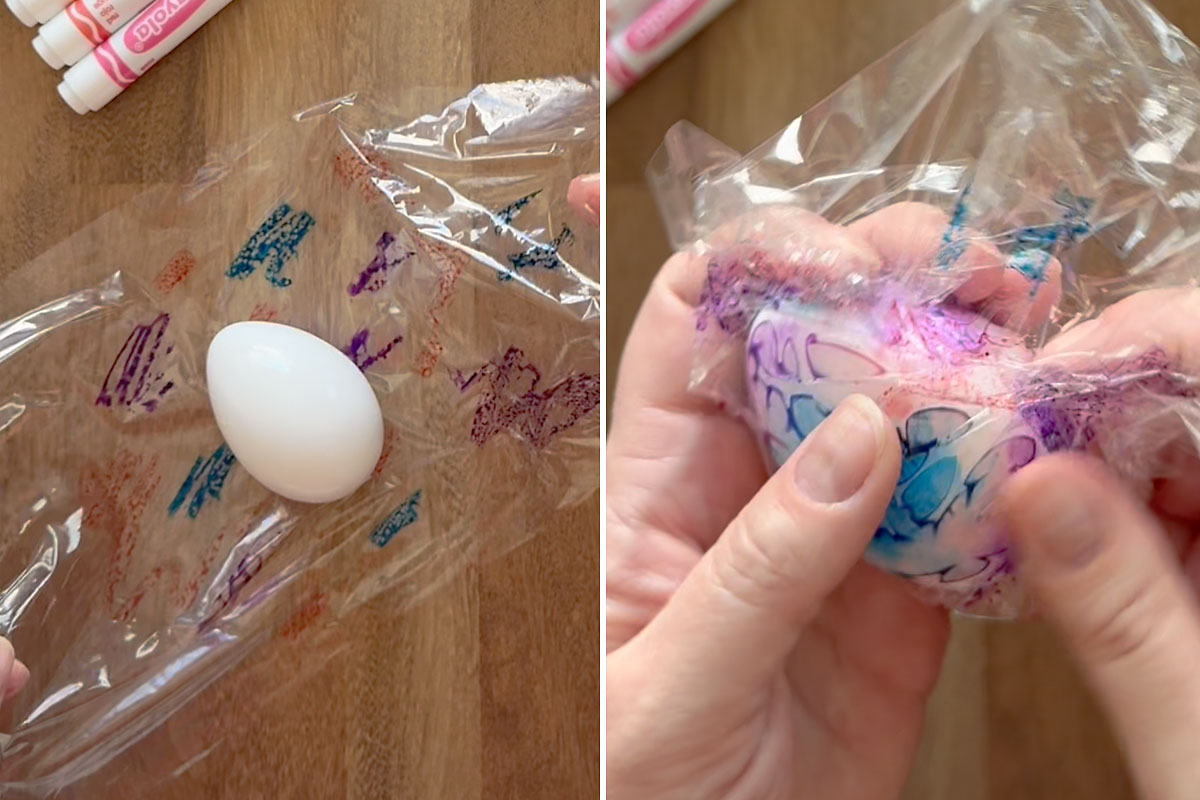
Pull off a piece of plastic wrap that’s 4-5 inches tall. Scribble a few different colors in splotches or stripes on the plastic wrap. Be sure to use colors that will blend well, like pink/purple/blue, or red/orange/yellow, etc. Avoid colors that will mix to make brown, like green and red.

Transfer Color to the Egg
Next, dunk your craft egg in water to get it wet, then place it on the plastic wrap. Grab the edges of the plastic wrap and pull it up and around the egg. The wet surface of the egg turns the marker ink into wet paint. Smoosh the plastic a bit to get the color over the entire egg. Then leave the plastic wrap around the egg and set it aside for a few minutes while you repeat the process with more eggs and more colors.
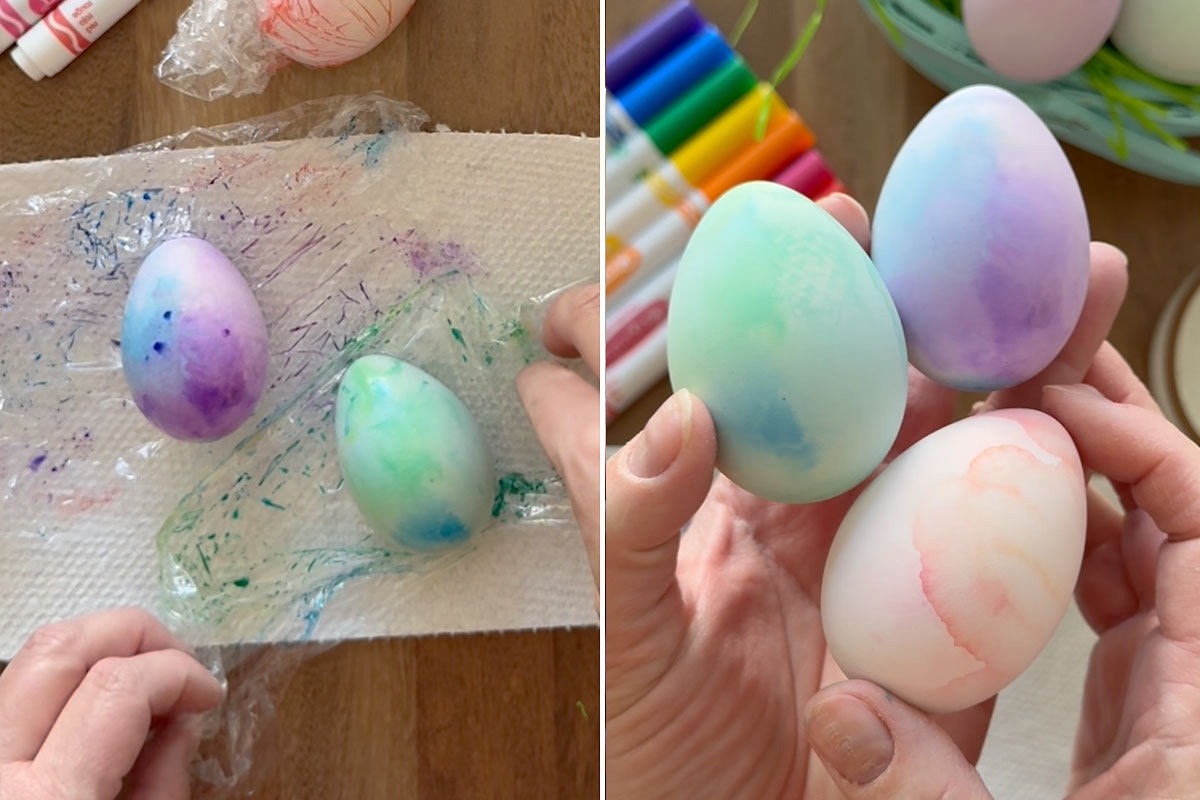
Dry the Egg
Place a paper towel down to catch drips. After the eggs have been inside the plastic wrap for a few minutes, carefully open up the wrap to see the pretty design. I like to let the eggs dry for a few minutes on the plastic wrap, then transfer them to a paper towel to finish drying.
Tips + Tricks
You can experiment with different color combinations to get different effects on your eggs. Just remember the colors are going to mix, so stick to colors that will look good together, like pink-purple-blue, or red-orange-yellow. Just two colors together works nicely, as well. I found that the only color that did not transfer well to the eggs was yellow on it’s own – it ended up very faint – but yellow works well when combined with other colors (you can see a little yellow on the pink egg below).
Clean Up
This technique is much tidier than using cups of dye, but you will still want to have paper towels or wipes handy because you’ll end up with some drops of “paint” on the plastic wrap that can stain fingers if you touch them or drip onto the table. Make sure to have a paper towel under the eggs as you unwrap them.

Watercolor Easter Eggs
Supplies
- Dyeable Craft Eggs
- Markers like Crayola
- Plastic Wrap
- Water
- Paper Towels
Want more project ideas? Sign up to get my favorite easy crafts and recipes straight to your inbox!
Instructions
- Pull off a piece of plastic wrap that's 4-5 inches tall. Scribble on the plastic wrap with markers, using colors that will blend well.

- Dunk the egg in water, then place it on the plastic wrap. Pull the sides of the plastic wrap up and around the egg.
- Smoosh the egg around inside the wrap, allowing the water from the egg to mix with the marker ink to create watercolor designs. Leave the egg inside the wrap for about 5 minutes.
- Place a paper towel down to catch drips, then carefully open up the plastic wrap to reveal the watercolor design. Allow the egg to dry for a few minutes on the plastic wrap, then transfer to the paper towel to finish drying.


Tips
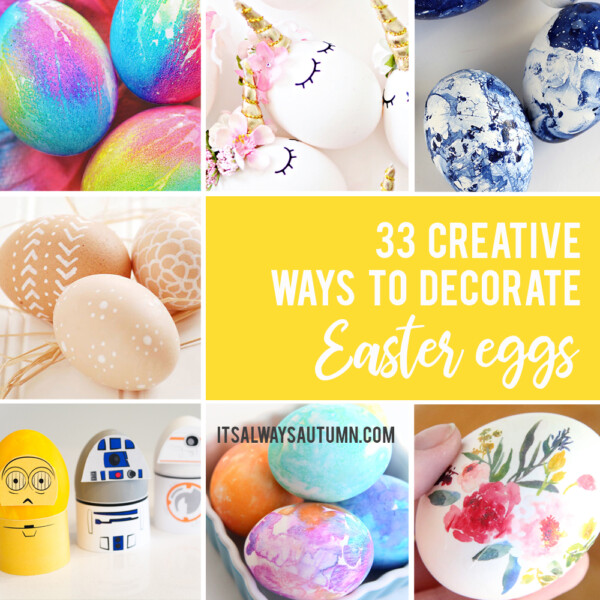
More Easter fun:
63 Easter egg fillers that aren’t candy!
17 Easter family traditions to start this year
20 easy Easter crafts for kids


Bethany Wattier says
Hi! We did this last year and the eggs turned out amazing!! It was very disappointing not being able to eat the eggs though! I’m looking at getting some food coloring markers to try this with! Have you done this before to know if it would work or not? Thank you!!
Autumn says
I haven’t tried that – let us know if you do!
Jennifer says
10000% recommend “dyeing” eggs this way! My girls are 4 & 2 and the thought of filling bowls of staining dye made me cringe, but I wanted to do something with them. It worked perfectly, and my 4 year old had so much fun seeing what colors would mix and turn into. Will be doing this for years to come!
Eveline van Heijst says
What a fun idea.