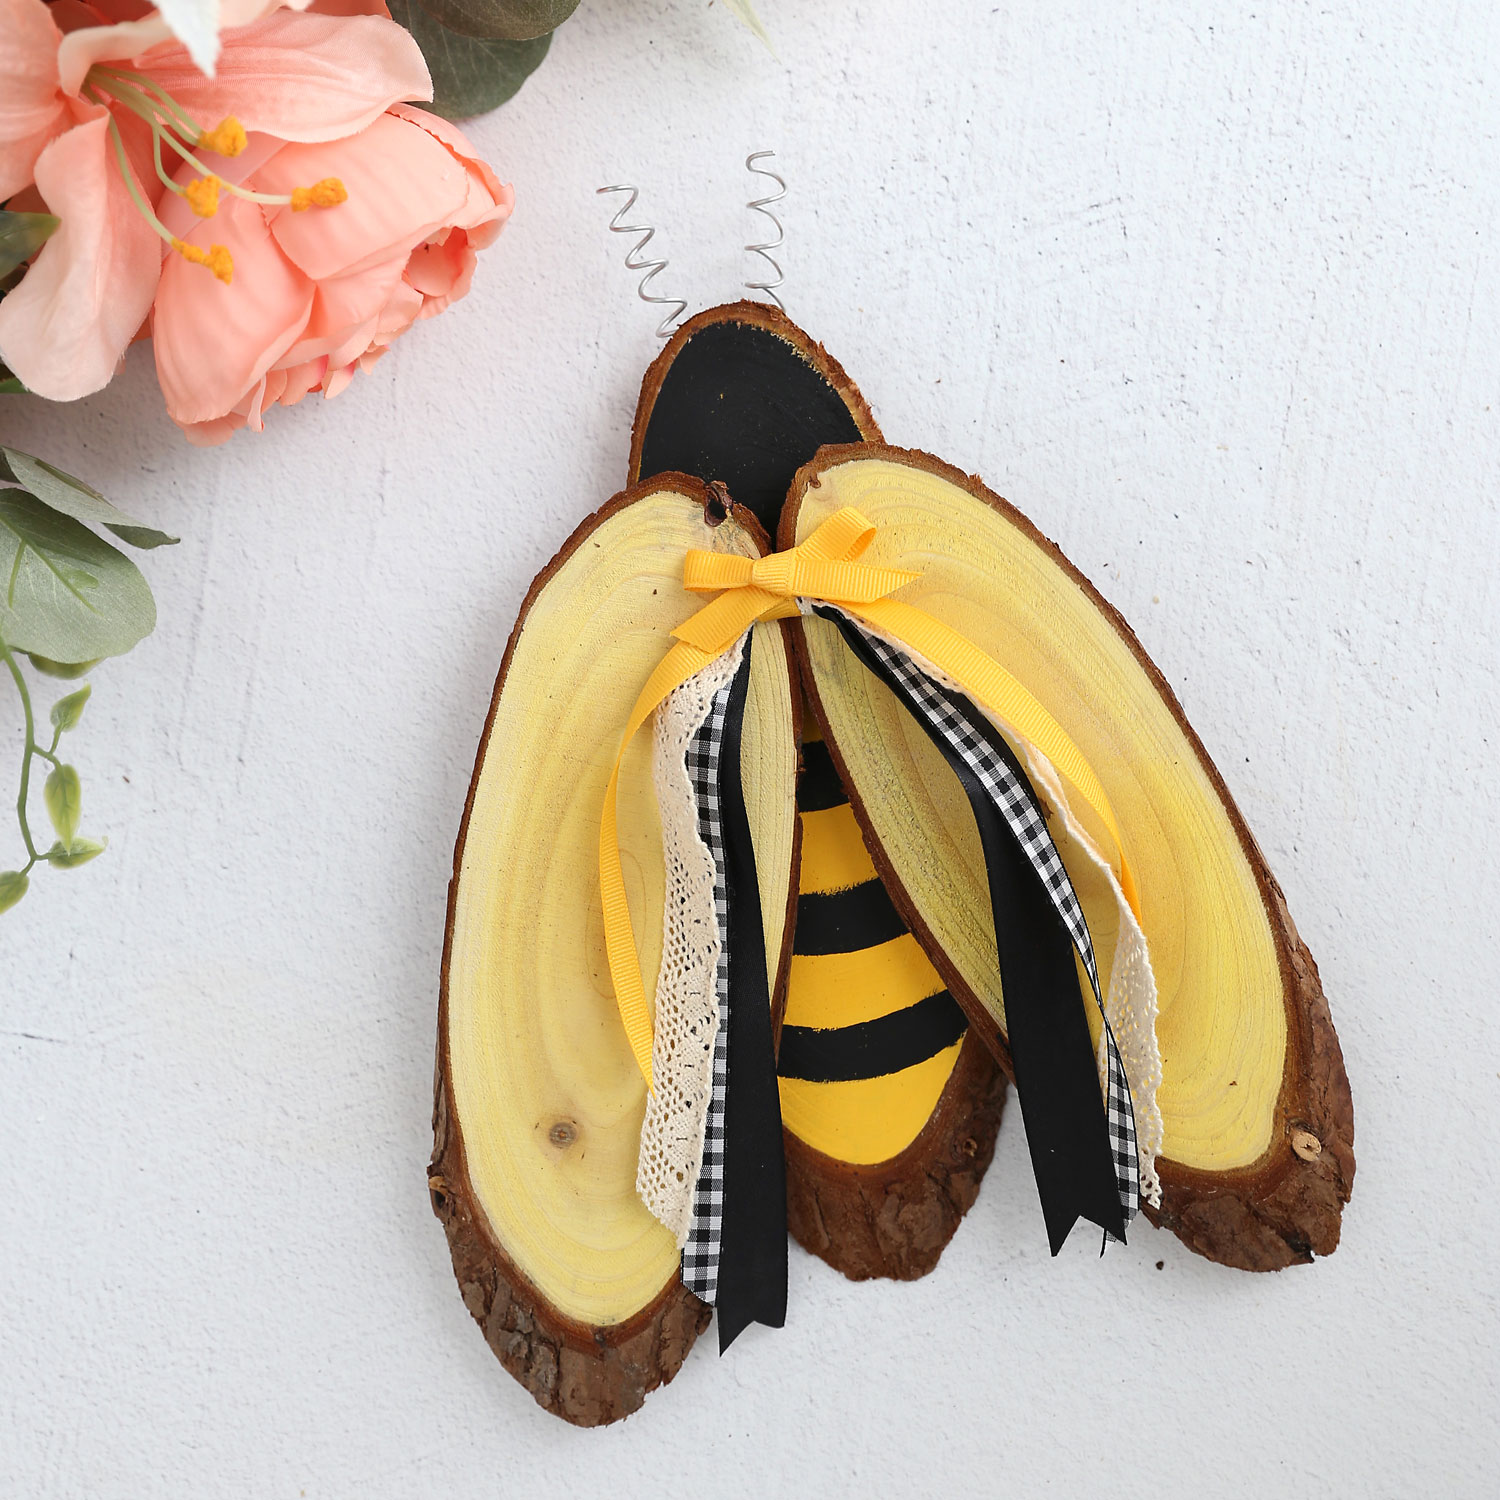
In today’s post: Learn how to make an adorable bee using oval wood slices. This is an easy summer craft for adults you can complete in about an hour plus drying time.
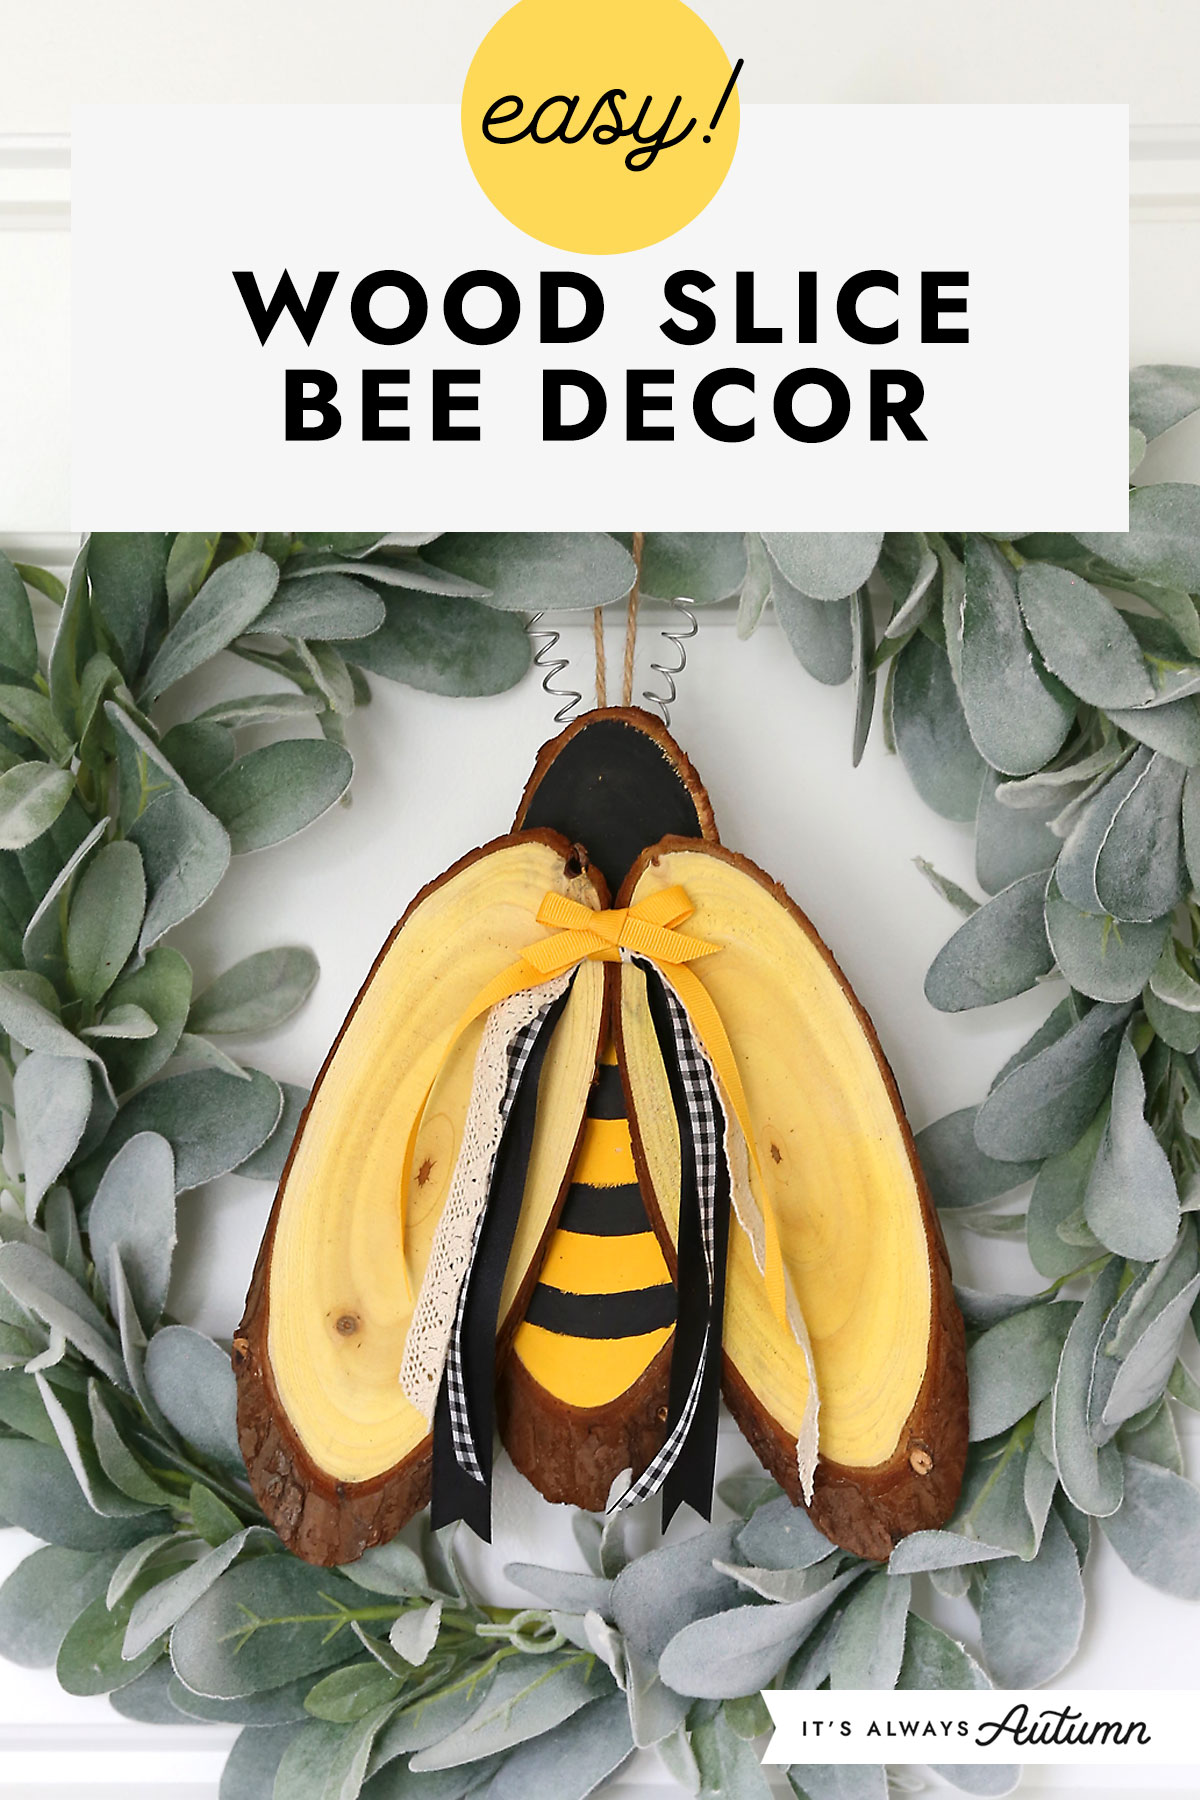
Easy Rustic Bee Craft
I got this idea from a post on Facebook by Crafty Servings – she’d made adorable rustic bees from small wood slices. I loved how cute they turned out and decided to make a larger version using wood slice plaques from Amazon. You can watch her video to see how she made her version or keep reading for instructions for my version, which measures about 11 inches tall and 8 inches wide.
Supplies
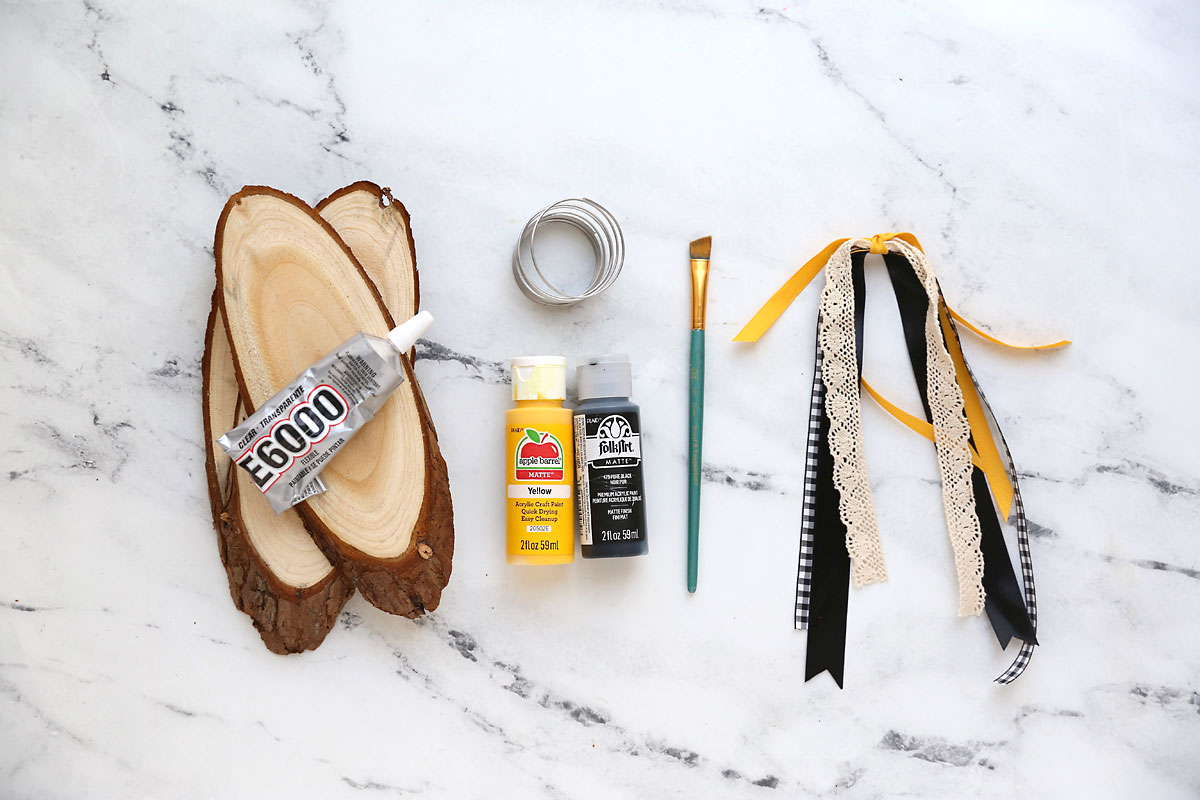
Here’s what you’ll need to make these rustic wood bees:
- Oval Shaped Wood Slices: You’ll need three slices for each bee. I used these 10 inch slices from Amazon which came in a set of eight.
- Yellow and Black Craft Paint
- Small Paintbrush
- Wood Glue or E6000
- Wire: You’ll use this to make antennae for the bee. You want wire that’s thick enough to hold a shape but thin enough you can easily cut it with scissors or the snips sections of needle nose pliers. You can find craft wire at Walmart or Hobby Lobby.
- Various ribbons in yellow and black: You’ll want about half a yard of each ribbon or trim.
How to Make Wood Slice Bees
Paint the Wood Slices Yellow
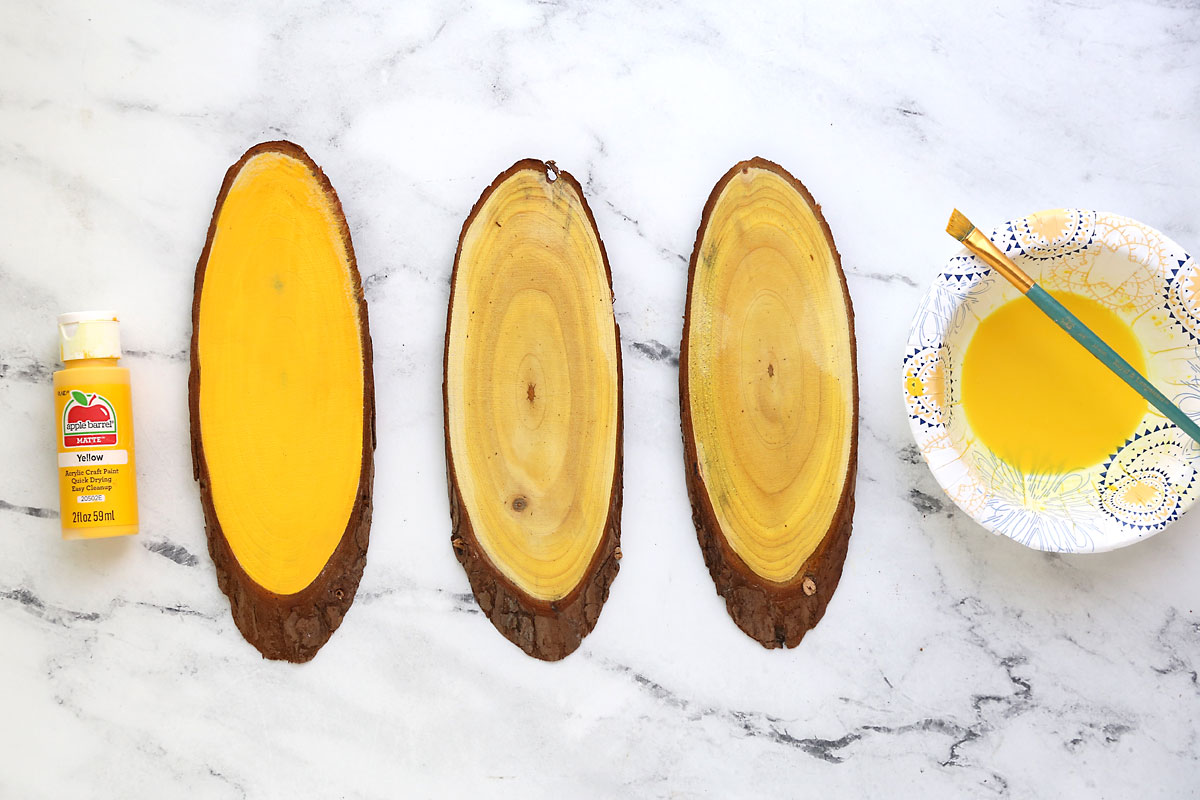
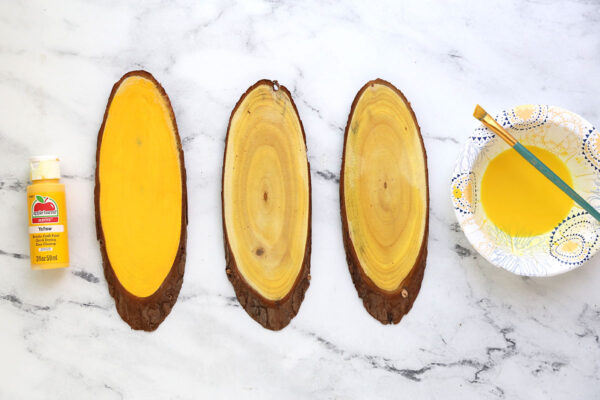
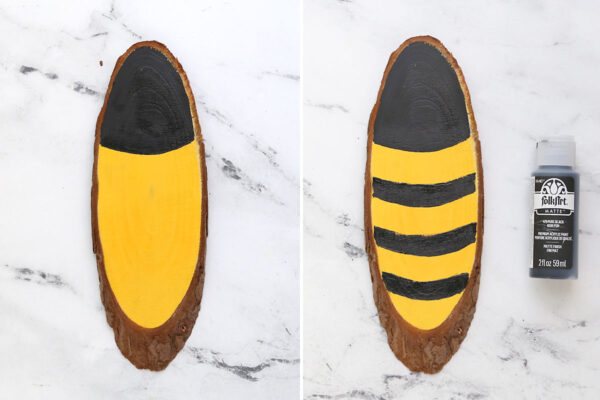
One wood slice will be the body of the bee and the other two will be wings. If one wood slice is slightly larger, use that as the body. Paint the body of the bee yellow, using two coats of paint. You can use a hair dryer to dry the paint quickly. Then mix a small drop of yellow paint with a little water to make a yellow wash. Use that to paint the two other slices.
Add Black Accents
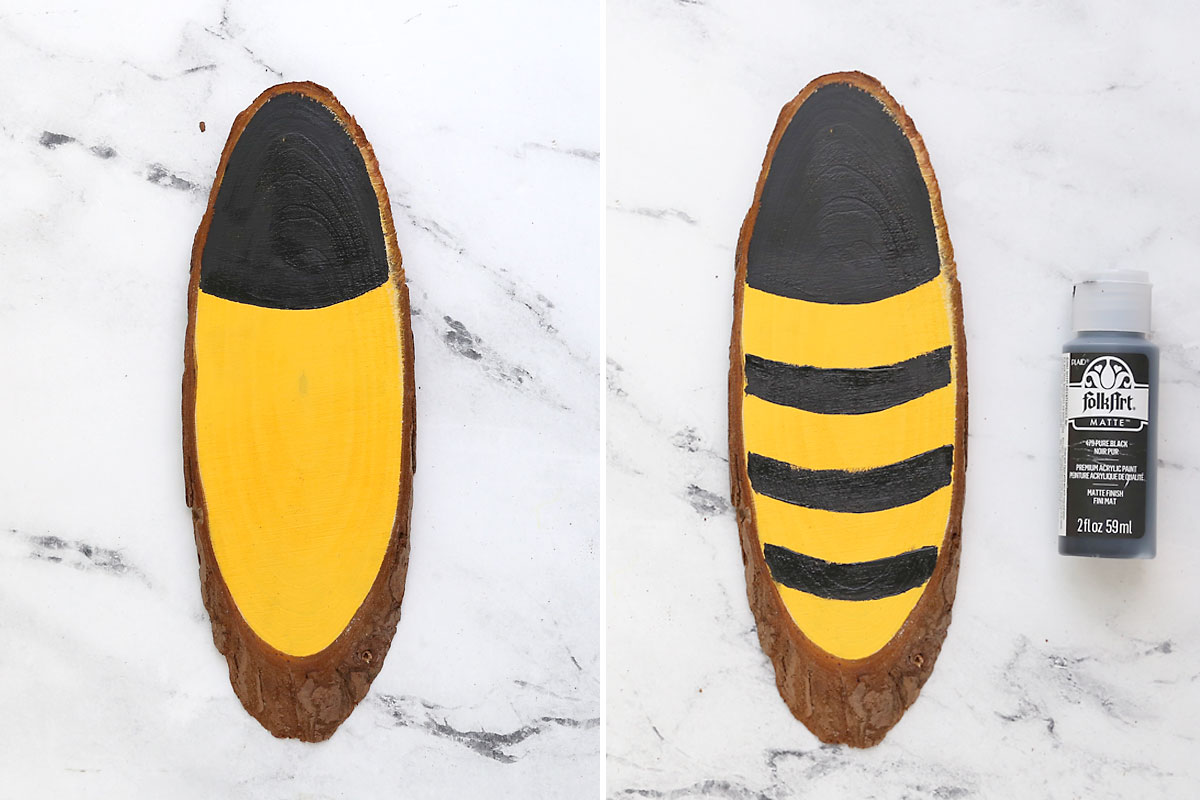
Once the yellow paint is dry, you can add black paint to the body of the bee. I painted the top third black and then added stripes along the rest of the body. Again, allow the paint to dry thoroughly.
Glue Wood Slices Together
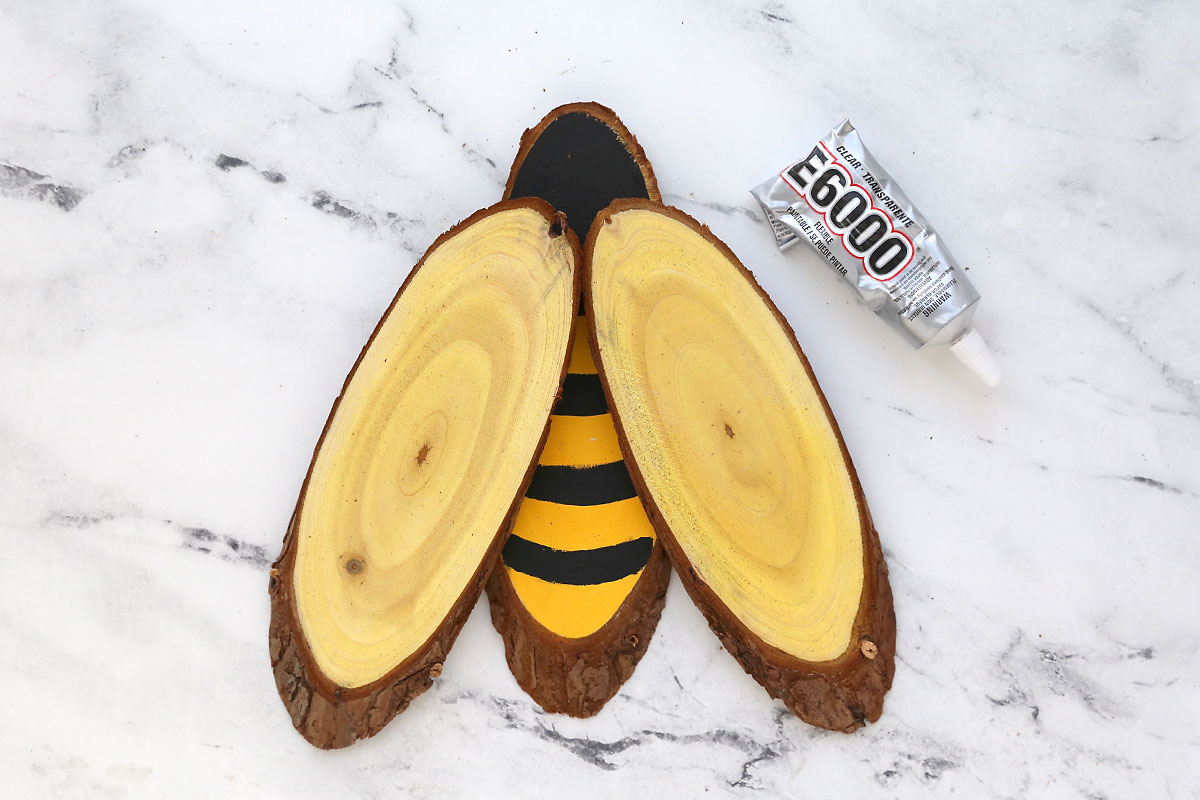
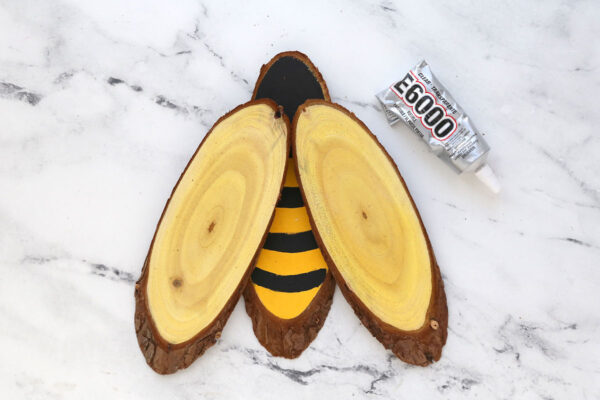
Now you’ll glue the wing pieces onto the body as shown below. The tops of the wings should touch while the bottoms are angled out. You can use E6000 or wood glue, and you’ll want to place something heavy on top of the wings as they dry (like a can or book). Allow the glue to dry thoroughly before continuing.
Add Antennae
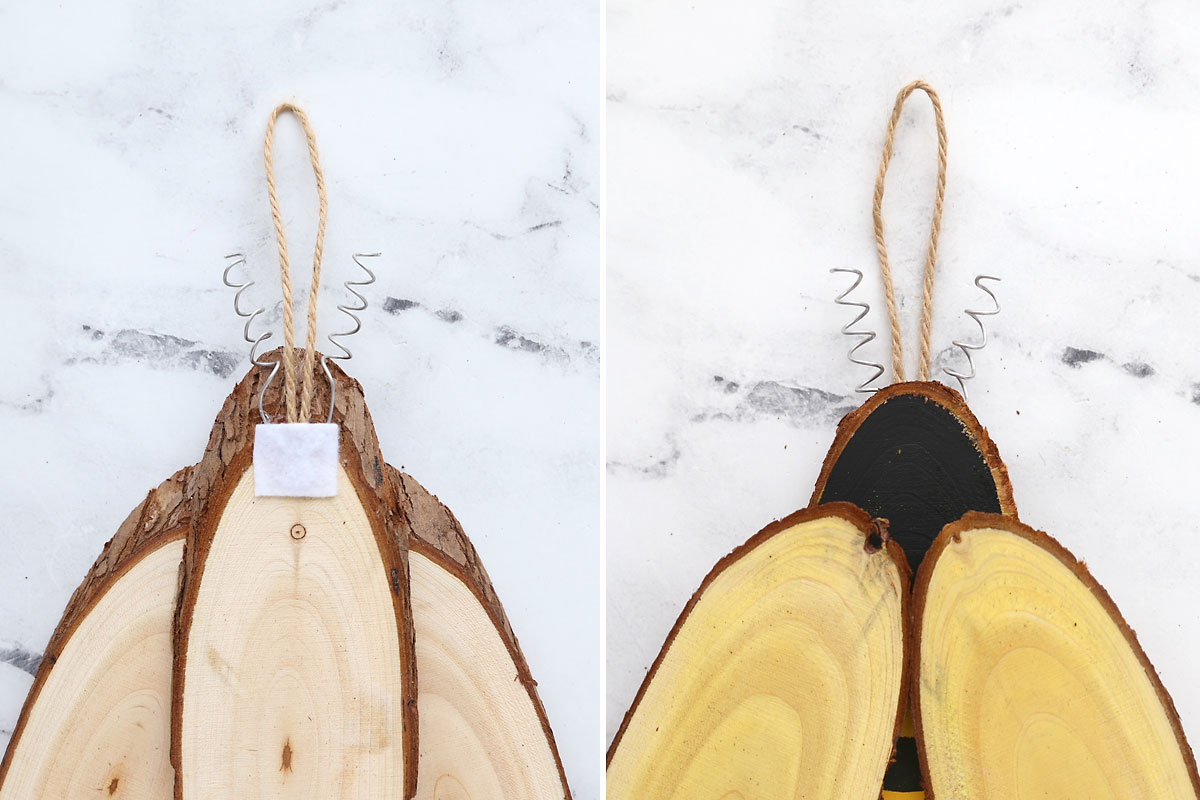
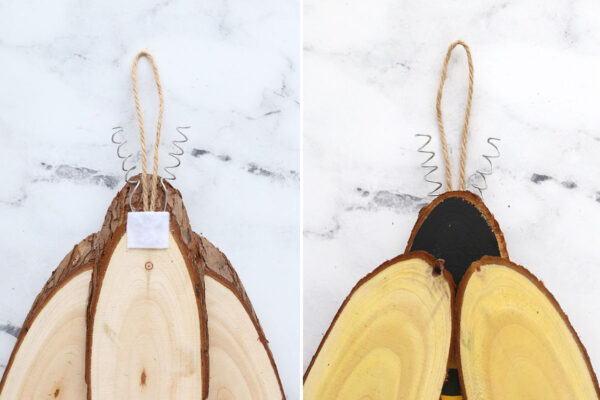
Next cut a 12 inch length of wire using sharp scissors or the snips portion of needle nose pliers. Fold the wire in half. Wrap each half around a pencil to create spirals that will act as the antennae. If you’d like to add a hanging loop, you’ll want to do that now. Add a generous amount of hot glue on the back of the bee and add the hanging loop and the antennae, then add a bit more glue and cover the entire glued area with a square of felt or other scrap fabric. Press down firmly as the glue cools (use silicone finger covers to ensure you do not burn your fingers).
Add Ribbon
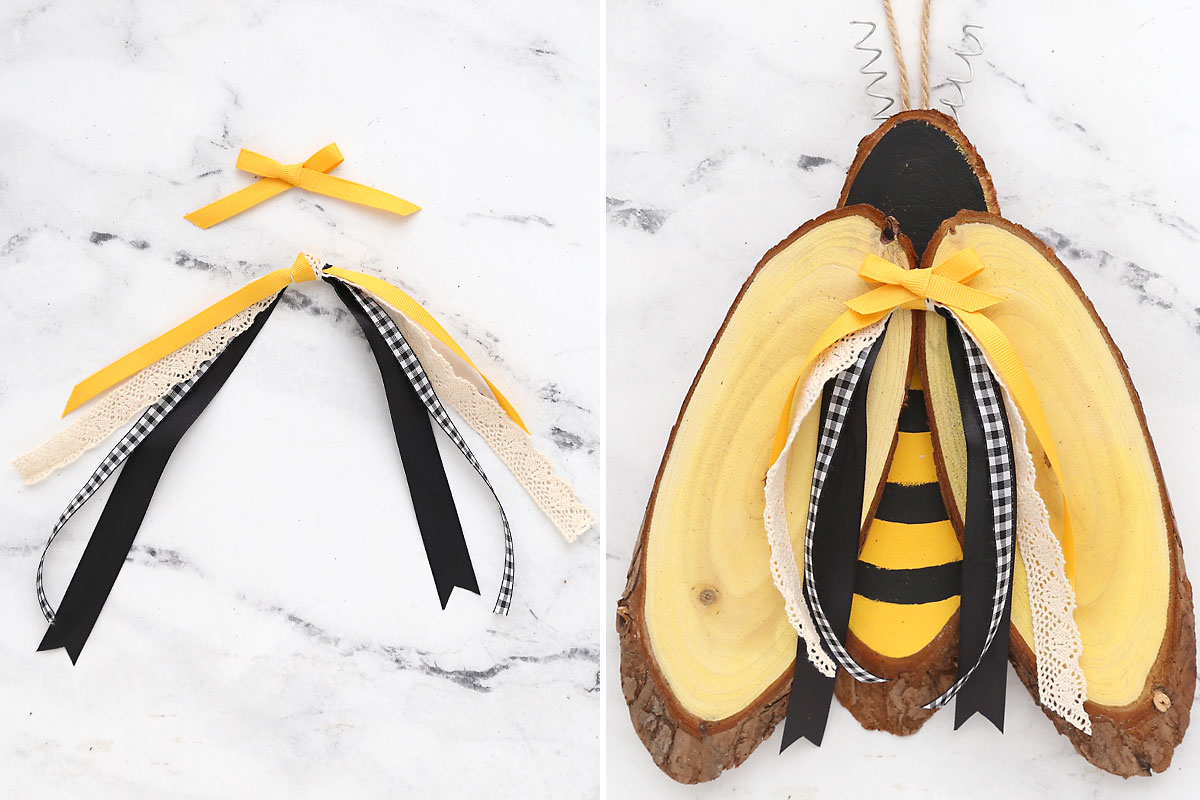
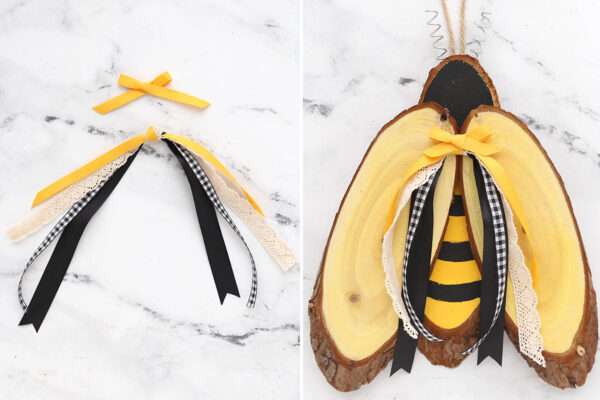
The last step is to add some ribbon. Cut 18 inch lengths of various ribbons and trims, and tie them in a knot in the middle. You can also tie a bow from ribbon as well. Glue the trims and bow to the area where the two wings meet, as shown below. Trim the ribbons to the desired length.
Display
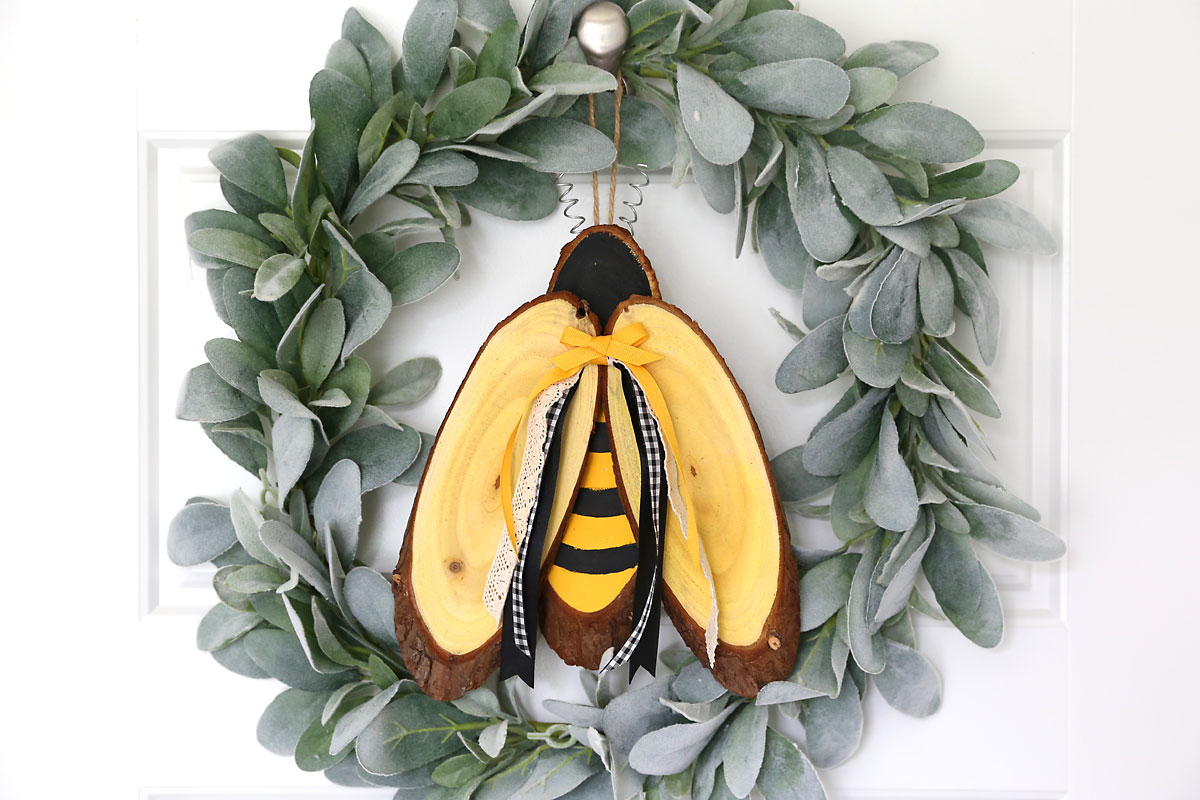
Now you can display your adorable rustic wood bee! I think the bee looks especially cute centered in a green wreath.
Rustic Wood Bee
Supplies
- 3 Oval Wood Slices
- Yellow and Black Craft Paint
- Small Paintbrush
- E6000 or Wood Glue
- Wire thin enough to cut, thick enough to hold shape
- Various Ribbons in black and yellow
- Small Felt Scrap
Want more project ideas? Sign up to get my favorite easy crafts and recipes straight to your inbox!
Instructions
- Paint the largest wood slice yellow, using two coats of paint. Use a hair dryer to dry the paint quickly if desired. Then mix a small drop of yellow paint with a little water to make a yellow wash. Use that to paint the two other slices.

- Once the yellow paint is dry, paint the top third black and then add stripes along the rest of the body. Again, allow the paint to dry thoroughly.
- Glue the wing pieces onto the body as shown. The tops of the wings should touch while the bottoms are angled out. You can use E6000 or wood glue, and you’ll want to place something heavy on top of the wings as they dry (like a can or book). Allow the glue to dry thoroughly before continuing.
- Cut a 12 inch length of wire using sharp scissors or the snips portion of needle nose pliers. Fold the wire in half. Wrap each half around a pencil to create spirals that will act as the antennae. If you’d like to add a hanging loop, you’ll want to do that now. Add a generous amount of hot glue on the back of the bee and add the hanging loop and the antennae, then add a bit more glue and cover the entire glued area with a square of felt or other scrap fabric. Press down firmly as the glue cools (use silicone finger covers to ensure you do not burn your fingers).
- Cut 18 inch lengths of various ribbons and trims, and tie them in a knot in the middle. You can also tie a bow from ribbon as well. Glue the trims and bow to the area where the two wings meet, as shown below. Trim the ribbons to the desired length.

Leave a Comment