
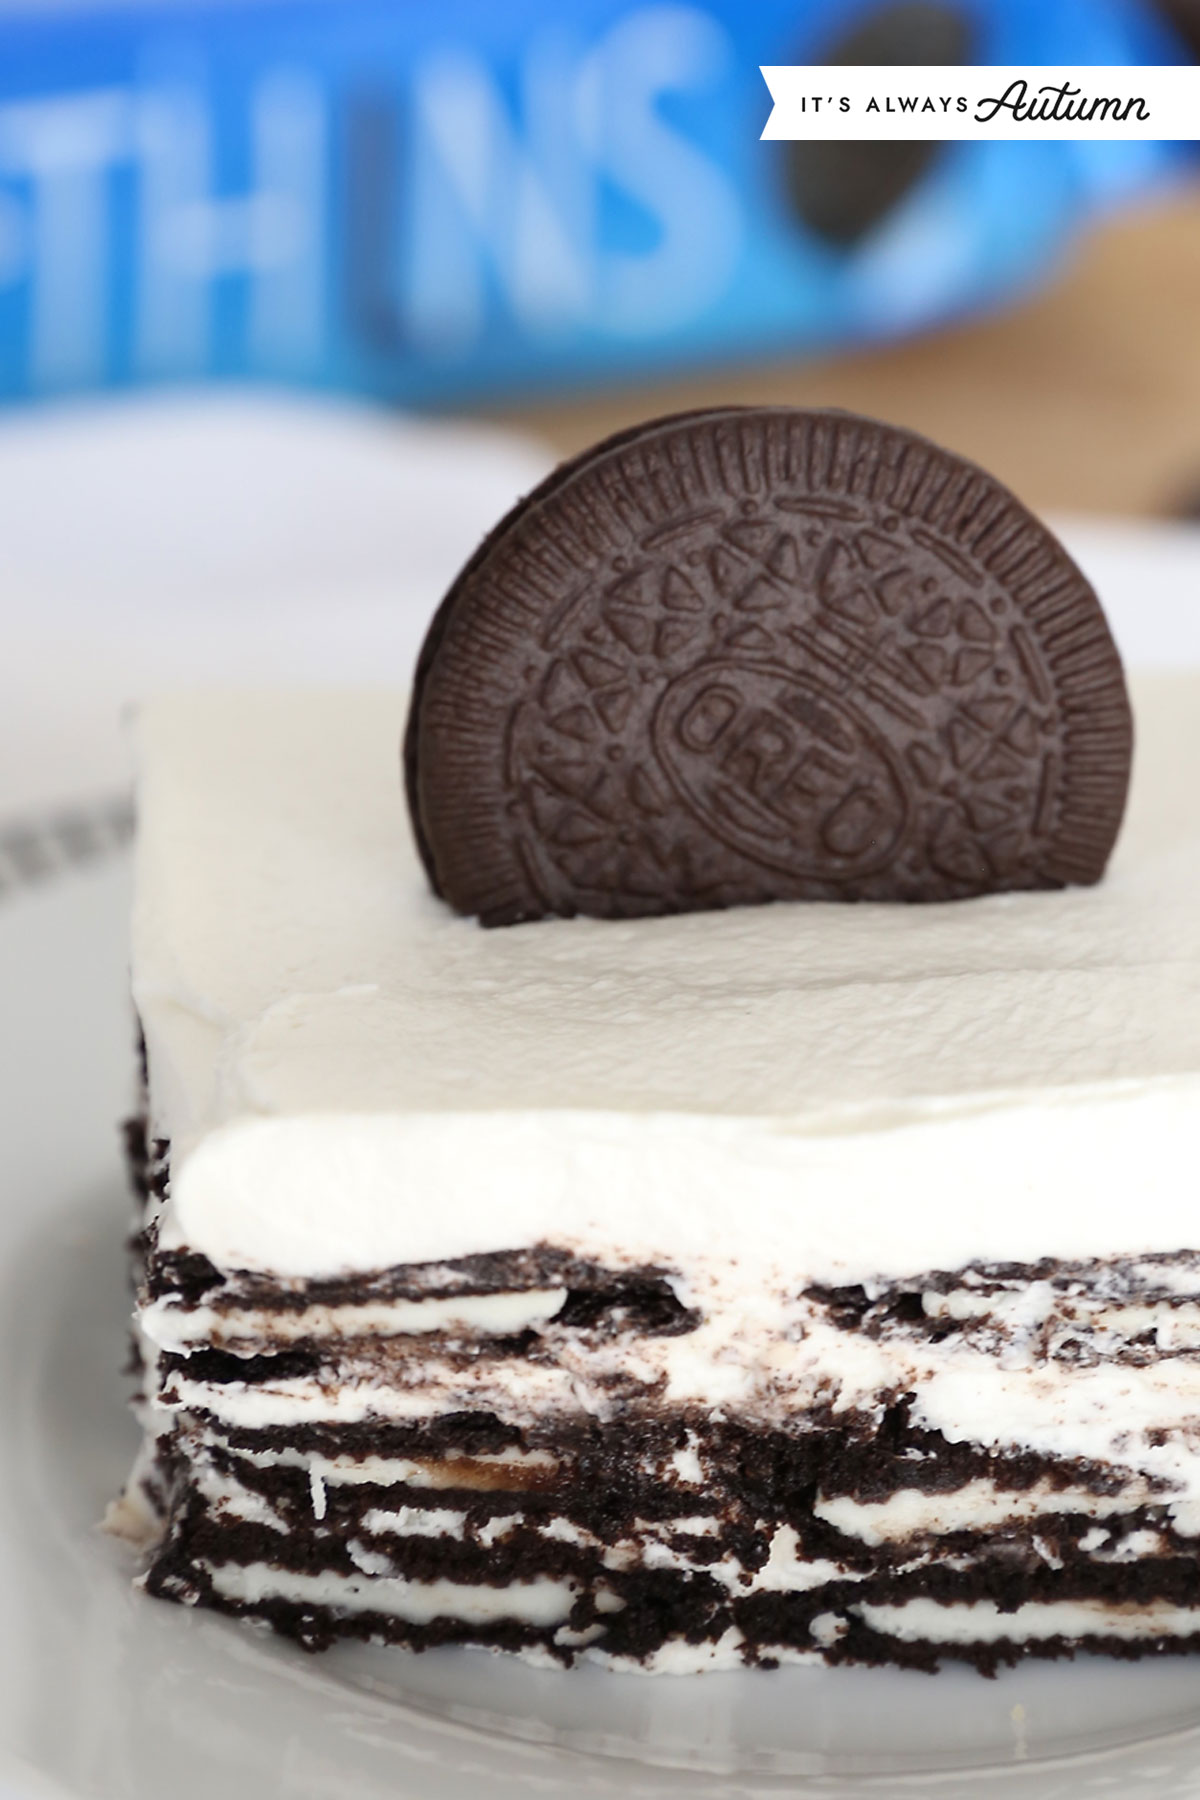
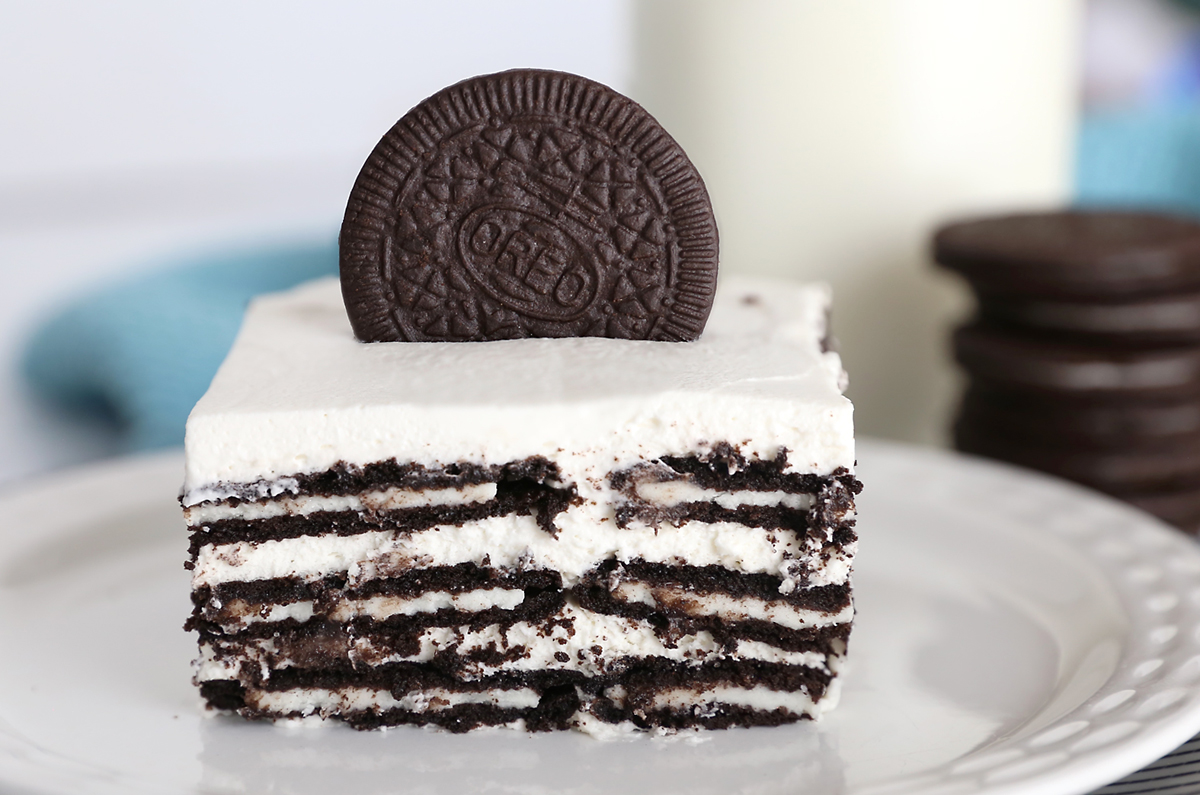
In today’s post: Oreo Icebox Cake is an easy, four-ingredient dessert that you can put together in about twenty minutes. It’s a rich, impressive looking dessert that’s perfect for everything from parties to potlucks.
Oreo Icebox Cake Recipe
I love the convenience of icebox cakes: you layer cookies or graham crackers with sweetened whipped cream (and other fruit or pudding layers if desired) and then refrigerate the whole thing until the cookies soften and become almost cake-like in texture, all without any baking involved! The concept is so simple, but the result is absolutely delicious. The layers look fancy, but icebox cakes are super quick to put together – perfect for days when you need a no bake dessert.

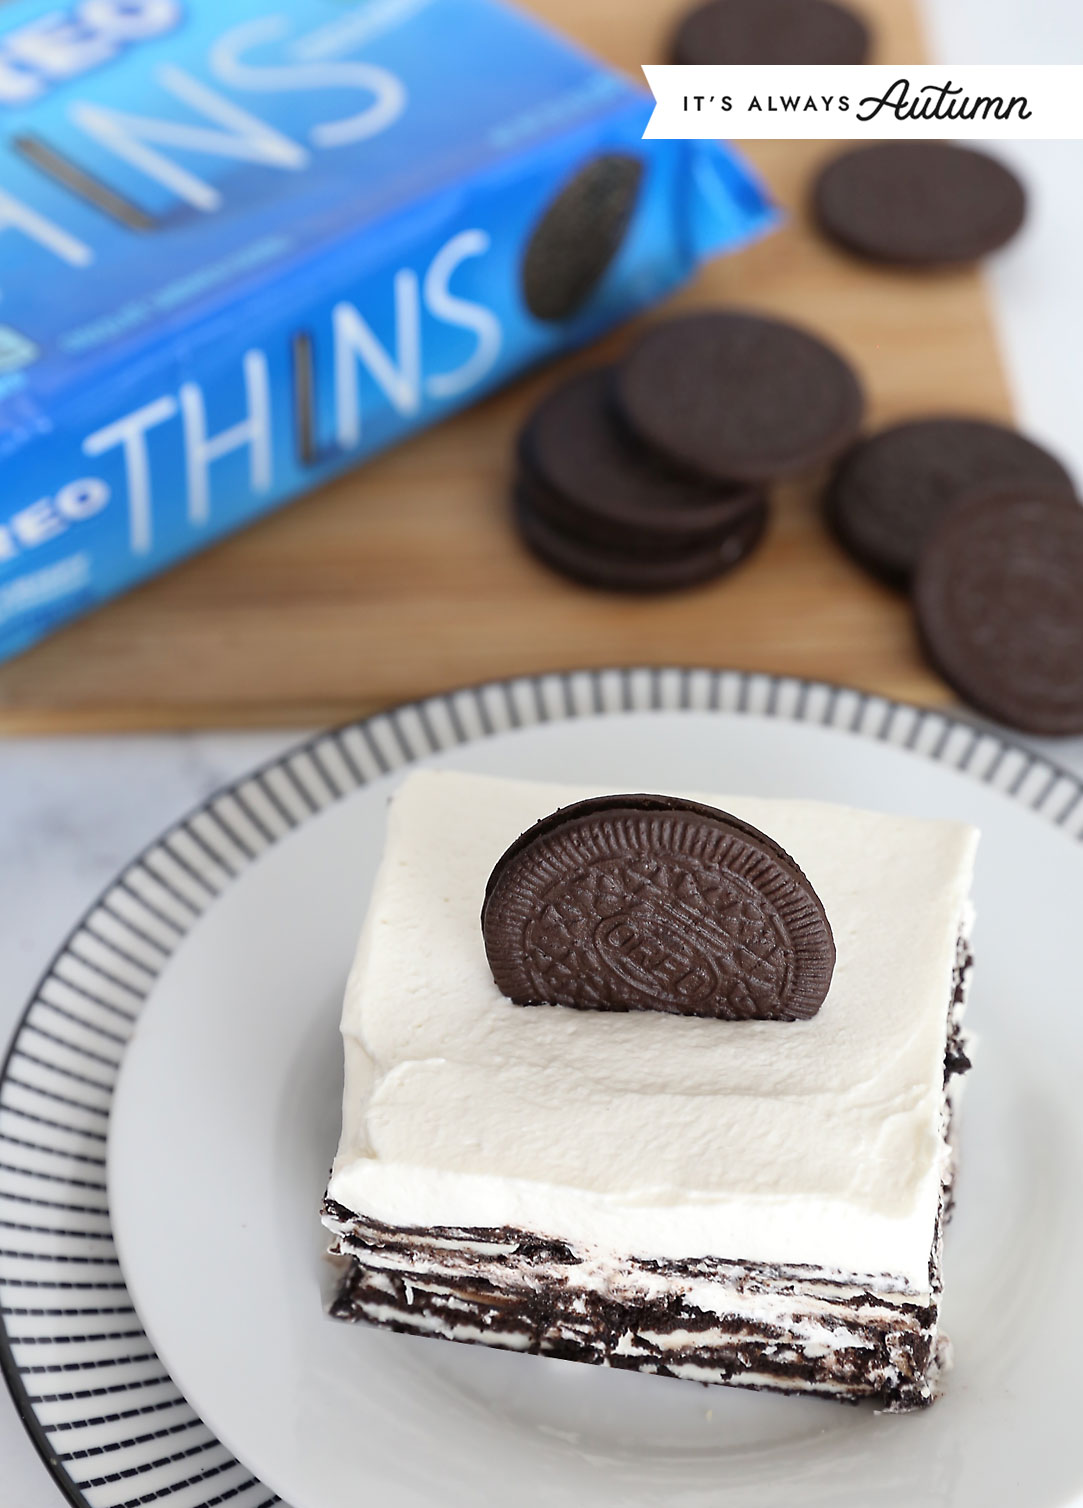
This Oreo Icebox Cake is no exception – you’ll be able to make it in under twenty minutes, and it is the cookies and cream dessert of your dreams! Now, you do need to make this dessert at least 8 hours in advance (the day before is even better!) but when you finally pull it out of the fridge and start serving up slices people will not be able to resist coming back for another taste.
Ingredients
You only need four ingredients for this impressive dessert:
- Oreo Thins
- Whipping Cream (aka heavy cream): Frozen whipped topping (Cool Whip) is often a convenient substitute for whipping cream, but I do not recommend that in this dessert. Because the ingredients are so simple, you really want to beautiful taste of real homemade whipped cream.
- Sugar: I use granulated sugar but powdered sugar (confectioners’ sugar) works great
- Vanilla Extract: You can really taste the vanilla in this dessert, so use real vanilla extract instead of imitation vanilla

Why Oreo Thins?
I prefer using Oreo Thins in this recipe because they have less filling than original Oreos. Because you layer the cookies with real sweetened whipped cream, you really don’t need the flavor of Oreo filling getting in the way here. But if you absolutely love the taste of Oreo filling, feel free to use regular Oreo cookies instead. If you do that, I’d recommend only doing two layers of Oreos and dividing the cream into three layers, not four.
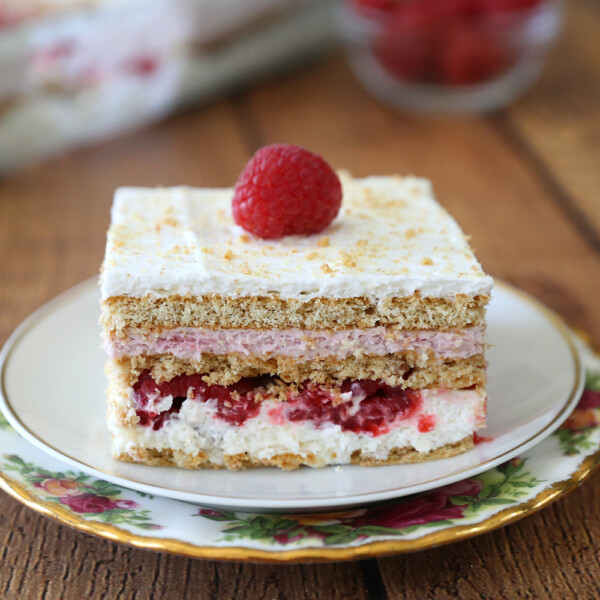
Note: We used to make this dessert with Nabisco Famous Chocolate Wafers, but sadly they have been discontinued. Luckily, my family likes it even better with Oreos!
How to Make Icebox Cake
The real beauty of this easy dessert is just how easy it is to make! Remember, you do need to let it sit in the refrigerator at least eight hours before serving – and we like it better made up to 24 before serving. Here’s what you’ll do:
Whip the Cream
You’ll start by whipping two cups of heavy whipping cream. If you’ll be using a hand mixer, set your mixing bowl and beaters in the freezer for about five minutes to get them cold, which will speed up the whipping process. Then pour the cream into a bowl and start mixing on high. Once the cream looks foamy, you can *gradually* add in the sugar and then pour in the vanilla extract. Continue beating on high for about eight minutes until the cream gets thicks. You are looking for “stiff peaks”, which means that when you pick up your mixer the “peaks” of cream stand up instead of falling over, like this:
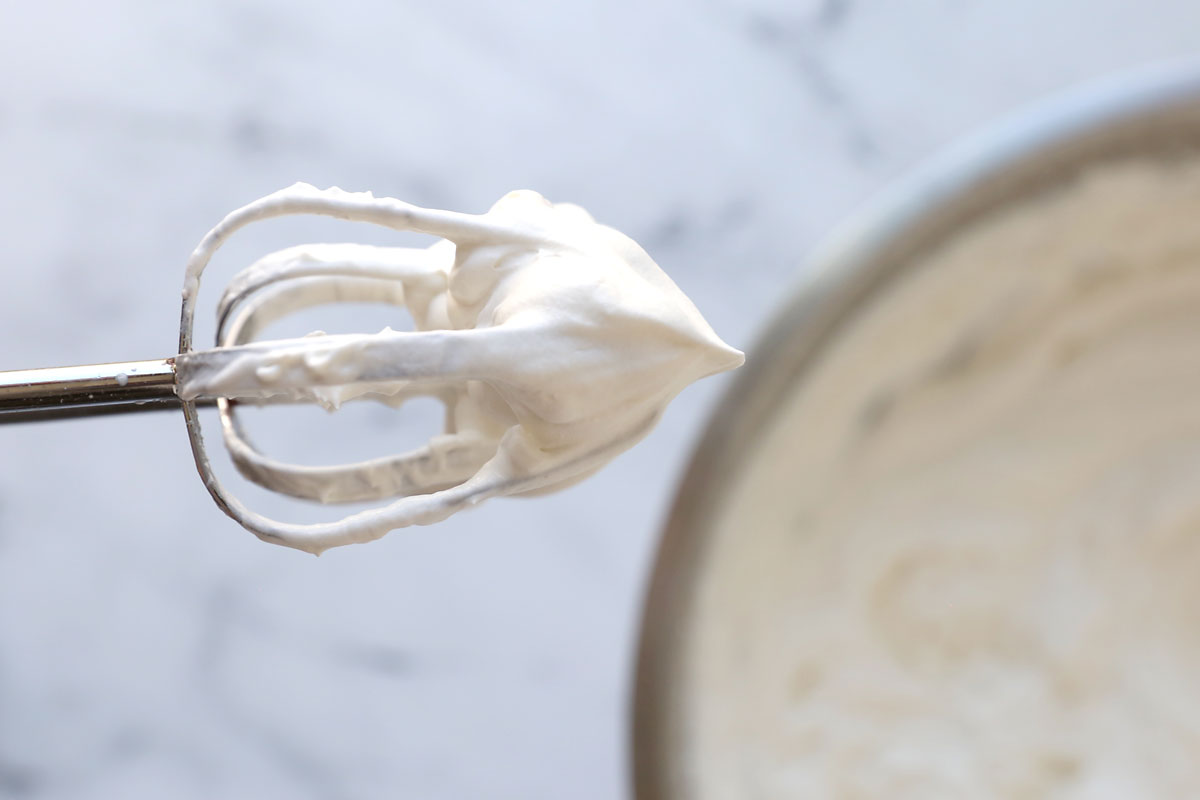
As the cream gets thick, stop and check for stiff peaks every 30 seconds or so. You do not want to over whip the cream or you’ll end up with butter. Whipping the cream can also be done in the bowl of a stand mixer with a whisk attachment.
Layer the Cookies and Cream
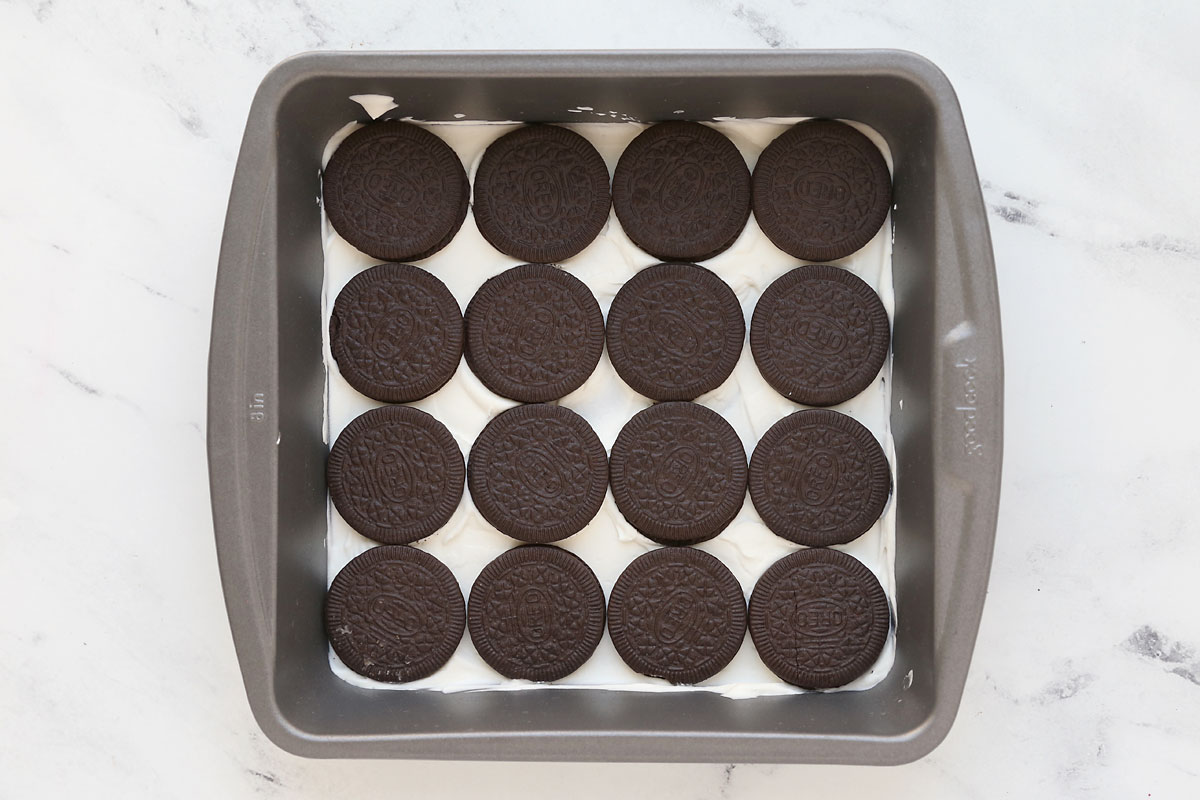
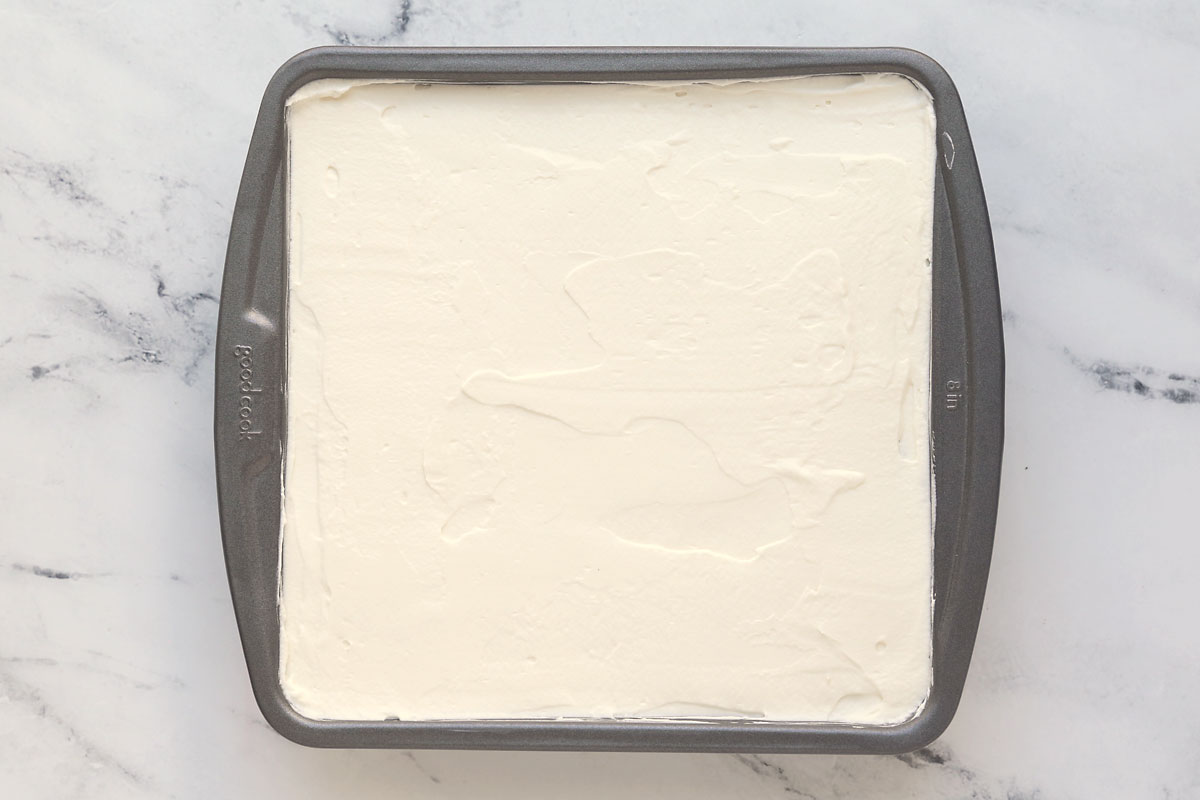
Once the cream is whipped, you can start layering! Spoon about a quarter of the whipped cream into an 8×8 dish and spread it out to cover the bottom of the dish. Then place sixteen Oreos over the cream layer, like this:
Then spoon another quarter of the cream on and spread it over the cookies. Repeat that one more time (a third layer of cream and a third layer of cookies) and then spread the last remaining quarter of the cream over the top. I like to use an offset spatula to get the top nice and smooth:
Refrigerate
At this point the icebox cake needs to chill in the refrigerator for at least 8 hours (up to 24 hours) before serving. So cover it tightly with plastic wrap and place in the fridge. If you like, you can pop it into the freezer for 30 minutes just before serving to make it easier to cut clean slices (this won’t freeze the dessert; it will just firm it up a bit).
How Many Servings?
This recipe is written for an 8×8 pan. Because this dessert is quite rich, it’s best to start with smaller slices, so I would generally cut it into nine pieces. However, it’s also really good, so some people make want seconds.
You can double everything in the recipe and make it in a 9×13 pan instead. Just be aware that the pan will be very full. That would give you 15 slightly larger servings.
Variations
We love this Oreo Ice Box Cake just as written, but if you want to switch things up these are the variations I’d recommend:
- Make the cake with different flavors of Oreo cookies, such as mint or peanut butter
- Top the cake with crushed Oreos, chocolate syrup, caramel, or chopped nuts
Oreo Icebox Cake
Ingredients
- 48 Oreo Thins cookies
- 2 cups Heavy Cream
- 1/4 cup Sugar
- 1 and a 1/2 teaspoon Vanilla Extract
Want more project ideas? Sign up to get my favorite easy crafts and recipes straight to your inbox!
Instructions
- Place a large bowl and beaters in the freezer for five minutes until cold. Pour cream into a the bowl and begin beating on high. When the cream gets frothy, start adding in the sugar very gradually. Then add in the vanilla. Continue to beat until stiff peaks form, about eight minutes. (Cream can also be whipped in a stand mixer with a whisk attachment.)
- Spoon about one quarter of the whipped cream into an 8×8 dish and spread out evenly. Top with 16 Oreo Thin cookies in an even layer.
- Spoon another quarter of the cream over the cookies and spread out evenly. Add another layer of 16 cookies. Repeat with a third layer of cream and a third layer of cookies. Finish with the remaining cream.
- Tightly cover the dish with plastic wrap and place in the refrigerator for at least eight hours, or up to 24 hours, before serving. Keep leftovers refrigerated and eat with 2-3 days.


Erin says
Just fyi, in the recipe step 1, you say to slowly add the sugar, and then add the sugar. I think the 2nd one should be vanilla 🙂
Autumn says
You’re right, thanks!
Lara says
If I took the oreo’s apart would that work? I’m trying to make it gluten free and I can get GF oreos just not the thins.
Autumn says
Yes, I think that would work great!