
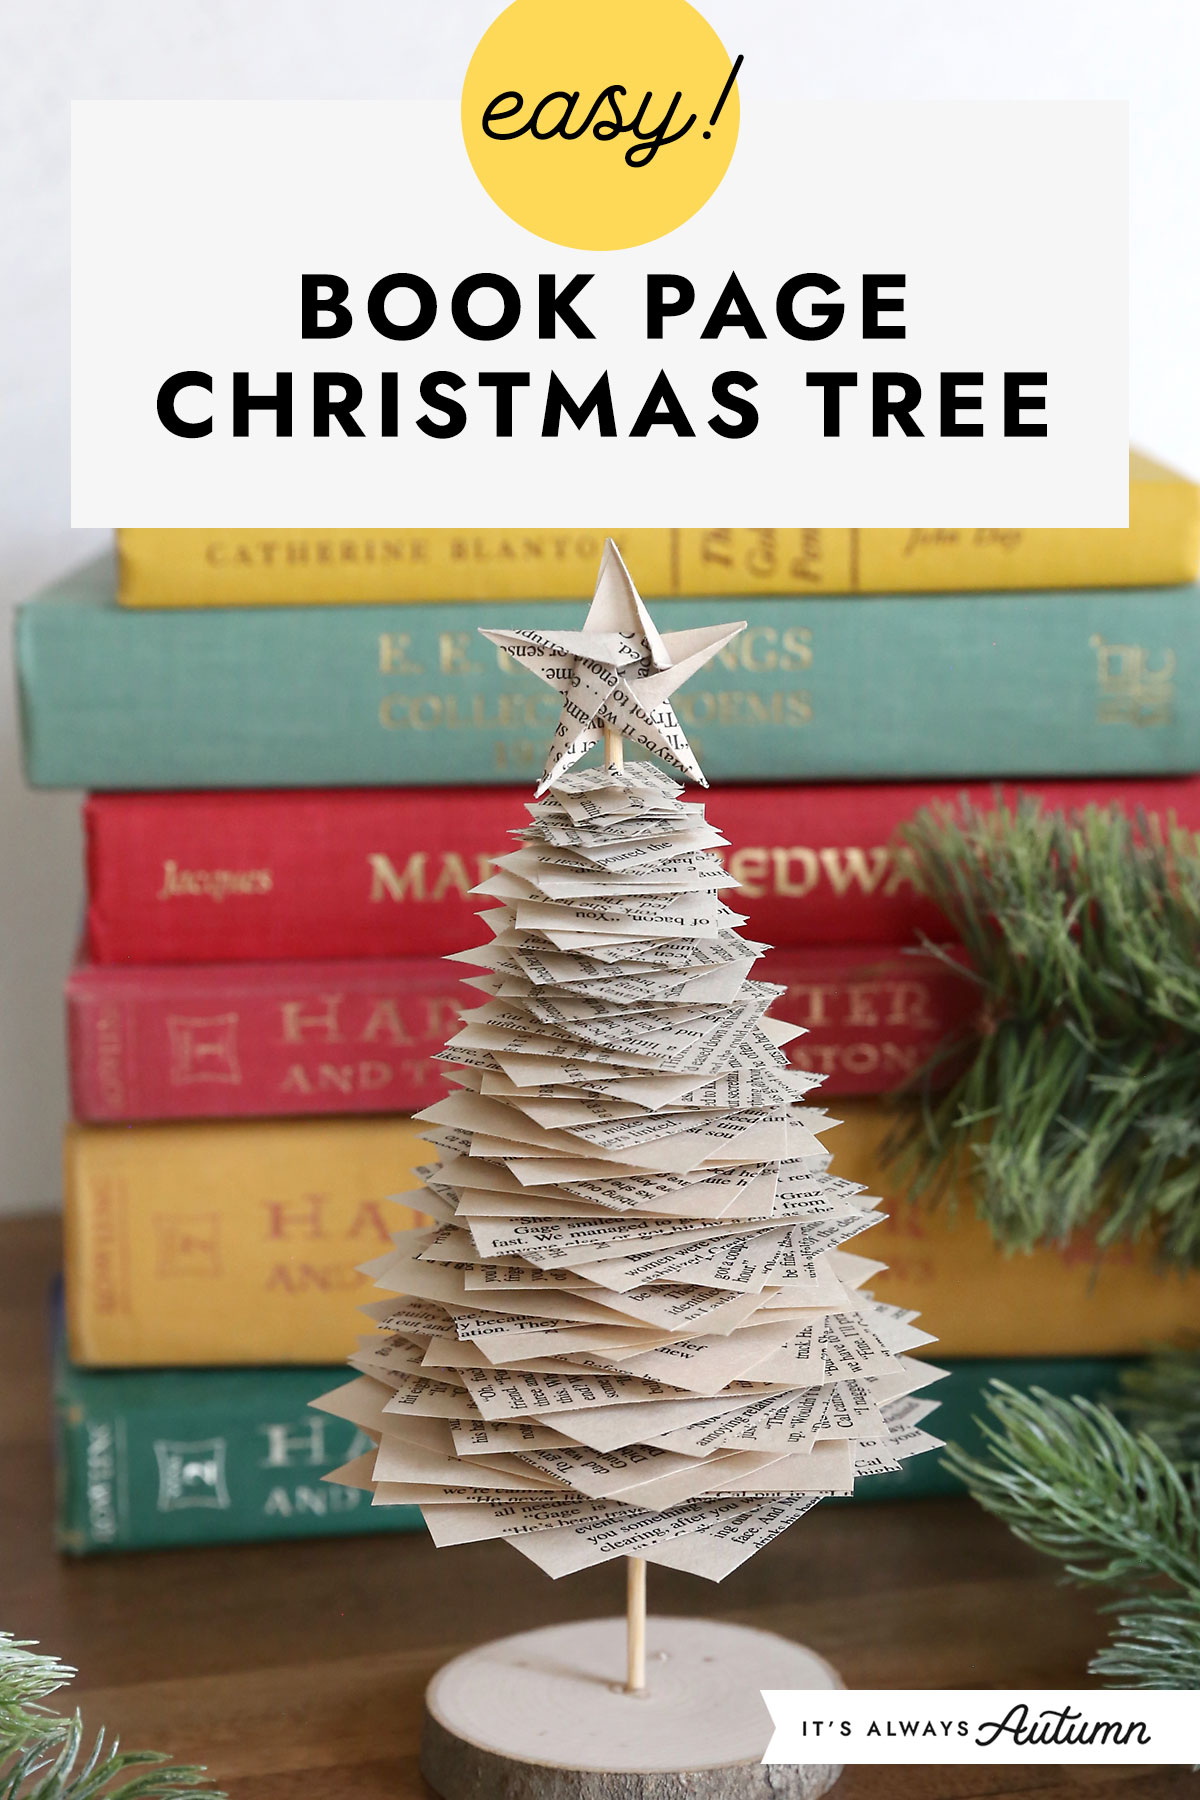
In today’s post: Learn how to make a pretty book page Christmas tree using an old paperback book from the thrift store. This is an easy Christmas craft for adults you can complete in about half an hour.
I love using books to make holiday decor! Books have a special place in my heart and I love the look of book pages – it feels modern and vintage at the same time. I know some people think using books for crafts is a waste, but when I find well used books languishing at the thrift store I figure they are ready for new life as something beautiful. I’ve made folded book Christmas trees before, but this year it was time for a new take:
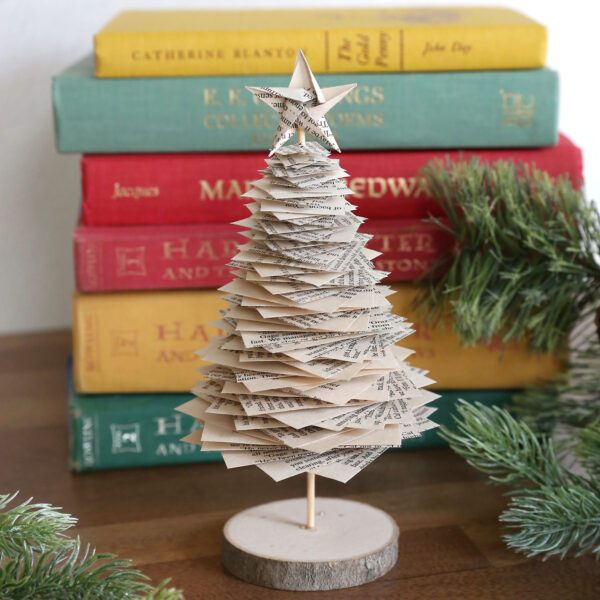
Paperback Book Christmas Tree
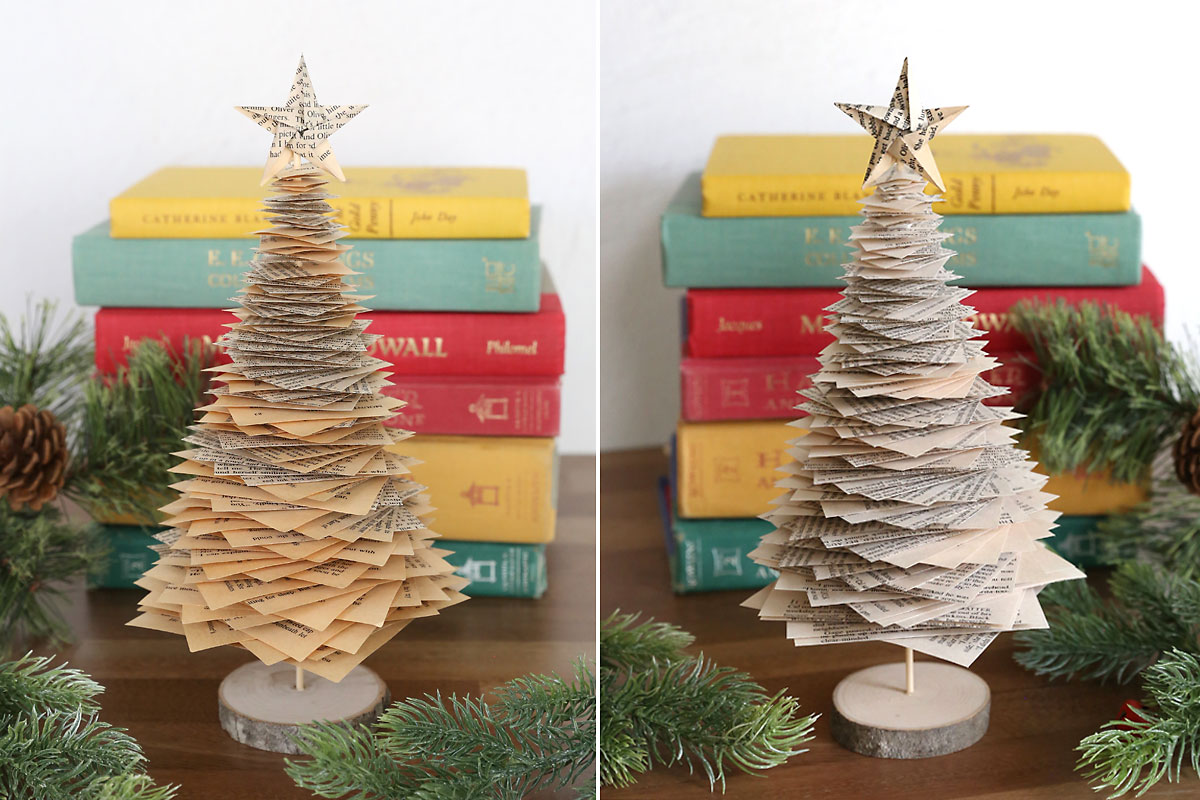
These pretty trees are made with squares of book paper that are placed on a base made from a wood round and a bamboo skewer. You can find books at the thrift store or dollar store, or your local library might also sell old books for quarters. If you purchase an old book for this project, just make sure the pages aren’t bent or crinkled. Also, pay attention to the color of the pages – some old book pages get quite yellowed, which gives the tree an aged, vintage look. Newer books will be closer to white which gives the trees a more modern look, so choose books according to what vibe you’re going for.
Supplies
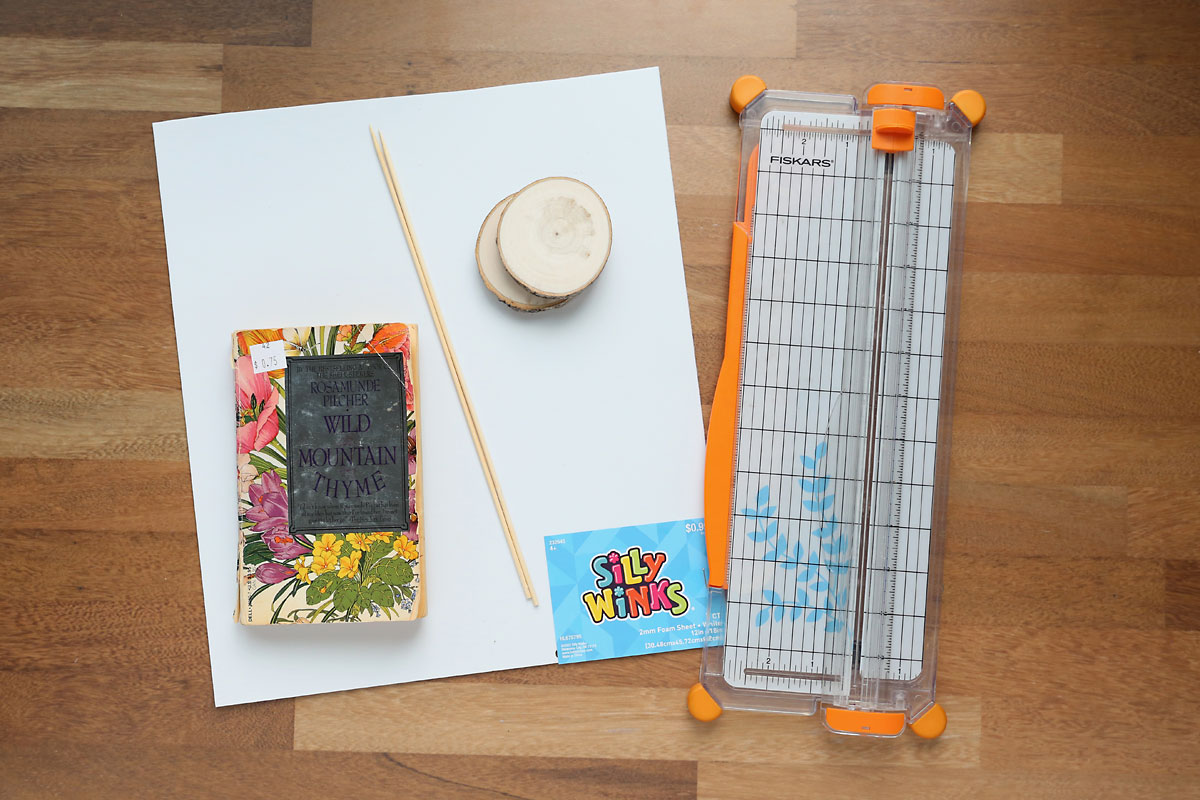
You only need a couple things to make these book page trees:
- Paperback book: I picked up a few books from the thrift store for under a dollar each. I made three trees from one long book.
- Paper trimmer: You’ll be cutting book pages into lots of different size squares, so a paper trimmer is much more convenient than using scissors.
- Sheet of craft foam: You’ll cut small squares from craft foam to act as spacers in between the book pages. I found individual sheets of craft foam at Hobby Lobby.
- Small wood round: This will act as a base for the tree; the wood rounds I used are from Hobby Lobby and are about 3 inches across.
- Bamboo skewer: This will act as the trunk of the tree. You can find bamboo skewers at grocery stores or the dollar store. Look at the skewers as you pull them out of the package to ensure the ones you use are straight.
- Star or tree topper (optional): The trees look pretty on their own, but having some sort of star or topper will make it look more like a Christmas tree. You can use a small wood star cutout or even a tiny ball ornament. I folded an origami star out of book paper to top my trees; you can find the template for that in the blue box right beneath the supply photo.
You’ll also need a way to drill a small hole in the wood round and a hot glue gun.

How to Make Book Page Christmas Trees
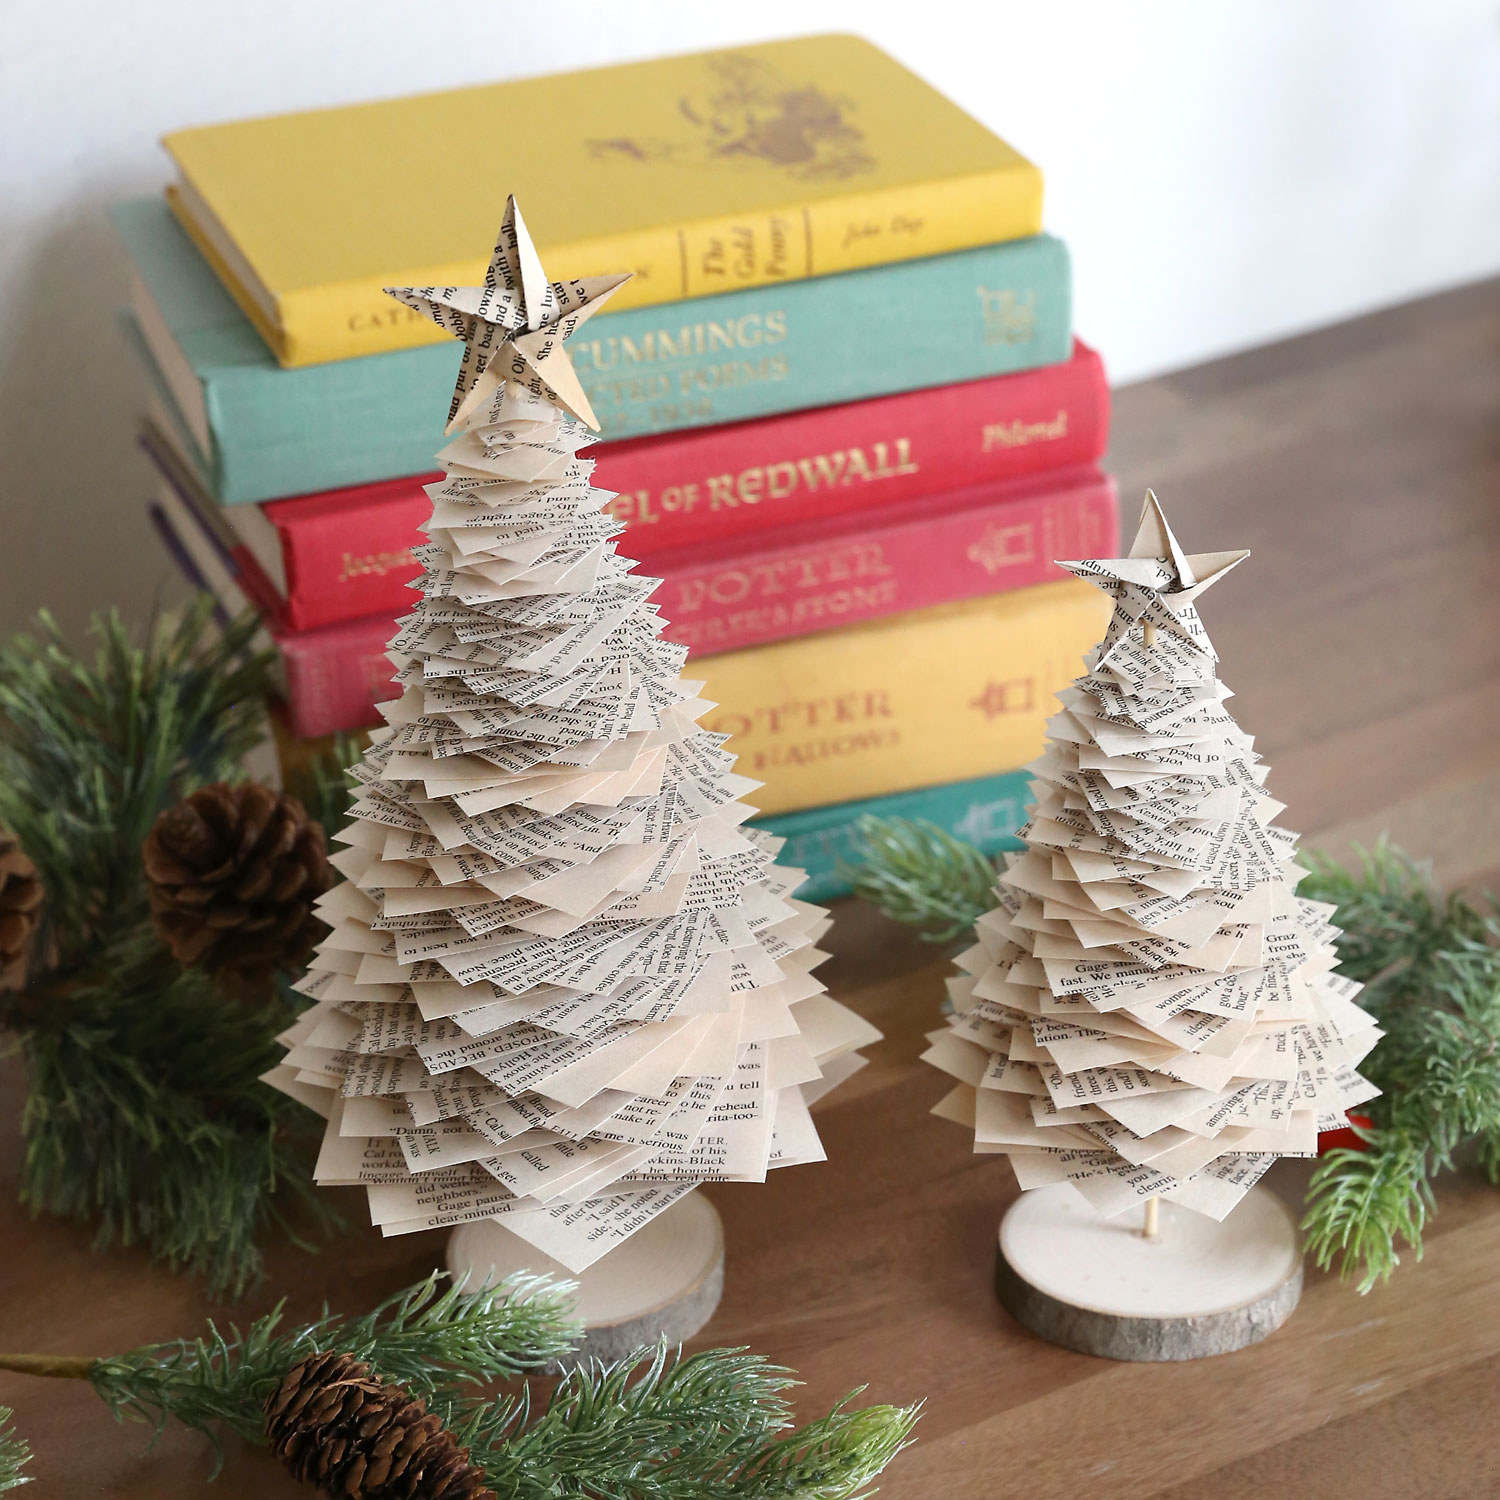
I made two different size book paper trees, one that is 11 inches tall and one that is about 8 inches tall. The taller tree starts with 4 inch squares; the smaller tree starts with 3 inch squares. Each tree can be completed in about half an hour.
Prep Pages and Spacers
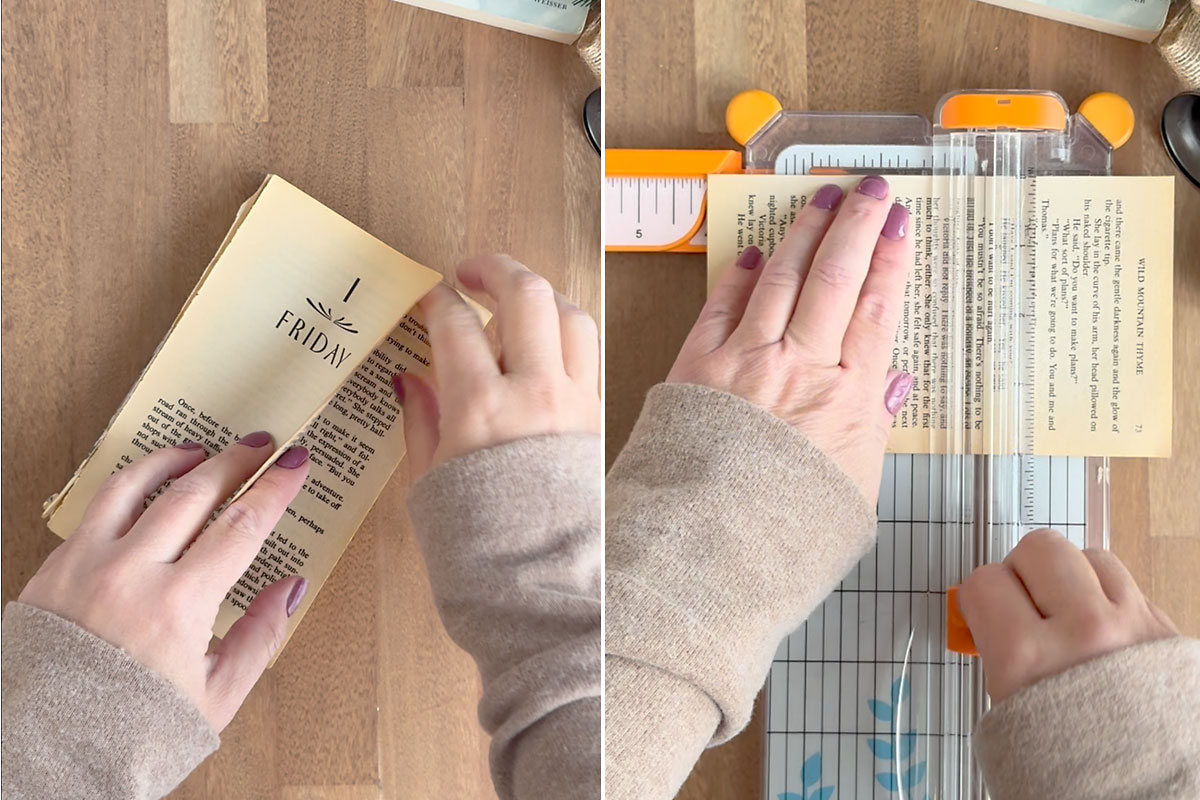
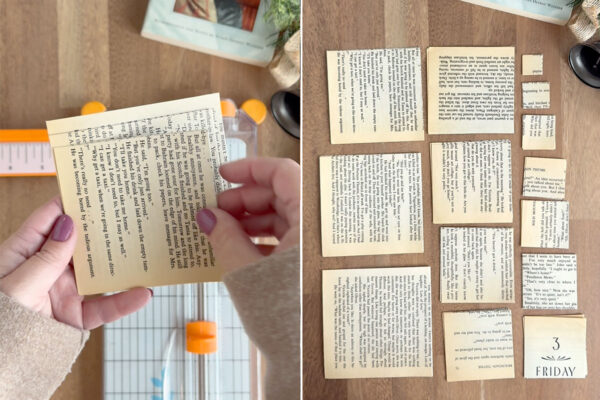
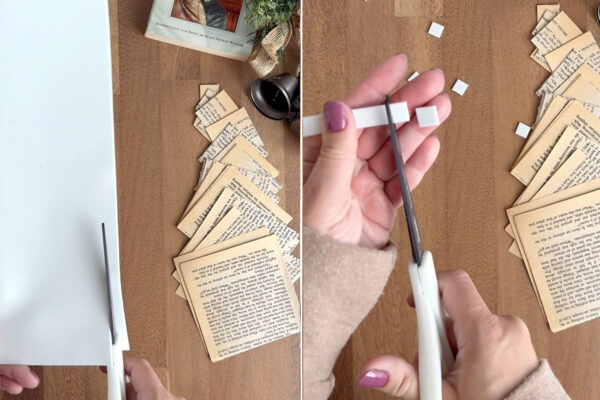
The first step is to cut your paper squares. Rip the cover and first page or two off the front of your book. Then count out six pages and rip them out in a chunk. Repeat until you have about 10 chunks of six pages each. Then you can begin cutting squares.
.
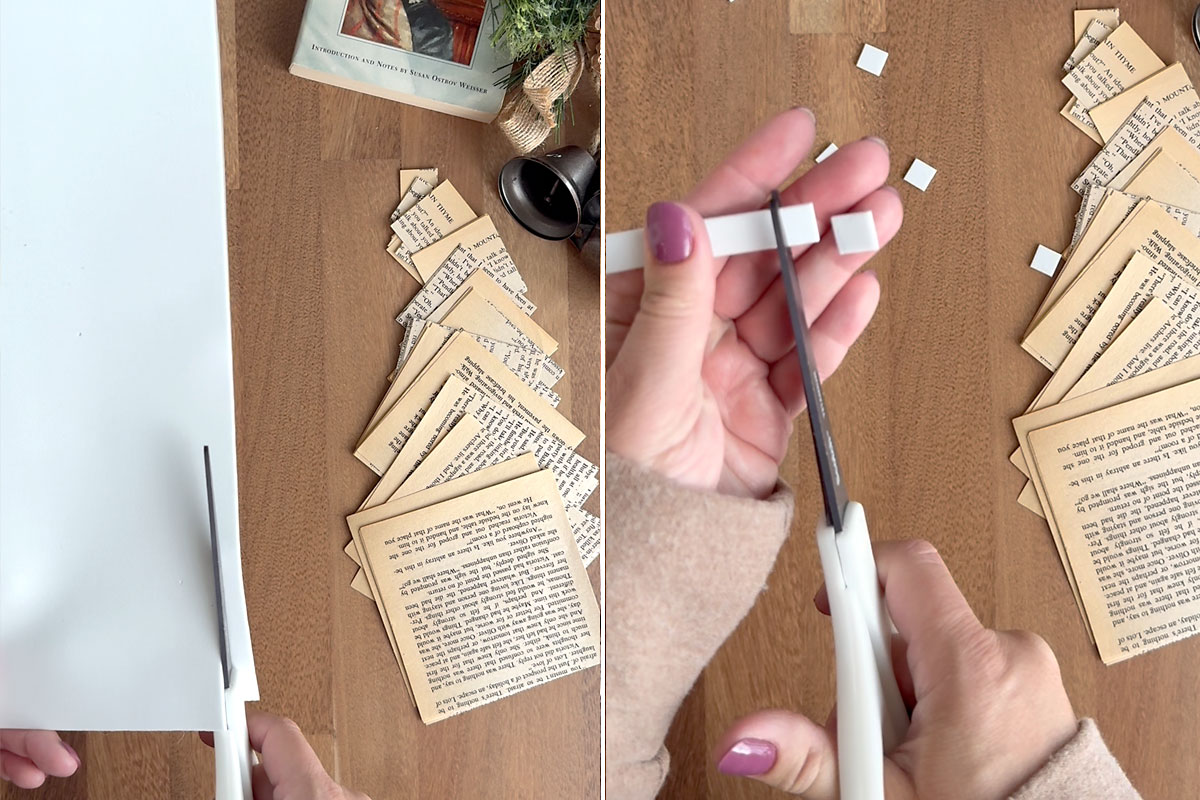
For the larger tree, start by cutting 4 inch squares from one chunk of 6 pages. Then cut 3.75 inch squares from the next chunk. Then 3.5 inch squares, then 3.25, etc. Continue cutting squares, going down a quarter of an inch each time, until you get down to a .75 inch square. You’ll end up with 14 different sizes of squares, and you should have six pages of each size. (For a smaller tree, start with 3 inch squares and go down to .75 inch squares.)

Next, you’ll cut spacers to go between each square. Grab a sheet of craft foam and cut a narrow strip off one end (about 3/8 of an inch wide). Then cut that strip into small squares. Repeat with two more strips.
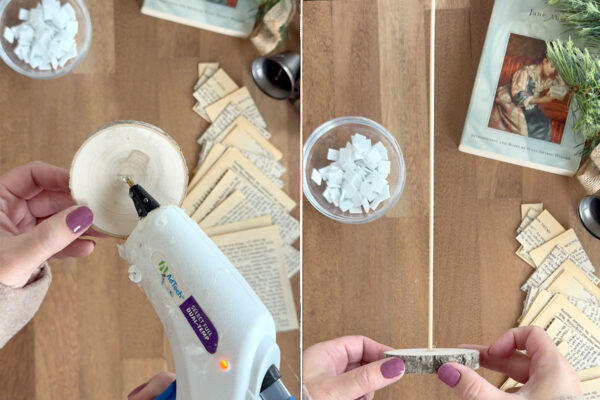
Make the Base
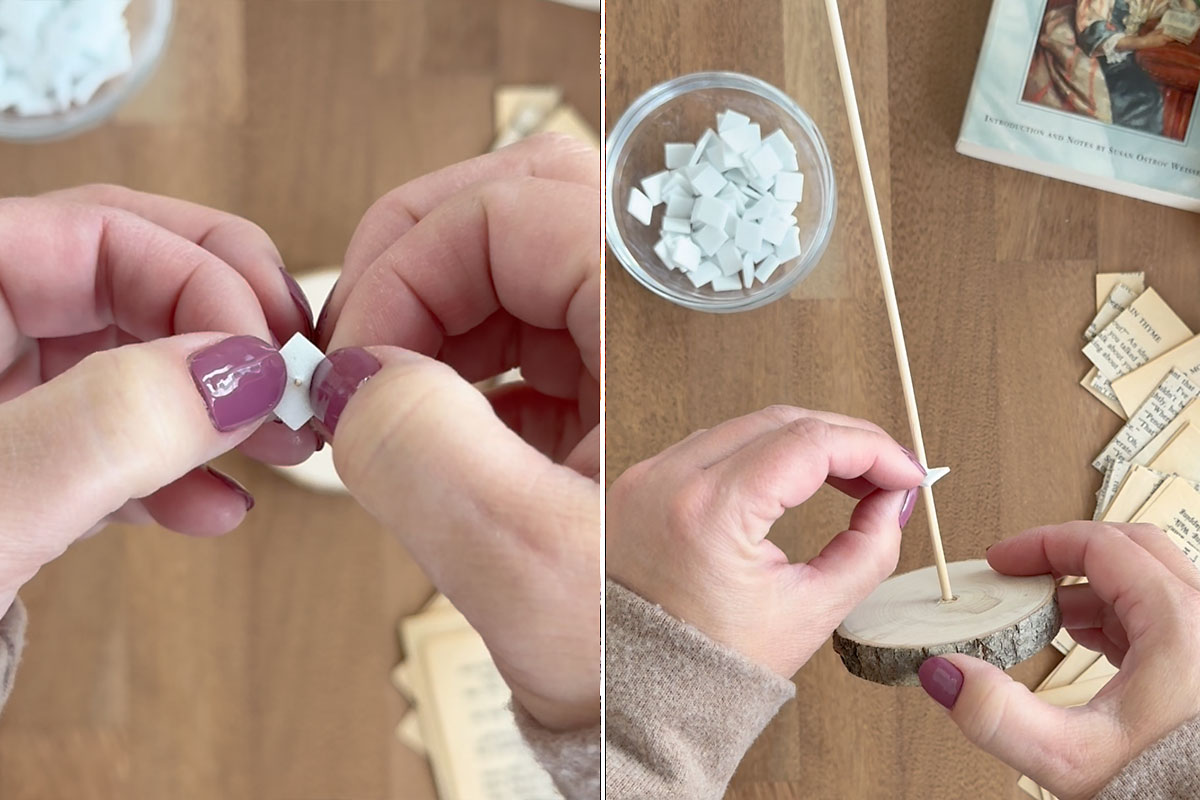
Now it’s time to make the base for the tree. Drill a small hole in the center of the wood round, then add a bit of hot glue in the hole and push the flat end of the bamboo skewer in the hole. Give it a minute for the glue to cool.

Create the Tree
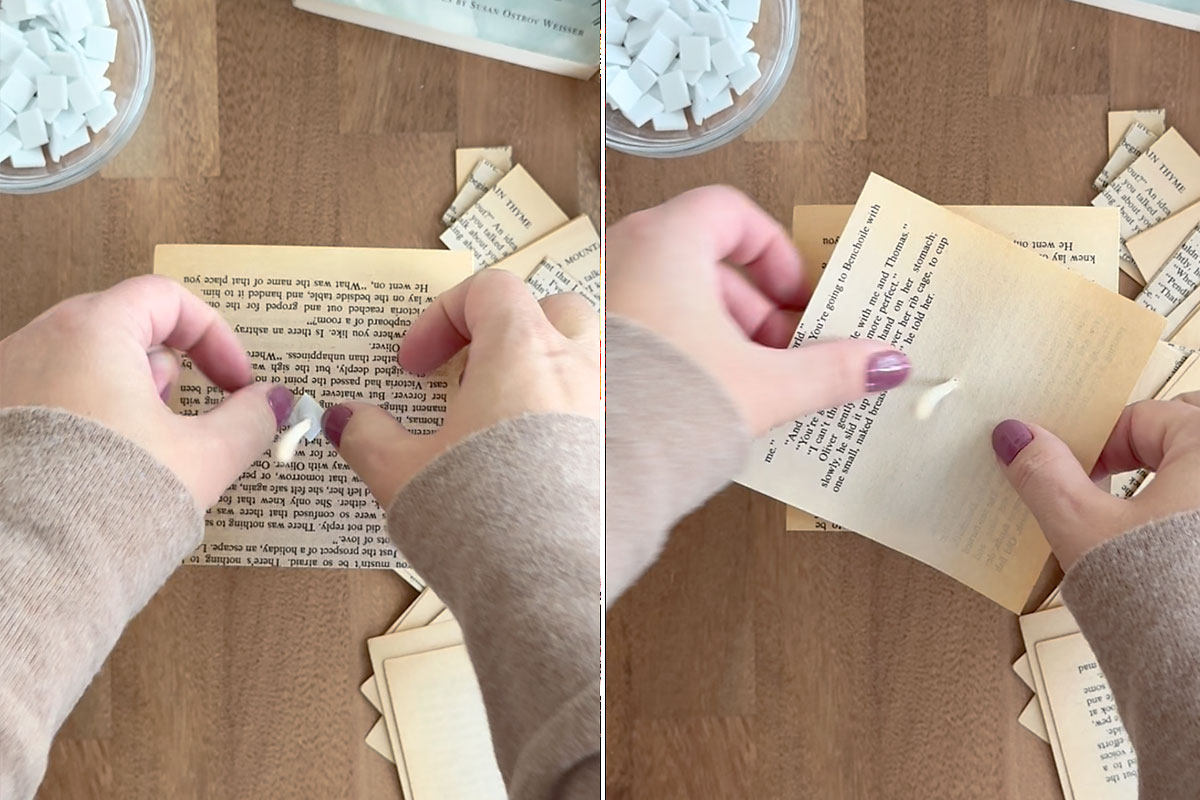
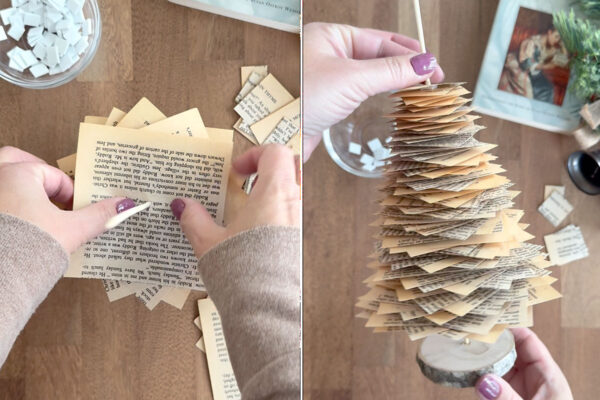
Now you can start building the tree! I think it’s easiest to do this with the base on a table while you stand next to it so you can look down over the top end of the skewer. Begin by placing one of the spacers over the pointed end of the skewer and pressing down so the skewer pokes through it (it will poke through easily). Slide the spacer down on the skewer until it is just a few inches above the base.
Next, grab your stack of 4 inch squares and separate the six pages. Place the first one on the tree, poking the bamboo skewer through the center of the square. (It doesn’t need to be the exact center; I did not measure. I found that as long as I was looking down on the skewer I was able to estimate the middle pretty well – but you can use a ruler to mark the center if you prefer.) Slide the first square down until it’s sitting right on top of the spacer.
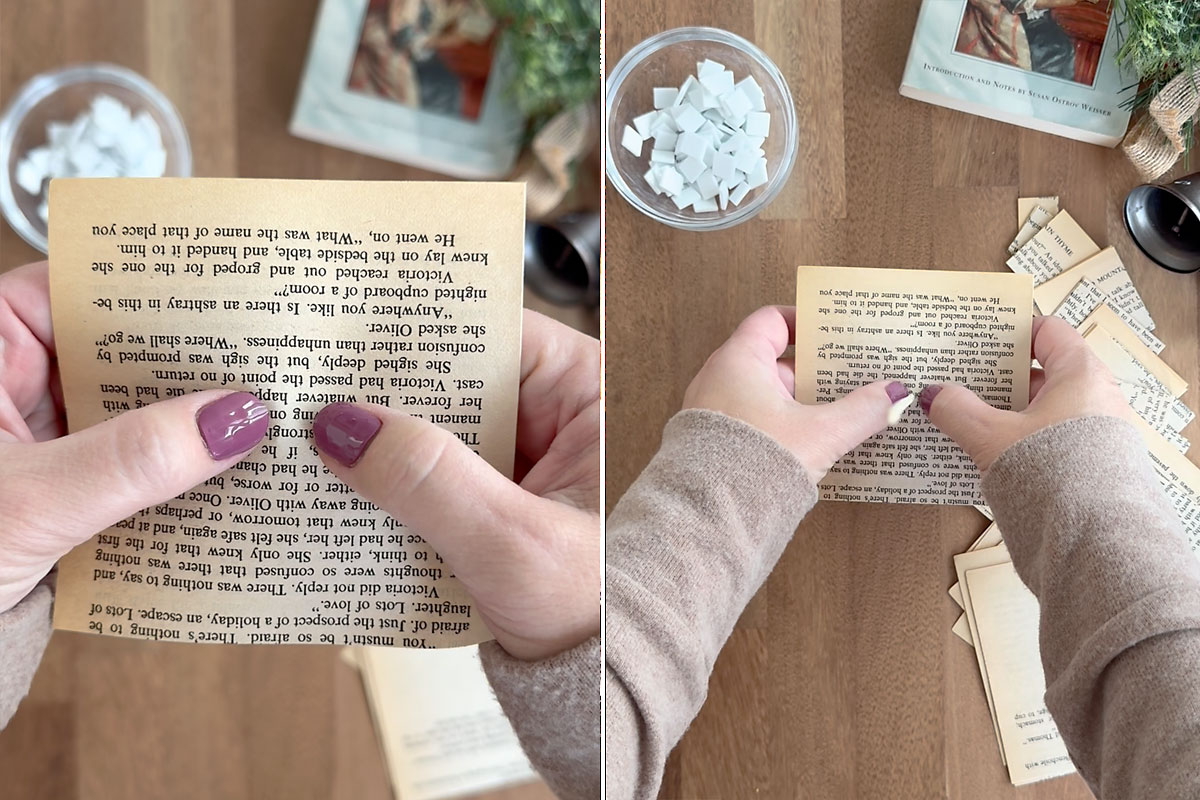
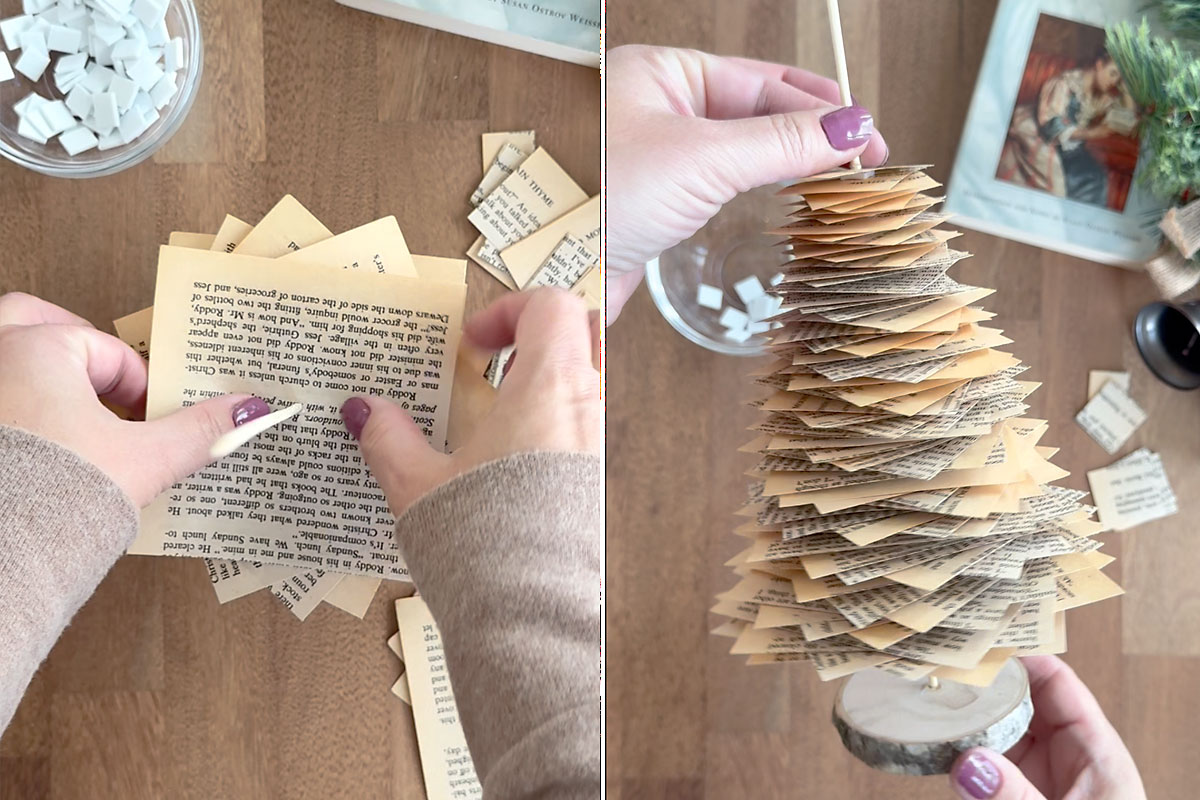
Then repeat the process with another spacer and a second square of book paper. But this time, rotate the paper slightly so the corners are offset a bit from the first square.
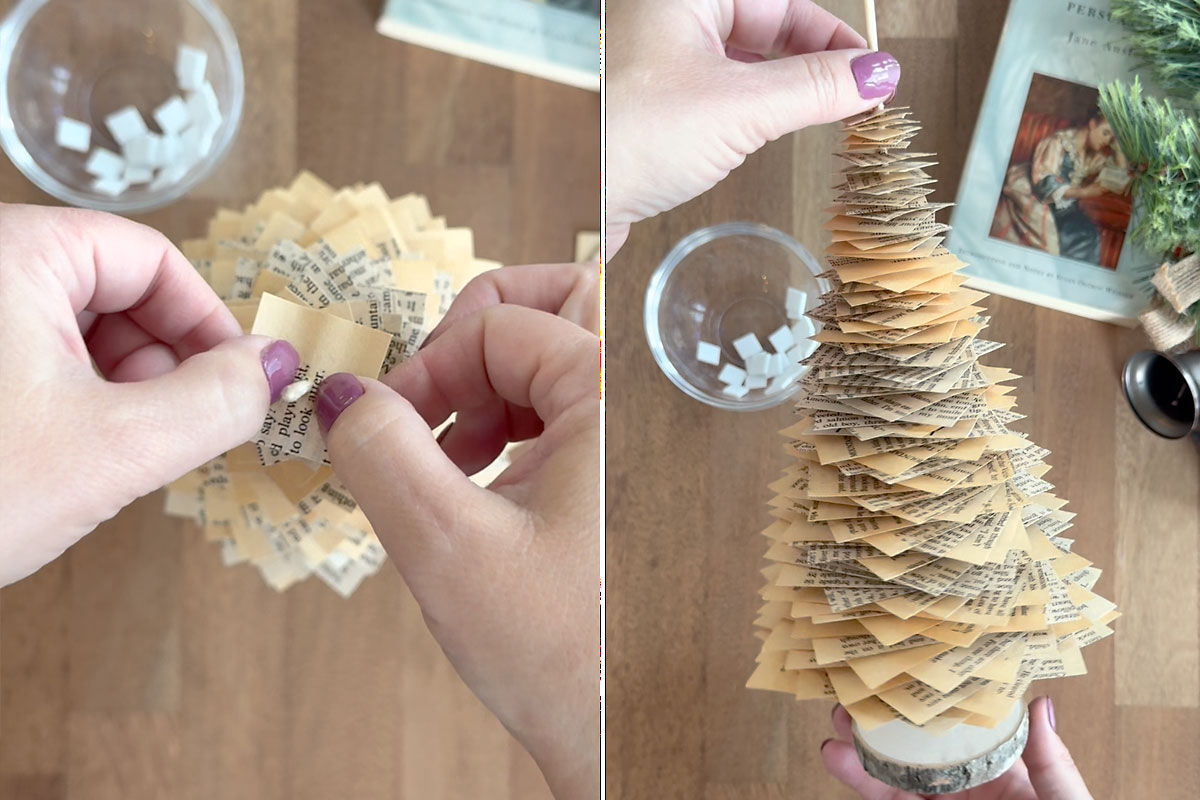
Continue repeating this process, adding a spacer, then another square of paper. You’ll start with the largest squares and then move on to the next smaller ones, taking care that you are rotating the squares just a bit each time. As you work, you’ll see the tree begin to take shape.
When you get to the three smallest squares (1.25, 1, and .75), stop using spacers, because they will be too obvious when you look at the finished tree. Depending on what angle you look at the tree you will be able to see some of the spacers, but they are not obvious between the larger squares. But I think they are too obvious between the smallest squares. So for the last squares, just slide the paper down, leaving a small space.
Finish and Top the Tree
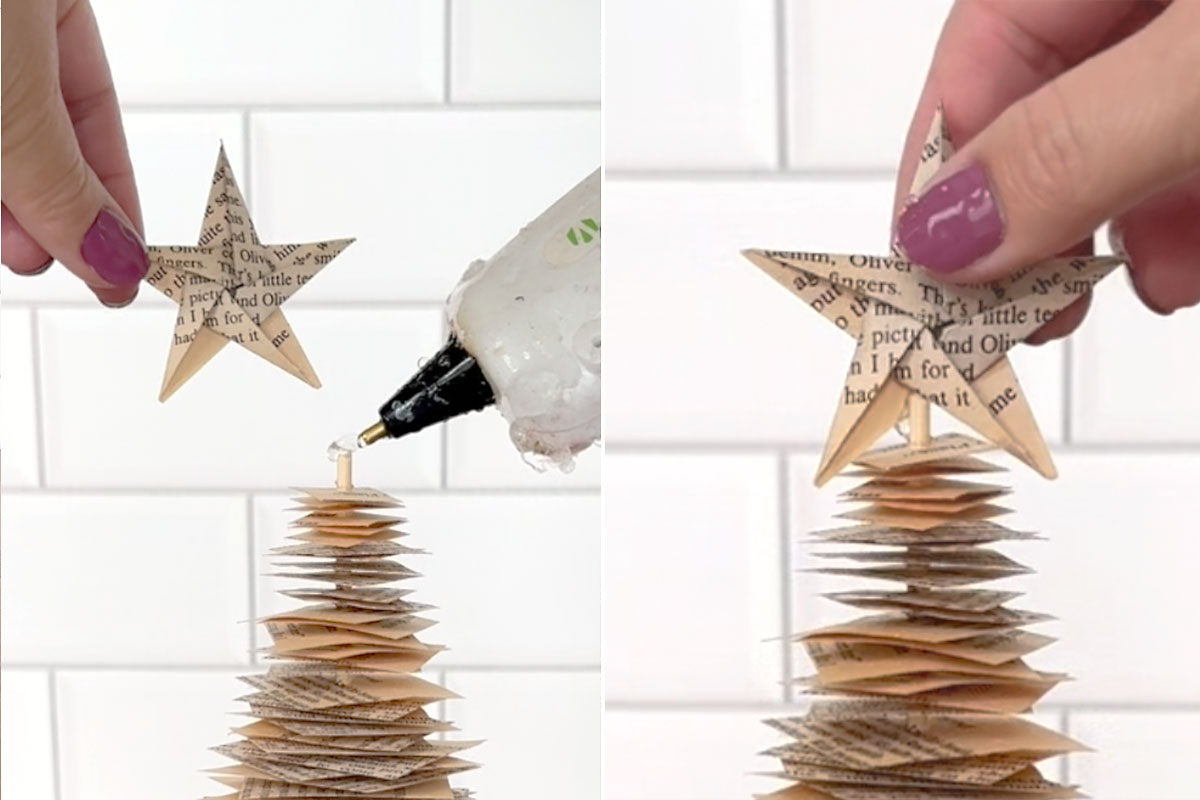
Once you’ve added all the squares to the tree, you’ll need to decide how you are going to decorate the top. There will be a little bit of extra skewer sticking up past the paper. If you are using an origami star to top your tree, snip off the skewer about 1/4 inch past the top square.
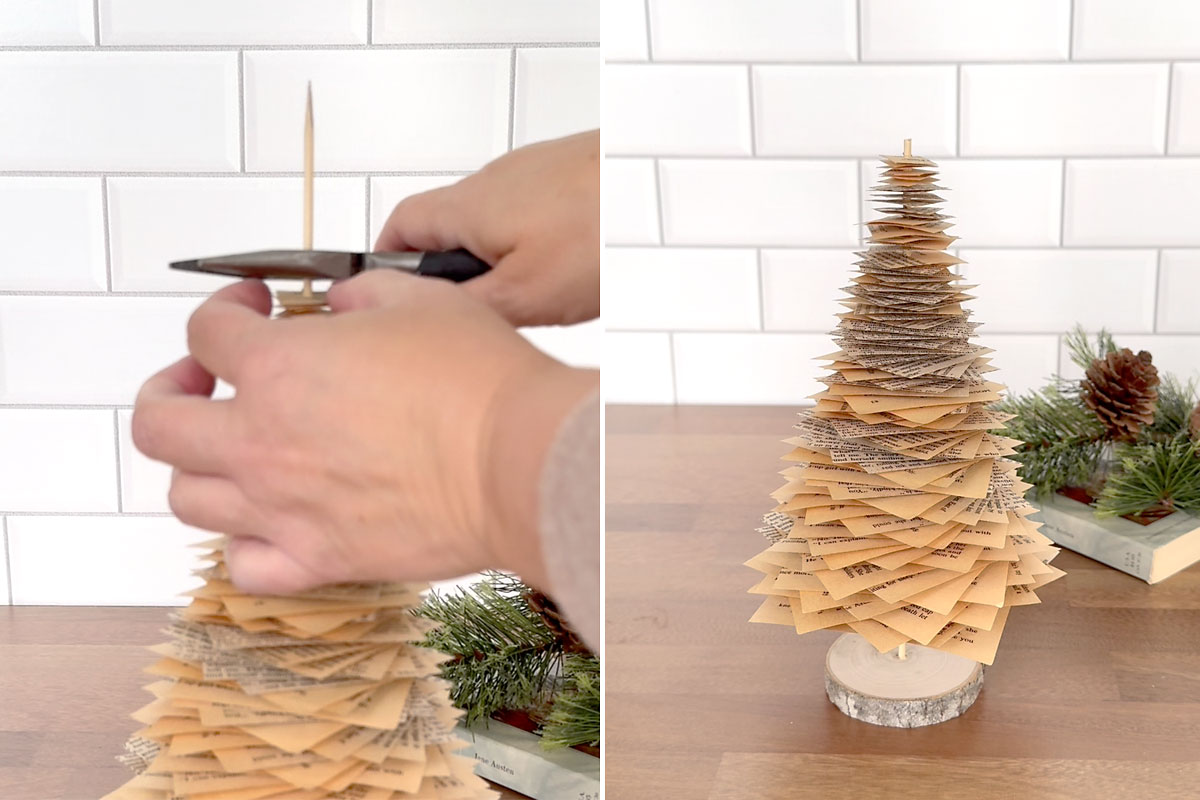
Place a little hot glue on top of the cut skewer, then place the origami star on top of the tree, pushing down a bit so the skewer goes inside the star just a bit.
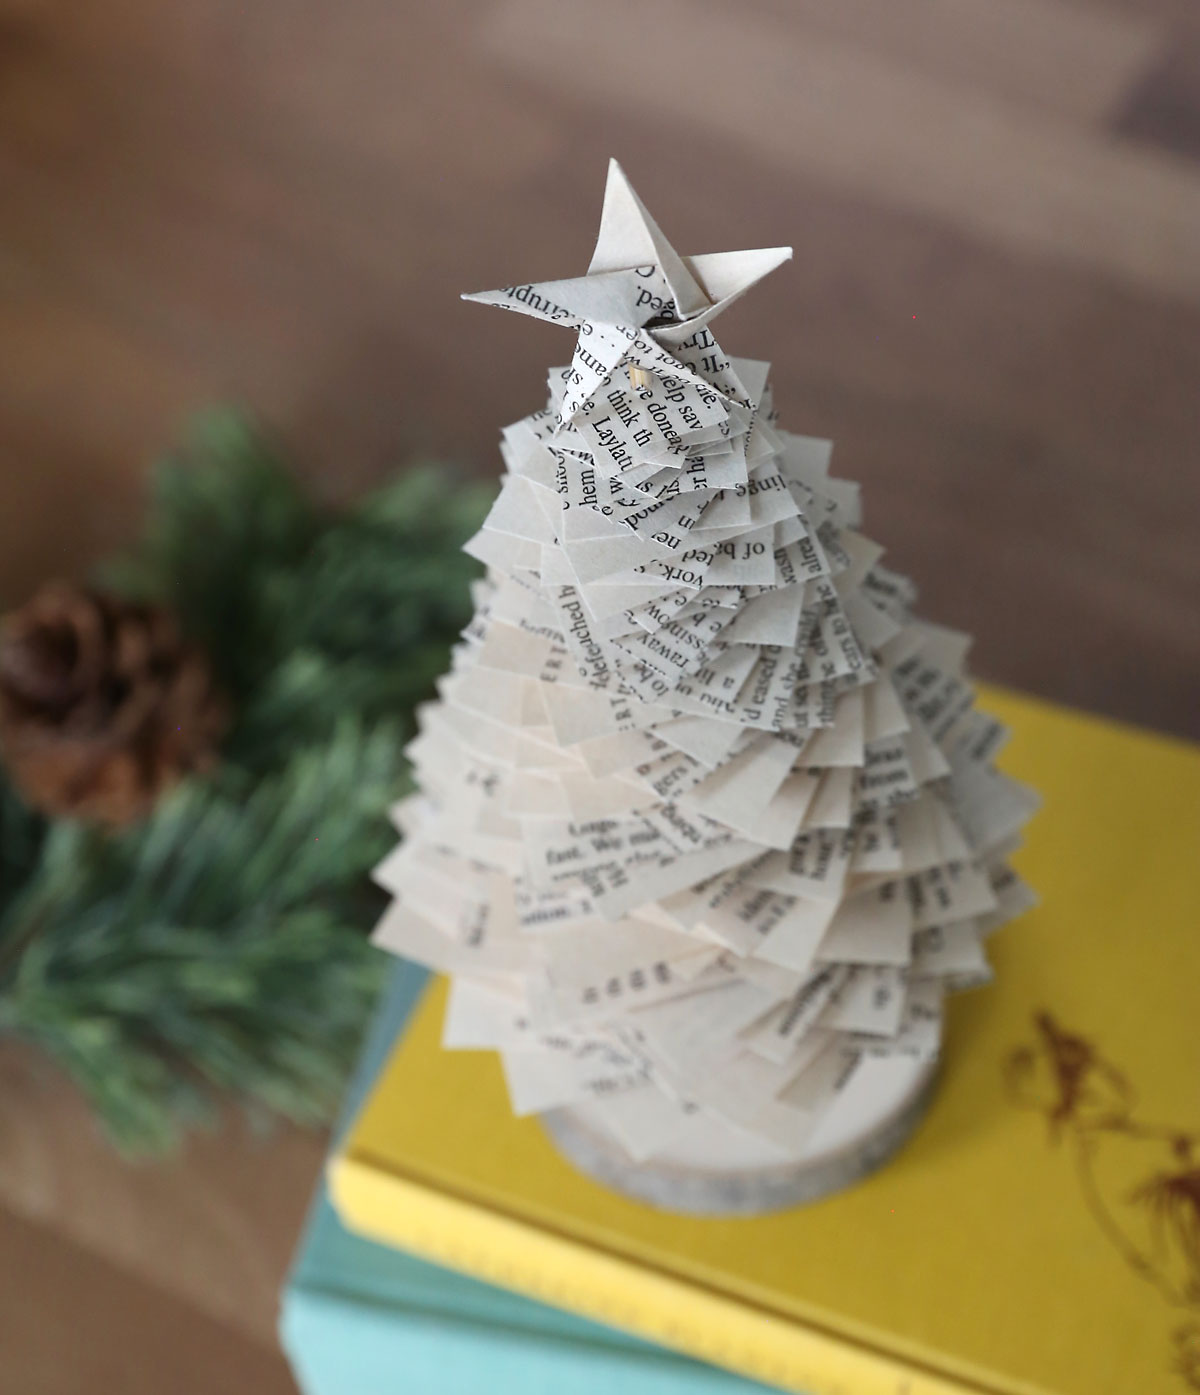
Now your book page Christmas tree is complete and ready to display!
Book Page Christmas Tree
Supplies
- Paperback Book
- Paper Trimmer
- Sheet of Craft Foam
- Wood Round about 3 inches
- Bamboo Skewer
- Star Topper optional
Want more project ideas? Sign up to get my favorite easy crafts and recipes straight to your inbox!
Equipment
- Hot Glue Gun
- Drill
Instructions
- Begin by ripping out six page chunks from the book. Then cut each chunk into squares, starting with 4 inch squares then graduating down 1/4 inch each time (4, 3.75, 3.5, 3.25, etc., down to .75 inches). You will end up with 14 different sizes of squares, with six squares of each size.

- Cut a narrow strip from the craft foam, then cut the foam into small squares (about 3/8 of an inch). Repeat with two more strips to make lots of squares.
- Create a base by drilling a small hole in the center of the wood round and gluing the flat end of a skewer into it.
- Looking over the top of the skewer, place one of the spacers over the pointed end of the skewer and press it down so the skewer pokes through it (it will poke through easily). Slide the spacer down on the skewer until it is just a few inches above the base.
- Next, grab your stack of 4 inch squares and separate the six pages. Place the first one on the tree, poking the bamboo skewer through the center of the square. Slide the first square down until it’s sitting right on top of the spacer.
- Continue adding a spacer, then a square of paper, rotating each square slightly so the corners are offset. Use all of the largest squares first, and then move on to the next smaller ones, taking care that you are rotating the squares just a bit each time. As you work, you’ll see the tree begin to take shape.
- When you get to the three smallest squares (1.25, 1, and .75), stop using spacers, because they will be too obvious when you look at the finished tree. Just slide the paper down, leaving a small space.
- When you are done adding paper squares, trim off any excess skewer, then glue on an origami star or other topper.


Mary says
LOVED this project! I stamped the book pages with red and gold swirls before TEARING the pages along a textured ruler to give them soft edges. I used an old water-damaged book so the pages were not smooth and were somewhat rumpled. I used small pieces of cardboard as the spacers and a dollup of glue on each to hold each page in place over time. I placed the trees on old children’s wooden blocks instead of on wood rounds, and I hot glued miniature holiday packages, toys and greenery under the tree atop each block. I also glued colored beads to intermintent corners of the paper pieces. The trees ended up looking fully decorated.
Joetta says
Simple to do. A new project for a rainy afternoon. A very cute addition to any Christmas decoration.
Thank you for sharing.