
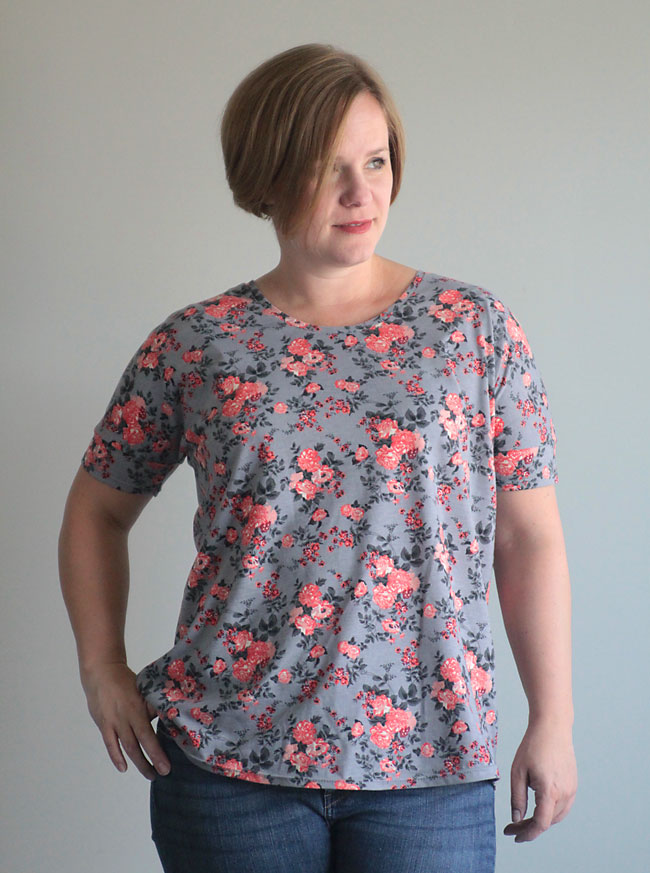
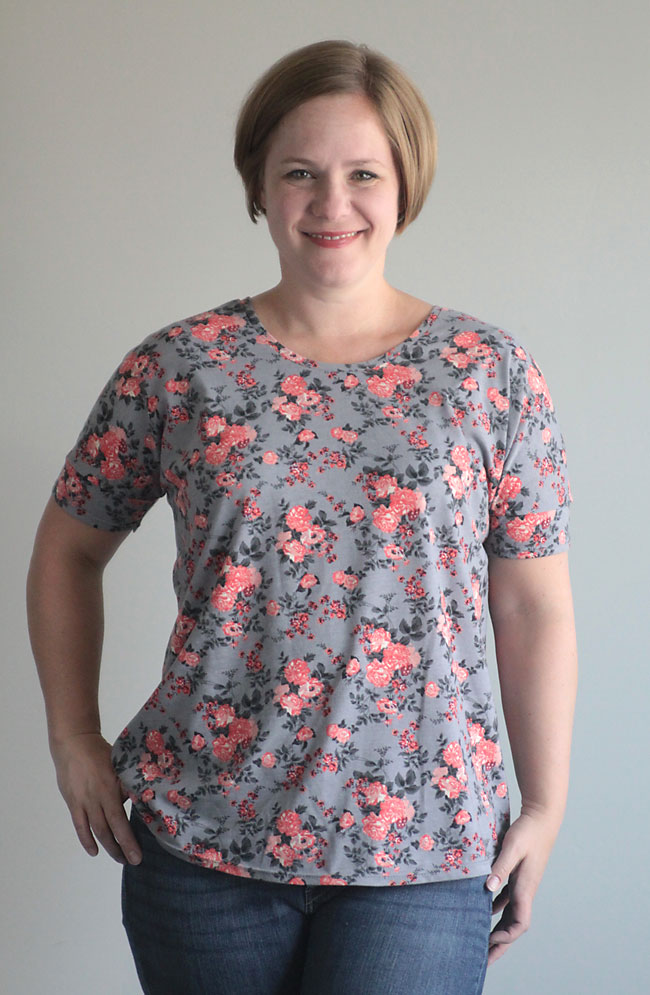
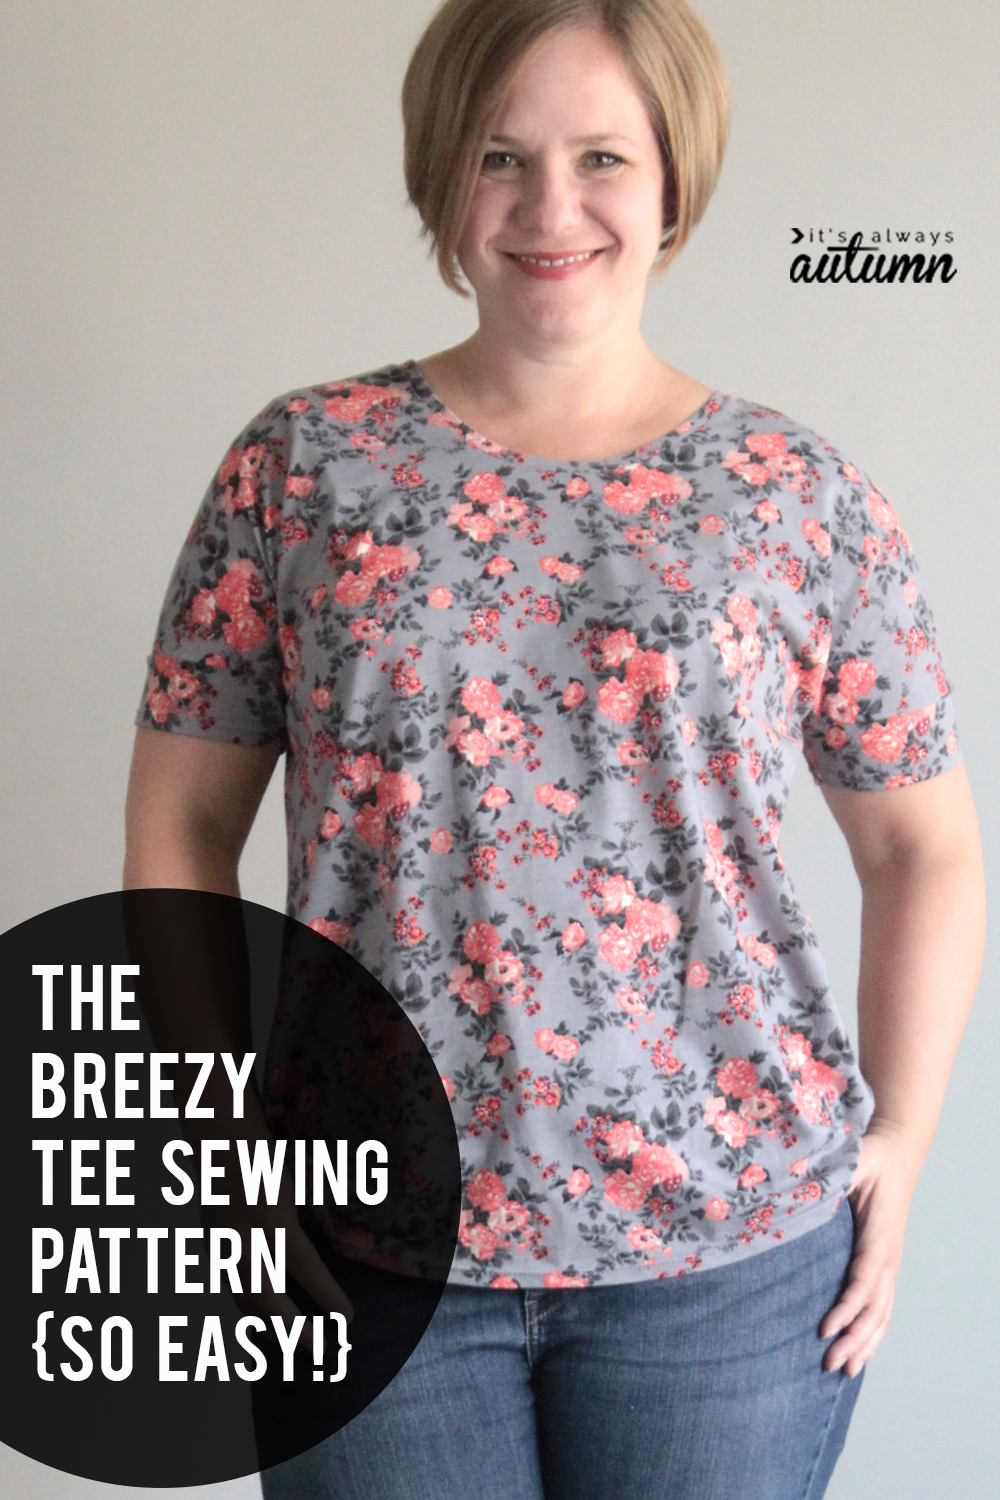
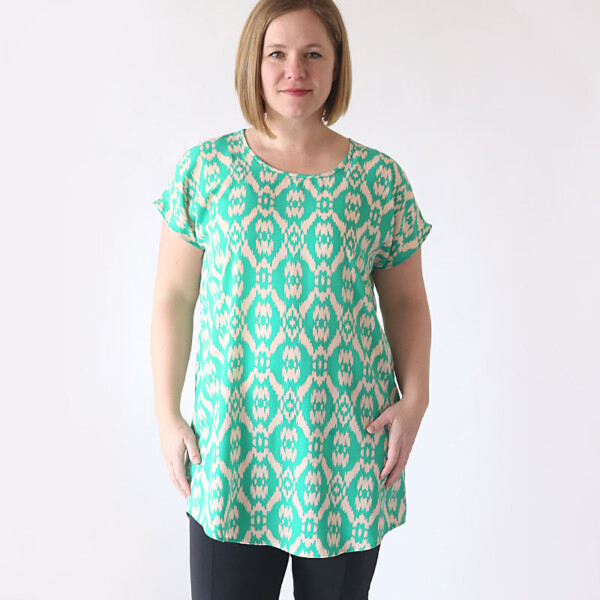
After making about eighty thousand different versions of my free easy tee pattern, I decided it was time for a new free t-shirt pattern. This one is just as easy and simple to sew as the original easy tee, but it’s even better because it has longer sleeves. I love a nice little cap sleeve, except when I have to wave my arms around for any reason and I can feel them jiggling and then I get distracted wondering if everyone else is watching my arms jiggling and then I wish I had a cardigan on except it’s the middle of summer and who wants to wear a cardigan, right? For those of you who can relate (and maybe even some of you who can’t), I give you the breezy tee.
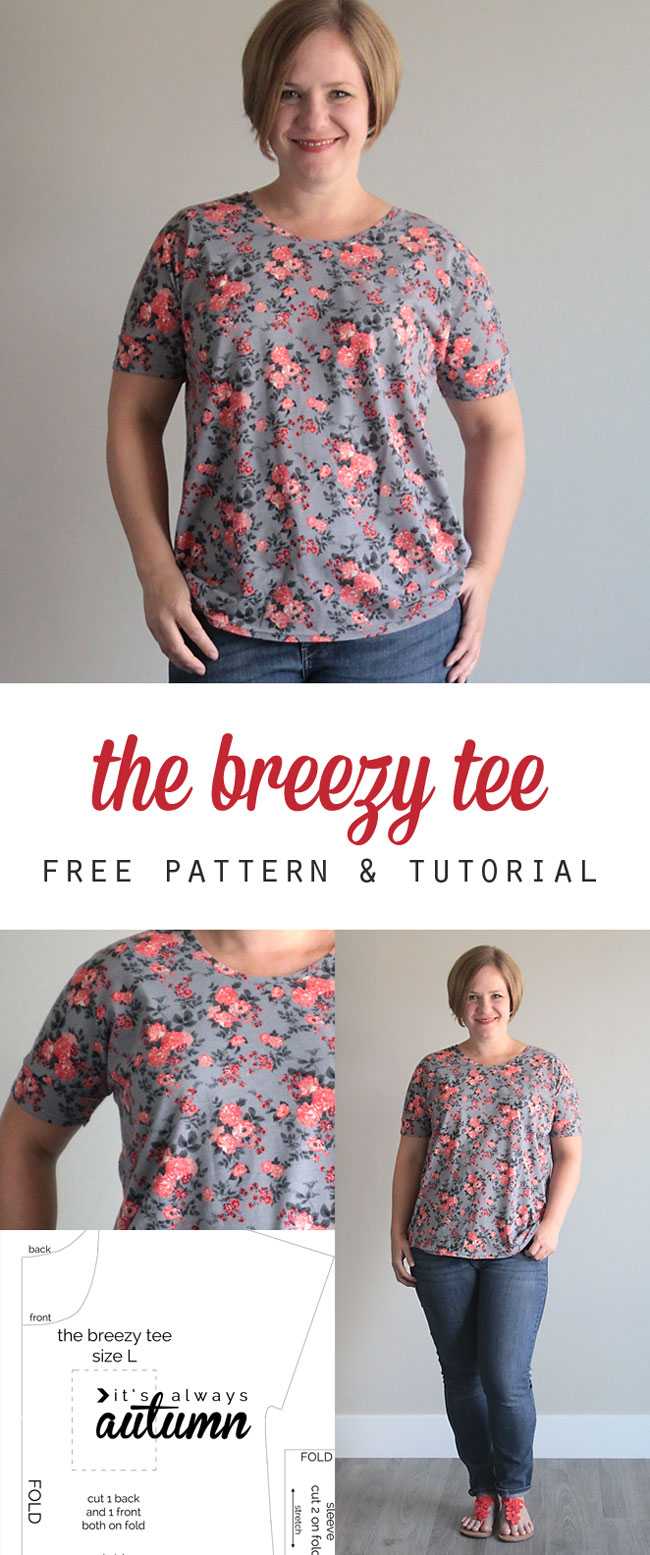
Same loose, flowy construction as the original easy tee, same quick sew time (about an hour), new and improved sleeves to cover whatever might need covering. But don’t worry, they’re not set in sleeves, which means there’s no gathering or easing or anything remotely complicated.
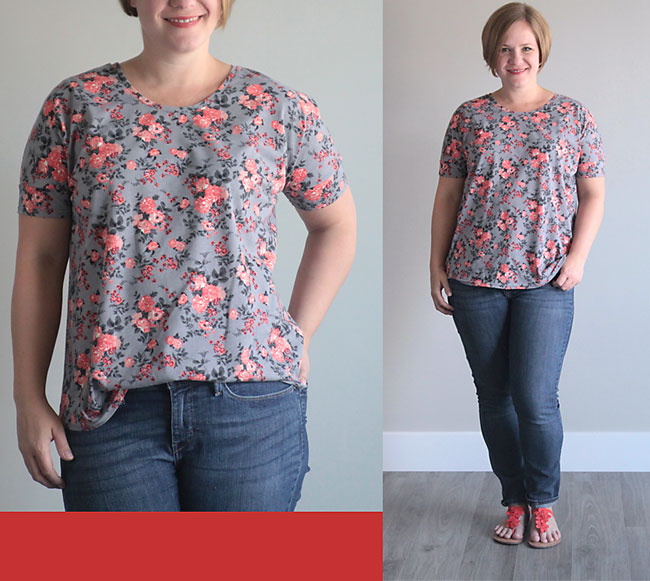
The shirt isn’t really snug anywhere (which is a bonus for some of us), but as long as you use a soft knit fabric it will drape nicely and still look flattering.
And you can download the pattern (in size L only, sorry little ladies!) for FREE, right here.
The pattern is 6 pages long. Please BE SURE TO PRINT at 100% or actual size. On page 5 there’s a test square which must measure 1 inch by 1 inch – if it doesn’t, you probably have “scale to fit” or something like that checked, and will need to uncheck it and reprint. Here’s what it looks like:
Please note that I have no fancy pattern making skills, which means this free pattern is not as cool as the PDF patterns you are used to purchasing. So don’t trim anything off the pages. Just butt the pages together as you see in the photo above and tape together.
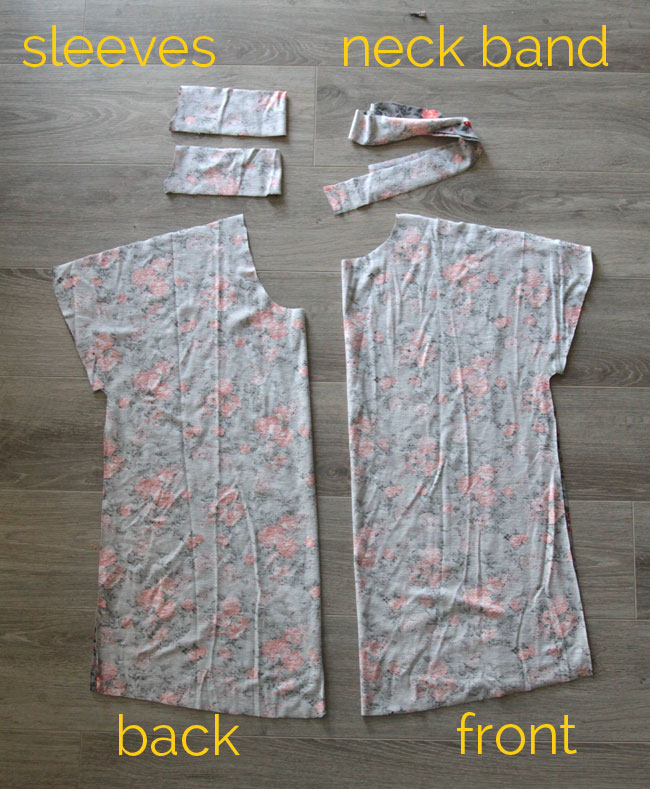
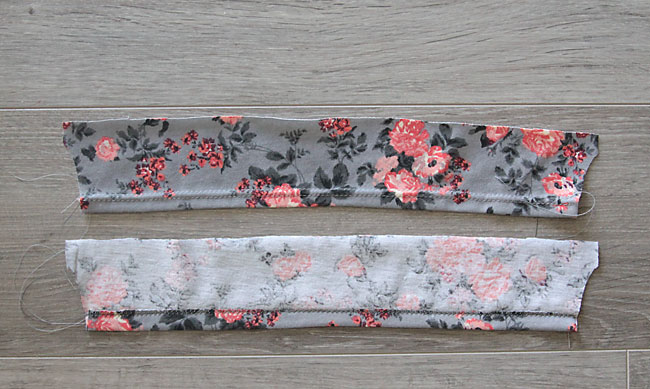
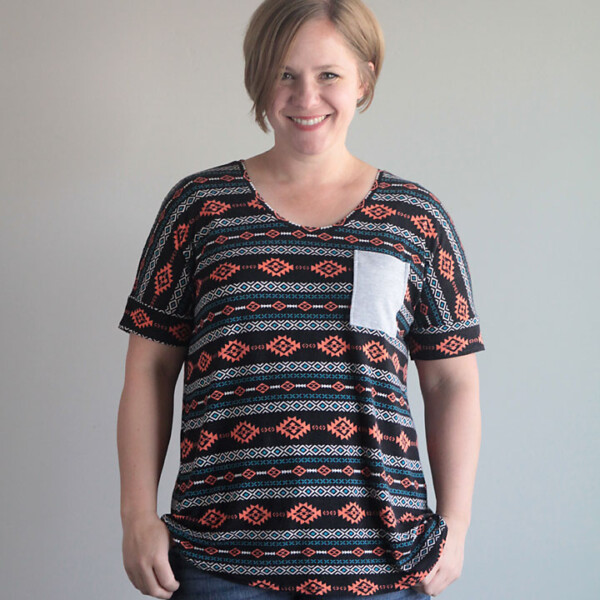
Remember, you must use a knit (stretchy) fabric for this shirt. The direction of the stretch is marked on the pattern pieces. You’ll cut out the main pattern piece twice, both times on the fold, once using the neckline marked “back” and once using the neckline marked “front.” Cut two sleeve pieces, both on the fold. Cut a pocket piece if you want one (I did not include a pocket on today’s shirt, but I’ll show you how to add that next week). Finally, cut a neck band piece. This is not on the pattern. It should be 1 3/4 inches tall and about 28 inches long, with the stretch going the length of the piece. You’ll be able to cut all the pieces from one yard of 56-60 inch wide knit – wash it before you cut because some knit shrinks quite a bit.
Begin by prepping the sleeve pieces. Turn up the bottom of each sleeve piece (the slightly more narrow edge) half an inch and hem with a stitch that will stretch. I always use a double needle for hems on knits – it’s super easy to use and gives a great, professional looking hem. Google it if you’ve never tried one. You can also use a zigzag or stretch stitch.
Now lay out the front and back pieces, RST, and sew across the shoulder seams.
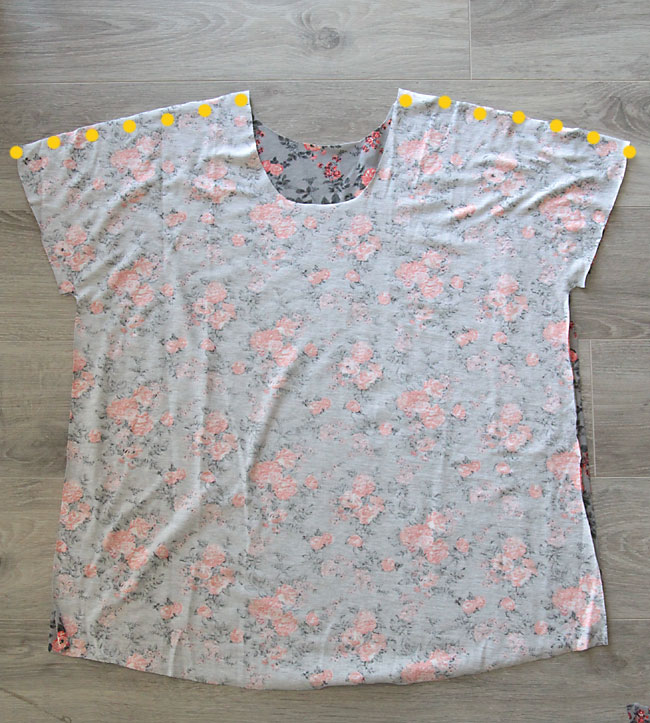
Press the shoulder seams open. Lay the shirt out flat, right side up. Match up the raw edge of a sleeve piece with the shoulder area of the shirt, stretching the sleeve piece slightly to fit. Sew together, again using a stitch with some stretch (I use a serger, but on a regular sewing machine you can use a zigzag or stretch stitch).
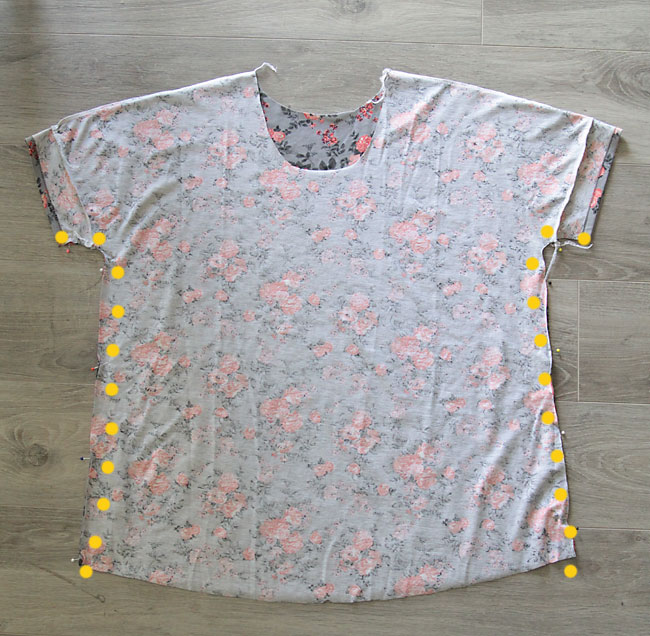
Once both sleeve pieces are on, turn the shirt back inside out as shown below. Starting at the sleeve hems, sew sides together.
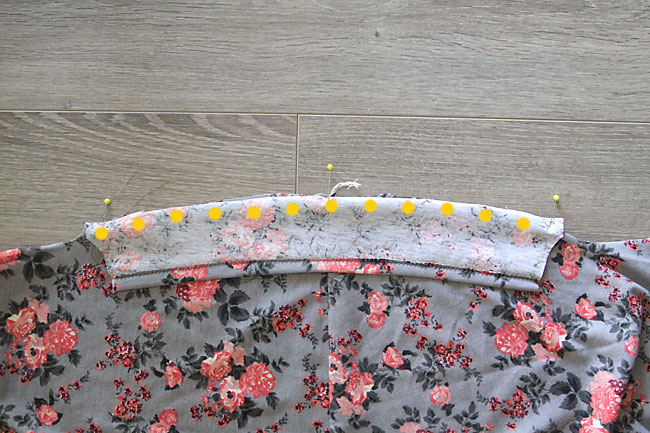
Next you’ll want to bind the neckline. Fold the neckband in half lengthwise and press:
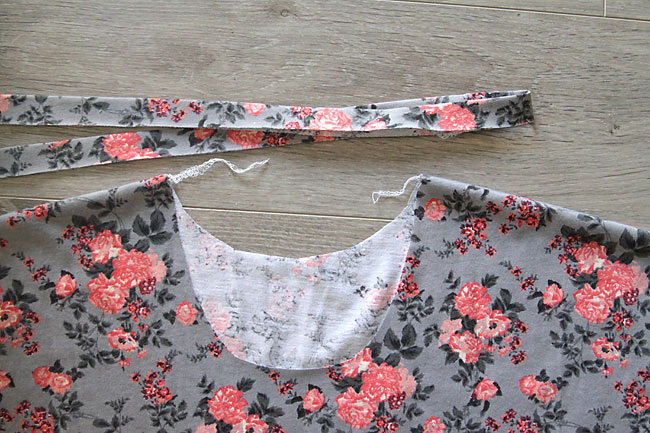
You’ll need to trim your neckband down to the right length. 24 inches long is probably right for most knits, but if your knit is super stretchy you might want to use 22 inches and if it doesn’t have much stretch 25 might be better. I usually pin the neckband to the neckline, stretching the neckband as I do so, to get an idea of how long the neckband should be, then trim it to that length. Sew the short ends of the neckband together, then sew the neckband onto the shirt using a stitch that will stretch. For more photos and explanation of this step, see this post and this post.
Finally, you’ll want to turn up the bottom of the shirt 1 inch and sew to hem. Again, using a double needle will give you the most professional looking hem, but you can also use a zigzag or stretch stitch. And done!
I really like the loose, comfortable style, but if it feels too roomy for you, just take in the side seams a bit before hemming. The knit I used for this shirt isn’t terribly stretchy, but I made another one with a super soft, stretchy knit which I’ll show you next week so you can see how fabric choice affects the final look.
Sharon Erlenmeyer says
I just wanted to comment and tell you that I love your site. I have drafted patterns of my own for both myself and my daughter and am an experienced seamstress but as life has gotten busier and our house is still so small it’s a lot more effort to get everything out and work on projects so when I need to get something done quickly I’ll scan Pinterest for patterns. 9 times out of 10 I am drawn to one of your patterns and I now have a few printed and at the ready. I love the simplicity of your patterns and designs and the ease of customizing them to suit my own ideas. From one busy mom to another, thank you, thank you, thank you. You keep me inspired and encouraged to keep sewing.
fran says
Thank you! I just made myself a nice merino layering tunic and I can tell its going to get worn a lot. I put the pattern on a slight angle to give myself a bit more room for my generous hips but keep the neckline and arms nicely fitted. Many thanks again!!
Christina Ellyson says
Sweeeet fabric. Are there adjustments available that would make the pattern work for a woven fabric (I ?linen).
Just discovered the website– thanks!
Anna says
Many thanks for sharing this wonderful project! I have just finished mine and I am delighted with how it turned out. My fault: I added a bit for seam allowances which was not necessary but anyway, it’s a great tee. Thank you again!
Pat Estabrooks says
Go you use 5/8 ” for seams or serge the edges? Love your patterns, thank you.