
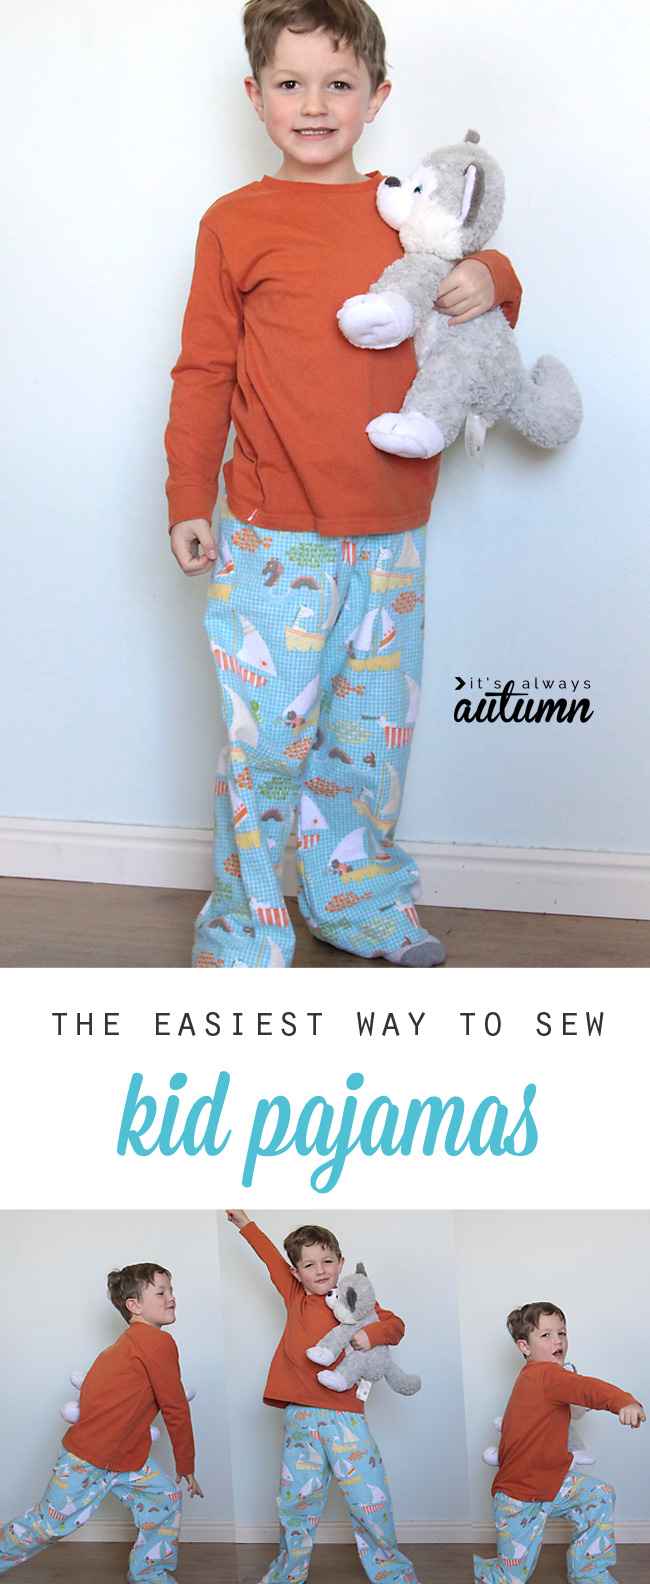
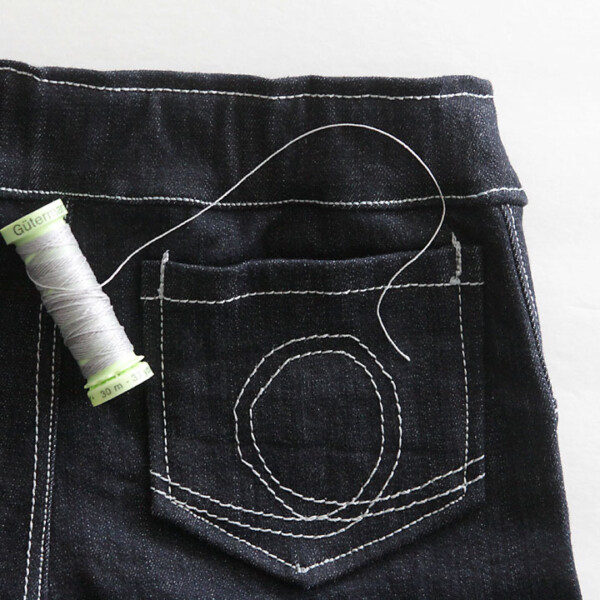
I love making pajamas for my kids at Christmas each year, but with 5 kids it can be a lot of work. Over the past few years I’ve found what I consider to be the easiest method for making a pair of pj’s for a kid, and now that I’ve done it a few times I can crank out a top and bottom in just over an hour. I always use flannel for the pants, and instead of purchasing a pattern I just use a pair of jeans for reference. For the top I always cut down an adult sized tee (either from the thrift store or our own “to donate” pile). You end up with a cute, professional-looking pair of jammies.
Safety Note
The CPSC recommends that you do not put children to sleep in T-shirts, sweats, or other oversized, loose-fitting cotton or cottonblend garments. These garments can catch fire easily and are associated with burn injuries to children. Please be aware of this recommendation and make an informed decision of whether to let your child sleep in a garment such as the one shown here.
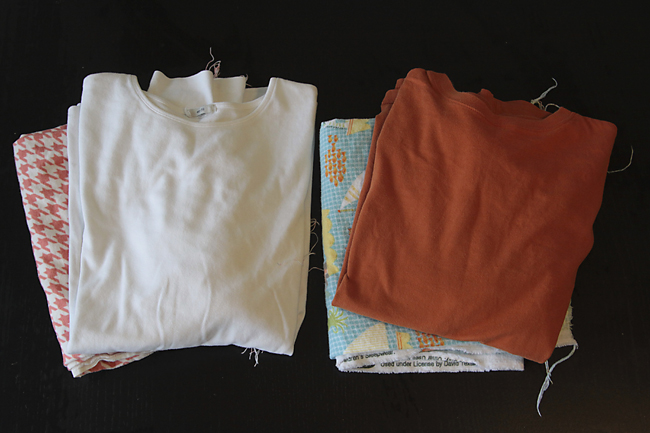
Here’s what I started with this time: 1 yard of flannel (for up to 5T or XS size pants) in two colors, and two thrifted long sleeve tees.
T0 make the shirt:
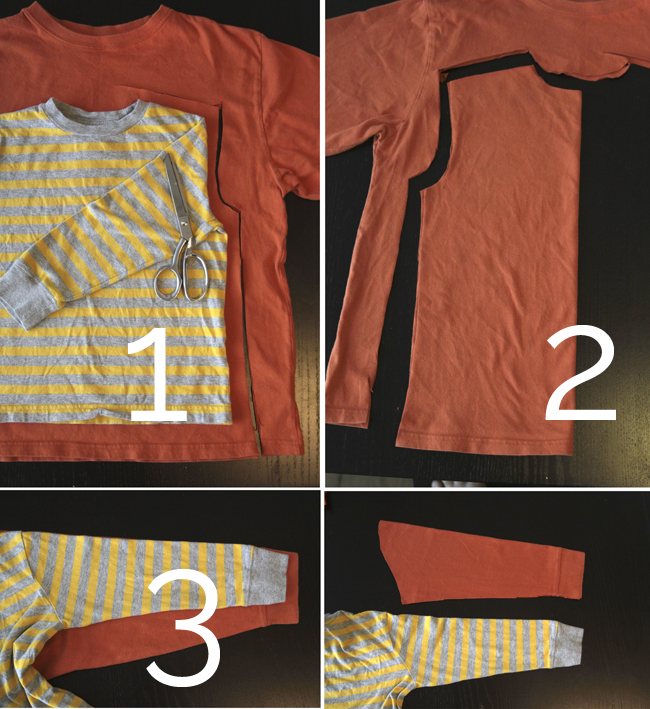
1. Find a long sleeve tee that fits your child well, and place it on top of your adult size tee, smoothing out all wrinkles. Match up the bottom hems (unless you want more length on your jammie shirt – I placed the hem of my kid tee a few inches higher than the hem of my adult tee). Cut all the way around the child’s tee, adding about an inch for seam allowance and wiggle room. Follow the shape of the kid’s tee carefully, folding the sleeves out of the way. The only place you DO NOT need to add seam allowance is along the neckline 2. Fold your top pieces in half and even them up to make sure both sides are the same. 3. Place the sleeve of your kid’s tee on top of the adult tee sleeve, again matching up the edges unless you want to add length (I did). Cut up the arm, again adding about an inch. 4. The top of your sleeve with have a slight S-curve (which you can see on your kid tee if you smooth the sleeve out).
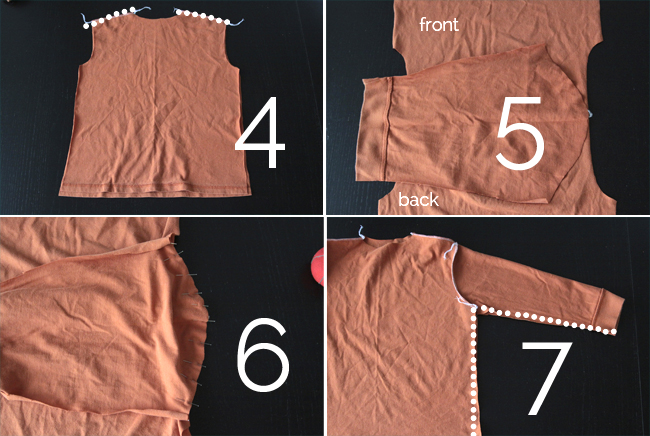
4. Place front and back right sides together and sew along the shoulders. 5. Open shirt up at shoulders and lay right side up on a table. Take one sleeve and place it right side down on the shirt, matching the middle of the sleeve with the shoulder seam. 6. Pin the sleeve to the shirt, then carefully sew together. Repeat with other sleeve. 7. Place shirt right sides together and sew up the arm and down the side. Your shirt is now assembled and just needs a neck band attached.

8. You’ll need to cut the front neckine a little lower than the back neckline. Make sure it will fit over your child’s head, and lower the neckline a little more if needed. Measure around the neckline (this one was about 16 inches around). Subtract one inch to get the length for your neckband. Cut a strip of knit from your adult tee (or another scrap) that is that long and 2 inches wide. (The neckline must stretch along the length.) 9. Sew the ends of your strip together, then fold in half lengthwise and press to get a circle as shown. 10. Pin the neckband to your neckline, raw edges meeting. The neckband will be a little shorter than the neckline, so you’ll need to stretch it slightly as you sew. (See this post for more info). 11. Iron the neckband using steam to get it to lay flat.
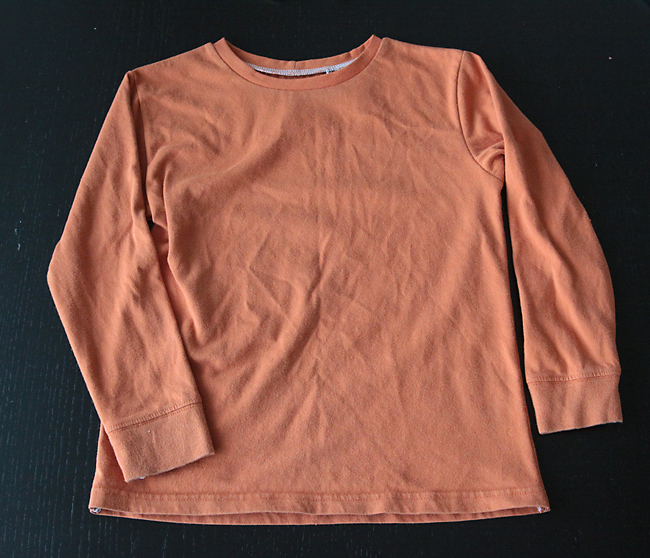
Shirt is done! It seems like a lot of steps, but I wanted to include enough photos to make it easy to replicate. It’s really pretty easy once you’ve done it a time or two. And the pants are even easier!
For sizes up to 5T or XS you can use one yard of flannel. (For larger sizes you’ll need 1.5 to 2 yards of fabric). Wash and dry it first!
1. Fold the fabric so both selvedge edges meet in the middle, as shown below. Fold a pair of jeans that fit your child well in half and be sure to smooth them out completely. Place the outer seam of the jeans along the fold of your fabric as shown below:
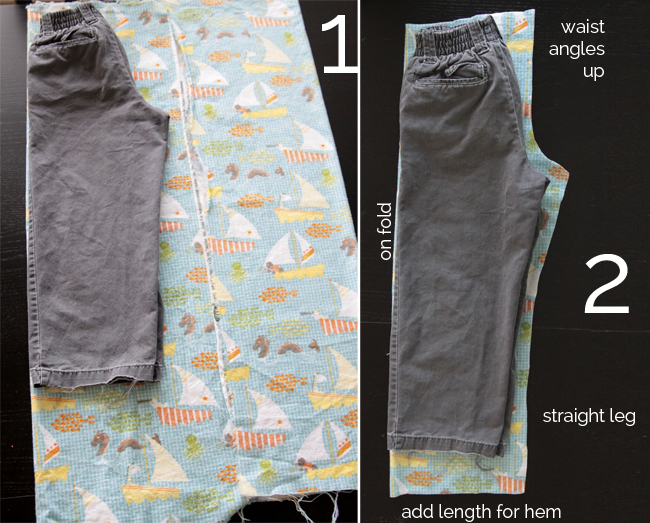
2. Cut around your jeans, adding 1 inch for seam allowance and wiggle room. At the bottom, add at least 2 inches for a hem. At the top, you don’t need to add any extra room, but be sure to follow the waistline as it angles up slightly. (Remember that your jeans may be gathered with elastic at the top – hold the waistline stretched out completely before cutting around it.) Once one leg is cut, flip it over, line up with other fold, and cut second leg.
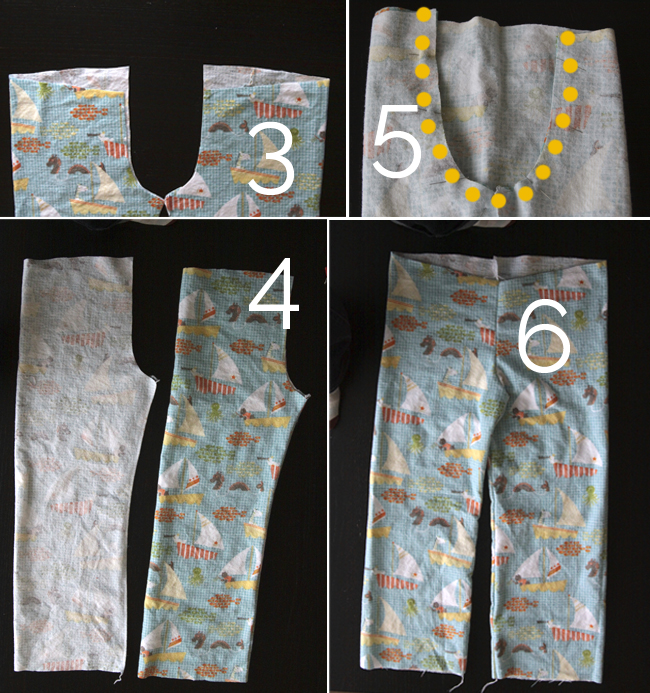
3. Your waistline angles up, but we only want that to happen in the back (for a little extra bum room), so trim your pieces as shown in the photo to make sure the front waistline stays level. 4. Place each leg right side together and sew the inner leg seam (you’re sewing each leg to itself, not to each other). Once sewn, turn one leg right side out, and place it inside the other leg (which is still inside out). 5. Match up the “rainbow” (seam which runs from center front, under crotch, and up center back). Sew. Sew again to reinforce seam. 6. Turn everything right side out, and you have pants!
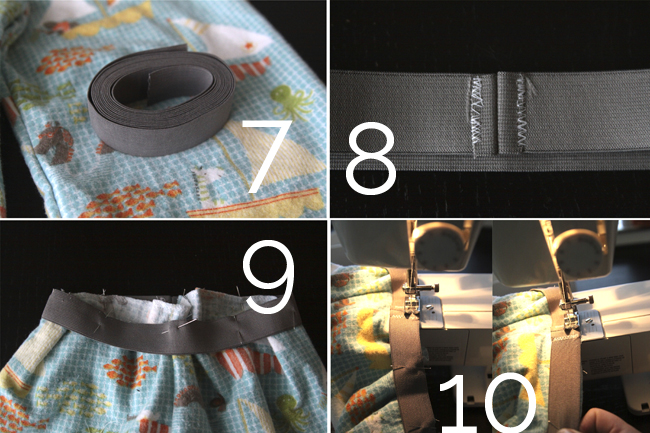
7. Measure your child’s waist and subtract two inches. Cut that length from soft knit elastic. 8. Sew the ends of your elastic together to form a circle, then open up the seam allowances and zigzag them down. 9. Place your elastic around the waist of your pants, right sides together. Pin elastic to the pants, evenly distributing it. 10. Sew elastic to pants using a straight stitch about 1/4 inch from the edge. Stretch elastic as you sew until the pants lay flat and don’t bunch. 11. Flip elastic up and press.
All that’s left is to hem your pants – just turn up 1/4 inch, then another inch and a half and machine hem. Pajamas completed. Here’s a pic where my son is reaching above his head so you can see how the elastic looks:
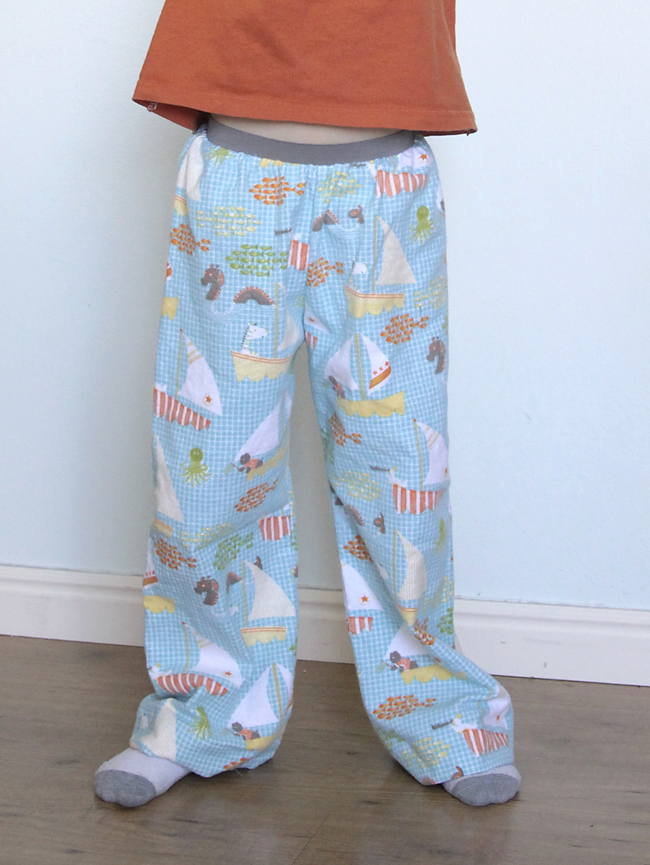
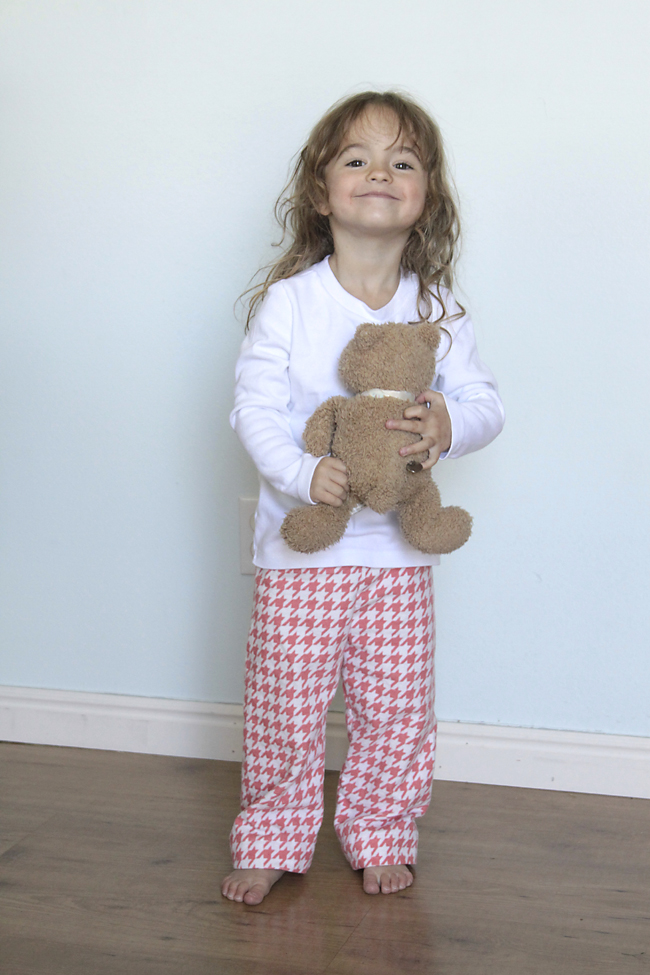
These pajamas end up so soft and cozy and you don’t have to mess with buttons or zippers or anything like that.
Shwetha says
Hi.. I tried this diy.. It came out very well.. As stitching is new to me it ws not perfect.. But I’m happy with the result.. Thank you and keep posting new diys..
Sheri says
I’m working on a budget so I purchased a flannel sheet at the thrift store which should work well for making all the PJ bottoms for 5 grands! Can’t wait to try it!! Love the idea of using tshirts from the giveaway pile to use as the tops 🙂