
My older boys (and plenty of their friends) all love chess. We’ve gone through a couple of chess sets in our family. The first one was really nice with glass pieces, which (unsurprisingly) got broken. The second one was cheap with plastic pieces and a flimsy board, which (unsurprisingly) got broken. A few months ago my oldest son asked me for a new chess set, so I decided to see if I could make one that would stand up to heavy kid use.
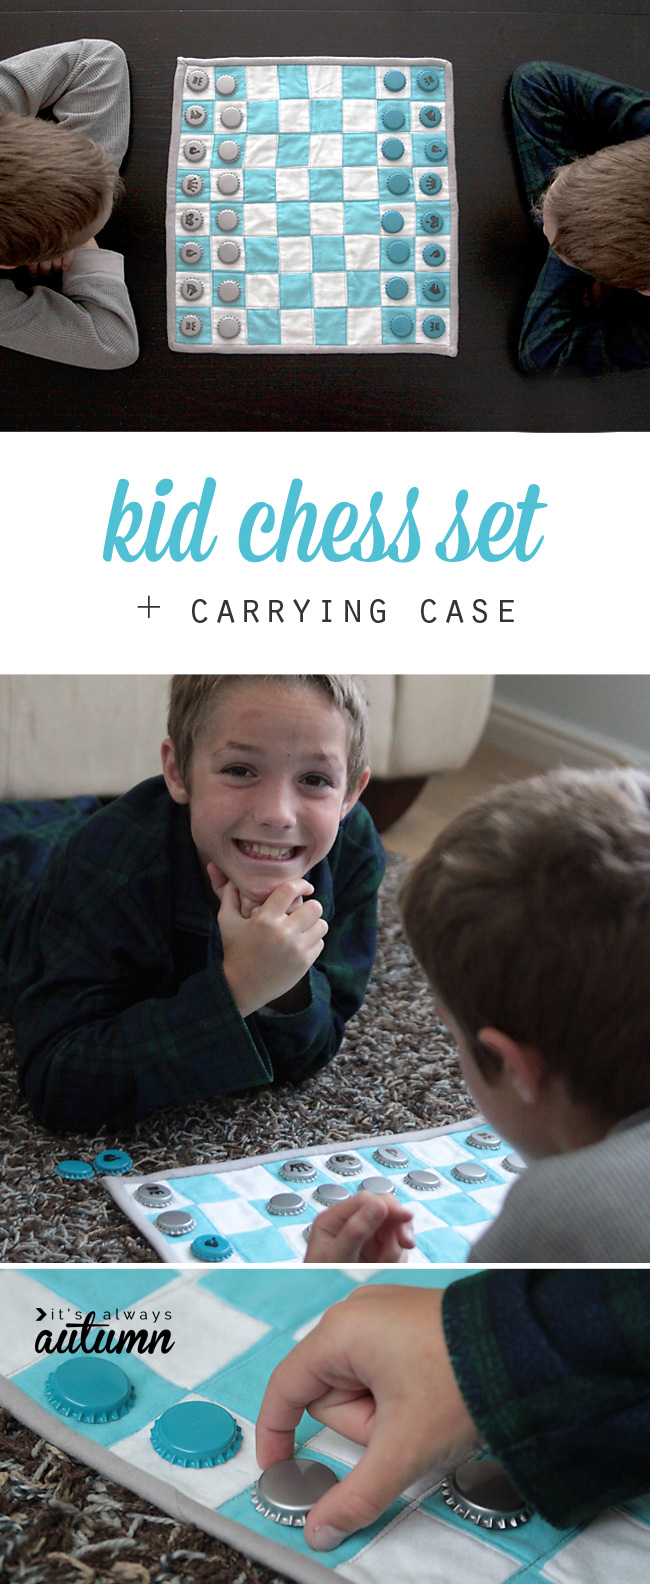
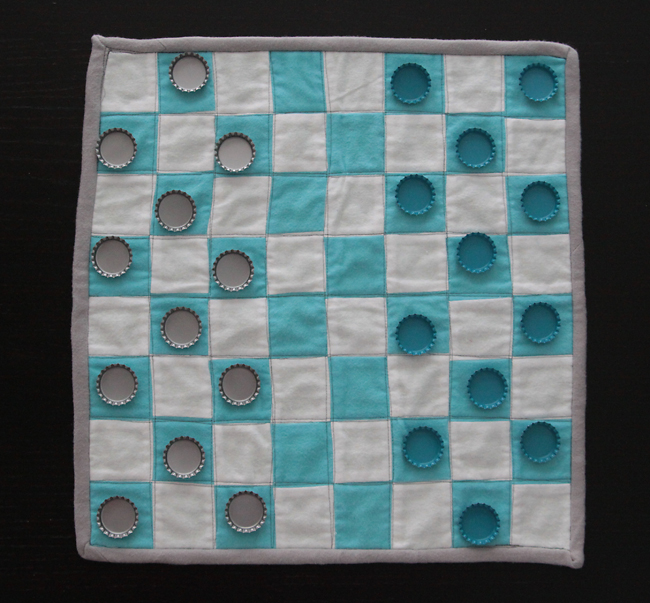
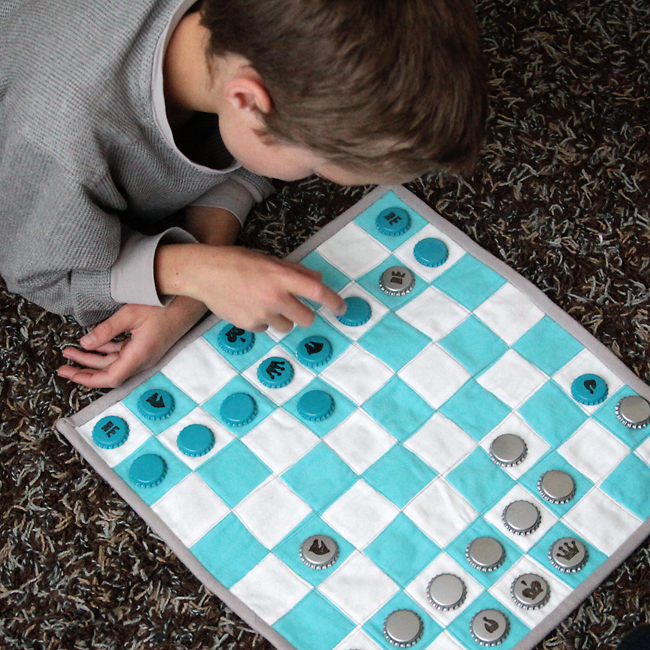
It’s been a couple of months since I made this chess and it’s holding up beautifully. The board is made of soft flannel, which the kids love, and the pieces are colorful bottlecaps, which is kind of fun.
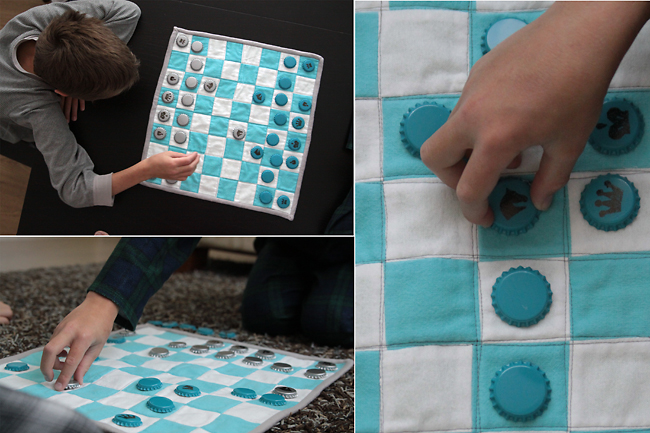
They even turn the pieces upside-down when they want to play checkers:
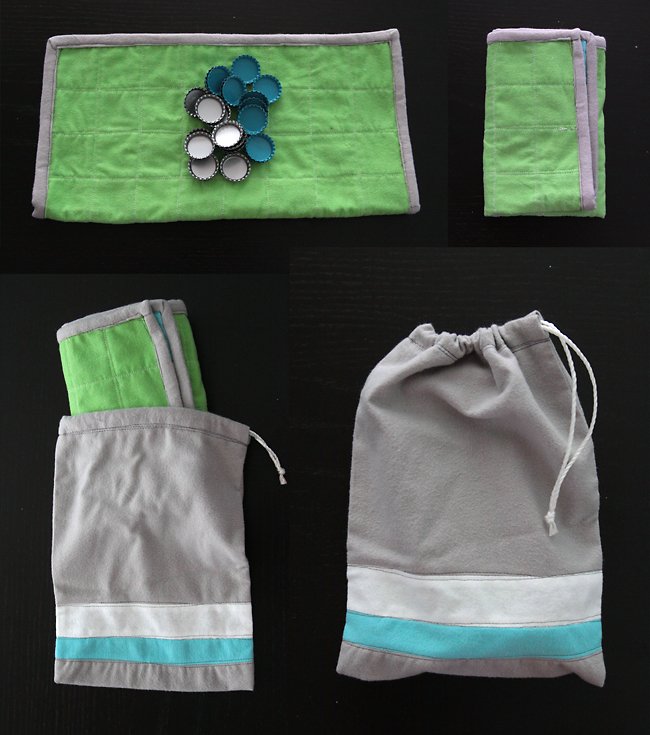
I made a quick sack using the fabric scraps so they can fold up the pieces inside the board and tuck everything away. No more lost or broken pieces. This is a wonderful handmade gift that can be used over and over again.
This project is quite simple. If you’d like to make your own chess set, you’ll need:
4 – fat quarters of flannel in various colors (two for the checkerboard, one for the back, and one for the binding)
thread
32 bottlecaps (16 of two different colors)
sharpie or printer/modpodge/wax paper for printing symbols on chess pieces
Here’s how to construct the chess board:
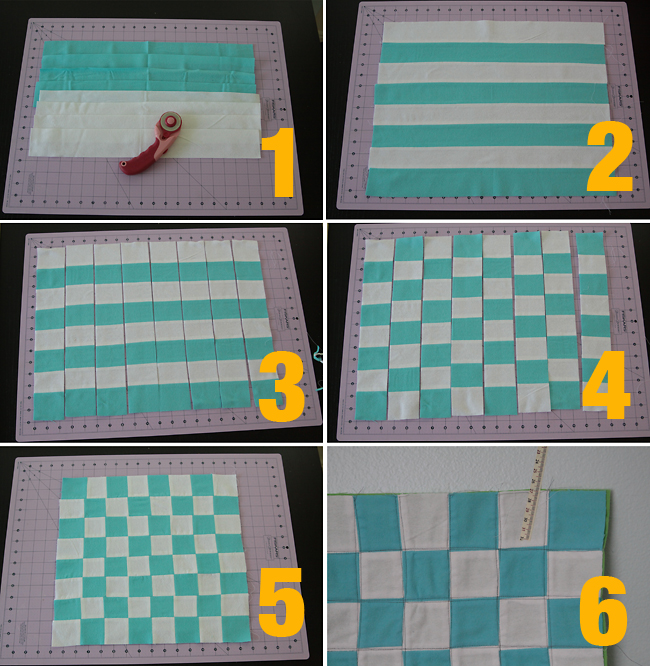
1 – To make the checkerboard, cut 8 22 inch x 2.5 inch strips (4 of each color). 2 – Place right side of two different colored strips together and sew along one long side 1/4 in from edge. Repeat with rest of strips, alternating colors. 3 – Cut crosswise into eight 2.5 inch strips, discarding extra. 4 – Flip every other strip around to form chessboard design. 5 – Sew strips back together. Consider that it might have been a bad idea to use a yardstick to measure when you were cutting strips, seeing as your squares don’t line up very well. 6 – Cut square of flannel for the back, lay checkerboard on top. Pin well. If your squares are nice and tidy, sew straight lines “in the ditch” in a matching color. If your squares are wonky like mine, use contrast thread and sew slightly wavy lines down each row and across each row.
Use your last fat quarter of flannel to bind the checkerboard. I used this tutorial.
Now all you need to do is add chess symbols to your bottlecaps. If you’re handy with a Sharpie you could simply draw them on. I’m not, so I found chess symbols online and resized them. Get a printable PDF here if you’d like to use them.
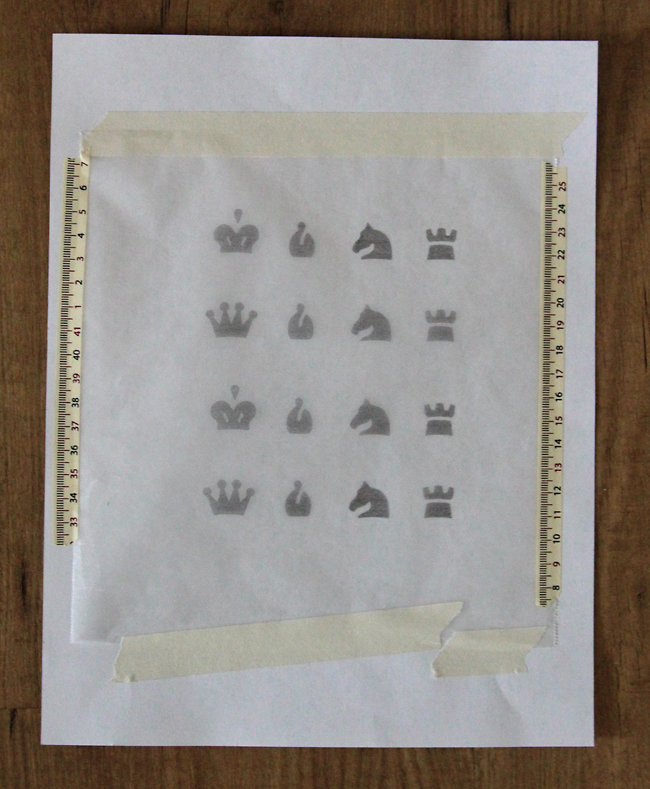
You’ll want to tape a piece of wax paper onto a normal sheet of paper, taping all round the edges as shown above. Run the paper through your printer. Allow wax paper to dry for at least 15 minutes. While you’re waiting, you can paint the tops of 8 of each color of bottle cap with Mod Podge. This makes them a little less slick and allows them to take the ink. Once the bottle caps are dry, cut out each symbol, then lay the wax paper ink side down on each bottle cap. Scratch back of wax paper gently with your fingernail to transfer ink. Do not slide wax paper around! Pull off paper and allow to dry completely (20 minutes or so should do it).
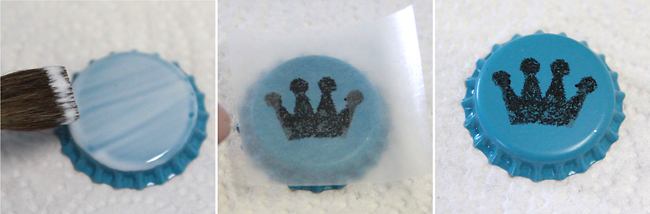
I thought it would be a good idea to give the bottle caps a top coat of Mod Podge, but that smeared the ink. Once the ink is dry, it doesn’t rub off, so you don’t really need a top coat anyway.
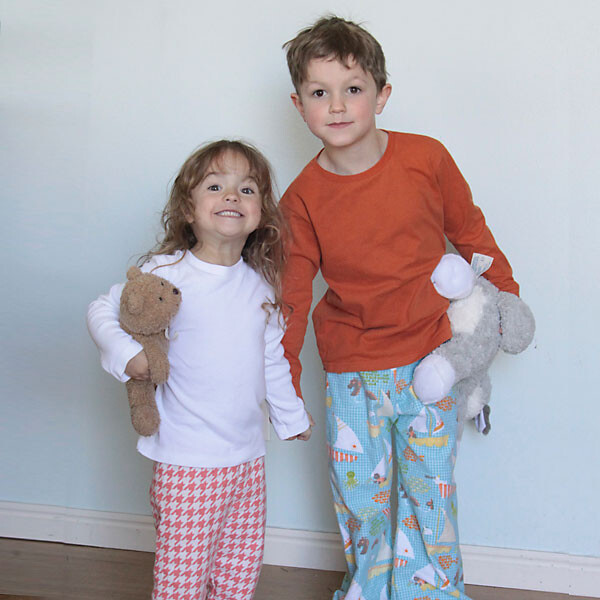
If you’re looking for more handmade gifts, check out my easiest ever kid’s pajamas tutorial. For even more gift ideas, visit these posts: 20 best gifts for girls, 20 best gifts for boys, 20 best family games.
Never miss a post: f a c e b o o k | p i n t e r e s t | t w i t t e r | s u b s c r i b e
Rene' says
Can you make this printable so I don’t have to go back and forth keeping my computer awake to see it? When I try to print it from the web page, most of the pictures don’t even show up and even some of the instructions. I’m very excited to make this for my son who is turning 10 and has been interested in chess!
Autumn says
I’m sorry Rene, this is an old post and doesn’t have a printable card – I hope you are still able to make it work!
KHeather says
Great tutorial!
I was searching for one on how to make a checker board before I ventured out and tried to figure it out on my own.
Going a different route with the game pieces though…
If the one for my son works out, Want to try and make up some for a vendor fair I am looking to be in. (First outing). Do you have a vendor re-sale release/fee?
Sarah says
CLEVER idea for sewing a soft fabric game board for chess & checkers alike. THANKS for this tutorial with instructions & sharp photos. I like the turquoise and white colors…. flannel is a great fabric choice; metal bottle caps are heavier than cloth circles, FAB idea! Drawstring bag to keep everything is ideal fro travel as well as keeping pieces & board together at home. I hope to use this idea & follow your tutorial for a 3-kids’ birthday present soon. Sarah Helene, Minneapolis
Tracy King says
Showed this to my 11 year old daughter. She says “Amazing!!!”
autumn says
Thanks, Tracy – made me smile!
Fen says
What a great idea! We have glass checkers that also broke. Perfect for the kid (when they are old enough anyways).