
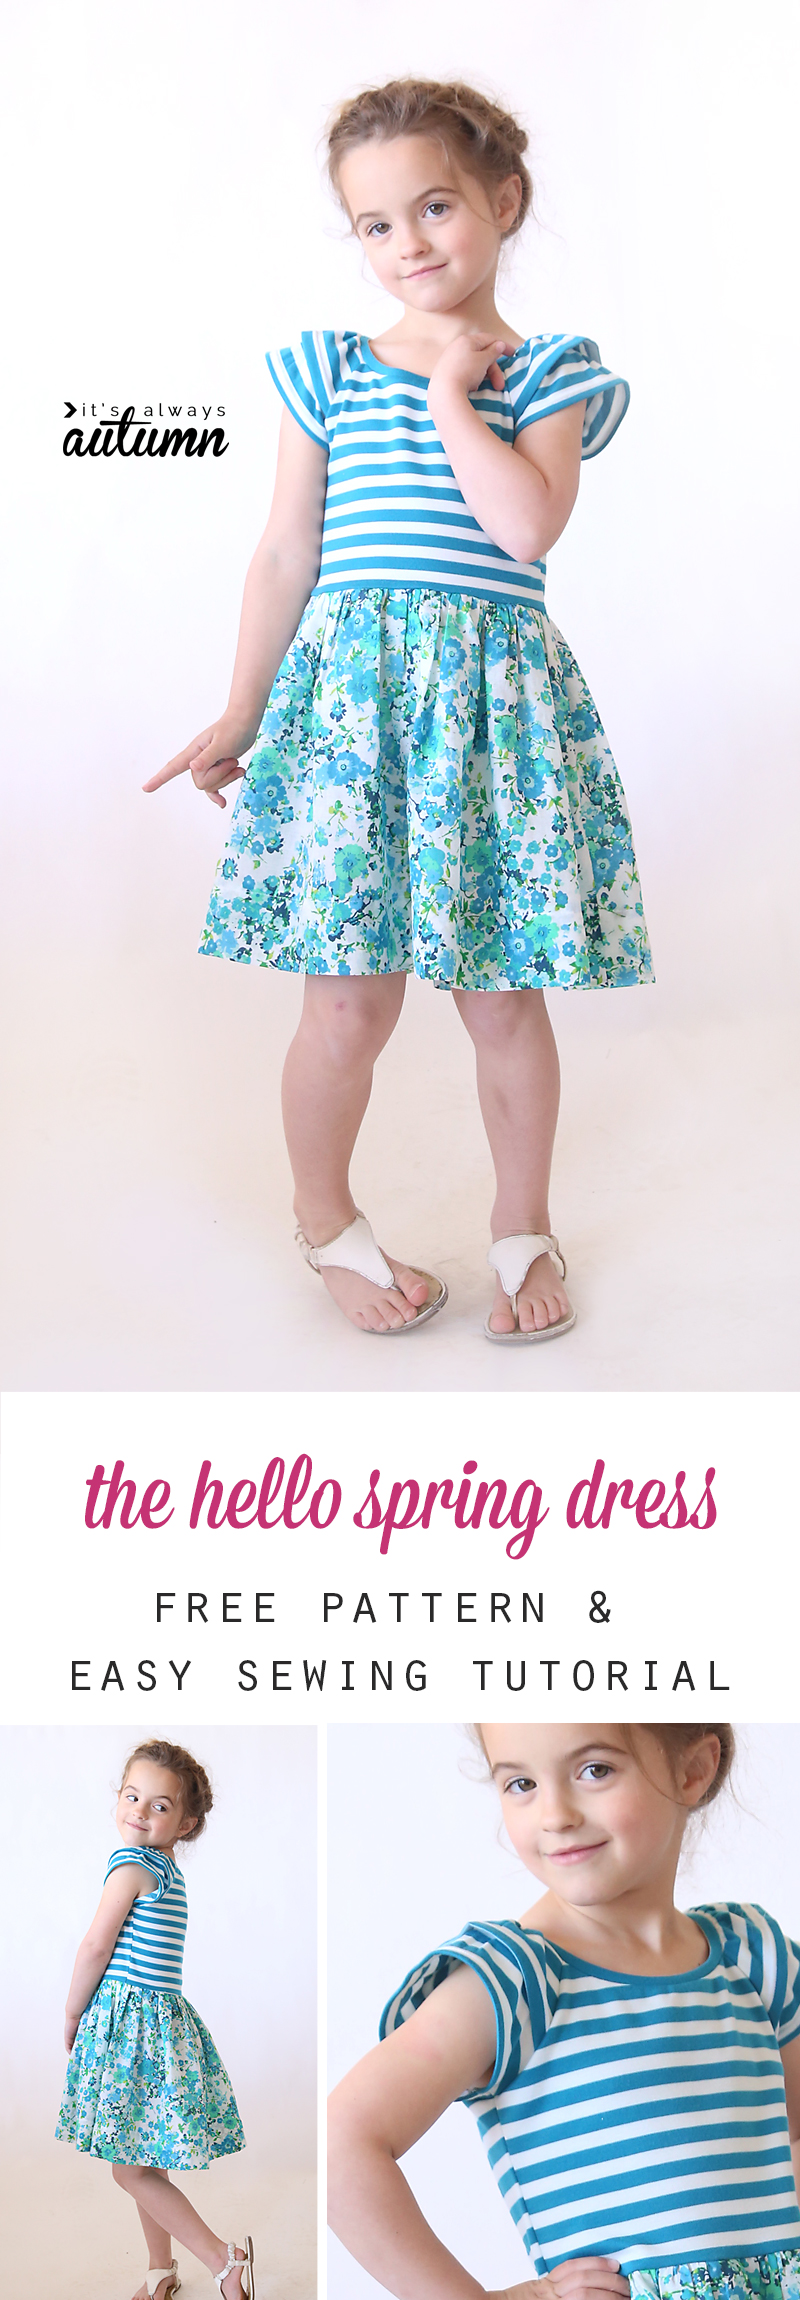
Hey all, I have a new free pattern for you today! Last spring the free flutter sleeve dress and top pattern was so popular, I decided to draft up a new girl’s dress pattern for this year: the hello spring dress & top. This pattern is easy to sew up using a knit fabric on top and knit or woven on the bottom. The free pattern comes in girl’s size 4/5, or XS.
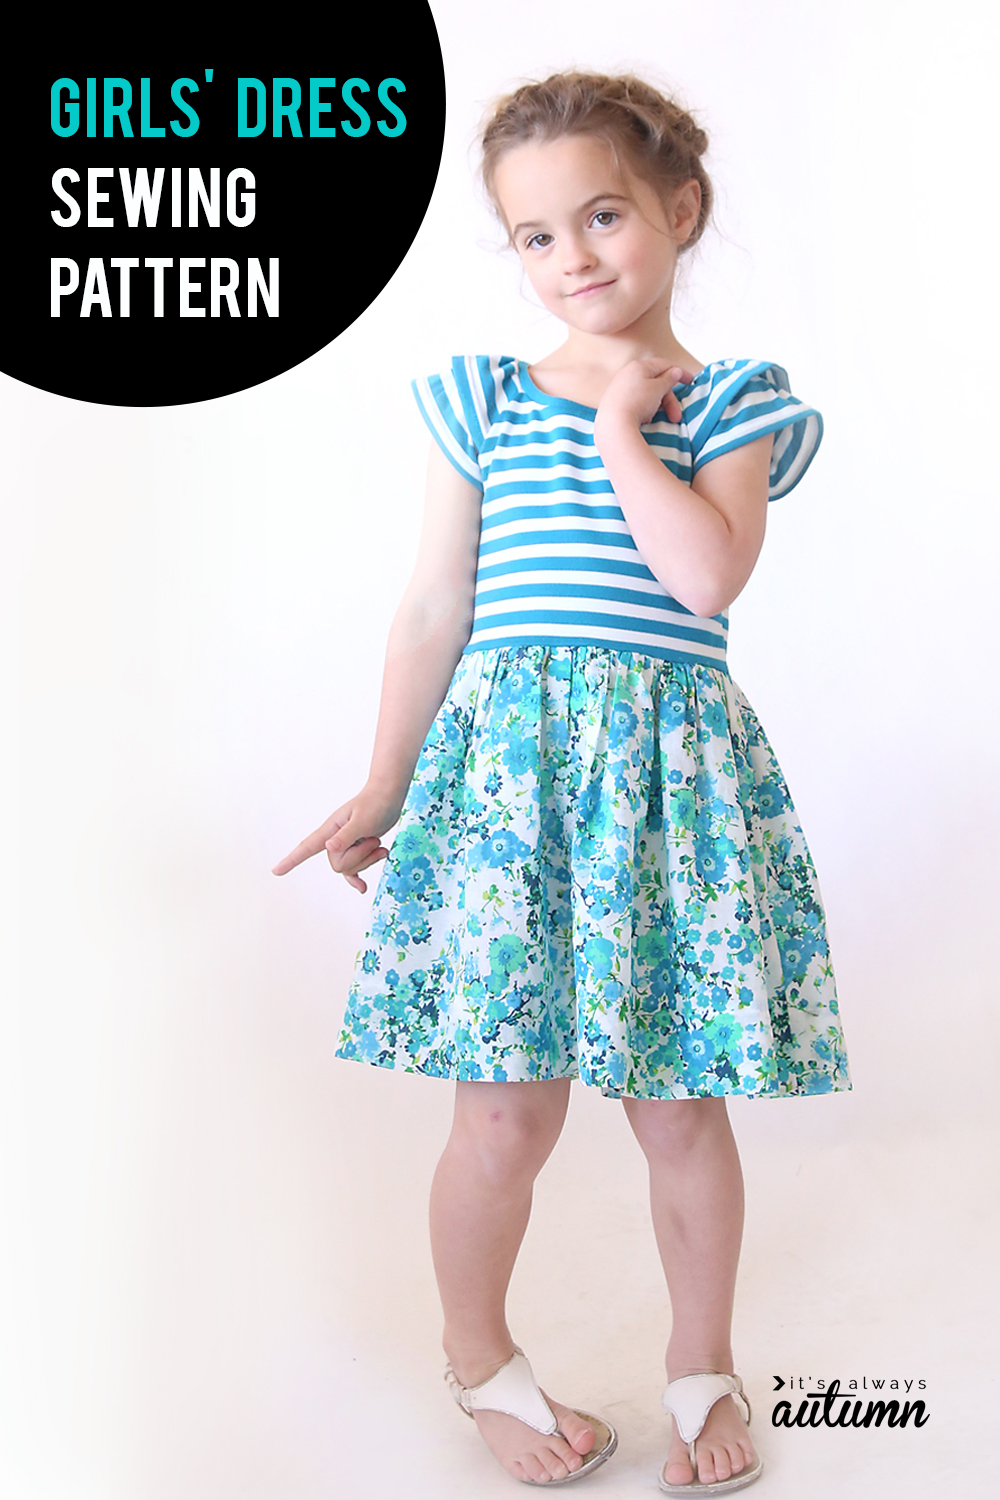
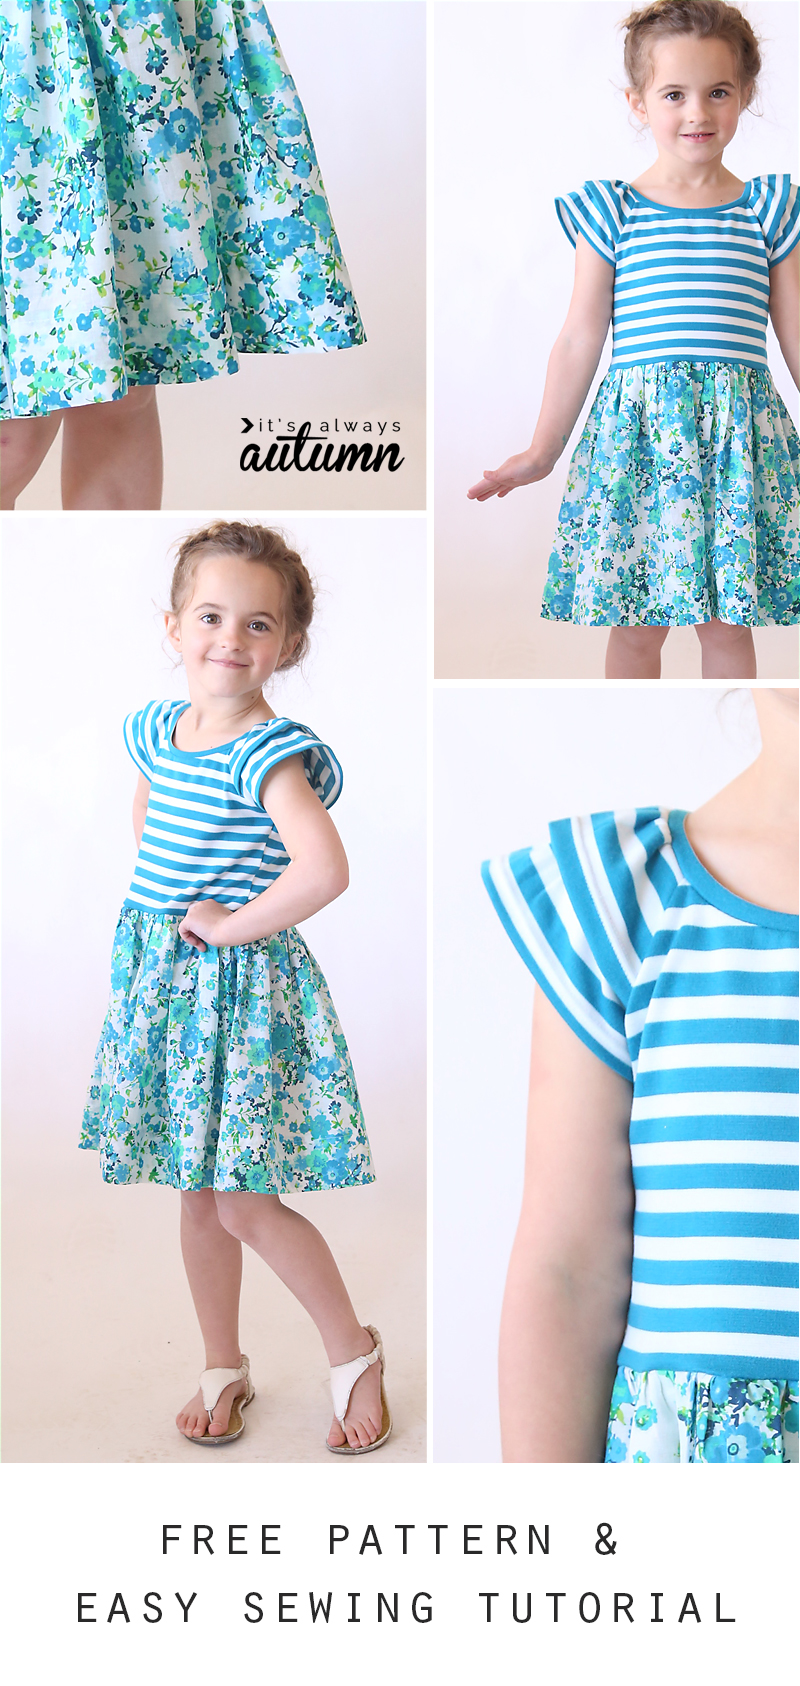
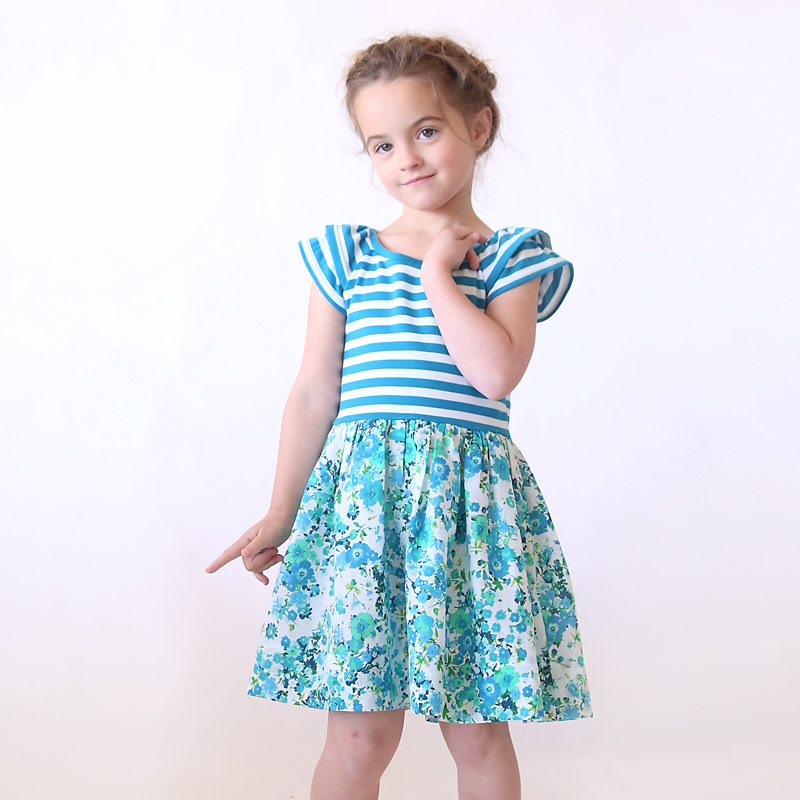
I love it! It has the ease and comfort of a t-shirt dress, but the double layer gathered sleeves make it fun. You can make the entire thing out of the same fabric, or choose different fabrics for the top and skirt the way I did here.
I’ll show you the top version next week!
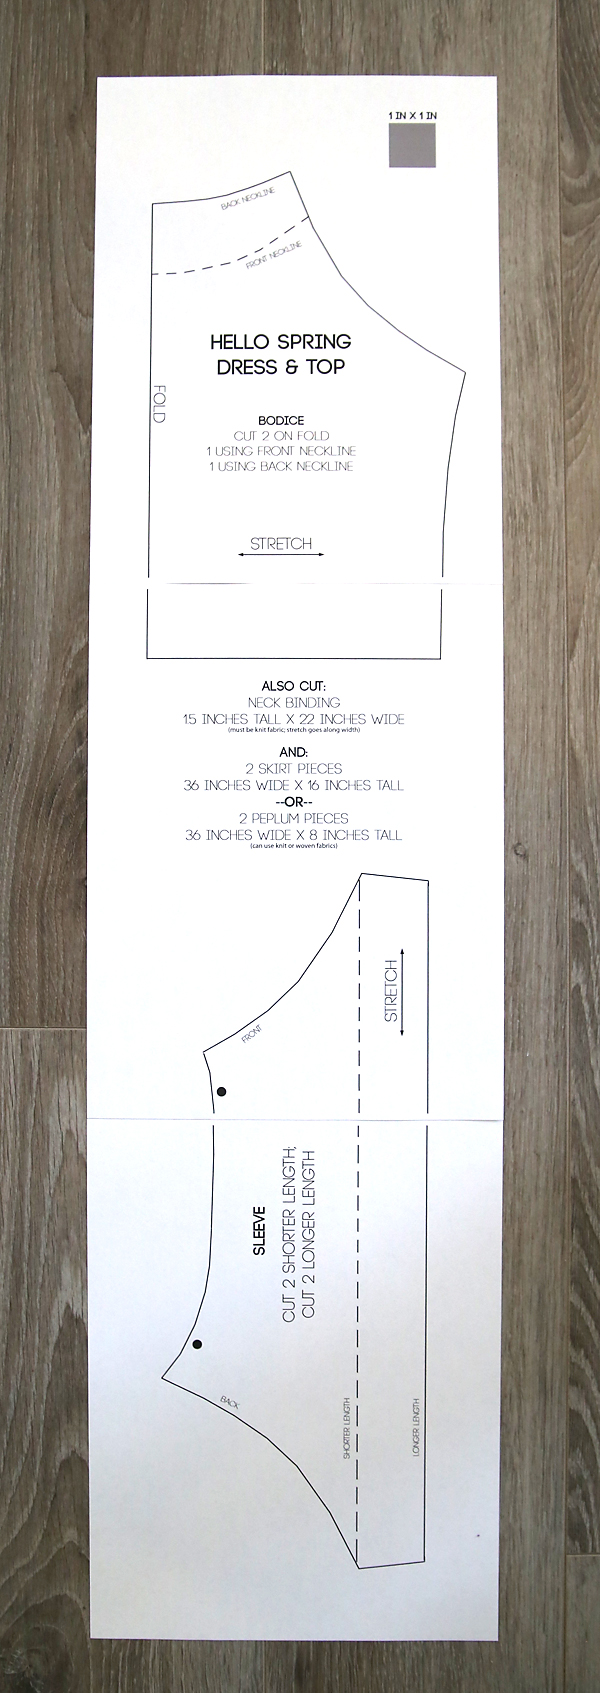
But for now, here’s how to make the dress. First, click here to download the free printable pattern in size 4/5. Print it out at 100% and tape the 3 pieces together without trimming anything. Make sure the test square measures exactly 1 inch by 1 inch. It will look like this:
For the top, you’ll need about 2/3 of a yard of knit (stretchy) fabric. It doesn’t need to have a ton of stretch; in fact it will be easier to sew and look tidier if you avoid super stretchy or super thin knit and pick something a little sturdier instead. For the skirt, you’ll need about a yard of fabric, which can be knit or woven (if you’re making the entire thing out of the same fabric a yard and a half total should be plenty).
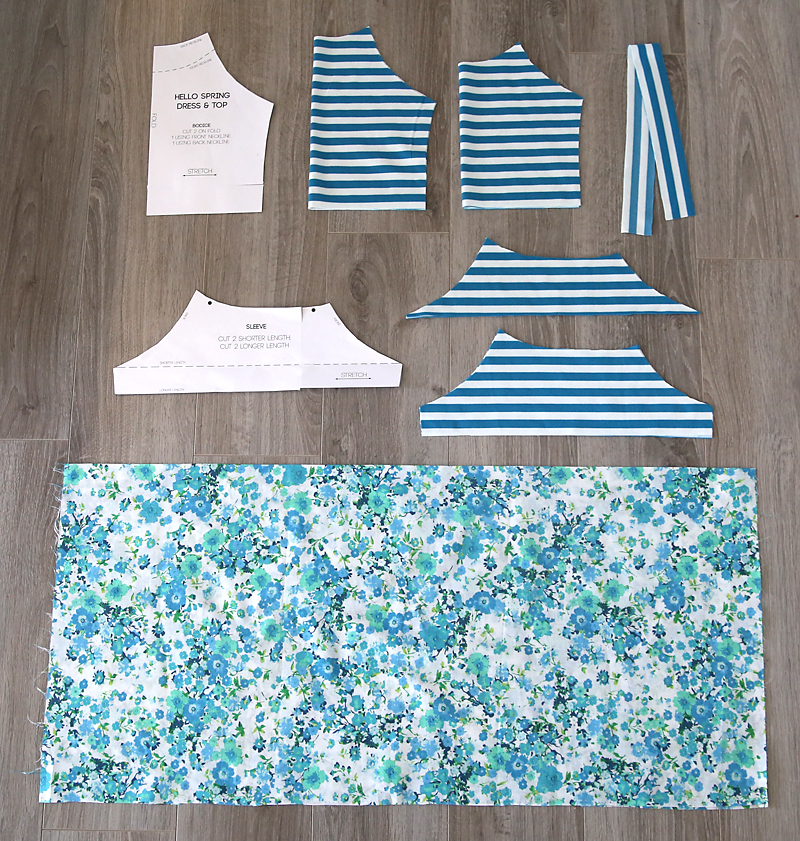
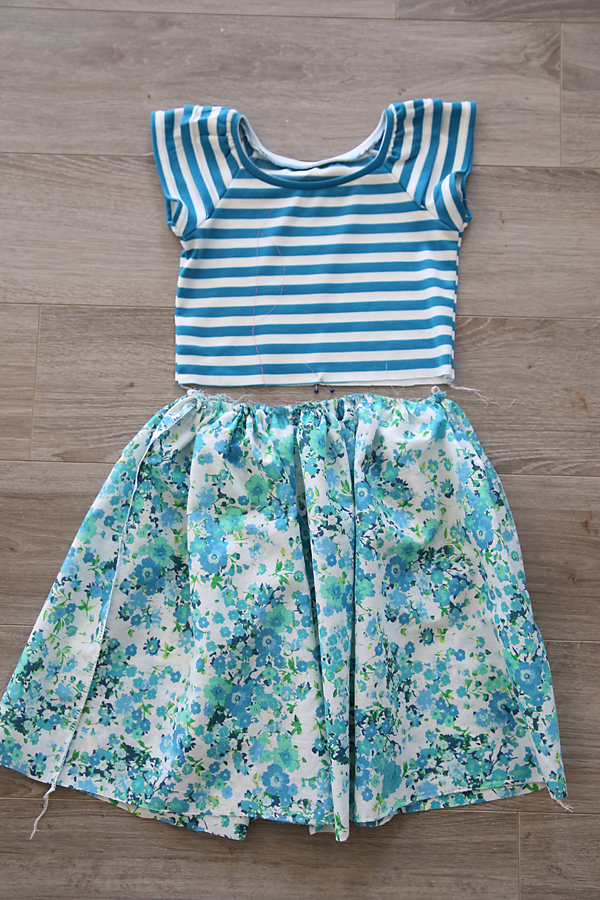
Cut your pieces. You will need one bodice piece cut on the fold using the back neckline and one bodice piece cut on the fold using the front neckline. You’ll also need 4 sleeve pieces; two using the longer length and two using the shorter length (each of those sets should be mirror images). Also cut a long strip of knit for the neckband according to the dimensions on the pattern, and two large rectangles for the skirt, also according to the dimensions on the pattern. NOTE: if you want to squeeze this dress out of less fabric, you don’t have to cut the skirt pieces quite as wide – the skirt just won’t be quite as full.
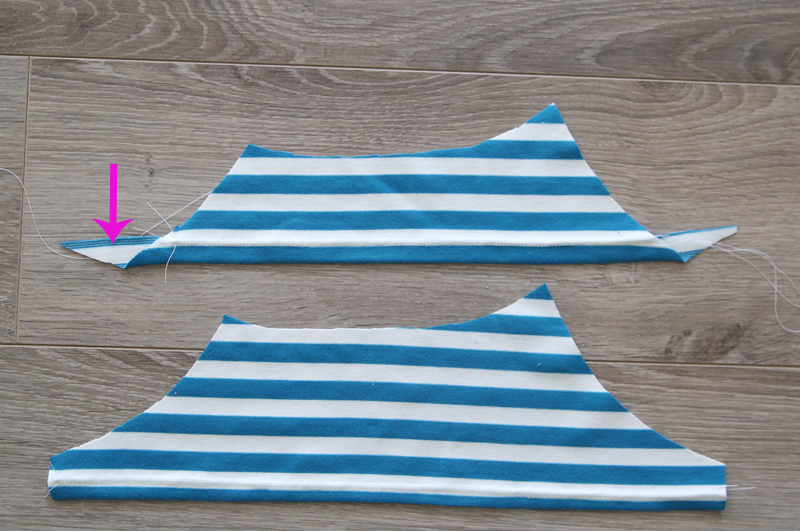
You’ll start by hemming the sleeve pieces. Turn the bottom of each sleeve piece up 1/2 an inch, press, and hem. I like to hem using a double needle because I think it looks nicest, but you can actually just use a straight stitch here if you’d like. On the shorter sleeve pieces you can trim off the area shown with the arrow below after hemming.
Next, you’ll gather the sleeves. Stack a short sleeve piece on top of a longer sleeve piece and then sew 2 rows of gathering stitches along the top, between the dots marked on the pattern. A gathering stitch is a longer stitch length and a low tension.
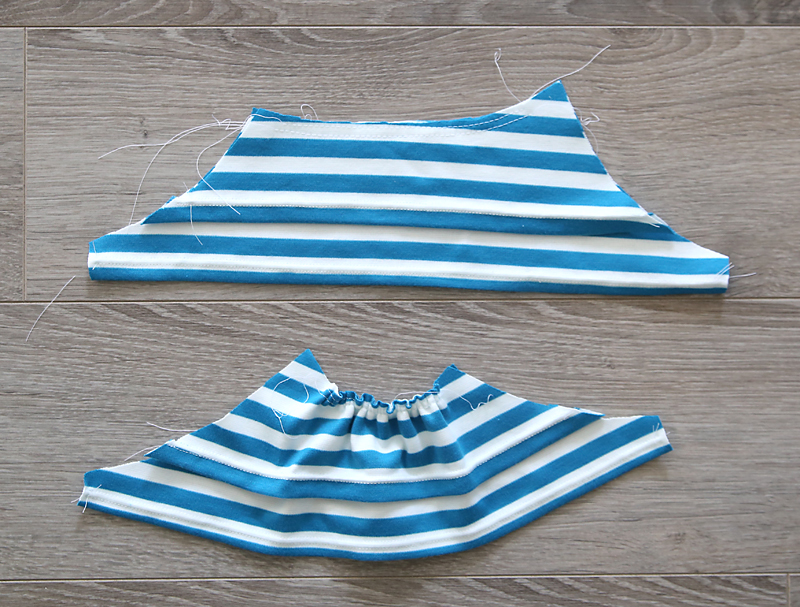
Pull the bobbin threads to gather each sleeve until the top of the sleeve is 5 inches inches wide. Then sew over the gathers with a normal straight stitch to secure them.
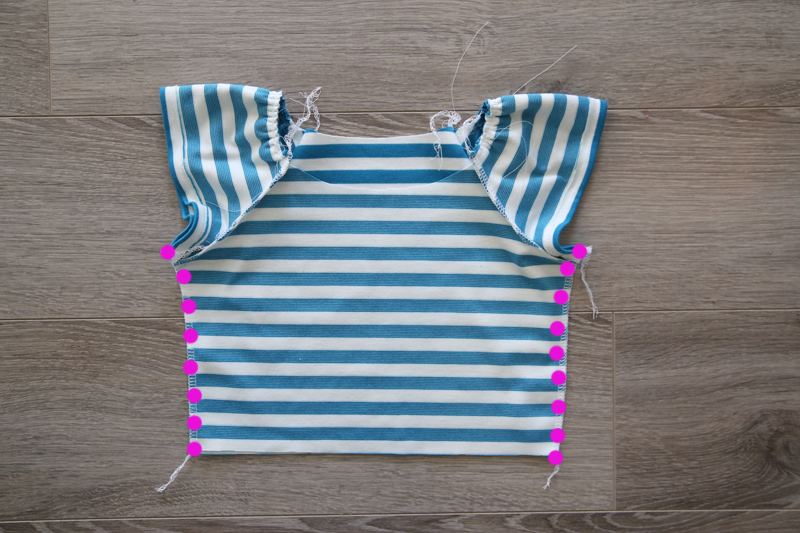
Next, start sewing the sleeves to the bodice. Lay down the back bodice and match up the back edge of a sleeve, as shown below (RST). Sew the sleeve to the bodice, as shown by dots below. Repeat with the other sleeve on the other side of the back bodice.
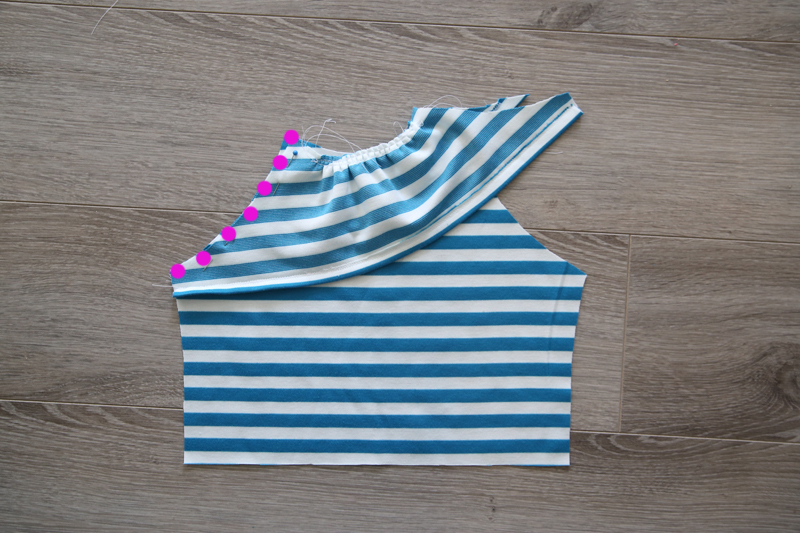
Now sew the front side of each sleeve to the front bodice in the same way.
At this point, match up the side seams and sew them, as shown below.
Next, fold the neckbinding piece in half lengthwise and press. Start pinning the binding piece to the neckline as shown below. Along the front and back of the neckline, stretch the binding piece quite a bit as you pin it to the top. When the binding meets itself, unfold it and sew it together (you should have a couple inches of extra binding that you’ll cut off).
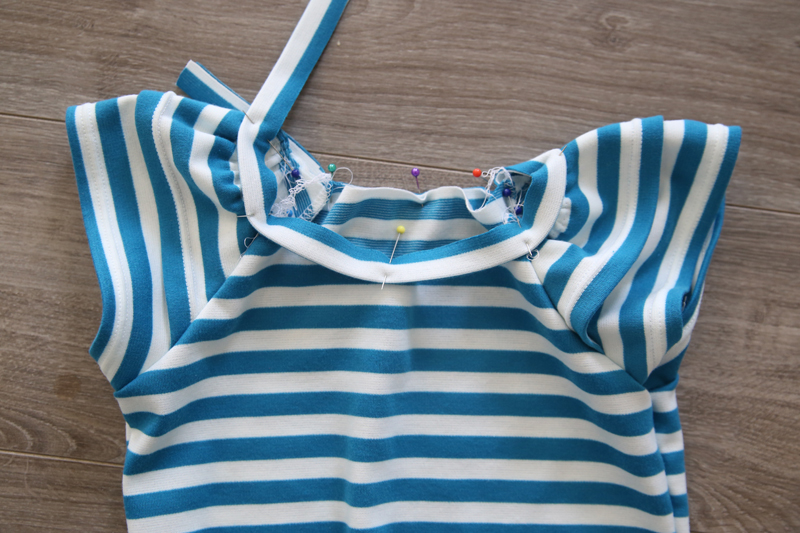
Since you stretched the neckbinding as you were pinning, it will cause the neckline to bunch up, as shown in the first photo below. As you sew the binding on, stretch it again until it lays flat, as shown in the second photo below.

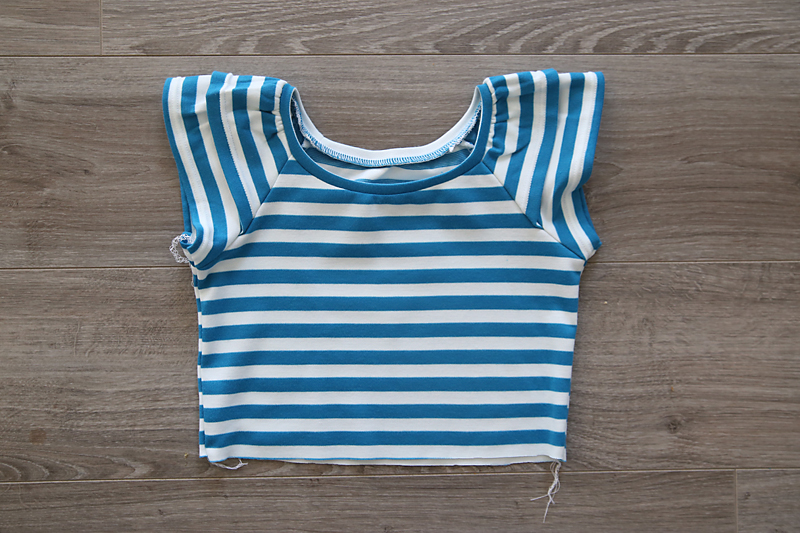
Sew the binding to the neckline using a stitch that will stretch, such as a zig zag, stretch stitch, or serger stitch. It may look a little wonky once it’s sewn on; just give it a good press with a lot of steam and you’ll have a nicely finished neckline, as you can see below. (For another explanation of how to finish the neckline, see this post.)
The hard part’s done!

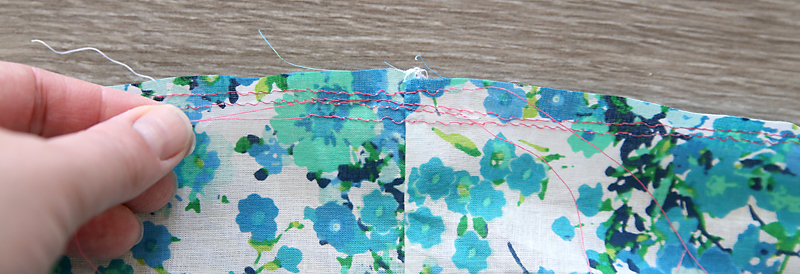
Now we’ll add the skirt. Place the skirt pieces right sides together and sew down the sides (the short edges). You’ll now have a skirt piece that’s much wider than the bodice, so we’ll gather the top of the skirt to fit. Sew two rows of gathering stitches all the way around the top of the skirt. I like to change the bobbin thread to a different color when doing this so it’s easy to find, as shown below.
Mark the center front and center back of the skirt with pins. Then start pulling on the bobbin threads of the gathering stitches to gather up the skirt. Continue to gather until the top of the skirt is the same width as the bottom of the bodice, as shown below.
Evenly distribute the gathers around the top of the skirt. Mark the center front and center back of the bodice with pins. Now you’ll place the bodice (right side out) inside the skirt (right side in) and then match up the pins on the skirt to the pins on the bottom. Match up the side seams as well.
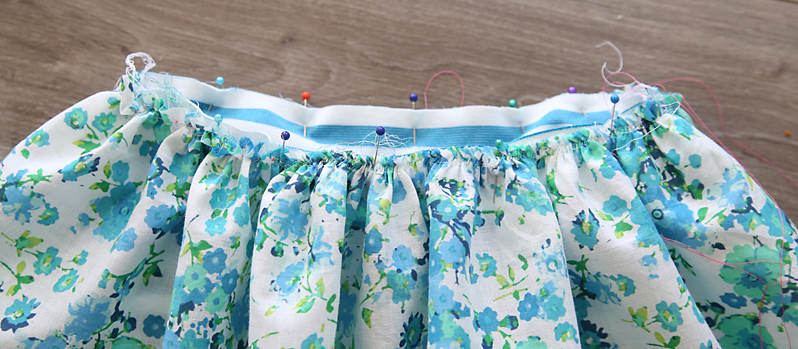
Sew the skirt to the bodice using a stitch that will stretch, such as a zigzag, stretch stitch, or serger stitch. Once that’s done, you can pull the gathering stitches out.
NOTE: If you end up using a fabric for the skirt that’s heavier than the fabric for the top, it’s possible the waistline will get a little stretched out. If that seems to be happening, you can sew thin elastic into the seam allowance, as explained in this post. That post also gives a more thorough overview of how to attach the skirt to the bodice if you need more explanation.
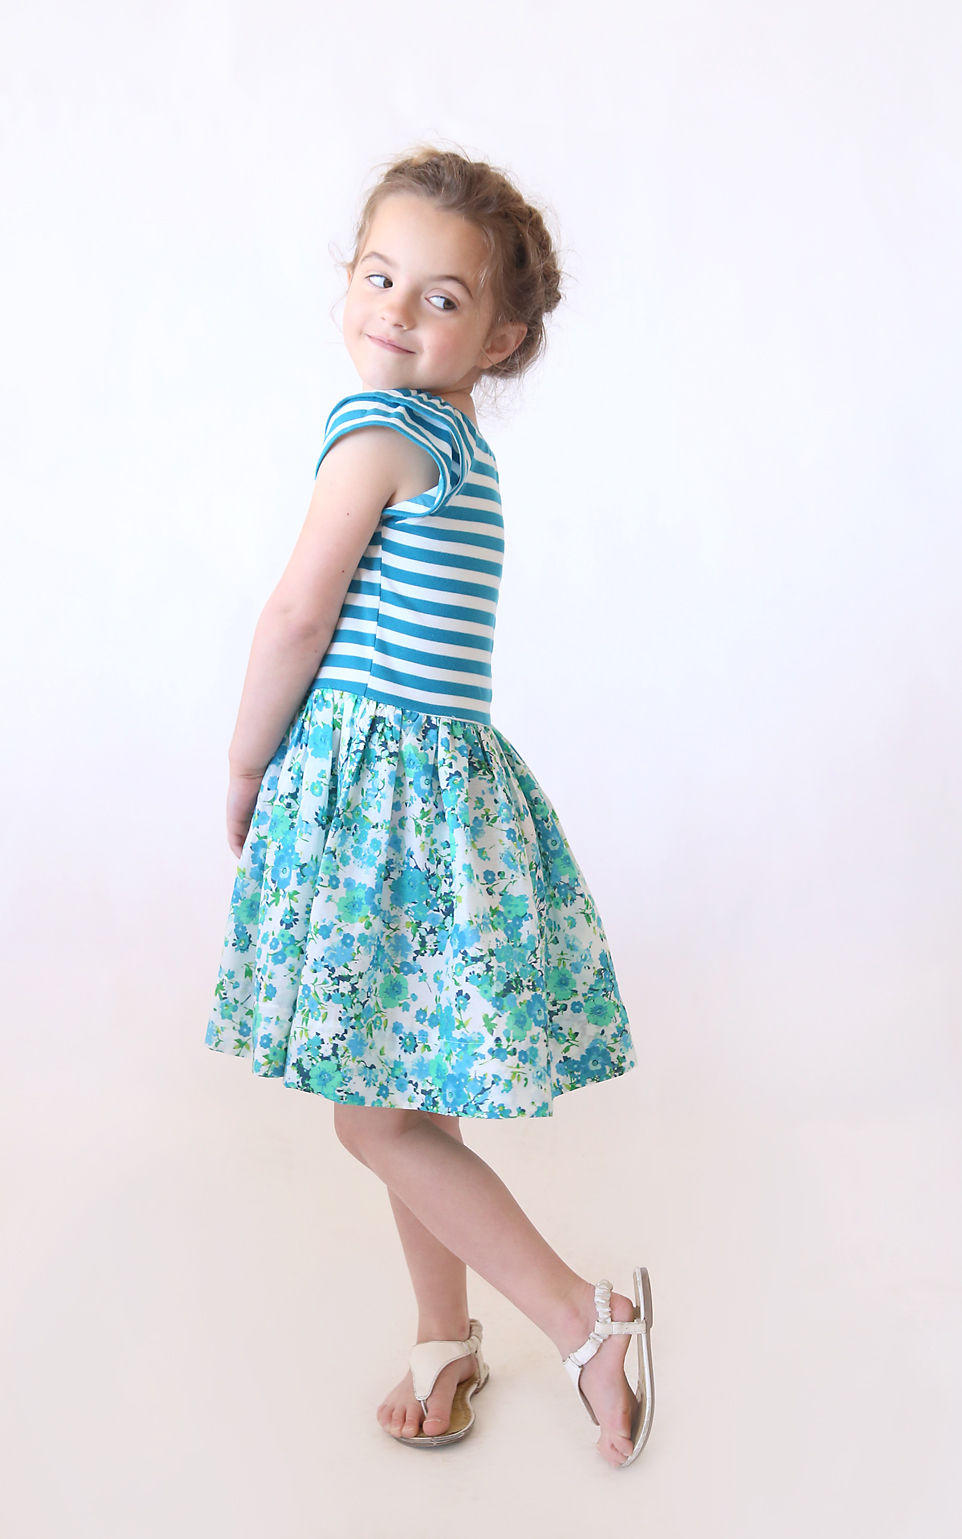
To finish the dress, hem to the desired length. For reference, my daughter is 5 and a bit small for her age, and I turned up the hem a total of 3 inches and it hits just above her knee. The wide hem means I can let it down a couple of inches as she grows!


Diane Pomberg says
What is the seam allowance used for sewing the Hello Spring dress? I didn’t see that information in the sewing directions. Thanks for the help.
Autumn says
Half an inch. Good luck!
Lara says
I made the pattern as the top. Thank you for providing it. I found the 22 inches, using cotton ribbing, to be waaaaay to big, making the neckline wonky though. I ended up cutting it off the shirt, and cutting a new piece of ribbing to 18 inches, which made it work much, much better for me.
Autumn Baldwin says
Hi Lara! I always recommend cutting a longer piece than you will actually need, then fitting the ribbing in, stretching it as you go, and then cutting off any excess. Sorry if that wasn’t clear from the directions and thanks for leaving a comment to help clarify it for people!