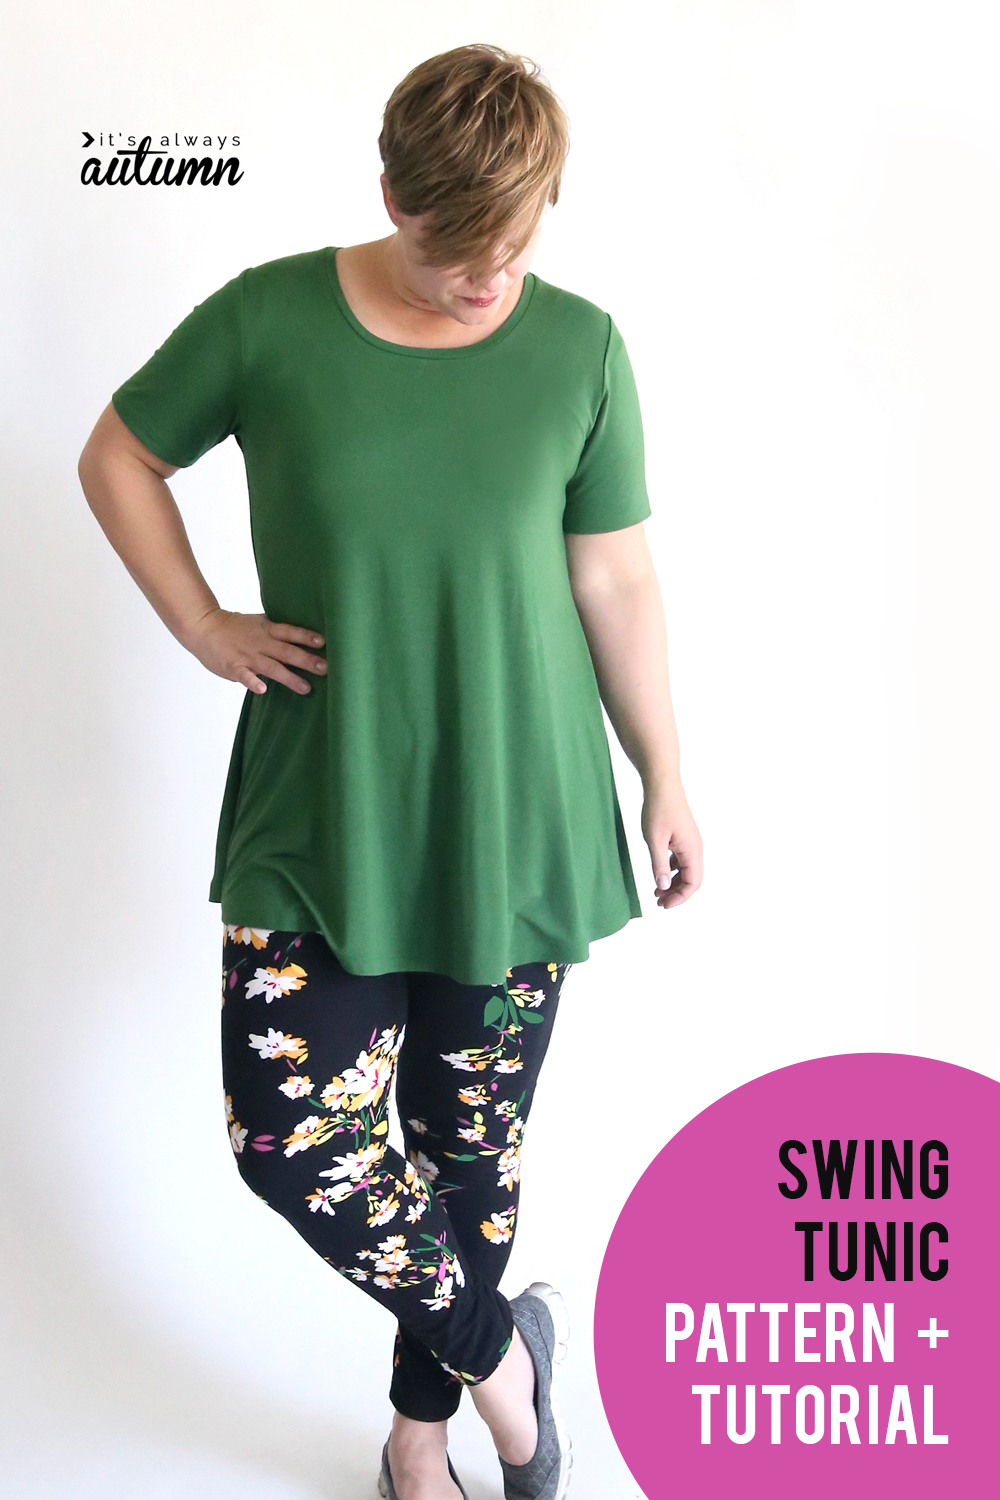
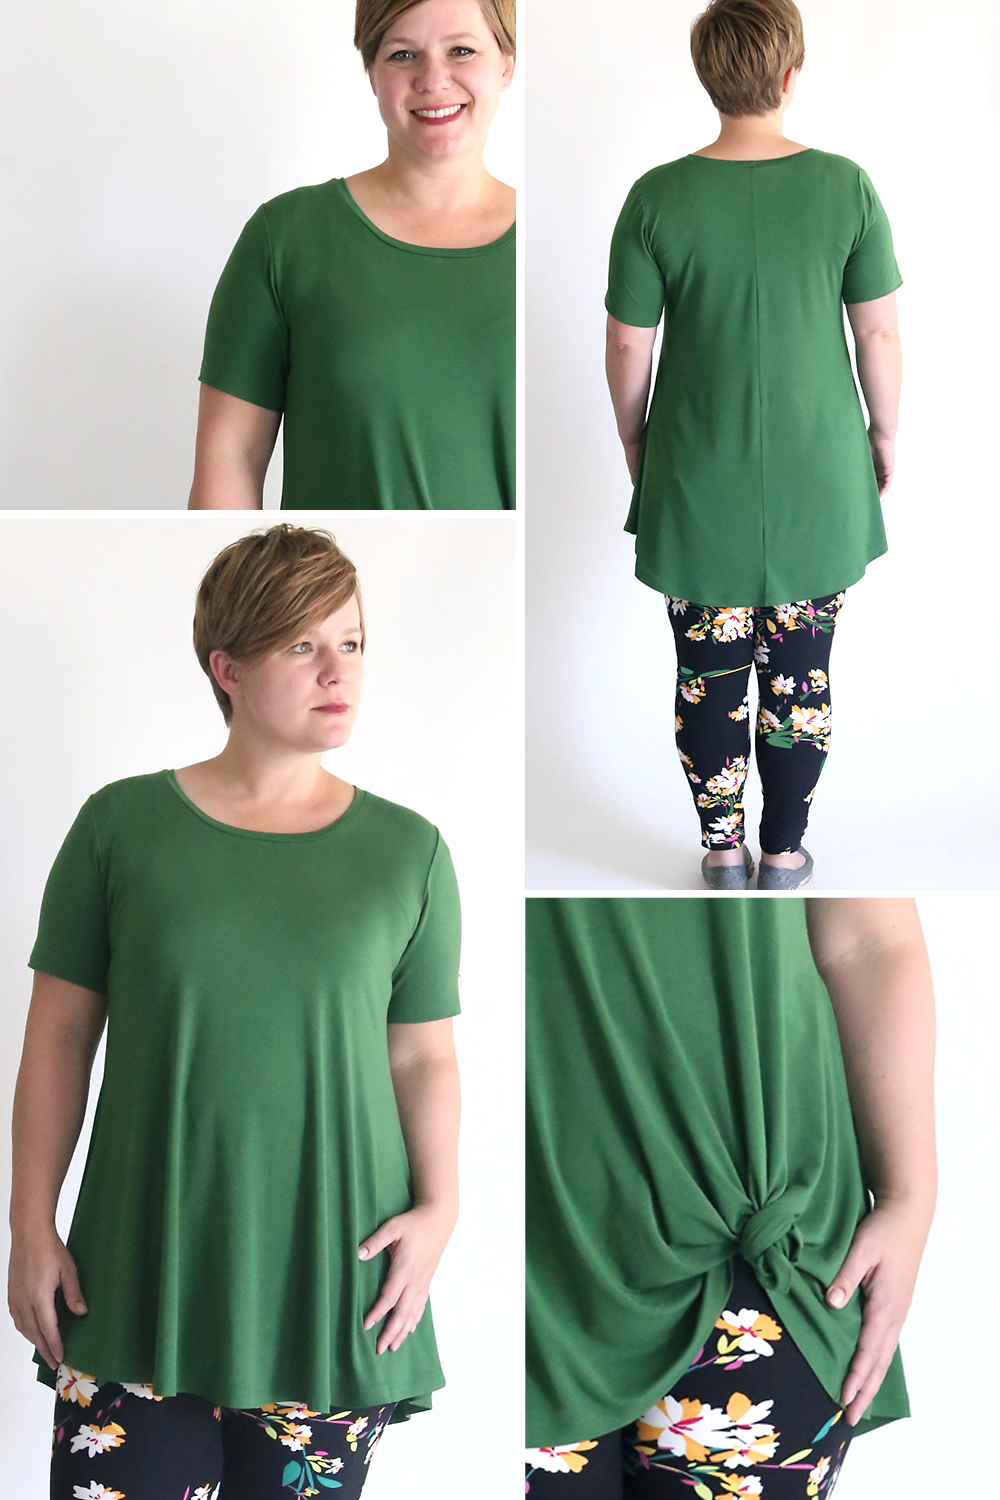
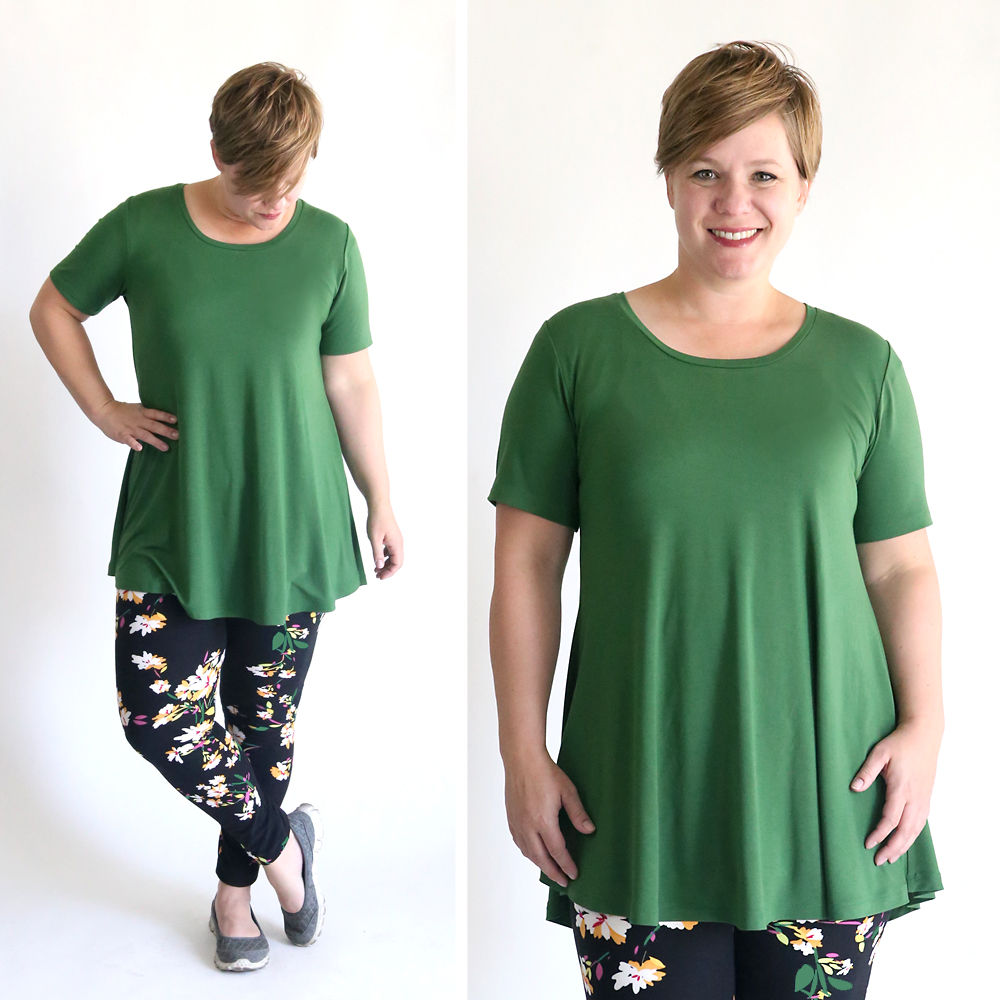
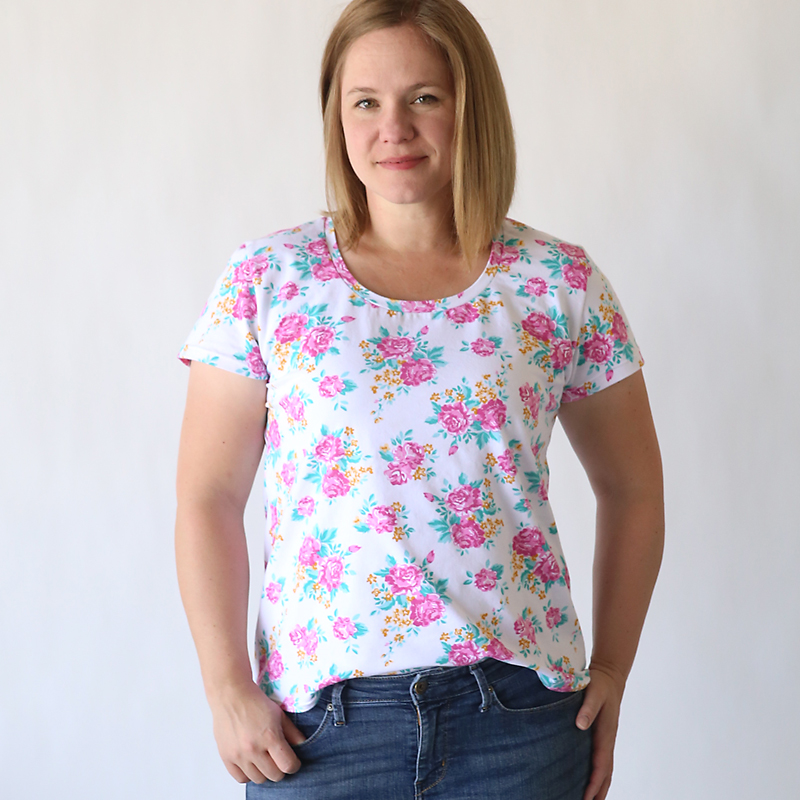
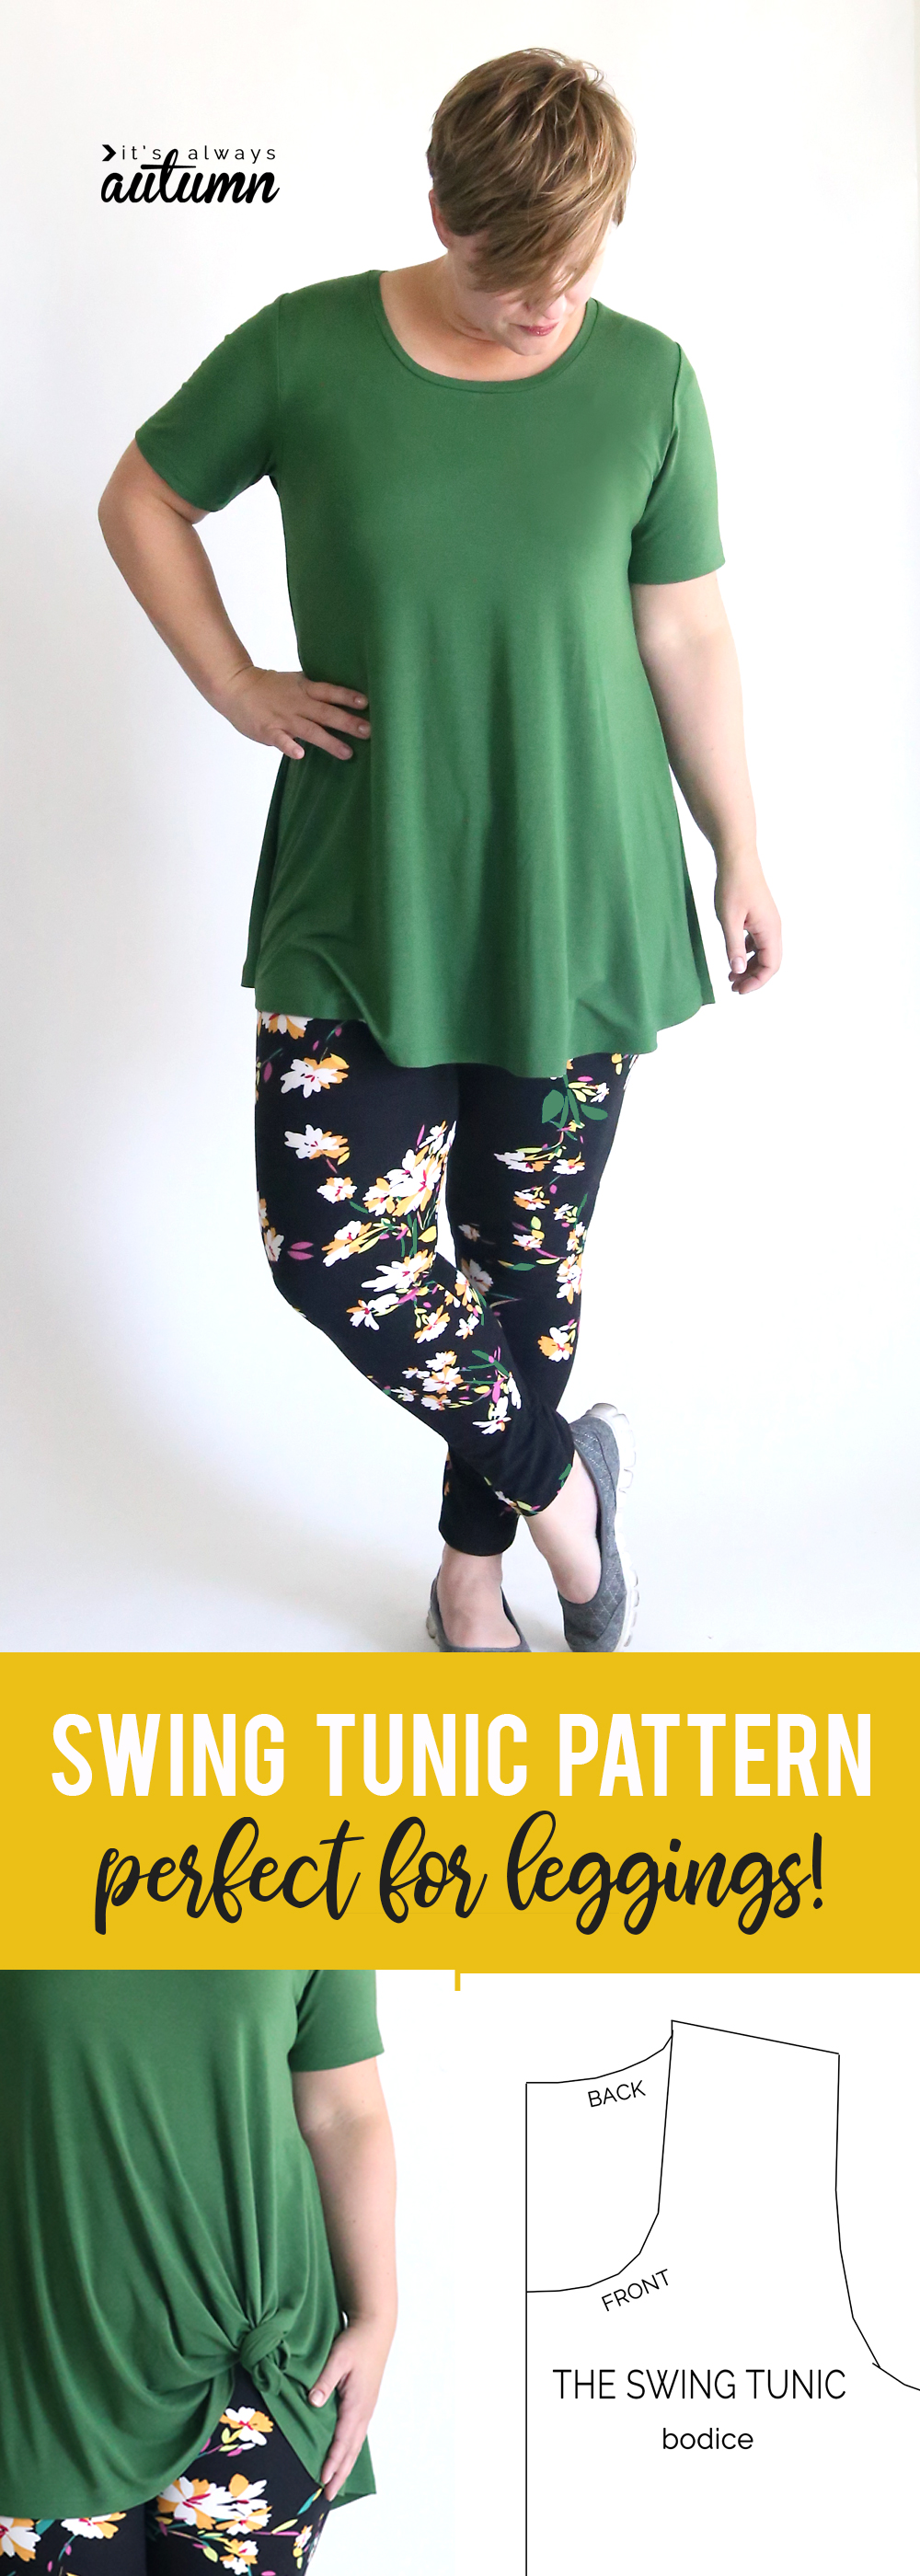
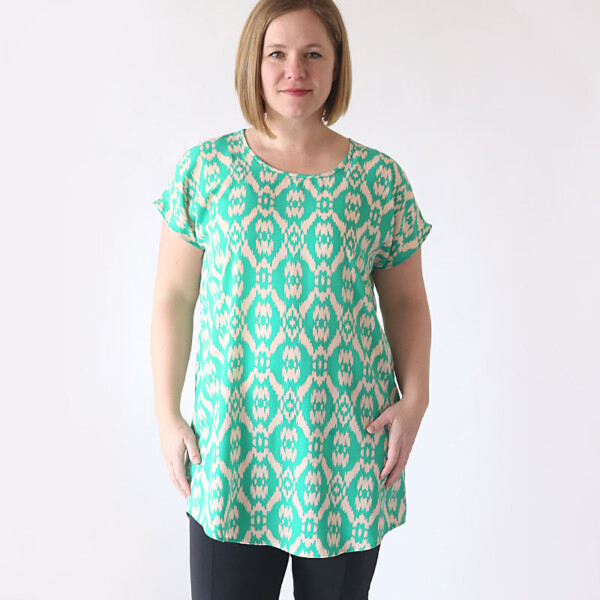
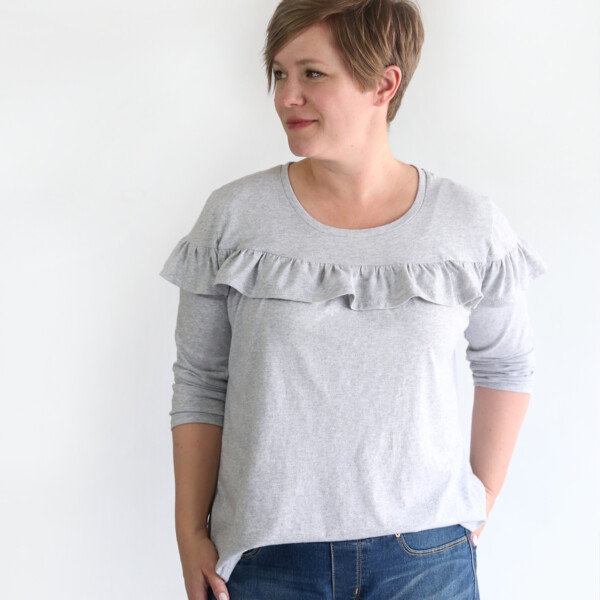
This free swing tunic sewing pattern is an easy sew and the perfect longer length to wear with leggings! Similar to the LulaRoe “perfect tee” but with a little extra swing and a slightly longer length.
For the past few years I’ve been avoiding the LulaRoe leggings trend, partly because I wasn’t sure I wanted to spend $30 per pair and partly because I worried if I actually did buy some I’d never put real pants on again. Stretchy pants can be a bit dangerous, you know?
Anyway, a kind friend gifted me a pair of LulaRoe leggings and they really are as soft and comfy as everyone says. But I still think they’re a bit pricey, and I’m too grumpy to watch a whole FB live to find a pair I might actually want to order. But the unrivaled comfyness just kept tempting me to buy more. Finally, I discovered the Viv Collection leggings on Amazon which are less than half the price and made from the same buttery soft brushed fabric, and I’m sold! I’m right in between the one size and tall + curvy size in Lula leggings and I ordered the Plus size of the Viv leggings and they’re perfect!
Of course, if I’m going to walk around in leggings, I gotta be wearing a long shirt so that I don’t scare the neighborhood children. So today I’m sharing a free swing tunic sewing pattern, a long tee shirt pattern with extra room around the hips for a pretty “swing”.
This pattern is available in size large only (38 inch bust), but since it is made with stretchy fabric and is very roomy around the waist and hips it will likely fit a range of sizes. This free tunic sewing pattern is similar to the LulaRoe perfect tee, although I think it’s actually a bit swingy-er. And a bit longer. I’m 5′ 3″ and I cut almost 2 inches of length off before hemming my shirt, so it should be long enough even for taller ladies, i.e. the rest of the world.
Free tunic sewing pattern
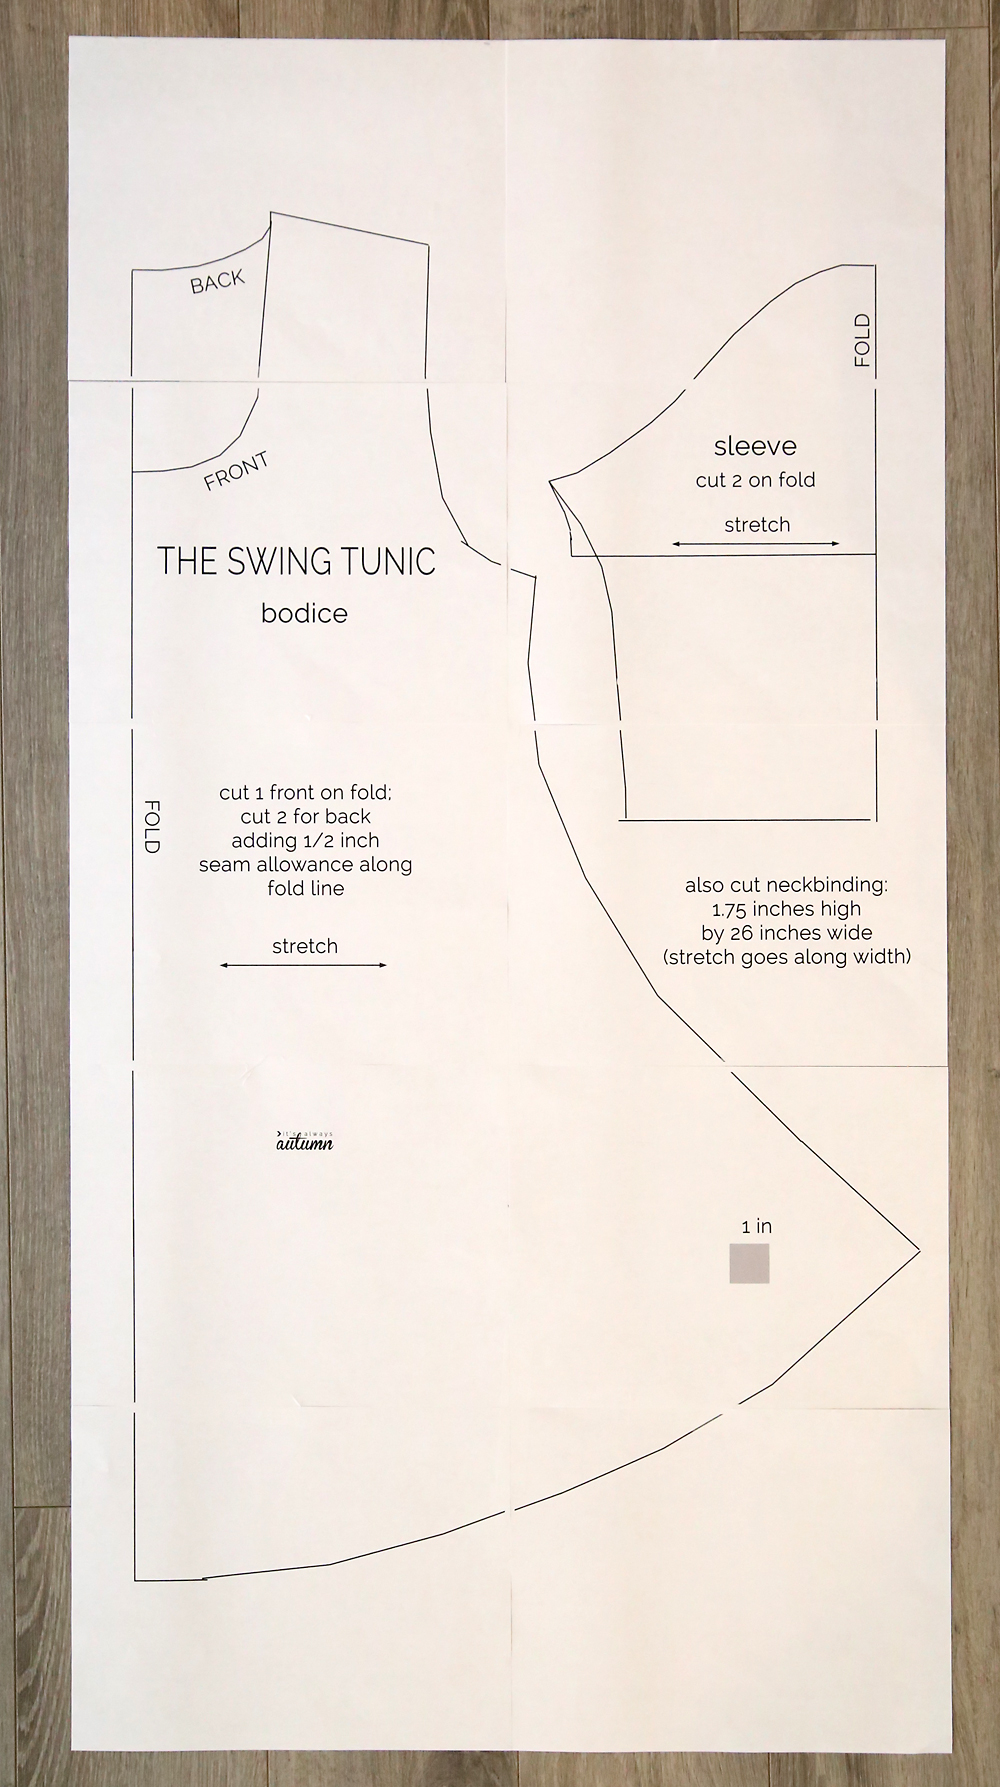
Click here to download the pattern. Print it out at 100% or full size and make sure the test square measures 1 inch. Butt the pages against each other without trimming and tape together. It takes 10 sheets of 8.5×11 paper and looks like this:
You will need 1.5 yards of 55-60 inch wide knit (stretchy) fabric for this shirt. Wash and dry your fabric before you begin.
Tip: If you are planning to wear it with Lula leggings or the similar leggings I found on Amazon, you’ll want to choose a fabric that is a bit slippery, otherwise it may not drape nicely across the brushed fabric of the leggings.
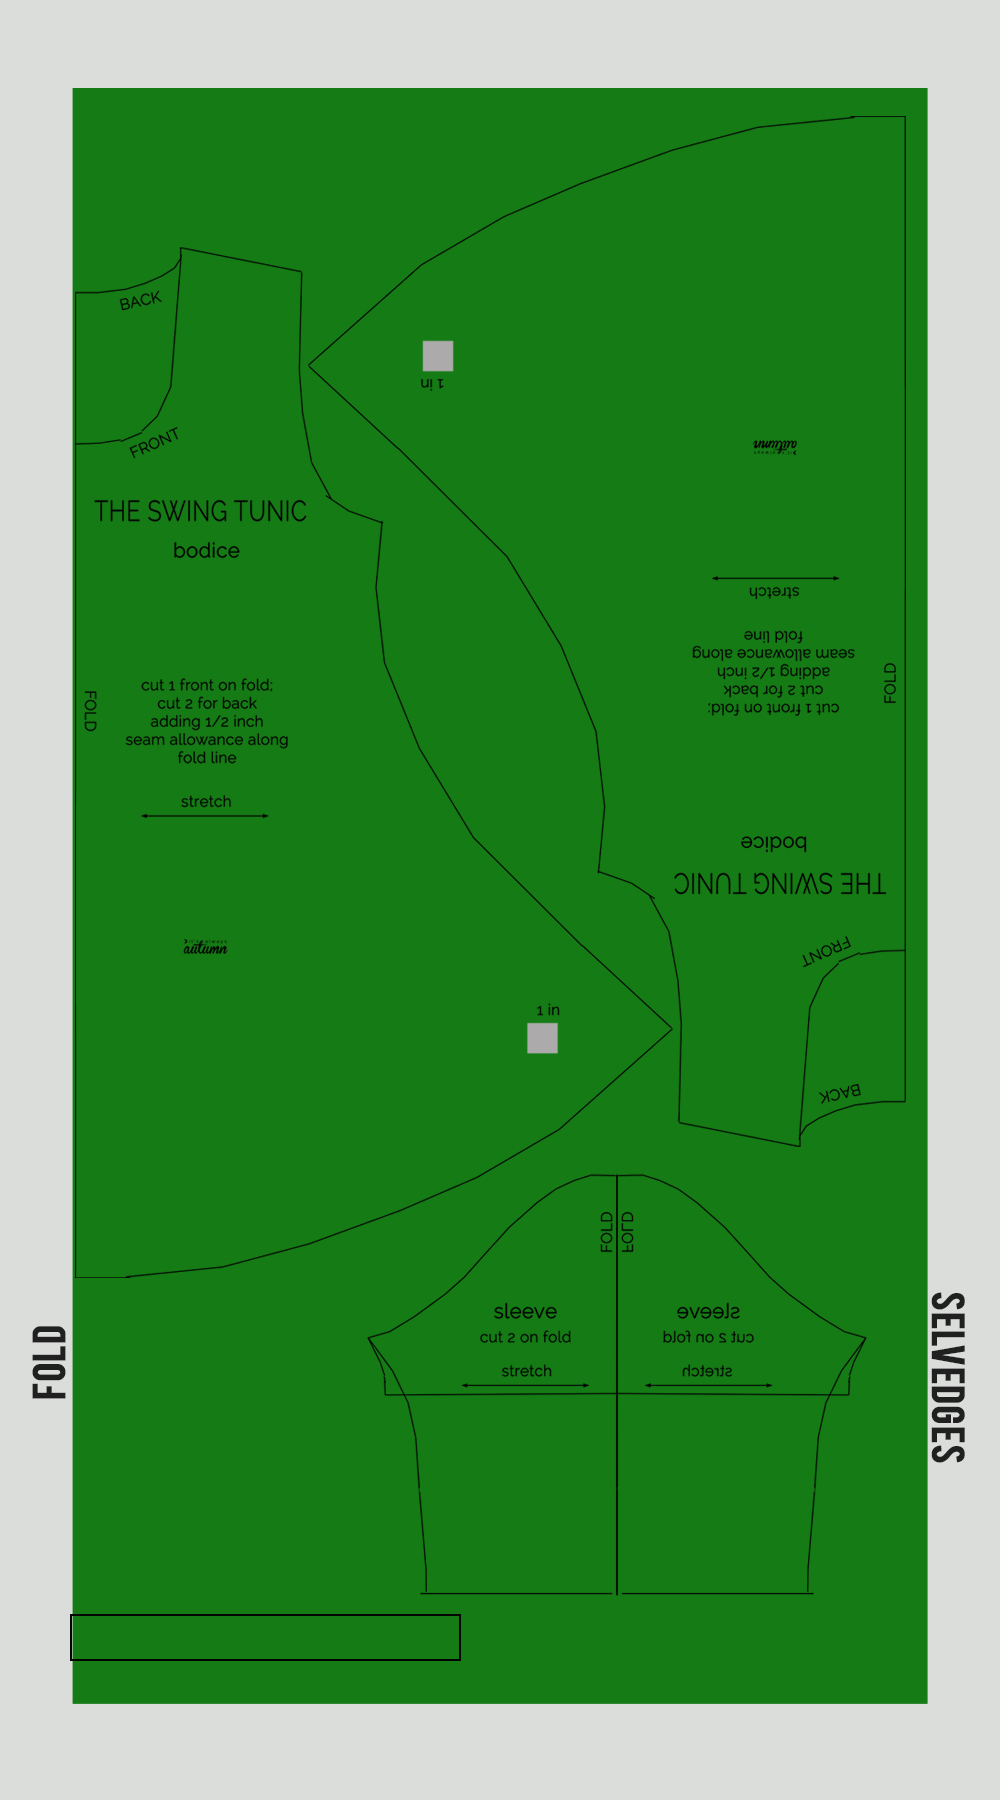
Here’s how I laid out the pattern:
Notice that the front of the shirt is cut on the fold. The back of the shirt is not cut on the fold, so you need to add 1/2 seam allowance along the long straight edge when cutting. All the other edges already have 1/2 inch seam allowance included.
How to sew a tunic (long shirt) to wear with leggings
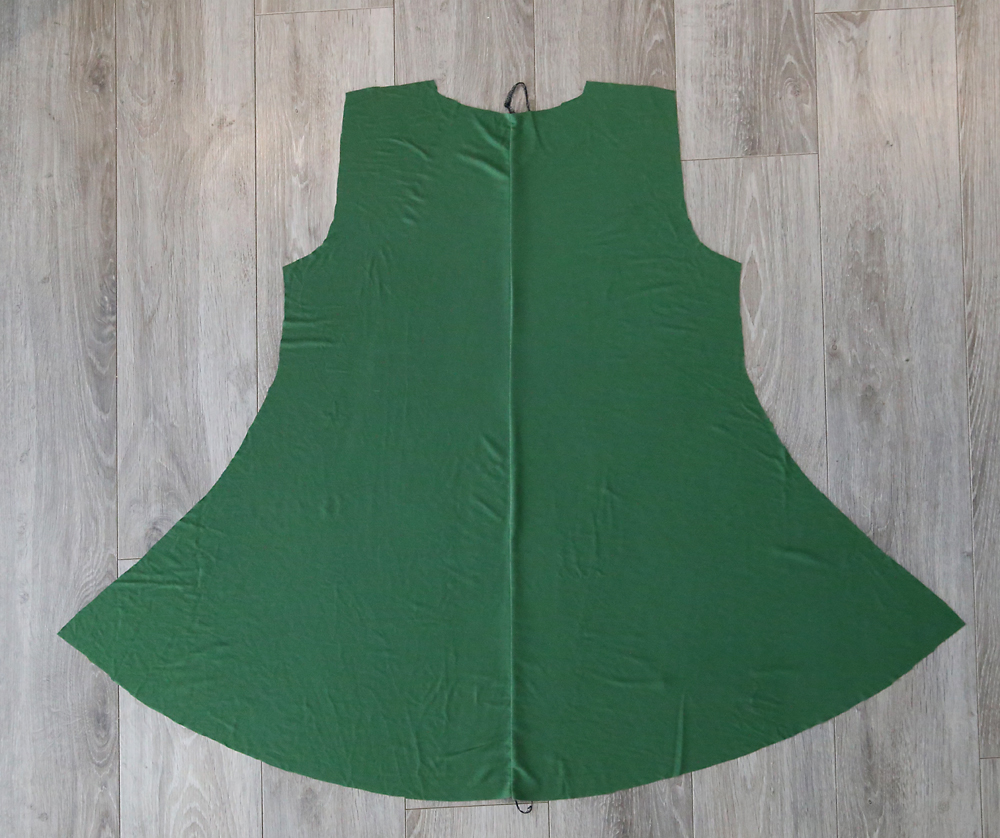
You’ll begin by placing your two back pieces right sides together and sewing down the center seam. This will make the back piece look just like the front piece, except the front piece has a lower neckline.
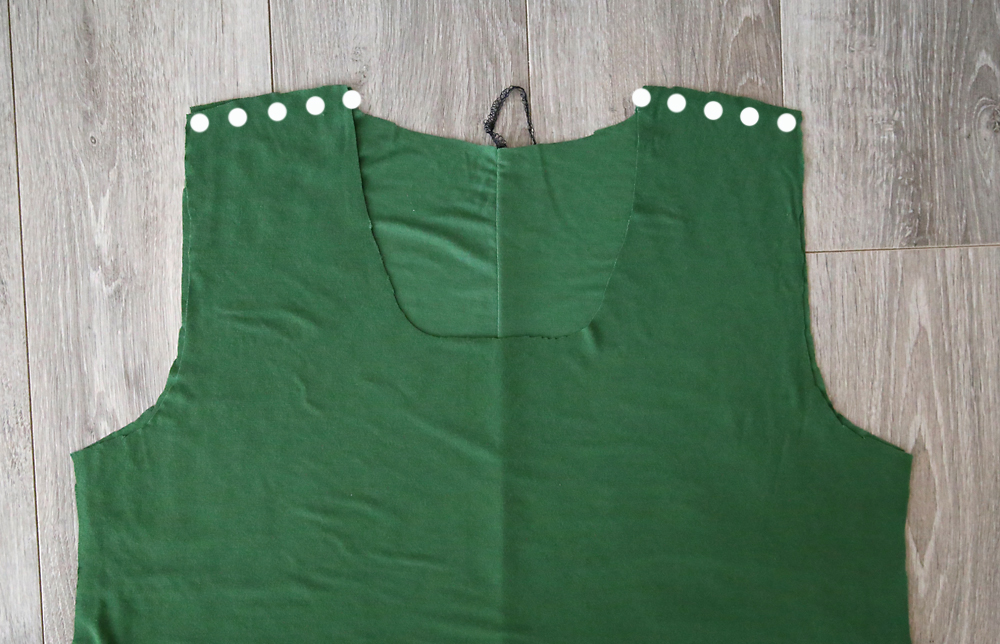
Place the front piece on top of the back piece, right sides together, and sew across the shoulder seams as shown below.
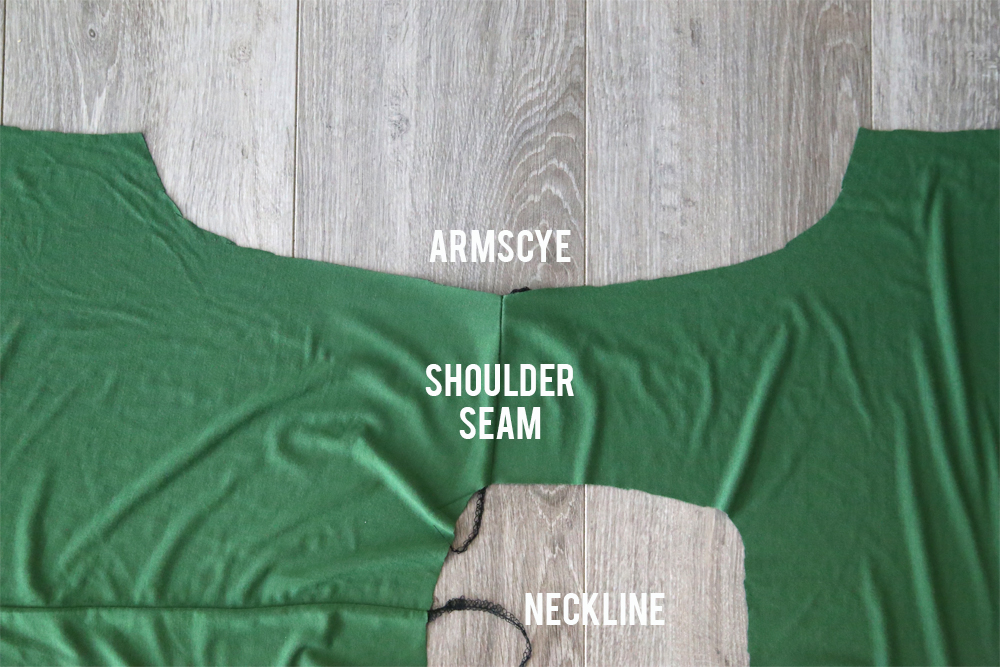
Next, we’ll attach the sleeves. Lay the tunic down flat, right side up, as you see below.
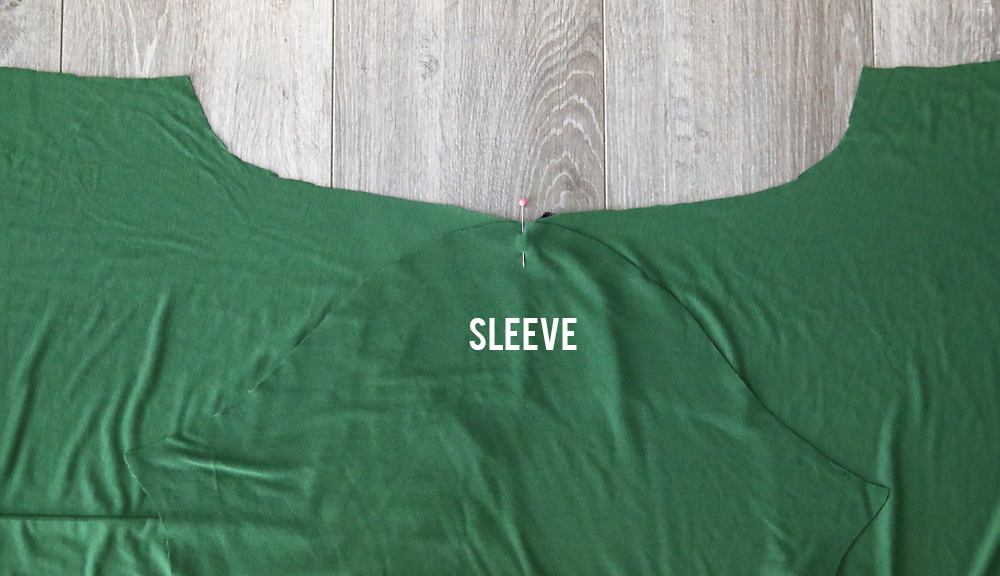
Grab one of your sleeves and find the center of the top curve. Mark it with a pin. Match that point up with the shoulder seam and pin together, as shown below. Right sides are together.
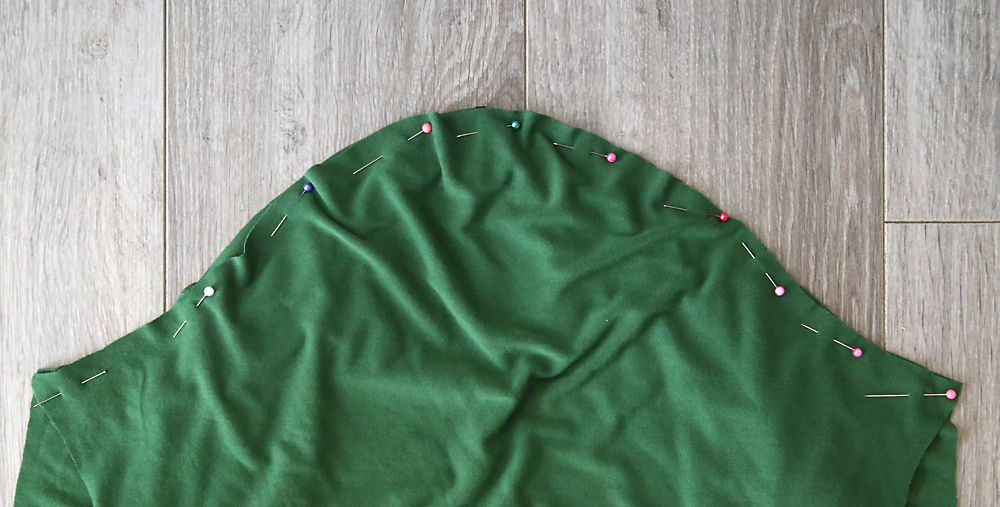
Continue to match up the curved edge of the sleeve with the rest of the armscye. The sleeve curves out and the armscye curves in, so the body of the shirt will get bunched up as you pin the two pieces together.
Sew along your pins to attach the sleeve to the shirt. Repeat with the other sleeve.
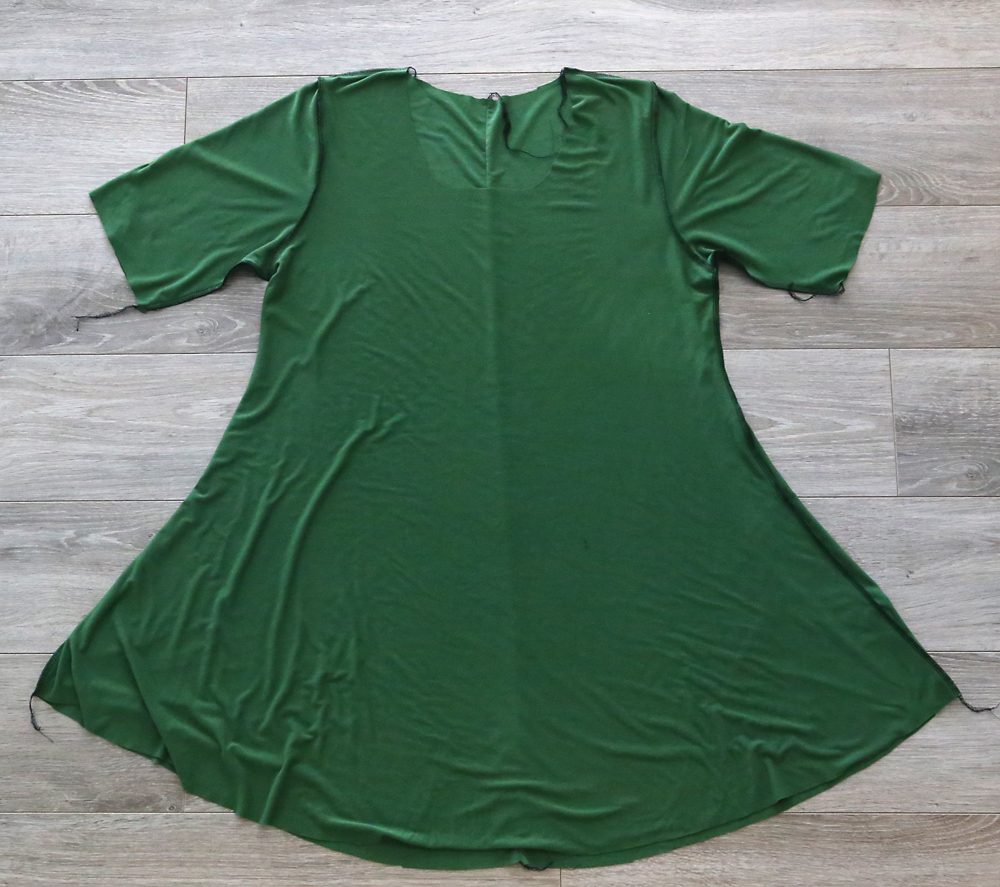
Now you can flip your tunic so the front and back pieces are right sides together again. Sew the side seams: up the sleeves, under the arms, and down each side. It will now look like this:
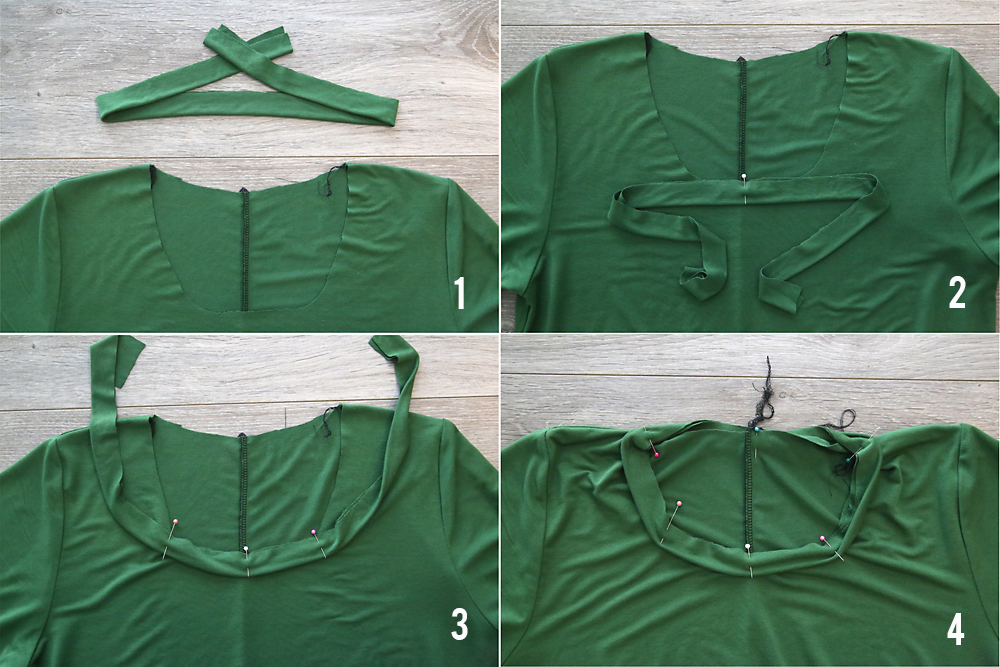
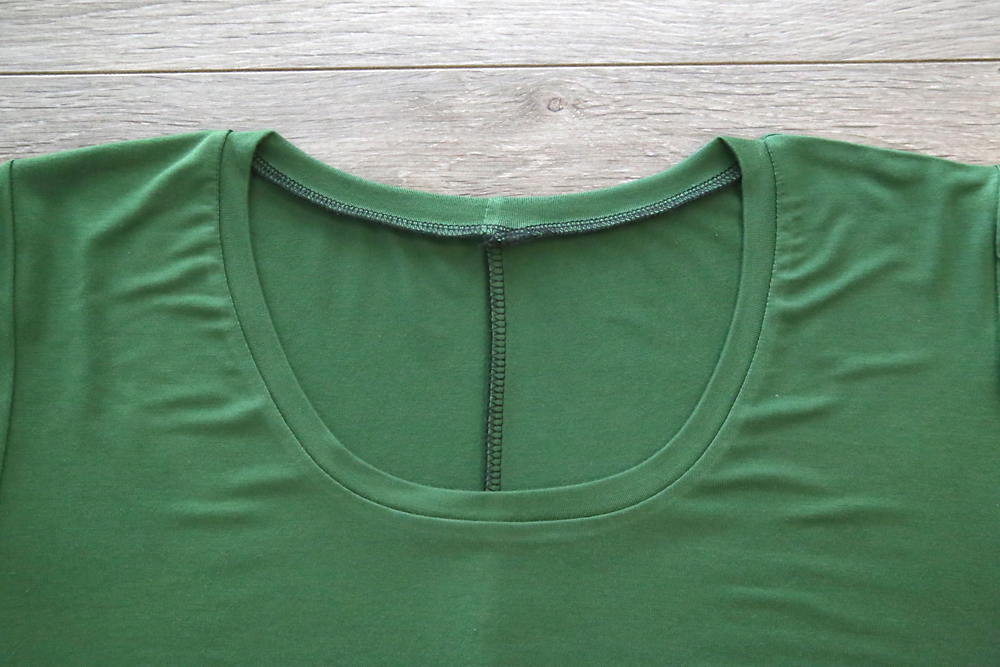
The next step is to bind the neckline. Grab your 26 inch piece of fabric and fold it in half lengthwise and press (photo 1). Note: you won’t use the entire length of the neckbinding. Find the middle of the neckbinding and pin it to the middle of the front neckline, raw edges matching up (photo 2).
Give the neckbinding a bit of a stretch, and start pinning it around the neckline. The binding should be a bit shorter than the neckline itself, causing the neckline to bunch up a bit as you pin (photo 3). When you get to the back, open up the neckbinding and sew it to itself, then trim away the excess (photo 4).
If you’ve never sewn a knit neckbinding before, it can take some trial and error to figure out how much you should stretch the binding piece as you’re pinning it to the neckline. If your fabric doesn’t have a lot of stretch, you don’t need to stretch the binding piece too much, but if your fabric is very lightweight and stretchy, you’ll want to stretch it more. As you sew more knit neckbindings you’ll get a feel for how it works. If you’ve never sewn one in before, you can measure the neckline, then multiply that number by .85 to get the estimated length your neckbinding should be. If you do that, just sew the short ends of the neckbinding together before you start pinning it to your neckline, then pin it on evenly.
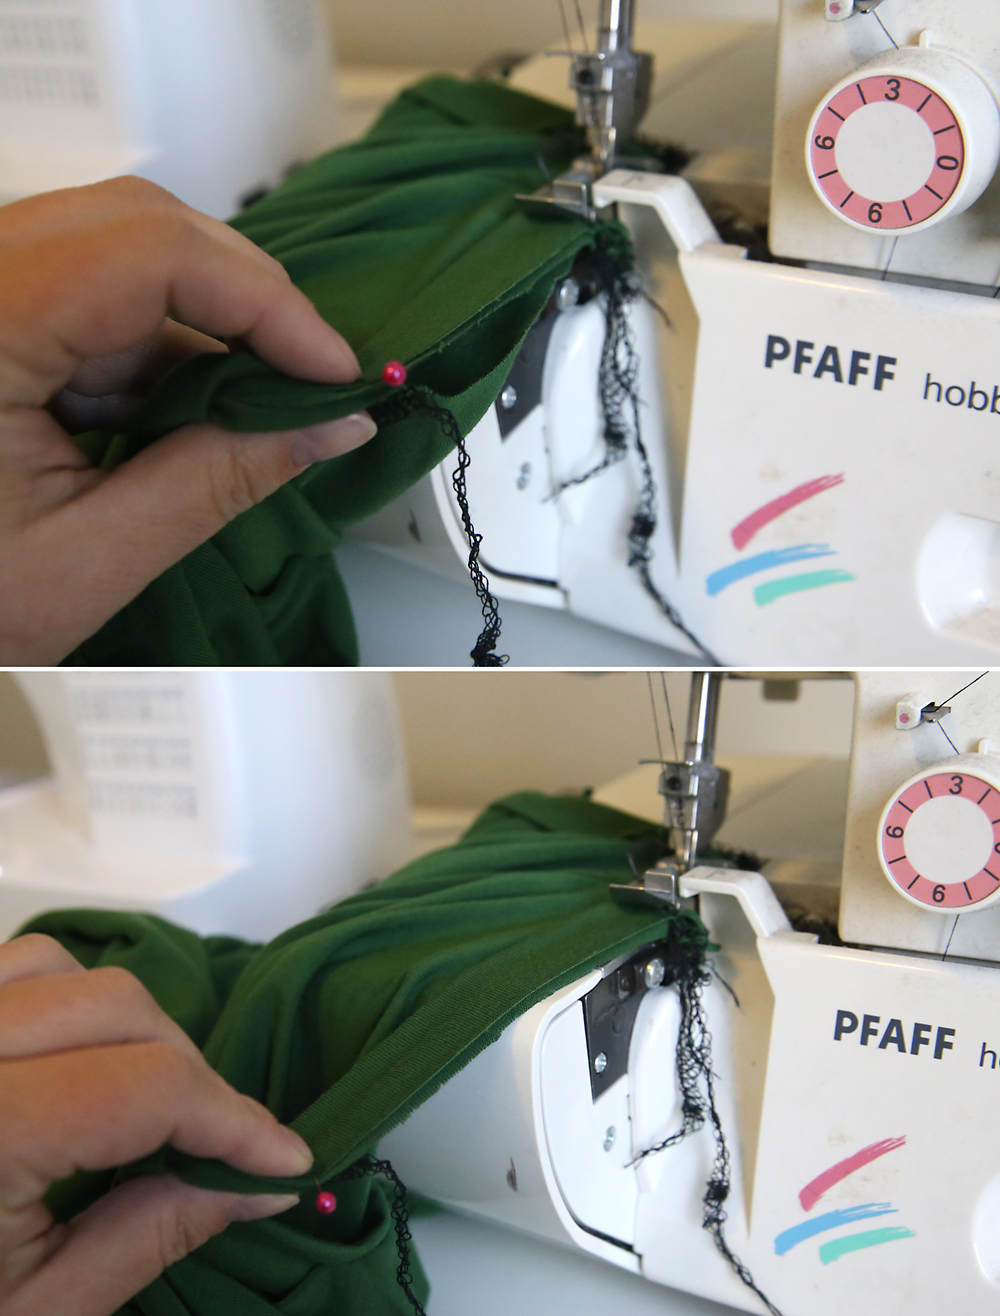
When you go to sew the binding to the neckline, the neckline will be bunched up under the binding (top photo below). Stretch it out until the fabric lays flat (bottom photo below), and then sew the binding all around the neckline.
It may look a bit wonky right off the machine, but when you press it with plenty of steam it should shrink up nicely and lay flat:
The last thing to do is hem the sleeves to your desired length, and hem the bottom of the shirt. I took off about an inch and a half from the bottom hem, and then turned it up 1 full inch, so even if you’re a bit taller than I am it should be plenty long to wear with leggings. Let me know if you decide to make the swing tunic sewing pattern!
Check out more of my free sewing patterns + tutorials:
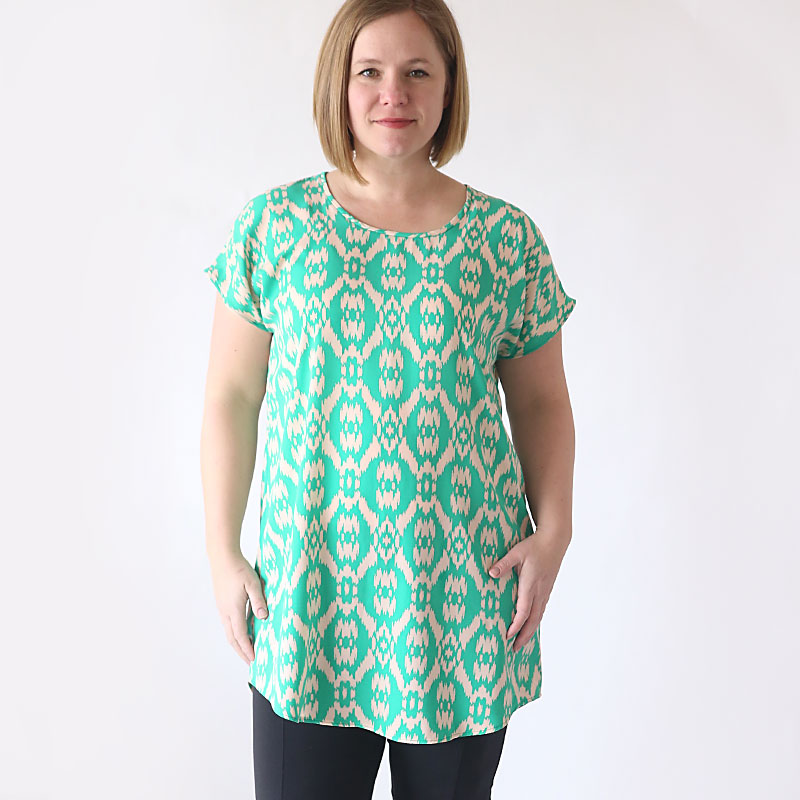
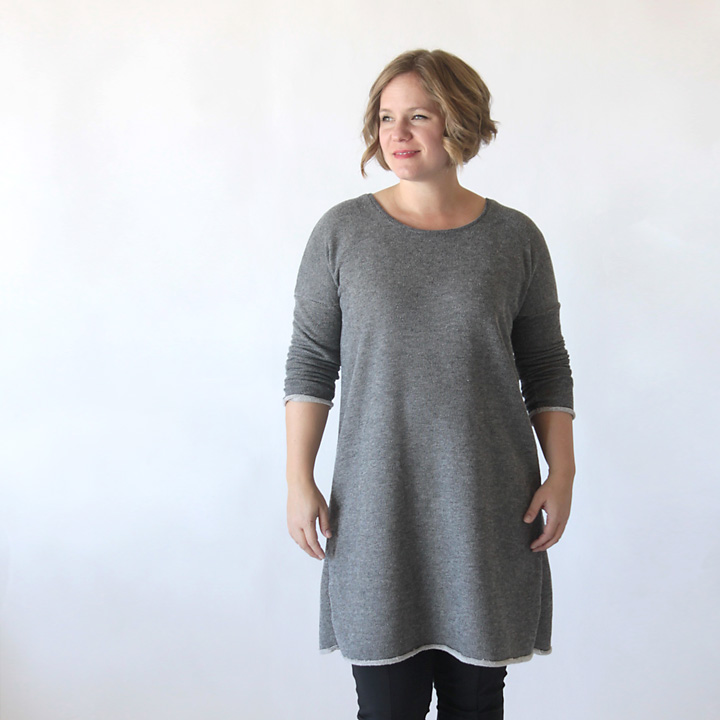
The “Breezy Tee” sweater dress
The Classic Tee sewing pattern
Kristie says
Super cute! I would extend this just a bit and make a swing dress! Thank you so much for sharing your patterns. I have made myself so many shirts with your great patterns and tutorials.
Sandy says
Great!
Dara says
Beautiful, as ALWAYS! Thank you Autumn!
Judy says
You nailed it!
linda says
Is there a particular reason the swing tunic has a back seam? will it work fine if you cut the b
back in one piece?
autumn says
The only reason for the seam is to be able to cut all the pieces from 1.5 yards of fabric. If you have plenty of fabric you can certainly cut the back on the fold too!
Heather Sinnett says
I like the thought of using 1.5 yards of fabric. I am wondering what you use for the seam allowance?
Thanks!
autumn says
Half an inch. Good luck!
Michele says
Thanks again for a great pattern! You do so much work and make it available! I really appreciate that! 🙂
Reecie says
Thank you for the Patterns of Breezy T and Swing top. Looks like what I have been Looking for. How do I download your instructions or print? I do not always have internet. And truthfully I need instructions next to me. Thank you again
Paula Smith says
I make most of your patterns for women. I’m pretty curvy myself and like the roominess you have built in to them. I think I will probably make this ALMOST knee length to wear with leggings (preacher’s wife) to keep things covered. ThanKs for all the great patterns and all the work you do and for keeping all your talent free!
Kathy Pettit says
It looks adorable on you and your haircut is great as well.. Love the leggings.
Rebecca Smith says
I’m excited to make this one. I’ve used your patterns several times. In fact, I just made one last week. Thank you so much for your work.
Kristie says
Beautiful swing top, Autumn!! The proportions are just right and you look great!
You mentioned a fabric that is a “bit slippery”. What type of fabric did you use for your swing top, or do you have any special fabric recommendations??
Thanks!
Kathy says
Just wondering does the Swing Tunic pattern come with the option of a longer sleeve?
autumn says
There are marks on the pattern for a short sleeve length and an elbow sleeve length. If you extend the elbow sleeve length a few inches (use a shirt you like as a guide) it should be fairly easy to make longer sleeves. Good luck!
Cindy says
Thank you so much for the free pattern. I would love to make one, however I am a plus size. How would you adjust your pattern to make it bigger?
Rebecca says
Love this!! I can’t wait to try it!!
Barbara Faught says
Looks ike it would be really cut with an elastic gathering seam under the brest.
autumn says
Good idea!
Dianne says
Hello All, Does anyone happen to know how much to add to this pattern to make a 2x?
Thank you.
LaFonda says
I am a 2x also. When I get to making this tunic, I will fold a tunic that I like the bust and hip shape for a general idea of how much to add to her pattern. I have recently moved and am still trying to get my sewing room unboxed. I can’t wait. . . recently ordered new leggings from Zulily very reasonably. Need more tunics.
Zuzanna says
A perfect project for a rainy September day. Thank-you Autumn.
Laura Adams says
Well, how sweet are you? This is a perfect tunic pattern, and I am actually going to make one for myself! I am a “retired” dressmaker, and most of my sewing these days is dresses for my little granddaughters, or home dec stuff for my daughters. I haven’t seen anything for myself in years, but this is cute, and swingy, and long enough! Thank you so much!
Cathy Junga says
I’m so excited to try this pattern. I have one LLR Perfect Tee and really like it, but they are pricey and I can sew, so there!!! And thanks also for the link to the leggings. I was going to make a black pair, but at that price, I’ll just buy them.
Katy says
Thanks for sharing your pattern! I whipped a shirt up tonight and I love it! So cute, cozy and hides my post partum tummy!
Marla says
THANK YOU!!!!
Kim says
I made this this morning and only used about a yard of fabric if that. If you’re buying it that wide I would suggest folding your fabric in quarters to the center (if that makes sense) therefore you have two folded edges. If you offset it then you can even fold a little over the half line and then repeat with the other side. To those looking for a bigger size, my suggestion would be to measure your bust and then subtract what she said hers was and add that many inches to the width. My bust is 40″ and this size worked for me. I would suggest adding a bit to the length too, I would have liked mine to be a bit longer. You will probably have to buy more fabric though for a bigger size. Remember you can always cut it down if it ends up too big but you can’t add any if it’s too small!
Kim says
Quick note on adding inches, cut it in half before adding it. Since everything is folded in half you would only need to add a half inch .
Jill says
Hi Autumn! I love the pattern… much more practical than the spendy lula shirt. What size was this pattern created for?
Donna says
So cute! And you’re so cute! Thanks!
Cathyha says
What kind of fabric and where did you find it..
Cynthia Padilla says
What type of fabric is this? I need to purchase it on line.
Dina says
Hi! Love your tutorials! Just a quick question – how do you hem the sleeves and the hemline? I zoomed the picture, but cannot really sew… Do you use twin needle? or just fold once and sew… with stretchy stitch? Hemming jersey is always my problem, not to make it bulky and heavy…
autumn says
I fold once and then sew with a twin needle. It looks tidiest if you can catch the edge of the hem in between the needles. Good luck!
Dina says
Hey, thanks a lot for the answer. I used your suggested method today with a twin needle and the seam doesn’t look very nice.. There is like a little wave between the stitch lines on the right side, I think it is called tunneling.. do you adjust the bobbin tension? Your hemline seams look so great, almost invisible!
Rose says
I am new to this. How do I translate the printed pattern to the right size?
Skyla says
Just wondering if you have come up for a simple pattern for the joy vest?
Rita says
Can I use cotton, linen or some other non-stretch fabric
Danielle says
Love it – looks classy and yet so simple, How would you adjust the pattern to a small size? Decrease from the fold or the side or both? Thank you.
Cynthia Padilla says
I made it! I also made leggings for my 5 year old daughter and the raglan sleeve shirt. I am also going to keep making what you post. Thank you so much!! I love how much fun it is!!!
Christina says
If I want to lengthen the sleeves, how would I go about that?
Ashley says
I would like to make this but am a 34/36. Since it’s folded in half would I trim off 2” from one side so that it would be 4” off total? And does it matter what side I trim it off of?
Lata Sundar says
This is a lovely pattern and am surely going to try it. Do you happen to have drafting instructions so I can customize it to my measurements? will help a great deal !!
Nancy says
Wondering how much ease is built in to the bust area in the pattern? Thank you.
autumn says
My bust measurement is 38 inches and it’s certainly not tight through the bust. The ease will depend on how much stretch there is in your fabric. Good luck!
Keely says
What type of fabric did you use and where do you prefer to purchase it?!
LINDA S MONTE says
I ave done everything your site said to do to down load a large printout of the tunic (long short) swing shirt. I have been on this for 3 hours now Downloaded every pdf software package it has told me to. Please can you just sent it to me via ee-mail.
Jacqueline says
Just finished this! I am a long time sewist but am brand new to knits having just bought a serger. I’ve completed a few knit projects with my new serger but today was my first neckband. Your instructions were very clear and the whole top turned out great, thanks.
Susie says
Thank you very much for your generous spirit.!! I am so thankful you do this…patterns are great!
Barbara Jean says
I made your pattern up today. I had a little more than a scrap to try it out on so I left off the sleeves, and made it sleeveless. Love the pattern, only had to change a little bit because I am larger than you. Thanks for your blog, it’s interesting, educational and fun.
Barbara Jean
Patti Clark says
I made this last week. I am sometimes a large and sometimes an extra large, All I did to alter the pattern was add 1/2 inch seam allowance. I hade mine 3/4 sleeve. It fit really good. Thank you for the free pattern. I plan on making the raglan sleeve next. Can’t wait.
Renana Harary says
Hi,
I want to make it in a larger size. I have no issue grading, but I need to know what the pattern size is, so that i can grade upwards.
Jeanne Hoerr says
So glad you came up with this pattern! I have already sewn your t-shirt pattern and it fits like a dream. So thank you! I think I’ll make this pattern into a dress. Thanks, again 🙂
Lucy says
What’s the thinking behind the back seam? Why not another single piece like the front? Thanks, got to find time to have a go at this. I love your flat front skirt and have made three!
autumn says
Hi Lucy! You can certainly make it without a seam down the back, and it will probably look a little nicer if you do. It just ends up taking more fabric that way, so if you don’t mind spending a little more on fabric then definitely cut the back on the fold too!
Tandie says
Your pics and patterns are wonderful! I’m a tall, no longer slim mom and I’m always hating the way my body looks in most clothing.
I love seeing you model your creations. You have a body shape similar to mine (I’m a bit bigger) and you look beautiful and stylish. Seeing you makes me feel like I can look pretty in the right clothing. I’ve gravitated towards baggy clothes that end up making me look bigger and sloppy. Plus sizes tend to be made for shorter to average height women and are unflattering on me. You can hem and take in if it’s to big, but I haven’t found a way of adding length.
I’m excited to try sewing your patterns. I have limited sewing skills, but you give easy to follow instructions. I like the simple, elegant lines of your clothing. THANK YOU for these patterns and the hard work you must’ve put into creating tutorials. You really help me feel more body positive!
Katy says
Finished mine this morning! I love it. Will be making more!
Chèvre Cheval says
Thank you so much for this tunic patt.ern. I made it today. Such a treat, to make myself a fun shirt. As a mom of 4, it can be an adventure to keep all of us clean and clothed sometimes. 🙂 Thank you for making this pattern available. As a tall gal, I only hemmed it about half an inch. Worked great!
Jennifer Kemper says
How do I enlarge the pattern to the proper scale?.
El Bargo says
Thank you so much, Autumn! I have been away from sewing for a while but am anxious to try this pattern out. Your sewing is so neat with a serger. I have a very old Sears Kenmore machine that is a workhouse, so I will give it a try. You are lovely to show us the finished product and model for us, so I can gauge the length of the style. Many thanks for sharing with the world!
Emma says
Good morning from Athens, Greece. I am rather basic when it comes to sewing (not much talent for it) but would like to know why the back of the tunic has the seam down the middle. Is it not possible to make it in one piece as the front it? Another thing, here in Greece it’s quite difficult to find fabric shops so I have to use whatever fabrics I come across. Is it possible that this tunic will work with non-stretch fabrics like cotton or linen? Or should I search for a different pattern?
Susan says
Love this pattern!!! I tried it and it worked great!! I am a beginner sewer and it was not bad at all! I have a lot to learn but it was such a fun thing to do and to make it better I got my material for $4. Thank You so much Autumn for making this possible you are such a joy!! Have a blessed day!
Lori says
Hi Autumn!
I am just getting back into sewing and consider myself very much a beginner. I really appreciate the simplicity of your tutorial; I found it easy to follow! I am just putting on the binding and hoping I don’t muck it up, because the top fits pefectly! Thank you so much for sharing your talent!
Lori